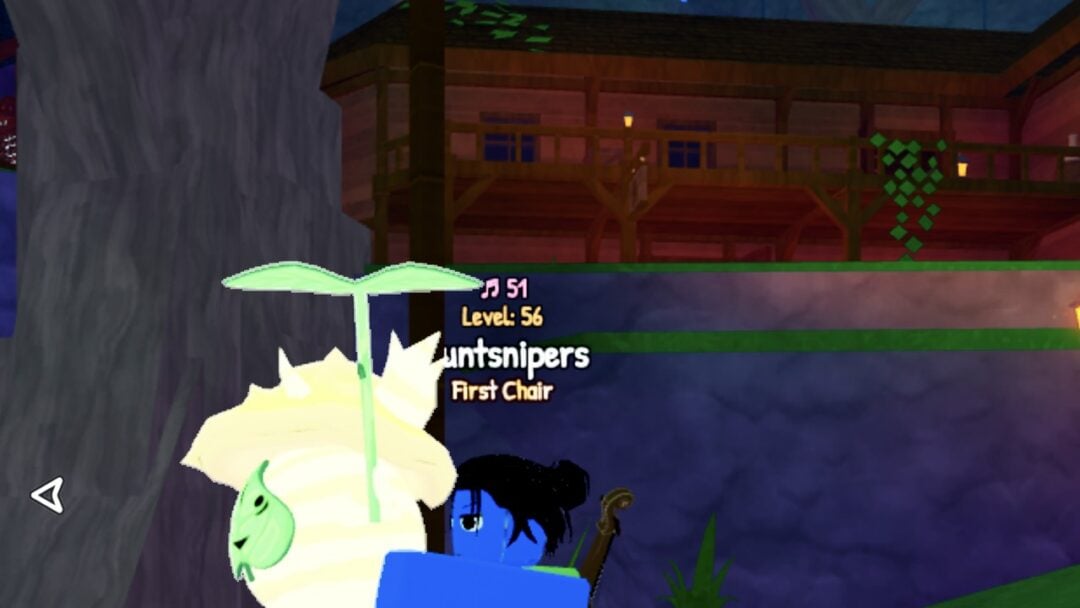
The Arbiter Armor is the strongest set Coen can wear in The Blood of Dawnwalker, and the only way to get it is a side quest called A Bulwark Against Darkness. It starts with a letter from a stranger, runs you across four corners of Vale Sangora hunting crafting components, and ends with a fight you have to survive while a blacksmith performs a binding ritual.
Quick answer: Reach Infamy Level 4 (Notorious) to receive the smuggler’s letter, collect a Flask of Quicksilver, a Large Lizard’s Moult, a Relic of a Saint, and a Bundle of Silk Threads, hand all four to the Uriashi blacksmith at the Uriashi Hermitage, then unequip the epic Arbiter set and win the ritual fight to receive the legendary version.
How to start A Bulwark Against Darkness (Infamy Level 4)
The quest does not appear in your journal until Coen is notorious enough for the wrong people to notice him. Infamy Level 4 is the gate, and the fastest route there is taking down members of Brencis’s court of boyars.
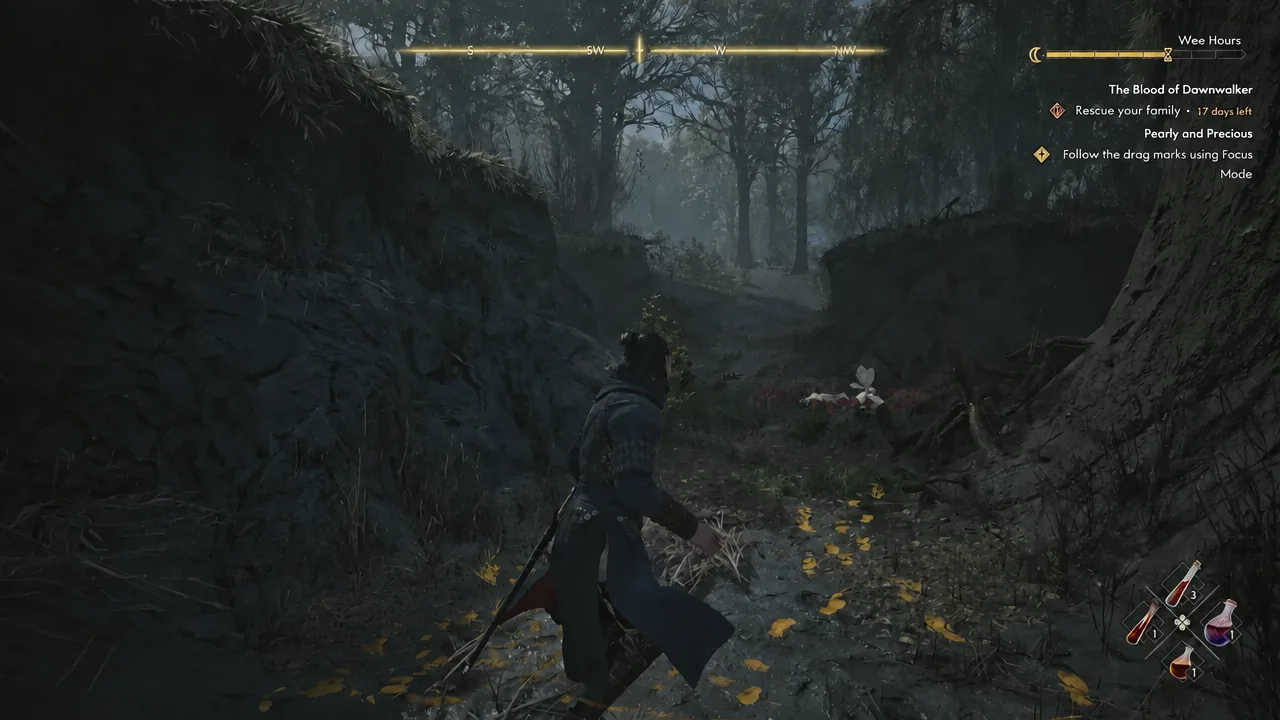
Note: talking to the Uriashi blacksmith first is optional. She fills in background on the set, but you can skip straight to component hunting if you only care about the armor.
The four Arbiter Armor components and where they come from
Two of the four items sit in fixed spots on the map, one has several valid substitutes, and one can be free or expensive depending on which quest you finish. Here is the whole checklist before the detail.
| Component | Where to get it | Prerequisite |
|---|---|---|
| Large Lizard’s Moult | Unmarked cave east of the Muddy Trail shrine | None, but the cave is not revealed on the map |
| Flask of Quicksilver | Top floor of Aurelius’s Tower (Silts Tower), south past The Silts | Home Sweet Home |
| Relic of a Saint | Saint’s Tibia at St. Tyna’s Convent, or one of several substitute relics | Echoes of Silenced Bells (easiest route) |
| Bundle of Silk Threads | Free in the Murohn’s burrow, or bought from the Sanzhani merchant | Come Hither, or Good Home plus Pearly and Precious |
Large Lizard’s Moult location: the unmarked cave near the Muddy Trail shrine
This is the one component with no quest attached and no map icon, which is exactly why people miss it. Ignore the Tatzelwurm lair in the Briar Sloughs bog, because the moult is not there.
Flask of Quicksilver location: Aurelius’s Tower after Home Sweet Home
Expect this to be the hardest component to secure, mostly because of what stands between you and the top floor. Aurelius’s Tower, also called Silts Tower, sits in the far south of the map past The Silts, and entering it drops you into a few mini-boss fights before the Home Sweet Home quest traps you in a dream loop.
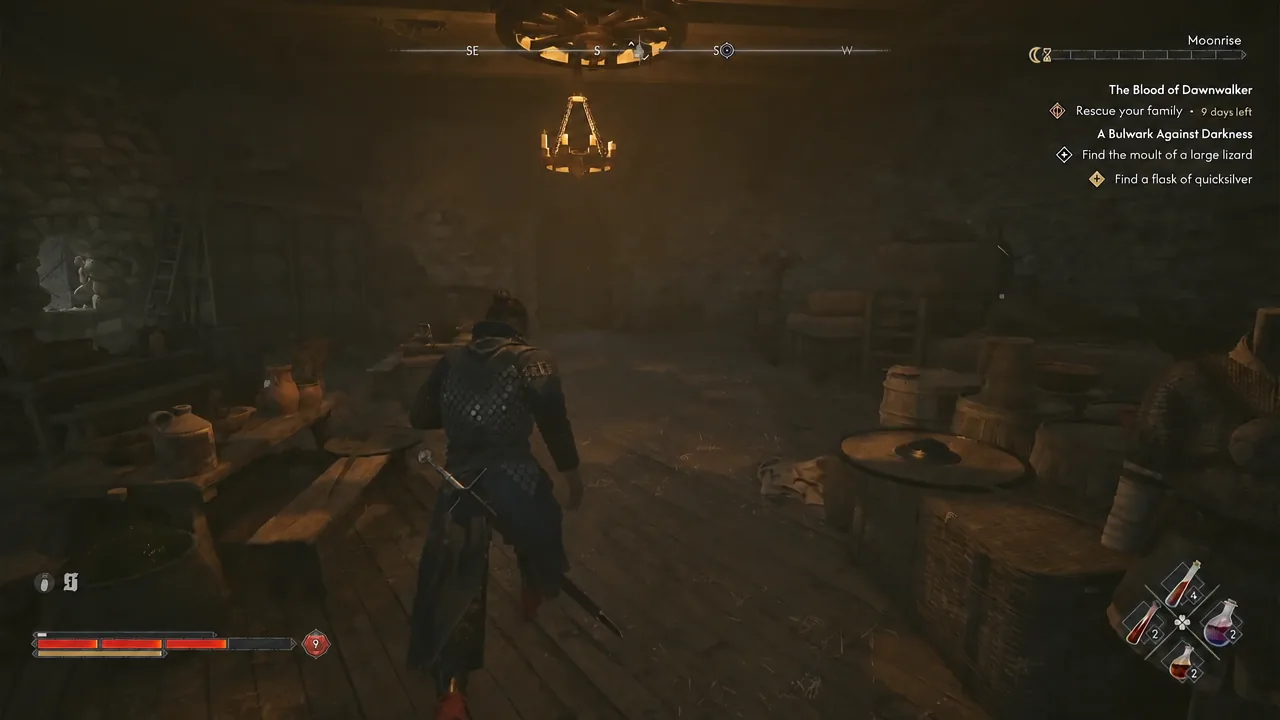
Once you break out of that loop and the tower’s enemies are dealt with, you can move through the building freely. Climb to Aurelius’s experiment room on the very top level and use Focus Mode to pick out the Flask of Quicksilver sitting on the edge of the desk. It is small and easy to walk past without the highlight.
Relic of a Saint: which relic to hand over
The quest asks for a relic, not one specific item, and there is a good chance you already have a valid one buried in your inventory. You only need to give up a single relic, so choose the one you will never use elsewhere.
| Relic | How to obtain it |
|---|---|
| Saint’s Tibia | Loot the corpse under a ladder at the westernmost part of St. Tyna’s Convent, reachable during Echoes of Silenced Bells |
| Relic of St. Tyna | Also found at St. Tyna’s Convent during Echoes of Silenced Bells |
| Relic of St. Dasius | On the second level of Xanthe’s Manor during The Cycle of Love, or bought from Vicho after A Study in Crimson |
| Relic from The Night of Horrors | Picked up while working through The Night of Horrors with Lacra |
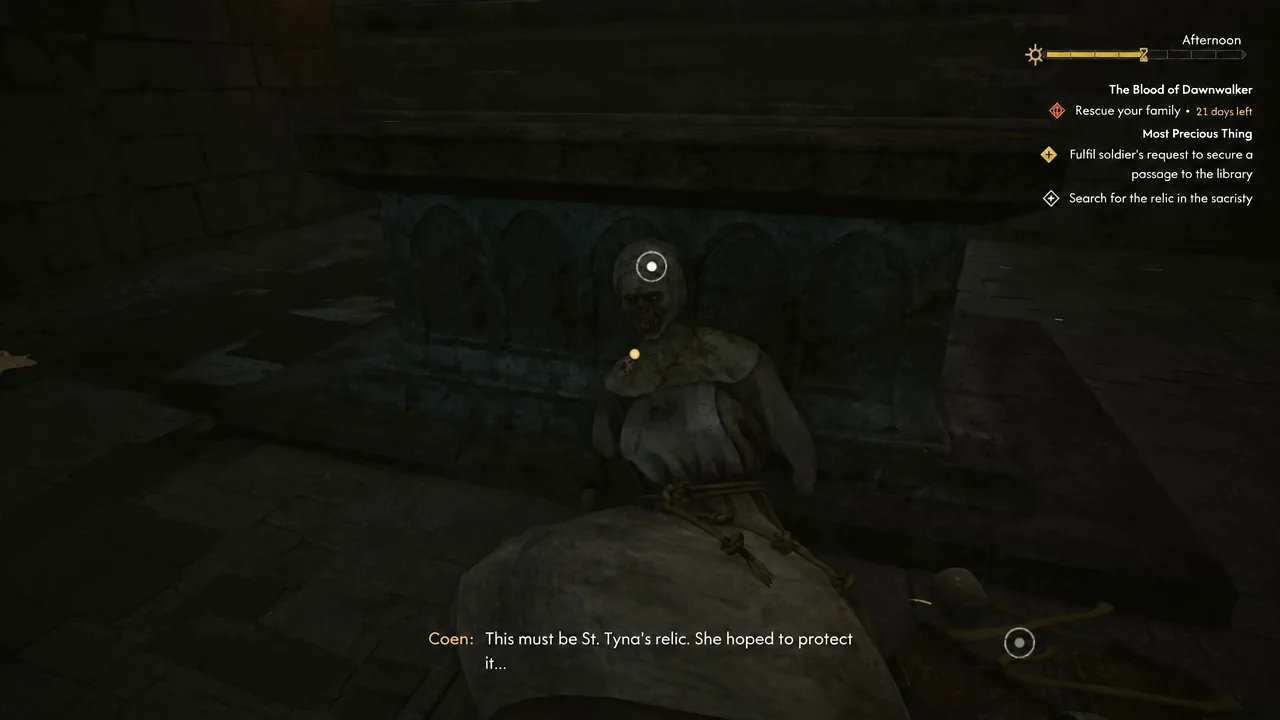
Hand over the Saint’s Tibia if you have it. It cannot be sold and serves no other purpose, while the Relic of St. Tyna doubles as usable equipment and the Relic of St. Dasius has value elsewhere. The convent corpse is easy to walk past during Echoes of Silenced Bells, so detour to the ladder before you finish that quest.
Bundle of Silk Threads: the free route and the 6,000 denarii route
Both routes run through the Sanzhani questline, but only one of them costs you a fortune. The cheap option is Come Hither, a quest marked south of Svartrau City. Fight your way into the burrow, kill the Murohn, and the Bundle of Silk Threads is lying on the floor of its lair for free.
The alternative is finishing Good Home and then Pearly and Precious, which unlocks the Sanzhani Tsarina’s shop inside her burrow. She stocks the Bundle of Silk Threads, but it runs to roughly 6,000 denarii, and the merchant refuses to buy anything from you, so you cannot offload junk to fund the purchase on the spot. Bring the money with you or take the Murohn fight instead.
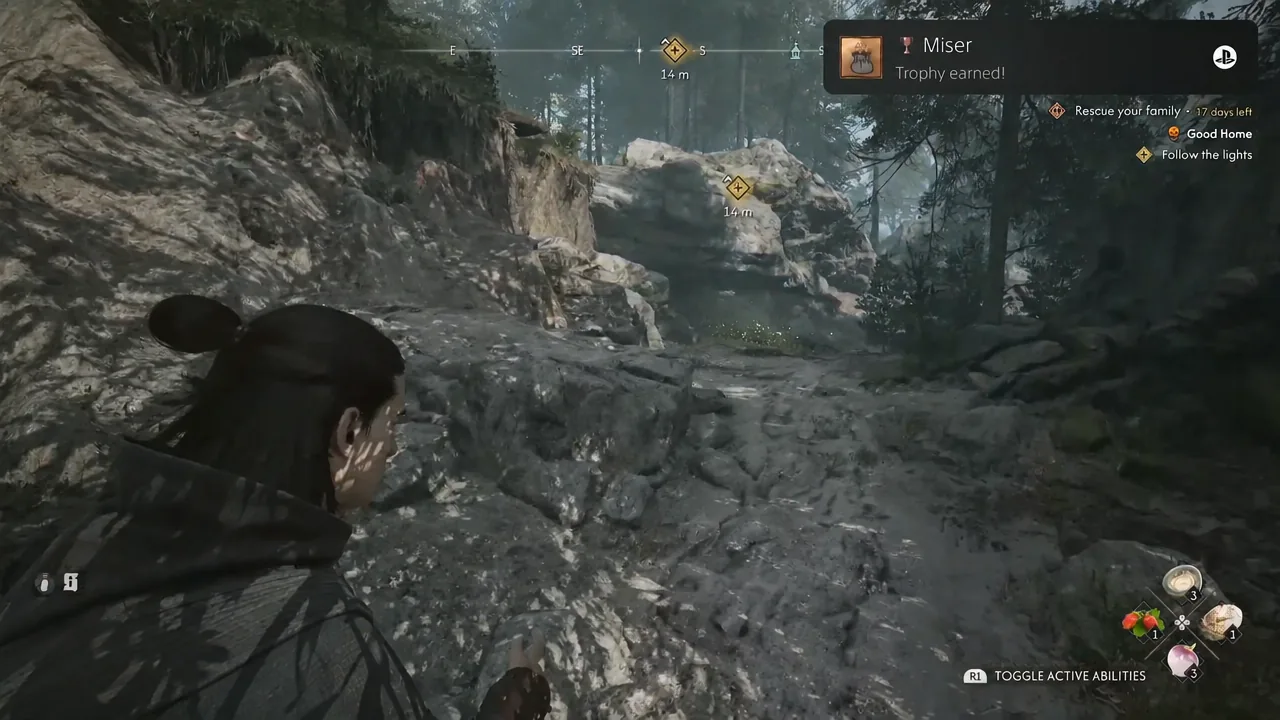
Forge the Arbiter Armor at the Uriashi Hermitage
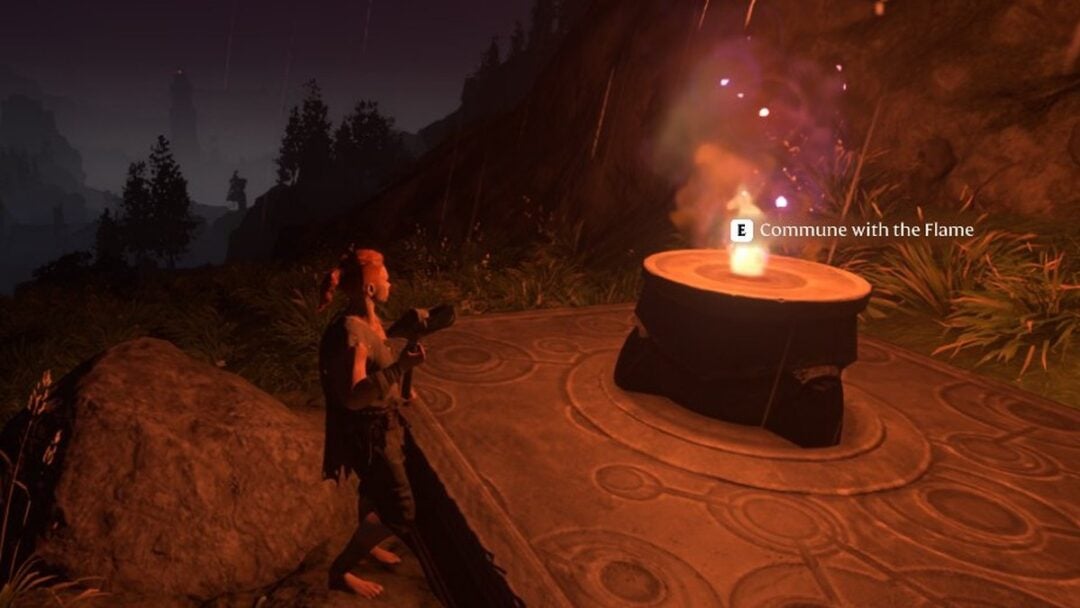
The blacksmith, Nareh, lives in the northwest of the map at the Uriashi Hermitage, and there is a shrine right there for fast travel. If you have already run Forge it Anew for St. Mihai’s Silver Sword, you have met her.
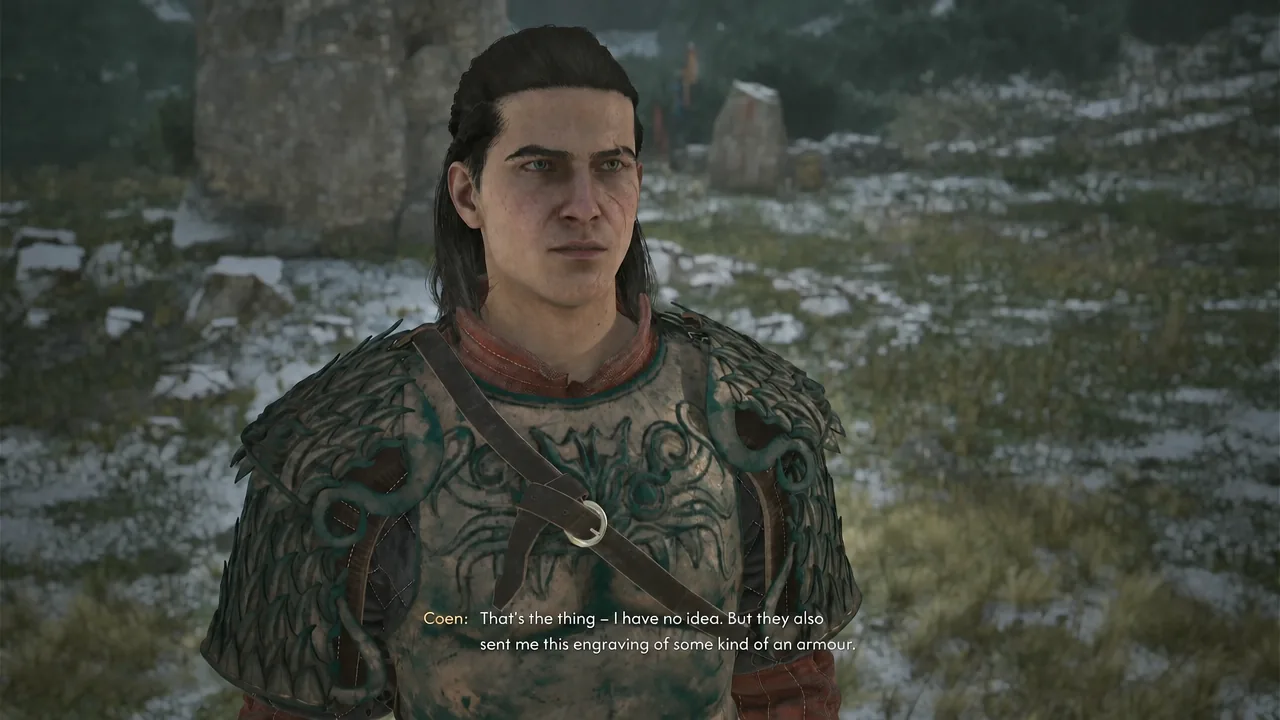
The binding ritual fight: wolves and the Ursine Apparition
While Nareh plays and works the binding, red boundary lines mark out the arena and spectral enemies come at you in waves. Packs of ghostly wolves arrive first, and a large bear called the Ursine Apparition follows as the closer. It hits hard and moves aggressively, so bring healing supplies and a weapon you are comfortable with, since the Arbiter pieces are out of your hands for the duration.
Kill everything the ritual summons and the binding completes on its own. There is no timer to manage and no objective beyond surviving inside the marked area.
Rewards and how to confirm the quest is complete
When the ritual ends, Nareh returns the set at legendary tier and the quest closes out. You should see all four pieces in your inventory with the enhanced naming, plus the Arbiter’s Regalia trophy and achievement popping.
- Enhanced Armour of the Arbiter
- Enhanced Shin Guards of the Arbiter
- Enhanced Boots of the Arbiter
- Enhanced Bracers of the Arbiter
If the pieces still read as epic, the ritual step has not been done, and you need to speak to Nareh again to hand the set back. If the letter never arrived, your Infamy is below level 4 or you have not been near the Altenmarkt streets long enough for the smuggler to find you.
Keep the set upgraded to your player level at any blacksmith and it stays the strongest armor available for the rest of the run, which matters most once Brencis is the one on the other end of the fight.