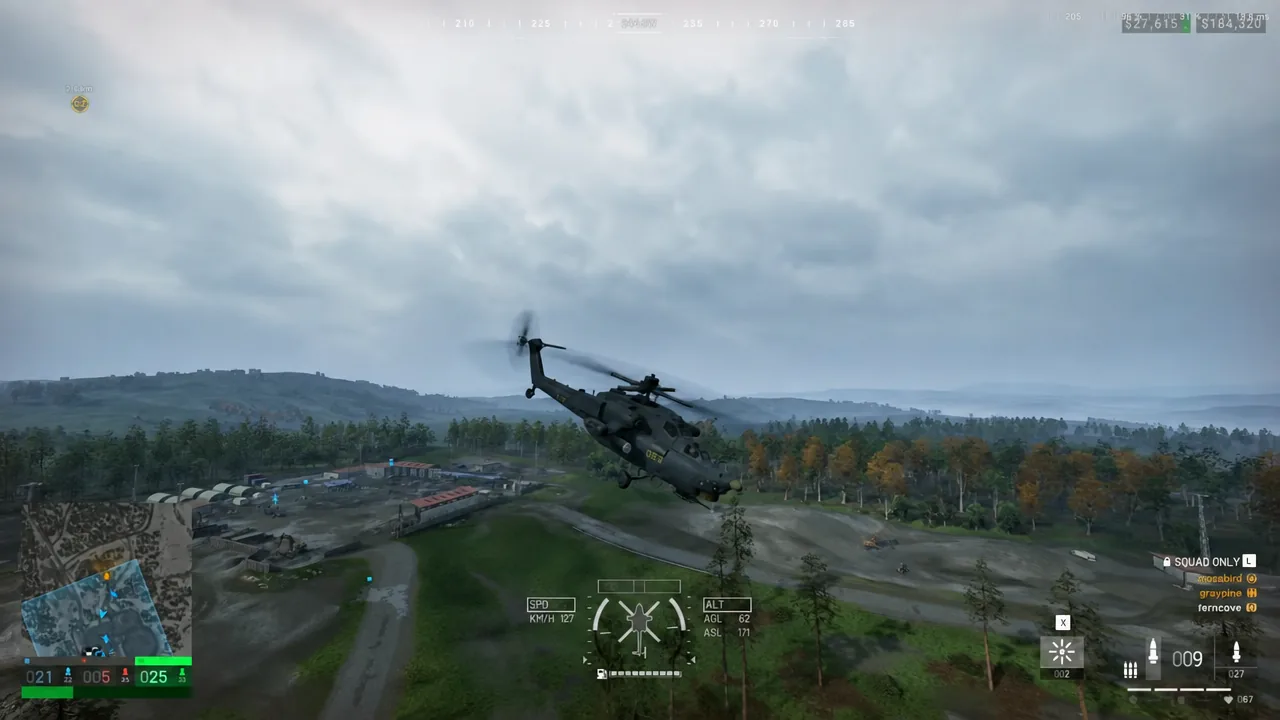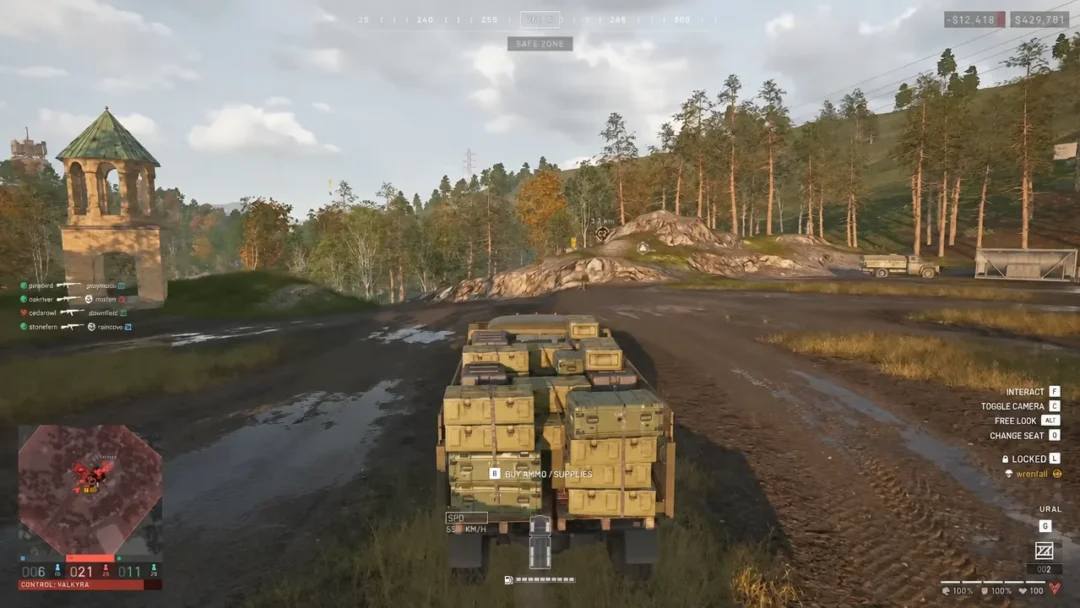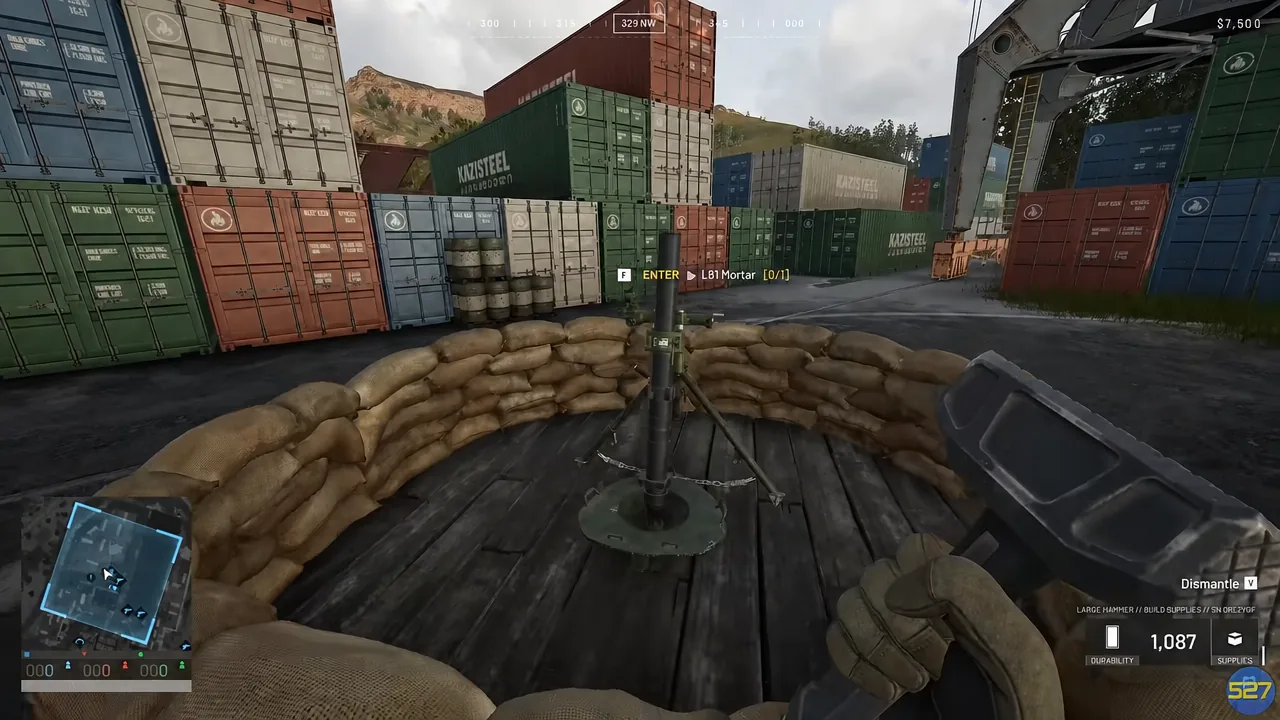
WARDOGS drops 100 players into a 16x16km map, splits them into three mercenary factions, and asks them to fight over one moving objective. It sits somewhere between a mil-sim and an arcade shooter, and the systems that decide whether you end a match richer or broke are mostly invisible on your first drop. Team17 put the game into Early Access on September 10th, 2026, so most lobbies are still full of people learning the same lessons the expensive way.
Quick answer: Buy a cheap kit, grab the free Emergency Resuscitator and a pair of binoculars, and fight inside the Hot Zone — bodies there count double for scoring and earn double cash, spotted kill assists pay $1,600, and reviving a teammate costs you nothing.
How WARDOGS scoring works: Control Zone, Hot Zone, and Towers
Kills do not win matches. Bodies inside the objective do. Whichever faction has the most players standing in the active Control Zone takes the tick, and the first team to 100 points ends the game. Matches regularly run over an hour, so a single ill-timed wipe rarely decides anything — being present when the bar fills does.
| Element | How it behaves |
|---|---|
| Control Zone | A randomized 2x2km area. The faction with the most players inside holds it and scores. |
| Point tick | The holding team earns one point roughly every 30 seconds. First to 100 wins. |
| Hot Zone | A smaller circle that constantly moves inside the Control Zone. Every player in it counts as two, and earns double cash. |
| Towers | Three to five capture points inside the Control Zone. Each one you take through its terminal hands over one digit of a code. |
| Tower code | Enter the completed code at a terminal to drag the Hot Zone toward a Tower your team already holds. |
The practical takeaway is that a cheap, barely-armed player standing in the Hot Zone is worth exactly as much to the scoreboard as someone in a $9,000 kit. If your team is losing ticks by two or three players, the fix is usually more warm bodies, not better guns.
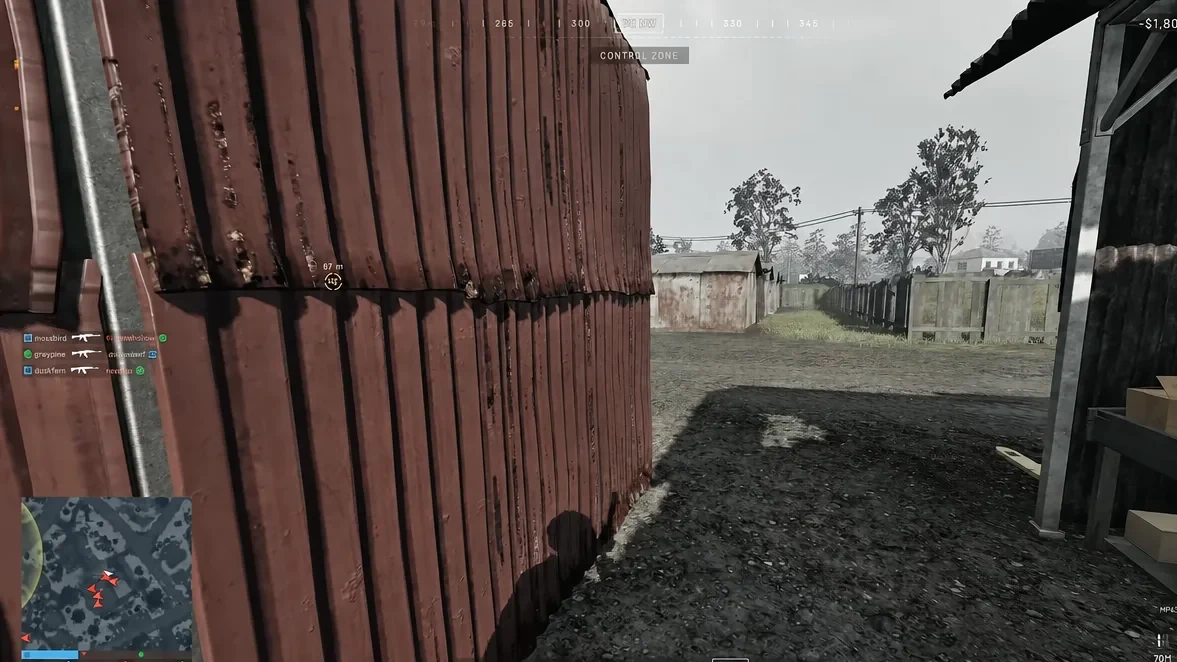
If you pick up a code digit, type it in chat immediately. A shorthand like “XX1” tells the rest of the faction which slot is already solved and stops four squads from re-hacking the same Tower.
WARDOGS cash: what pays, what costs, and the discount that expires
You start with $10,000, and your balance carries over between matches. Dying means losing whatever you were carrying, which is why the economy punishes expensive kits far more than it punishes bad aim. Below level 9, the New Recruit Discount cuts gear prices by 50 percent at the vendor — that window is the cheapest time you will ever have to experiment with weapons, optics, and armor tiers.
| Action | Reward or cost |
|---|---|
| Spotted kill assist (binoculars) | +$1,600 and 150 Recon XP |
| Spotted vehicle destroyed | +$2,000 |
| Healing a wounded teammate | +$900 and +$400 bonuses, plus 80 XP |
| Helicopter drop-off at a useful location | +$500 Tactical Deployment per passenger |
| Emergency Resuscitator | $0 at the Equipment Vendor |
| Parachute | Around $100 |
| Anything done inside the Hot Zone | Double cash |
| Killing your own passengers in a crash | −$1,500 per passenger |
Nothing on that list requires you to win a gunfight. Binoculars alone can bankroll several lives per match, because you get paid when a teammate kills a target you tagged. Healing others pays noticeably better than bandaging yourself, and reviving a downed player saves them the entire cost of a replacement loadout.
Tip: The vendor has a REBUY LAST LOADOUT button in the bottom-left corner with the total cost printed on it. It rebuilds your kit down to the ammo and vest in one click, which matters when the HQ is a long trip from the objective.
Loadout rules: ammo types, magazines, and weight
Loaded magazines eat backpack space fast. Carry one in the gun, two or three spares, and then top up your reserve with loose ammo boxes instead of more mags. Pressing C in the inventory combines loose rounds back into empty or partially filled magazines, so you can refill in cover rather than hauling a brick of half-used mags.
Ammunition comes in three flavors and picking the wrong one wastes an entire fight. FMJ is the balanced default. HP shreds unarmored targets but falls apart against plates. AP gives up flesh damage for penetration against armor and vehicles. AP is not the strictly better option it sounds like — against lightly protected infantry, FMJ usually kills faster. A related trick from the firing range: flesh-damage rounds aimed at legs bypass heavy torso armor entirely.
Weight is the other silent tax. Every item you stuff into empty slots slows your movement, stamina regeneration, jump, lean, weapon sway, and aim speed. Staying in the light or medium range is the safer default for infantry. Body armor and a helmet are still worth buying every life; a backpack you cannot run with is not.
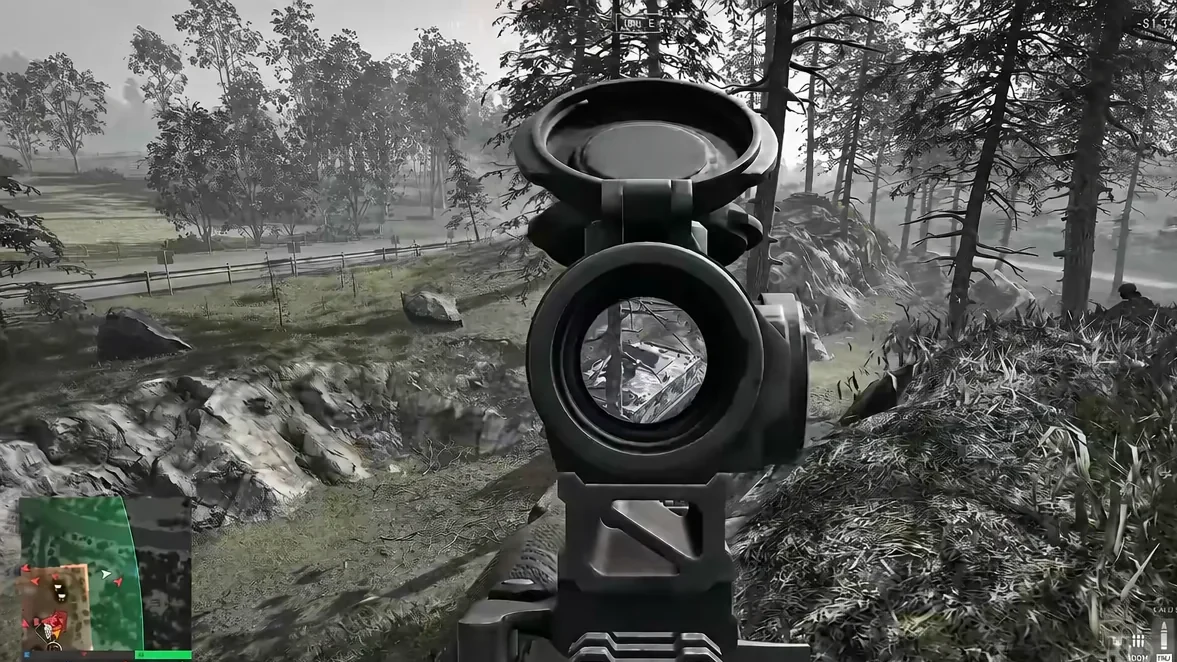
Holding your breath while aiming steadies sway on assault rifles, not just sniper rifles, which is easy to miss if you only ever tried it through a scope. Reposition after a kill from any elevated spot — and if you want to disappear entirely, the Ghillie Body Suit and Headwear remove death cams and hide you from infrared optics.
Keybinds and interface settings worth changing early
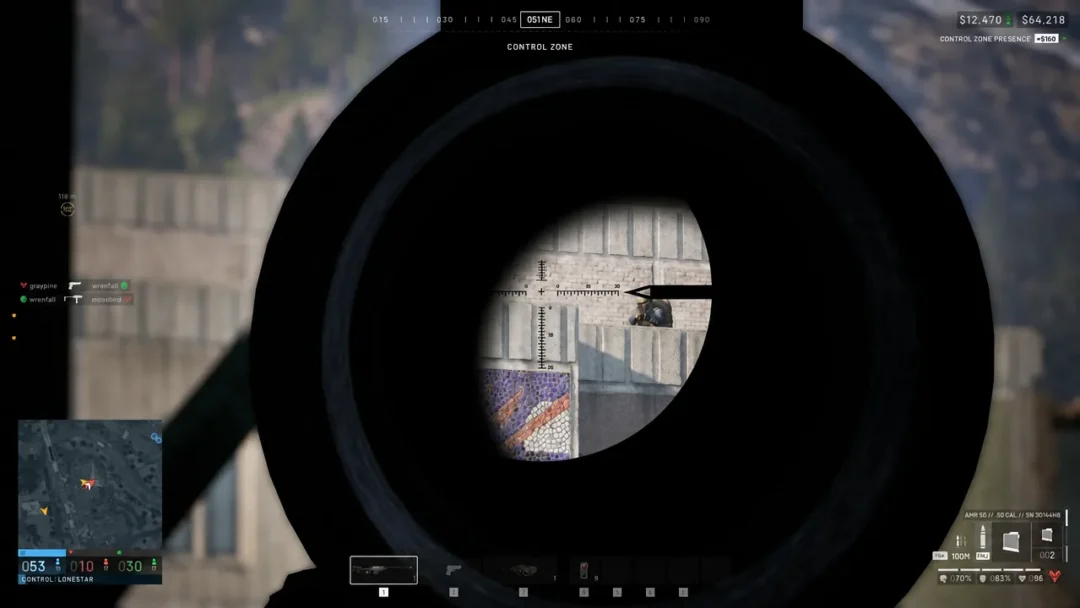
Several of the most useful inputs are never explained in a tooltip. Zeroing is the big one — every optic defaults to roughly 100m, and shooting at 400m without adjusting means aiming somewhere above the target and guessing.
| Input | Effect |
|---|---|
| Page Up / Page Down | Adjusts zeroing in 100m steps, from 100m up to 1000m depending on the optic |
C (inventory) | Combines loose ammo into magazines |
C (mortar or artillery) | Exits the projectile camera so you can fire again immediately |
C (ground vehicle) | Toggles between third-person and first-person cockpit view |
R (mortar or artillery) | Reloads the next shell without waiting for impact |
[ and ] | Zooms the minimap in and out |
| Double-tap Shift | Tactical sprint |
| Right-click on loot | Auto-equips or transfers the item instead of dragging it |
| Escape → Create / Join | Sets up a squad with its own private voice channel |
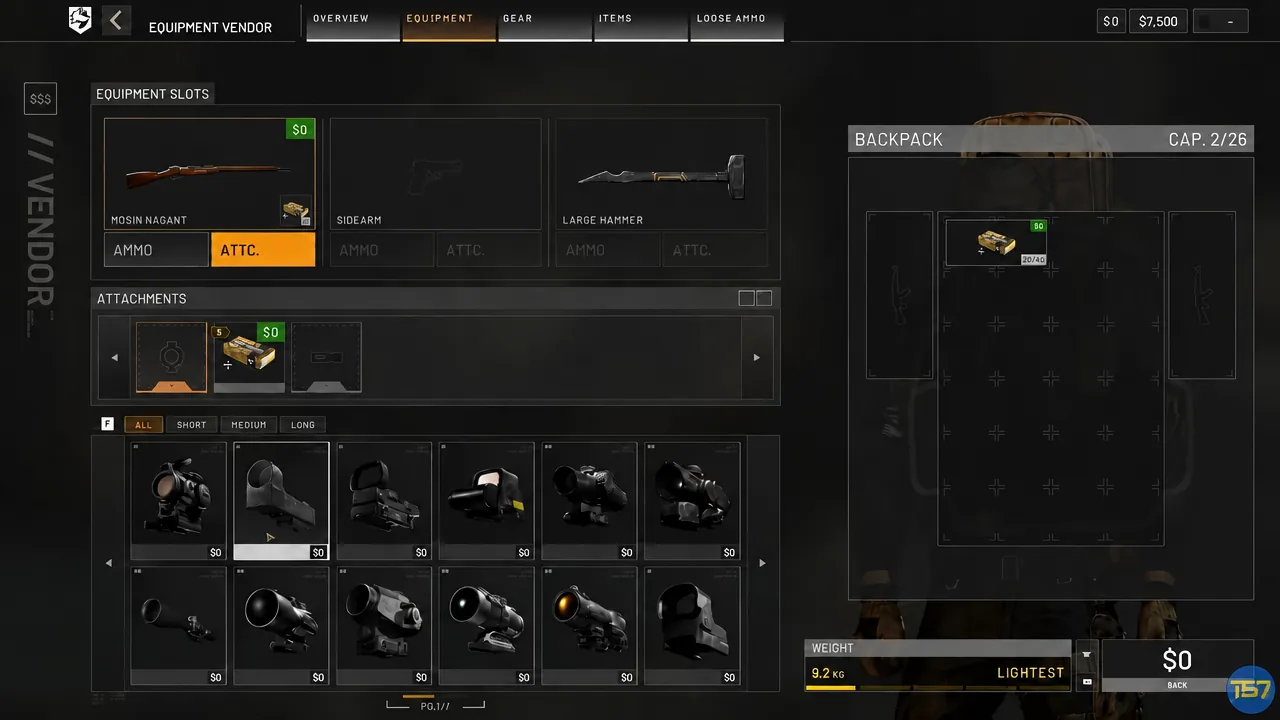
Optic choice affects how far you can dial. Check the ranging capability listed on each scope at the Equipment Vendor before you buy, since a 1.5x sight and a 6-10x MOA scope are not solving the same problem.
In the settings menu under Interface, SYNC MAP ZOOM keeps the minimap and the full tactical map at matching zoom levels, so glancing down after checking the map doesn’t force you to re-orient. The zoom keys themselves can be rebound under Controls.
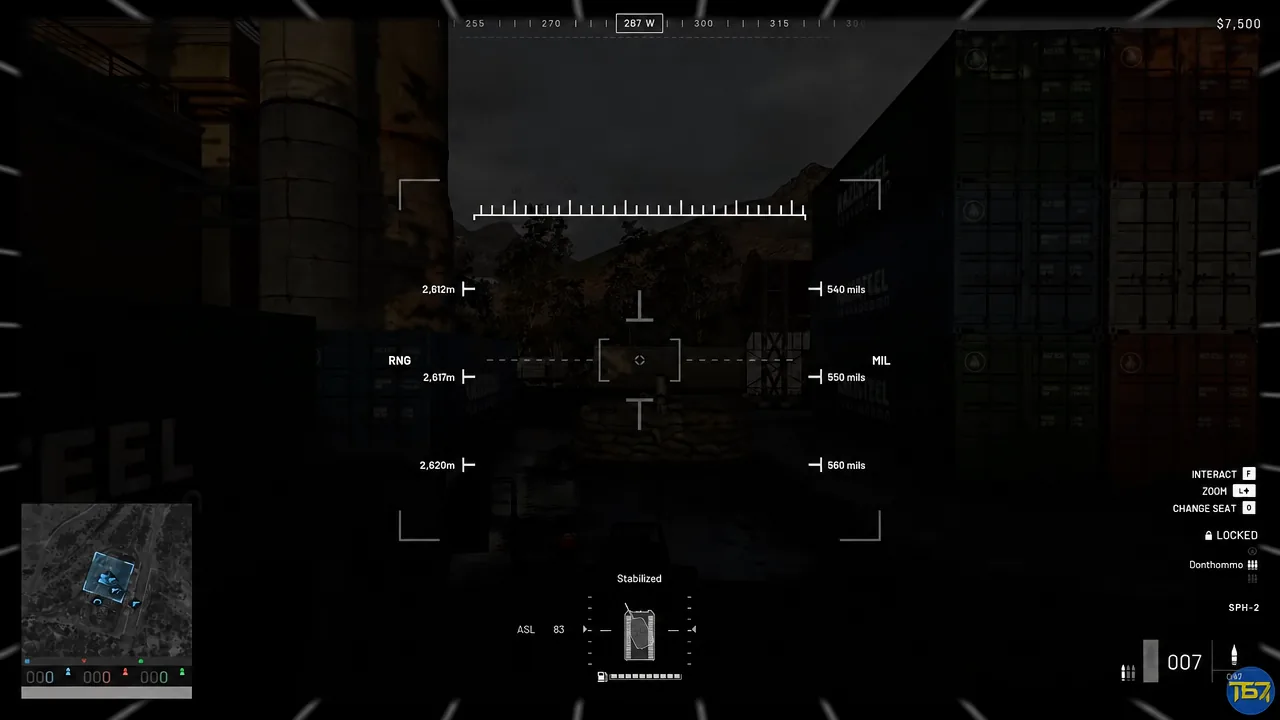
The rapid-fire trick applies to both mortars and the SPH-2 artillery vehicle. Fire, hit R to load the next shell, then C to drop out of the projectile cam. You never watch the impact, but you put three or four shells on target in the time most players send one.
Vehicles, spawn points, and the parachute rule
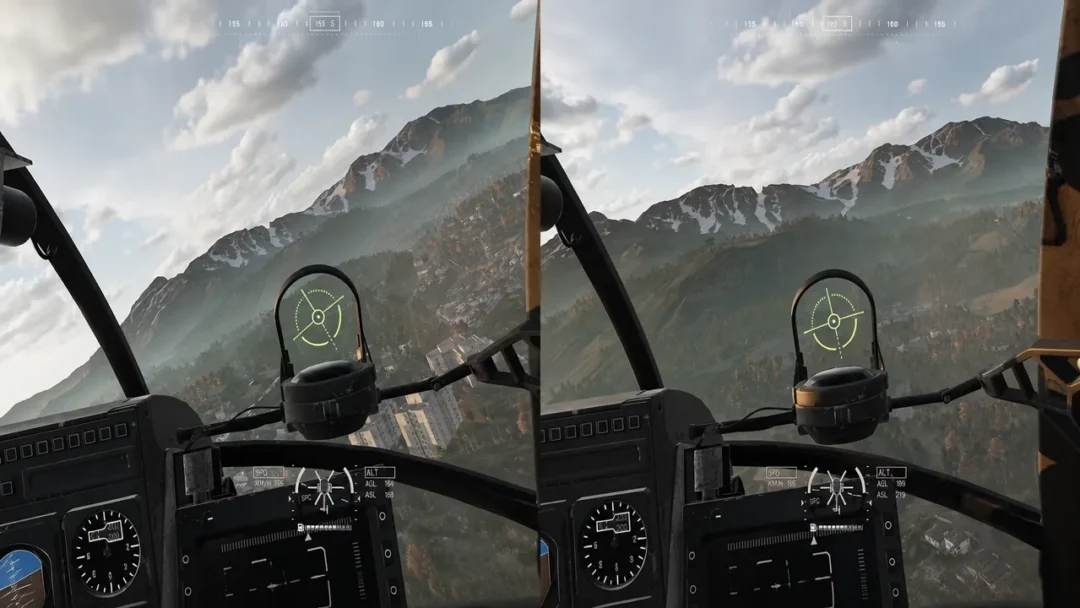
Buy a parachute every single time you plan to touch a helicopter. It is one of the cheapest items in the game and it is the only thing standing between a pilot’s mistake and the total loss of your kit. Parachutes also work for dropping off high ground, so the purchase rarely goes to waste.
If you want to be the pilot, practice at the range first. Crashing with a full cabin charges you $1,500 per passenger you kill, which turns one bad landing into a five-figure loss. Fly it well and the math flips — a full transport run pays enough Tactical Deployment bonuses to cover the aircraft, and passengers can tip you on top of that. Free vehicles, including a Huey and a pickup, spawn at the main base a few minutes into a match if you would rather not spend anything.
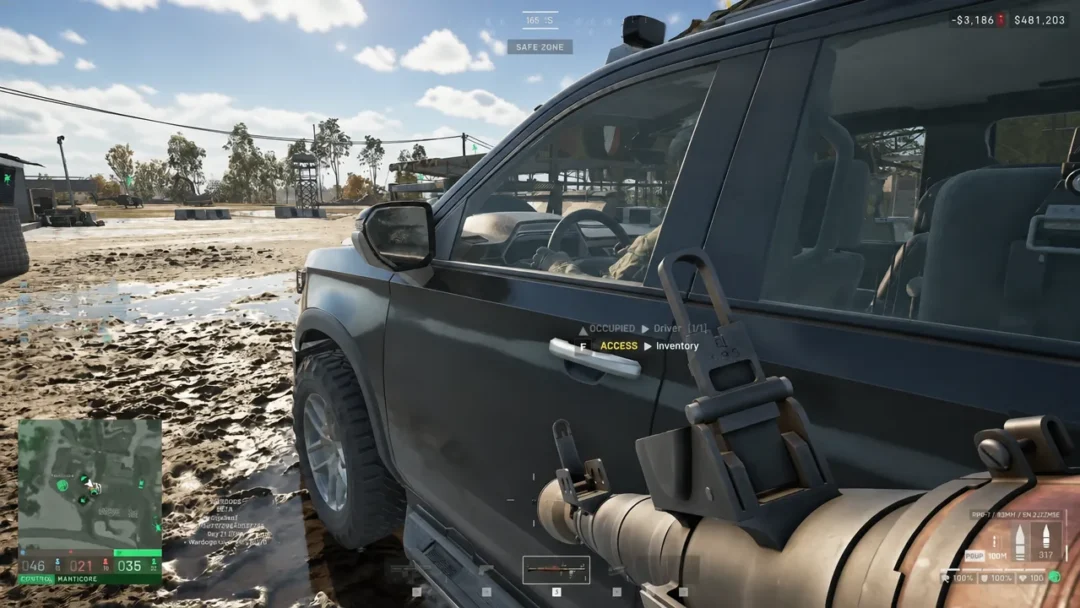
The M113 APC is the highest-value ground vehicle for a new player. Driving one into the Control Zone pays out immediately, and deploying it there creates a forward spawn that saves your whole faction the trip from HQ. It has one obvious weakness: the antenna on the roof. Destroy the antenna on an enemy spawn vehicle and nobody can spawn on it until it is repaired — and expect the same to happen to yours.
When your own spawn vehicle gets camped, you have two immediate outs. Press 0 to jump straight to the driver seat and relocate, or press V to pop smoke and buy the people spawning behind you a few seconds of cover.
Ground vehicles are not maintenance-free. They run out of fuel, lose tires, and take engine damage, so carry a repair tool and a fuel can on long trips. Against enemy armor, aim for weak points rather than emptying rounds into the thickest plating; against light vehicles, tires and engines are the fastest way to end the chase.
FOBs, doors, and building faster
Before you spend money on a supply run, open the tactical map, zoom into the highlighted square, and hover over the base icon to pull up the FOB SUPPLIES panel. It shows which supply types that base is actually short on, so you don’t haul in a crate of something it already has. Crates that have been dropped but not yet unloaded won’t show up in that readout.
Building is faster if you cancel the recovery animation. With the hammer, release the strike button at the moment the head connects with the structure rather than holding it down. The next swing starts sooner, and over a full barricade the difference is significant.
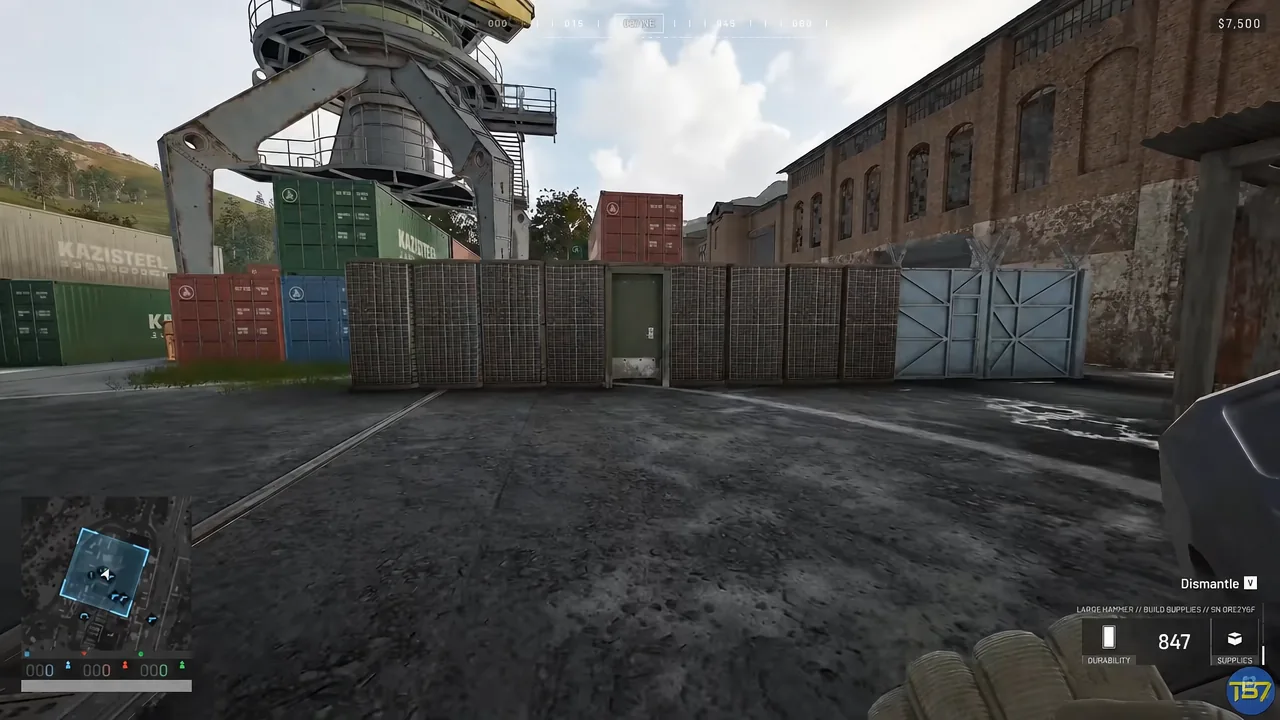
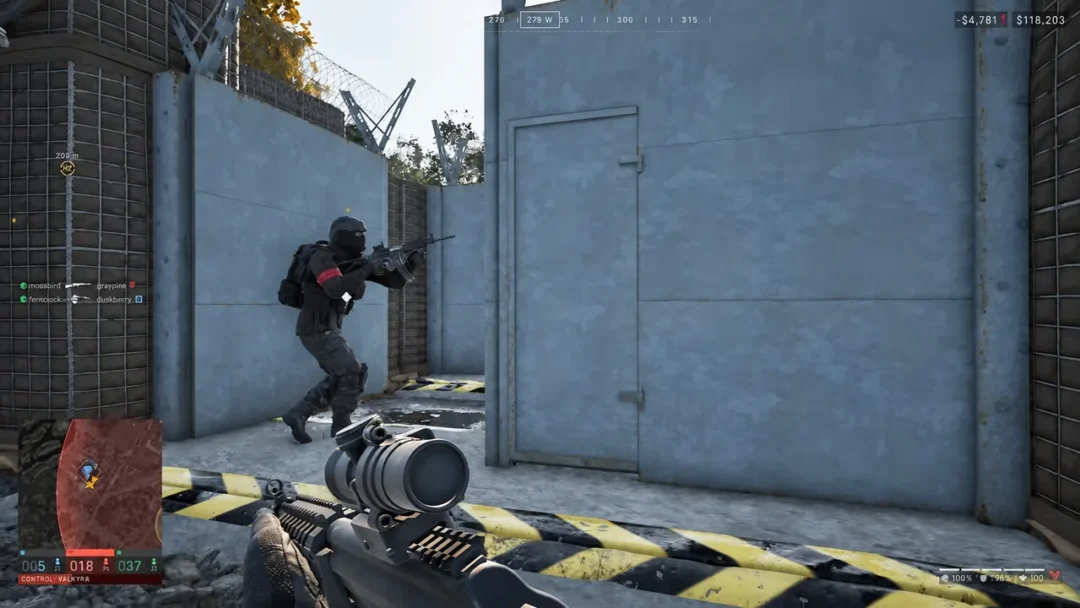
Close doors behind you. Standard pedestrian doors swing shut on their own after about 30 seconds, but large vehicle gates stay open until somebody manually closes them, and an open gate is an invitation. Enemy fortifications can be taken rather than destroyed — interacting with an enemy structure starts a roughly 30-second hack that hands the buildable to your faction.
Placement matters more than volume. A FOB parked next to the most obvious objective becomes a mortar magnet. Building a few smaller, purpose-built positions — one covering a route, one providing anti-air, one supporting the Hot Zone — tends to survive longer than one large base everyone can see.
Small mechanics that decide fights
Downed enemy bodies can be grabbed and dragged. Pull one into a spot their teammates can’t reach and the revive never happens; leave one somewhere exposed and it becomes bait. On the other side of that, a downed player whose model has turned into a stationary black backpack has given up and can no longer be revived, so don’t waste a trip crossing open ground for them.
Always carry the Emergency Resuscitator, since it costs nothing and cuts a revive down to about four or five seconds. If you’re out, you can loot one off a downed player’s body and use it on them immediately.
Two more worth knowing: white M18 smoke conceals movement while yellow signal smoke calls in a supply ping, and firing an RPG from a helicopter passenger seat produces backblast that kills the people sitting next to you. Attachments are also more portable than they look — many optics and handguards fit across multiple rifle and SMG platforms, so a good sight follows you between guns.
The through-line in all of it is that WARDOGS pays you for being useful, not for being lethal. Spot targets, heal people, fly a clean route, drop a spawn vehicle where the faction needs one, and keep your kit cheap enough that dying is an inconvenience instead of a setback. The players who end matches with more money than they started are almost never the ones at the top of the kill feed.