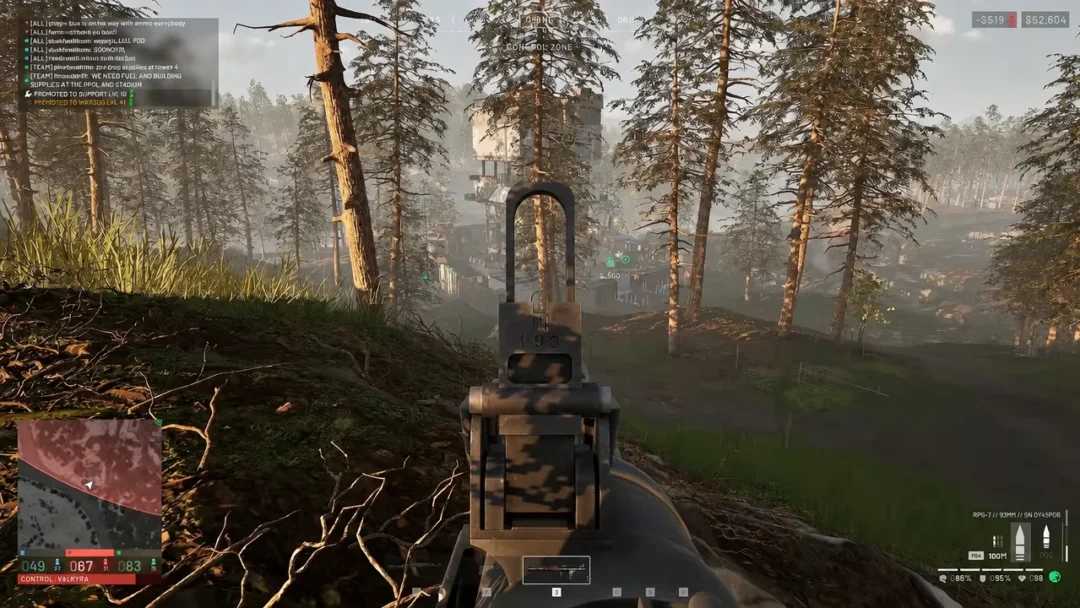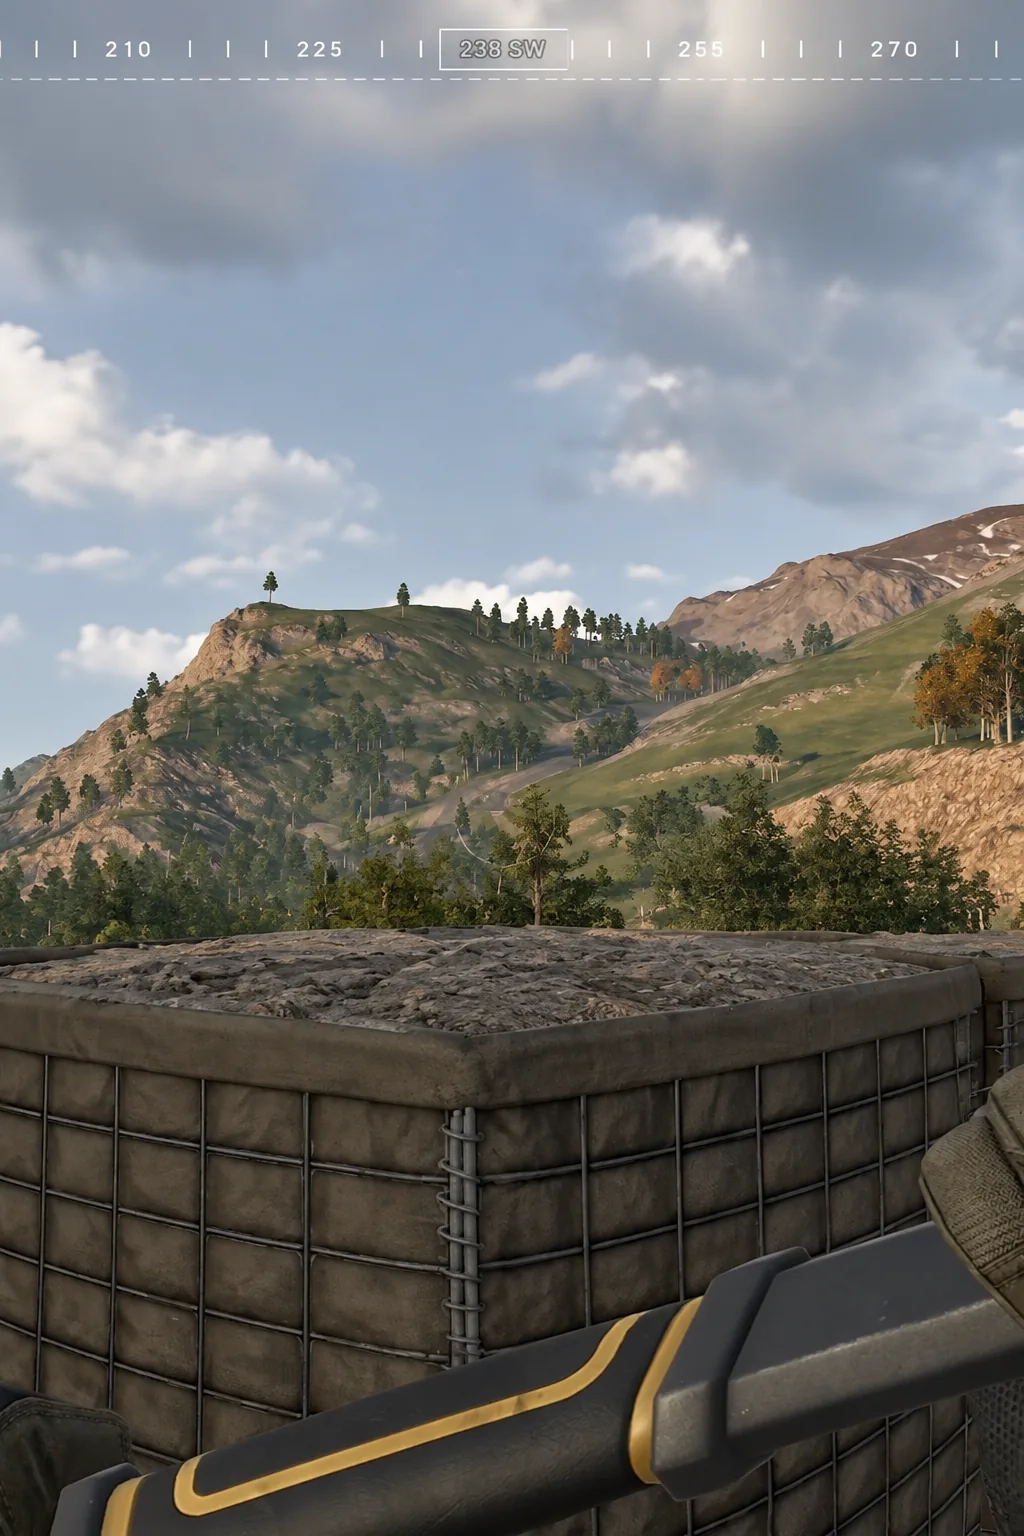
The Oil Rig is the single most valuable thing a builder can put inside a forward operating base in WARDOGS. It doesn’t shoot, spot, or heal. It drags the Hot Zone across the map to wherever your team has dug in, which turns a well-defended FOB into the center of the match instead of a side project.
Quick answer: Place a FOB, bring a Large Hammer, build the Oil Rig (also called the drill or Drill Rig) inside the FOB’s build radius using roughly 2,000 Build Supplies, load the FOB with Fuel Supplies, then activate the rig once its cooldown reads ready — the Hot Zone moves to you, and more fuel keeps it there longer.
What the Oil Rig actually does in WARDOGS
Think of it as a Hot Zone magnet. The rig is not artillery, it has no weapon, and it produces nothing you can spend. Its only job is to pull the objective circle onto your FOB and hold it there for a stretch of time proportional to the fuel you fed it.
A base can run more than one rig, and those rigs do not share a cooldown with each other. That matters late in a match, because a second drill inside the same perimeter gives you a fresh pull while the first one is still recovering — assuming your logistics can keep both tanks full.
One hard limit applies regardless of how much fuel you stockpile: if another team is mid-pull, your rig can’t take the zone. You wait, then activate.
Oil Rig requirements: hammer tier, supplies, and fuel
Every prerequisite has to be satisfied before the rig even appears as a placeable option in your build menu. The Medium Hammer that comes bundled inside a freshly placed FOB will not do it.
| Requirement | Detail |
|---|---|
| FOB | Vendor item, $2,500, fits a 2×3 slot. Placed by clicking it in your inventory — no hammer needed. The rig must sit inside the team-colored square on the minimap. |
| Hammer | Large Hammer, the third tier. Unlocks at Support level 7 and also covers mortars, CWIZ, manpad AA, drone stations, repair and refuel stations, concrete walls, and bunkers. |
| Build Supplies | Around 2,000 for the structure itself, plus whatever the surrounding walls cost. A FOB stores up to 20,000 of each supply type. |
| Fuel Supplies | A minimum load in the low thousands to trigger a pull, scaling up to roughly 6,000–8,000 for the longest Hot Zone duration. Reported minimums vary between builds, so read the rig’s own prompt. |
| Cooldown | Roughly 10–20 minutes after construction and after each pull. Blocked entirely while a rival team is pulling the zone. |
Note: Fuel Supplies are the same resource that refuels tanks. If your armor crews are draining the FOB, your drill is competing with them for the same pool.
Building the drill inside a FOB
F next to one dumps the whole load into the FOB.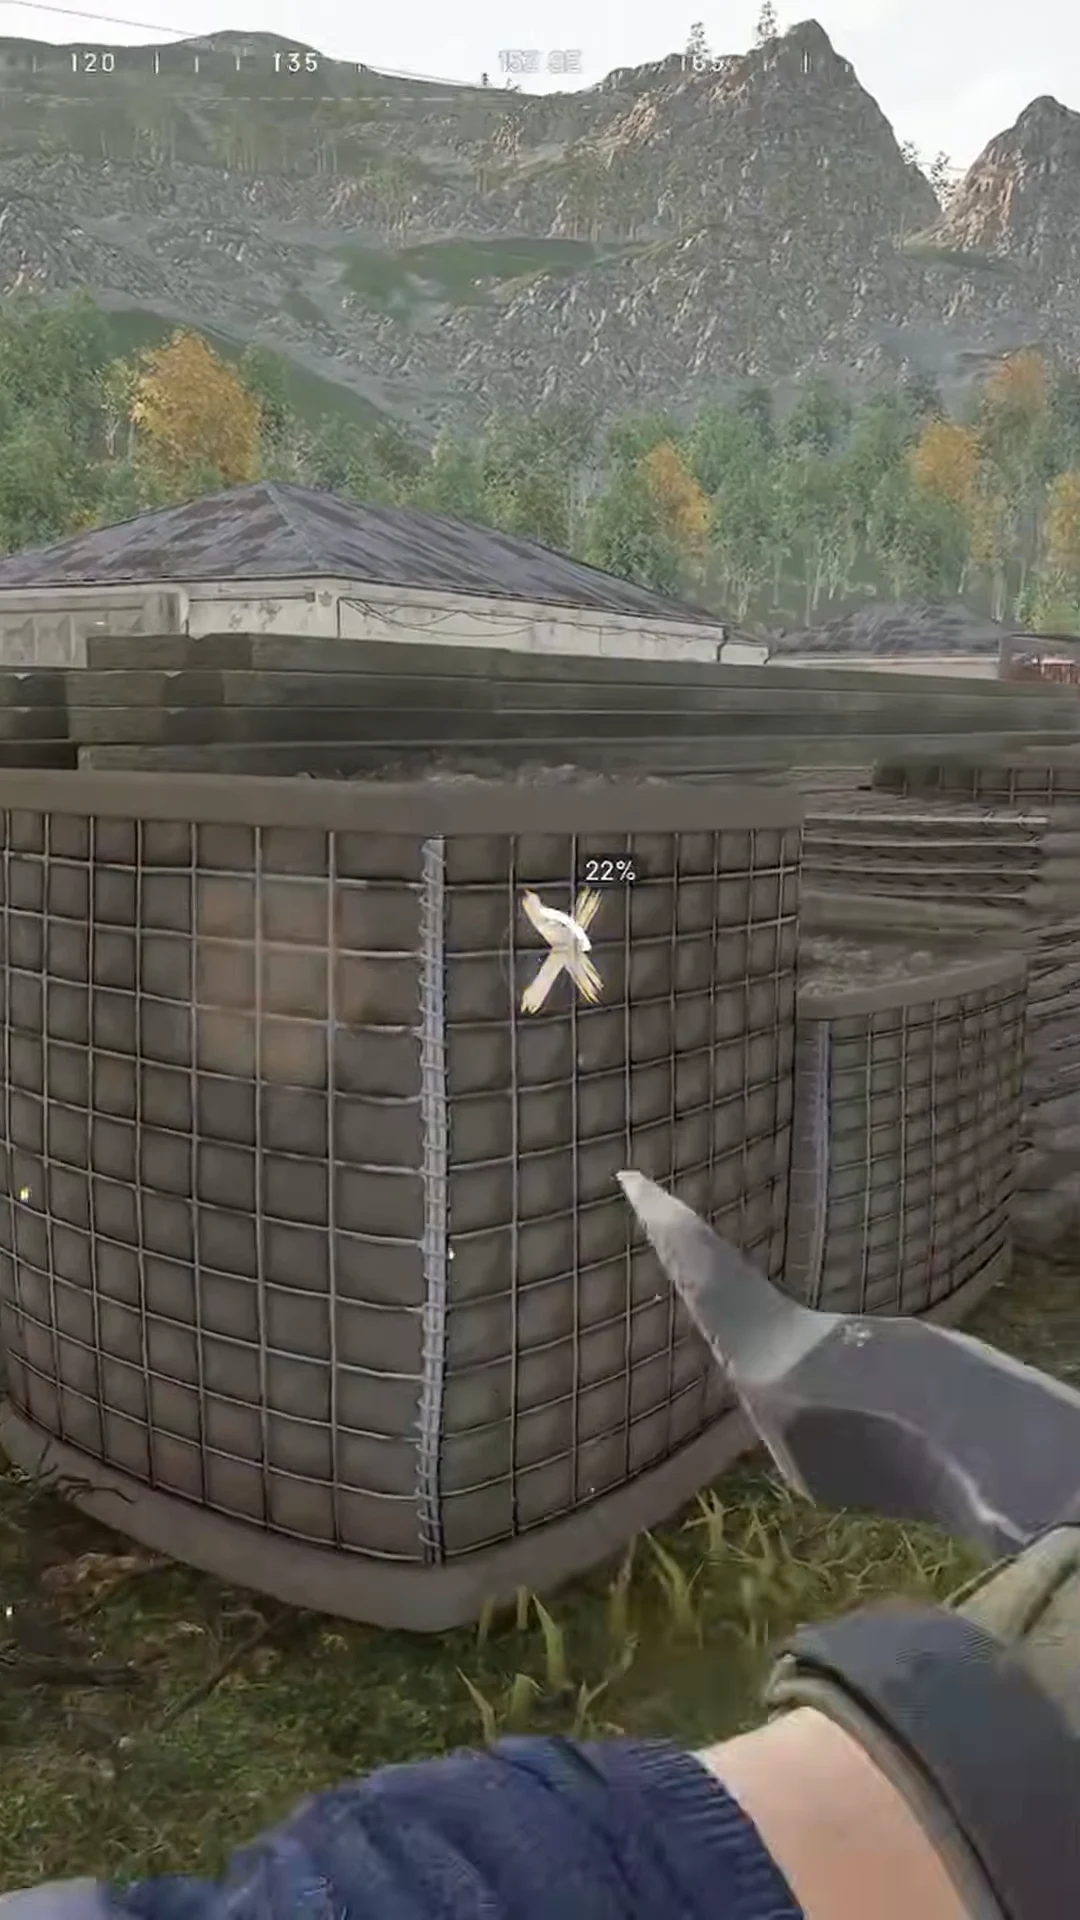
Activating the pull and confirming it worked
Once the rig is finished and fuel is in the FOB, interact with it and commit fuel to the activation. The amount you spend sets how long the Hot Zone parks on you, so a minimum-fuel pull is a short window and a maxed-out load buys real holding time. Don’t burn the pull the moment it becomes available if your squad is still scattered across the map.
Verification is simple: open the map. If it worked, the Hot Zone marker slides toward your FOB and settles there, and the rig switches into a cooldown state. If nothing on the map moves, the activation didn’t take.
Why the rig won’t build or activate
- Not in the menu: you’re holding a Small or Medium Hammer, or you haven’t reached Support level 7 for the Large Hammer.
- Placement blocked: you’re outside the team-colored FOB square on the minimap, or the ground is too uneven or obstructed for the preview to turn valid.
- Construction stalls: the FOB ran dry of Build Supplies mid-build. The rig is expensive, and repairing damaged walls eats from the same pool.
- No fuel showing: the pallet or crate was dropped near the base but never transferred in. Crates require someone to buy the contents and carry them into the FOB by backpack.
- Activation greyed out: the cooldown hasn’t finished, or another team is currently pulling the Hot Zone.
Defending a FOB once the Hot Zone lands on it
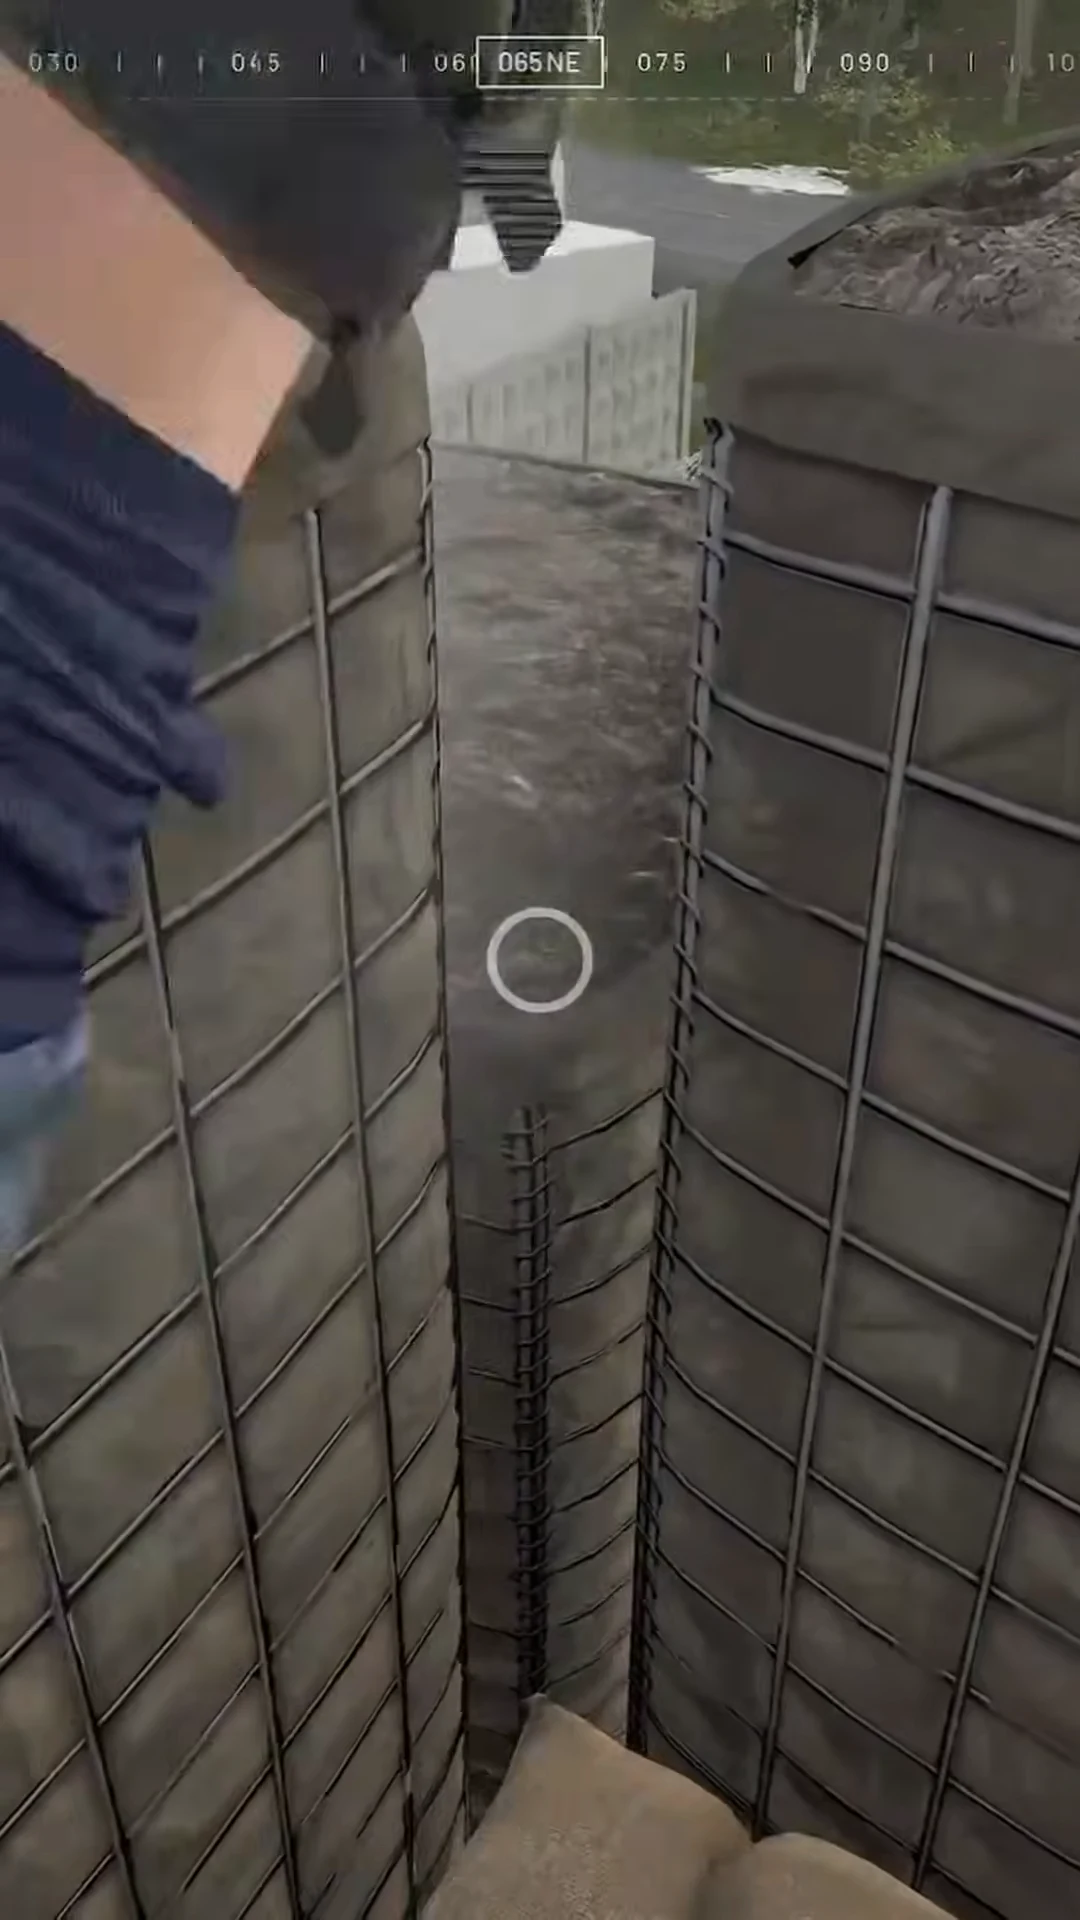
Pulling the objective onto your base means telling the entire server where your most expensive structure is. Build the perimeter before you activate, not after. Layered walls with scaffolding and ladders between them let defenders shoot down into attackers and reposition without going outside.
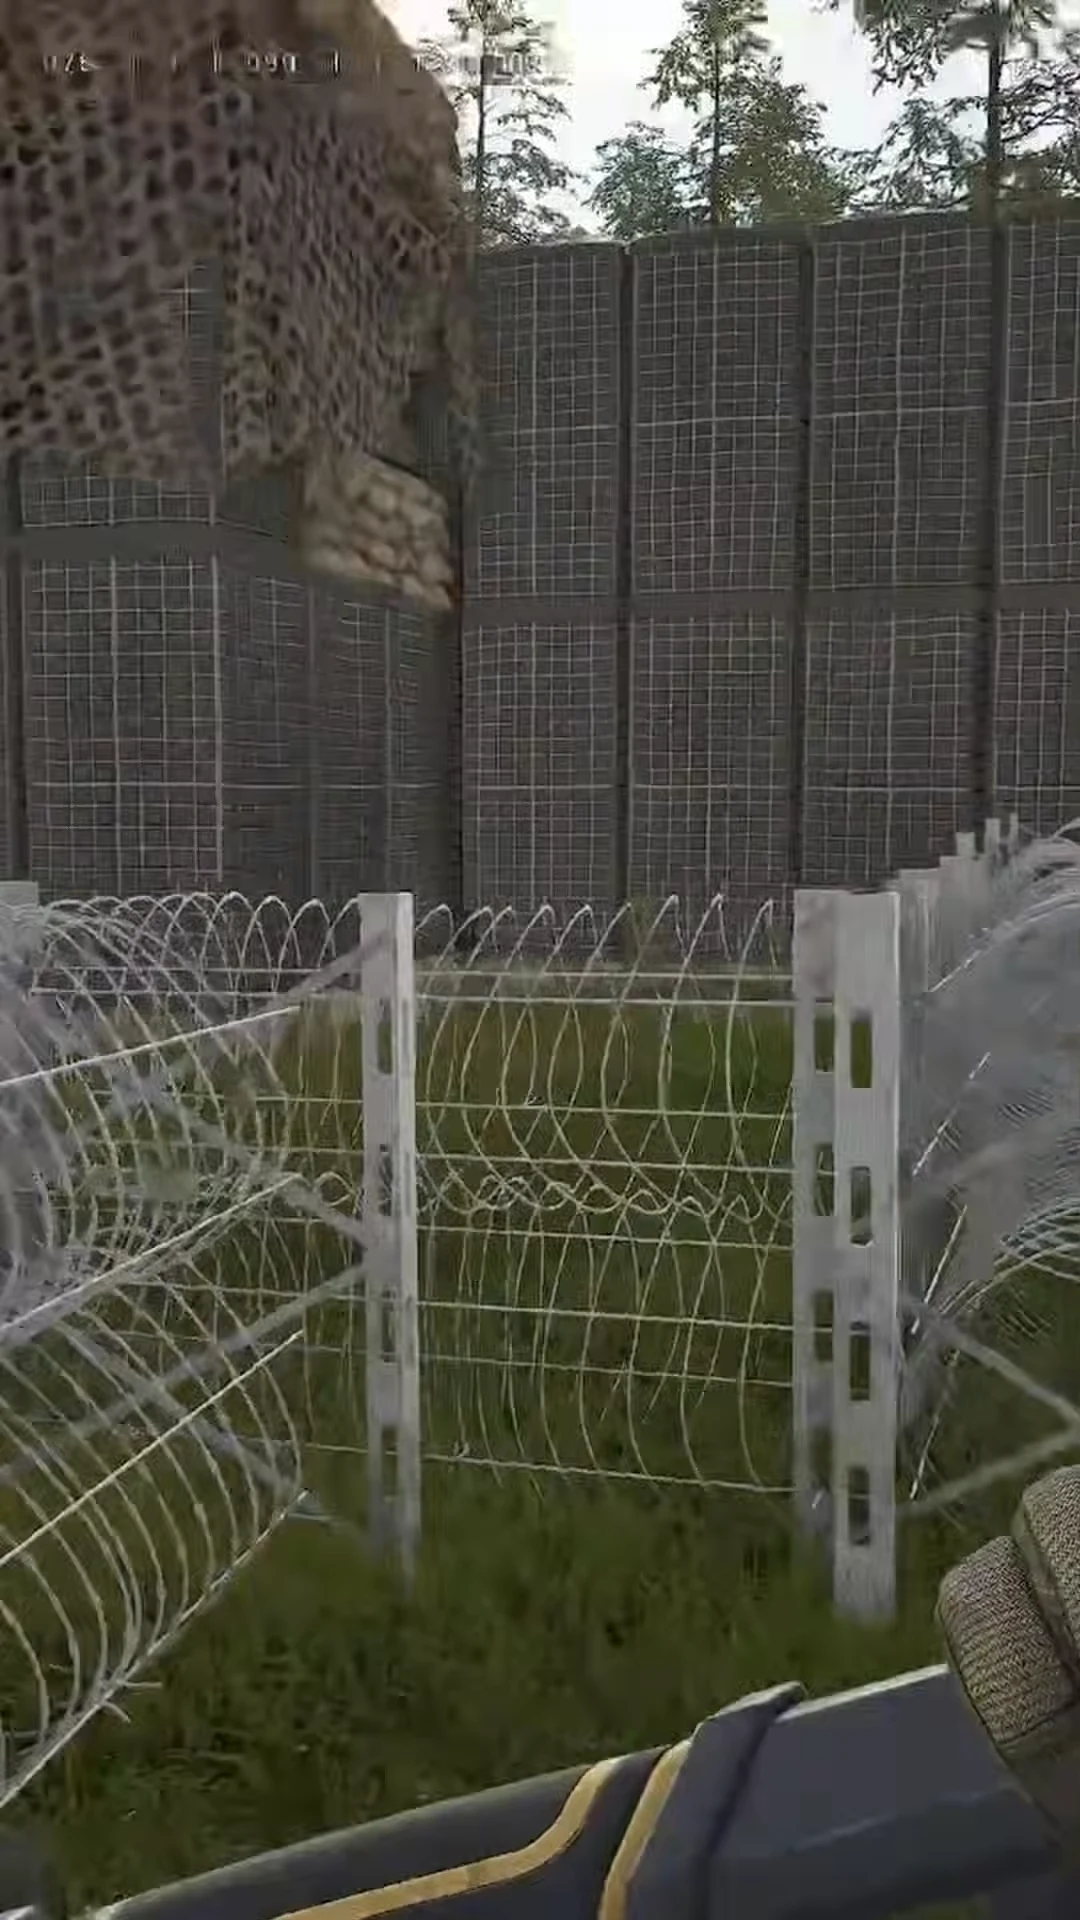
Vehicle gates are the weak point, because armor will aim straight at them. Keep one controlled entrance for your own trucks and helicopters, and salt the alternate approaches with vehicle mines so a tank that flanks around the back doesn’t get a free run at the rig.
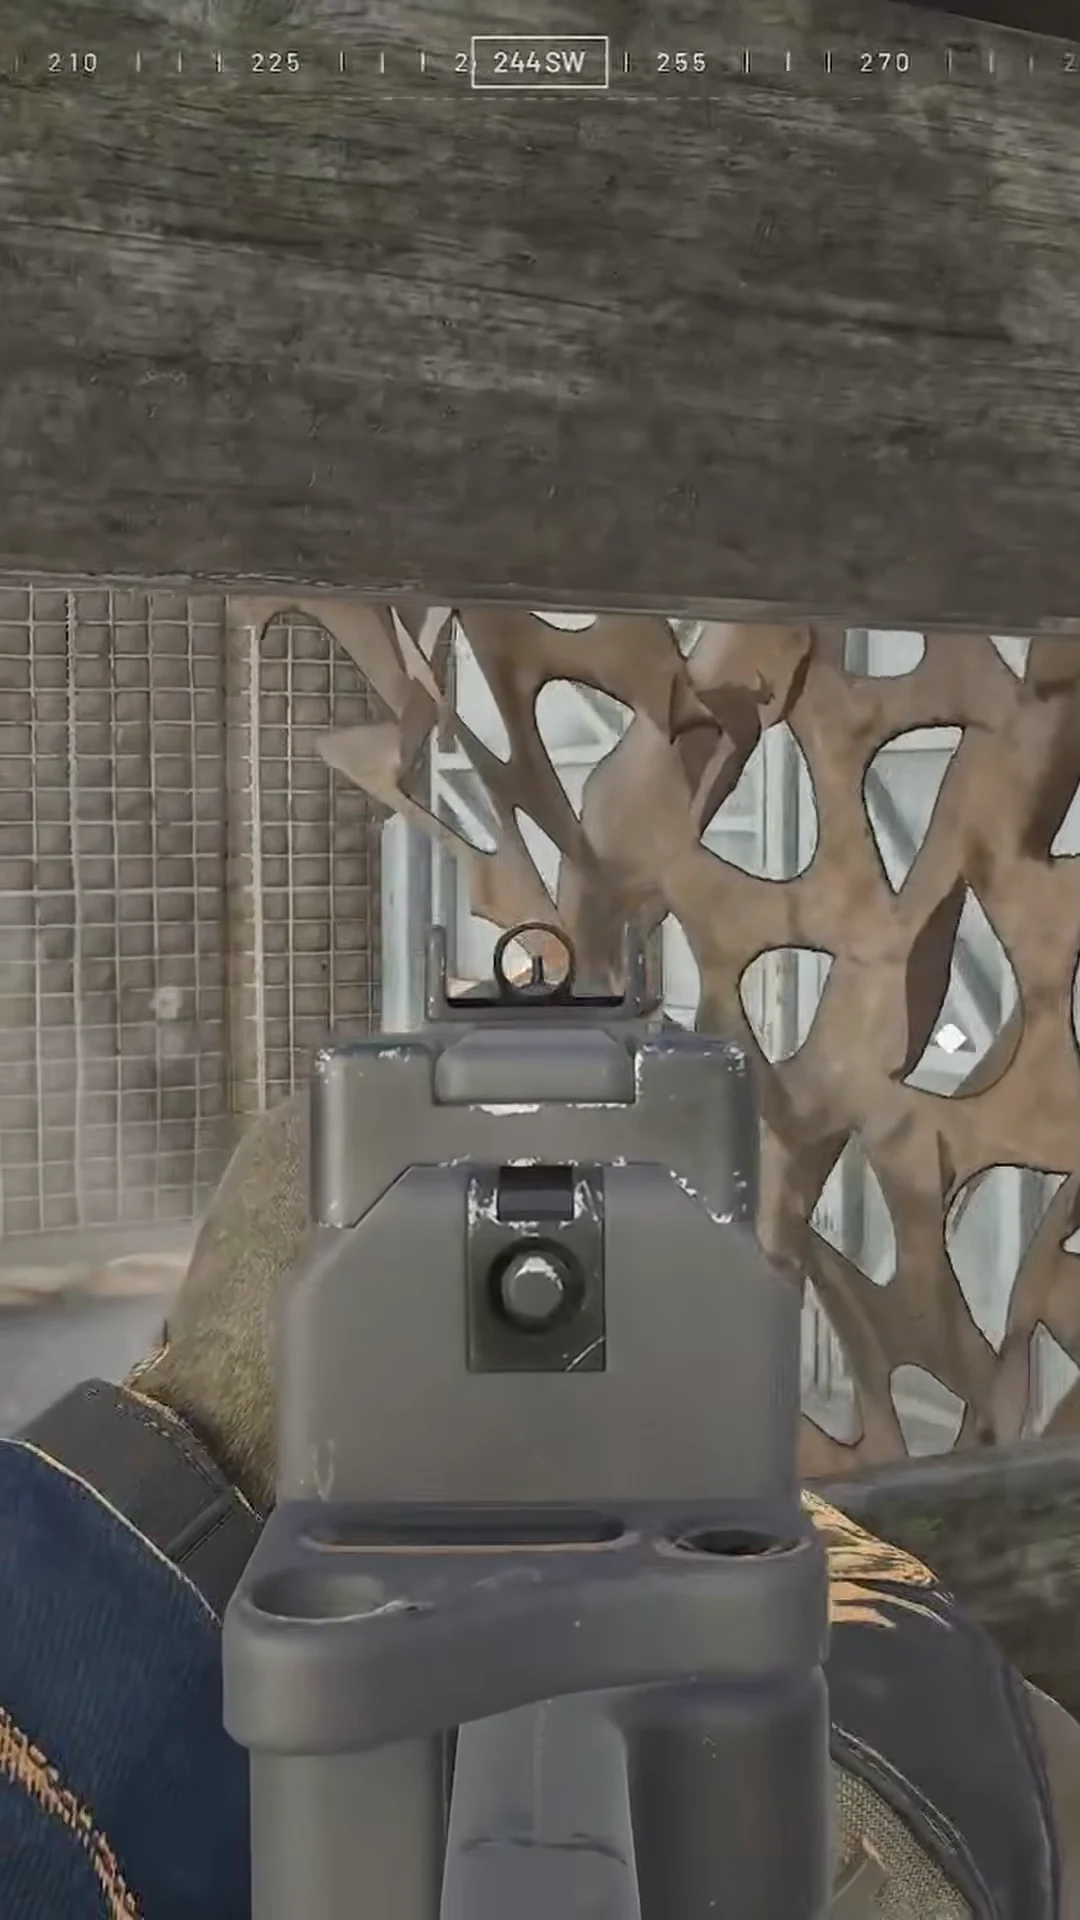
Bunkers with observation ports give you a protected firing position that still watches the road. Put a defender in one facing each likely breach, since static emplacements without eyes behind them just get bypassed.
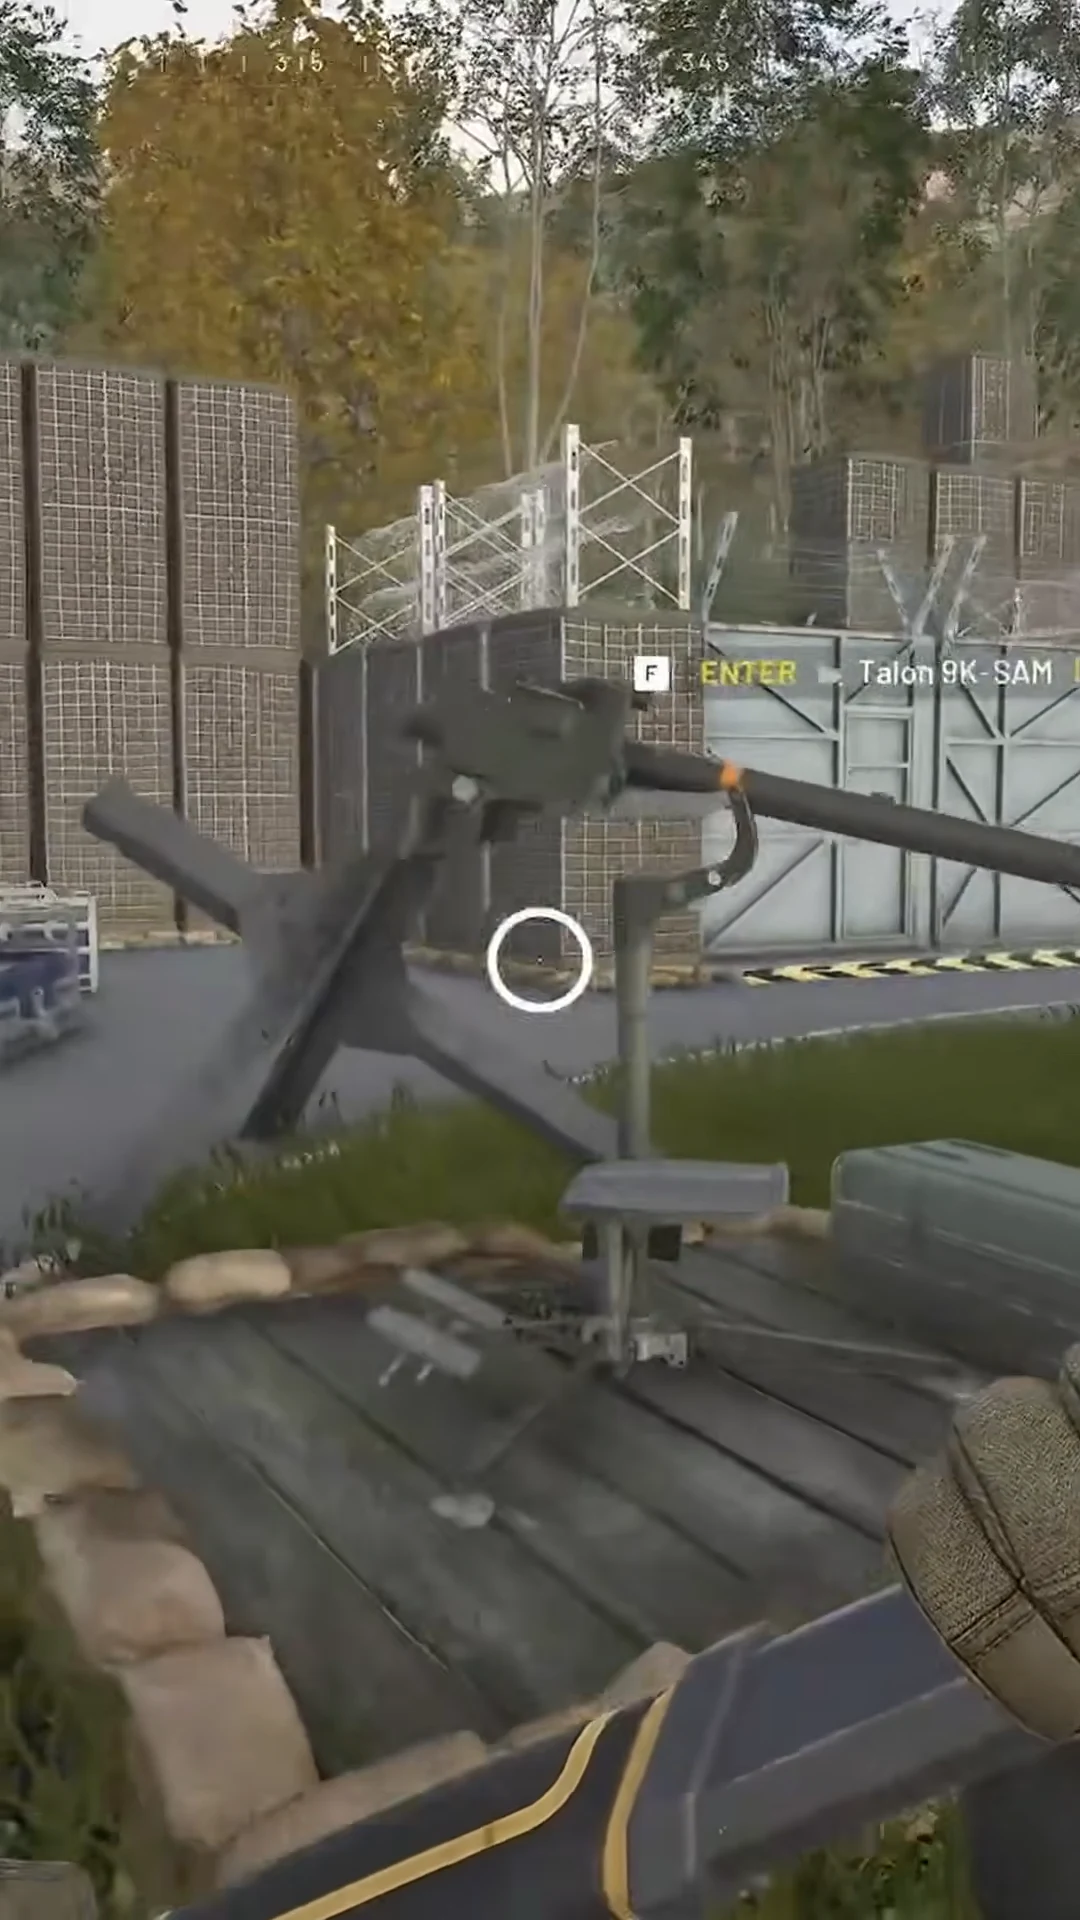
Air cover is the other half. A Talon 9K-SAM mounted on an elevated sandbag position covers the airspace over the zone, and both it and the CWIZ run on Ammo Supplies rather than magazines. That means a third pallet type in your delivery rotation once the guns are up.
A workable supply rotation for a rig base is one pallet of Build Supplies, then one of Ammo, then one of Fuel, repeating until someone calls for something specific. Mechanical Supplies only matter if you’re repairing vehicles or running a drone station.
Oil Rig versus tower codes
There are two ways to move the Hot Zone, and they work nothing alike. Towers are pre-existing map objectives. You capture them, read the code fragment from the console on the interior second floor, and enter the full code on the keypad. The number of towers on the map sets the number of digits, so holding three of four leaves you guessing one digit — you get a couple of attempts before a lockout, and after the zone sits on a tower, every tower goes on cooldown together.
The rig skips all of that. It’s a structure you own, on ground you chose, running on fuel you delivered. You can build it at a tower if you want the objective density, but nothing requires it — plenty of successful pulls come from a drill tucked inside an ordinary warehouse FOB well away from the towers.
The last decision is knowing when to stop. Once the Hot Zone has moved on and the match state has drifted away from your position, a rebuilt rig in the same spot costs another 2,000 Build Supplies and thousands of fuel for a pull nobody can exploit. Preserve your hammers, your transport, and your defenders, and put the next drill where the fight is actually going.