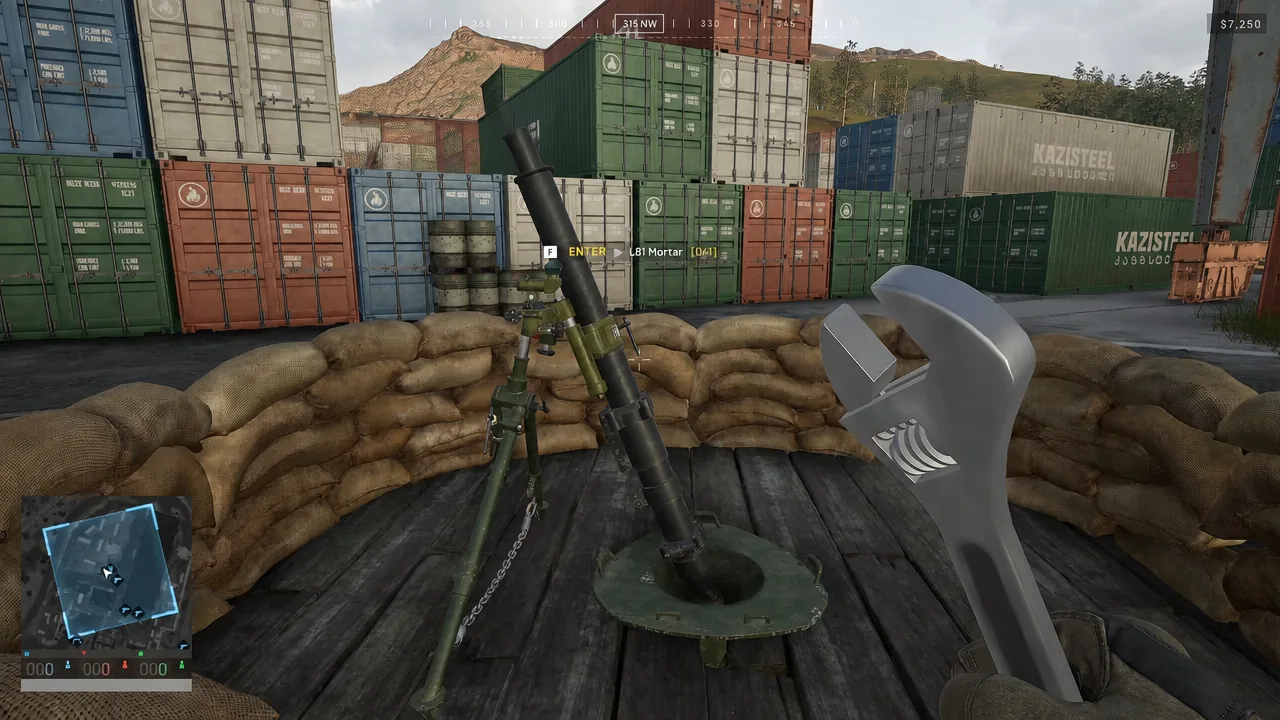
Guessing a mortar range in WARDOGS burns shells you had to haul to the front. The fix is not a better eye — it is two coordinate pairs and about fifteen seconds of arithmetic. Both indirect platforms, the buildable L81 mortar and the SPH-2 self-propelled gun, work off the same three numbers, and once you can produce those numbers on demand your first round lands close enough to correct from every time.
Quick answer: Copy your gun’s map coordinates and the target’s, subtract X from X and Y from Y, multiply each difference by 100, then take the square root of the two squares. That result is your range in meters.
What the mortar sight is telling you
Walk up to a built L81 and press the prompt to mount it. The zoomed optic gives you everything you need in three places: a compass across the top, the range in meters (RNG) on the left, and elevation in milliradians (MIL) on the right. Higher mil means a steeper barrel, which means a shorter shot.
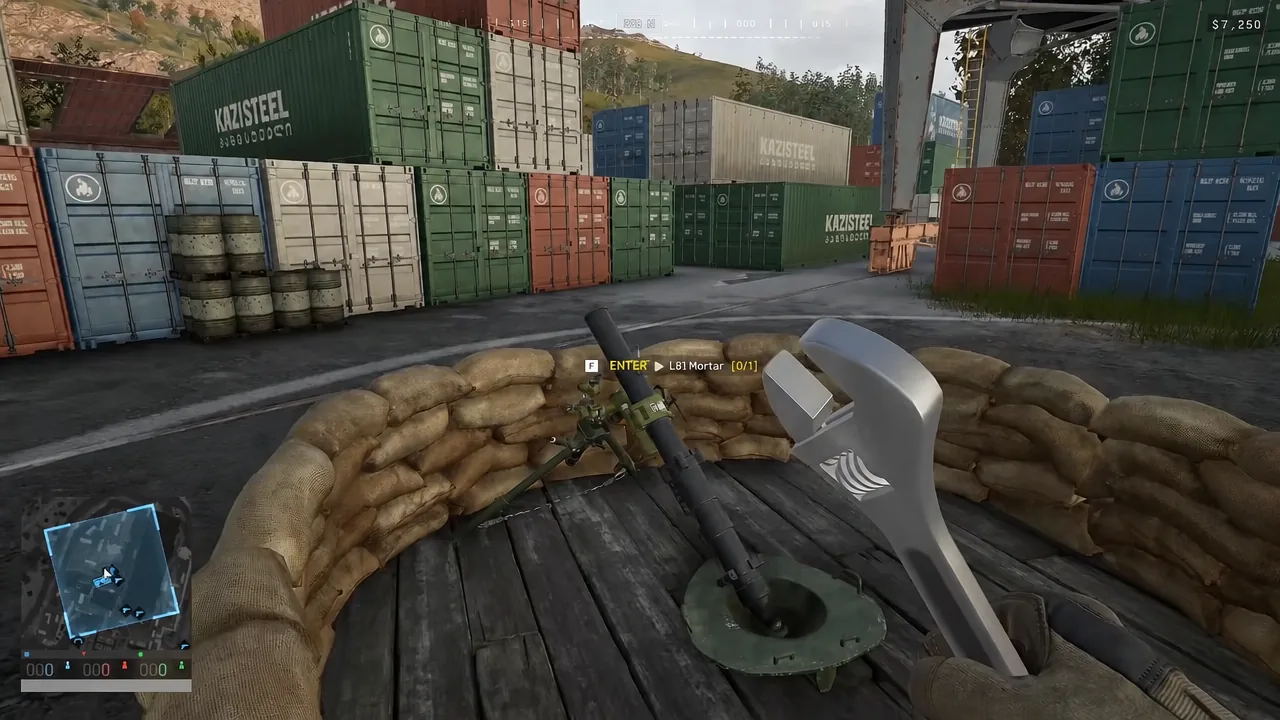
Traverse with WASD for coarse movement and the mouse for fine adjustment. To get the bearing without counting degrees, open the tactical map and ping the target with the middle mouse button. The waypoint diamond then appears on the mortar’s compass, and you simply turn until the diamond sits on your center line.
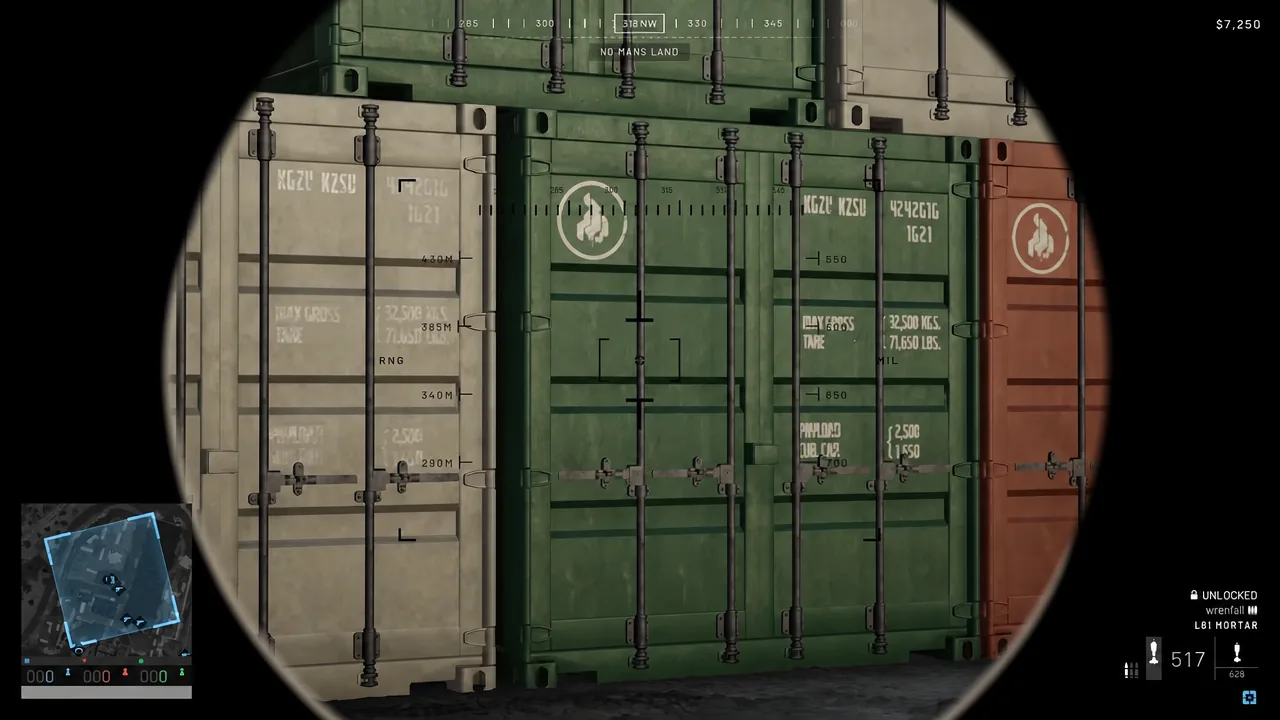
That covers the bearing. Getting it wrong throws the shell sideways, which is obvious and easy to fix. Range errors are the expensive ones, because a round that lands short along the correct line still looks like a near miss.
How to get exact range from map coordinates
The tactical map prints an X and a Y under your cursor, and it can copy that pair into chat for you. Two pairs, one right triangle, one square root.
Gun    X 96.67   Y 109.11
Target X 95.55   Y 106.36

dX = 1.12 x 100 = 112 m
dY = 2.75 x 100 = 275 m

range = sqrt(112^2 + 275^2) = 296.9 -> dial 297 m
The same arithmetic works on the raw map units if you prefer smaller numbers. Square the differences as they are, add, square root, and shift the decimal: a result of 4.12 is 412 meters. Either way you end up dialing the same range.
A target already spotted by a teammate shows its distance when you hover over it on the map, along with a 3D marker the gun can line up on directly. When that is available, skip the math entirely.
Faster ranging with map grid squares
When there is no time to open a calculator, count squares. The map’s grid scale changes with zoom: the large squares are about a kilometer each, and the small squares on the zoomed-in view are 100 meters. Count the squares between your gun and the target, add a rough diagonal allowance, and dial that.
Counting gets you to something like 250 meters in a couple of seconds, which is accurate enough to start correcting from. It is not accurate enough for a first-round hit at the far end of the tube’s reach, so treat it as a way to shorten the ranging loop rather than replace it.
L81 mortar and SPH-2 range limits
A perfect firing solution is useless if the target sits outside what the barrel can do. Both guns have a far edge and a near edge, and the near edge catches people out more often.
| Gun | Range | Sight | Reload |
|---|---|---|---|
| L81 Mortar (81mm) | 50–700 m | 120–950 mil | 6.5s |
| SPH-2 (155mm) | 745–2,660 m | 0–1,400 mil | 27s |
The mortar fires one arc, so every distance has exactly one answer. Its shell does 120 damage across a 10 m blast radius. The SPH-2’s 155mm HE shell does 450 damage with a 20 m blast radius, roughly 7.5 m of which is fully effective, and it reloads four times slower than the tube.
Elevation is measured on each gun’s own sight scale, not NATO mils, so a mil reading taken from the SPH-2 means nothing on the mortar. The safer habit is to match the range number the sight shows and let the mils follow.
Height changes the mortar’s reach. Firing downhill at a target 100 m below the tube stretches it to about 735 m; firing uphill at a target 100 m above cuts it to about 625 m. BULKHEAD has not published an official mortar range, so pace a marked shot yourself before you stake a fire mission on any figure.
Low arc or high arc on the SPH-2
The SPH-2 gives you two elevations for most distances, and picking between them is the biggest decision at the gun. The low arc is flatter and faster, so it is what you want against anything that might drive away. The high arc climbs and drops steeply, which is the only way over a ridge or into a courtyard.
There is a hard floor on the flat shot. On level ground the low arc will not reach inside roughly 1,070 meters, so anything between the gun’s 745 m minimum and that mark has to be lobbed. Time of flight goes up accordingly, and a vehicle at 900 m will usually have moved by the time the shell arrives.
Two more things flatten your accuracy on the SPH-2. The vehicle’s attitude changes where the barrel actually points, so level the tilt markers either side of the silhouette in the gunner’s view and stabilize before firing. And avoid fighting for the last stretch of range: past about 2,600 m the two arcs converge on nearly the same elevation, where a single mil of error throws the shell long or short.
Why shells scatter even when the math is right
Neither gun places rounds on a pinpoint. Each has an intrinsic grouping measured as an angle, which means the spread widens the further you shoot. The SPH-2 holds 10 MOA and the L81 holds 50 MOA.
| Gun | Distance | Group |
|---|---|---|
| L81 Mortar | 200 m | ±2.9 m |
| L81 Mortar | 685 m | ±10.0 m |
| SPH-2 | 1,000 m | ±2.9 m |
| SPH-2 | 2,660 m | ±7.7 m |
Read those numbers as the scale of the error rather than a guarantee. The practical takeaway is simple: a mortar is a precise weapon at 200 m and a blunt one at the edge of its reach, so aim at the middle of a cluster of people rather than at a single body, and stop expecting the calculation alone to produce a kill.
Fire one round, correct, then salvo
Because of that grouping, the first shell is information, not an attempt. Fire one, stay in the shell camera, and watch where it actually lands rather than whether it hit. Short means increase the range; long means decrease it. A spotter who can see the impact and call “fifty short” closes the loop in two rounds.
The map also records the impact after a mortar round lands, so you can reopen it, compare the crater with your marked target, and measure the offset instead of guessing at it. Apply that difference in the opposite direction and dial again.
Once the point of impact is confirmed, stack shells. On the mortar, pressing R loads up to three rounds, and skipping the shell camera with C between shots lets you put all three downrange in about three seconds — tight enough to blanket a tree line or a capture point. The SPH-2 instead asks for a reload sequence after each shot, a short arrow-key or WASD prompt that cuts reload time when you hit it correctly. Fail it and the timer resets, so accuracy beats speed until the inputs are muscle memory.
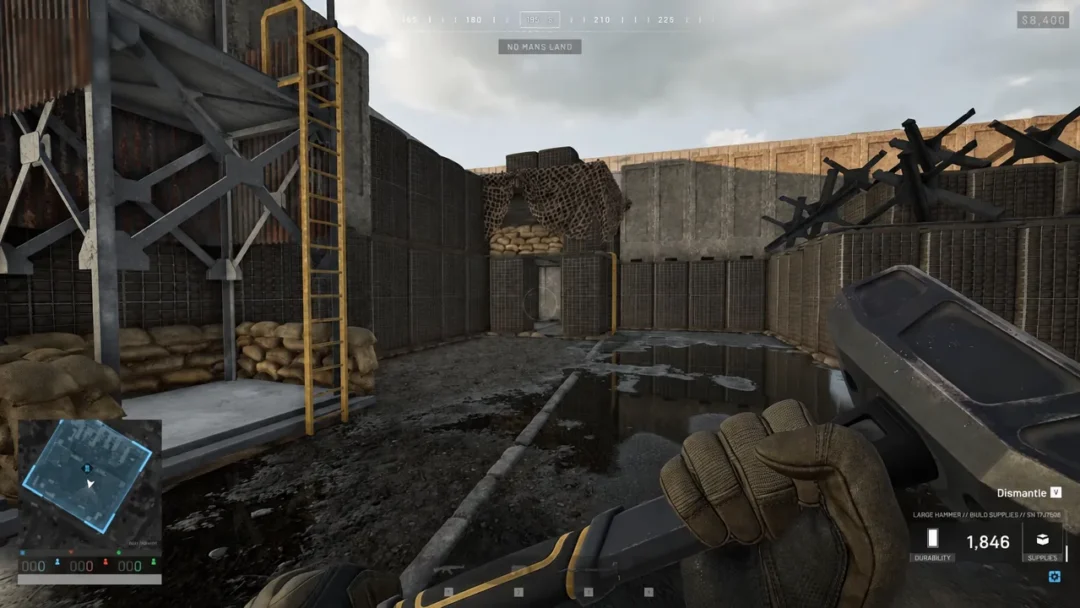
Check the muzzle clearance before your first shot. A wall, sandbag, razor wire or silo directly in front of the tube will detonate the shell on the way out, killing you and damaging your own position. If an obstacle only clips the line, shift the aim slightly around it rather than through it.
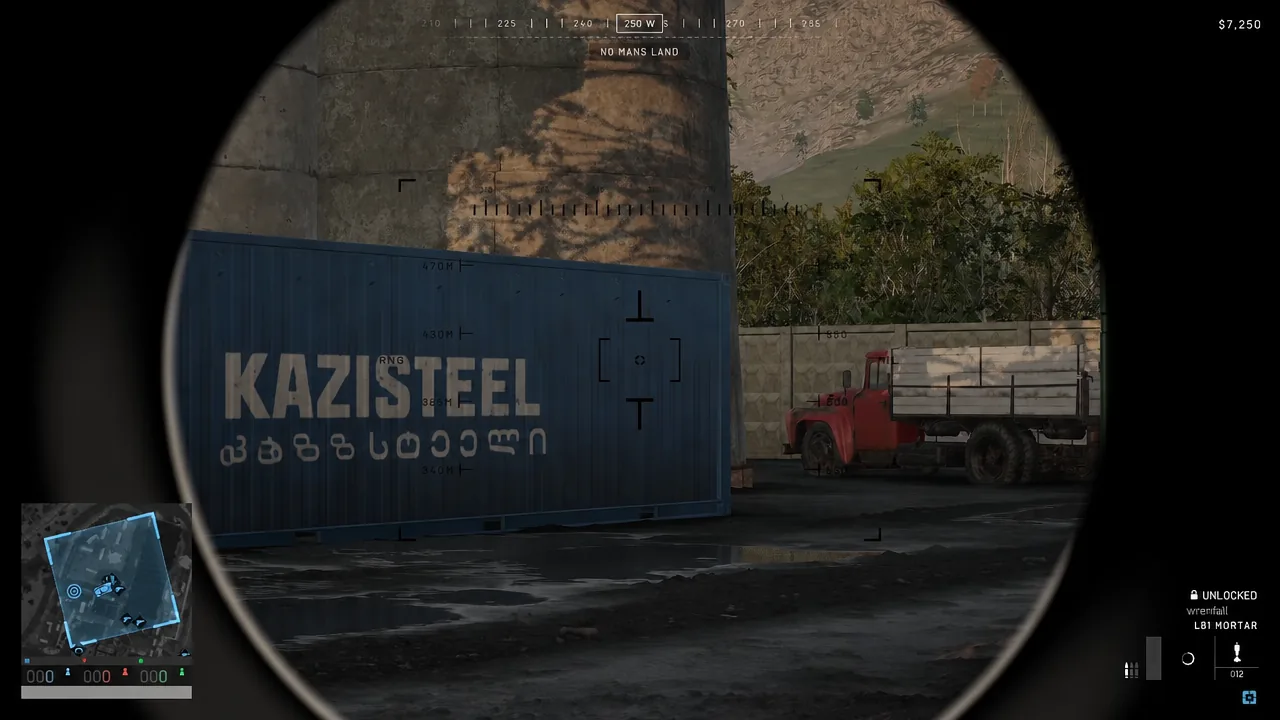
You know the solution is good when the shell camera follows the round all the way down onto the marked coordinates and the map impact marker sits on your target pin. From there, a salvo is worth its ammunition because every round in it carries the same correction.
Keep the gun working, then move it
Artillery breaks down mid-mission. Carry a wrench on the crew, because a leaking or burning SPH-2 has to be repaired before the fire mission continues, and a vehicle you cannot drive is a vehicle you cannot displace.
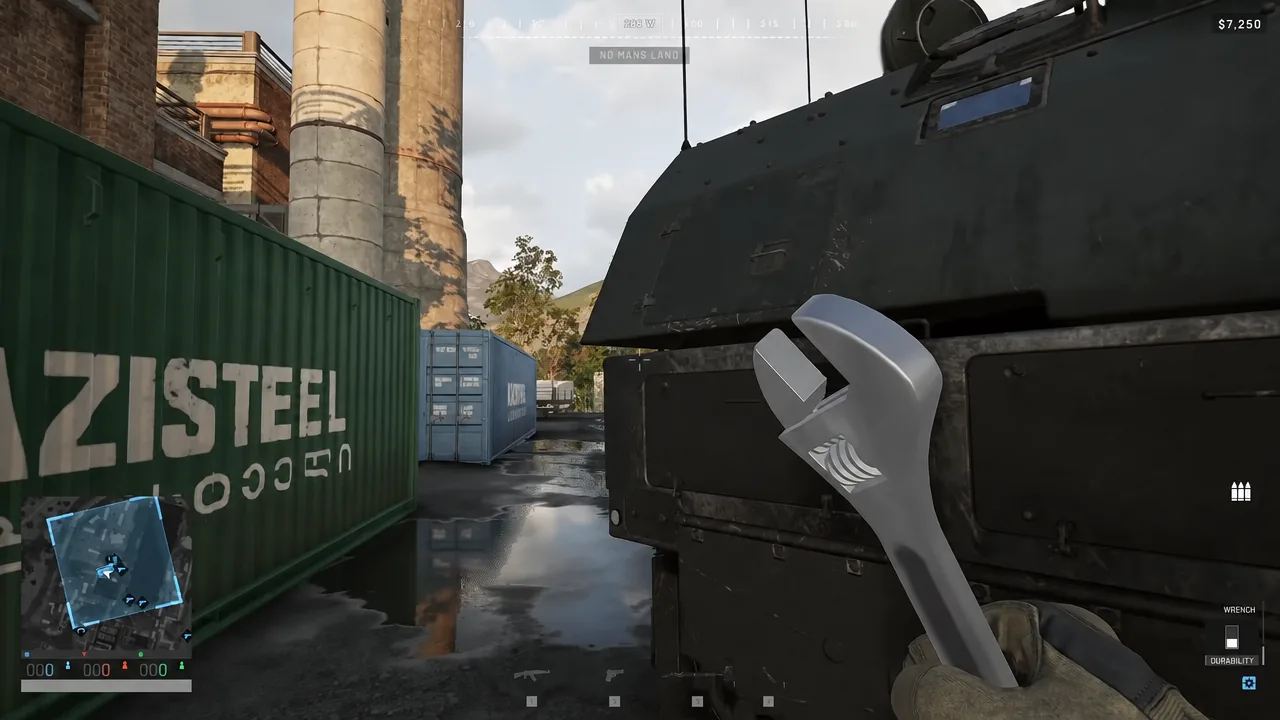
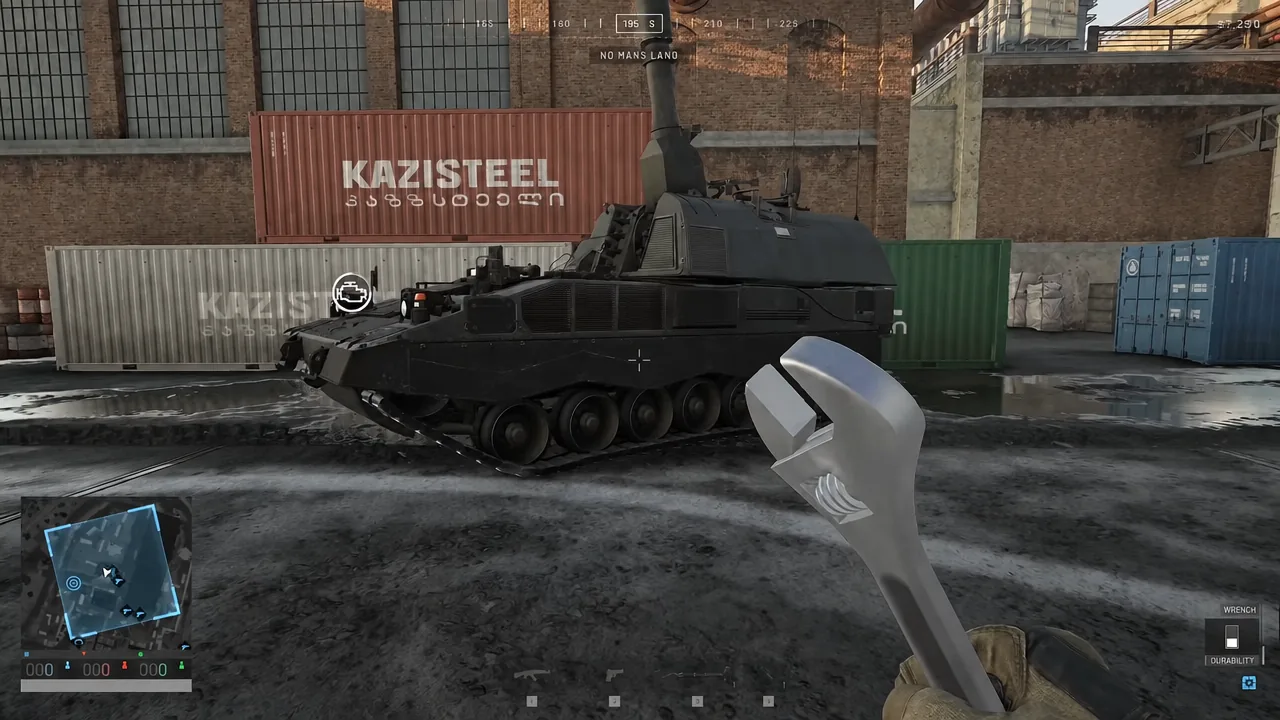
Park the SPH-2 with the same care you dial elevation. Around 1,600 to 2,000 meters from your spawn keeps control zones inside the gun’s 2.7 km envelope while staying clear of most rocket launchers. Stop the engine once you are set, which conserves fuel for the drive back to resupply and lets you hear helicopters and infantry approaching.
Every shell also draws a line back to the gun. Fire the mission — range with one, correct, fire for effect, stop — and then relocate. Indirect fire in WARDOGS is rarely destroyed while it is shooting; it gets destroyed a minute later, in the same place, by someone who followed the arc home.