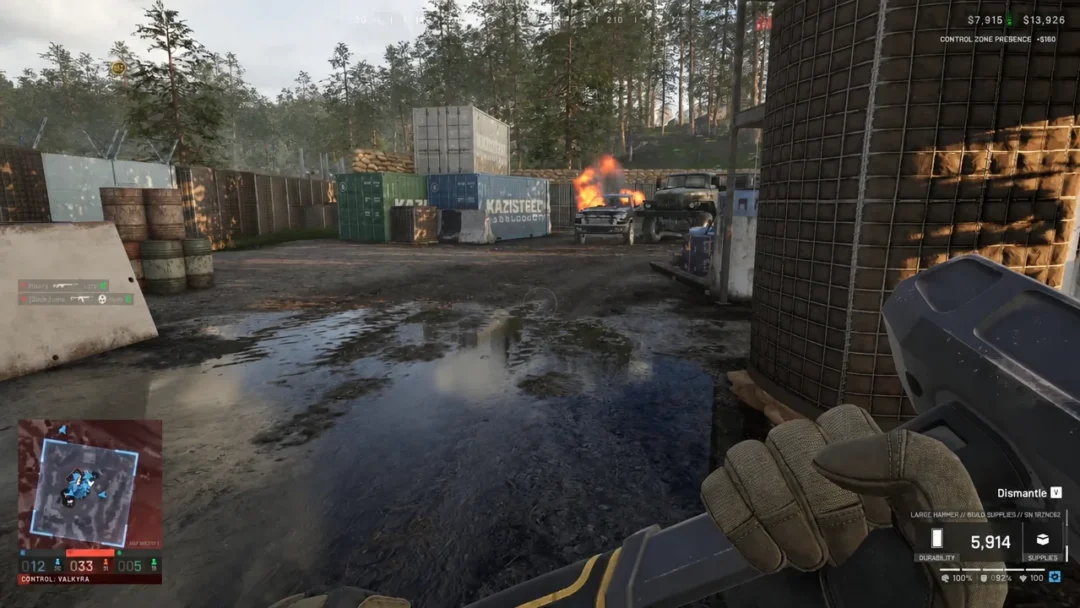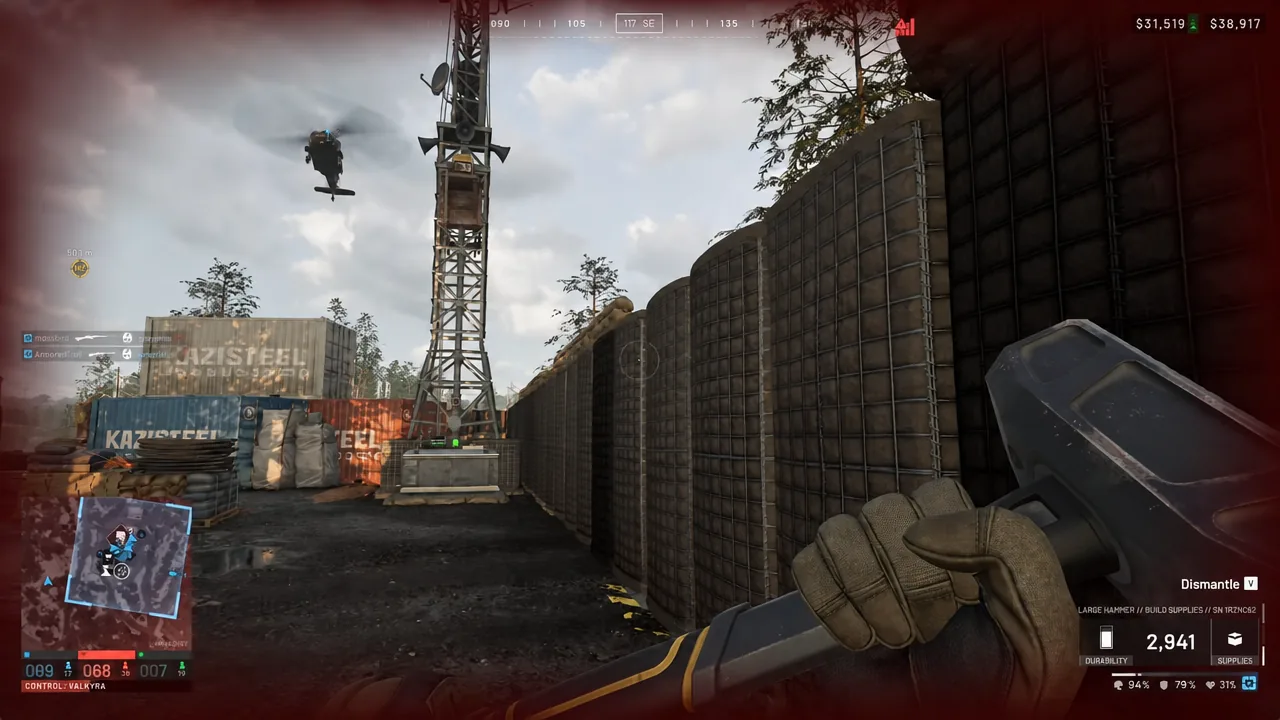
Building in WARDOGS is fast, and that is exactly how squads end up walling themselves into a position with no door, no firing angle, and no way through. Structures are not permanent, though. Anything you put down can be taken back apart with the same tool that built it, as long as you know the control, because it is not a mouse click.
Quick answer: Equip the Large Hammer, look at the structure until the Dismantle [V] prompt appears, then hold V until the circular progress meter fills.
How the Dismantle [V] control works
With a hammer out, the hint bar reads BUILD/REPAIR OR REMOVE. Left click and right click handle the build and repair side of that. Removal sits on a separate key, and it is a hold, not a tap. Press V once and nothing happens.
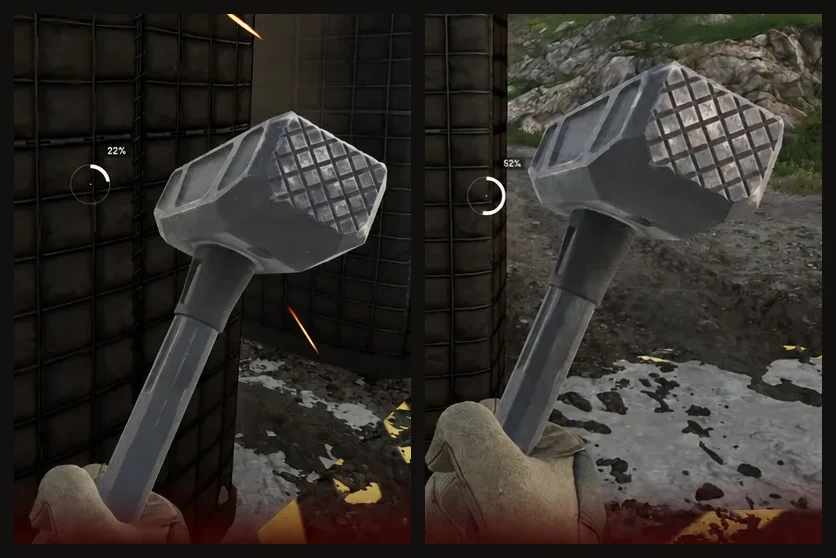
Hold it and a circular meter fills in the middle of the screen. Deconstruction is gradual and it works on one piece at a time, so a long Hesco barrier line comes down section by section rather than vanishing in a single action. Let go early and that section stays up.
Which hammer you need
The Large Hammer is the tool that covers everything. It is the fast one, it can build every buildable in the game, and it is what you want in hand when you are reshaping a position under pressure.
| Hammer | Vendor price | Unlock | Build coverage |
|---|---|---|---|
| Medium Hammer | $800 | Support 3, $25,000 fee | Large and basic buildables, moderate speed |
| Large Hammer | $2,400 | Support 8, $75,000 fee | All buildables, fast speed |
Both hammers need Build Supplies to construct anything, at $10 per unit and 0.02 kg each. The Large Hammer weighs 3.18 kg against the Medium Hammer’s 1.23 kg, which is the trade you make for the extra speed and full buildable list.
Taking down a wall section
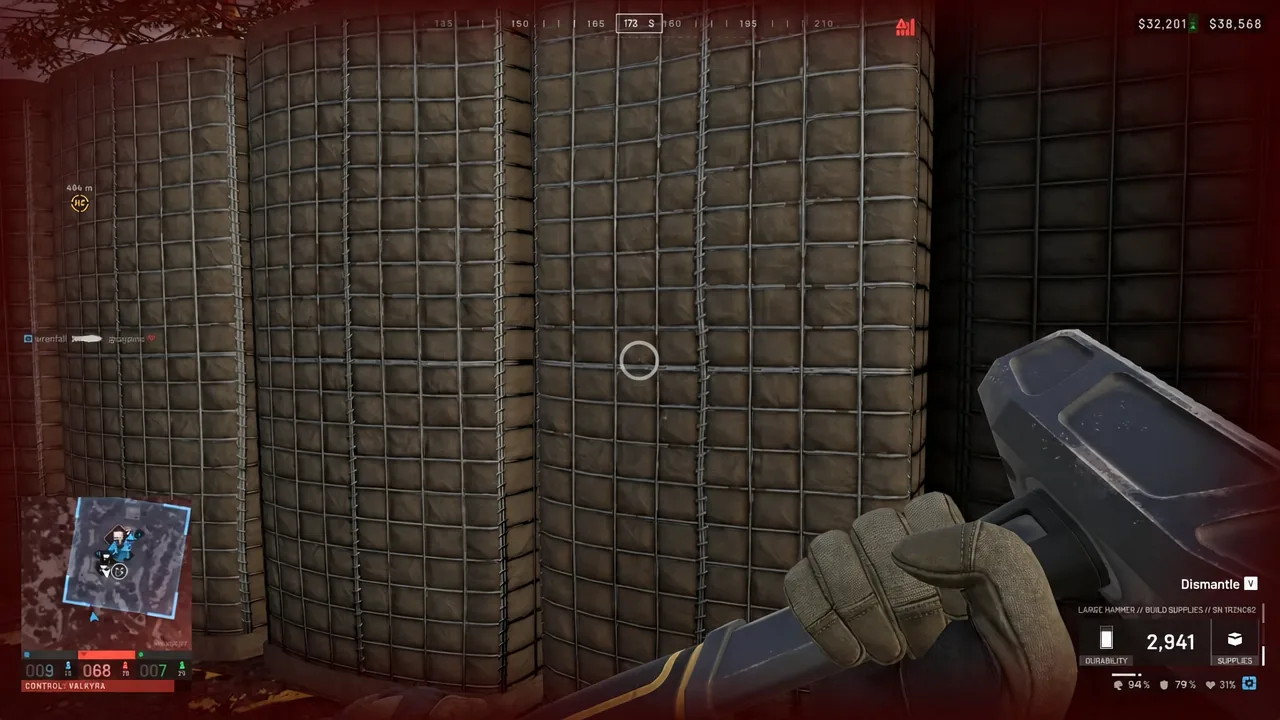
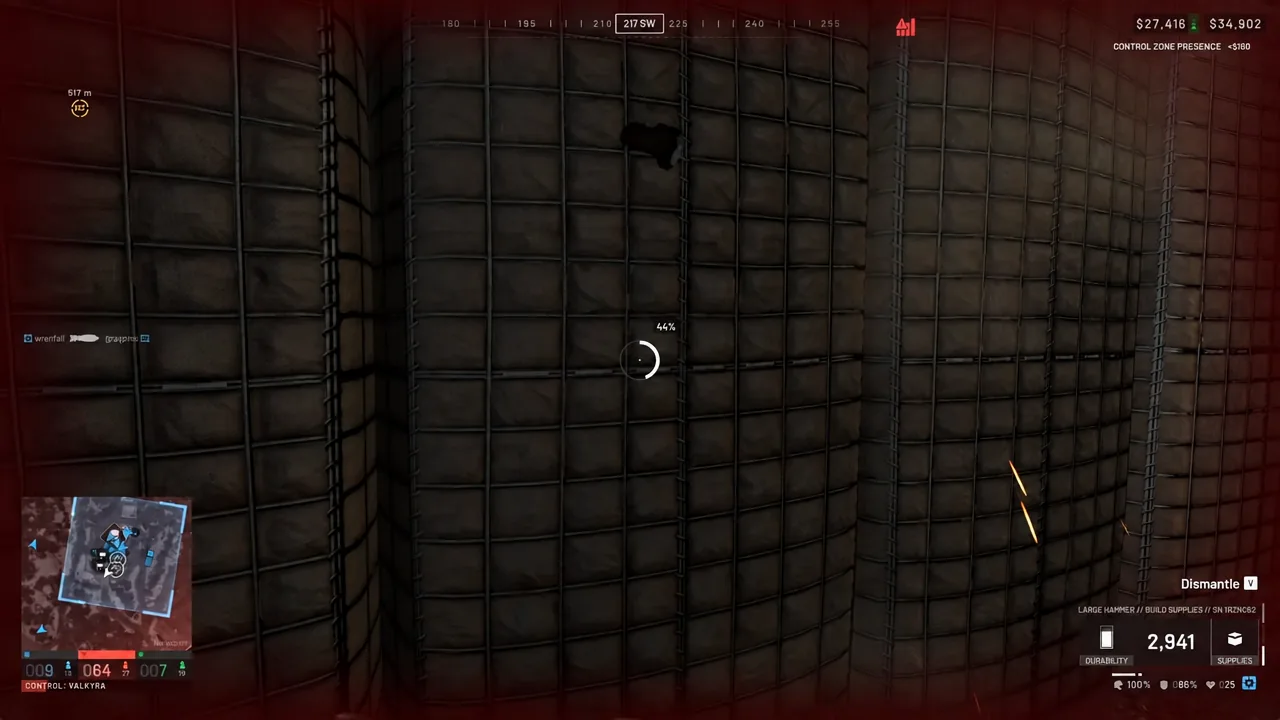
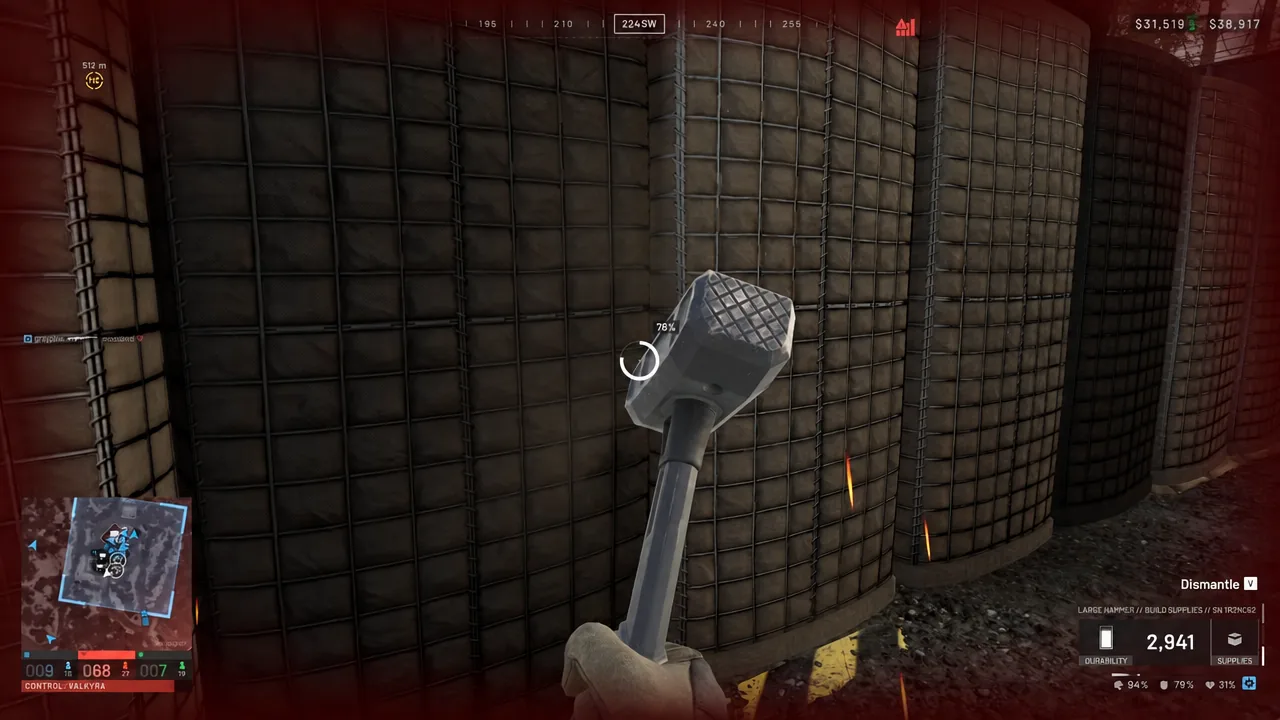
You are stationary and animating through all of this. Do not start tearing down a wall while the structure is the only thing between you and an enemy lane.
Hammer durability drops as you work
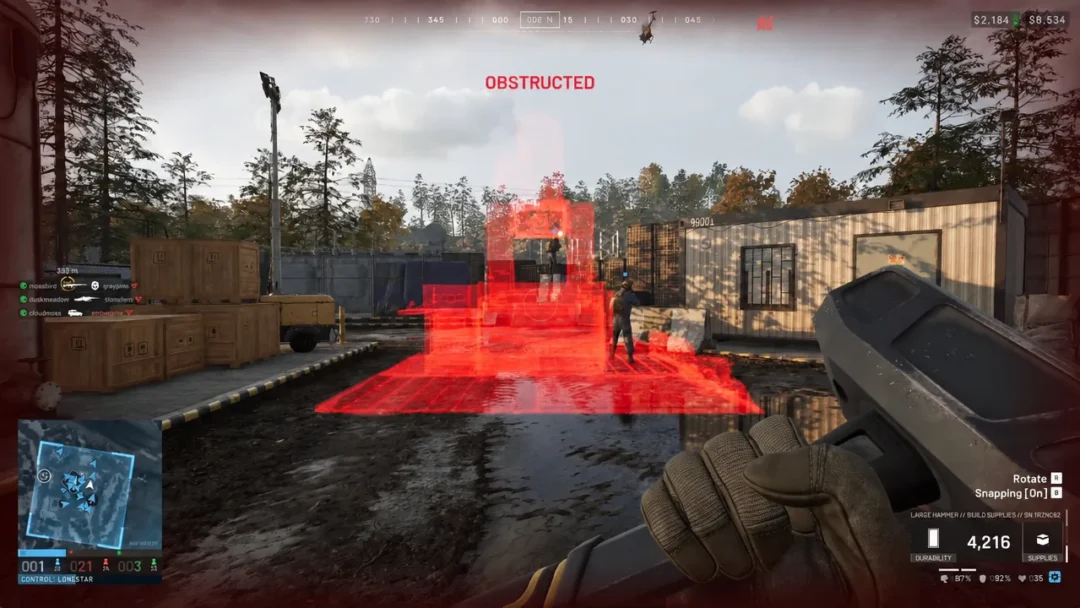
The number beside the hammer on your HUD is its durability, and it ticks down while you dismantle. It is a slow burn rather than a hard limit on a single job, but a long teardown across a whole fortified line will visibly eat into it. Keep an eye on it before you commit to remodelling an entire FOB perimeter.
Confirming it worked and rebuilding in the gap
There is no confirmation message. The structure piece simply disappears from the world and the Dismantle [V] prompt stops showing when you look at that spot, because there is nothing left to target. That empty gap is your confirmation.
From there, open the build menu and pick a replacement from the buildables list. Placing a door into a stretch of barrier you just cleared is the standard reason to dismantle in the first place, turning a solid wall into a controlled way in and out.
While the yellow placement markers are on the ground, Rotate [Scroll] turns the piece and Snapping [Cap] toggles whether it locks to the existing structure. Snapping is what lines the new door up cleanly with the barrier sections either side of it.
Treat removal as part of building rather than a mistake fix. Walls block your own rotations and sightlines as readily as the enemy’s, and a squad that can open a gap, drop a door and move on holds ground better than one that fortified perfectly in the wrong shape.