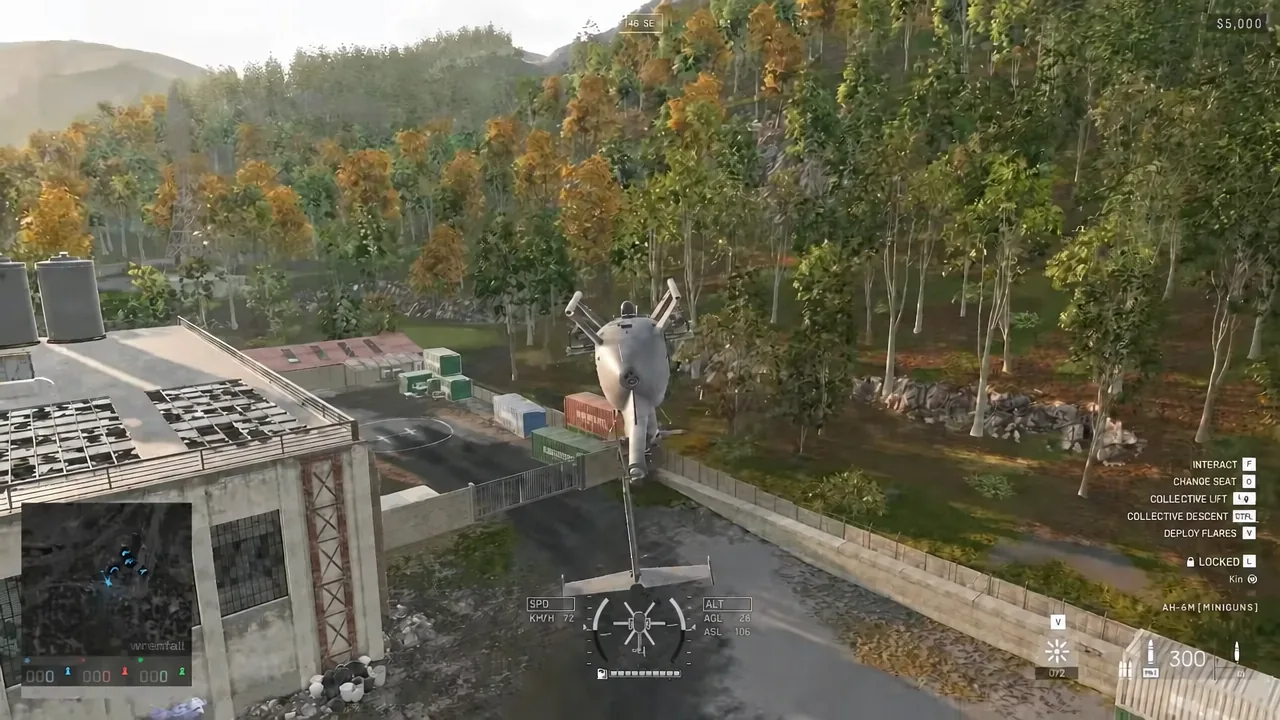
Helicopters in Wardogs are not arcade toys. Lift sits on one input, tilt sits on another, and new pilots routinely put the airframe back on the pad upside down within three seconds of leaving it. The fix is not talent, and it definitely isn’t buying a chopper in a live match and hoping. It’s the Firing Range, where every vehicle in the game spawns for nothing.
Quick answer: Launch the Firing Range from the bottom-left of the main menu, walk to the Vehicle Vendor, open the Air tab, and buy any helicopter for $0. Crashes there cost you nothing.
Practice flying in the Firing Range, not a live match
The Firing Range is a separate, controlled map that sits outside the normal match flow. Nothing you do there touches a live server, nobody is depending on you to get them to an objective, and the vehicle vendor there charges nothing for anything on the list. That matters because a Z20 Lakota costs $7,400 in a real match, and a bad first takeoff will erase it in about fifteen seconds.
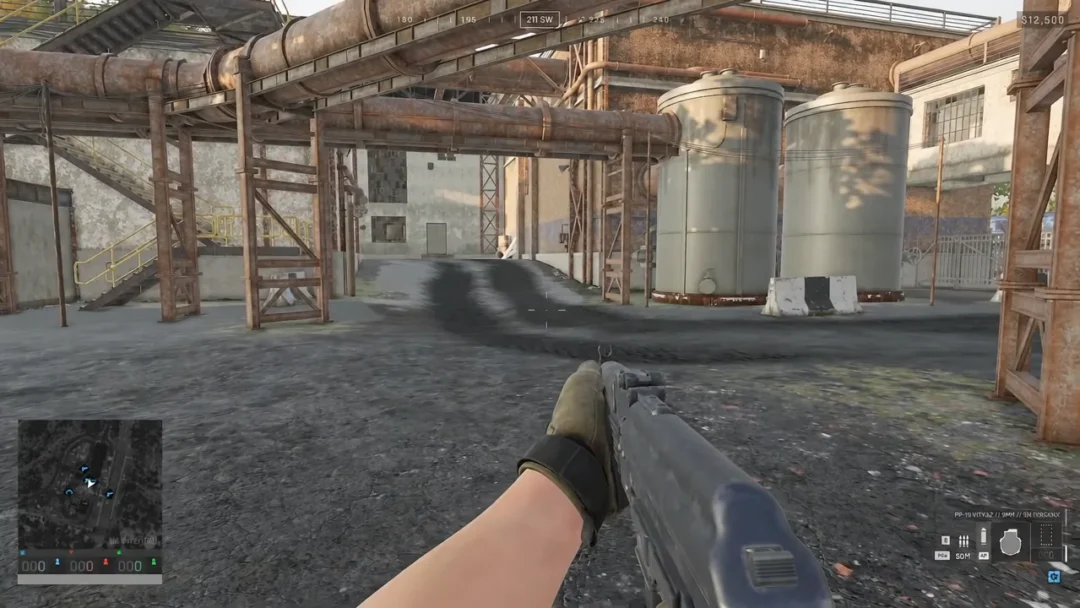
It is not only a heli pad, either. The same environment lets you test weapons and the building mechanics, so a session can double as a range trip before you deploy.
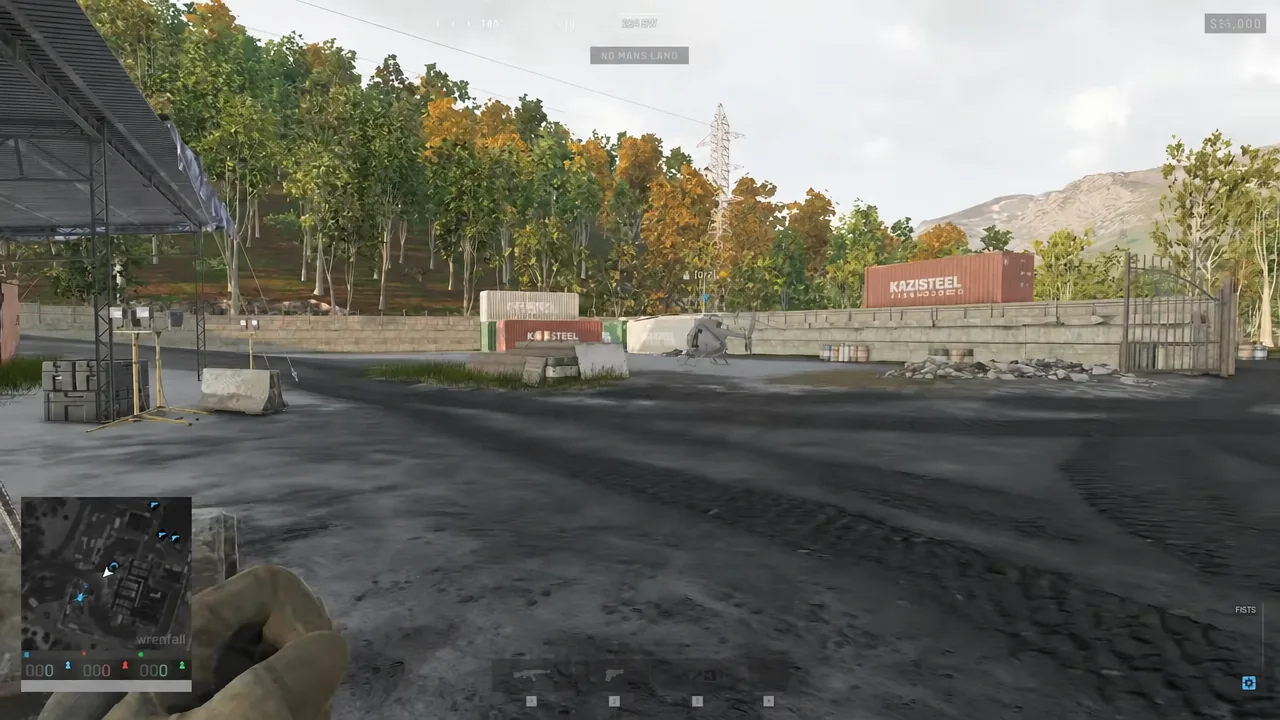
If you wreck the helicopter somewhere far from the vendor, press ESC and wait roughly 30 seconds to respawn rather than walking back.
How to spawn a free helicopter in the Firing Range
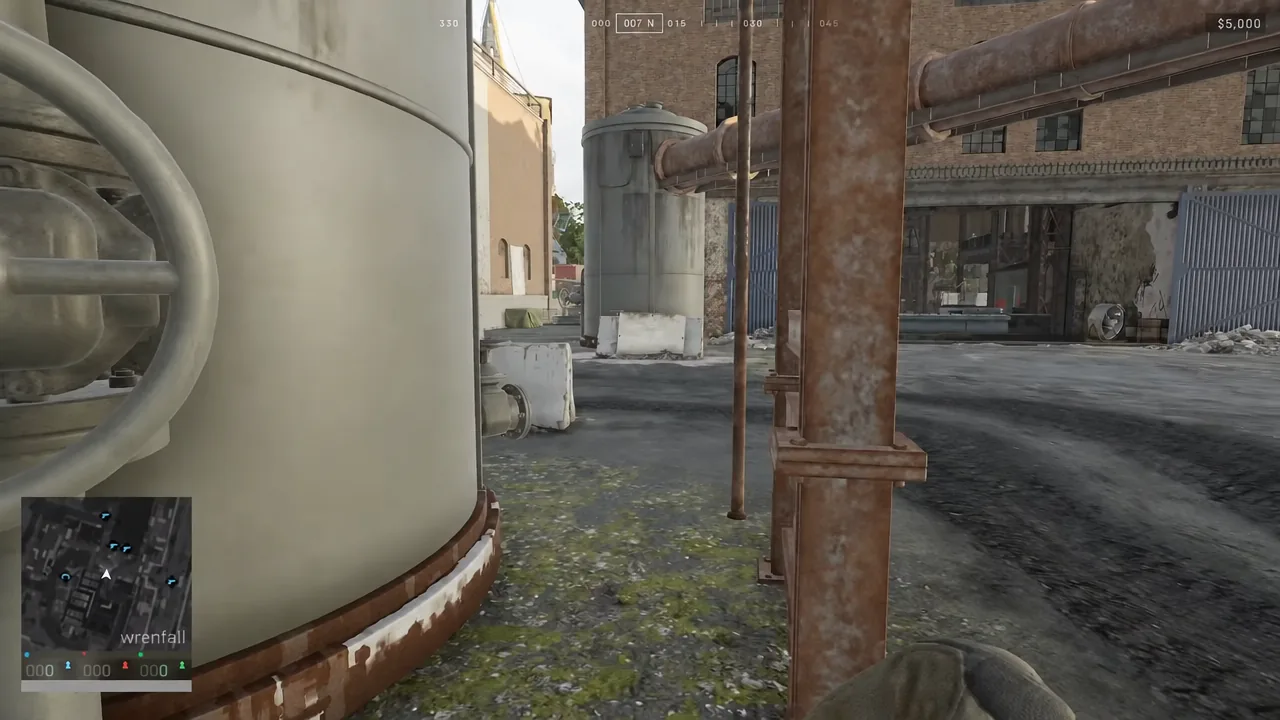
F on the Vehicle Vendor to open the purchase menu. It opens on the Land tab by default, with the full ground fleet listed down the side and a stat panel for whatever is highlighted.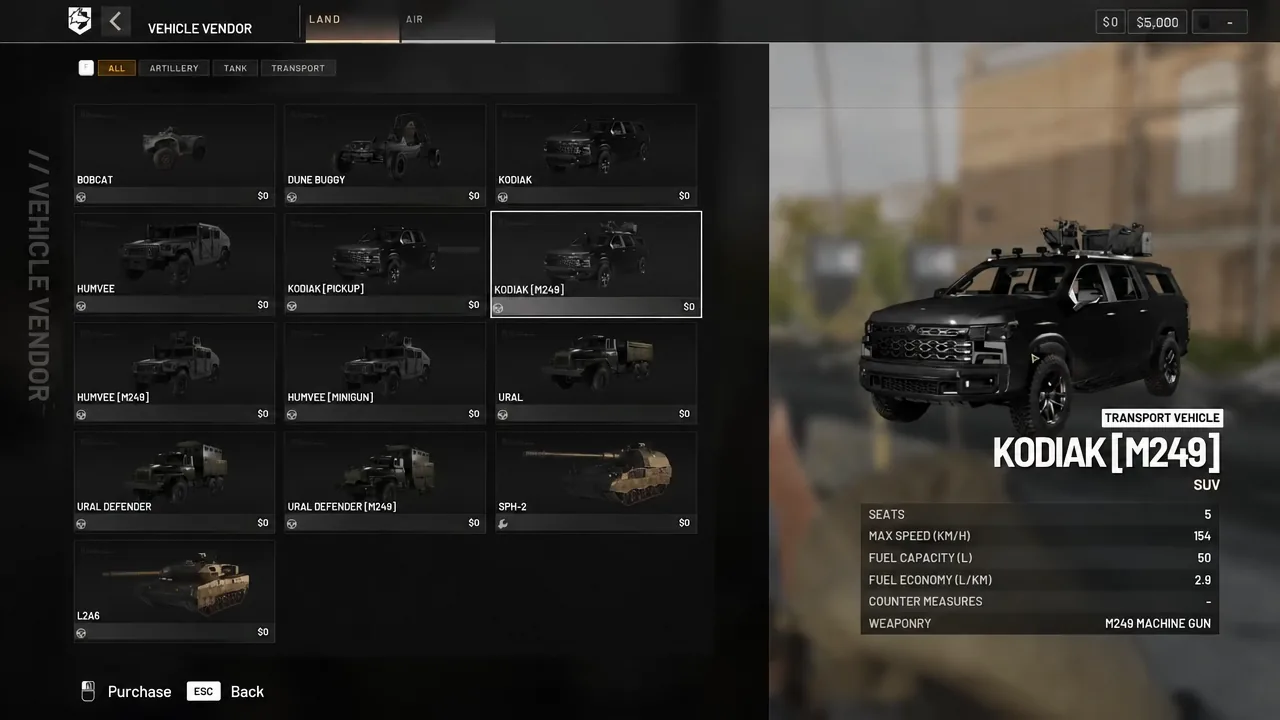
F to board. One door prompts ENTER PILOT [F] and the other prompts ENTER PASSENGER — get the wrong one and you’ll sit there wondering why none of your inputs do anything. From the pilot seat, interact to start the engine.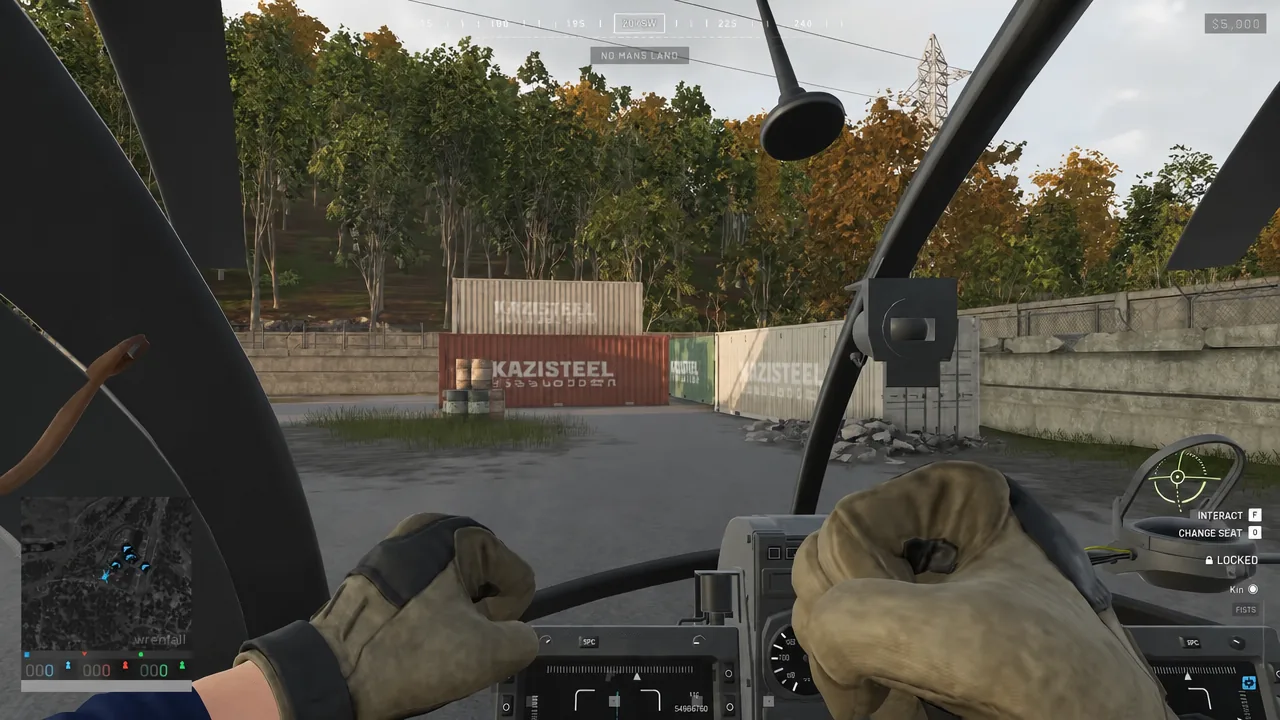
Helicopters you can spawn at the vendor
The Air tab carries the Z20 Lakota, AH-6M [Miniguns], Z20 Lakota [Miniguns], AH-6R [Rockets], Havoc, and the Mi-8. Pilot levels and unlock fees are what gate these outside the range, so the range is also the only way to get a feel for an airframe before committing hundreds of thousands of dollars to unlocking it.
| Helicopter | Seats | Top speed (km/h) | Pilot level |
|---|---|---|---|
 AH-6M [Miniguns] AH-6M [Miniguns] | 2 | 350 | 4 |
 Z20 Lakota Z20 Lakota | 13 | 445 | 10 |
| AH-6R [Rockets] | 2 | 350 | 20 |
| Z20 Lakota [Miniguns] | 13 | 445 | 25 |
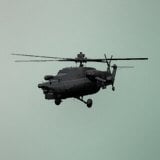 Havoc Havoc | 2 | 400 | 35 |
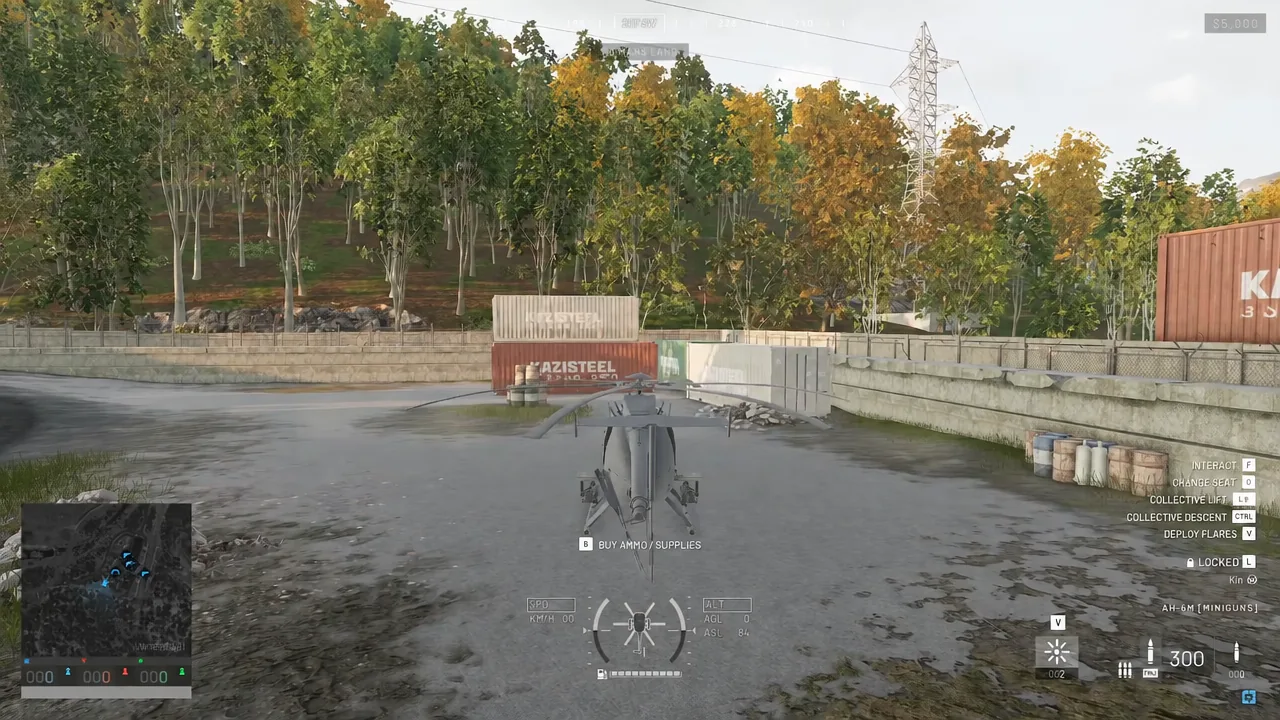
AH-6M [Miniguns]
This is the one to learn on, and you’ll end up there anyway since it unlocks first at Pilot level 4 for a one-time fee of $50,000. It’s light and snappy, it answers a tilt input immediately, and it carries a 105-litre fuel tank. Being that responsive cuts both ways — it reacts to your mistakes exactly as fast as it reacts to your intentions, which is precisely why it teaches you smooth inputs. In a match it runs $7,000.
While you’re standing at any airframe, you’ll also see a prompt to open the ammo and supplies vendor. That’s where extra flares come from, and a helicopter only carries two by default — not enough for a contested run once you take this into a real match.
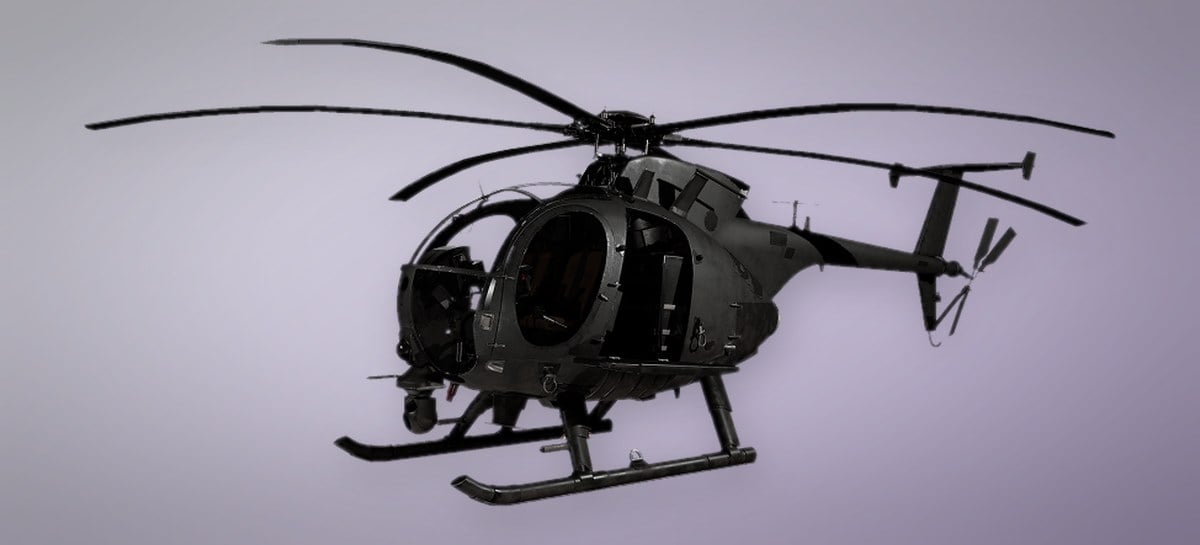
Z20 Lakota
Thirteen seats and a 445 km/h top speed make the Lakota the squad mover, but it plans its turns well in advance and punishes late braking. Don’t touch it until your landings in the Littlebird are boringly repeatable. It unlocks at Pilot level 10 for $35,000.
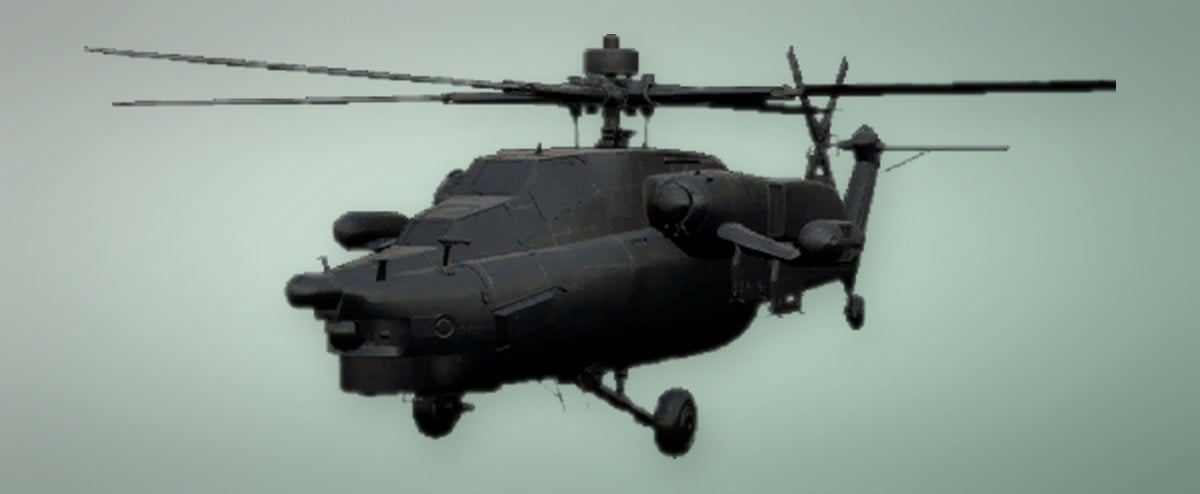
Havoc
The two-seat attack helicopter is the deep end. It’s the most expensive airframe in the game at $18,000 per match purchase, it needs Pilot level 35 and a $500,000 unlock, and destroying one pays the enemy $6,000. Spawning it free in the range is a fine way to see what you’re working toward, but combat flying adds aiming and positioning on top of the flight model.
Helicopter settings to change before your first flight
Do the settings pass first, in the range, before you try to hover. Vehicle sensitivity is a separate slider from your infantry sensitivity and lives in its own part of the options menu. A number tuned for flicking onto a torso at 30 metres turns every small hover correction into an over-correction.
The single highest-value toggle is Rotary Vehicle Mouse Control, which is off by default. Keyboard inputs are binary — you get full deflection or nothing — while the mouse lets you ask for a few degrees of tilt and then stop.
| Setting | Value |
|---|---|
| Rotary Vehicle Mouse Control | Enabled |
| Mouse swipe left / right | Yaw |
| Mouse swipe up / down | Pitch |
| Mouse pitch sensitivity | 80% |
| Mouse yaw sensitivity | 80% |
| Mouse axis isolation | 70% |
| Invert Y axis (air vehicle) | Disabled |
Below those sits the Flight Assists group. Stability Assist dampens pitch, roll and yaw; Auto-Hover Assist holds a hover when the collective returns to neutral; Turn Coordination adds a little yaw during banked turns; Envelope Limits caps extreme inputs. Leaving the assists on while you learn does not turn the flight model arcade, and nothing there will rescue a bad over-correction — the recovery always comes from easing off, never from adding more input.
The other change most pilots make is the collective, which is bound to W and S by default. Moving it frees W and S for the far more useful job of tilting the nose.
| Action | Common bind |
|---|---|
| Collective raise (climb) | Left Shift |
| Collective lower (descend) | Left Ctrl |
| Cyclic pitch (nose up / down) | W / S |
| Cyclic roll (bank) | A / D |
| Yaw left / right | Q / E |
| Free look | Left Alt |
| Toggle camera | C |
| Lock / unlock vehicle | L |
Binding collective raise to the spacebar is a popular choice, but in the beta build it unbound the parachute entirely. Left Shift avoids that trade.
Practice drills to run in the Firing Range
Run these in order and don’t move on until the current one is boring. Only the last two resemble anything you’ll do in a match, and skipping the first four is why people are still crashing a week in.
- Skids up, skids down: raise the collective until the airframe just leaves the pad, then feather it back down.
- Hover and release: get steady, take your hands off the controls, and watch what the helicopter does on its own.
- Full circle on the spot: yaw a complete turn, correcting any drift with small tilt inputs.
- Travel and stop: tilt forward, fly a straight line, then level out and arrest the movement without gaining height.
- The circuit: take off, fly a few hundred metres out, turn around, and land on the pad you left.
- Awkward landing: put it down on a slope or a rooftop instead of open flat ground.
Two things are worth drilling deliberately because they decide whether your passengers survive. The first is slowing down early — pulling back hard at speed converts momentum into altitude, which leaves you hanging over a landing zone instead of arriving at it. Rolling into a bank with the collective down sheds speed sideways and keeps you low, which is the basis of the J-hook experienced pilots use to drop into hot ground.
The second is the touchdown itself. Feather the descent with small taps near the ground, and the moment the first skid contacts, dump the collective all the way down. Light airframes want to tip on any uneven surface, and killing the lift instantly plants them.
How to confirm you’re flying it properly
You know the purchase worked when the airframe physically appears beside the vendor after you hit Purchase at $0. You know you’re in the right seat when the pilot HUD appears along the bottom centre of the screen instead of a passenger view.
That HUD is your scoreboard for every drill above. The central vertical bar is collective input, with the midpoint marking neutral. The bars flanking the helicopter icon show roll angle, the outer arrows show pitch attitude, SPD is airspeed in km/h, and ALT AGL is your height above the terrain — the number that matters on approach, as opposed to ALT ASL above sea level. A hover you can hold with the collective bar near its centre and the roll bars level is the drill actually passing, not just looking like it.
A clean landing leaves the helicopter undamaged, so if the airframe takes damage when you touch down, you arrived with too much vertical momentum. Toggle between raise and lower near the ground to settle it instead of dropping onto the pad, and repeat the circuit until touchdowns stop costing you hull.
None of that is glamorous, and ten minutes of hovering over an empty industrial yard is a strange way to spend time in a 100-player shooter. But the cost of learning here is zero, and the cost of learning in a live match is a helicopter plus everybody sitting in the back of it.