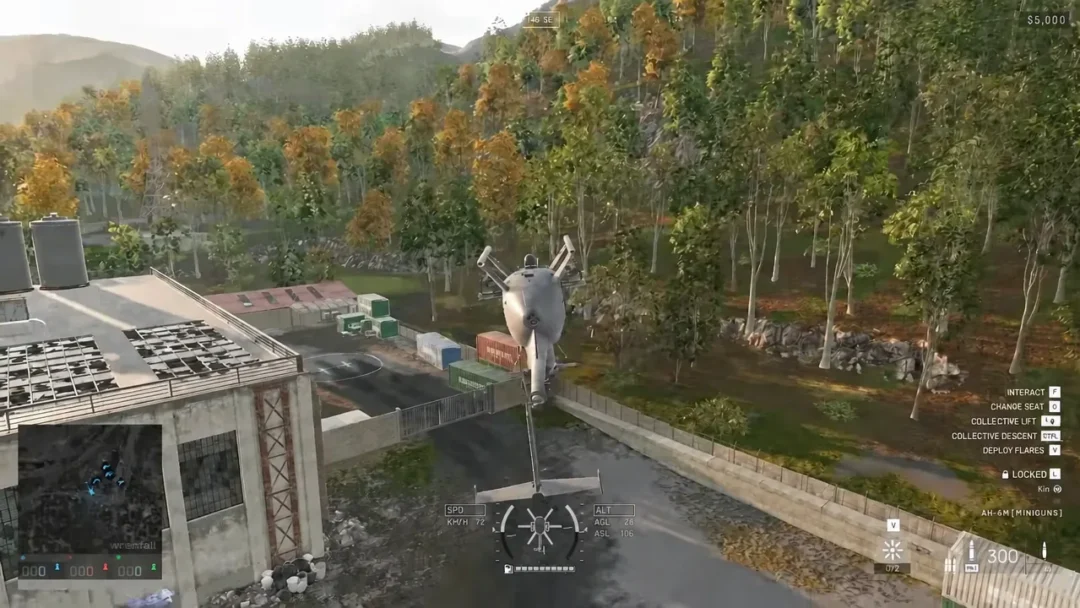
Helicopters decide a lot of rounds in WARDOGS, and the tank tab has exactly one answer to them. The Flakpanzer Gepard is the anti-air hull in the vehicle vendor’s Land catalogue, a two-seat tracked platform built around dual 35mm cannons. It is also one of the most expensive single purchases a player can make, and every cent of it is spent cash that does not come back when the hull burns.
Quick answer: The Flakpanzer Gepard costs $10,000 at the vehicle vendor in your faction’s safe zone. No role level and no one-time unlock fee gate it — you pay the full price every time you buy one.
Flakpanzer Gepard price and unlock requirements
The purchase price is $10,000, charged each time you spawn one. Unlike most of the vendor’s stock, the Flakpanzer Gepard carries no progression gate. It does not sit on the Pilot ladder, the Driver ladder, or any of the combat-role ladders, and there is no separate one-time unlock payment to add it to your catalogue. If you have the cash, the vendor will sell it to you.
That matters more than it sounds, because cash carries between matches and losses are permanent. Ten thousand dollars is the entire starting balance every account gets once. Buying the Gepard on an empty wallet means the next life is a free faction rifle and a walk.
Flakpanzer Gepard stats from the vehicle vendor
| Stat | Value |
|---|---|
| Price | $10,000 |
| Vehicle class | Tank |
| Variant | Anti Air |
| Seats | 2 |
| Top speed | 65.0 km/h |
| Fuel capacity | 110.0 litres |
| Fuel burned per km | 10.0 litres |
| Main armament | Dual 35mm cannons |
| Countermeasure | Smoke |
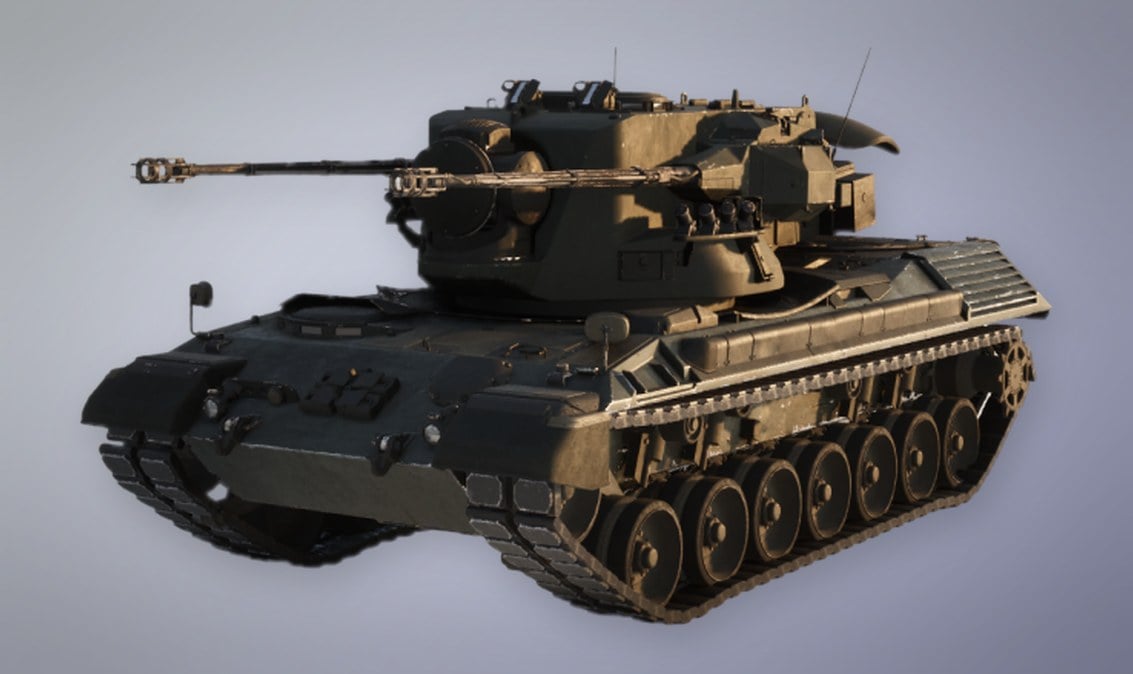
Two seats is the shape of the whole vehicle. The driver owns movement, positioning and the smoke launcher; the gunner owns the 35mm turret. Crewing it alone means choosing between being parked and blind or moving and silent, so the second body is a requirement rather than a bonus.
Fuel range: what 110 litres gets you
At 10 litres per kilometre against a 110-litre tank, a full Gepard covers roughly 11 kilometres before it runs dry. That is the thirstiest consumption figure in the land catalogue, and on a map measured in hundreds of square kilometres it rules out long repositioning drives. A 65 km/h top speed does not help either — it is the slowest thing the vendor sells, and it will never disengage from an aircraft by driving away.
Idling burns fuel as well, which is why the tutorial advice for artillery applies here too: shut the engine off before you switch to the gunner seat if you plan to sit on a position.
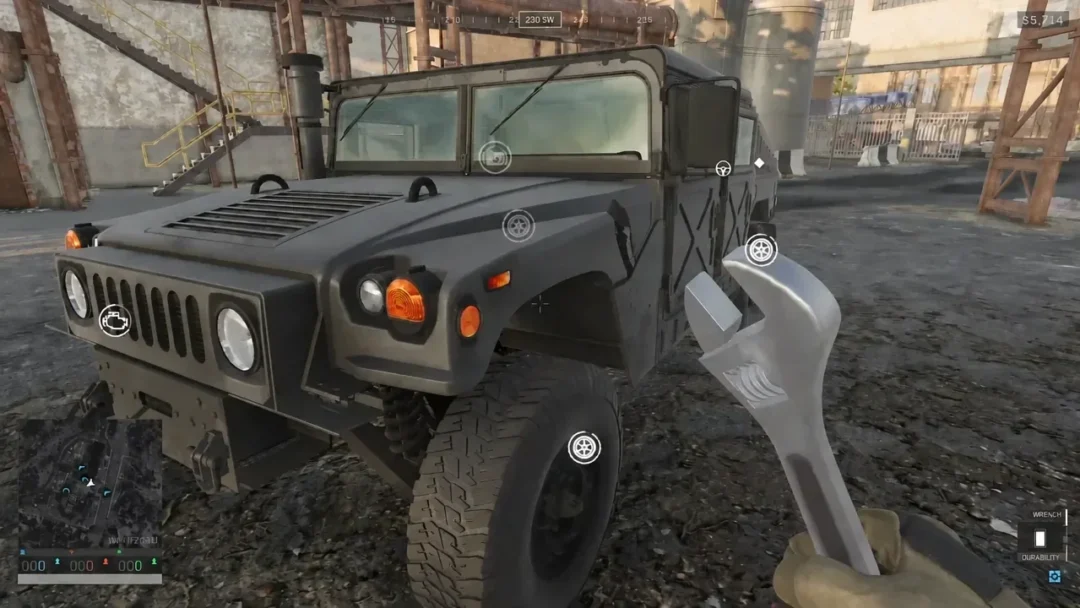
Refuelling and repairing are not free. You can top up at your faction’s headquarters or at a team-built FOB with a repair and refuel station, and you are charged for both. A Fuel Can bought in advance and stored in the vehicle inventory covers emergencies in the field.
How to buy the Flakpanzer Gepard at the vehicle vendor
The Gepard is never placed in the world during a match. The only way to get one is to buy it, and the purchase happens at the dedicated vehicle vendor rather than the equipment vendor.
You know the purchase landed when the tank is physically sitting in the vehicle spawn and the Enter Vehicle interaction prompt appears as you approach it. Once inside, the dashboard icons report hull status, and smoke from the vehicle signals damage that needs a repair tool or a trip back to a refuel and repair point.
Vehicle vendor locations by map
Each faction — Lonestar, Valkyra and Manticore — has its own vendors, and their rough placement follows the faction’s side of the map.
- Bakurani: Manticore to the west, Lonestar to the north, Valkyra to the east.
- Bakurani Outskirts – Jutari: Manticore west, Lonestar north, Valkyra east of the map centre.
- Ozeti: multiple vendors per faction, spread north-west and south-west for Manticore, north for Lonestar, east and south for Valkyra.
- Zestafona: Manticore east, Lonestar north, Valkyra south-west.
Flakpanzer Gepard damage modifiers: what actually kills it
The hull applies a modifier to every incoming damage type. A negative number means it takes less damage than base; a positive number means it takes more.
| Damage source | Modifier |
|---|---|
| Bullets | -100% (immune) |
| Ricochets | -95% |
| Claymores | -95% |
| 35x228mm cannon | -88% |
| 20x102mm cannon | -75% |
| Cannon fire in general | -70% |
| Grenades and close blast | -60% |
| 30mm cannon | -40% |
| 122mm rockets | -40% |
| C4 | -25% |
| 120x800mm rockets | -15% |
| Rockets and direct blast (incl. RPG-7 93mm) | +17.5% |
| 40mm grenades | +20% |
| IEDs | +30% |
| 120mm rockets | +40% |
| 155mm artillery | +75% |
Small arms are a non-issue. Rifle fire, ricochets and claymores are effectively wasted on the hull, and even autocannon rounds land at a fraction of their listed damage. Infantry with standard weapons cannot meaningfully threaten it.
Everything that kills it comes from the positive half of the table. Shoulder-fired rockets land a 17.5 percent bonus, 40mm grenades and IEDs do more than their base, and 155mm artillery hits for 75 percent extra — the single hardest counter on the list. The first burst of 35mm fire advertises your position to every launcher on the map, which is why the smoke launcher and a pre-planned reverse route are worth more than another second of fire.
The practical read is a hull that is almost untouchable in the direction it is designed to face and fragile from the dirt. Park it where it covers the air lanes into the Control Zone without sitting on the zone itself, keep ground support nearby, and treat every opened compound alley as a place the 35mm cannot help you.