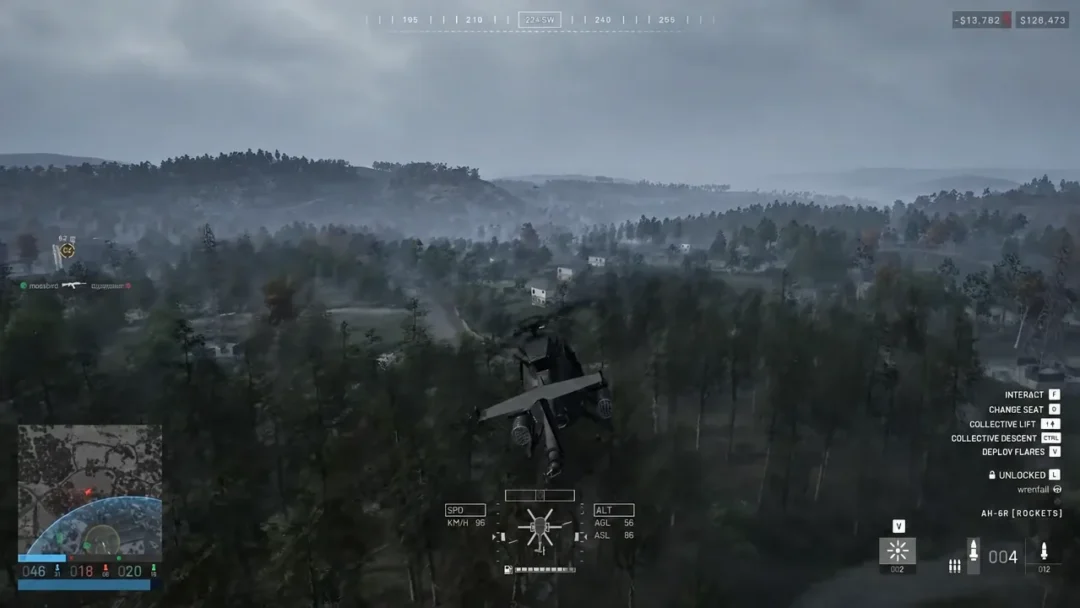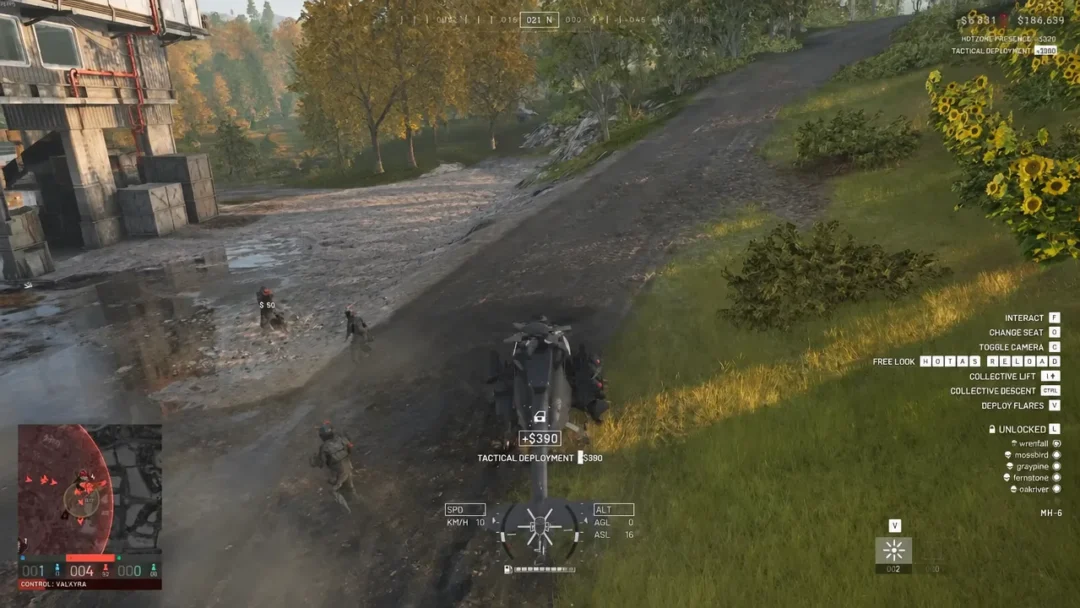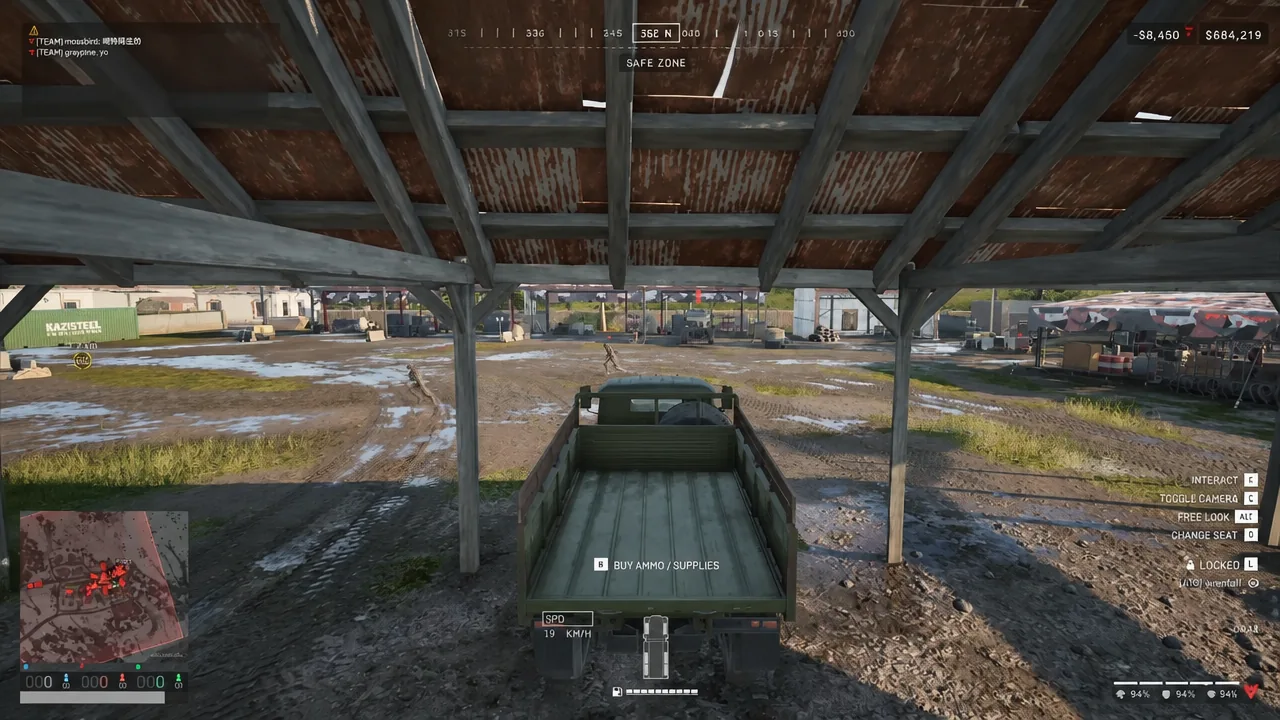
Hauling pallets is the least glamorous job in WARDOGS, and it is also one of the most reliable ways to end a match with more money than you started with. The truck route from your main base to a forward operating base pays twice per pallet, and the second payment keeps arriving long after you have driven away.
Quick answer: Buy $400 pallets at the garage vendor, haul them by Ural to a FOB your team is actively using, then manually unload each one. The delivery pays $2,500 and the unload adds $1,800.
What one pallet is worth
A pallet is not a single transaction. It is a purchase, a delivery reward, and a consumption reward, and the last one only fires if someone on your team actually breaks the pallet down and uses what is inside.
| Stage | What happens | Cash |
|---|---|---|
| Purchase | Buy a pallet at the garage vendor | -$400 |
| Delivery | Pallet reaches a friendly FOB | +$2,500 |
| Unload | Supplies are broken down and used | +$1,800 |
| Net | Per completed pallet | +$3,900 |
Ammunition pallets are the better buy over build supplies once a position is established. Every time a teammate reloads from the stock you dropped, or a friendly mortar feeds off it, a supply assist payout lands in your account. Those payments arrive in waves and do not require you to be anywhere near the FOB when they trigger. Supply work also feeds the Support track, which unlocks better building tools and vehicle repair options later.
The kit you need before you drive
Keep the loadout cheap. You are going to get shot at eventually, and a driver who dies wearing a $15,000 kit has just erased four deliveries. A workable logistics kit costs a few thousand dollars and nothing more.
- Bushmaster M17S — free assault rifle, 28.0 damage per shot, 700 rounds per minute, no attachments.
- Level 2 Armor — $1,000, 220 durability, covers upper, middle and lower torso. Unlocks at Wardog level 30 for a one-time $50,000 fee.
- Field Backpack — $650 for a 6×2 grid with 12 storage slots. Unlocks at Wardog level 12 for $20,000.
- Small Tac Vest — $100, opens quickslots 5 and 6 and speeds up reloads and utility swaps. It adds no storage.
- Medium Hammer — $800 building tool for large and basic buildables. Unlocks at Support level 3 for $25,000.
- A wrench and a fuel can, so one truck lasts the whole match instead of one trip.
If you are running a shotgun instead of the free rifle, Rifled Slug ammunition costs $200 and unlocks at Wardog level 41 for a $5,000 fee.
Running the loop from base to FOB
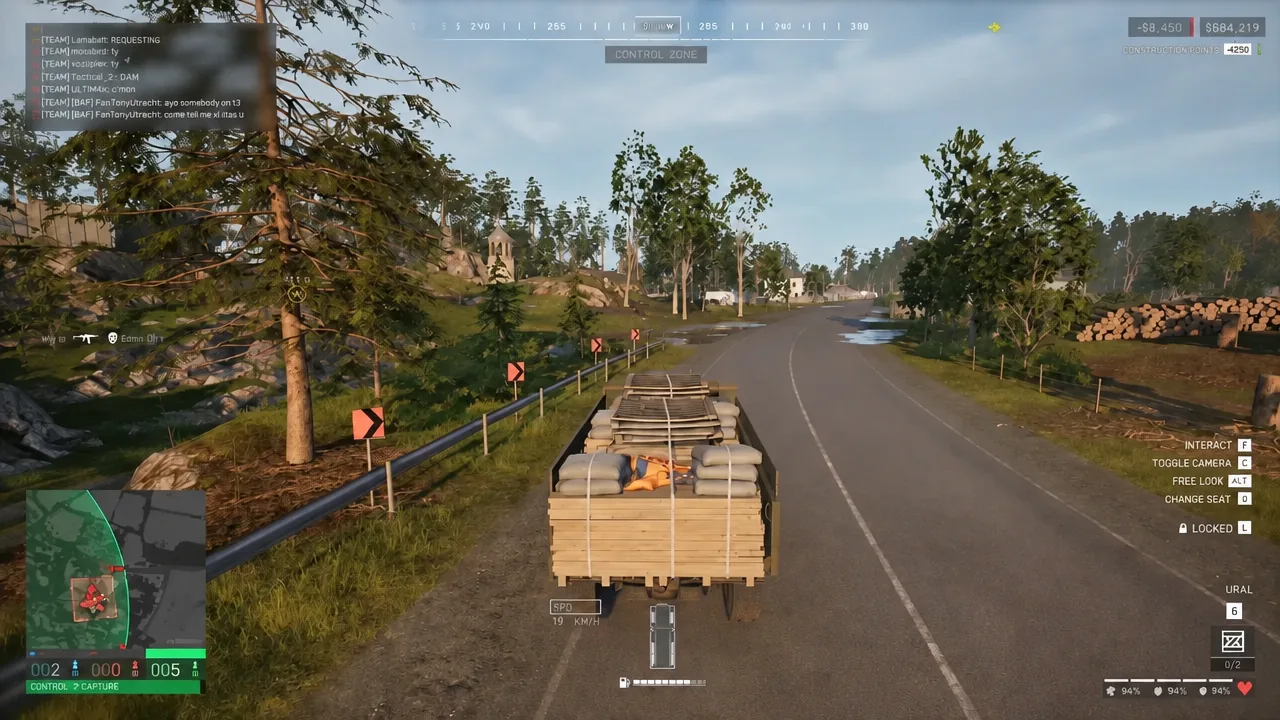
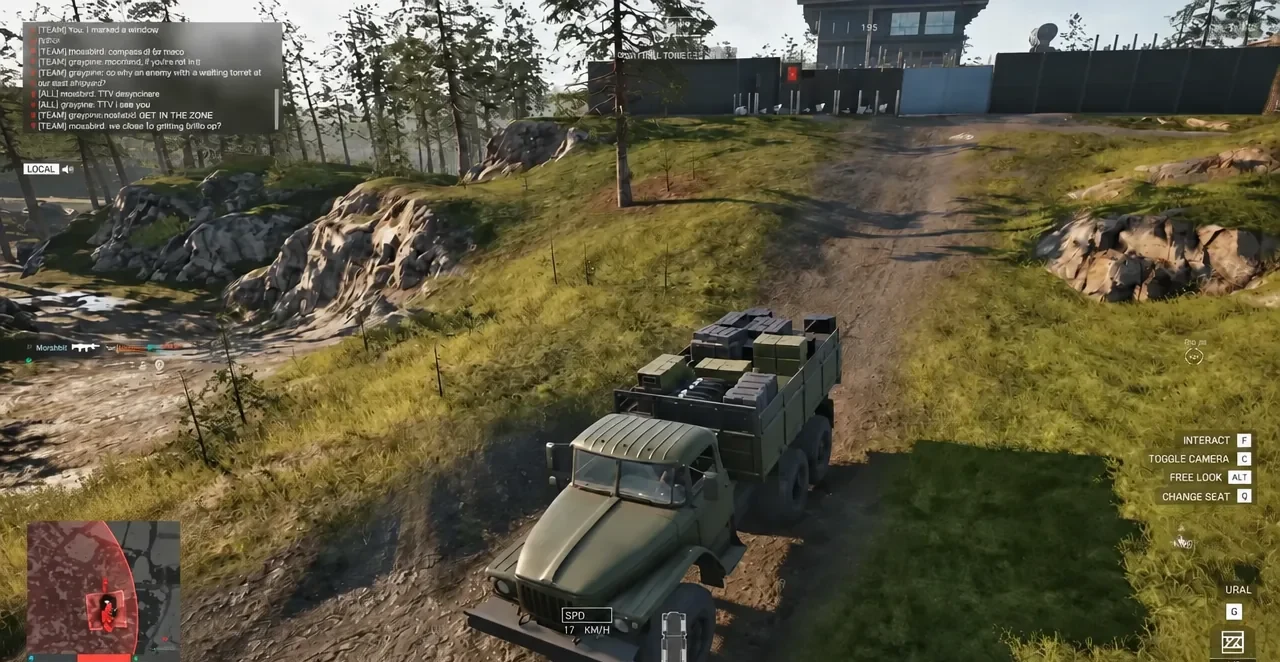
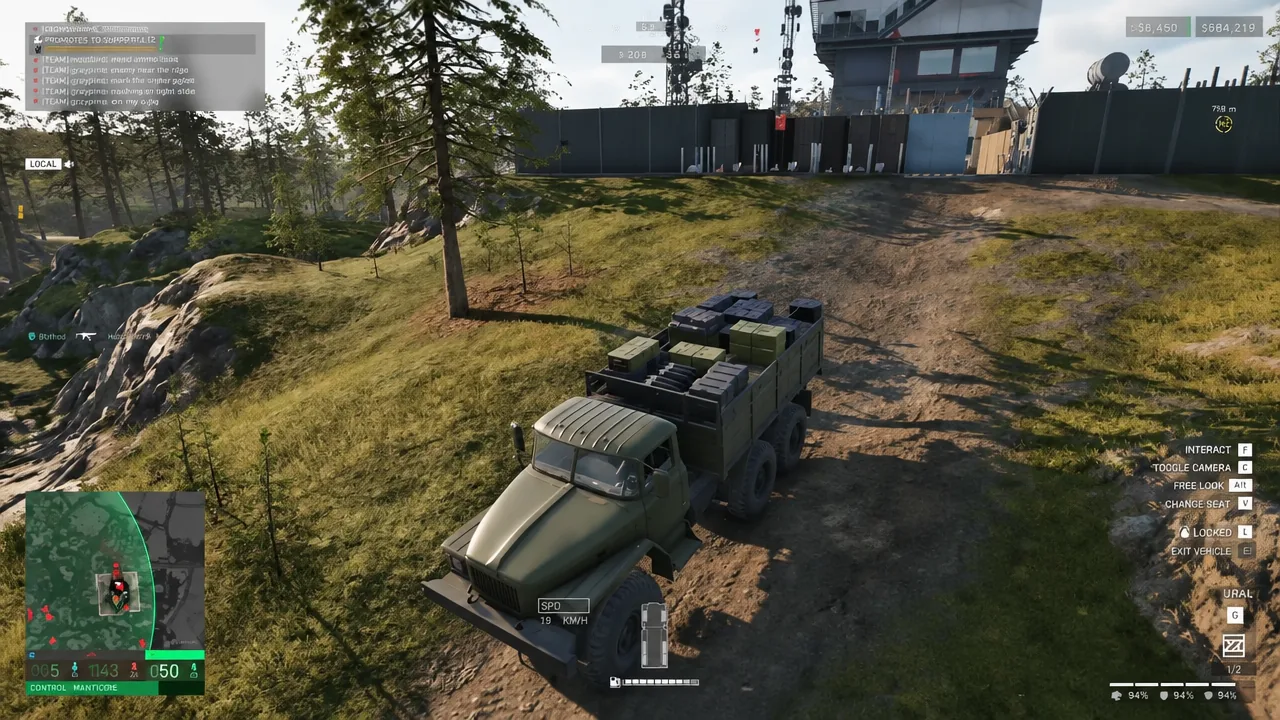
The first lap will show a negative balance, because the FOB blueprint, the truck and your kit all land before any delivery reward does. That is normal. Two or three completed pallets clear the setup cost, and everything after that is profit.
Choosing a FOB that pays
Delivery reward and consumption reward come from two different behaviors. The first depends on you. The second depends on teammates being there to use the supplies, which makes FOB selection the single biggest variable in your hourly rate.
- Prioritize positions near the active Control Zone, where players are reloading constantly.
- Favor FOBs with friendly mortars or emplacements, which burn through ammunition without any player input.
- Skip isolated FOBs nobody is spawning at, no matter how close they are to base.
- Pick up teammates you pass on the road. Transport pays, and the seats are already there.
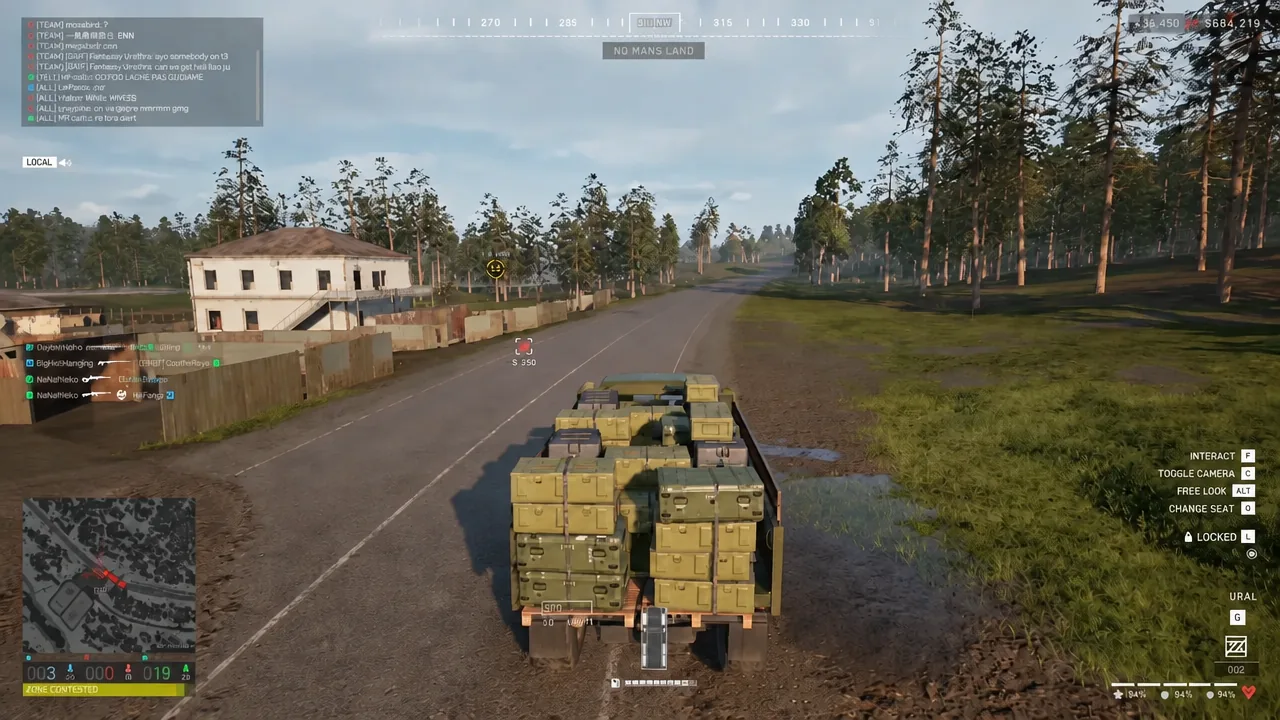
Confirming the delivery actually paid
You do not have to guess whether a run counted. Each pallet that is broken down returns +$1,800 and Support XP immediately, shown on screen as the payout notification. After that, supply assists start arriving as a rapid series of separate cash notifications every time the stock gets used, often minutes later and several kilometers away from where you are.
Open the scoreboard between trips to check the running total. A driver who keeps the loop tight will climb it without firing a shot, and the role counters at the end of the match tick up alongside the cash — driver, support and medic credits all accumulate from the same route.
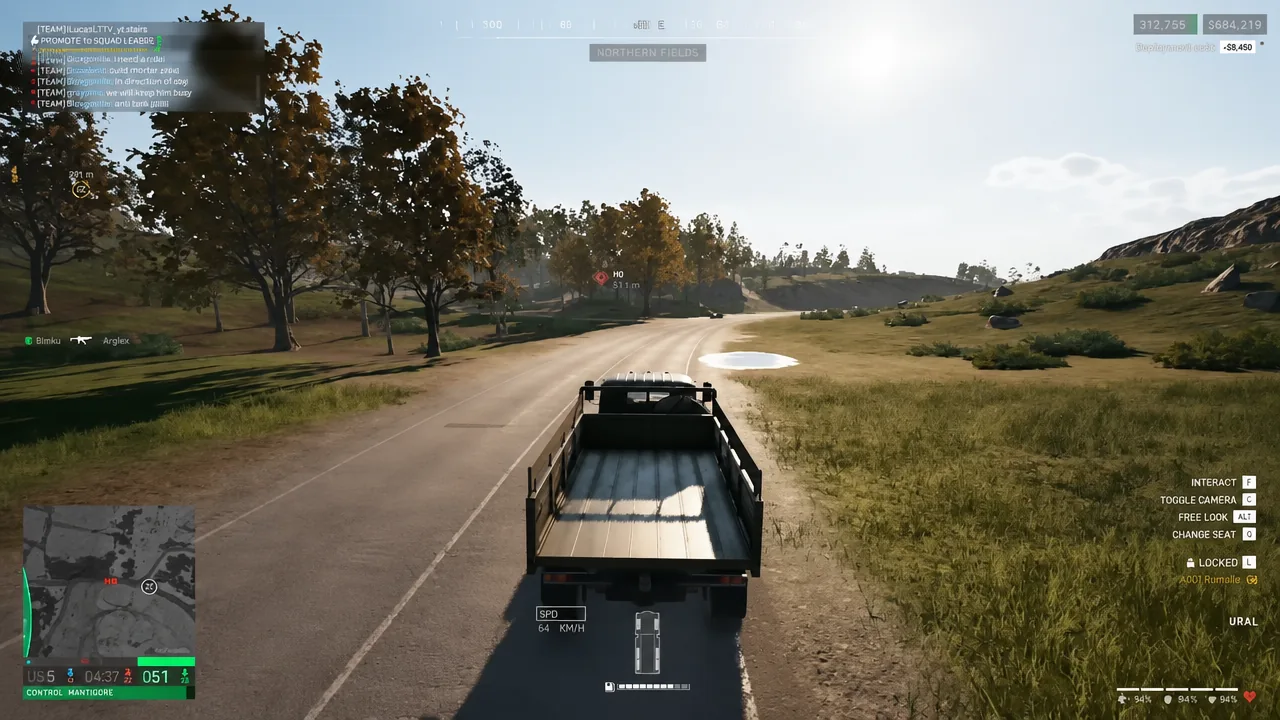
What cancels the payout
Two things can turn a paid run into a half-paid one, and both are avoidable.
Pallets are destroyed by high-speed impacts, with roughly a 90-meter free fall as the ceiling. Air-dropping from too high or while moving too fast breaks the crate. The $2,500 delivery still appears to register, but the FOB can no longer use the supplies, so the $1,800 never comes.
The other failure is delivering to a FOB nobody touches. An unopened pallet is a delivery reward and nothing else, and the passive income that makes this loop worthwhile never starts. Roads are also a live threat — roadside C4, small arms fire from passing enemies and ambushes at your own base gates are all part of the job. Dying is survivable, though. Respawn at a beacon, run back to the truck, and loot your own corpse to recover the kit you already paid for.
What a full match of runs returns
Sustained over roughly an hour of pallet laps, the loop produces numbers that combat players rarely match. One full match of ammunition running finished with $148,775 earned against $27,700 spent, plus $719 refunded, for a total profit of $140,582 — enough to briefly take first place on the live scoreboard. The team still lost the match, which is the point worth noting. Your earnings and your team’s score are separate ledgers.
| Line item | Amount |
|---|---|
| Cash earned | $148,775 |
| Cash spent | $27,700 |
| Cash refunded | $719 |
| Total profit | $140,582 |
Cash carries between matches, so a single good logistics session funds several expensive lives later. Finishing a match alive matters too, since surviving to the end returns most of your loadout cost rather than writing it off. Keep the truck fueled, keep the pallets flowing to a FOB people are actually using, and the account balance takes care of itself.