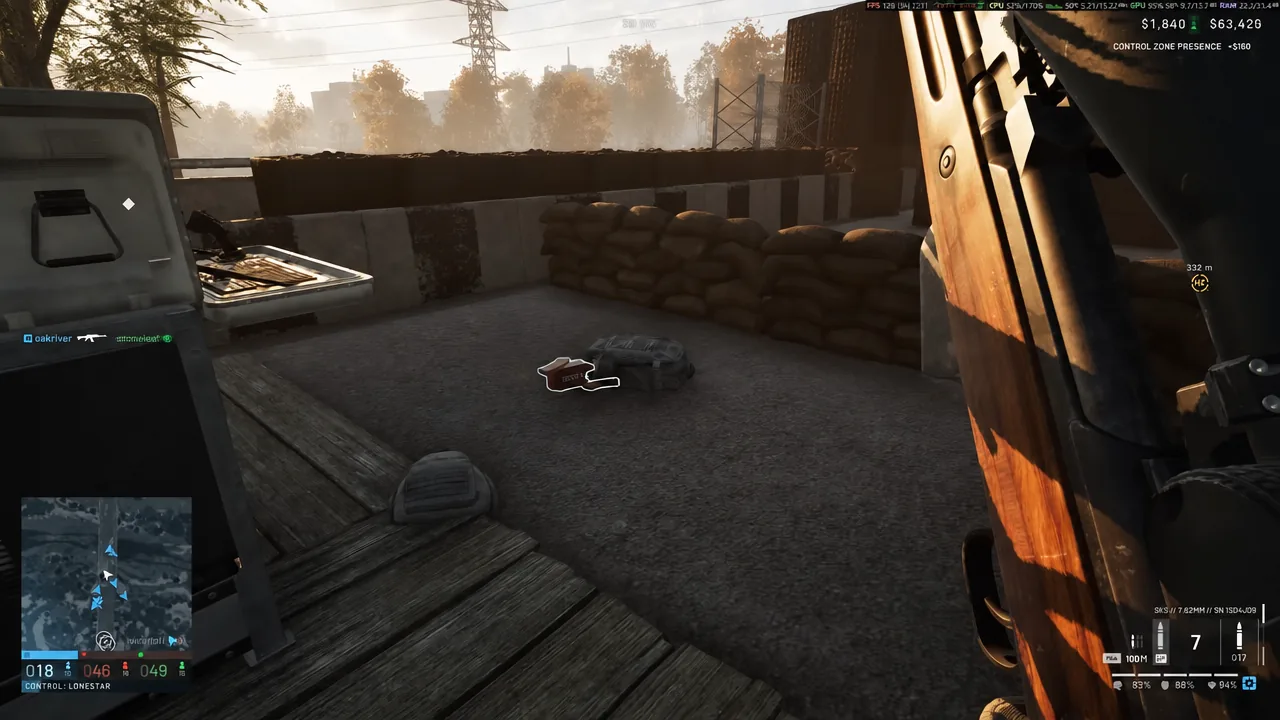
Going broke in WARDOGS is not a soft landing. Your wallet carries between matches, every life is bought from that same balance, and a couple of expensive deaths can leave you staring at a loadout screen with $0 and empty slots. The good news is that the game never actually locks you out. There is a free rifle, a free bag, and a battlefield full of bags dropped by players who spent more than you did.
Quick answer: Take the free rifle and click its single magazine, deploy into the Control Zone, and loot dropped player bags. Standing in the zone pays cash even when you carry nothing.
What $0 still buys you at the vendor
Two assault rifles sit at $0 on the vendor list, and they are identical on paper. The Bushmaster M17S and the KH-2002 both fire 5.56x45mm, run at 700 rounds per minute with a 715 m/s muzzle velocity, and weigh 3.17 kg. Neither one takes attachments, and both are limited to semi and burst fire.
| Free rifle | Damage per shot | Rounds per minute | Price |
|---|---|---|---|
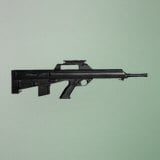 Bushmaster M17S Bushmaster M17S | 28.0 | 700 | $0 |
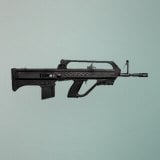 KH-2002 KH-2002 | 28.0 | 700 | $0 |
Headshots land for 65.8, and a body hit on armour drops to 11.2, so the free gun is a tool for finishing off damaged players and for defending yourself long enough to reach a corpse, not for winning even fights against kitted infantry.
The rest of the free kit is small but real. The POUCH backpack costs $0 and gives you six storage slots, which is enough to carry what you strip off one body. You also get a single magazine of standard FMJ ammunition and a reviver.
The free magazine is not automatically loaded into your kit. You have to click it on the loadout screen before you deploy, or you will spawn holding a rifle with nothing in it.
Loot dropped player bags in the Control Zone
Everything a player buys stays on the ground when they die. In a contested area that means backpacks, containers, loose magazines and ammunition boxes piled up wherever a fight went badly for someone. Re-gearing is a matter of walking to that mess before anyone tidies it up.
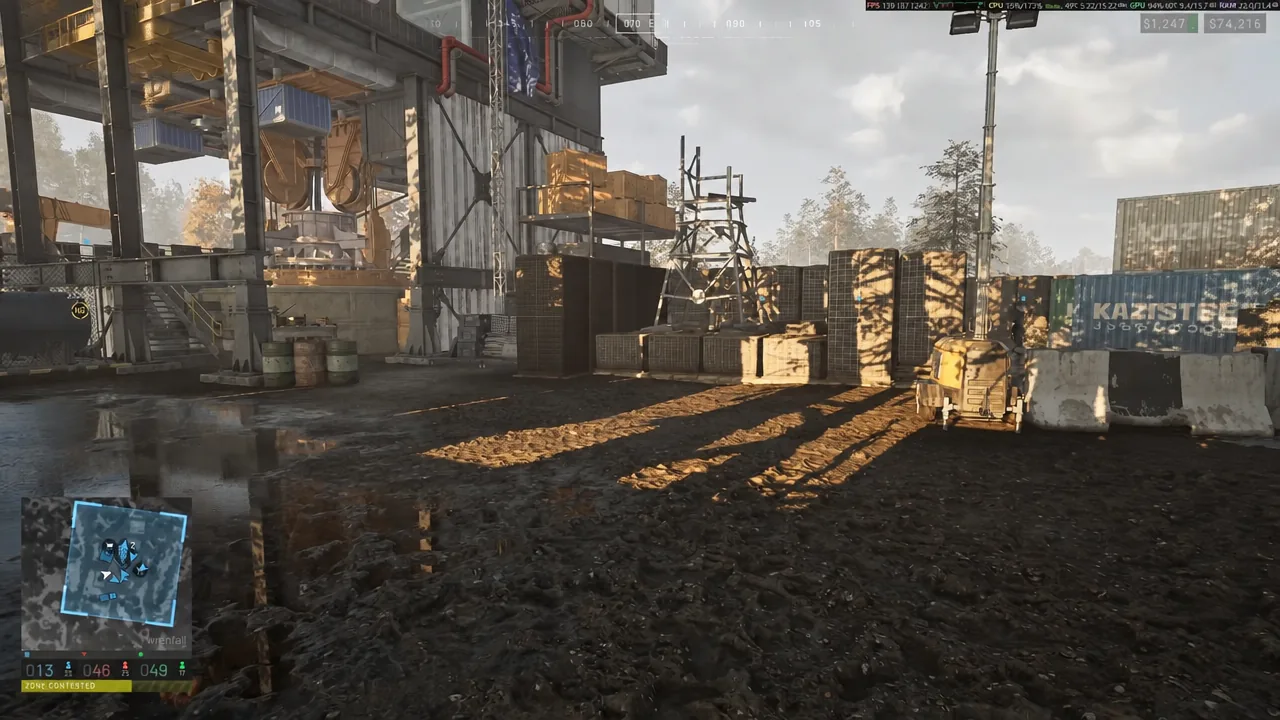
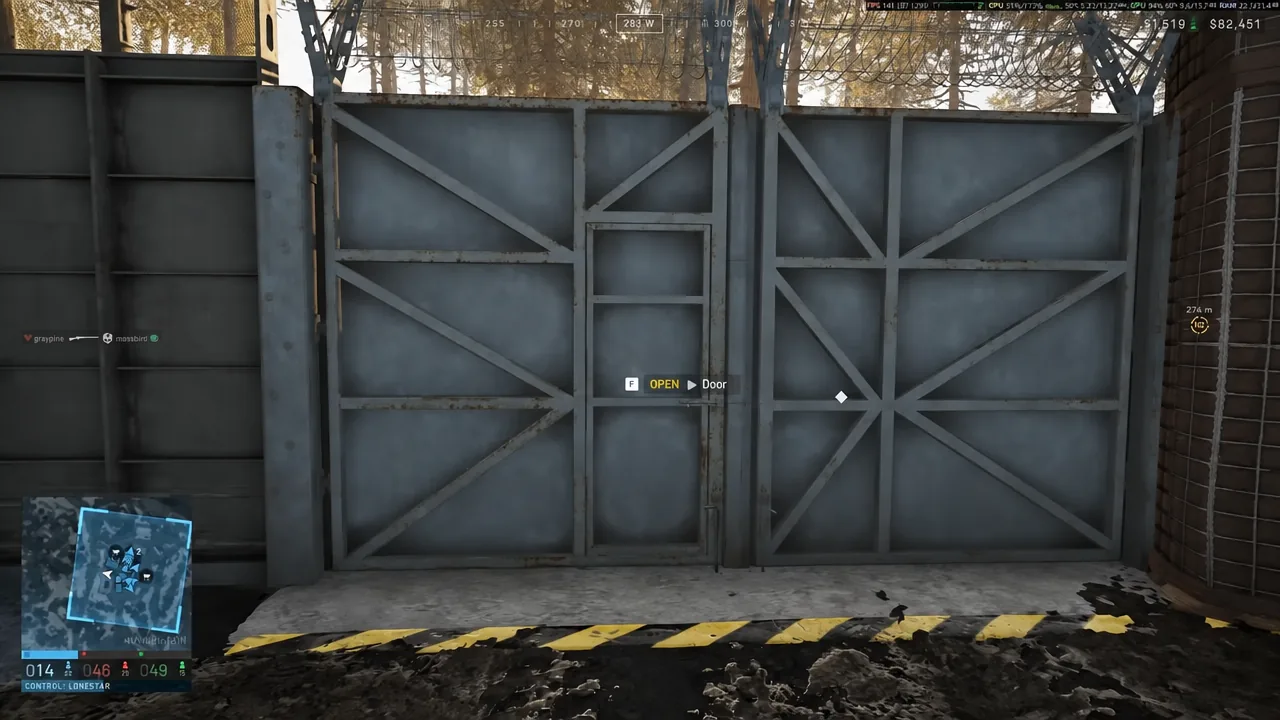
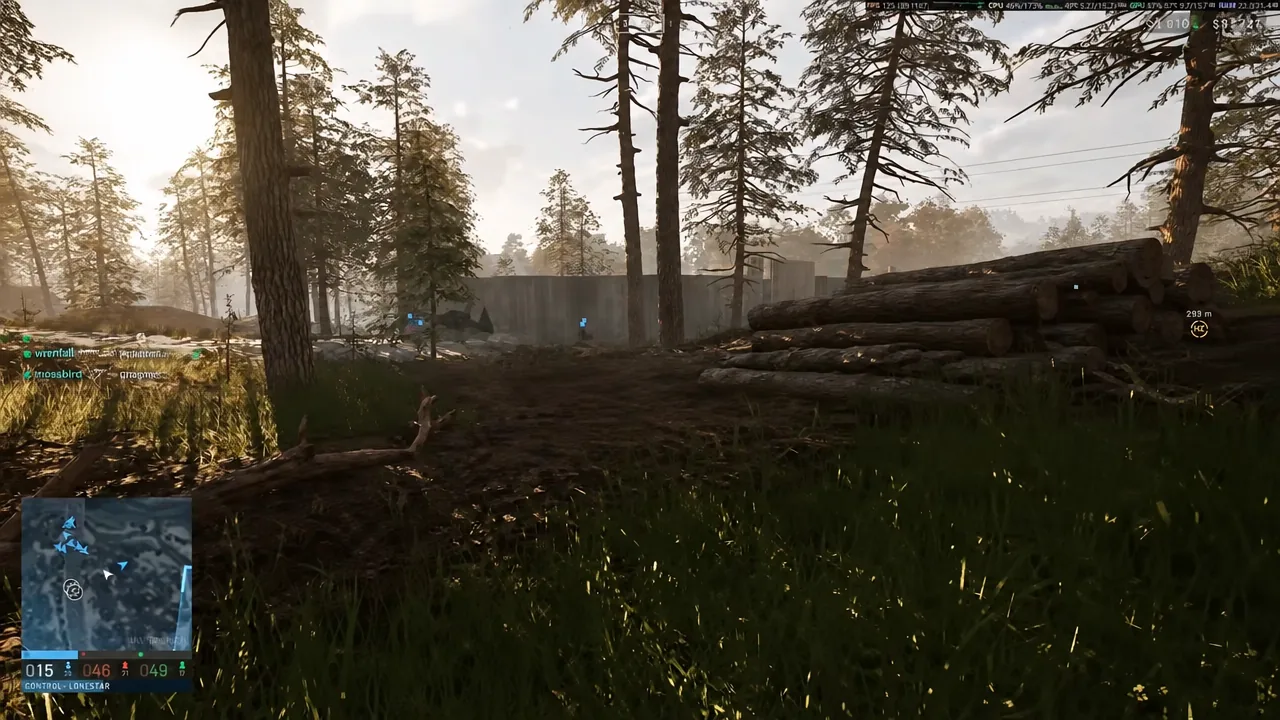
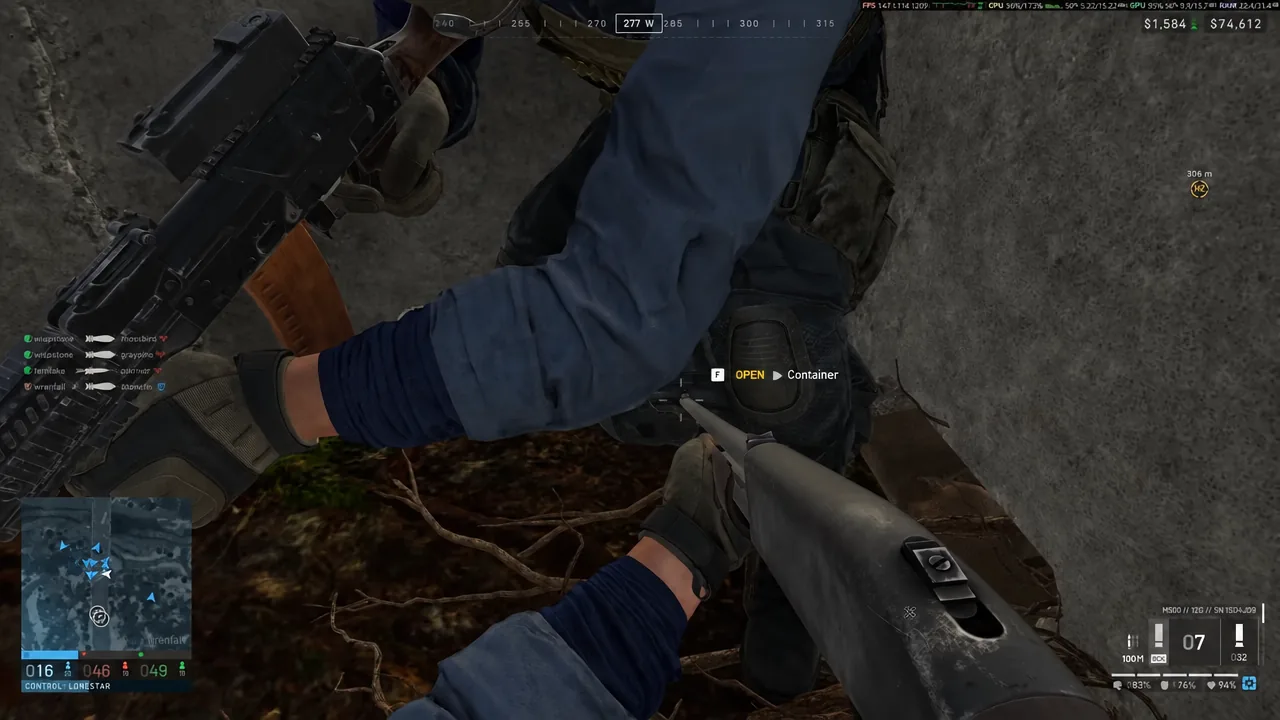
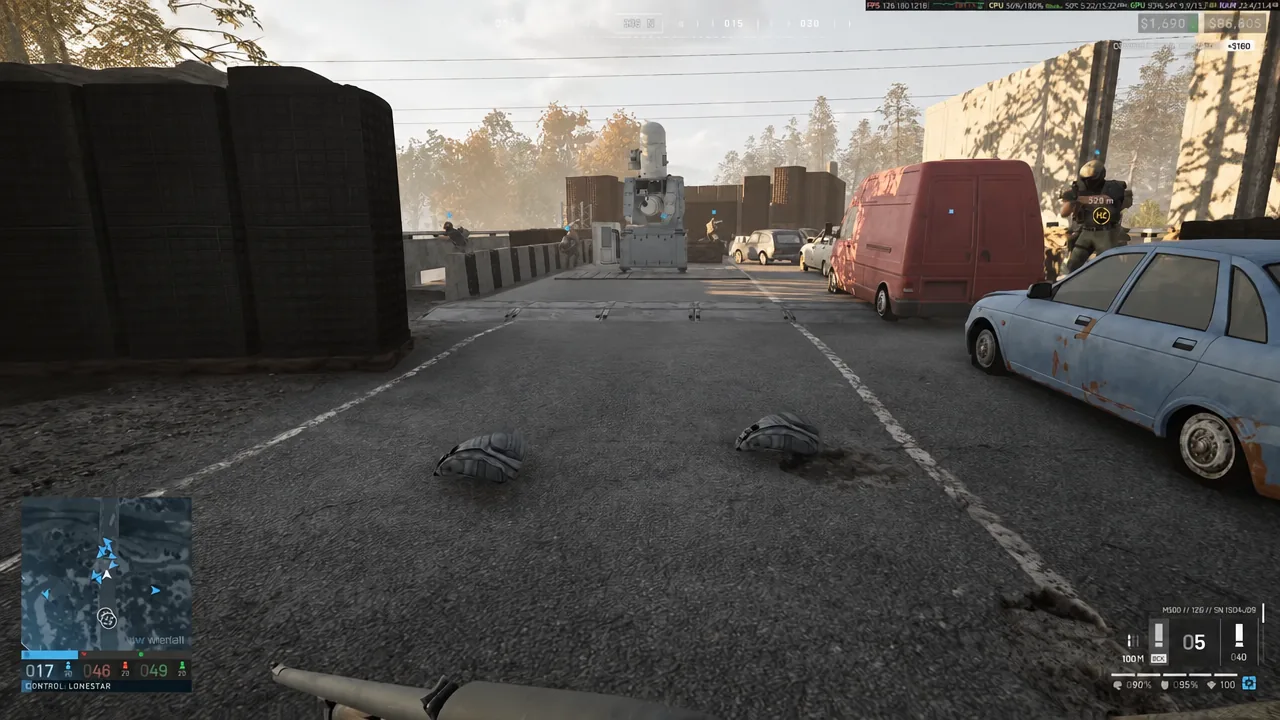
Scavenging is the fastest way back to a full kit, but it puts you in the middle of the fighting with the weakest gear on the field. It works best when your faction already holds the ground you are looting.
Earn cash with no gear and no kills
Kills are not how money is made here. Holding ground, supporting teammates and moving things around are, and none of those require a loadout you cannot afford.
Stand in the zone
Presence in the Control Zone pays on a timer whether or not you fire a shot, and the Hot Zone doubles both the cash and your weight toward zone control. Parking near a friendly capture tower and staying alive is the most passive income in the game. It is slow and dull, but it is positive, and a single tick in the zone already puts a free loadout in profit.
Spot and mark for your team
Optics are the cheapest job on the board. Binoculars, a monocular or a range finder let you mark enemies, vehicles, helicopters and parachuting infantry, and every mark you hold on target pays out in cash and Recon XP. Find a vantage point over an active area, keep your reticle on targets long enough to tag them, and refresh the older marks so they stay on the map for everyone else. If you cannot afford a set of binoculars, they turn up in dropped bags constantly.
Build, revive and run supplies
Building pays for placing and hammering structures, and it keeps paying when teammates use what you built. Revives and healing pay. Hauling supply crates to a friendly FOB pays, and so does transporting players. A medium hammer spawns inside each placeable FOB, so you can join a building crew before you can afford your own tools.
Once you have a few hundred dollars again, transport becomes an option. The Bobcat is a two-seat transport at $500, with a 75 km/h top speed and an 18 litre tank that burns 2.2 litres per kilometre. It is bought from the vehicle vendor in your faction’s safe zone and never spawns out in the world, and destroying one pays the attacker $100, so it is a taxi rather than a fighting vehicle.
What to buy first when the money comes back
Rebuild in the order that keeps you alive and earning, not in the order that feels powerful. Ammunition and magazines are separate purchases from the weapon, so budget for them before you look at anything expensive.
| Item | Price | Unlock |
|---|---|---|
| AK74 30 RND Magazine | $35 | Assault level 3 |
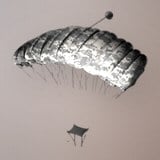 Basic Parachute Basic Parachute | $100 | — |
| Medium Tac Vest | $250 | Wardog 14, $10,000 fee |
| Field Backpack | $650 | Wardog 12, $20,000 fee |
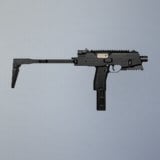 AMP-9 AMP-9 | $900 | — |
| Assault Backpack | $1,200 | Wardog 32, $50,000 fee |
A parachute at $100 is the highest-value cheap purchase on the list if helicopters are ferrying your faction around. It is single use, has to be deployed manually and cannot be steered, but it turns a free helicopter ride into a survivable one.
The AMP-9 is the first weapon worth the money after a recovery run. At $900 it fires 9x19mm in semi and full auto at 900 rounds per minute for 22.0 damage a shot, weighs 1.4 kg, and feeds from a 50-round drum. It hits for 8.8 through armour, so it rewards close range and headshots rather than trading at distance.
Storage is worth more than most players expect. The Field Backpack gives 12 slots in a 6×2 grid for $650, and the Assault Backpack moves you up to a 5×5 grid with 21 slots for $1,200. The Medium Tac Vest at $250 unlocks quickslots 5 to 8 and speeds up reloads and utility swaps, but it adds no storage of its own.
Unlock fees are charged once and are separate from the per-life price, and vendor prices are cut in half until you pass Wardog level 9. If you are still under that level, buying the expensive permanent unlocks now costs half what it will later.
The pattern that works out of a $0 balance is simple enough to repeat. Take the free rifle and its one magazine, get into the zone where your faction already has bodies on the ground, strip a kit out of two or three bags, and then spend the rest of the match doing work that pays without spending, whether that is holding the zone, marking targets or swinging a hammer. Rebuild in cheap steps after that, and keep your loadout at a price you would not mind losing.