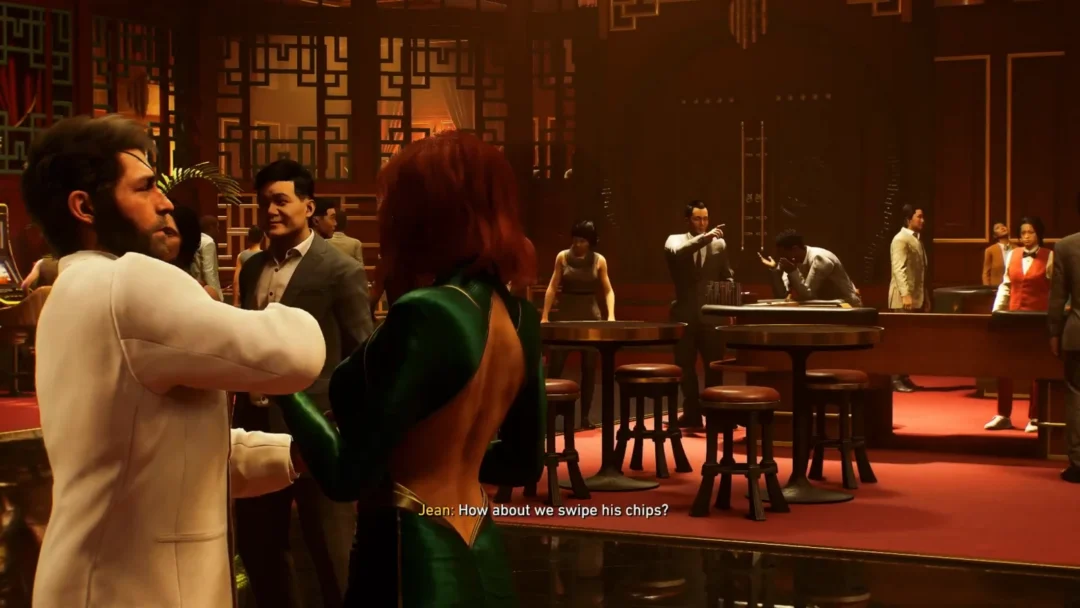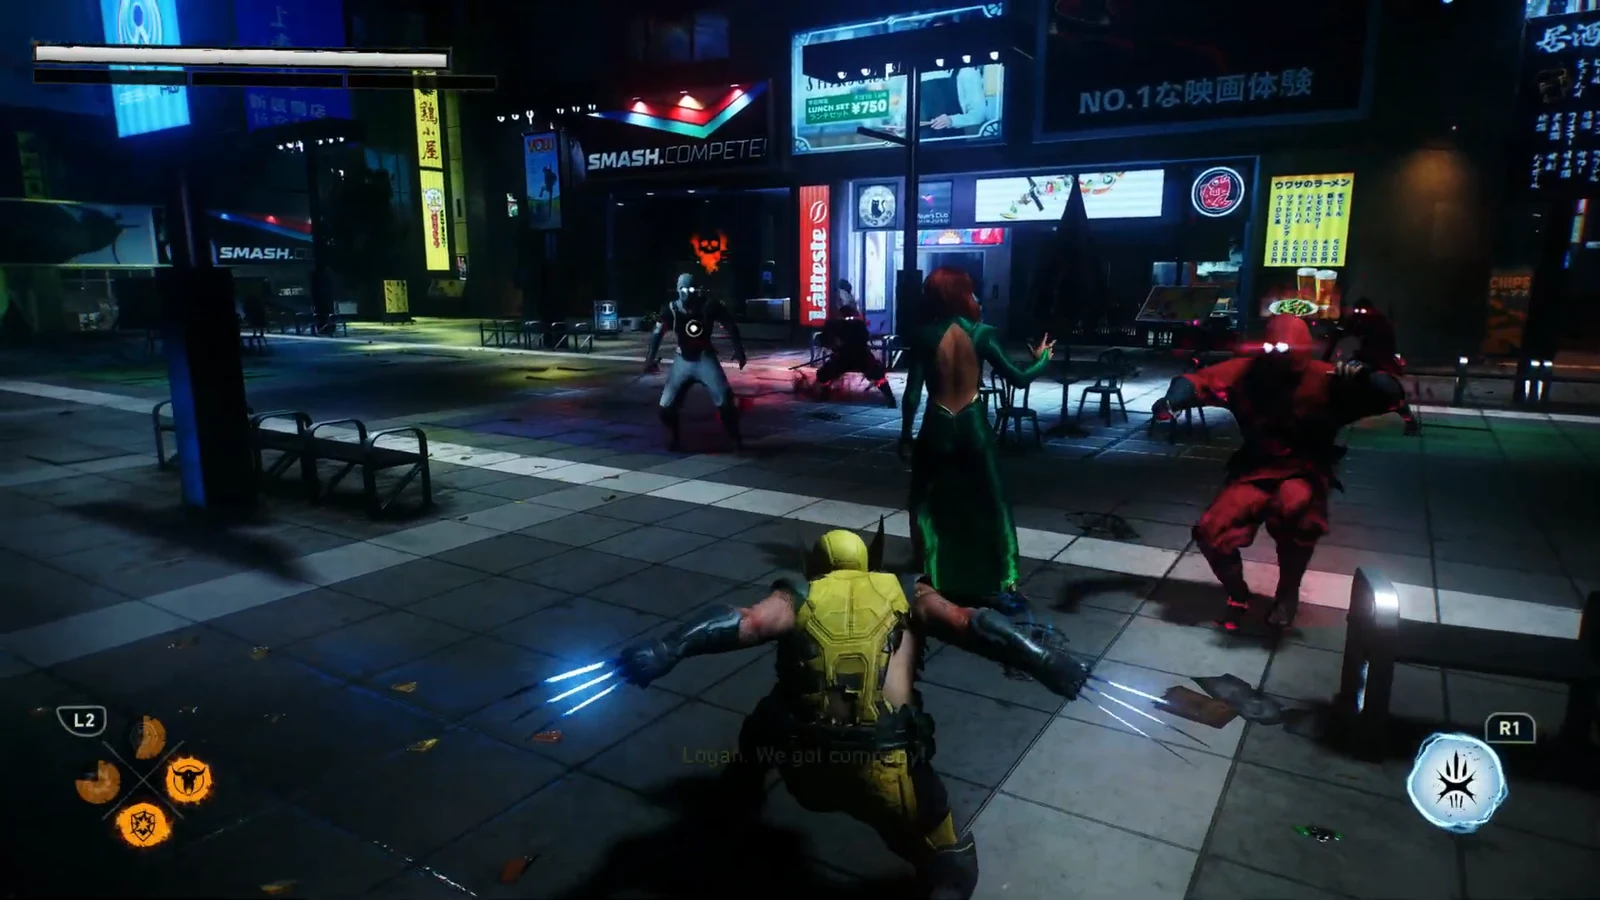
“We Were Wrong” is the sixth mission of the Japan chapter in Marvel’s Wolverine, and it drops Logan and Jean into a wrecked, rain-soaked stretch of Shinjuku while they follow a trail of glowing footprints. The route runs from a truck-lined street into a Hand-infested nightclub, out through the neon alleys, and finally into a sake warehouse with a boss waiting in the loading bay. Six collectibles are scattered along the way, and every one of them sits slightly off the critical path.
Quick answer: Five Material Crates and one whisky bottle, the Revolto, are all that this mission counts toward 100 percent. There is no Nightmare Door here.
Every collectible in We Were Wrong
The list below follows the order you naturally reach each pickup. Every Material Crate awards +50 Materials, which feed straight into suit and gear upgrades.
| Collectible | Landmark | Area |
|---|---|---|
| Material Crate 1 | Far side of the white truck | Opening street |
| Material Crate 2 | Ledge on the right as you enter | Nightclub |
| Whisky Bottle: Revolto | Behind a white truck on the left fork | Alley after Essex |
| Material Crate 3 | Alleyway right of the left street | Flipped car junction |
| Material Crate 4 | Left of the courtyard entrance | Warehouse courtyard |
| Material Crate 5 | Immediate left at the stair bottom | Basement |
Material Crates 1 and 2: Street level and the nightclub
Revolto whisky bottle: Take the left fork after the Essex cutscene
Essex warns the pair about the Engine’s power, then you break out through the hole in the kitchen wall and land back in the alleys. The path shortly splits in two. The glowing footprints pull you right, so ignore them for a moment and head down the left branch instead.
Another white truck is parked near a barricade on that side. Check behind it on the sidewalk to grab the Revolto bottle, the only whisky in the mission. Once it is in your inventory, backtrack to the fork and resume the footprint trail.
Material Crates 3 and 4: Ambush street and the warehouse courtyard
Hand enemies and the smoke apparitions an injured civilian warns you about jump you in the street. Fight them off, then keep moving until you reach a junction marked by a flipped-over car. From the car, take the left street and look for an alleyway on your right. The third crate is down that alley beside a red wall.
After that comes an open plaza fight against waves of Hand assassins and archers under the billboards. Keep tracking the giant footprints past it and you will arrive at a building with a courtyard. A tower with yellow Japanese lettering is attached to it, which makes the spot easy to recognize.
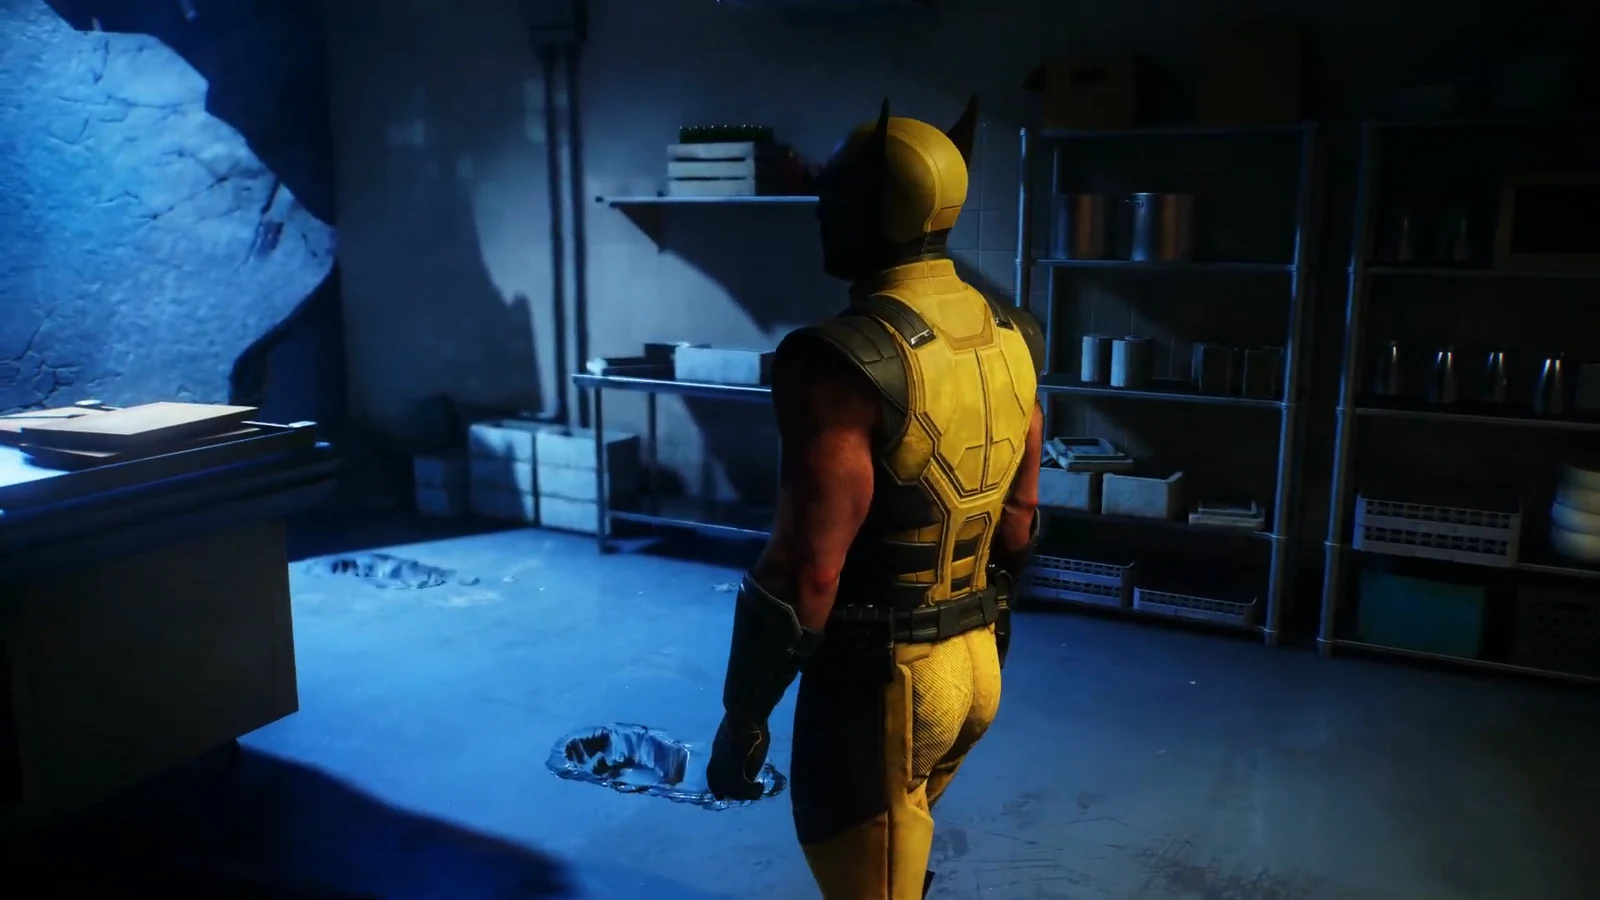
From the courtyard entrance, turn left and search behind the parked truck for the fourth crate. It sits in the enclosed area just before the warehouse proper.
Material Crate 5: Down the basement stairs
Inside the warehouse you move between rows of large sake barrels and catwalks, with patrolling guards open to stealth takedowns before the fight goes loud on the lower floor. Push through the reinforcements with Jean, then break past the red-lit security gates into the storage level below, where teleporting Hand assassins attack.
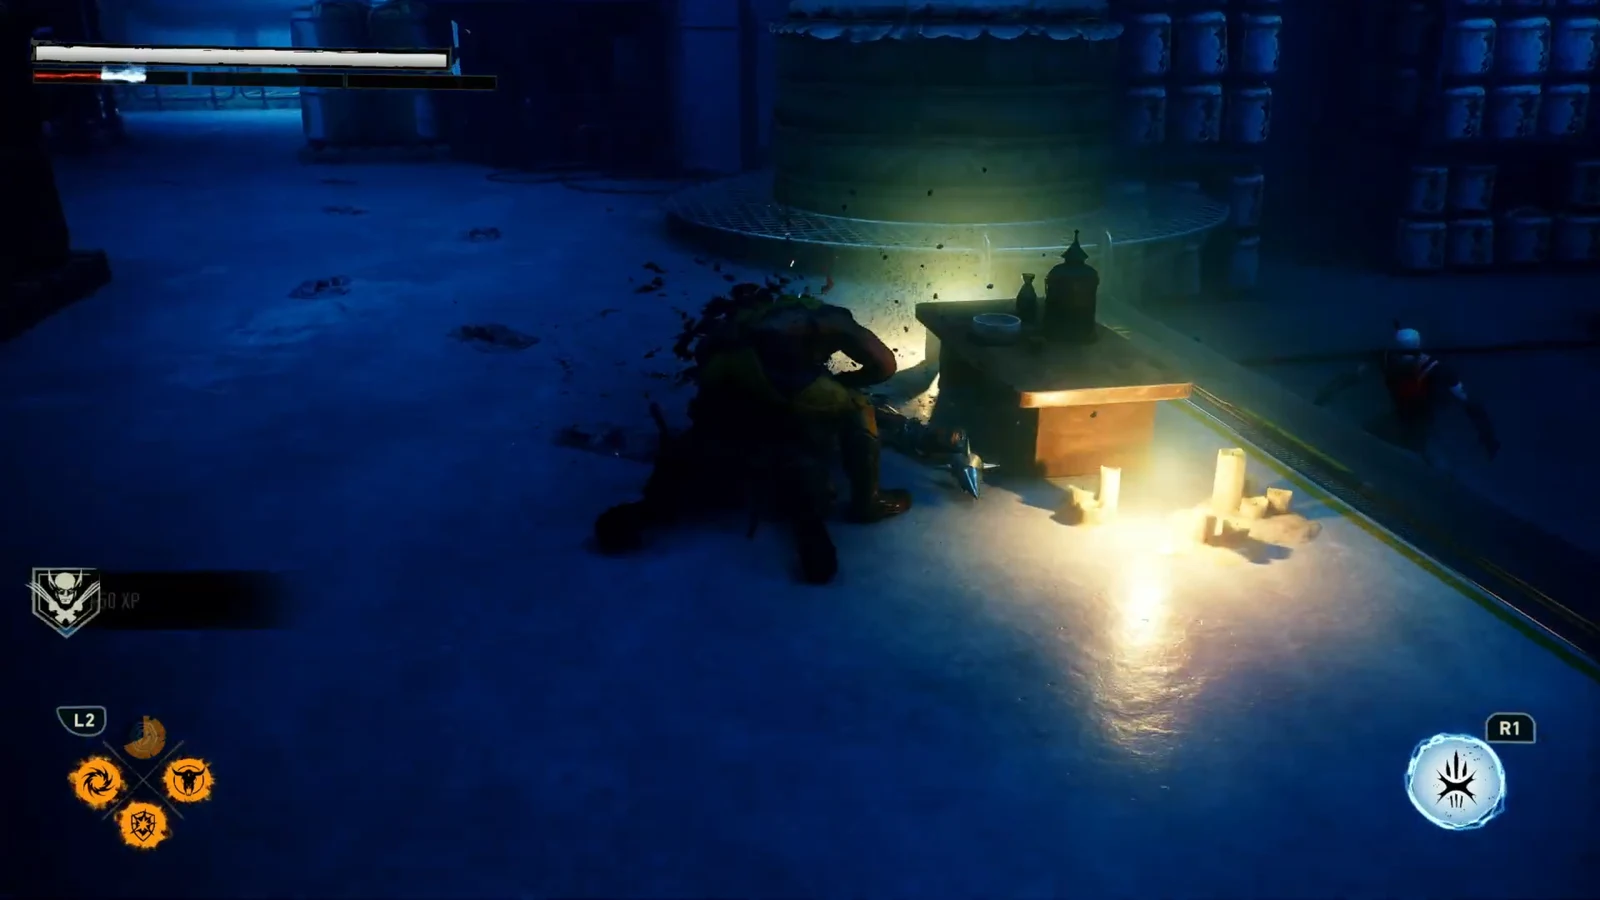
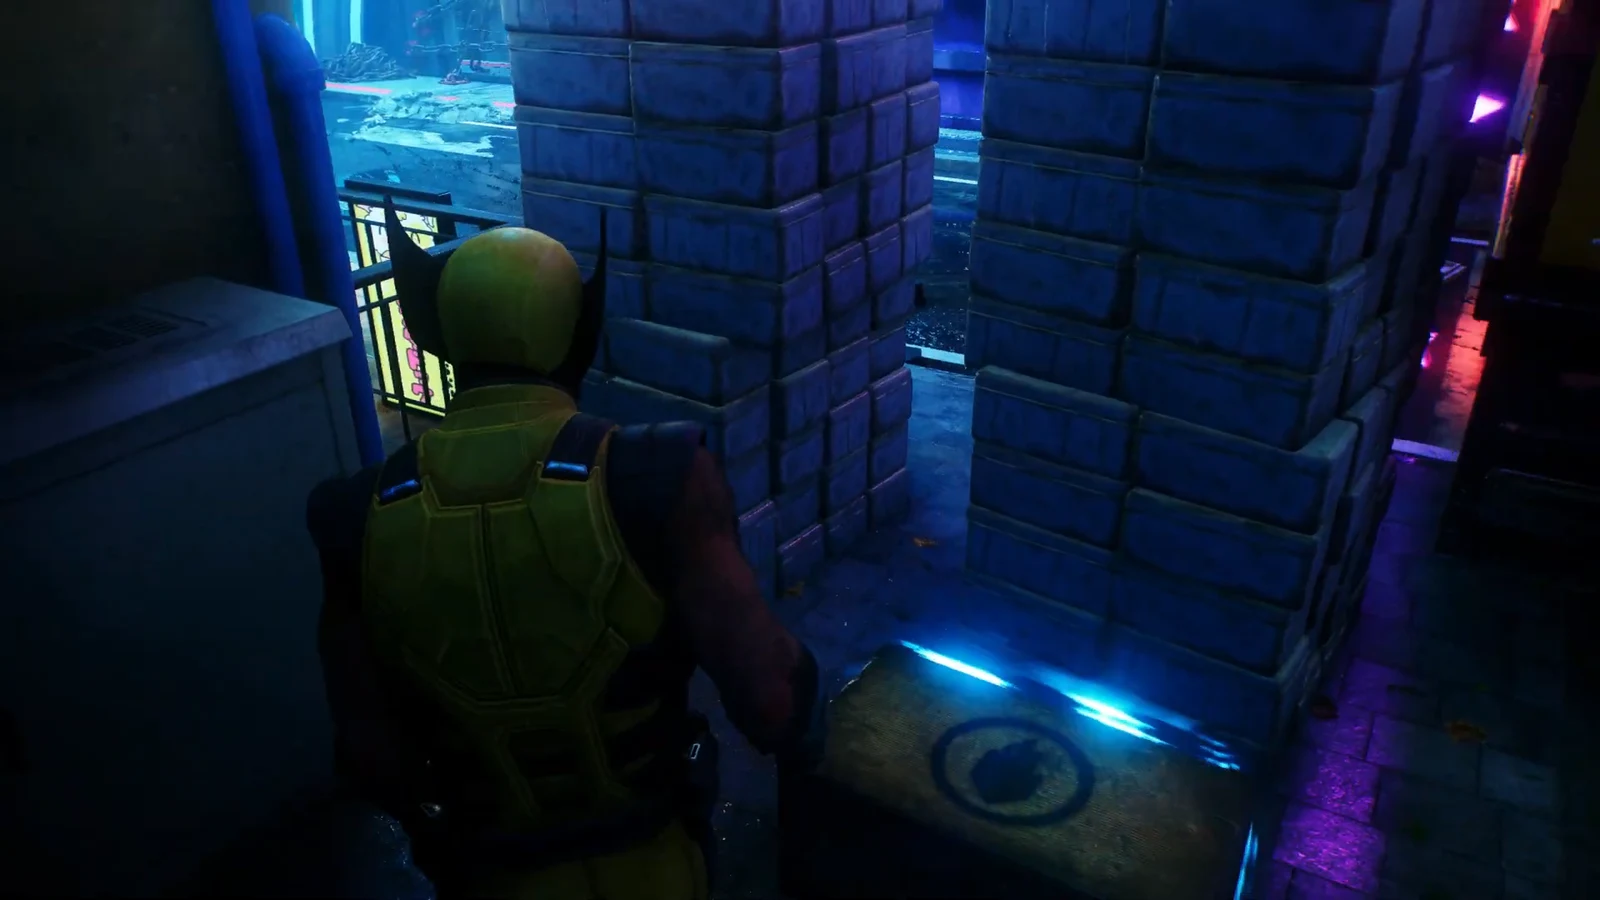
Jean comments on heading into the monster’s basement right before the final pickup. Go down the stairs and turn immediately left at the bottom. The fifth crate is waiting in that blue-lit corner corridor, just before the route opens into the transport bay.
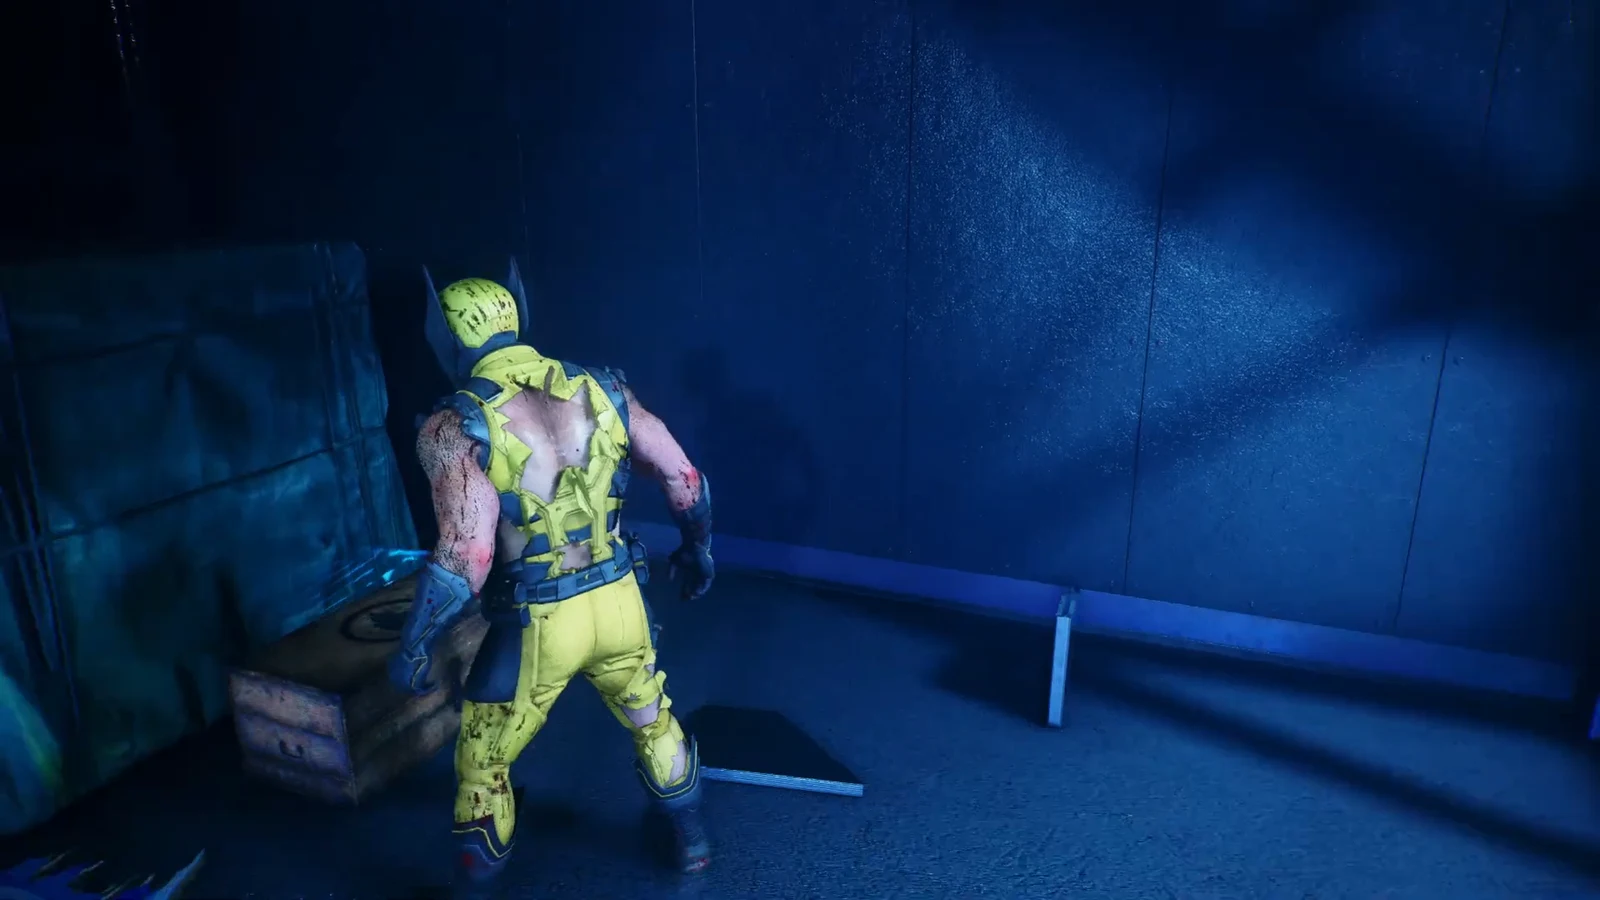
This is the last safe moment to spend what you have collected. Check the Suits screen here before you step into the loading bay.
Helix techniques and the Hand Invoker boss
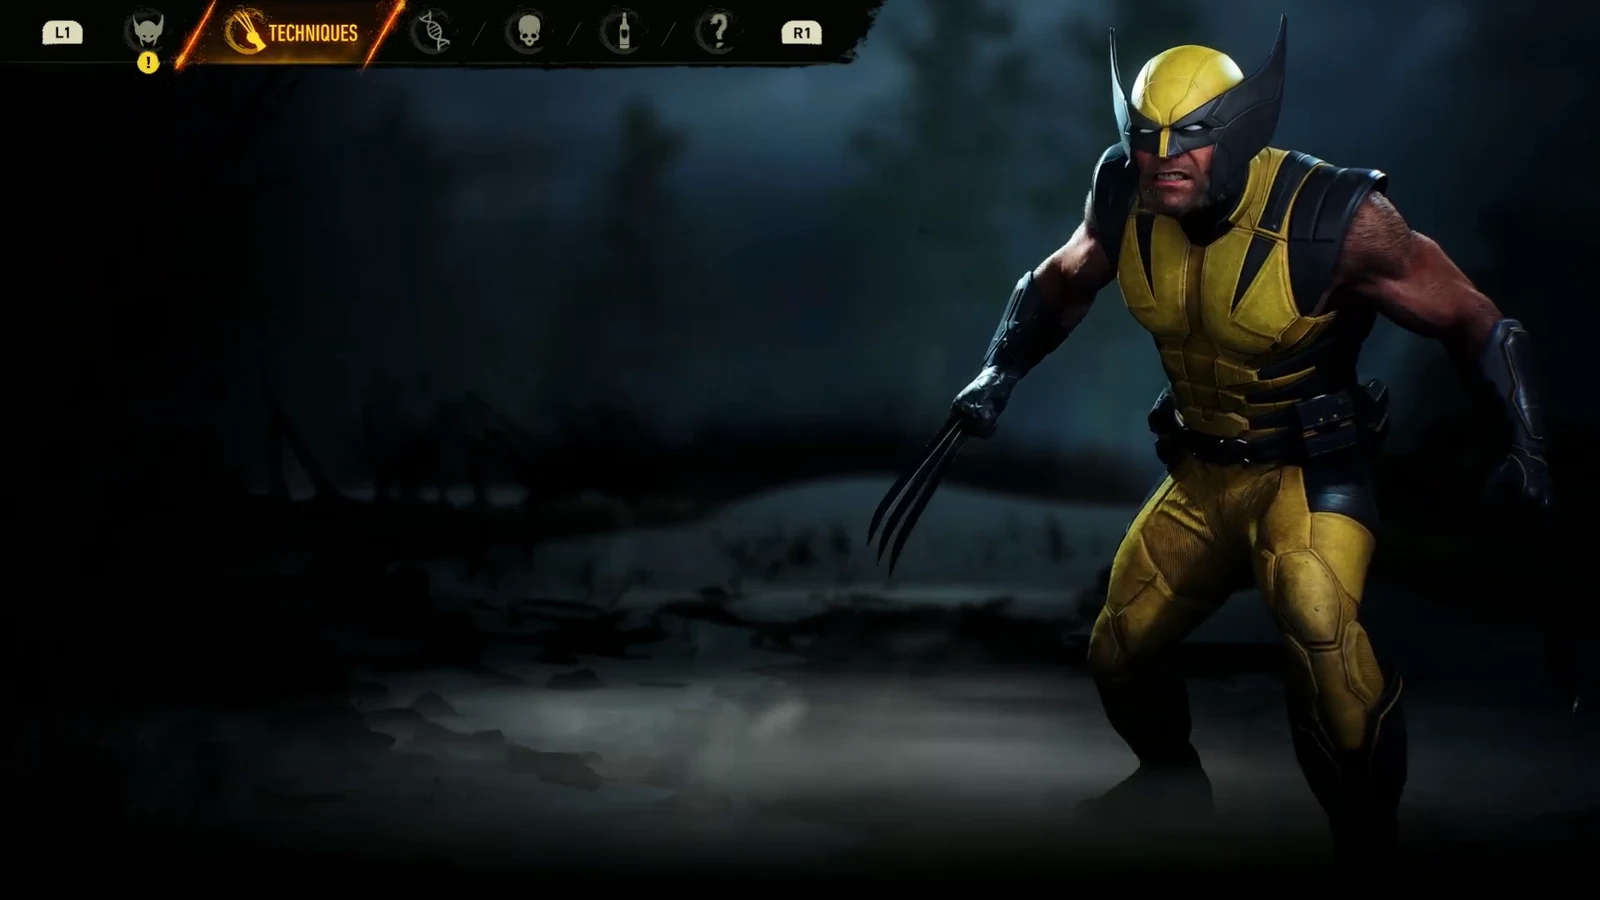
Between the plaza and the warehouse there is a natural pause to open the Techniques menu. Two upgrades become available at that point, Charged Helix Blast and Helix Combo, and both help against the crowds waiting inside the warehouse.
The loading bay hosts the Hand Invoker, a giant enemy swinging a massive spiked club. The fight comes down to breaking his shield and then landing finishers once he is exposed. Beating him triggers a cutscene where Essex reappears, orders Logan and Jean back to Madripoor, and teleports out.
How to confirm the mission is fully cleared
Each crate confirms itself with a +50 Materials pickup on screen, and the Revolto bottle is added to your whisky collection the moment Logan grabs it. If your counters read five crates and one bottle before the Invoker goes down, nothing is left behind, because the mission has no Nightmare Door and no other pickups.
The mission closes at Shiro’s apartment, where Jean and Shiro go over intel on the House of Tears and Shiro hands Logan a set of keys before the two ride off, leading straight into “Hell Followed With Him.” If you missed something, missions are replayable from the bed in the back corner of the Nightmare Cabin, so there is no need to restart the chapter.