Hell Followed With Him is the seventh Japan mission in Marvel’s Wolverine, and it swaps the neon of Shinjuku for a rainy mountain road. Shiro tosses Logan a set of motorcycle keys, and the ride ends at the gates of Mount Haku, where the Hand has spent a century preparing for something. Everything collectible in the mission sits along the route to Lady Deathstrike’s shrine, so you can clear it in a single run without backtracking.
Quick answer: The mission holds four Material Crates and one Whisky Bottle. Two crates are in the opening village, one is at the water’s edge in the enemy field, and the last sits just inside the shrine.
Every collectible in Hell Followed With Him
| Collectible | Where it is | Reward |
|---|---|---|
| Material Crate #1 | Behind the house left of where Jean kneels | +50 Materials |
| Material Crate #2 | Up the stairs by the memorial, behind the archery targets | +50 Materials |
| Material Crate #3 | Back-right corner of the enemy field, by the water | +50 Materials |
| Material Crate #4 | Immediately left inside the shrine entrance | +50 Materials |
| The Itsu Single Malt | Rocks below the hut balcony after the cliff climb | Ability Points |
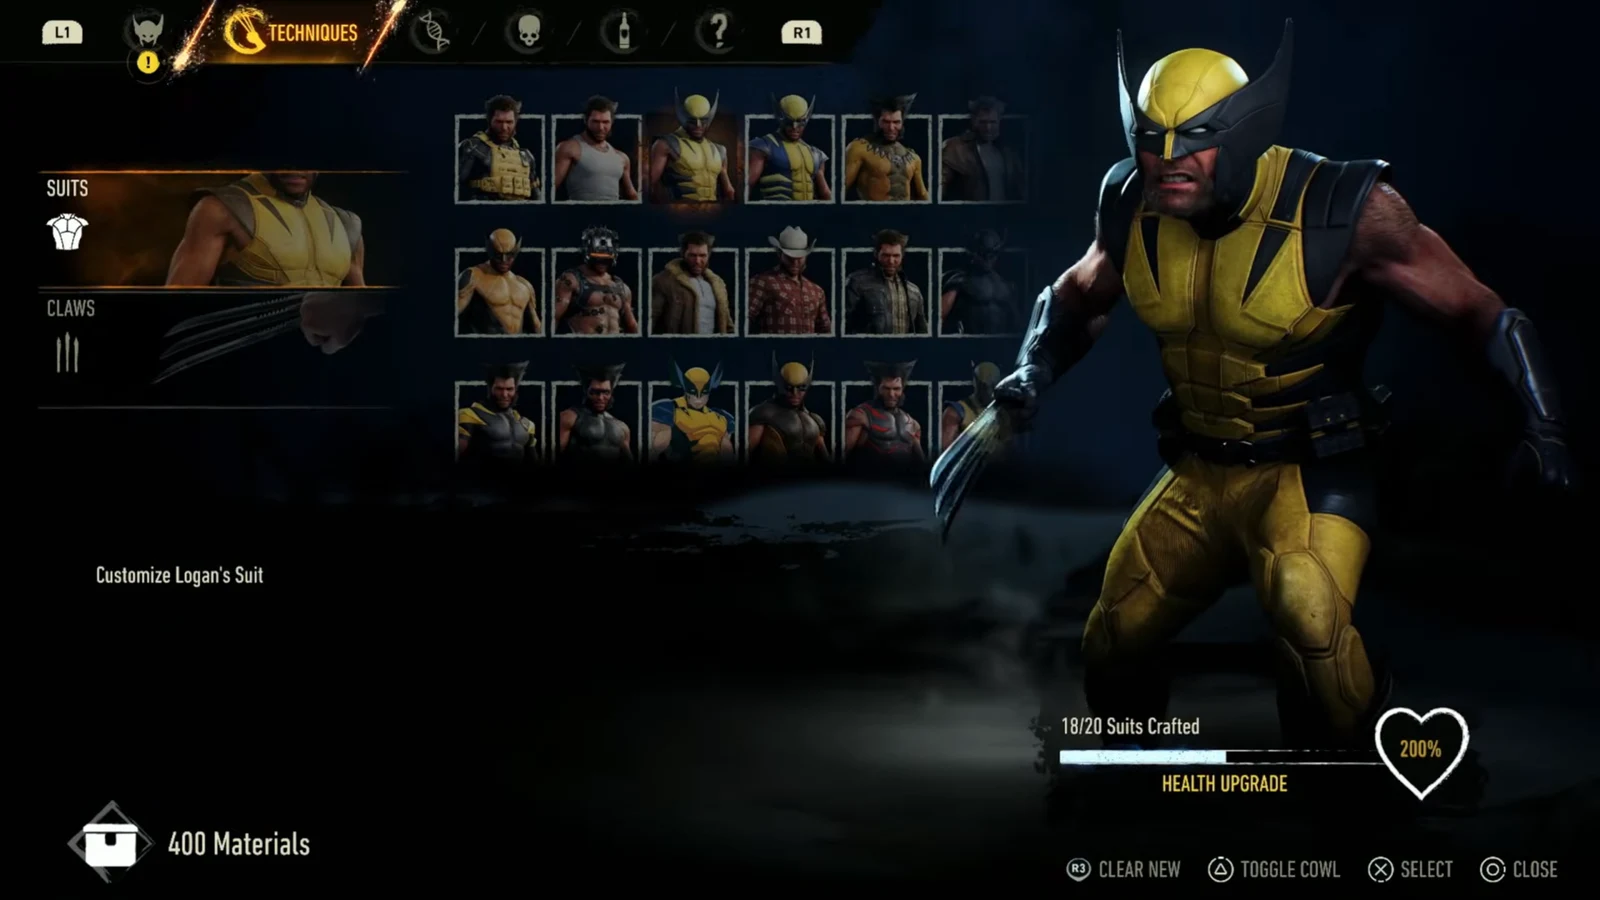
There is no Nightmare Door here, so the crate and bottle counters are the only things standing between you and a clean run. All four crates together add 200 Materials, which feeds directly into crafting suits — and every suit you craft raises Wolverine’s health.
Mount Haku village: Material Crates #1 and #2
The village is empty when you arrive, which makes it the easiest part of the mission to comb. Switch on Logan’s senses at the entrance and you’ll pick up the glowing blue footprints that pull you through the lanes while Jean talks you through what the Hand left behind — a door listing the cardinal sins of independence, weakness and heresy, a fountain reading “A drop becomes the ocean. One becomes the horde,” and a pillar describing the ritual where new initiates drink legacy blood.
Material Crate #1 is off the very first fork. Take the left path into the compound and walk up to Jean, then go left again from the spot where she kneels. The crate is tucked behind the house on your left, next to an empty weapons rack.
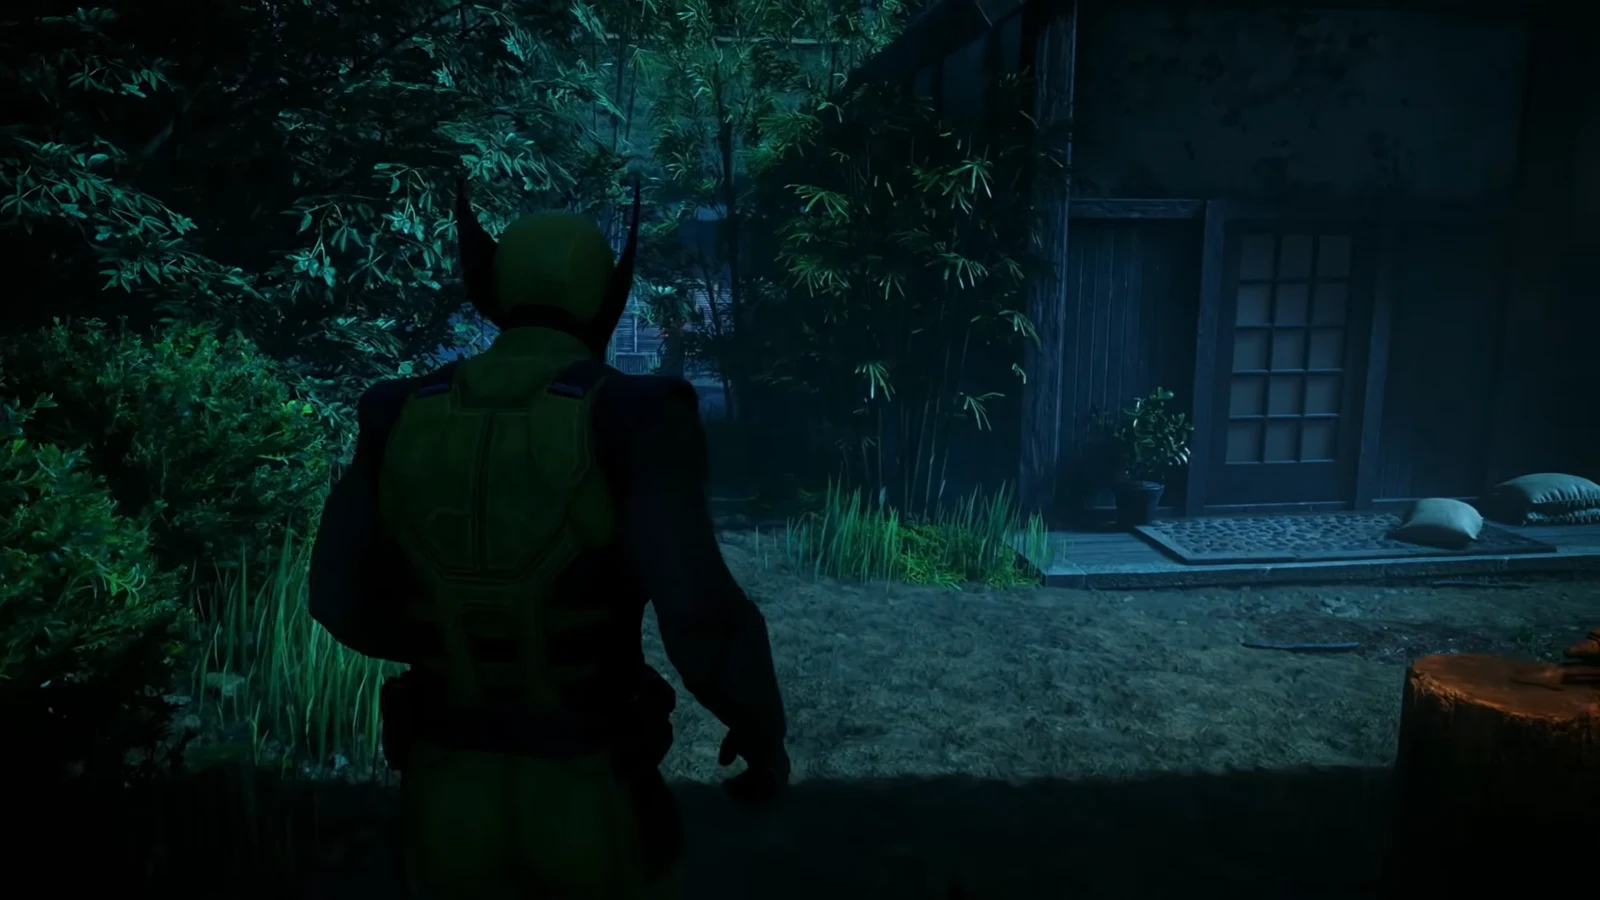
Material Crate #2 is a short detour from the founders’ memorial shrine, the candle-lit stone where Logan sniffs a red cloth carrying his own scent. From the memorial, climb the staircase on the right and turn left at the top. The crate sits behind the bow and arrow targets on the training ground.
Before you leave the village, read the letter pinned to a post with an arrow. It’s from Kwannon, refusing to die for Deathstrike, and it sets up the rest of the Japan chapter.
The forest field: Material Crate #3
After the memorial you jump the chasm into a wooded field crawling with Hand patrols. This stretch is built for stealth. Crouch in the tall grass, move between tree branches, and take ninjas down one at a time while Jean flags targets telepathically. Enemy chatter about the ceremony gives you a rough read on where the next patrol is standing.
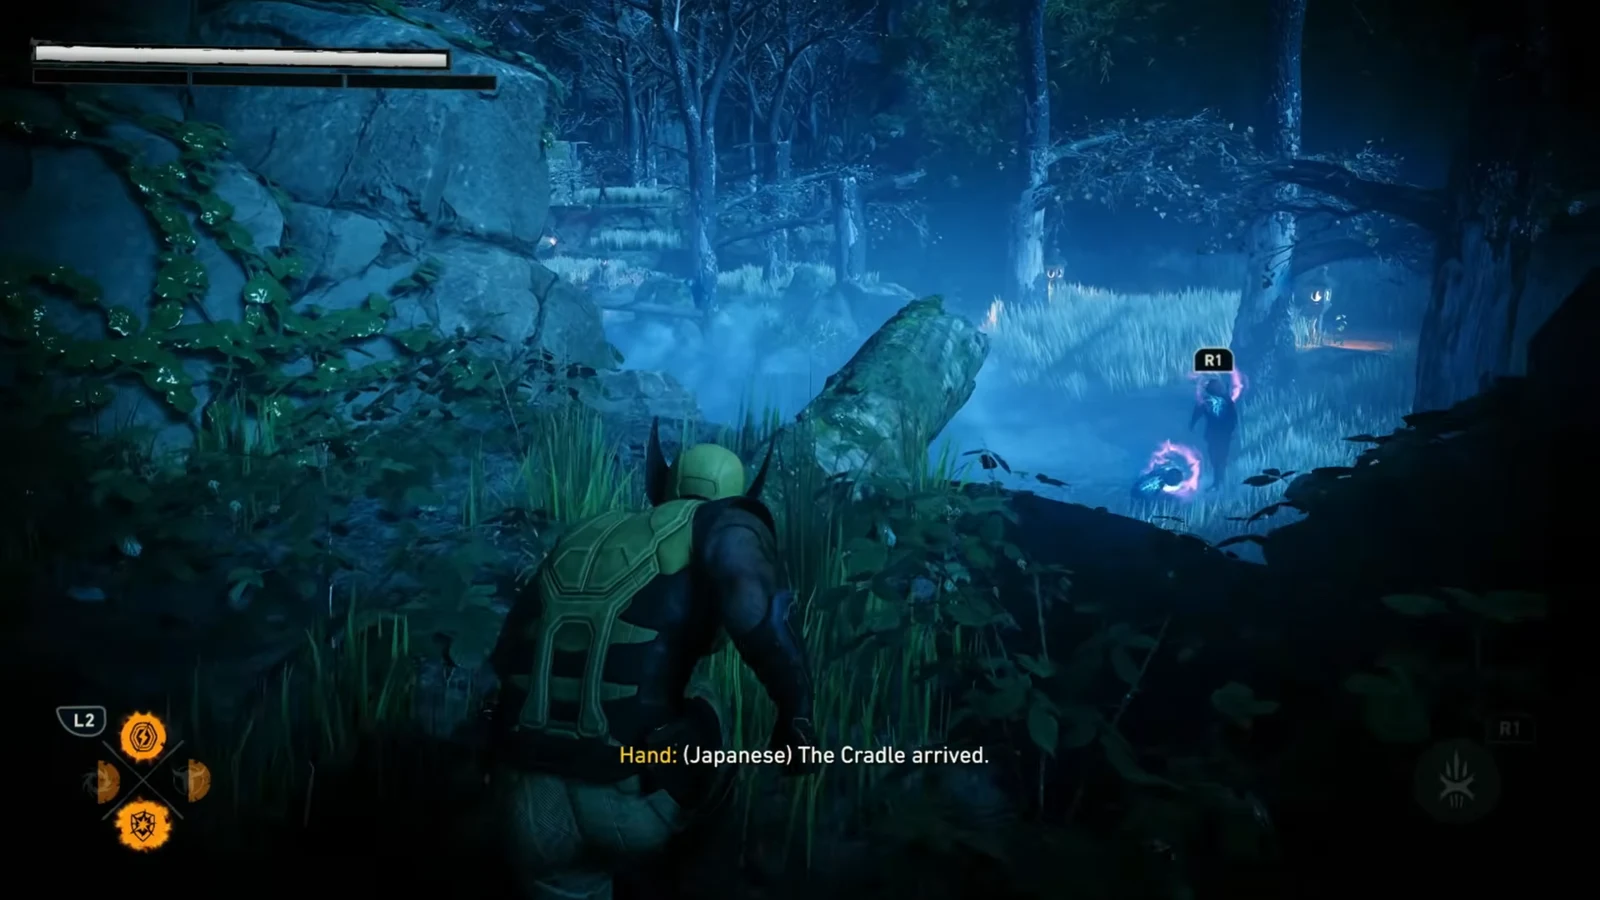
Clear every enemy in the field first, then head to the back-right corner where the shallow water is. Material Crate #3 is on the strip of earth right at the water’s edge, partly submerged. Grabbing it mid-fight is possible, but the area is open enough that you’ll usually be interrupted.
The Itsu Single Malt whisky bottle on the cliff climb
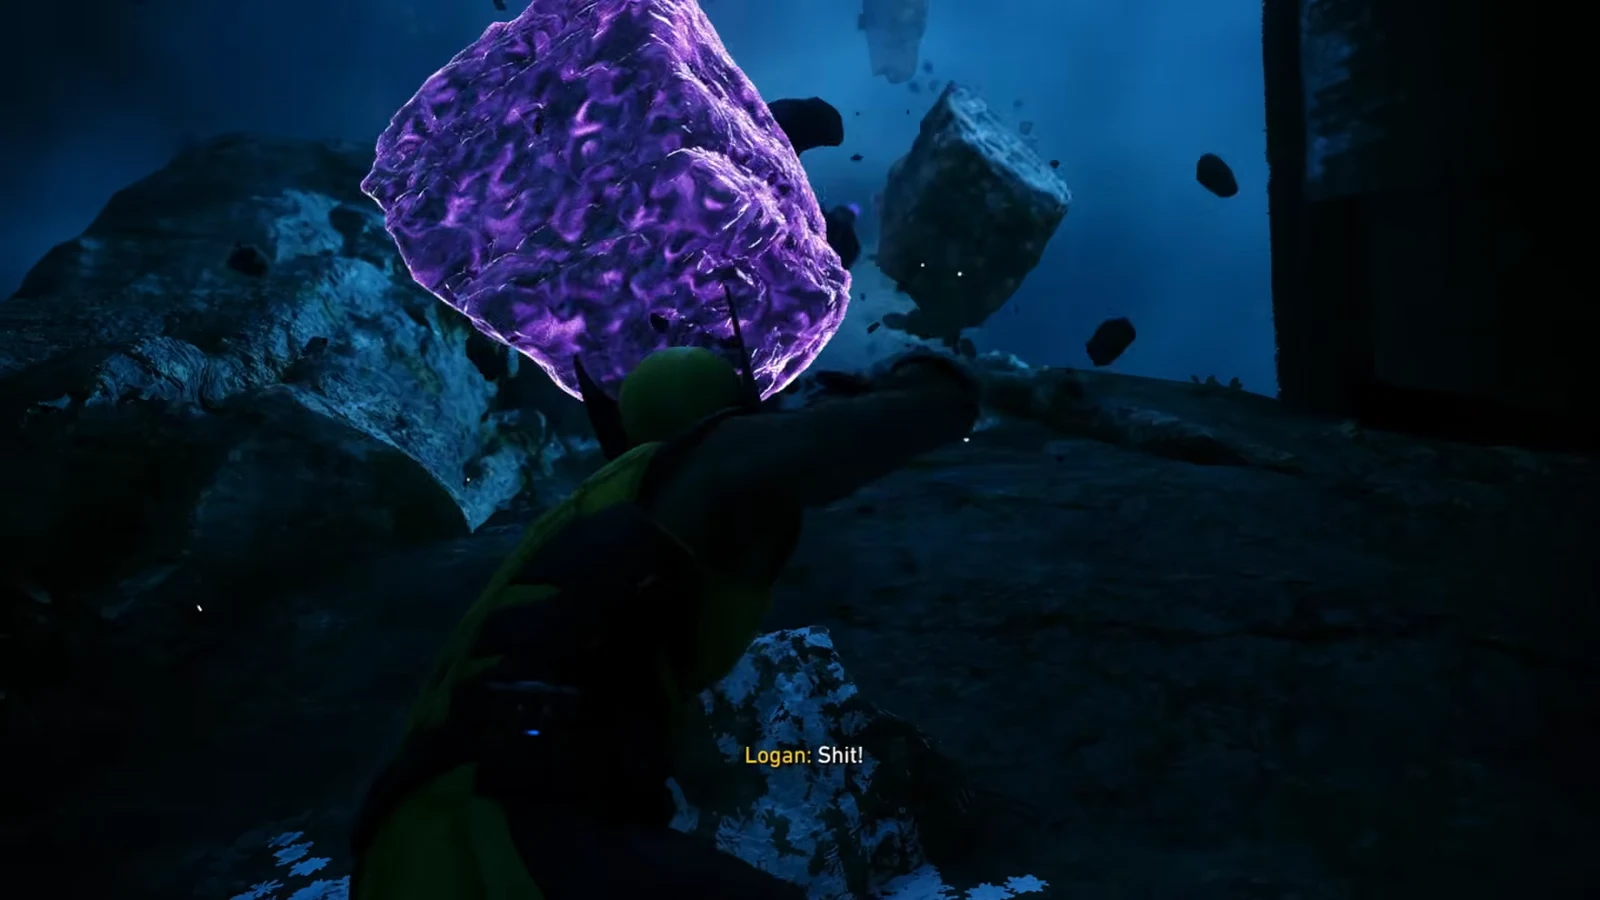
Jean tries to levitate you both up the cliff face and gets driven back down by explosive arrows, so Logan climbs the wooden elevator shaft and rock wall by hand, fighting through swordsmen and archers on the cliffside walkway. Near the top, Jean freezes a set of falling rock slabs with telekinesis so you can scale them to the plateau.
You come out beside a hut. The objective marker points left — ignore it for a second. Look over the balcony below you and use enhanced senses to pick up the blue scent trail. The Itsu Single Malt is sitting on a barrel down on the rocks against a wooden wall. Whisky Bottles pay out Ability Points, so this is the single most valuable pickup in the mission.
Courtyard battle, Berserker Rage, and the Hand Invoker
Past the hut you cut through a wooden gate and climb a leaning tree onto the rooftops above the inner sanctuary. From a ridge, you and Jean watch Lady Deathstrike rally her army, declare that the Cradle has arrived, and walk through the iron gates. Clear the guard on the raised lookout post, scope the courtyard, then drop in.
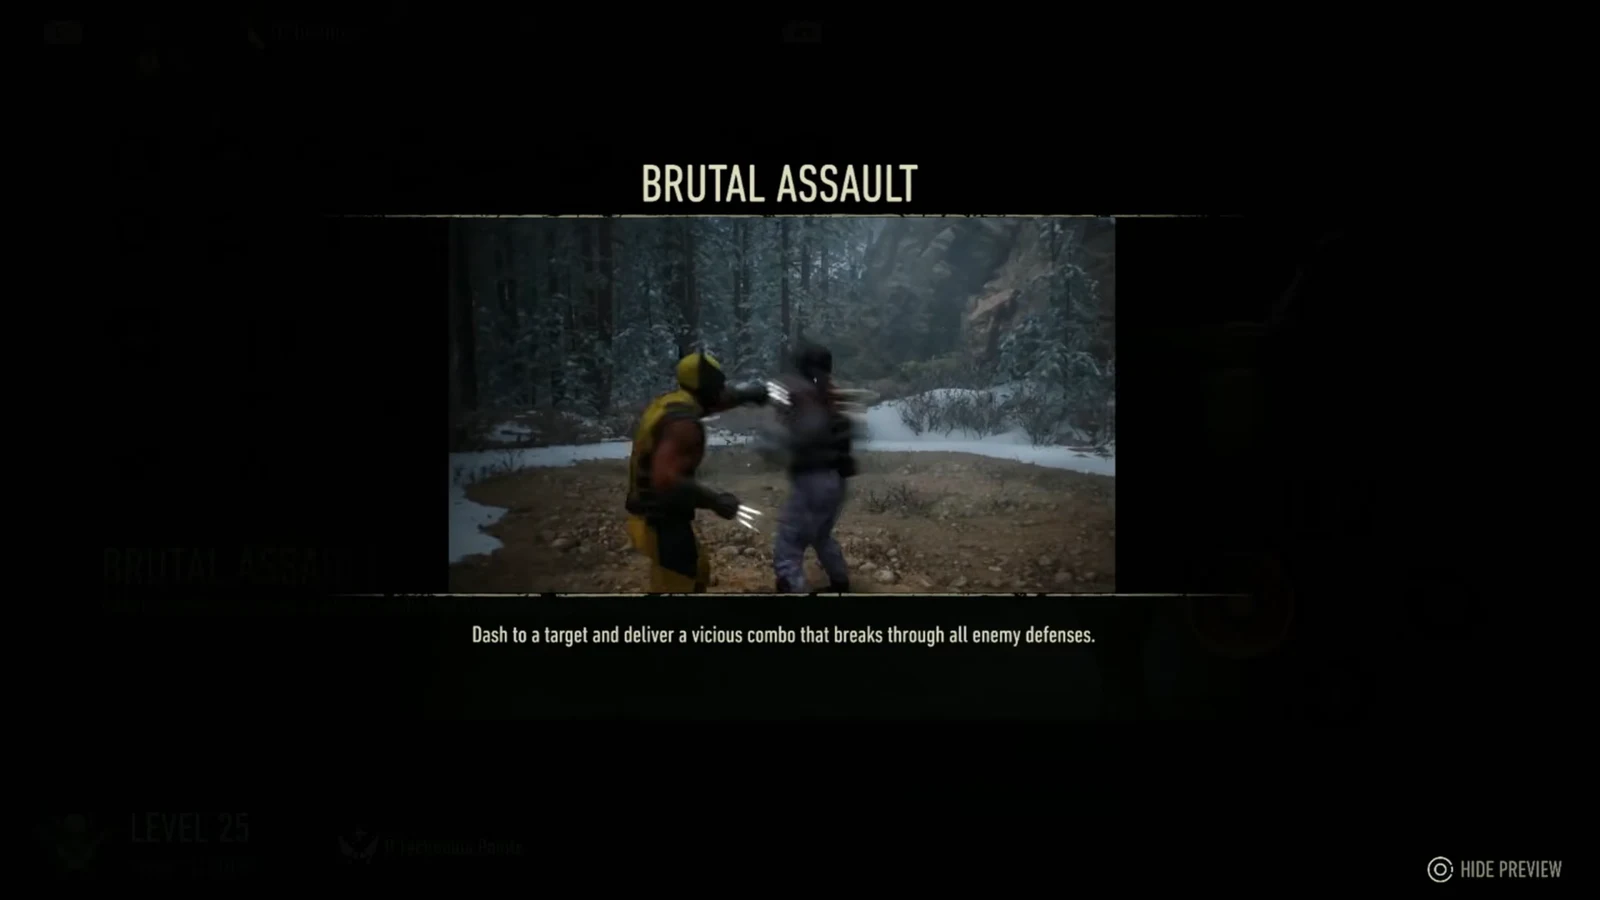
Level 25 usually lands somewhere around the first courtyard ambush, which is a good moment to spend a Technique Point on Brutal Assault in the Techniques menu. It closes distance and breaks through guarding enemies, which matters when swordsmen, archers and teleporting ninjas are all pressuring you at once.
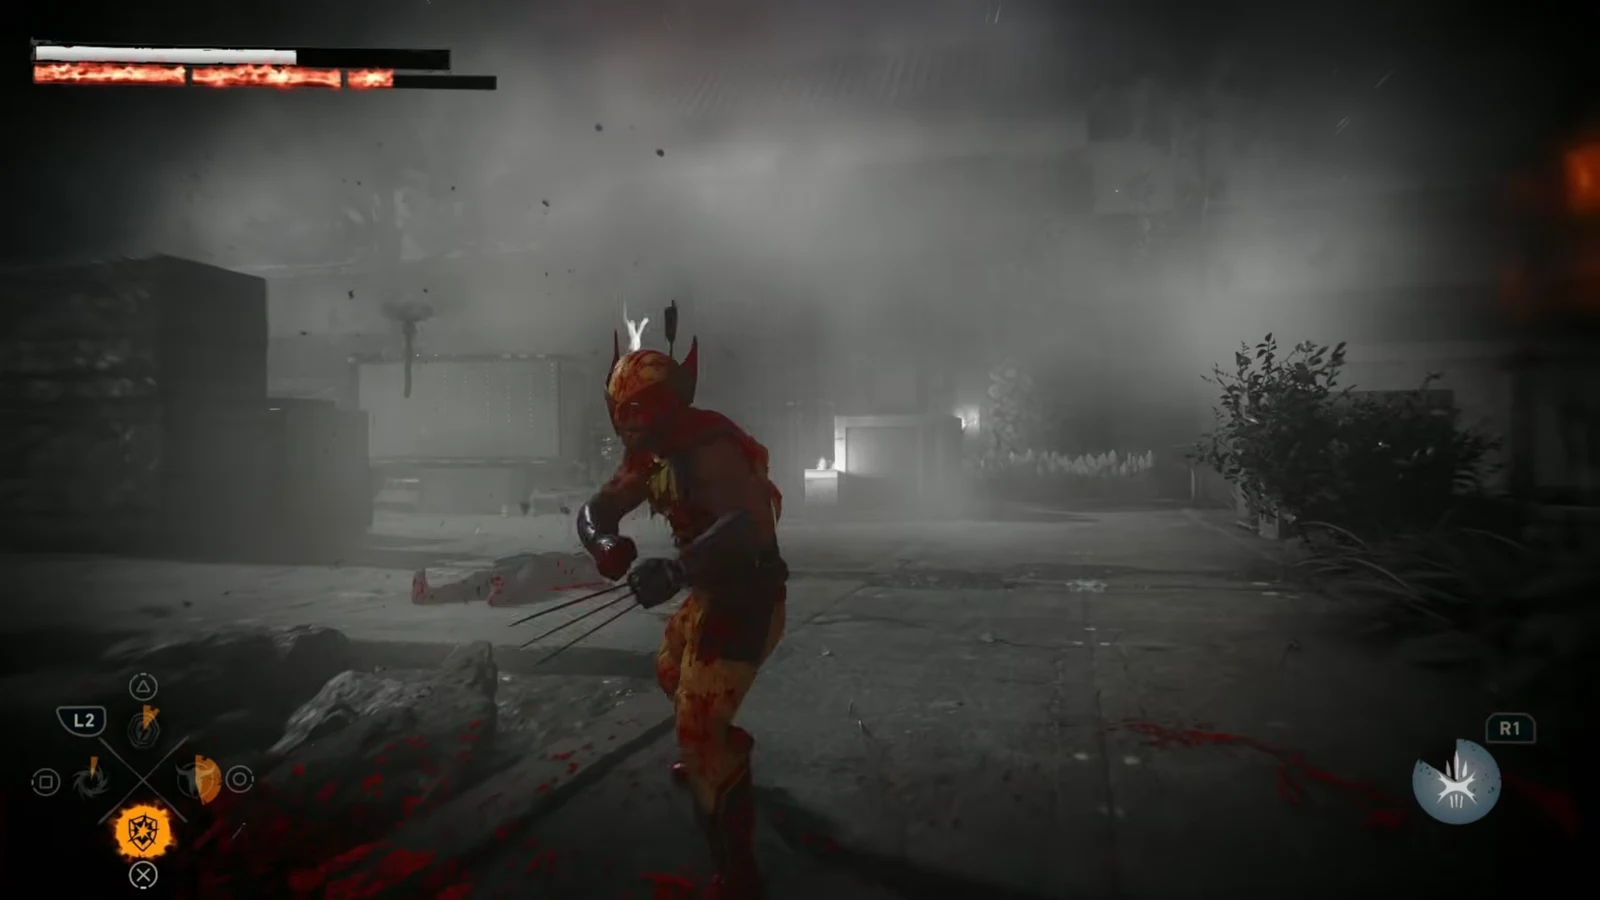
Save Berserker Rage for the thickest wave in the main courtyard. The screen drops to black and white and Logan’s strikes turn lethal, which clears a crowd of basic ninjas fast and buys room before the heavier enemies arrive.
The fight ends with a huge Hand Invoker swinging a giant club. Its ground pounds and sweeping strikes are heavily telegraphed, so dodge through them and punish the recovery rather than trading. Finishing it off typically pushes you to Level 26, where Helix Counter-Shot becomes available in the Techniques menu.
Inside the shrine: Material Crate #4 and the Shinigami chamber
With the courtyard clear, Logan and Jean force the heavy metal shrine doors open together — his strength against her telekinesis. Material Crate #4 is immediately on your left as you step into the entrance corridor, so grab it before you follow the objective deeper.
This is the point to check the Gear menu. If you’ve picked up all four crates here, your Materials total should reflect the full 200 from this mission, and any suit you can afford is free health.
Everything after the crate is story. You walk into a chamber of skeletons around a statue holding kunai and claws, and Logan works out he was the Shinigami the Hand has been writing about. The pillars explain how they found the Cradle in the mountain, heard the Beast, and were slaughtered; a glowing floor slab adds that the Cradle stayed dead after that night — until now. Jean opens the inner vault, the ceremony starts below, and a balcony ambush of flaming arrows sends you sprinting the rest of the way.
How to confirm 100% completion
Pause at any point and the mission screen shows your completion percentage alongside two counters. You want 4/4 Material Crates and 1/1 Whisky Bottles before the mission hands off. Early on it will read 1/4 and 0/1, which is a useful way to confirm the village crate registered.
Missing something isn’t permanent. Once the Nightmare Cabin is unlocked, you can interact with the bed there to replay any completed mission and pick up what you left behind.
Wrap up the collectibles before the shrine corridor, because the next mission, Death’s Match, is a straight boss fight against Lady Deathstrike in the torchlit cavern and has nothing to find. Sinister Tidings, which follows it, brings a Nightmare Door and one more Material Crate back into the mix.