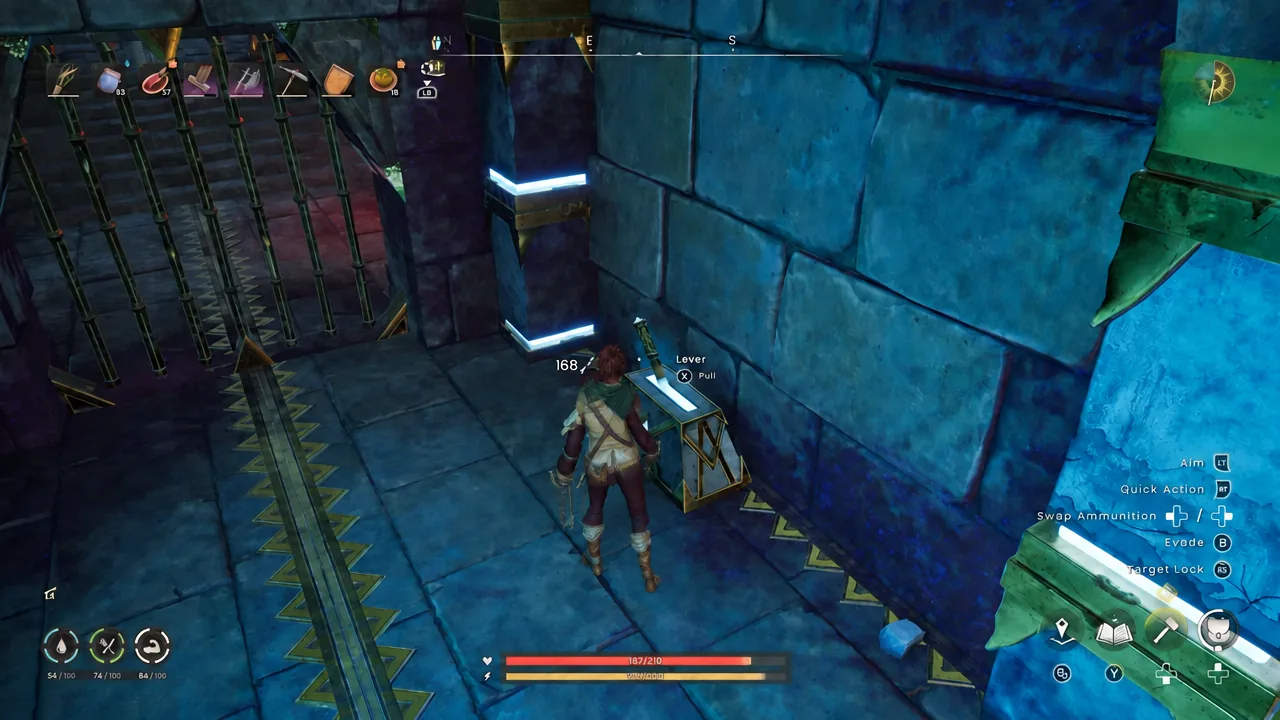
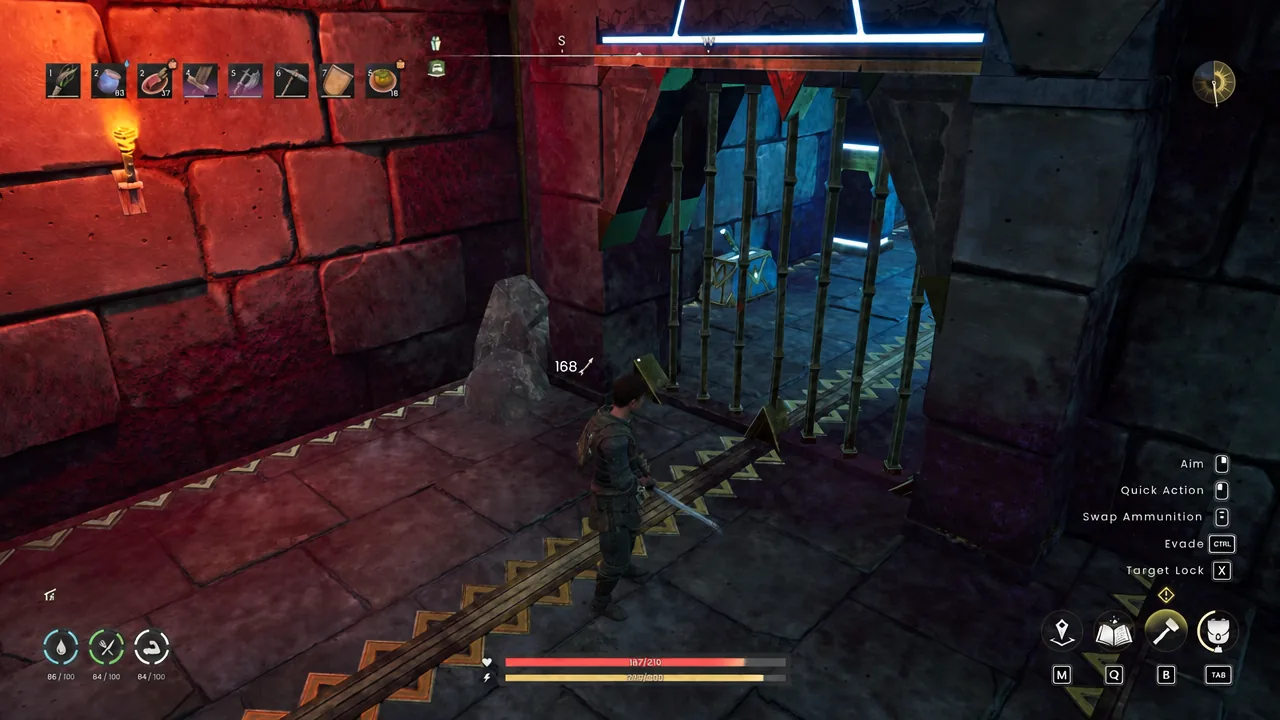
Step into Crasorak Kara, the dragonkin vault in the south-eastern corner of Temple Woods, and one of the first things you see is a barred gate you cannot interact with. There is no keyhole, no pressure plate in front of it, and nothing in your inventory will open it. The gate is meant to be opened from the far side, and the switch that does it sits in a room you can only reach by jumping.
Quick answer: There is no key. Work through the vault to the chamber with several exits, stand on the rubble pile, cast Windstep to reach the opening above you, and pull the lever inside.
What you need before the gate can be opened
The lever room is above head height and there is no ramp or staircase leading to it. Windstep is the only way up, so bring the runes for it. Everything else on this list exists to keep you alive long enough to get there.
- Air Runes for the Windstep spell — this is mandatory, not optional.
- Fire Runes for Fire Spirit, so you can light the vault without holding a torch in place of your weapon.
- Food, Clean Water and healing potions, with hunger, thirst and exhaustion topped up before you enter.
- Spare carry weight. Each Vault Core weighs 50 kg and will overencumber you fast if you have been mining and looting.
The vault below the Runecrafting Guild is a different dungeon, Thishepen Kara, even though it is often described as the northern Temple Woods vault. The gate covered here is in Crasorak Kara, at the end of the eastern road.
Reach the hidden lever room with Windstep
Take the stairs down on the left from the entryway, clear the giant rats and the guardian hulks in the large multi-level room, then follow the fire and spike trap corridors to the room with three Vault Guardian Sentinels. They attack at range, so pull them one at a time and use cover or a shield. Past their room and the next set of traps, you arrive in a chamber with several ways out — stairs climbing to one side, a passage south, and a spike room to the north.
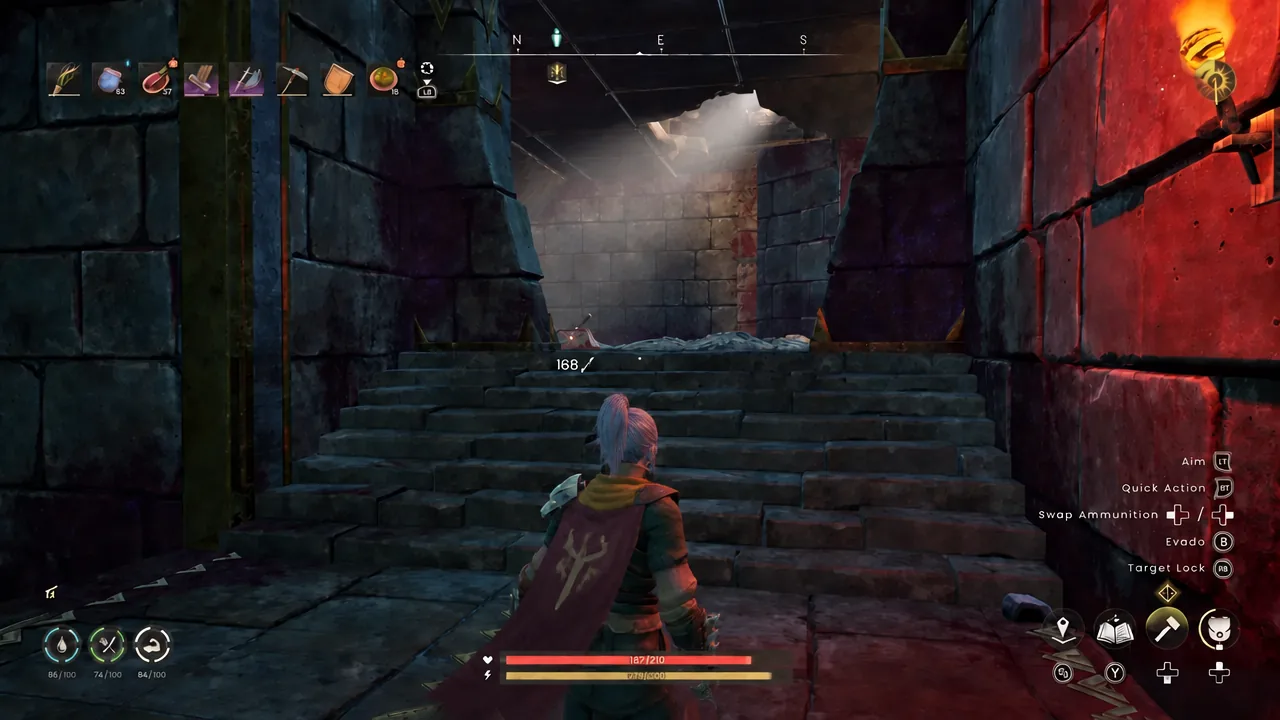
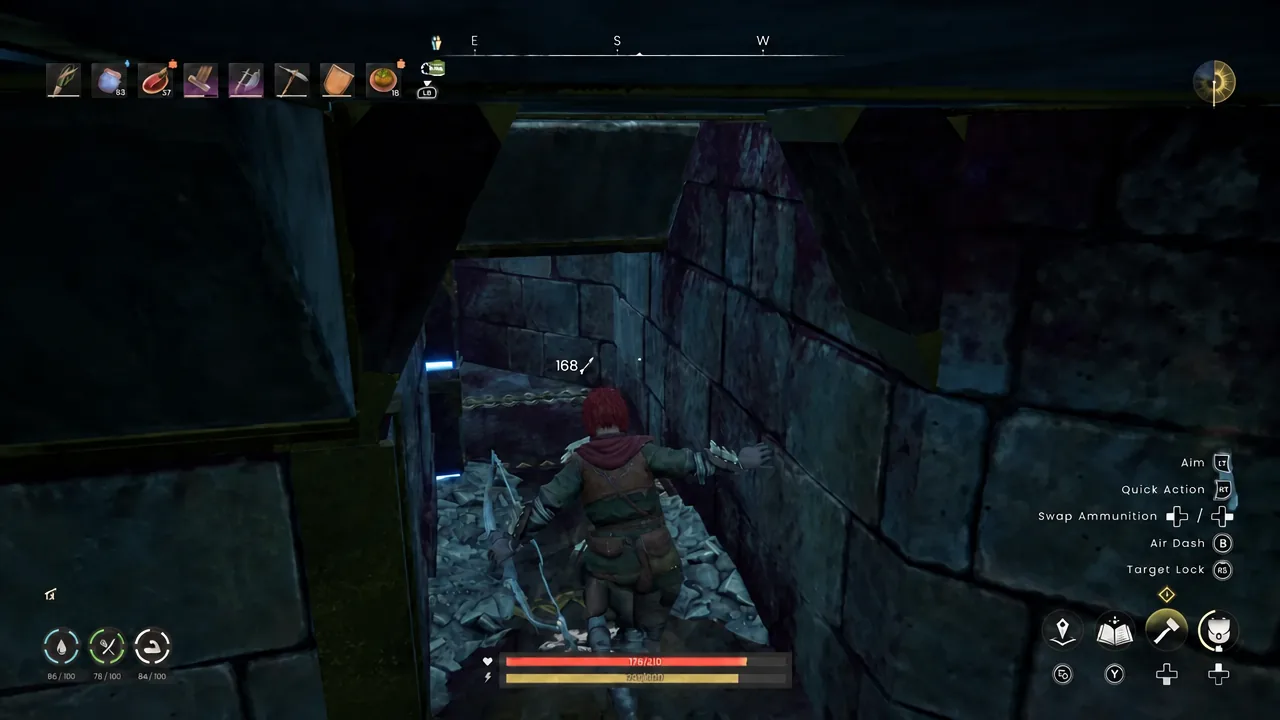
What the sealed room contains
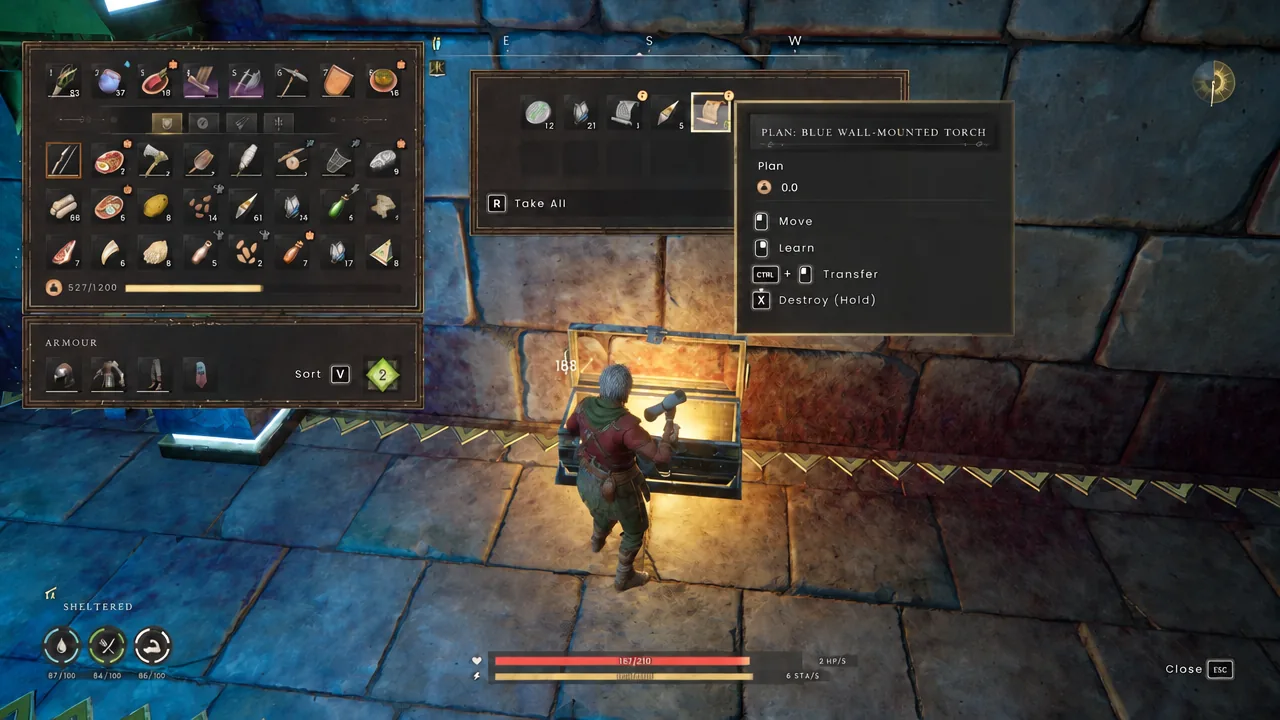
Loot the chest before touching the lever, because there is no reason to make a second trip. A typical haul from it includes:
- Nature Rune
- Rune Essence
- Vault Shard
- Clean Water
- Plan: Blue Wall-Mounted Torch
- Plan: Broken Wooden Crate
Plans have to be learned from the loot screen, not just carried. Highlight each one and use the Learn action before you close the chest.
Pull the lever and confirm the gate opened
The lever sits on the switch mechanism at the back of the sealed room. Interact with it once and the barred gates retract with an audible clank. You do not need to jump back the way you came — the point of the lever is that it turns the sealed room into a normal doorway.
You know it worked when the bars are gone and you can walk straight through the opened gate into the central hall with the statues and torch pillars. If the bars are still down, you pulled a different switch or have not reached the mechanism yet.
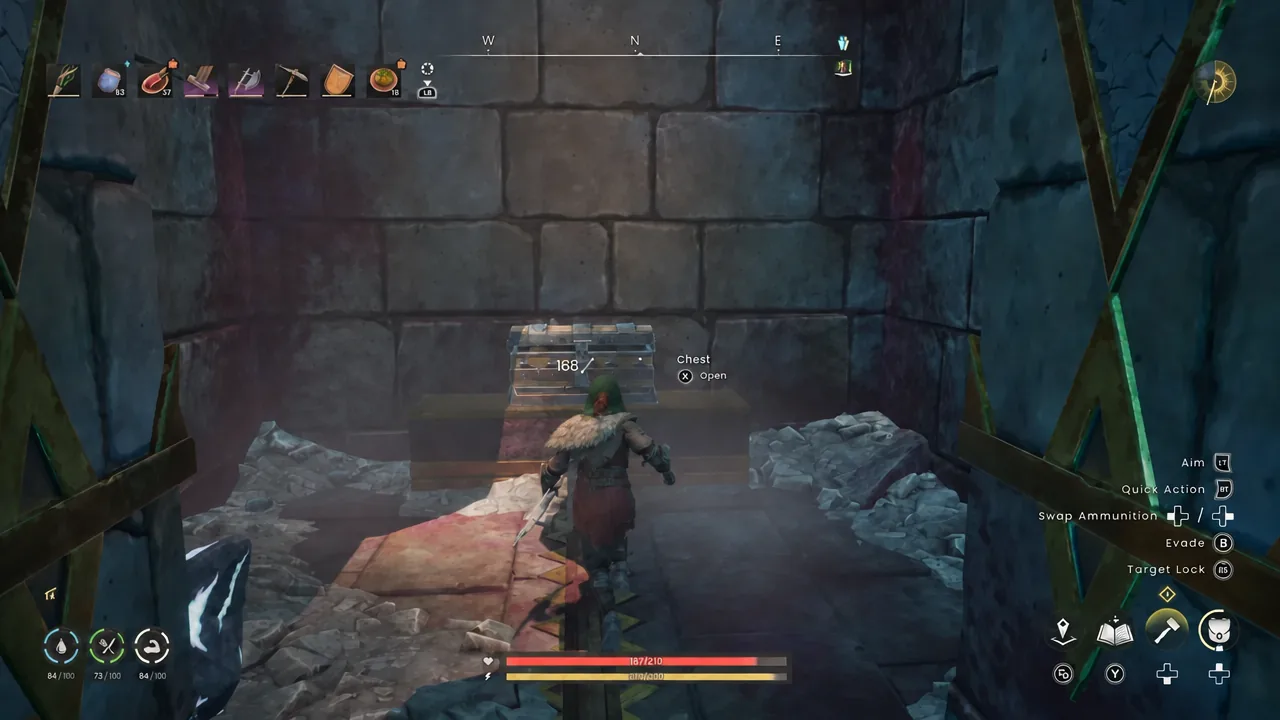
Sweep the back room on your way through. There is another chest tucked in there, and the Open prompt appears as soon as you step up to it.
The second lever and the Vault Overlord’s door
Crasorak Kara has two levers, and it is easy to mix them up because both open barred doors near the entrance. Neither has a key item attached to it.
| Lever | Where it is | What it opens |
|---|---|---|
| Alcove lever | Sealed room above the rubble, reached with Windstep | The barred gate back to the main hall |
| Stair-top lever | Top of the stairs from the multi-exit chamber | The large boss door off the entry room |
Behind that boss door waits the Vault Overlord, essentially a guardian hulk with far more health and damage. Its moveset is simple but punishing, so dodge the slam and use the gap afterwards, or parry as soon as the swing starts rather than waiting until it lands. Buff up before you walk in, and keep enough energy in reserve to block. Killing it gives you the last Vault Core and the chest it was guarding.
Dying at any point is inconvenient rather than fatal. Your belongings appear at a gravestone outside the vault entrance, and enemies you already killed stay dead, so you can walk back in and pick up where you stopped.