In the Shadows is the fourth mission of the Japan chapter in Marvel’s Wolverine, set in Shinjuku after Shiro points Logan toward an arcade where Walter was last seen. It is one of the longest collectible runs in the game, and the pickups are spread across three separate areas — the streets and rooftops, a buried Hand shrine, and the cave system under a construction site.
Quick answer: In the Shadows contains 7 Material Crates and 2 Whisky Bottles. The bottles are Best There Is, on a rooftop table during the detector hunt, and Berserker Brew, in the lounge where you reunite with Jean.
In the Shadows collectible checklist
Pause at any point and the mission card shows your running totals for Material Crates and Whisky Bottles alongside a completion percentage. Use that counter to confirm you have not walked past anything before the mission locks you into its underground stretch.
| Collectible | Where to find it |
|---|---|
| Material Crate 1 | Bottom of the arcade stairs, before the machines |
| Material Crate 2 | Rooftop past the third detector’s control room |
| Material Crate 3 | Blue building plank jump, right of the pipe |
| Material Crate 4 | Roof reached by two crane cables in an alley |
| Whisky Bottle: Best There Is | Table on the roof right of the advertising boards |
| Material Crate 5 | Construction site, far left beside the digger |
| Whisky Bottle: Berserker Brew | Back corner table of the hideout’s first room |
| Material Crate 6 | First left inside the caves, in the dark |
| Material Crate 7 | Mid-zipline rooftop on the way to Shiro’s |
There is no Nightmare Door in this mission, so crates and bottles are the only things standing between you and a clean run.
Arcade opening: hidden room, first crate, and the Tōkon suit
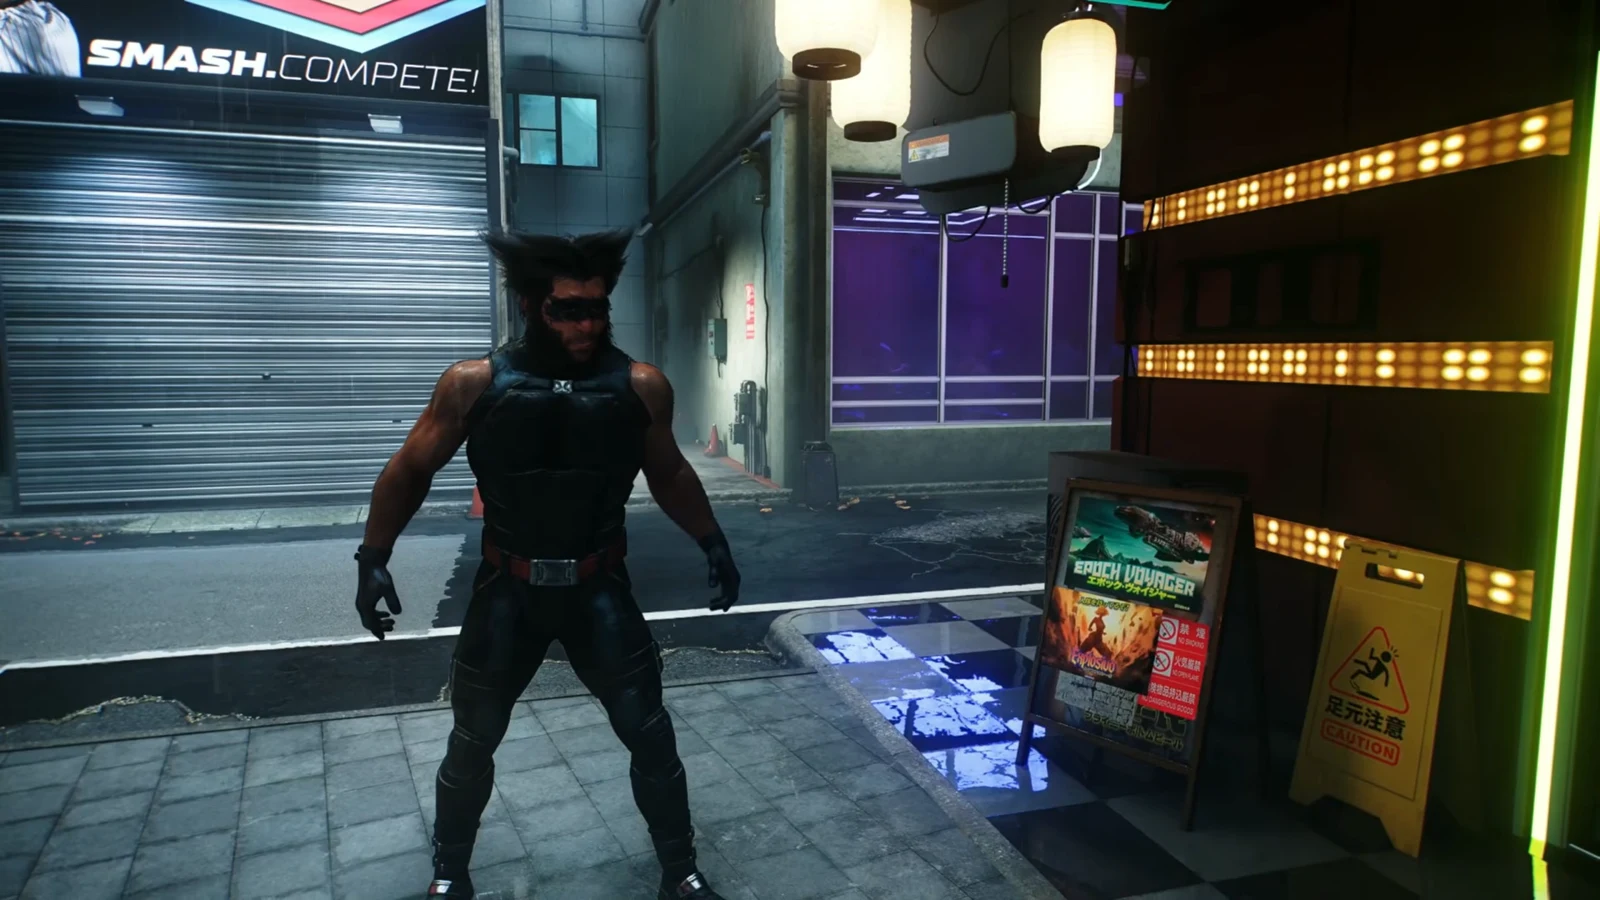
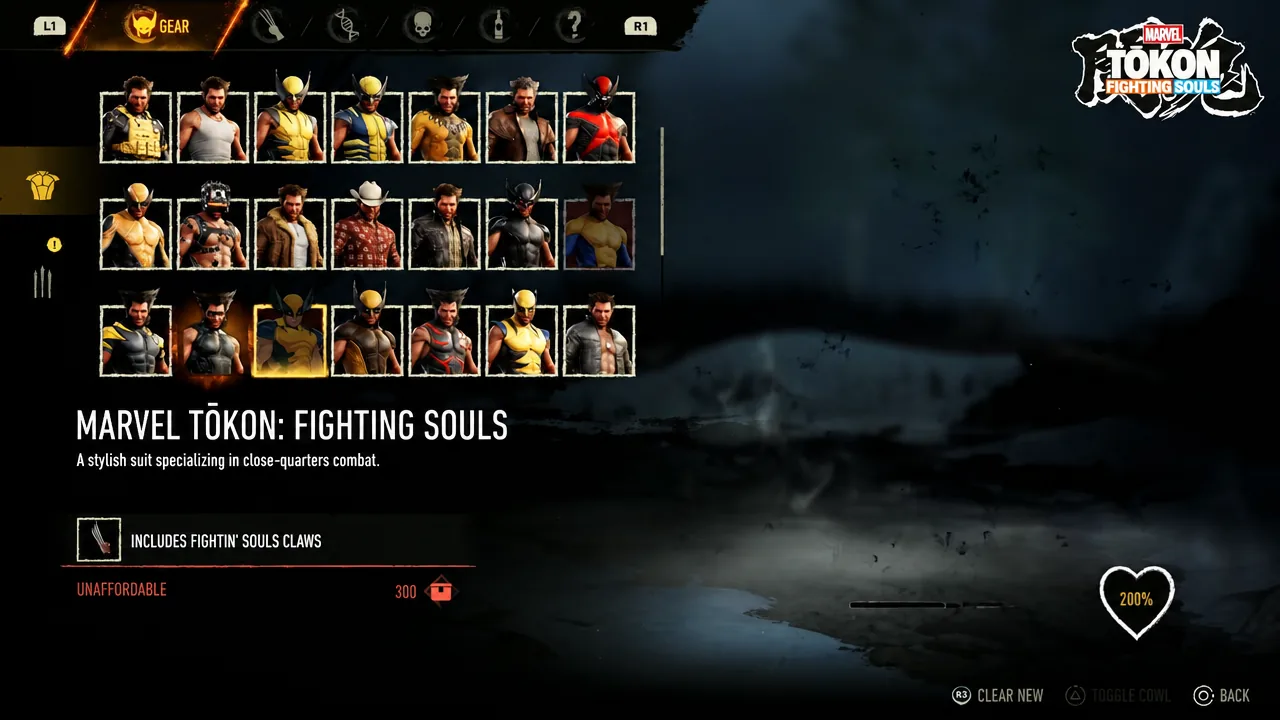
The mission starts with Logan and Jean walking the Shinjuku streets toward the shuttered arcade. Jean lifts the metal gate with telekinesis, and the moment you step inside you unlock the Tōkon suit.
Mutant detector hunt: four collectibles on the Shinjuku rooftops
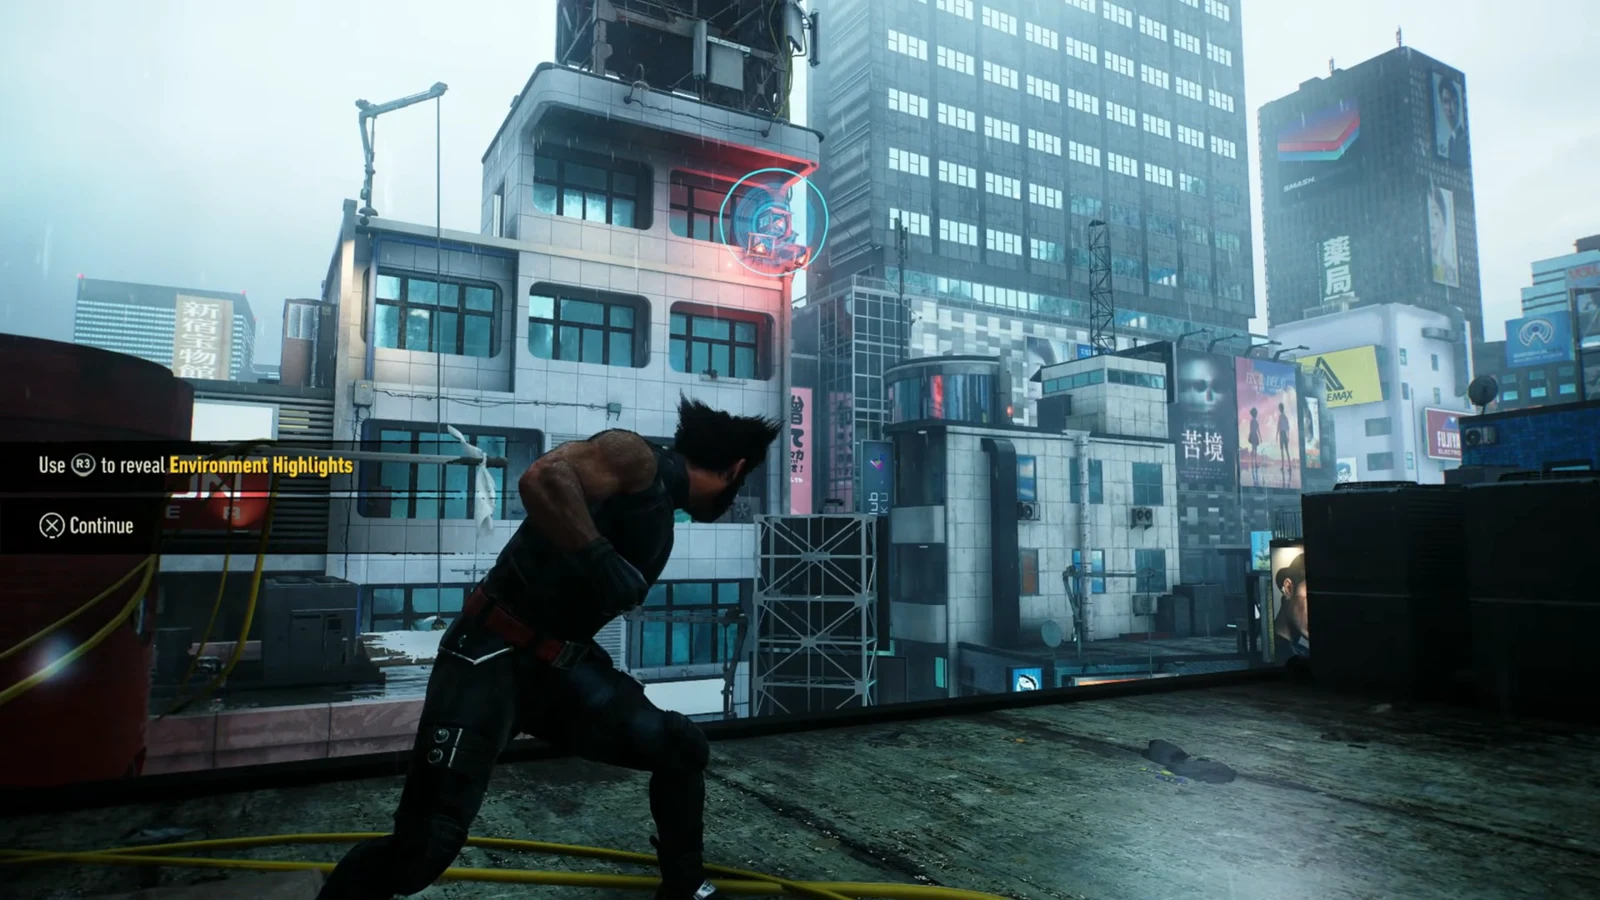
The objective now is to find and destroy the mutant detectors to draw the Hand out. Detectors glow red, and each one is disabled by slashing its power box. Feral Sense is the fastest way to spot them — it drains the colour out of the world and highlights the detectors, including a cluster mounted on a building you have not reached yet.
Three crates and one bottle live in this stretch, and they chain together if you take them in order rather than dropping back to the street between each one.
- Crate 2: The third detector pushes you up to the rooftops. Skip the control panel room on your right, keep going forward, and jump to the next building.
- Crate 3: Stay up top and look for the blue building. Climb it, use the plank to launch onto the pipe on the white building, then go right.
- Crate 4: Climb the pipe to the top, turn left, drop to street level, go left, and use the two crane cables in the alley on your right.
- Best There Is: From crate 4, drop to the rooftop you reached with the first crane cable. Right of the advertising boards is a roof with a table.
The rooftops run right up against the mission boundary. If a “you’re leaving the mission area” prompt appears, turn back — nothing collectible sits outside that line.
Level ups and techniques during the detector chase
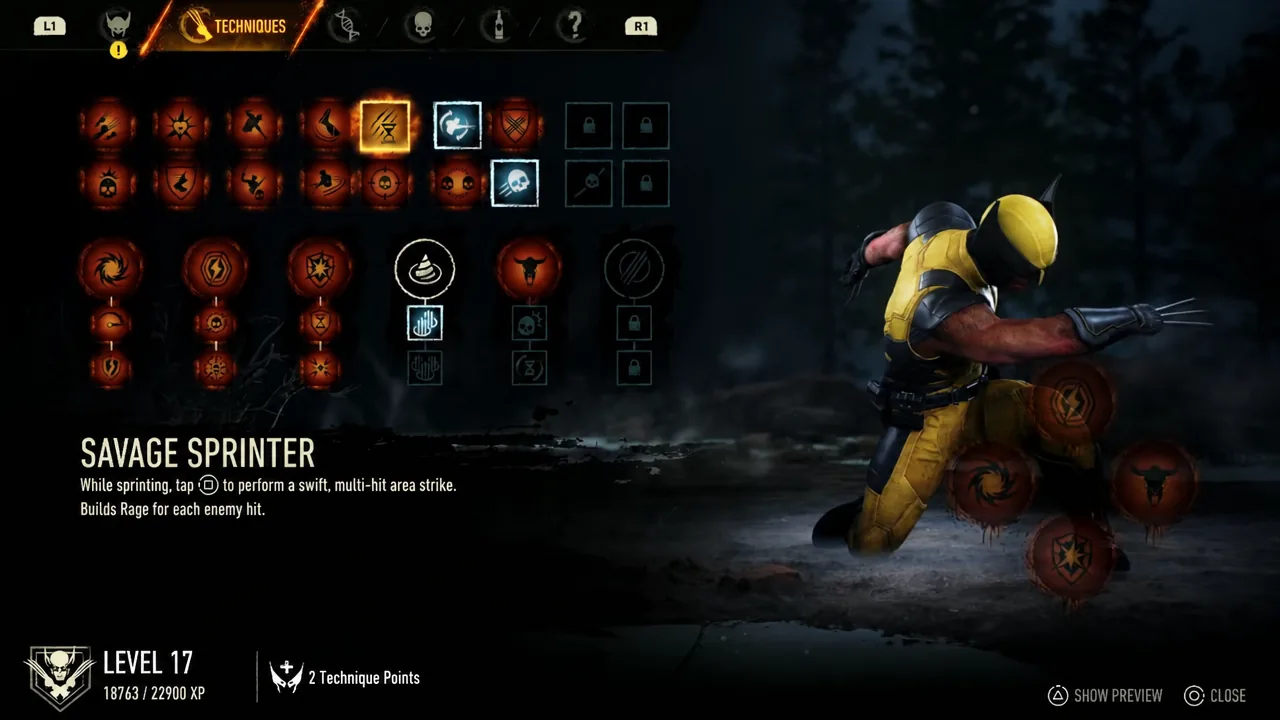
Destroying the final transmitter on the tower gets Logan shot off by Hand archers and dumped into a street brawl. That fight usually pushes you to level 20 and a Technique Point. Power Attack Counter is a sensible first buy here, and Thin Claws can be swapped in from the Gear menu at the same time. Two more level ups follow inside the hideout, which is enough for Staggered Throw and Overwhelm before the mission ends.
Blood trail to the Hand shrine and the Truck 71 receipt
One wounded Hand member escapes the street fight and leaves a blood trail that glows blue when tracked. Follow it through the alleys until it dead-ends at a brick wall, then find the weak spot and cut straight through it. The stairs behind lead down into a hidden shrine.
After clearing the Hand members here, there are several things worth reading. An audio log carries Walter’s own recording about the Helix Engine, and a nearby journal explains that the Hand’s warriors train for years to receive “the gift of the Beast” while Lady Deathstrike insists her Chosen are worthy.
The item that actually advances the mission is the food order receipt on the table, naming Daruma Ramen, driver Hideki, truck number 71. Smell the chili oil on the takeout bowl beside it to pick up a fresh scent trail.
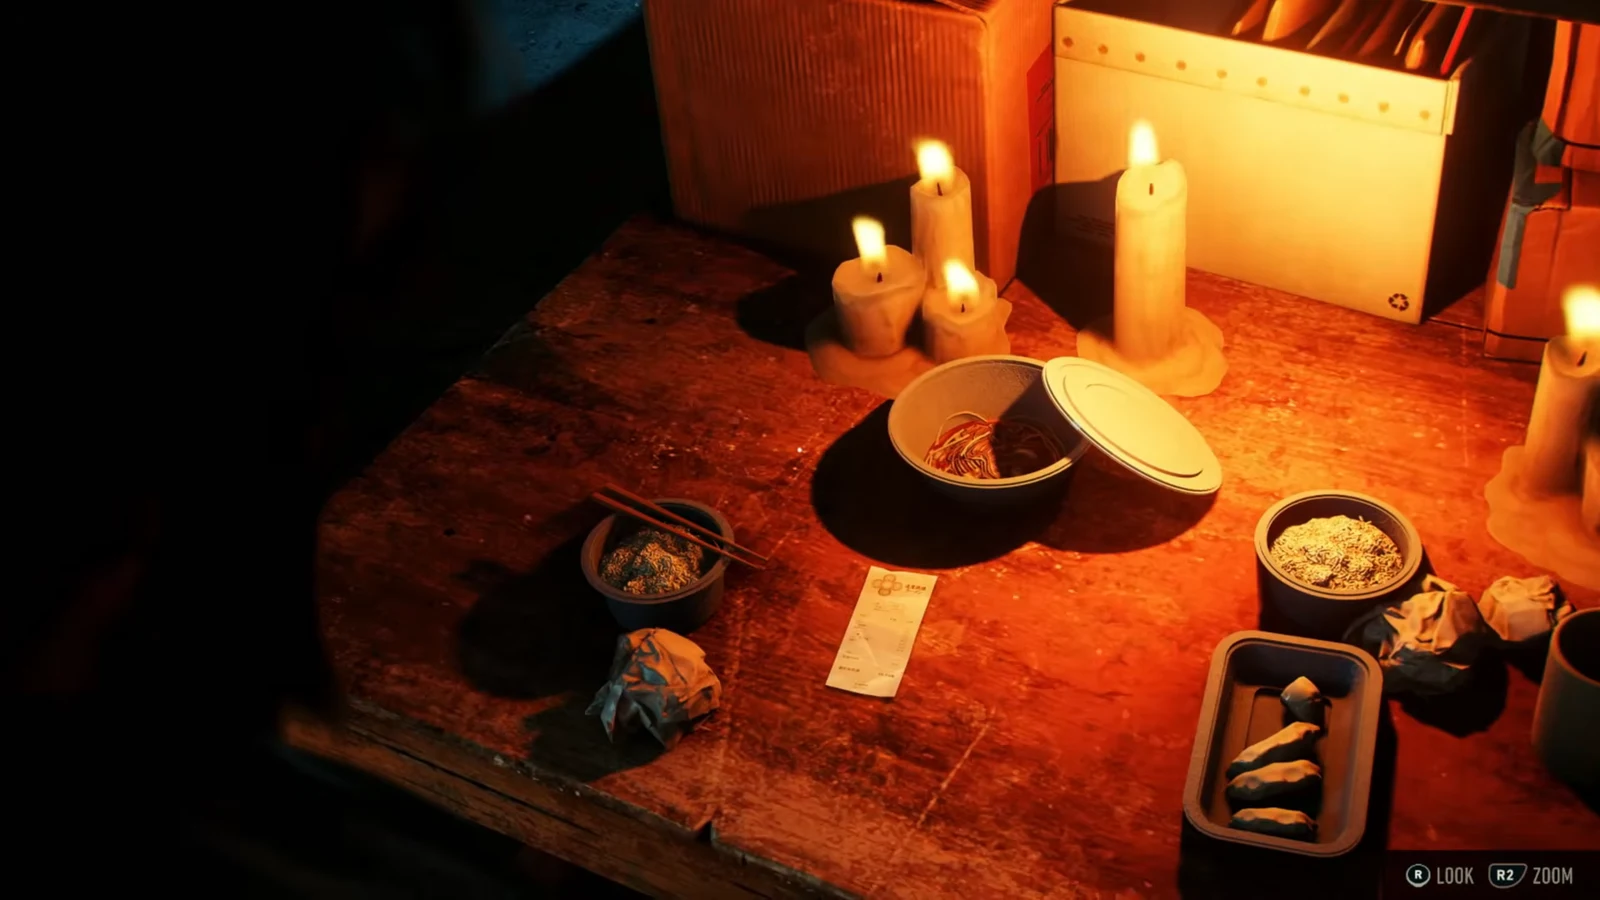
Follow the scent back up to the street and through Shinjuku until you find delivery truck 71. Logan rides on the side of it and pressures the driver into taking him to the Hand.
Construction site hideout and the underground lair
The truck drops you at a construction site. Before going inside, run all the way left and around the corner — the fifth Material Crate is next to the digger.
Stealth takedowns thin out the guards inside, but the encounter ends in an open fight with a large group of ninjas either way. Take the elevator down afterwards and you reach a cave area with wall paintings depicting the Shinigami.
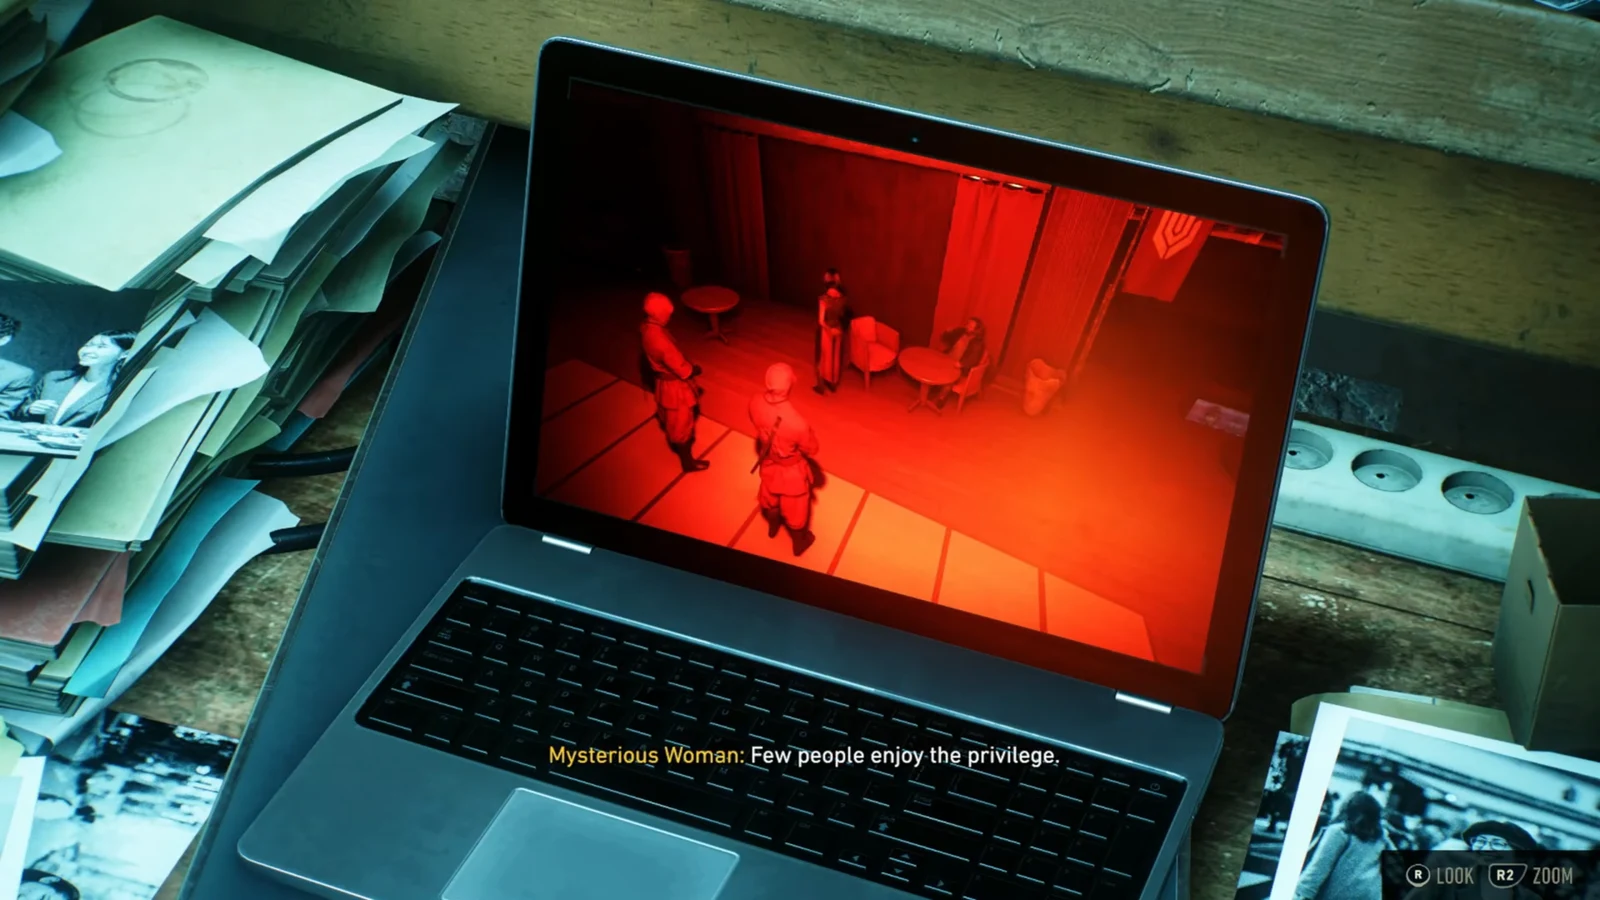
Walter has already been moved. The laptop down here plays back security camera footage of him being taken by the Hand, and inspecting it is what points you at the next location.
Berserker Brew and the last cave crate with Jean
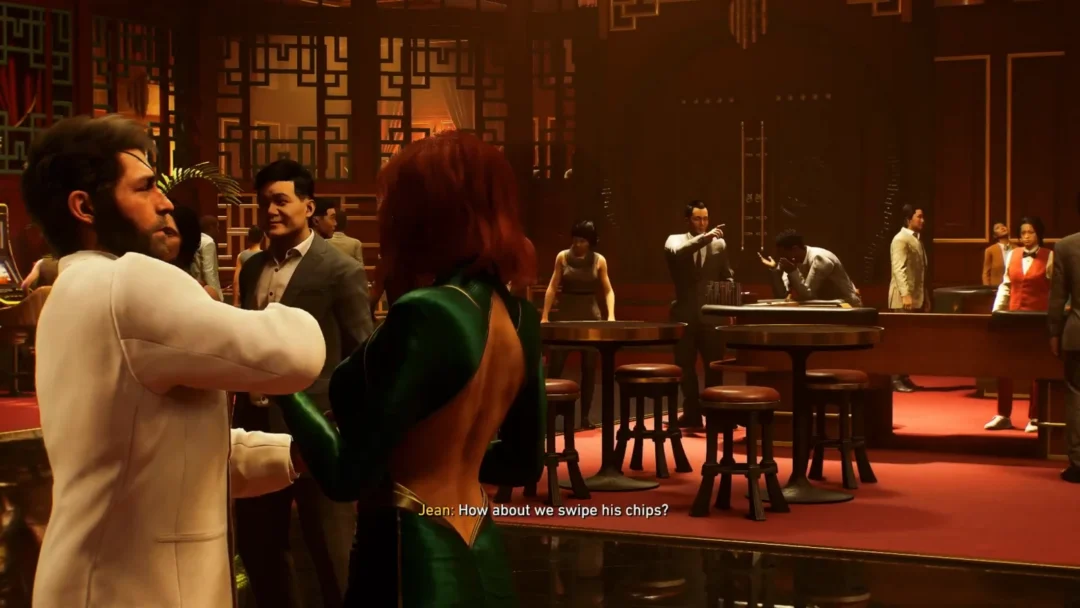
Climb the rope out of the shaft and track the music back through the streets to meet Jean. She casts a psychic glamour so the Hand members in the red-lit lounge cannot see either of you, which gives you free rein to look around.
Go to the back corner of that first room and take Berserker Brew off the table. While you are there, the invitation card announces a demonstration of strength at Harada Garden Tower that night, and a journal on the desk names Lady Deathstrike.
Break through the weak spot in the brick wall to open the path into the caves. Turn left at the very first opportunity and the sixth Material Crate is sitting in the dark at the back. Miss this turn and you are committed to the tunnel toward Walter.
Walter, Lady Deathstrike, and the Fist mini-boss
At the end of the tunnel, Walter has been turned into a hairy, beast-like creature and attacks on sight. Jean’s attempt to put him to sleep fails, and Lady Deathstrike arrives to send her ninjas at Logan while Jean pulls Walter out.
Deathstrike then summons Fist, a brute-type Hand member who fights in a burning arena with purple energy attacks. His melee patterns are readable, but retreating is the wrong instinct: back away and he spits blood at you, and the projectile comes out fast enough that you rarely have time to react.
Stay close and strafe sideways when you need space. Side movement keeps you inside his melee range without opening the gap that triggers the ranged attack.
Beating Fist triggers the escape. Jean carries Logan out of the collapsing cave with telekinesis, lands on a rooftop, and he pulls a spear out of his own back. She admits she sent Walter to Shiro’s, then puts on a green dress and mask and uses her glamour to walk into Harada Garden Tower disguised as Lady Deathstrike.
Final Material Crate and how to confirm 100%
Control returns to Logan on the streets with the objective set to return to Shiro’s apartment, and the mission card will be sitting near 89 percent if you have everything else. Use the zipline right next to you and drop off onto the building rooftop halfway along the line — the seventh and last Material Crate is there.
To verify, pause before walking into Shiro’s. The card should read Material Crates 7 / 7 and Whisky Bottles 2 / 2, and each pickup gives its own on-screen confirmation as you grab it: crates pop a +50 Materials notification, bottles pop a New Collectible banner with the bottle’s name.
If something is still missing, you do not have to worry about it now. Once the Nightmare Cabin is unlocked, completed missions can be replayed from the bed there or from the main menu, so In the Shadows can be revisited for any crate or bottle you skipped before the story moves on to Death Comes to Death.