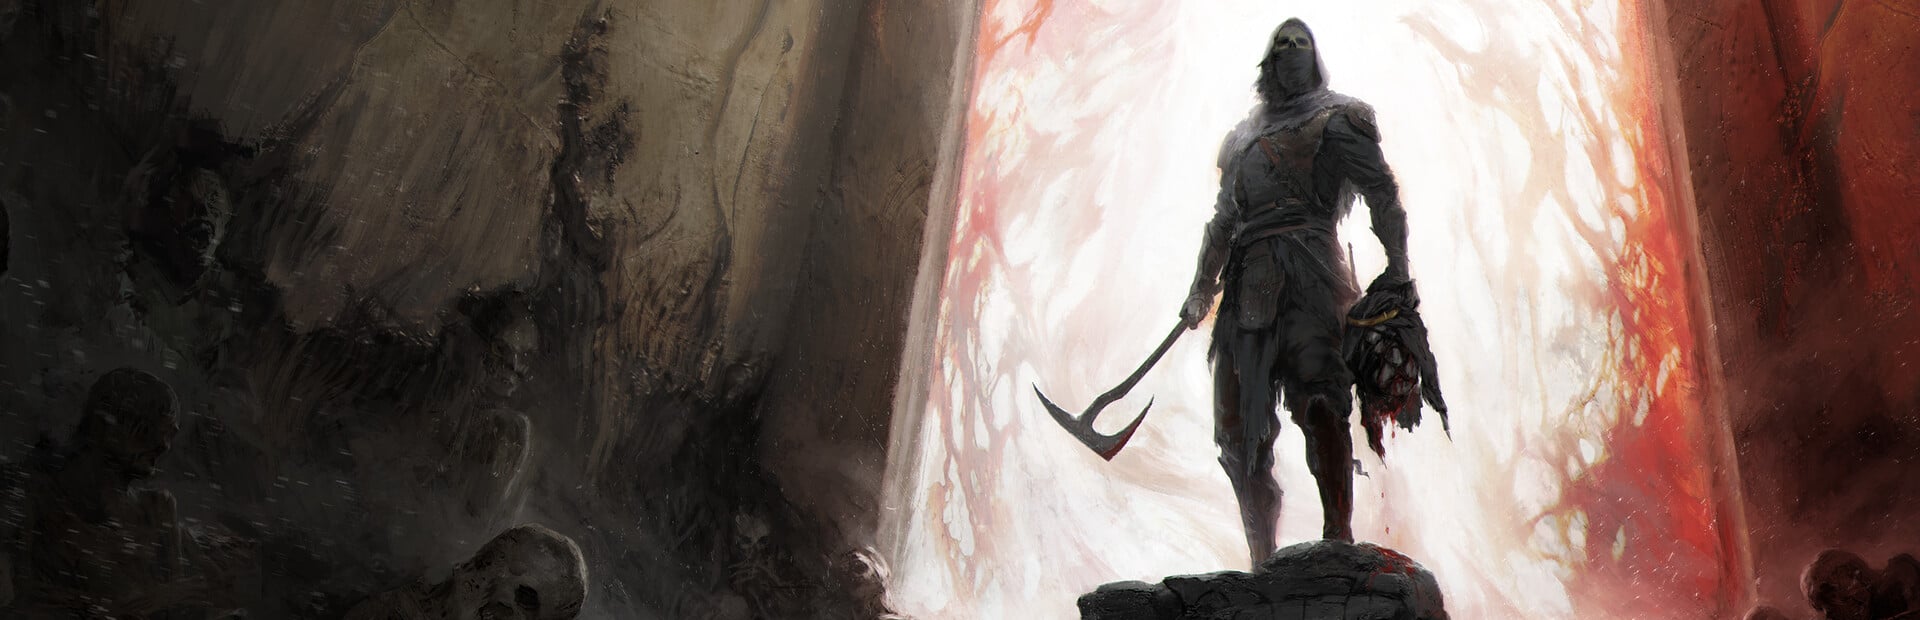
The Hidden Nave is the last beacon most players get to in Mortal Shell 2, and it is the only one that locks you underground until you finish it. It sits in the central part of The Unfound Path, it is sealed behind three boss fights, and the door in front of its Corruption Core takes every point of Gloom you are carrying. Handled in the right order, it is straightforward. Handled in the wrong order, you hand over a six-figure Gloom balance for nothing.
Quick answer: Sever the Root past the Empty Cradle beacon to reach The Hidden Nave, break its seal by beating Malborn Offspring, The Monolith, and Orrem the Severed, then cleanse the Corruption Core inside.
The Hidden Nave beacon location in The Unfound Path
The Unfound Path is an endgame region reached by taking the lift down from Marrow Keep, and the lift only opens once you are carrying 168 Ova. Everything below runs off the Chamber of the Forsaken beacon, which is the first rest point you hit down there and the fast-travel anchor for all three boss routes.
The beacon sits in the region’s middle. At the Empty Cradle beacon, slip through the narrow opening to the right and continue along the route to the Root. Cut it apart to reveal The Hidden Nave beacon beyond.
Break the seal: three bosses and three bone structures
You cannot cleanse The Hidden Nave while its corruption is sealed. The seal comes off in three stages, and each stage is the same pattern: kill a boss, take its trophy, then walk to the giant bone structure on that route and interact with it. Each interaction plays a cutscene and strips one layer off the beacon.
| Boss | Nearest beacon | Drop |
|---|---|---|
| Malborn Offspring | Faithful’s Shelter | Offspring Trophy |
| The Monolith | Obsidian Vault | Monolith Fragment |
| Orrem the Severed | Bridge of Procession | Orrem’s Head |
Malborn Offspring and the first bone structure
Leave Chamber of the Forsaken and take the mist-covered cliffs and bridges toward the first arena. Climb the stairs to light the Faithful’s Shelter beacon. Once Malborn Offspring is defeated and the Offspring Trophy drops, go across the bridge past the arena to reach the first bone structure.
The Monolith and the second bone structure
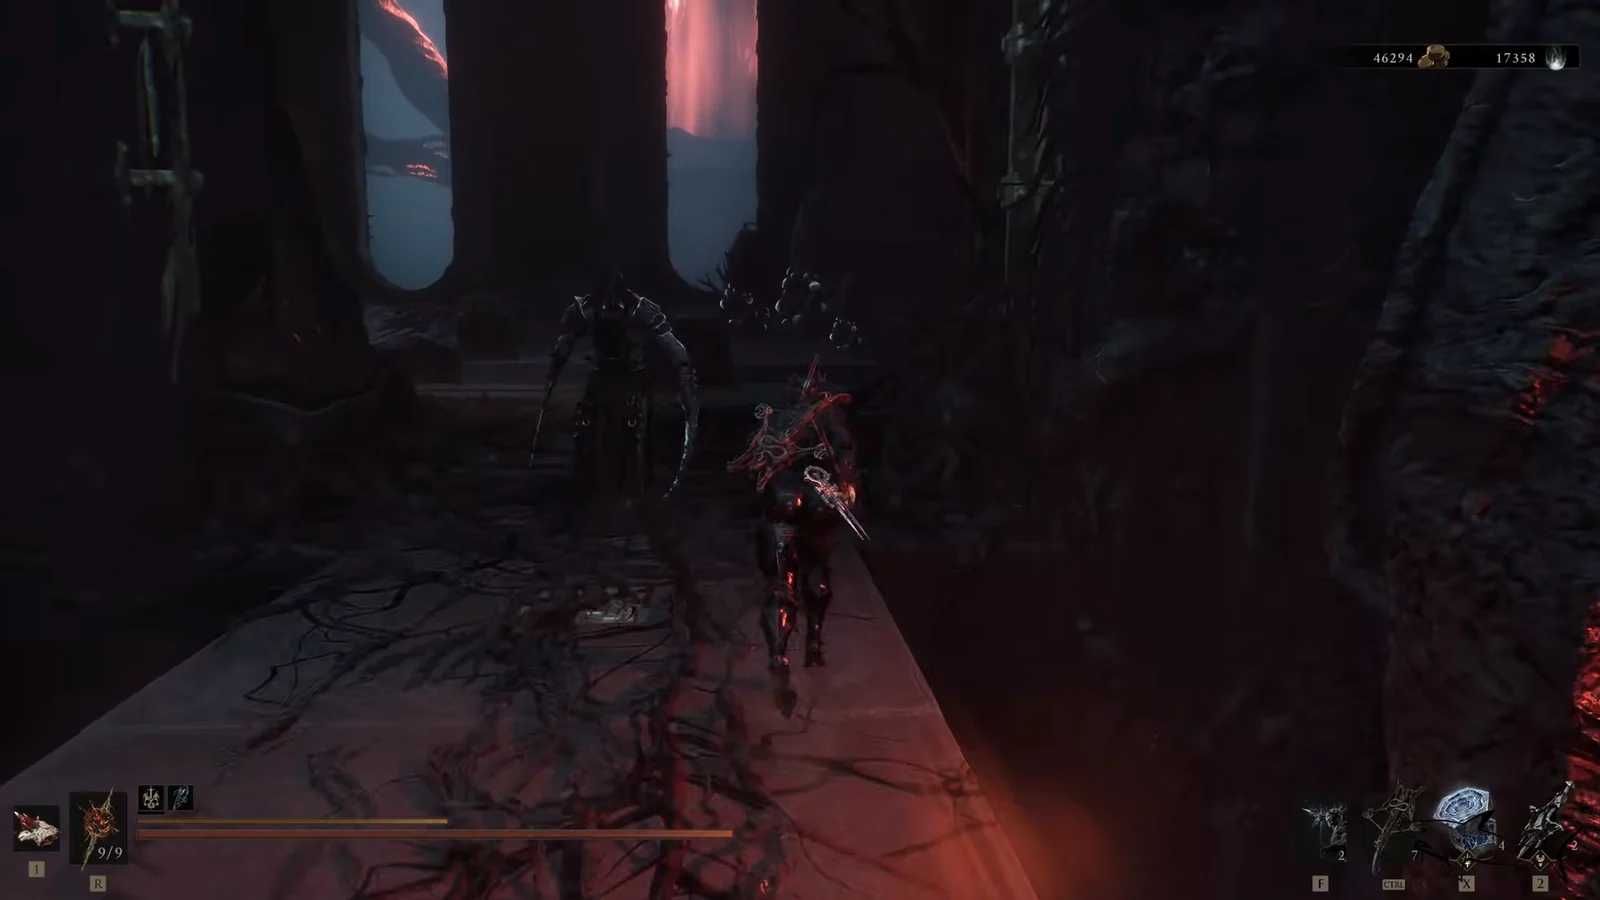
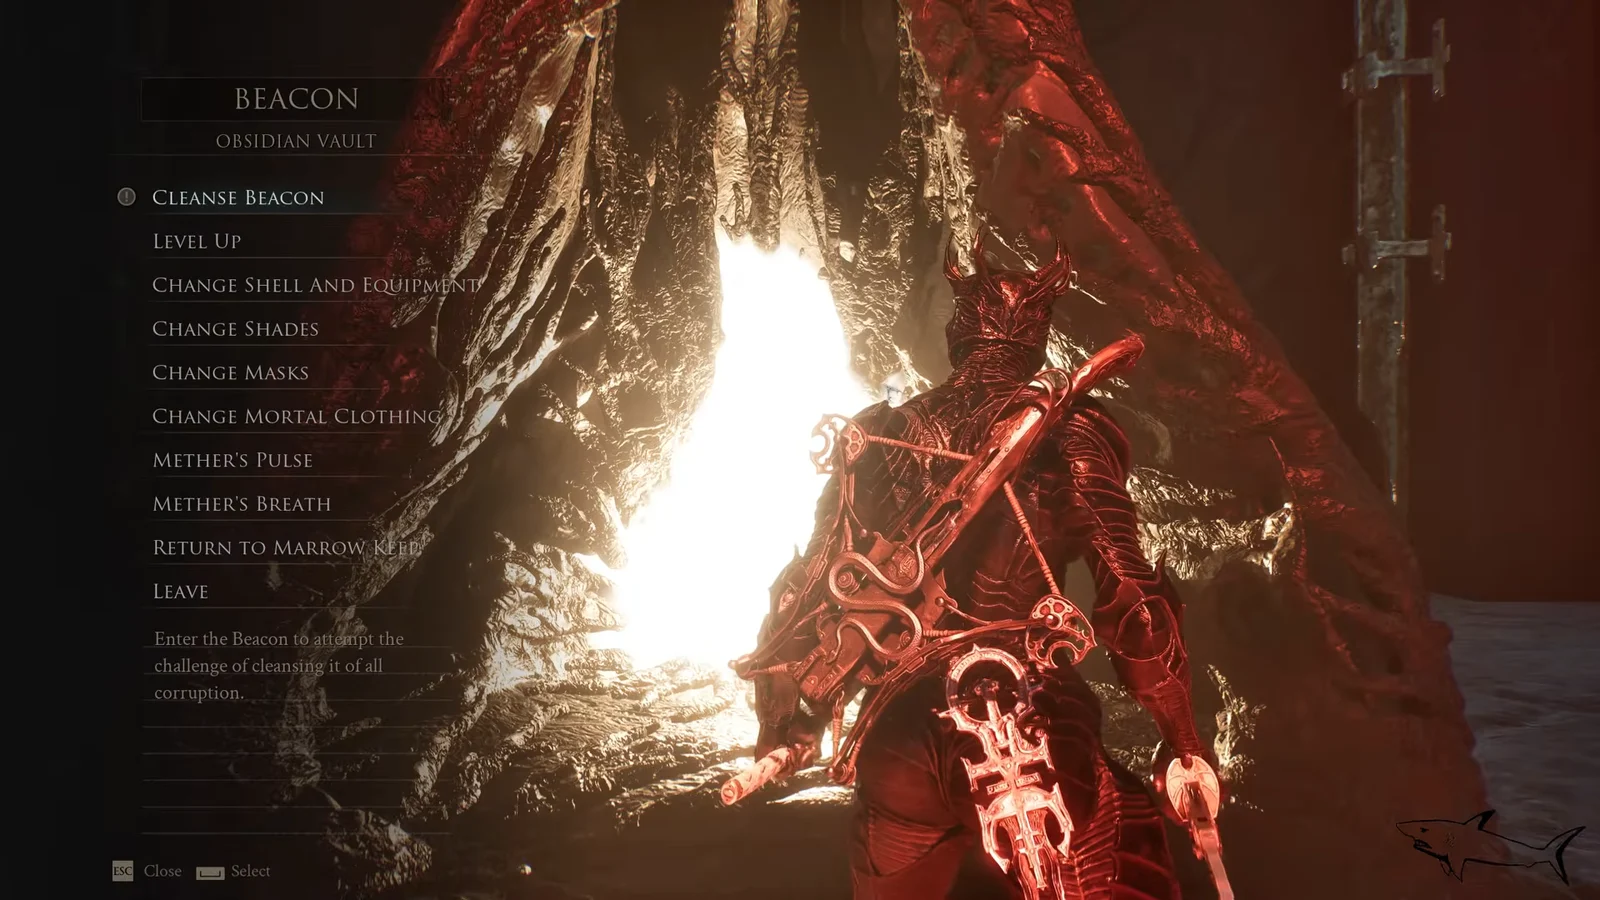
Restart from Chamber of the Forsaken and take the outer walkways and interior corridors instead. Light Brother’s Court, press the button on the pedestal there to open the next door, then activate the Obsidian Vault beacon just outside the arena. The Monolith drops the Monolith Fragment, and the second bone structure is a short walk past the fight.
Orrem the Severed and the final bone structure
The third route drops to the lower pathways. Revitalize the Bridge of Procession beacon, cross the long bridge, and beat Orrem the Severed for Orrem’s Head. Take the elevator up afterwards and run the stone platforms to the Empty Cradle beacon, which is where the last bone structure sits. Interacting with it plays the final cutscene and fully cleanses the corruption blocking the beacon.
Spend your Gloom before you enter the Hidden Nave
Once you pick Cleanse Beacon and drop into the domain, you are committed. There is no route back to the surface until the Corruption Core is cleansed, and the sealed door in front of that core charges your entire Gloom balance, whatever it happens to be. One player watched 71,577 Gloom vanish in a single prompt. The materials you pick up on the way in are called Futilium, which is the game being honest with you.
If you walk in rich by accident, quit to the main menu at the door instead of paying. You reload at the last beacon you rested at, where you can dump the Gloom into levels, then go back down and open the door with an empty balance. If the room resets, open the door first and loot afterwards.
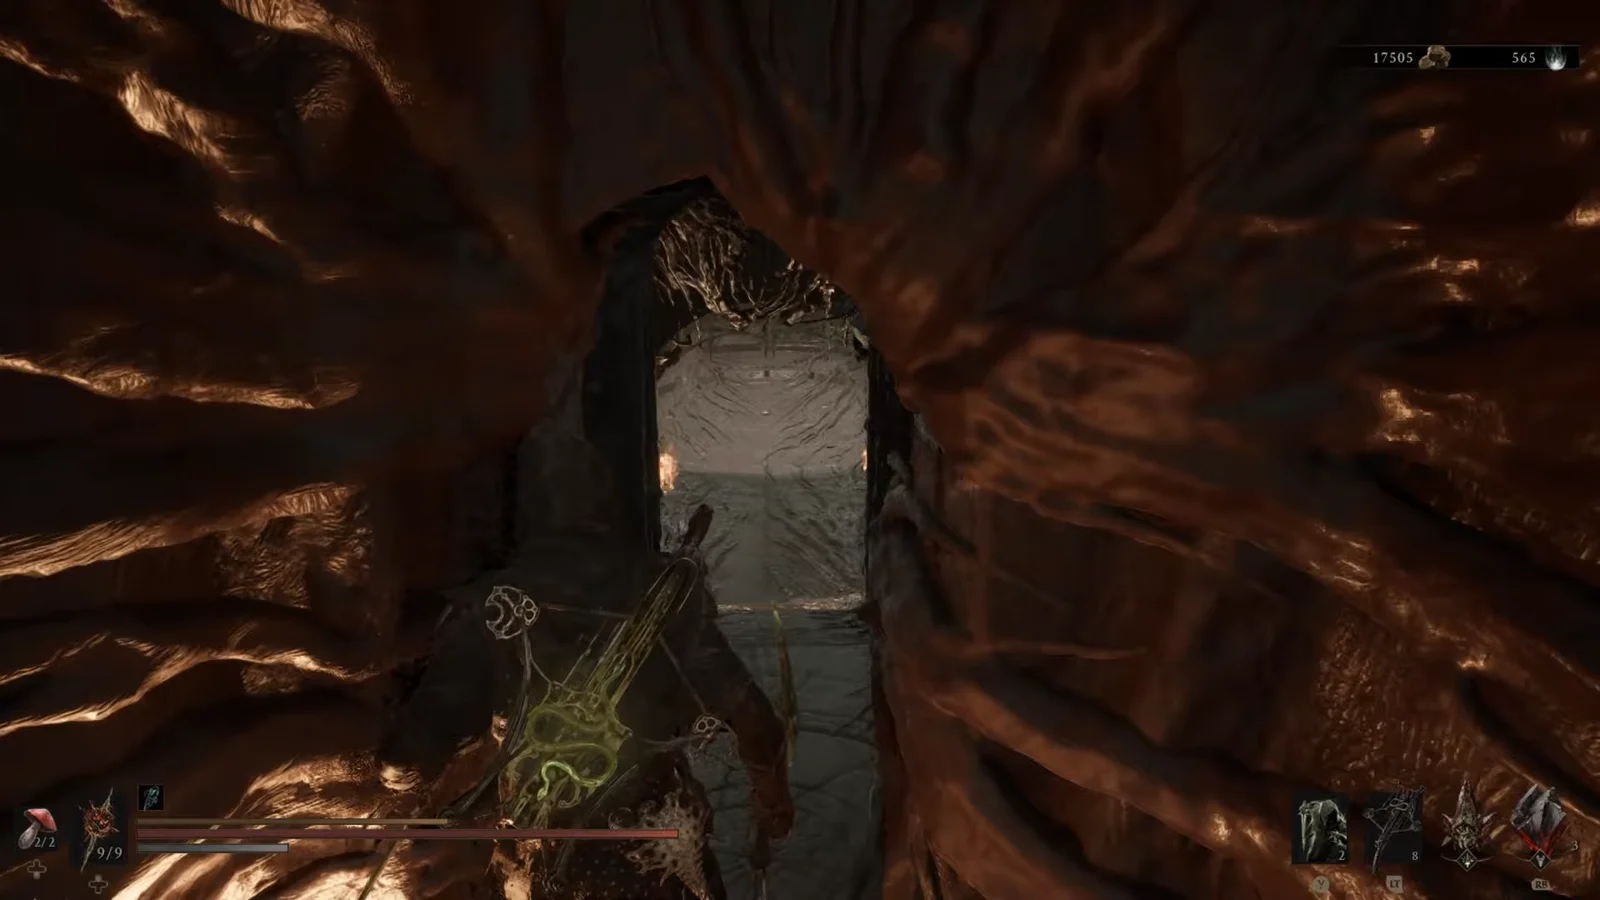
Hidden Nave walkthrough: torch route to the Corruption Core
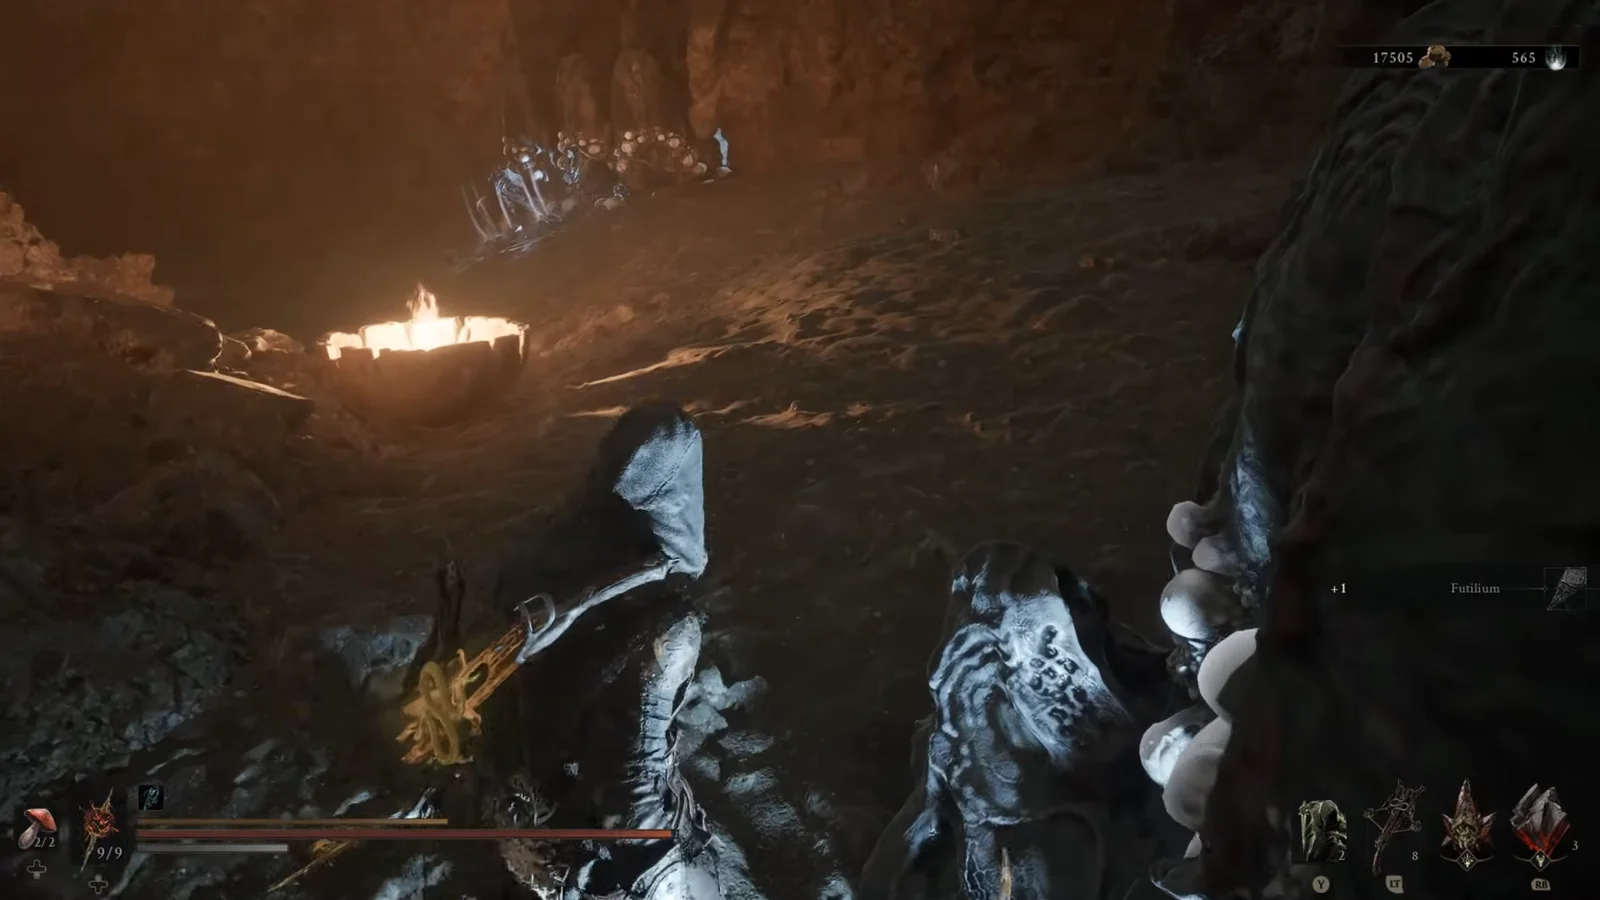
Rewards and how to confirm the beacon is cleansed
Clearing the Corruption Core pays out a Glimpse and the Endless Core you pulled from the sarcophagus. Confirmation is unambiguous: the rift opens, a prompt asks “RETURN TO SURFACE?”, and after you answer yes you materialize at the surface beacon under a banner reading “BEACON CLEANSED THE HIDDEN NAVE”. If you never see that banner, the core was not touched.
Endless Gloom farm inside the cleansed Hidden Nave
The reason people come back here is what happens after the cleanse. Return to the chest room and the bone structures keep producing Gloom, so you can loop the room as long as you like, take the rift back to the surface, and spend the whole haul on levels at the beacon. It is the cleanest way to convert time into stats in the late game, because there is nothing to fight and nothing to lose.
High Lord’s Courtyard, if you want Coins too
The Hidden Nave rewards only Gloom. The High Lord’s Courtyard loop awards Gloom, Coins, Tarstone XP, and Extracted Specimens, and it remains functional in the current version. Rest at the High Lord’s Courtyard beacon, then use the lever in the wall to open the courtyard gate.
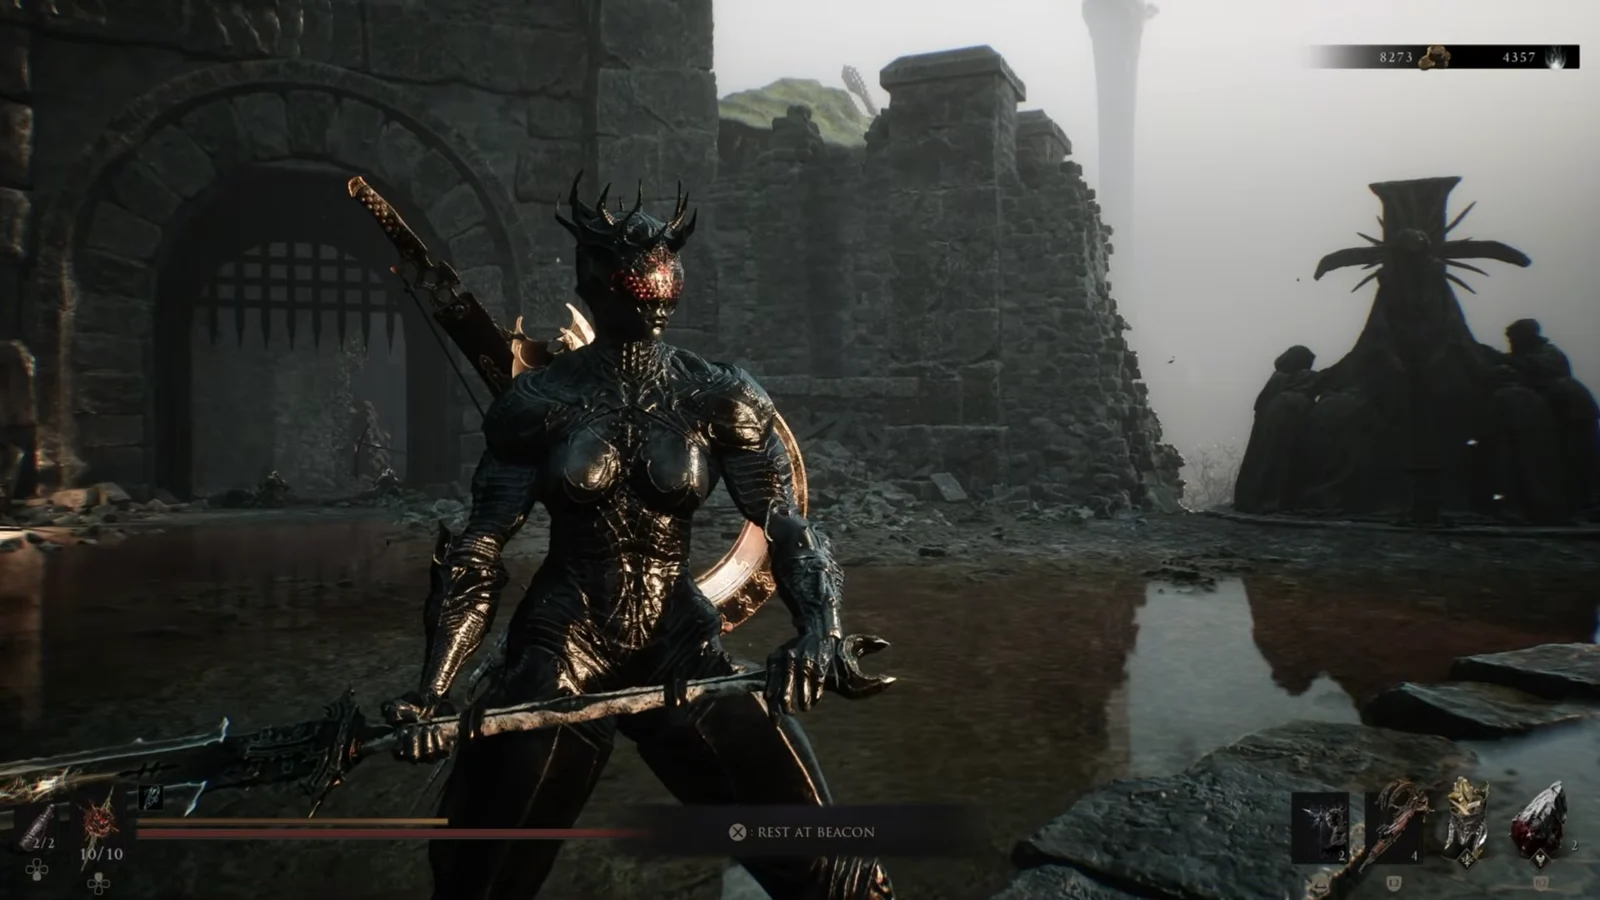
The setup is Proxima, The Broodseeker with the Collector ability maxed for better specimen drops, a Tarstone board of Tarred Fragment, Voltaic Amber, and Squall Stone at Level 3, and the Salvaged Trebuchaxe (+15) as your sidearm.
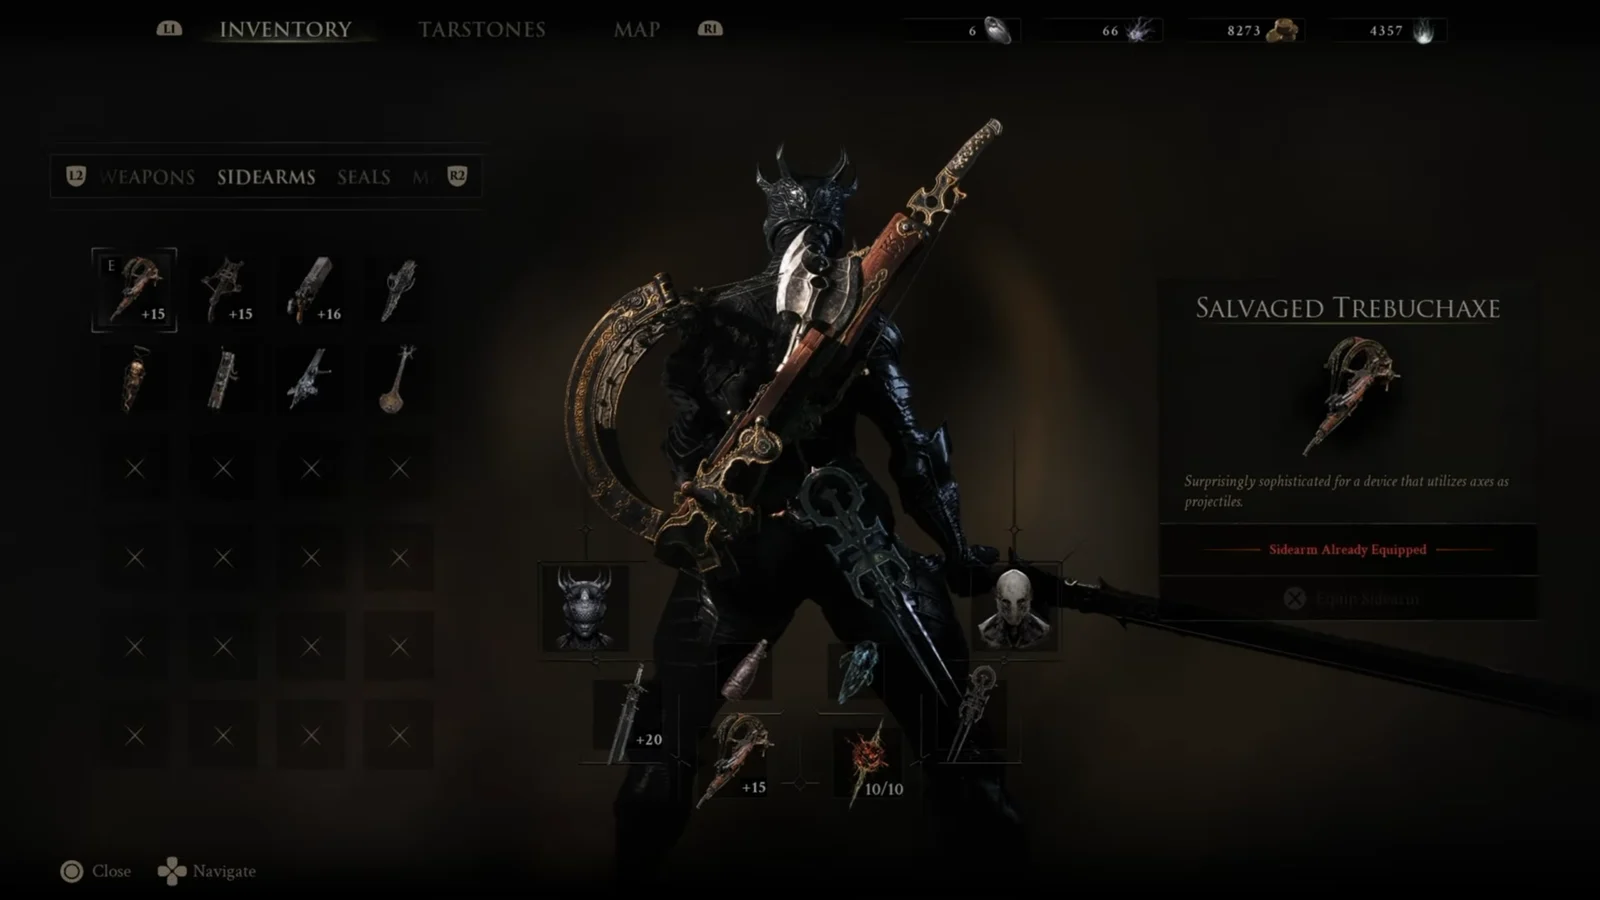
From there you fire the Trebuchaxe through the open doorway into the grouped enemies, rest at the beacon to respawn them, and repeat. Collect the Coins, Gloom, and Extracted Specimens, kill the armored knight that survives, then fast-travel to Marrow Keep and sell the specimens to Merchant Merrick. Seven minutes of that returned roughly 21,000 Coins, 52,000 Gloom, and 10,000 Tarstone XP, which is enough to temper a stone at the Tarforge straight after.
Whichever loop you settle on, do the Hidden Nave cleanse first and do it broke. The beacon is a one-way trip with a toll at the end, and the payoff only starts once the Corruption Core is gone.