Locker 17 in the CEG Employee Lockers holds one of the three Mechanical Parts needed to open the Atlas Gate during Clara Woods, and its PIN is locked behind a long chain of errands that ends at a dusty computer in the upstairs office of 5 South Brae. The puzzle itself is simple once you know the disk order, but the game will not let you skip ahead: every key and every floppy disk has to be in your inventory first.
Quick answer: Repair Floppy Disk (2 of 3) with the Fix-A-Disk! Software, read disks 1, 2, and 3 in order, print the compressor manual for Part ID 956, then open the black box to get the Locker 17 barcode.
What Locker 17 contains
Locker 17 sits along the back wall of the CEG Employee Lockers building, and it is the most valuable of the three lockers listed on the CEG Employee Locker List. Inside are the first of the three Mechanical Parts for the Atlas Gate and the Boltcutters, which let you cut any chained gate or door in the district. That second item is the real reason to do this puzzle early, because it opens up routes you otherwise cannot reach.
All codes in the 5 South Brae chain
Three numbers carry you from Atlas Square to the Boltcutters. You still have to collect the items in between, since locks will not accept a code before the relevant note or document is in your possession.
| Lock | Code | Reward |
|---|---|---|
| Lost and found locker (CEG office) | 772 | South Brae House Key |
| Black box (5 South Brae office) | 956 | Barcode (South Brae) |
| Locker 17 (CEG back wall) | 575 | Mechanical Part, Boltcutters |
Keys and disks you need before the puzzle
How to repair and read the floppy disks
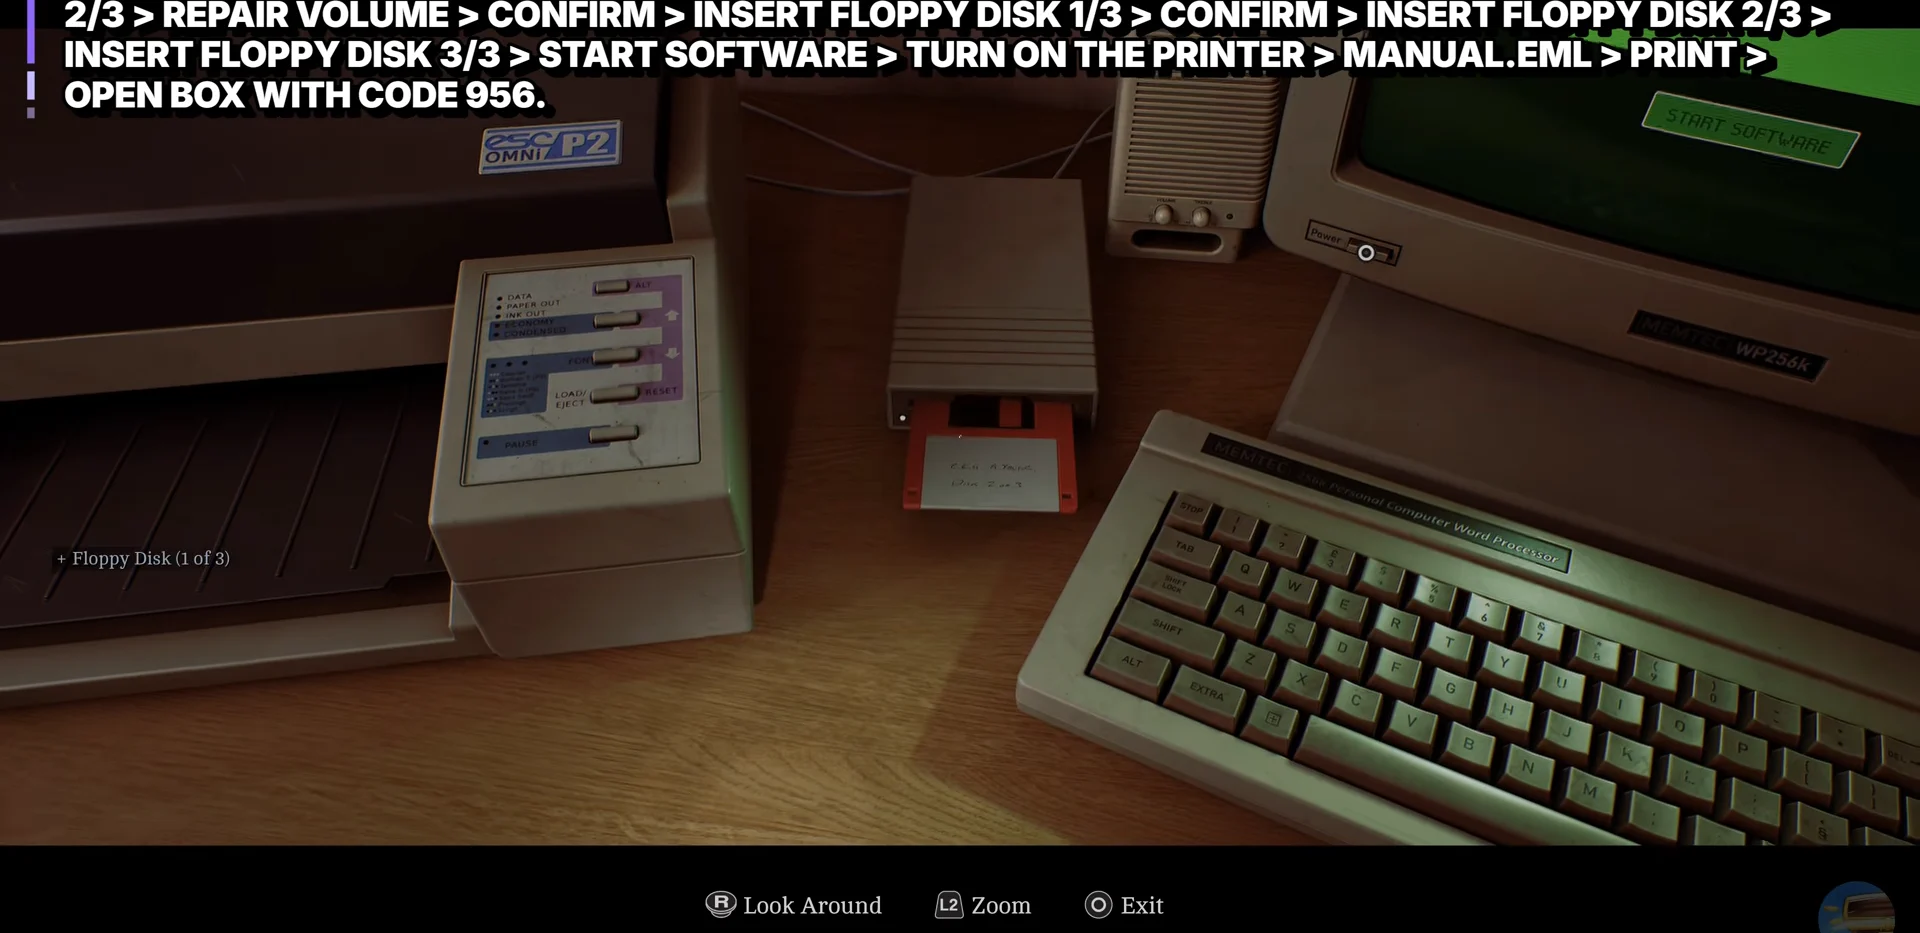
The workstation has everything you need within arm’s reach: a monitor, a floppy drive to the left of the keyboard, a printer on the left side of the desk, and the black box beside the telephone. Launching LetterPlus+ straight away throws a disk error, because one of the three disks is corrupted.
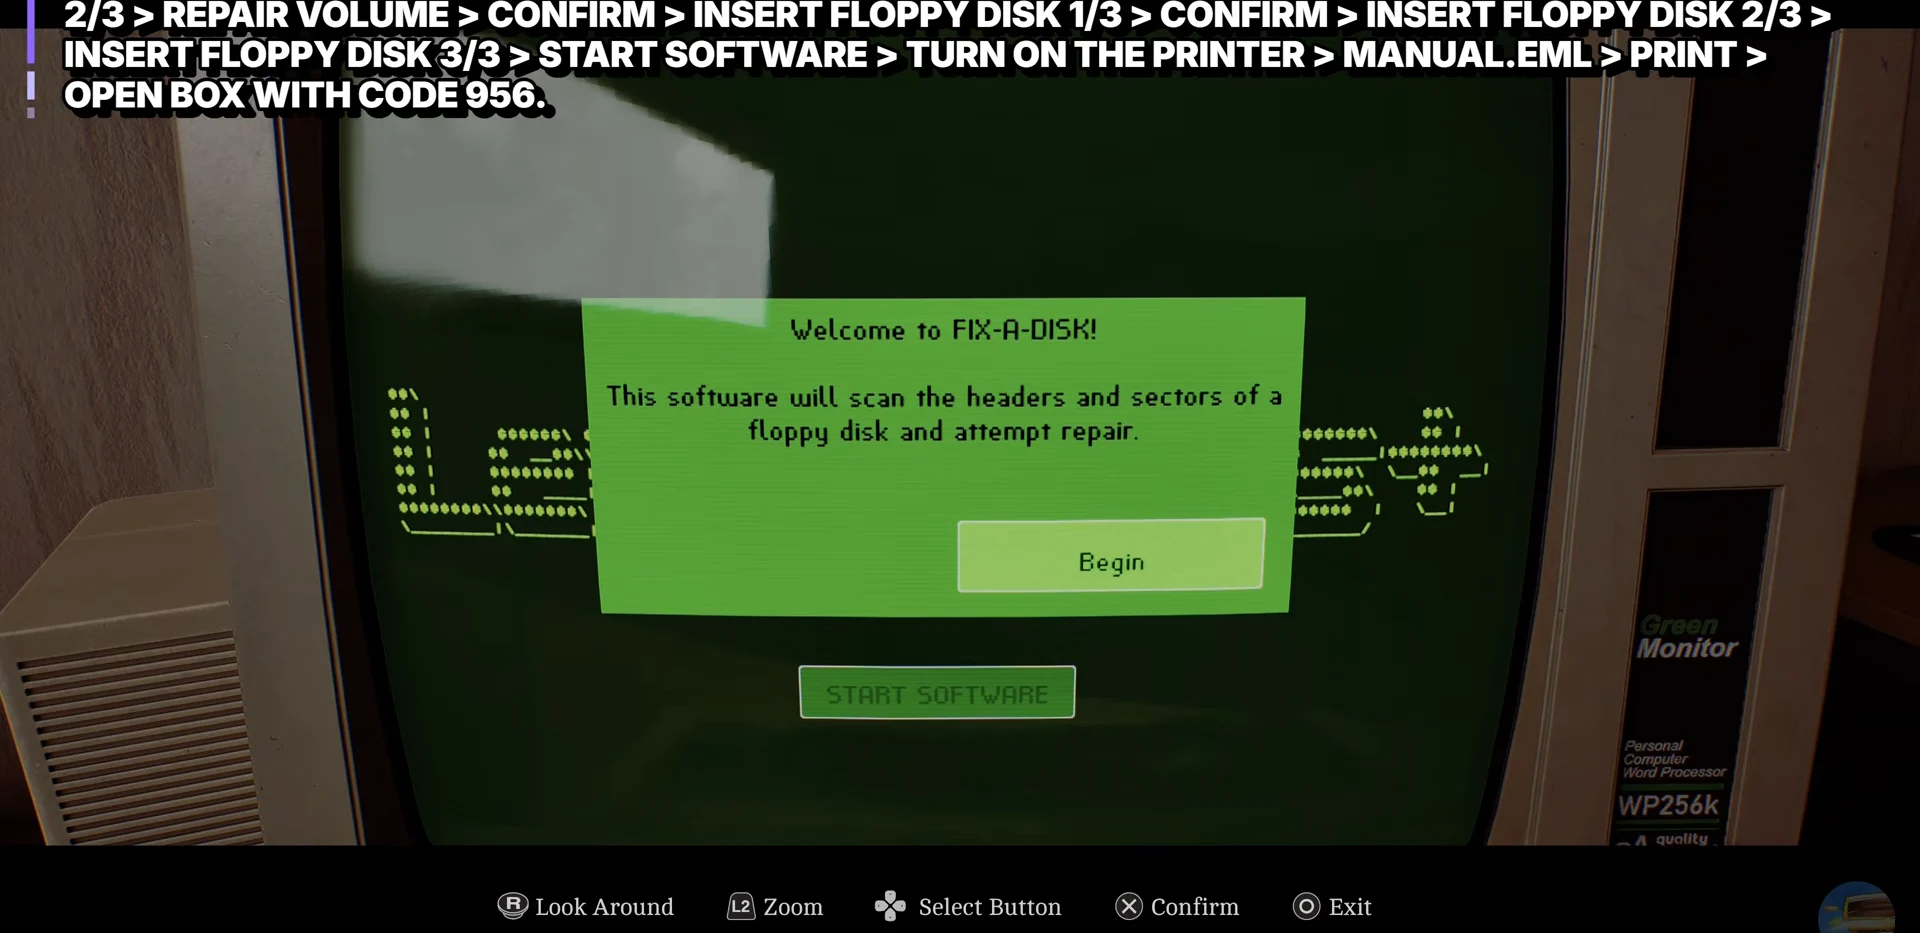
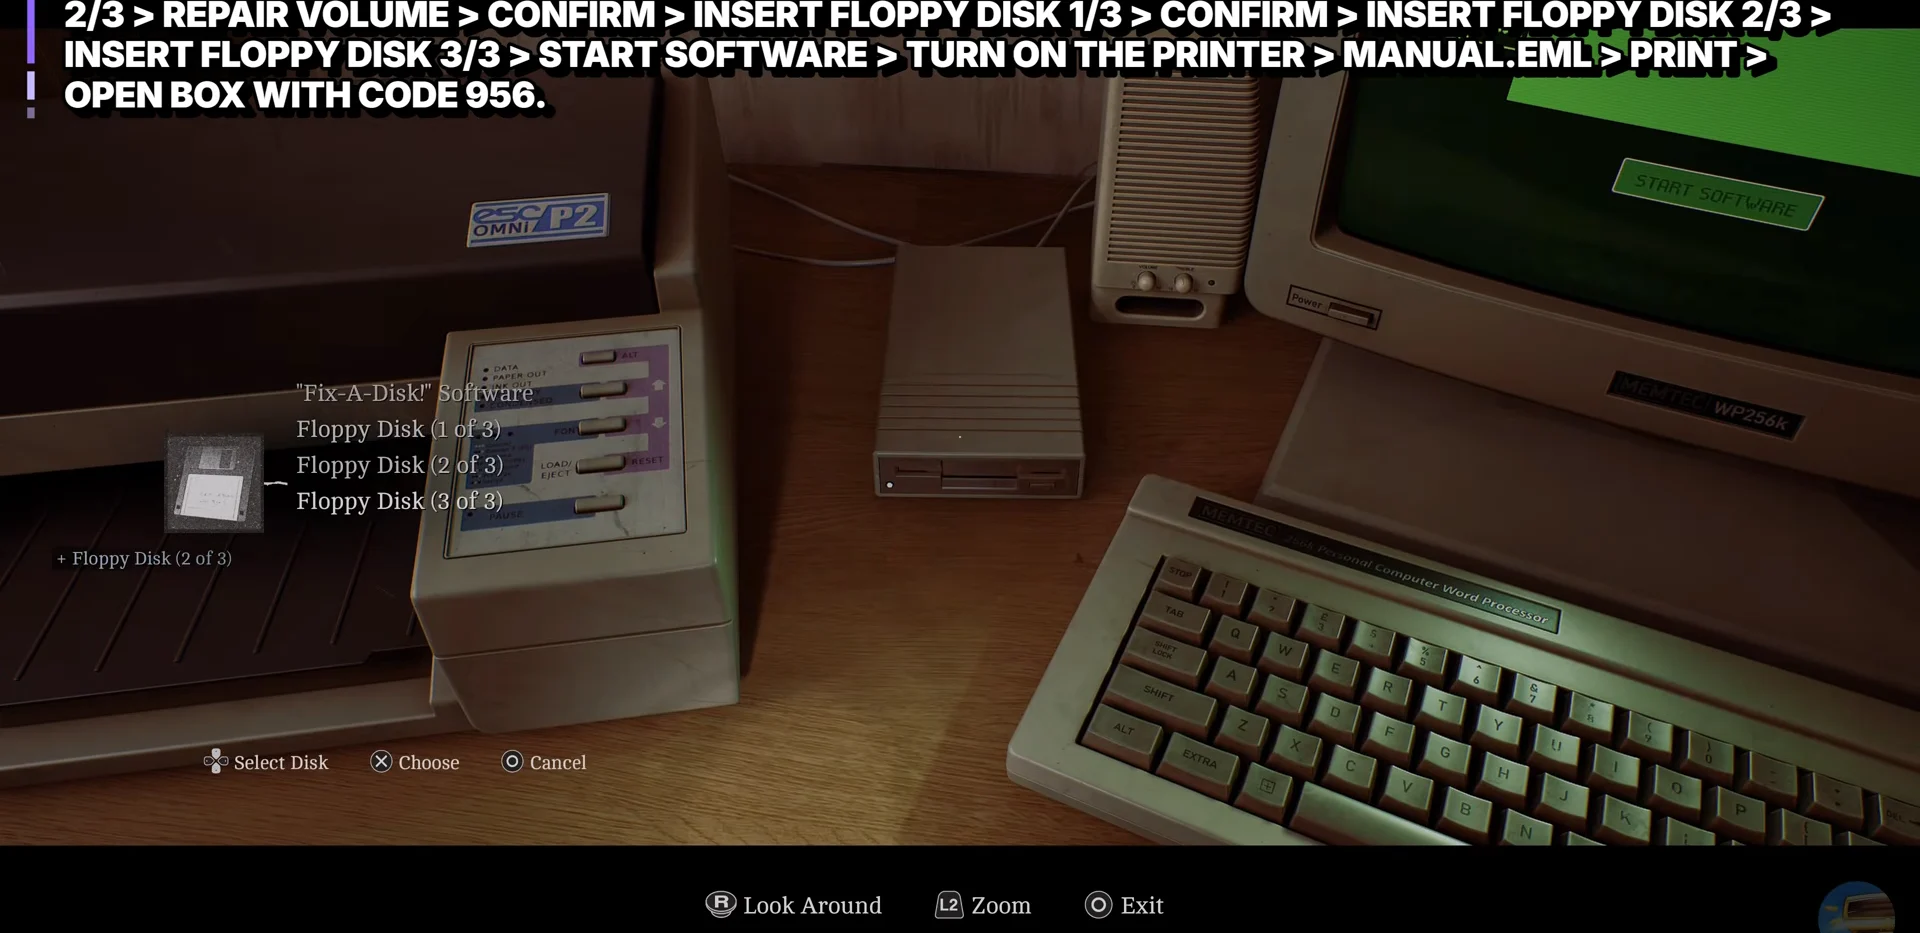
If the software still reports an error part way through, the repair step did not take. Run Fix-A-Disk! on disk 2 again and confirm the volume repair before restarting the sequence.
Print the compressor manual and open the black box with 956
With the archive unpacked, the printer becomes the next hurdle. Flick the printer on at the left of the desk and the on-screen status flips from Printer Offline to Printer Online, which is your cue that the next command will actually work.
Go back to the computer and select “Manual EML” from the external disk storage to send it to the printer. The page that comes out is the Reciprocating Compressor diagram, and the only line that matters on it is Part ID No: 956.
Input 956 as the combination for the black box, located on the desk next to the telephone and floppy disks. Inside is a CEG Lockers receipt slip issued to Brian Arris for Locker No. 17; your inventory lists it as Barcode (South Brae).
Locker 17 PIN 575 and how to confirm you are done
Head back to the CEG Employee Lockers and use Barcode (South Brae) on the barcode reader. The reader prints out the PIN assigned to that locker, which is 575, and the code is then tied to your notes so you do not need the slip again.
Walk to the back wall, punch 575 into Locker 17, and it opens on the Mechanical Part and the Boltcutters. You know the whole chain is finished when both items land in your inventory and the Atlas Gate objective ticks down to the two remaining parts.
From there, the Boltcutters are worth an immediate detour. Any chained gate or door you passed earlier in the district can now be cut open, which is usually the fastest way to reach the other two lockers on the CEG Employee Locker List.