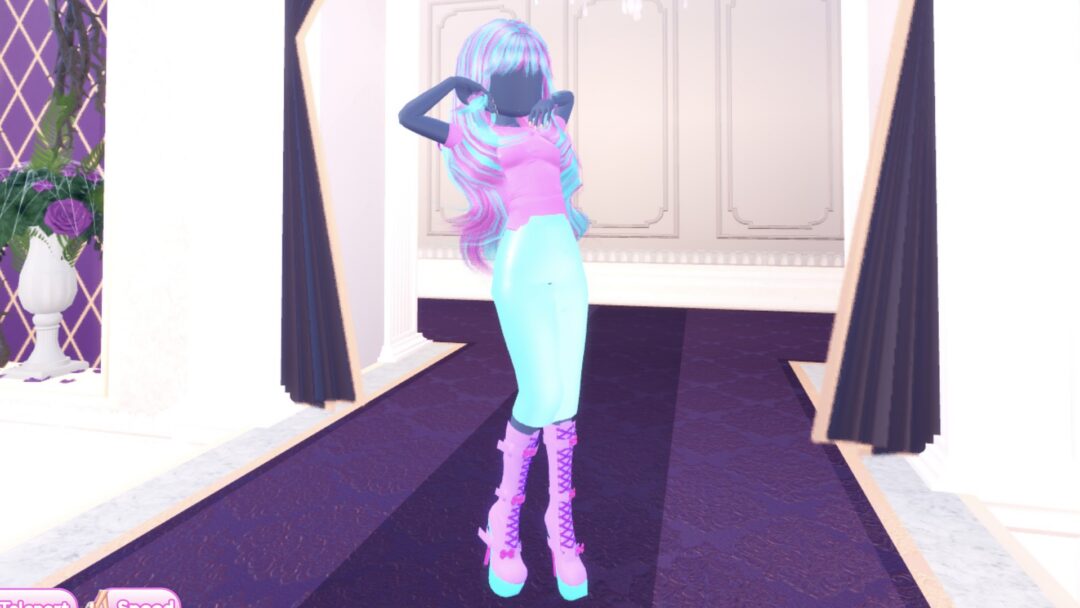
NPC Core (searched most as “npc core dti”) is one of the round themes in Dress To Impress on Roblox. The game gives only the name, so the reading here is ours: dress like a background character, the kind of plain, default-looking extra who stands around in a game without being noticed. That means an ordinary top and trousers in muted colors and nothing styled. We built two looks in Freeplay Mode, a beige cap-sleeve top with blue jeans and a white top with tan trousers, and took our own pictures of each step. Every piece and color used is free, so both work without VIP. For the other themes, see every Dress To Impress theme we have built.
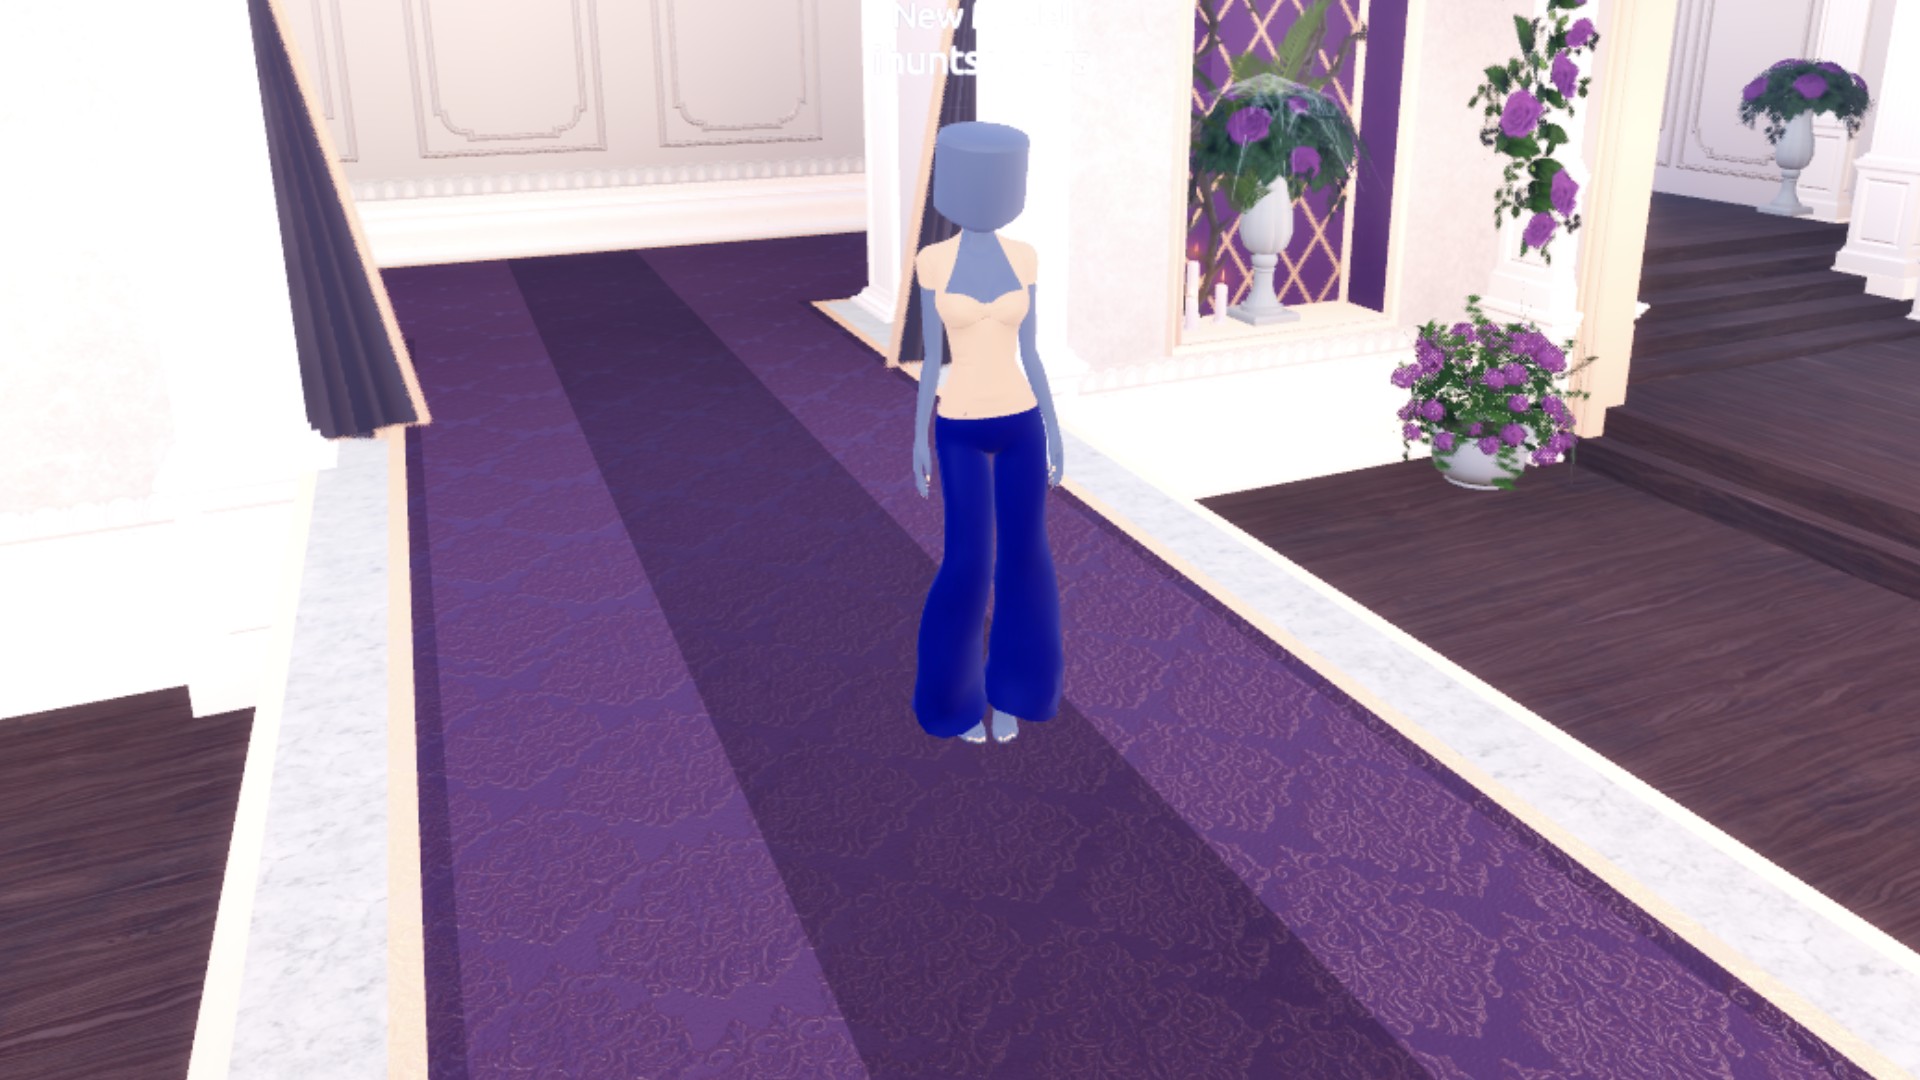
Quick answer: Keep the blank default head with no hair or makeup and go barefoot. Wear the wide-leg jeans from the spawn-hall trousers wall in dark blue Denim and the white cap-sleeve halter top from the tops wall set to tan.
NPC Core outfit ideas in Dress To Impress
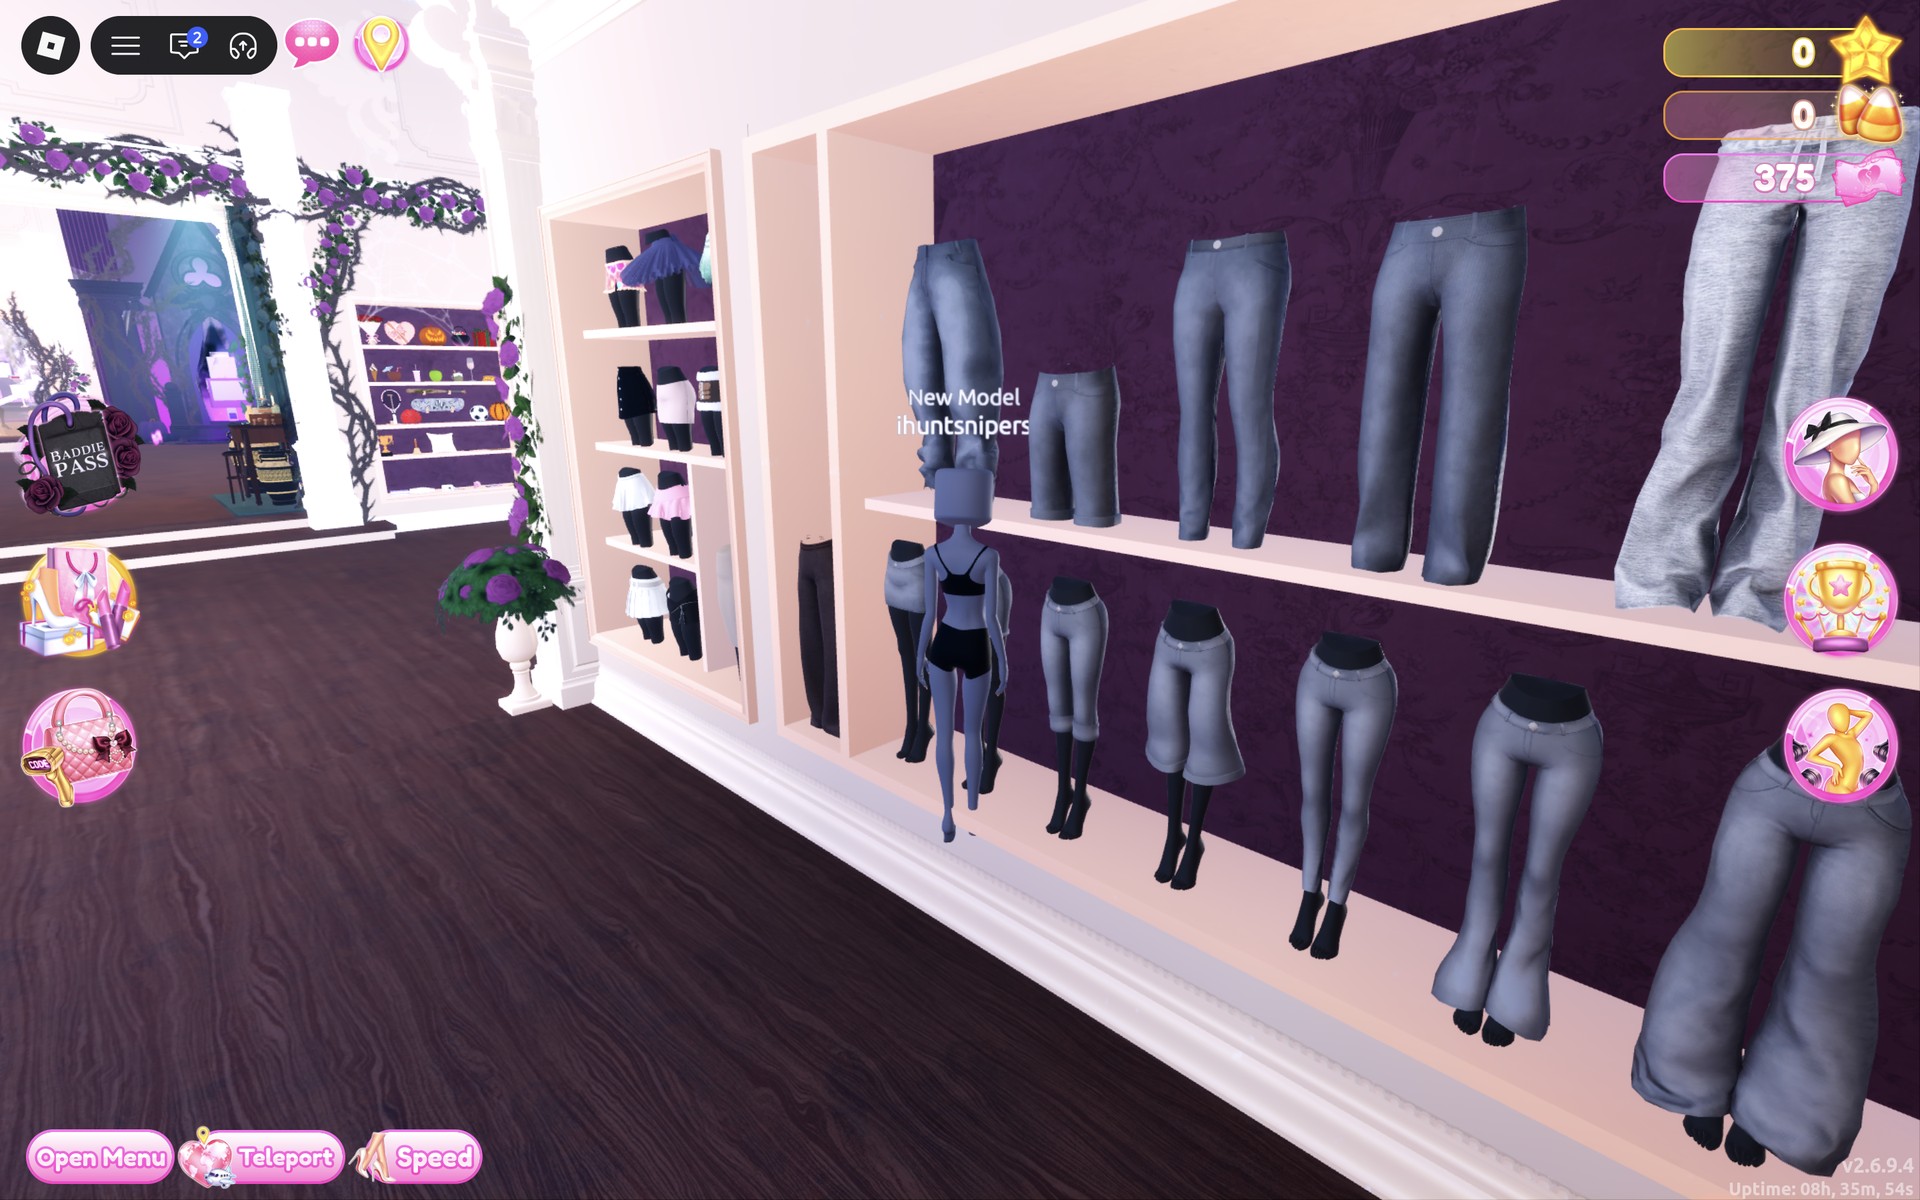
Dress To Impress shows no item names, so every piece here is described by where it sits, what it looks like and the spot we used on the Default palette (columns from the left, rows from the top). A fresh Freeplay character, “New Model”, starts in the base body: a blank, faceless head with no hair, a black top and black shorts, and bare feet. For NPC Core we skipped hair and makeup on purpose so both looks keep that blank head, the most default-looking thing in the game. To be clear about what is worn: two clothing pieces per look, no hair, no face or makeup, no shoes and no accessories.
Look 1: Background NPC in a beige top and blue jeans
Our idea: the plainest everyday outfit there is, a simple top and jeans, on a character nobody styled.
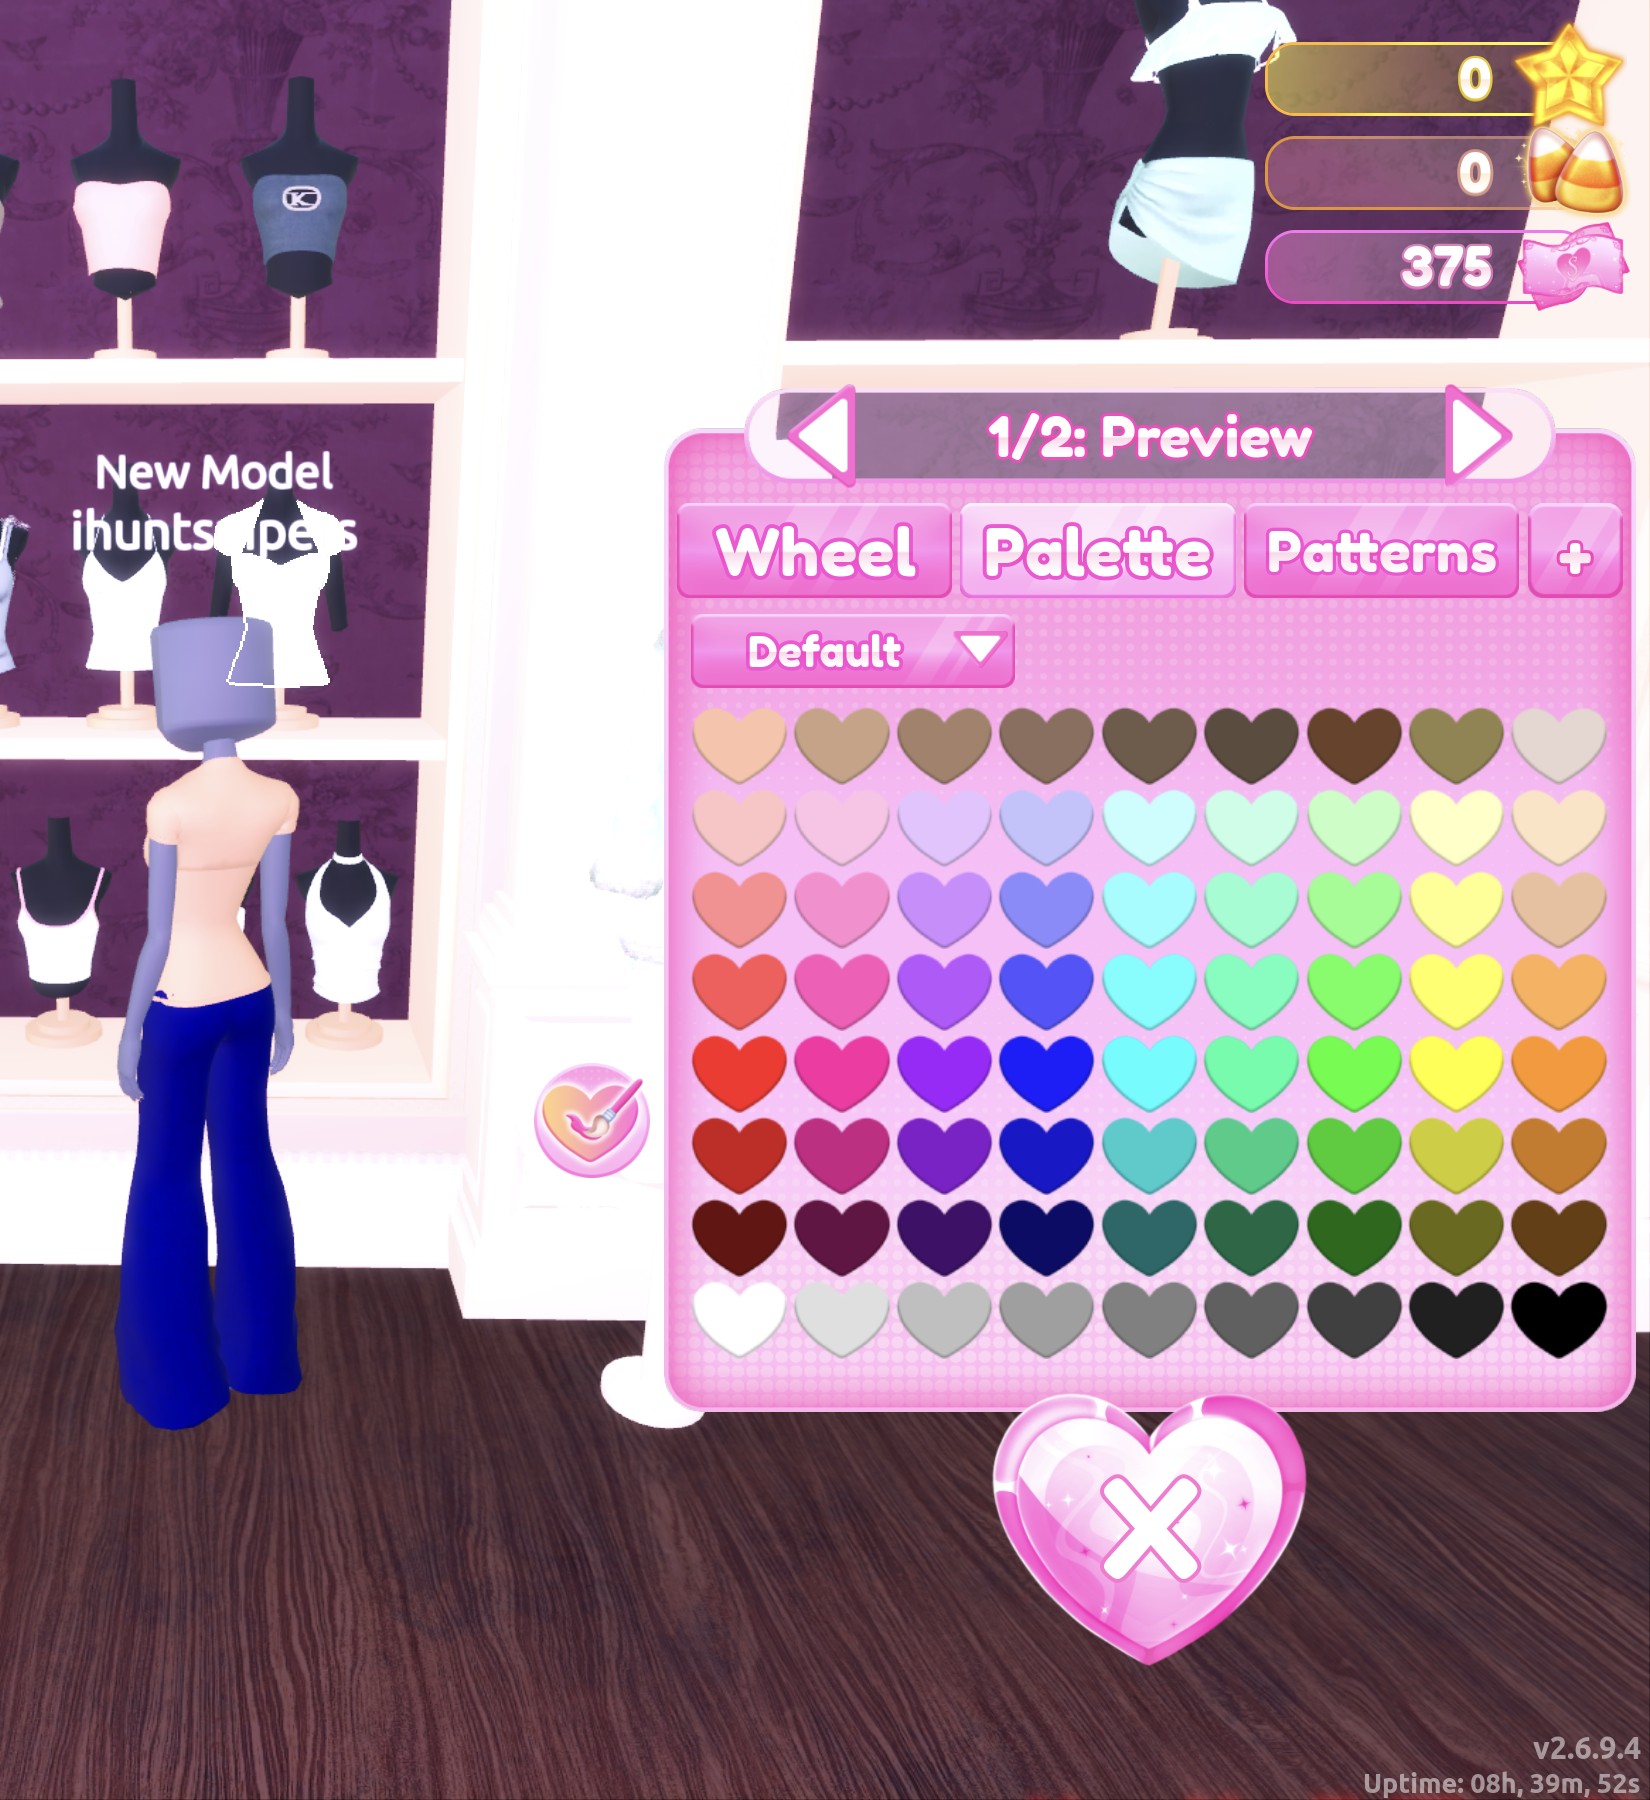
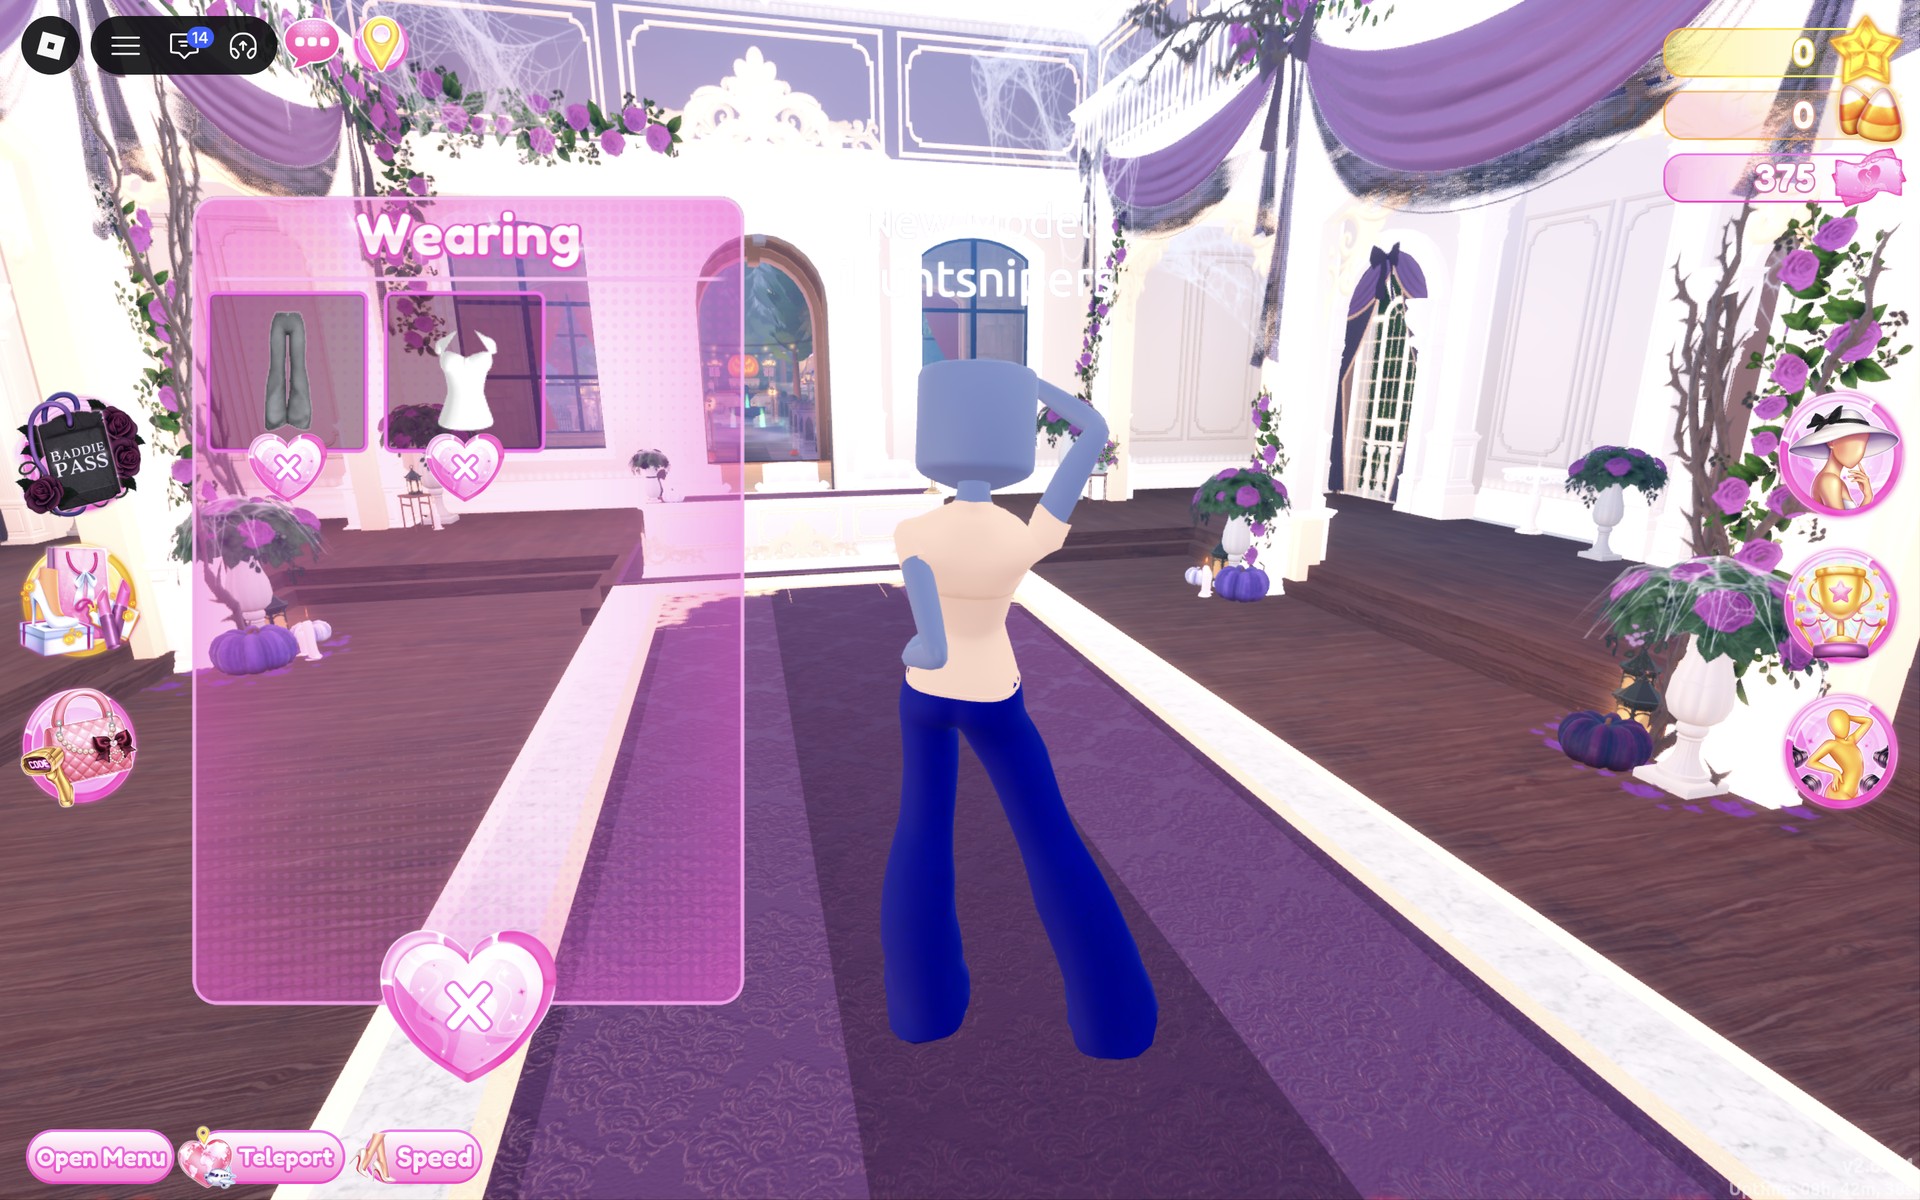
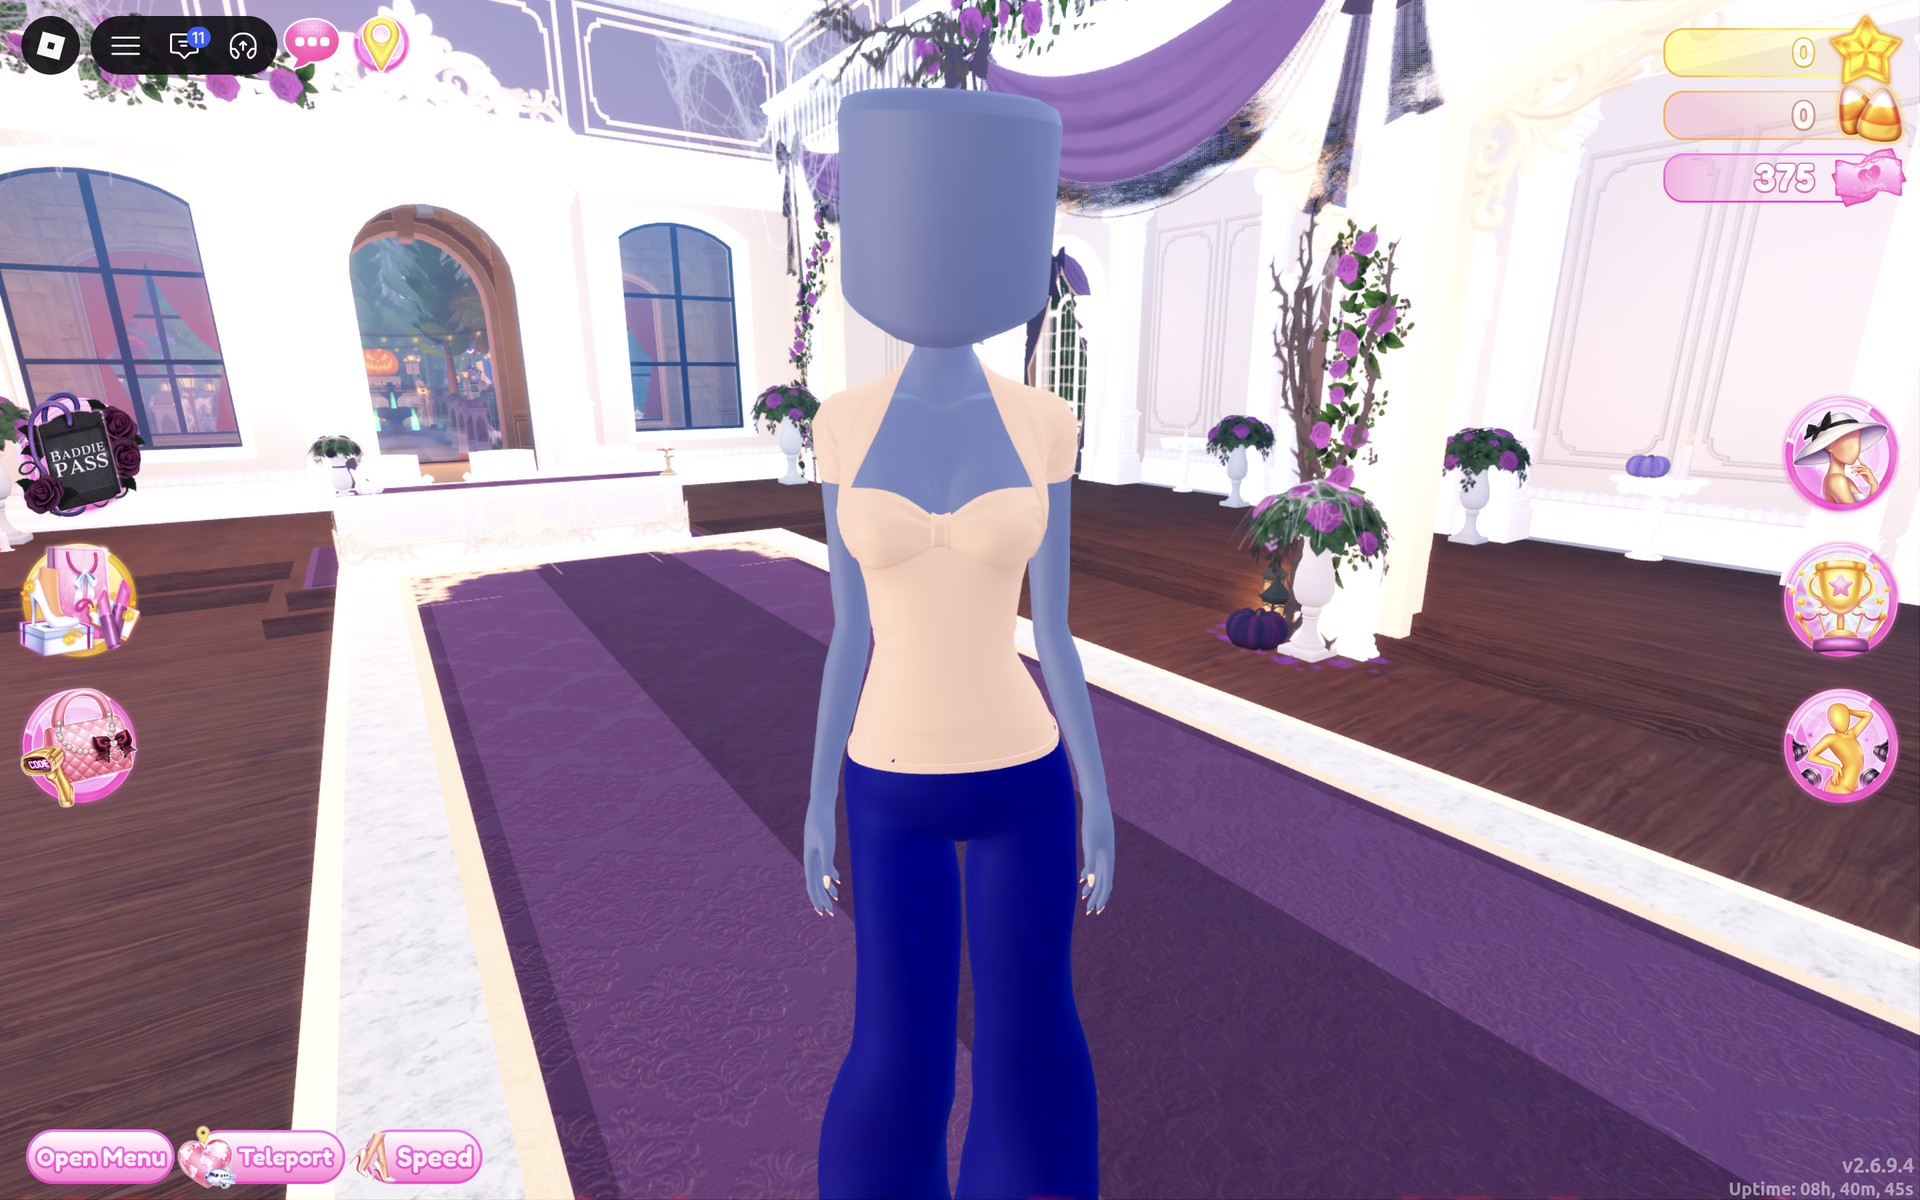
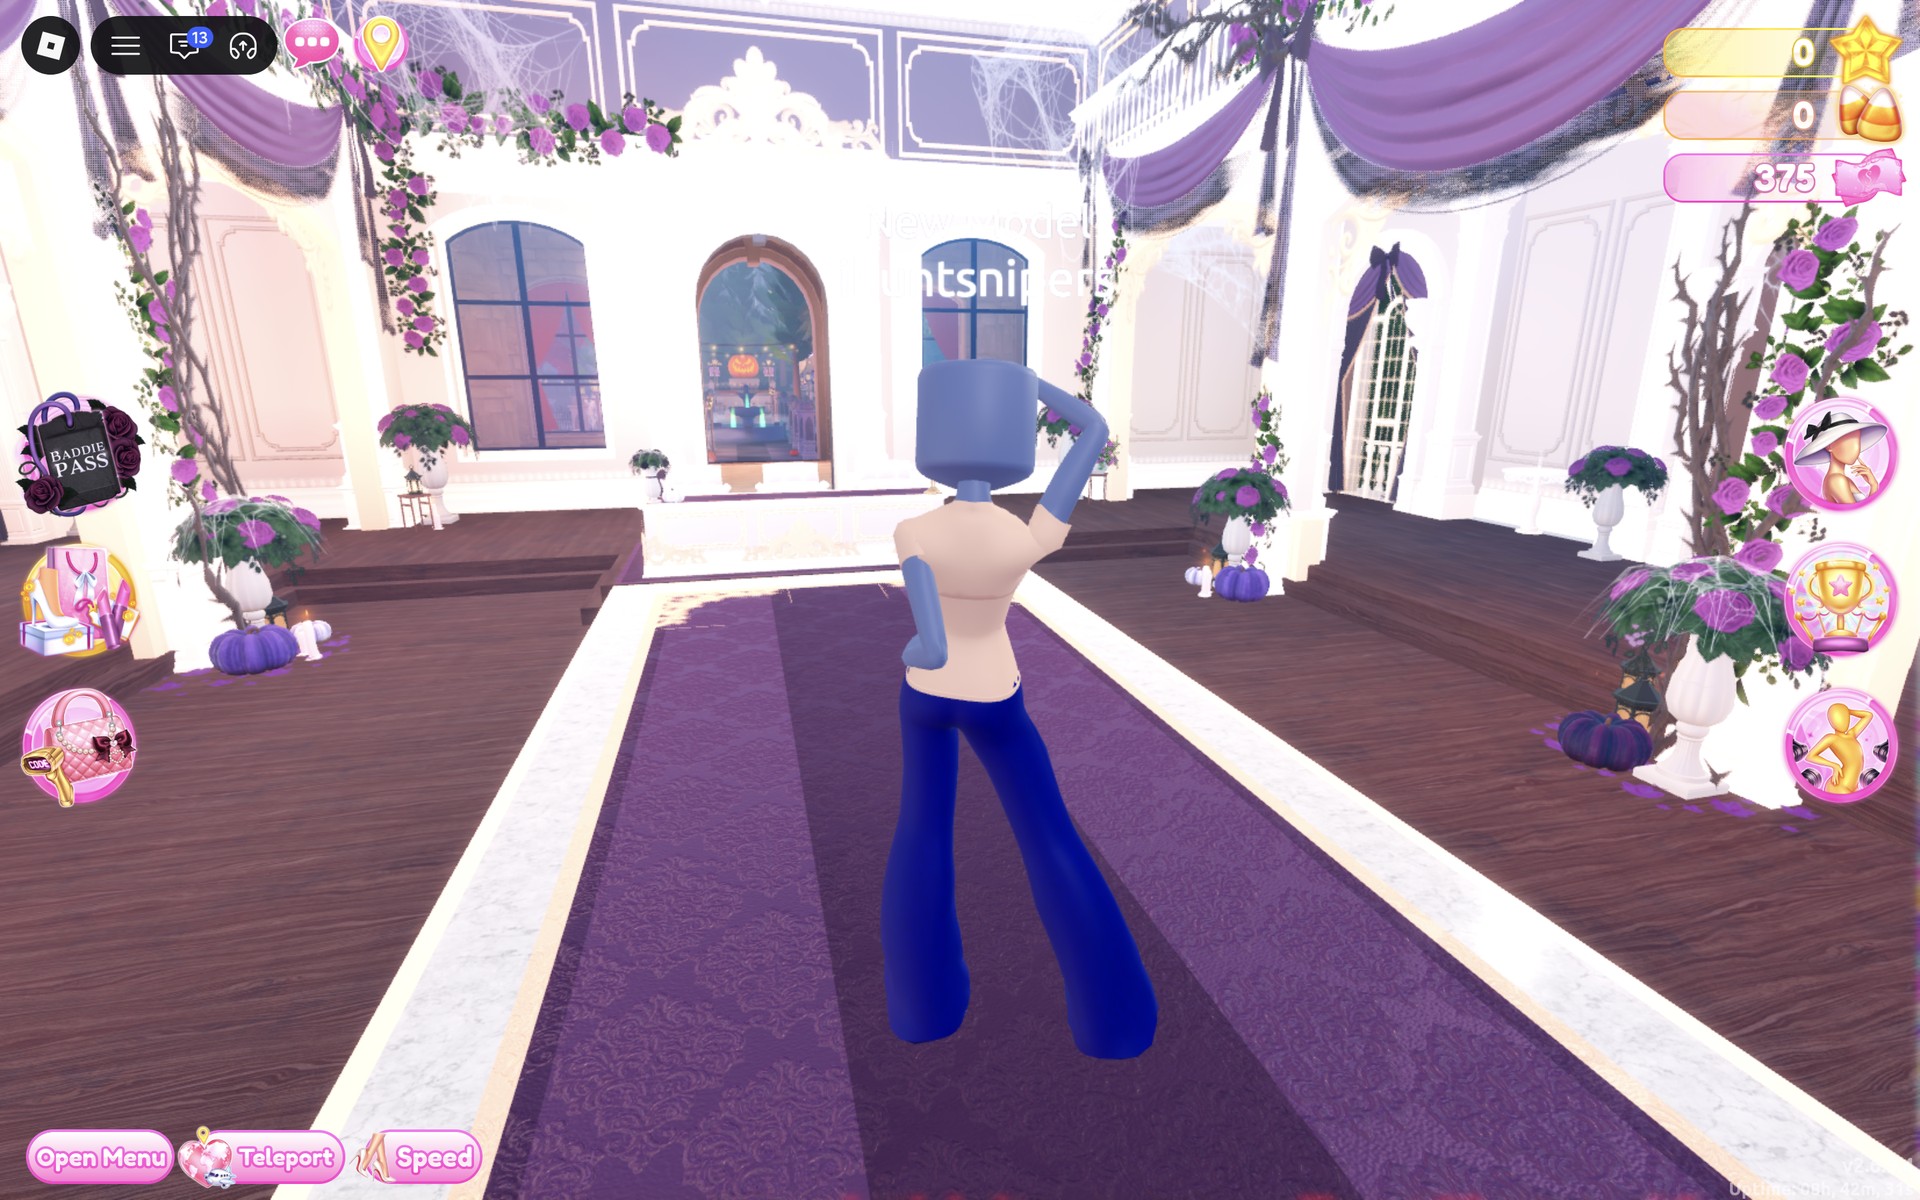
The finished look up close: a beige top with a gathered sweetheart front, a thin halter strap and cap sleeves, the bright royal blue jeans, and the blank default head with no hair or face.
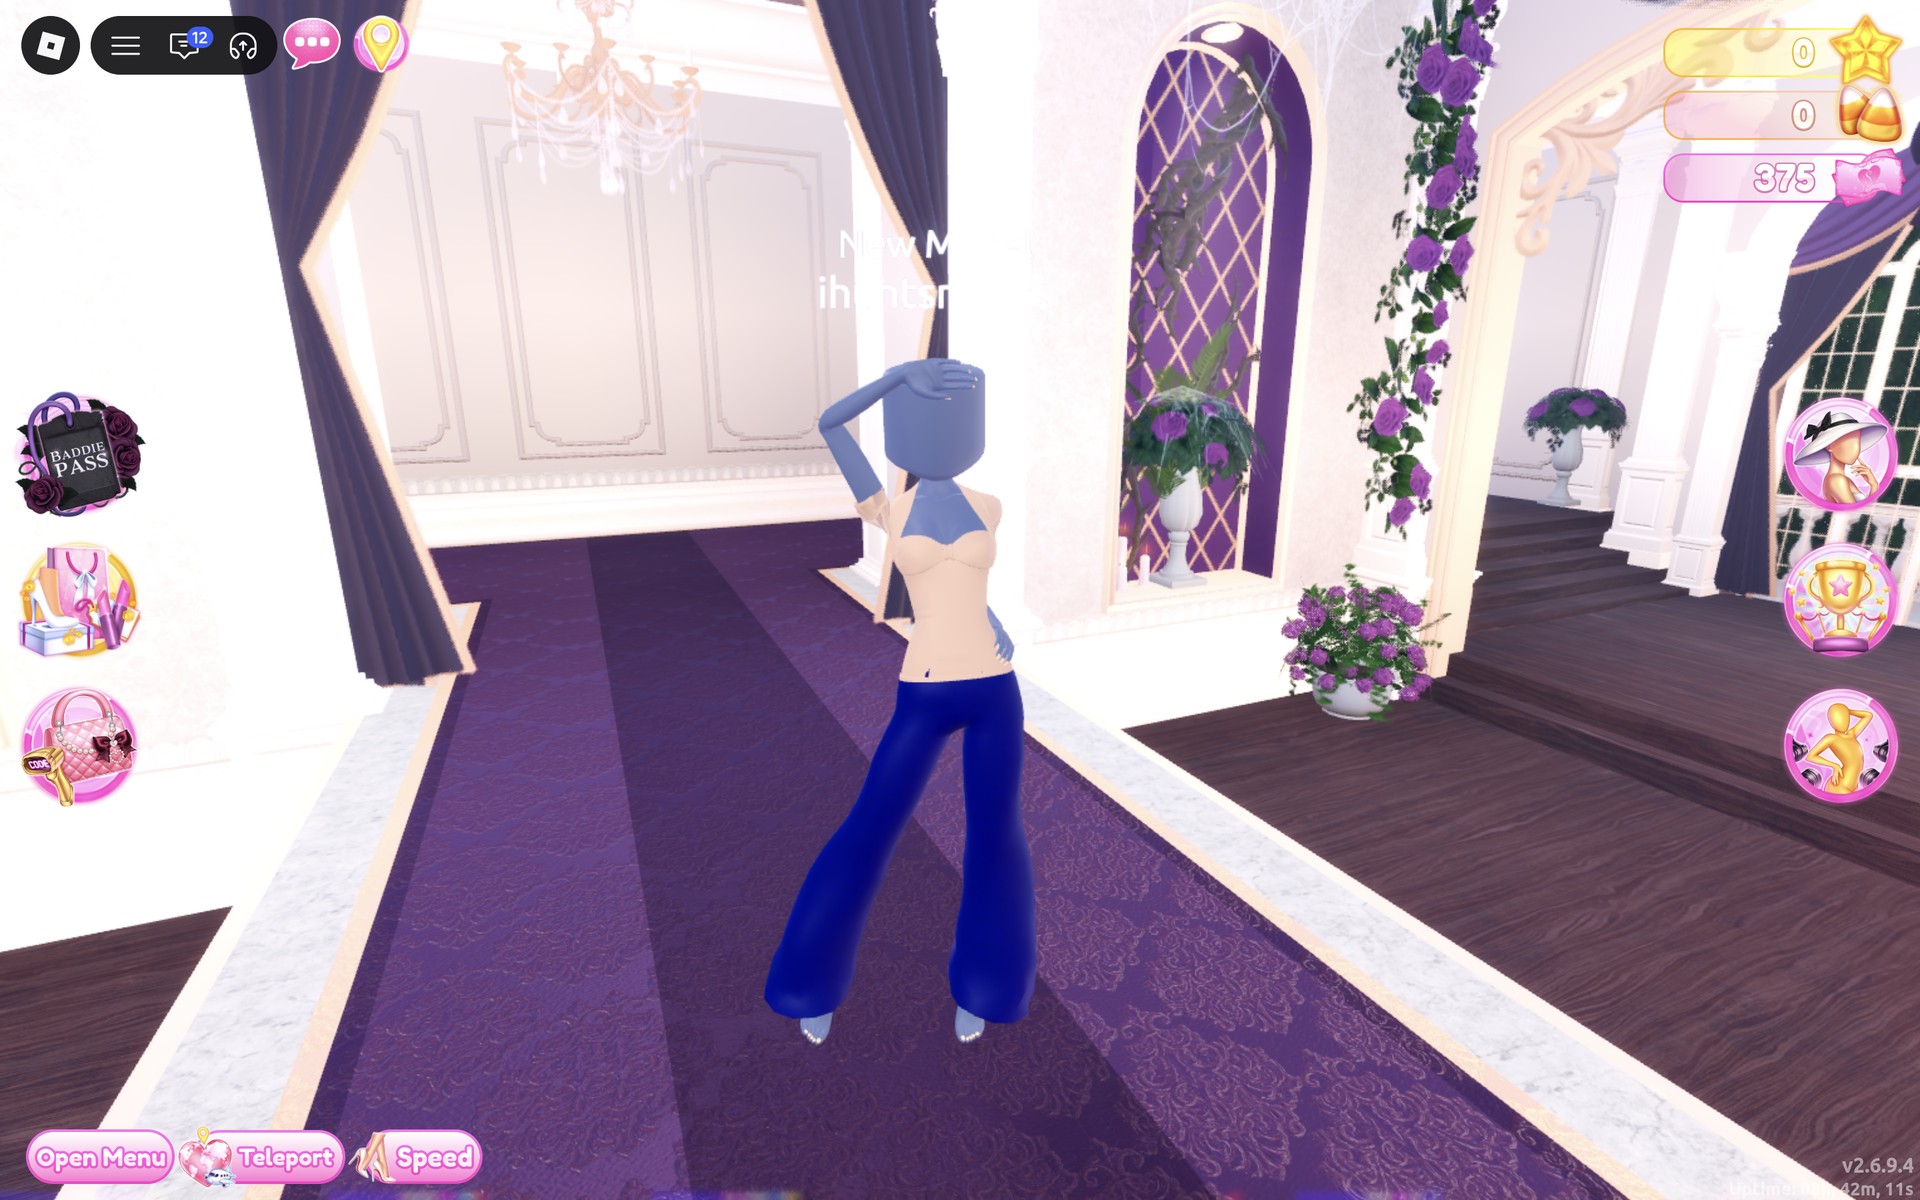
From behind: the halter strap ties at the neck, and the wide-leg jeans fall over bare feet.
Look 2: Townsperson NPC in a white top and tan trousers
Our idea: the same two pieces in even quieter colors, like an extra in the background of a town.
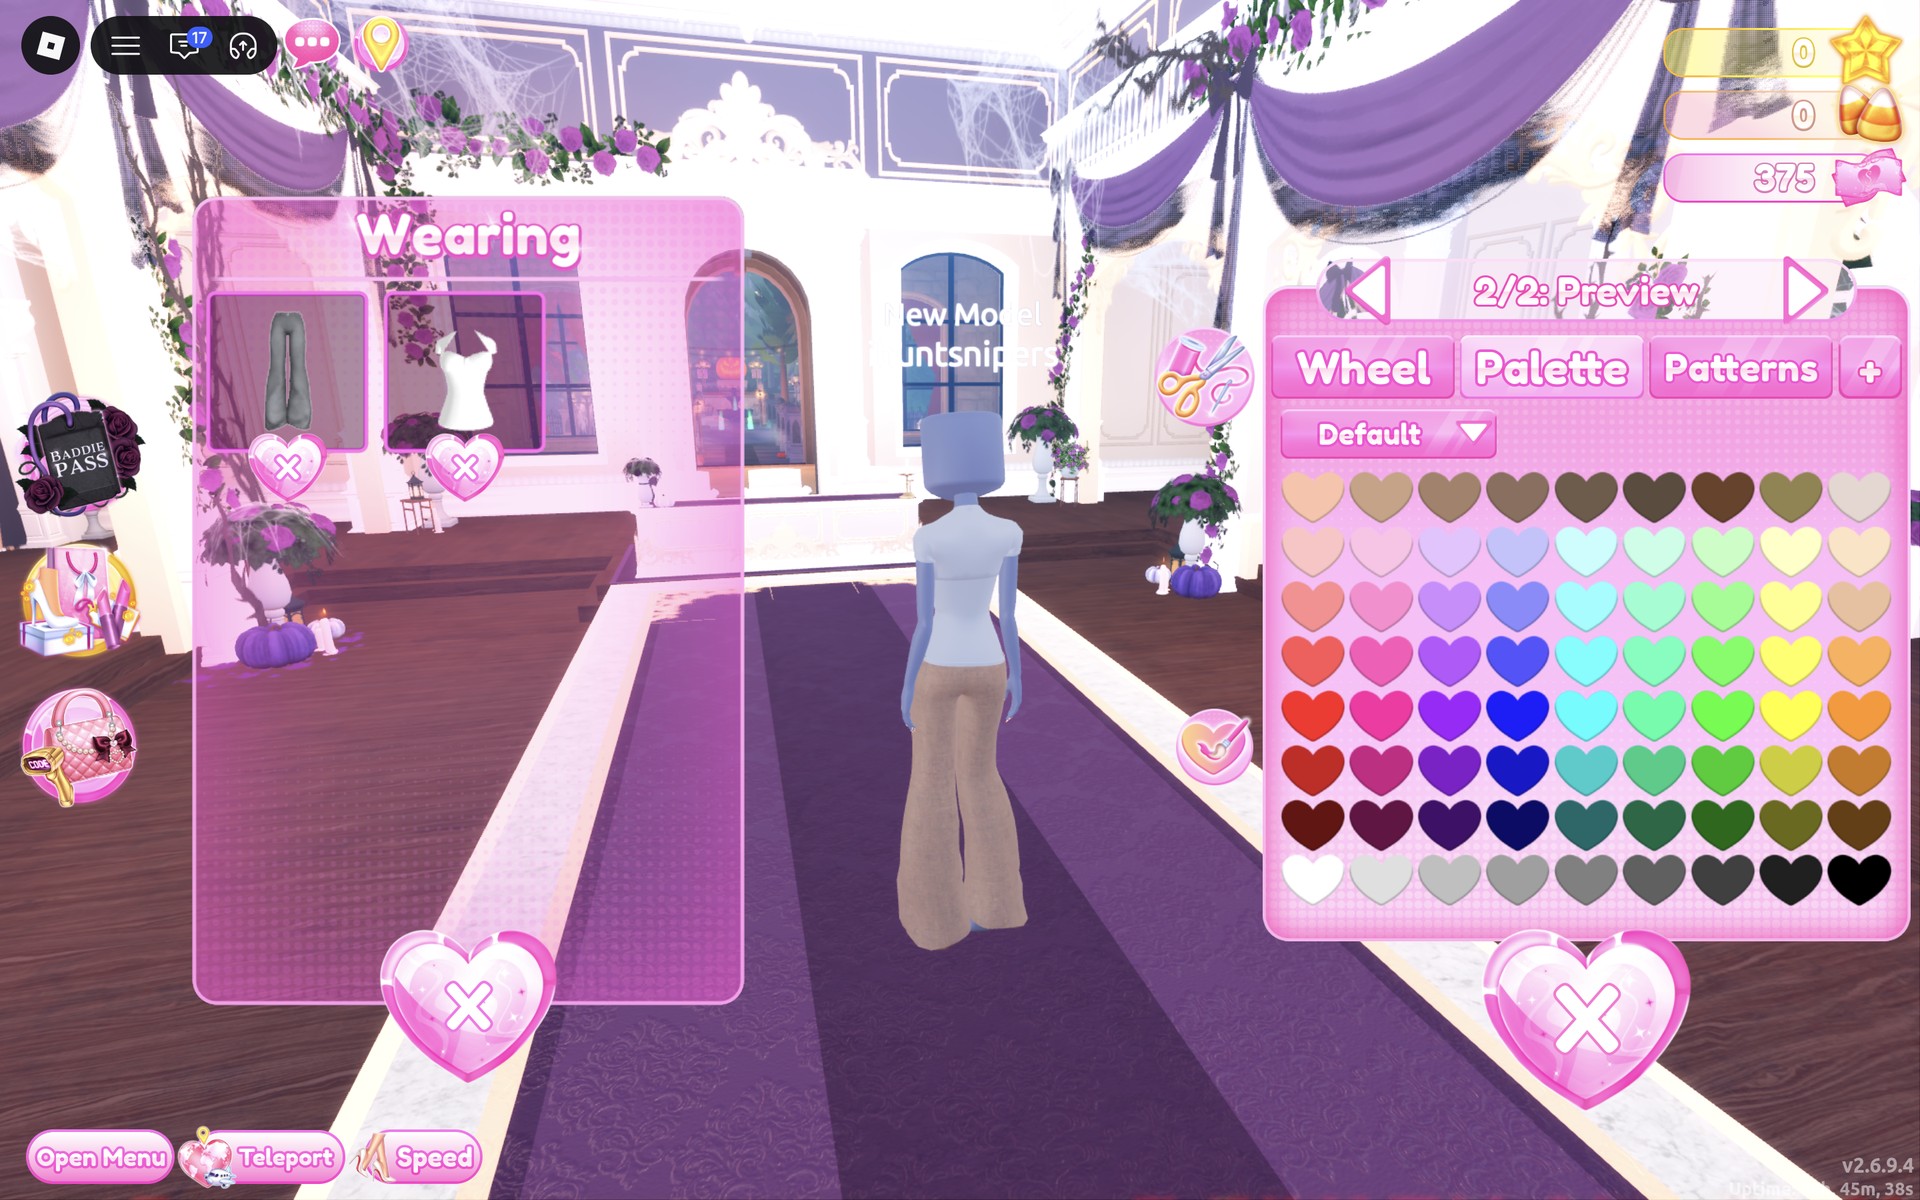
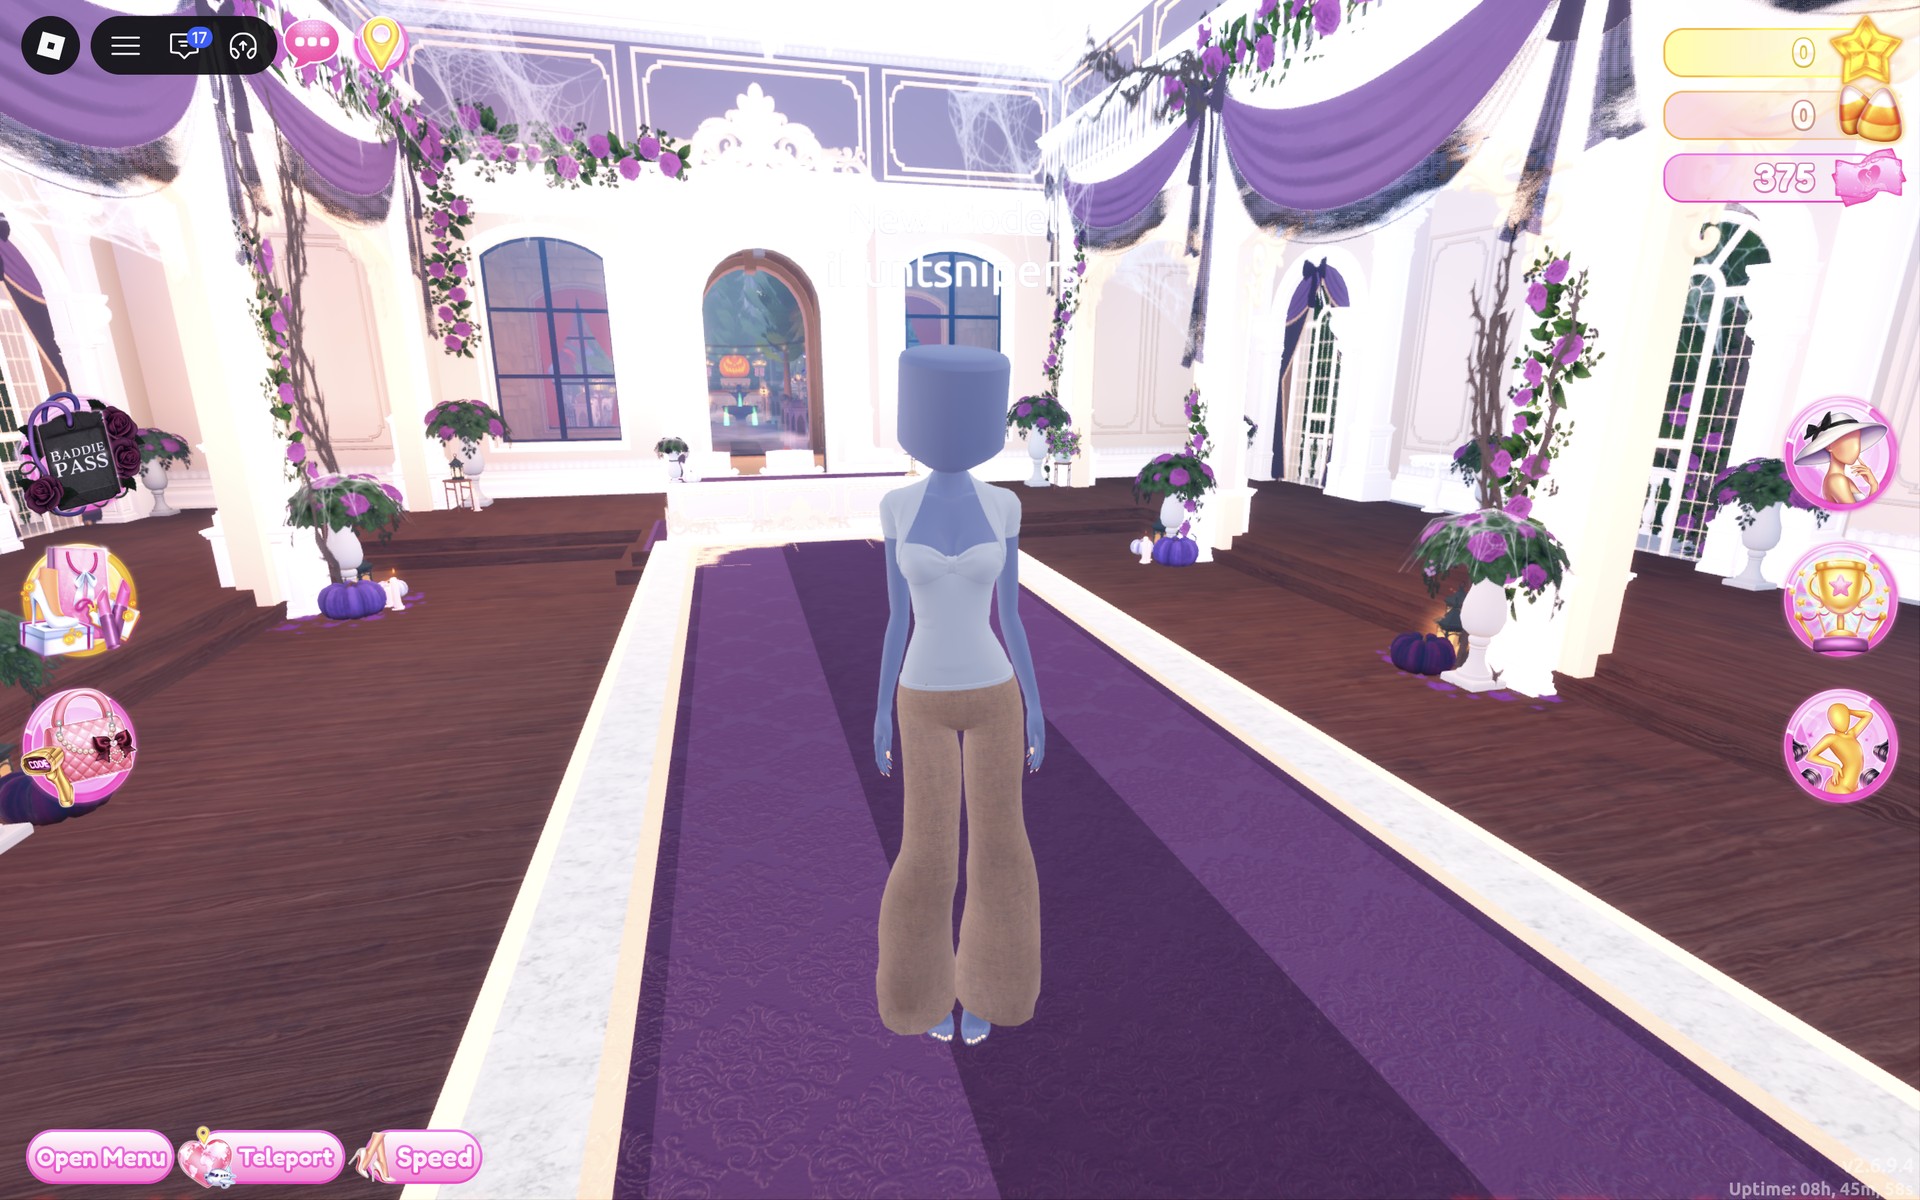
The finished look from the front: a plain white cap-sleeve top over loose tan trousers. Next to Look 1 it is even more muted, which suits a character meant to blend in.
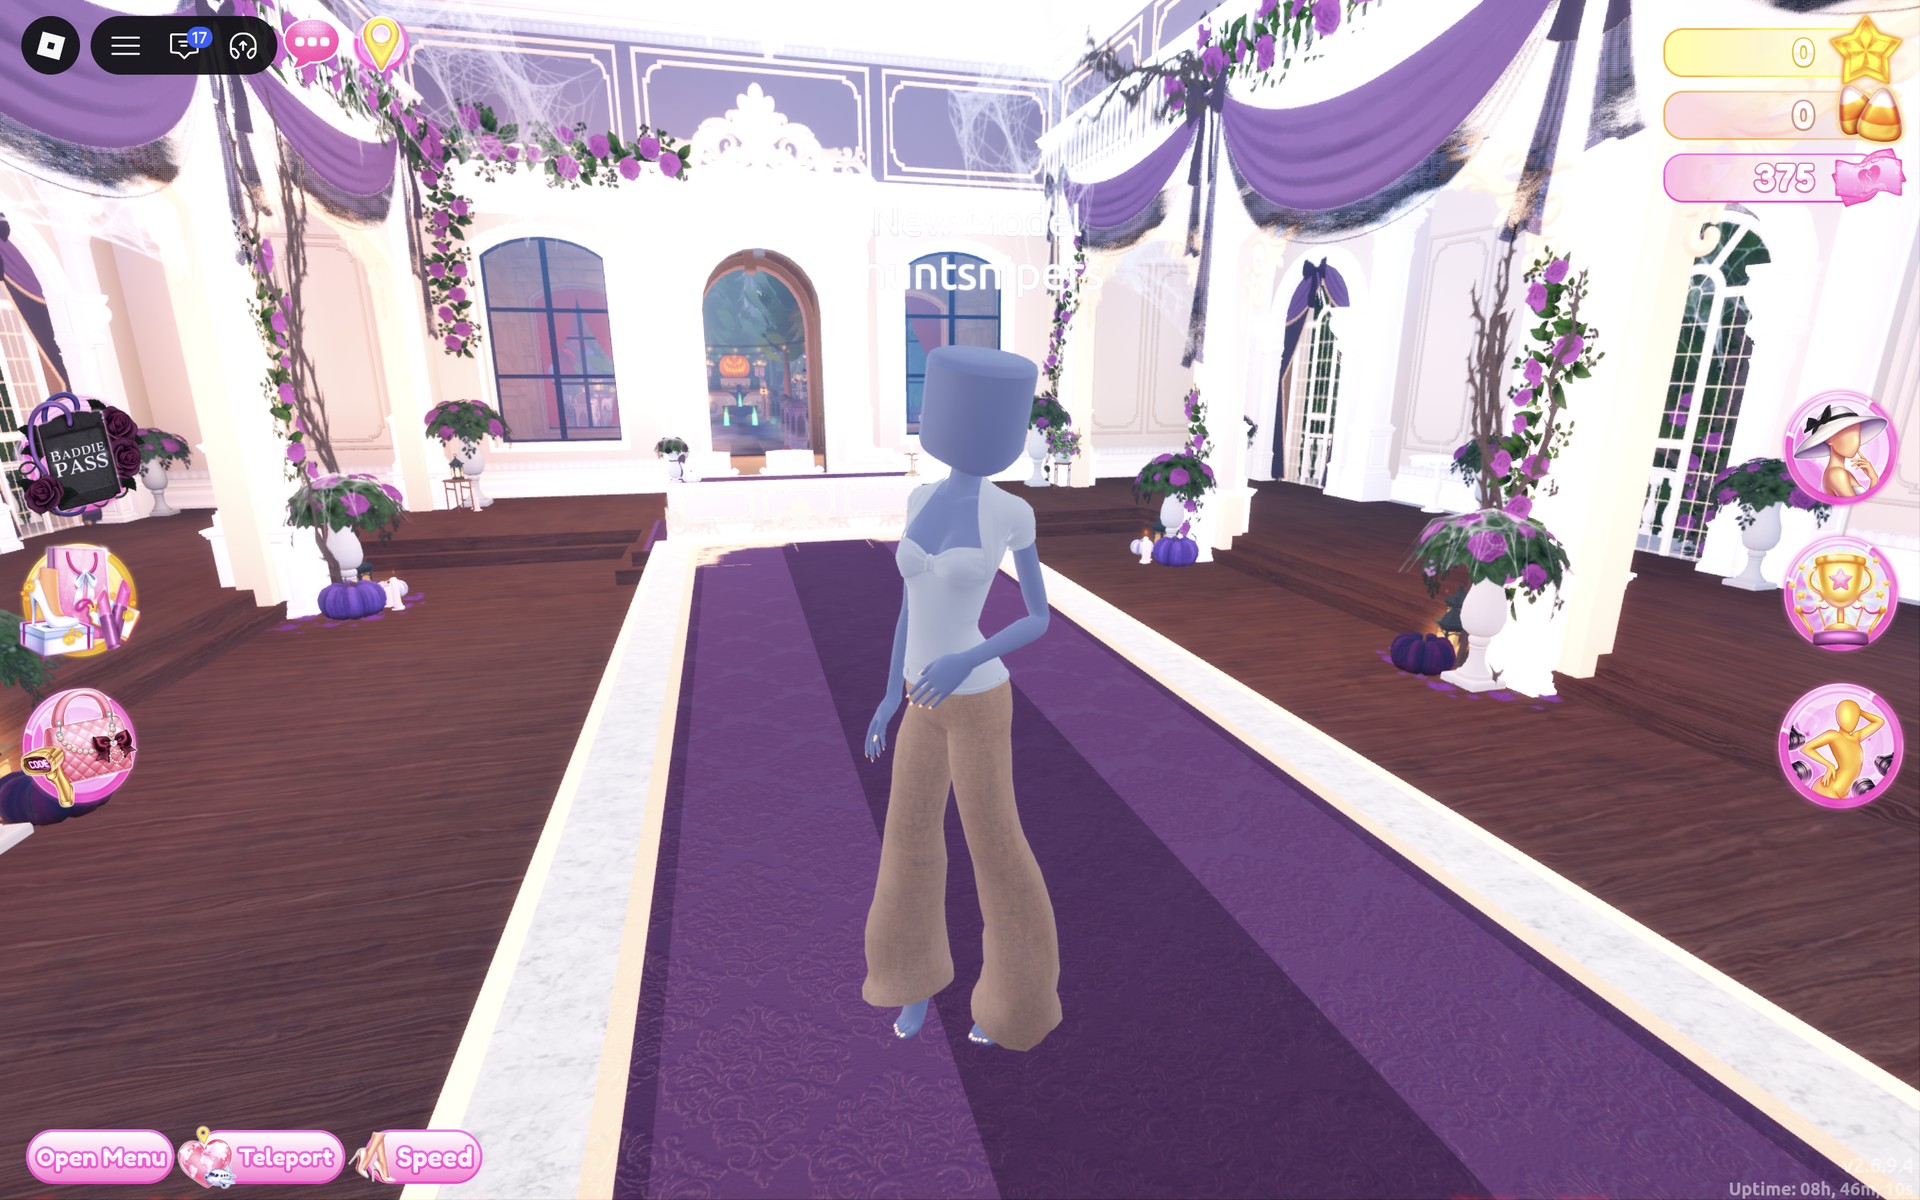
A pose with one hand on the hip keeps it ordinary; any free pose works.
From behind, the tan trousers and white top read as everyday clothes with nothing to catch the eye.
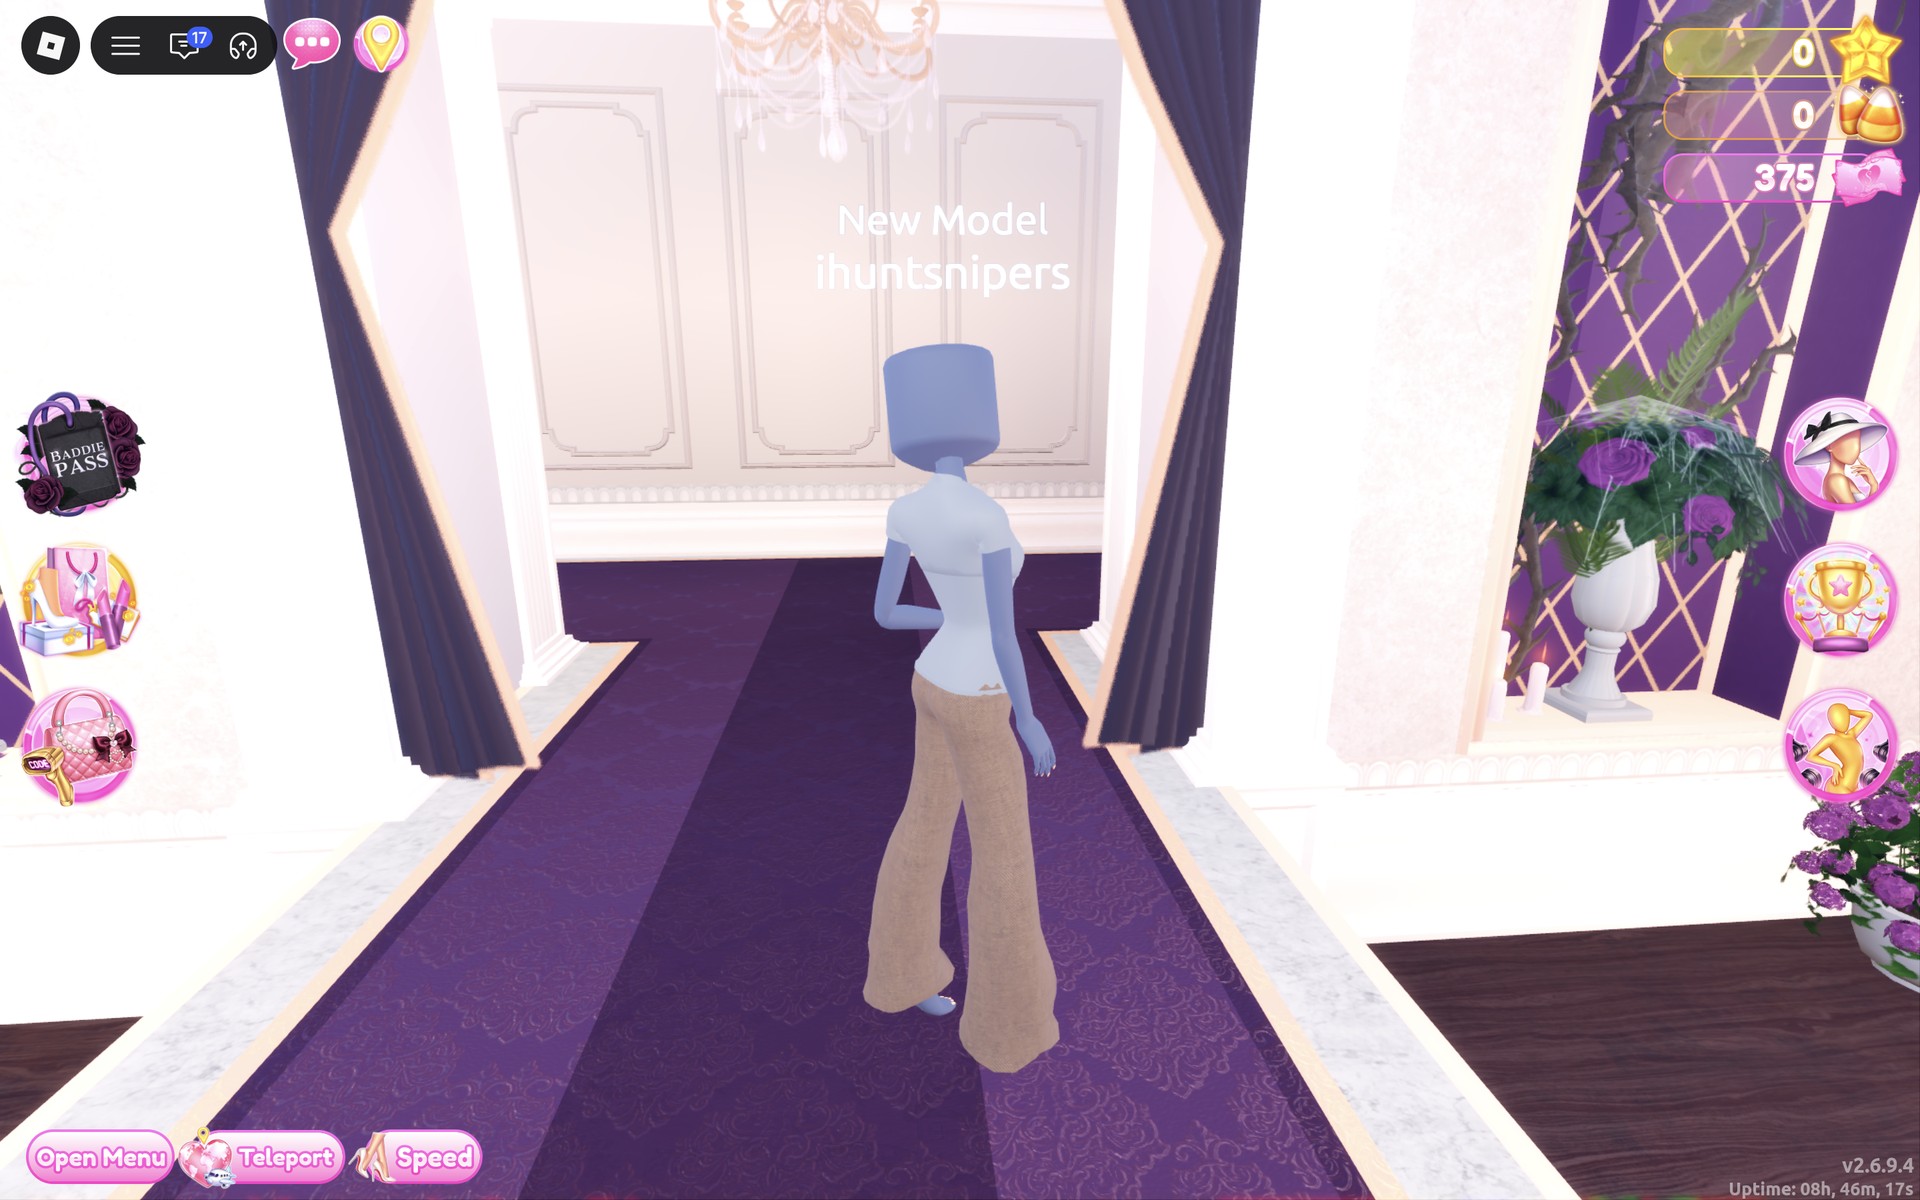
Want a plain T-shirt instead?
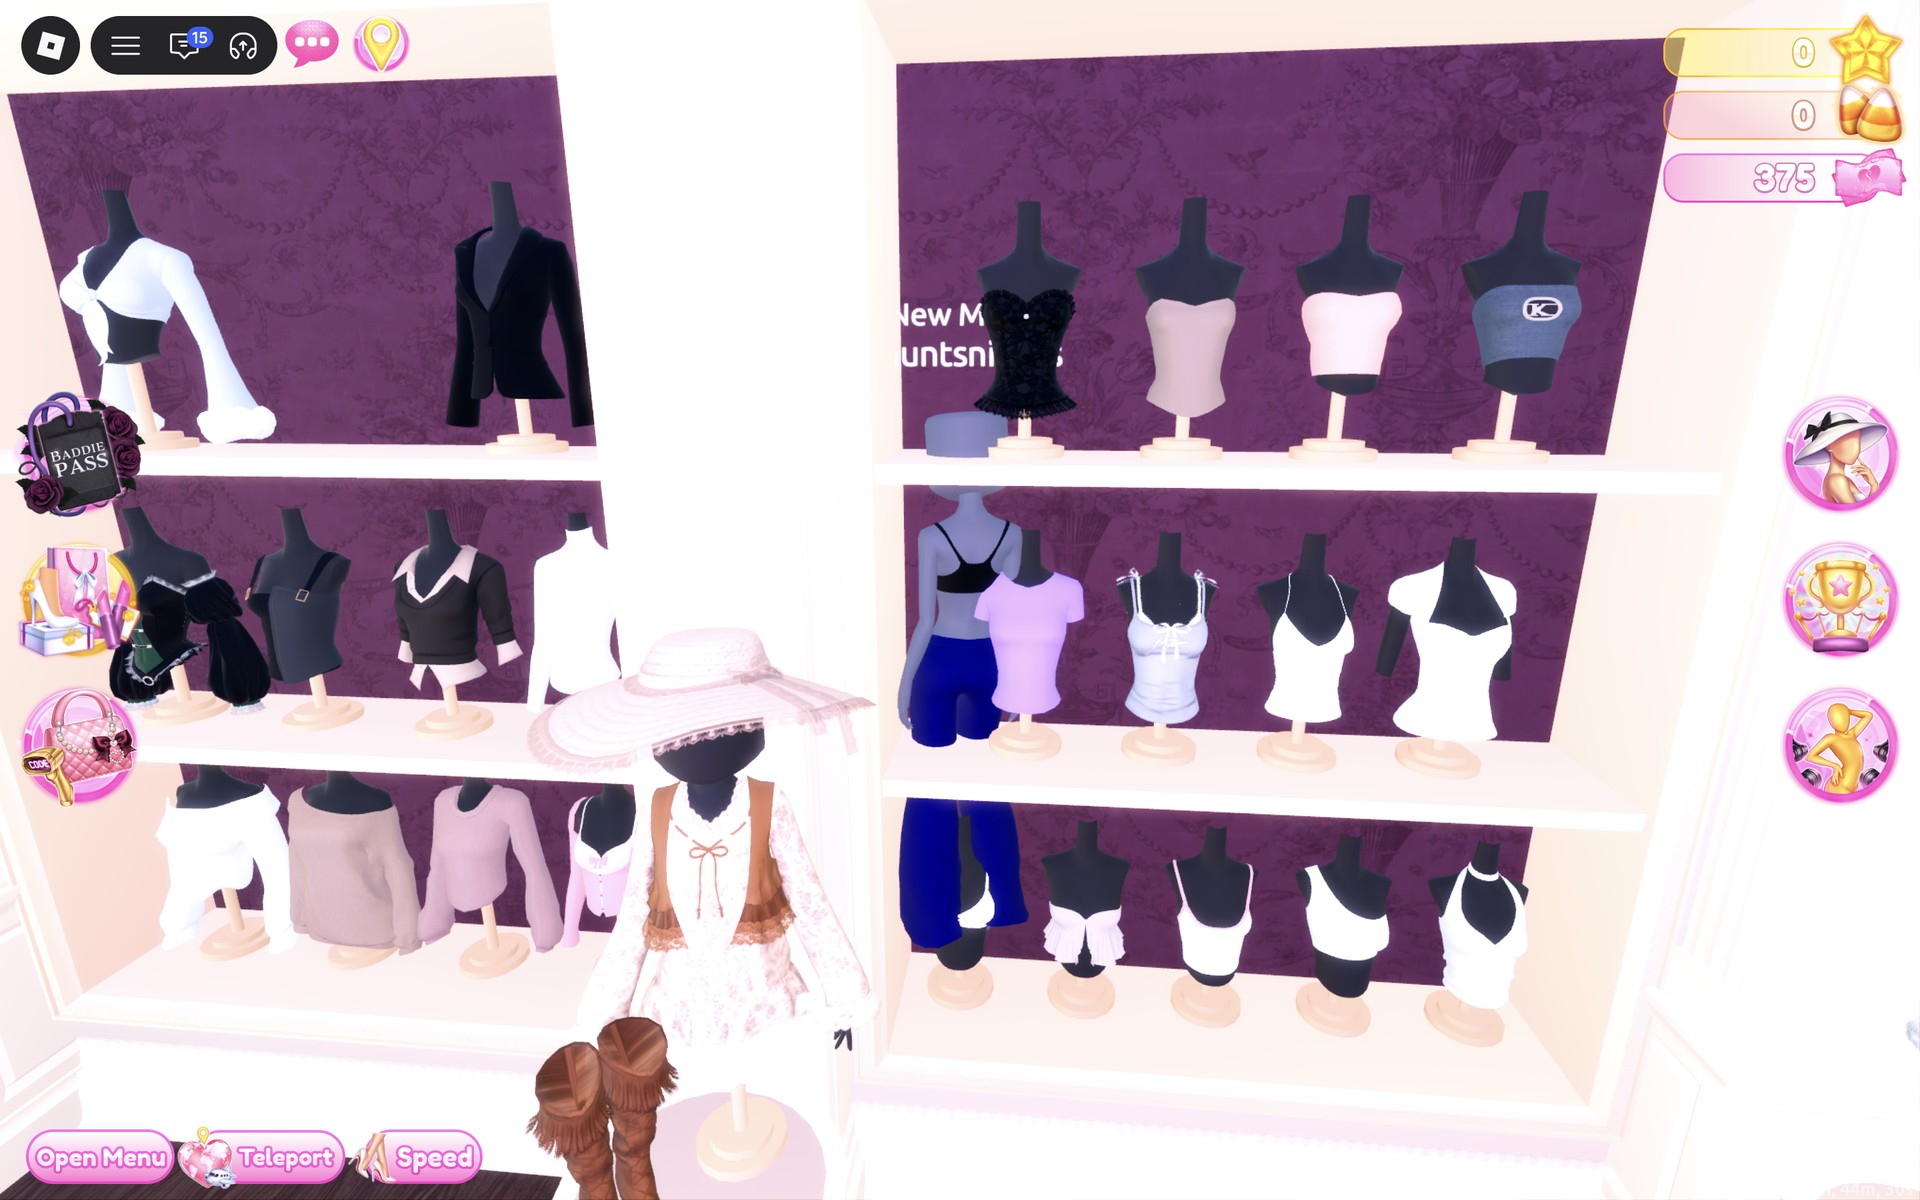
For an even more basic top, the lilac short-sleeve T-shirt on the middle shelf of the tops wall (left of the white camisoles; walk close to it, from farther away the click does nothing) opens at “1/2: Preview”. With grey (column 4, row 8) on both parts it previews on you as a plain light grey crew-neck tee. We only previewed it; neither finished look wears it.
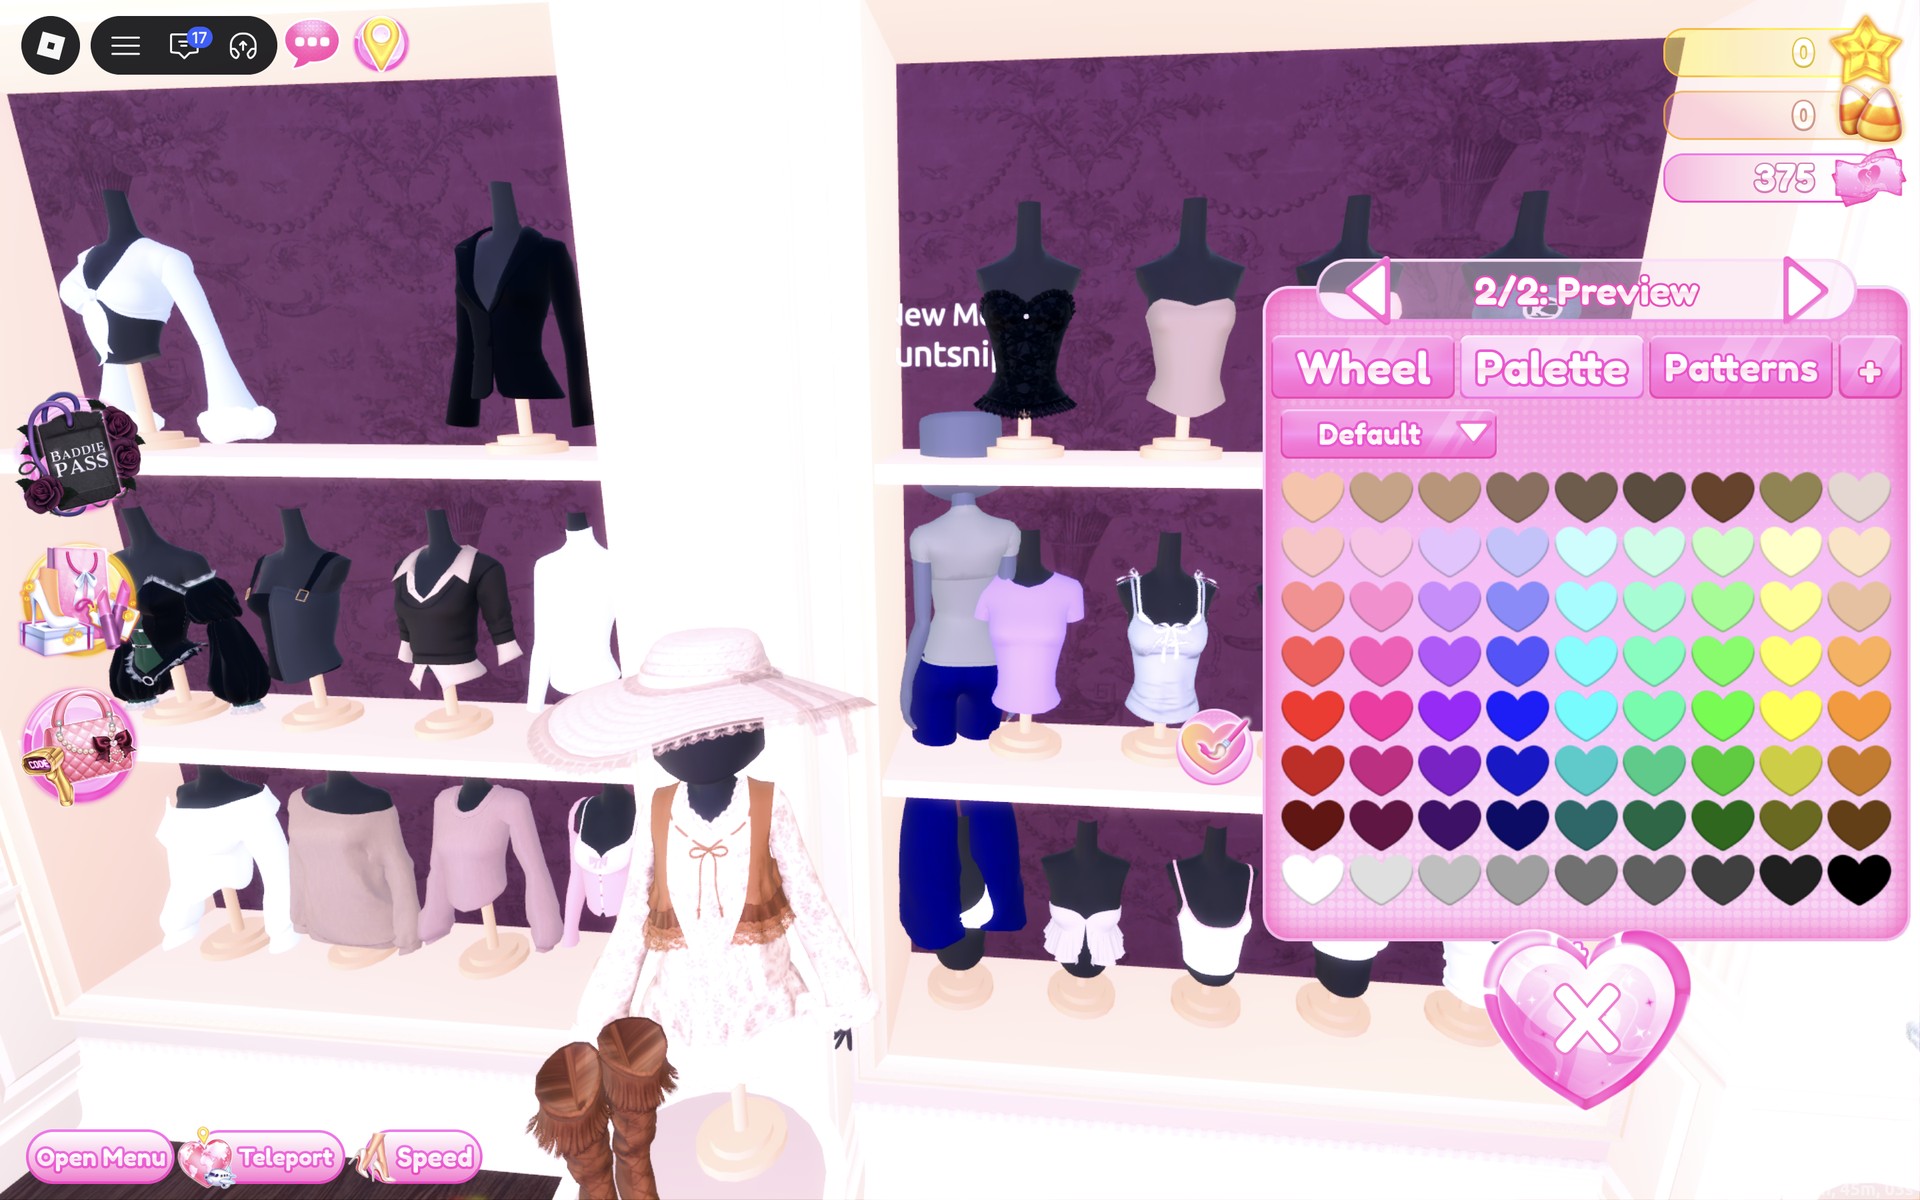
Why these looks read as NPC Core
Background characters wear clothes that say nothing: a plain top, ordinary trousers, muted colors, no accessories. Both looks keep to exactly two everyday pieces, and the blank head with no hair or face gives the unfinished, default look of a character the game spawned without styling. That is plain styling advice; we have not seen how either look scores in a real round.
For a character from a game with more personality, see our Video Game Character outfit ideas. For other low-effort everyday looks, see our Lazy But Cute outfit ideas and Thrifted outfit ideas.
How to recolor jeans and give them a denim finish
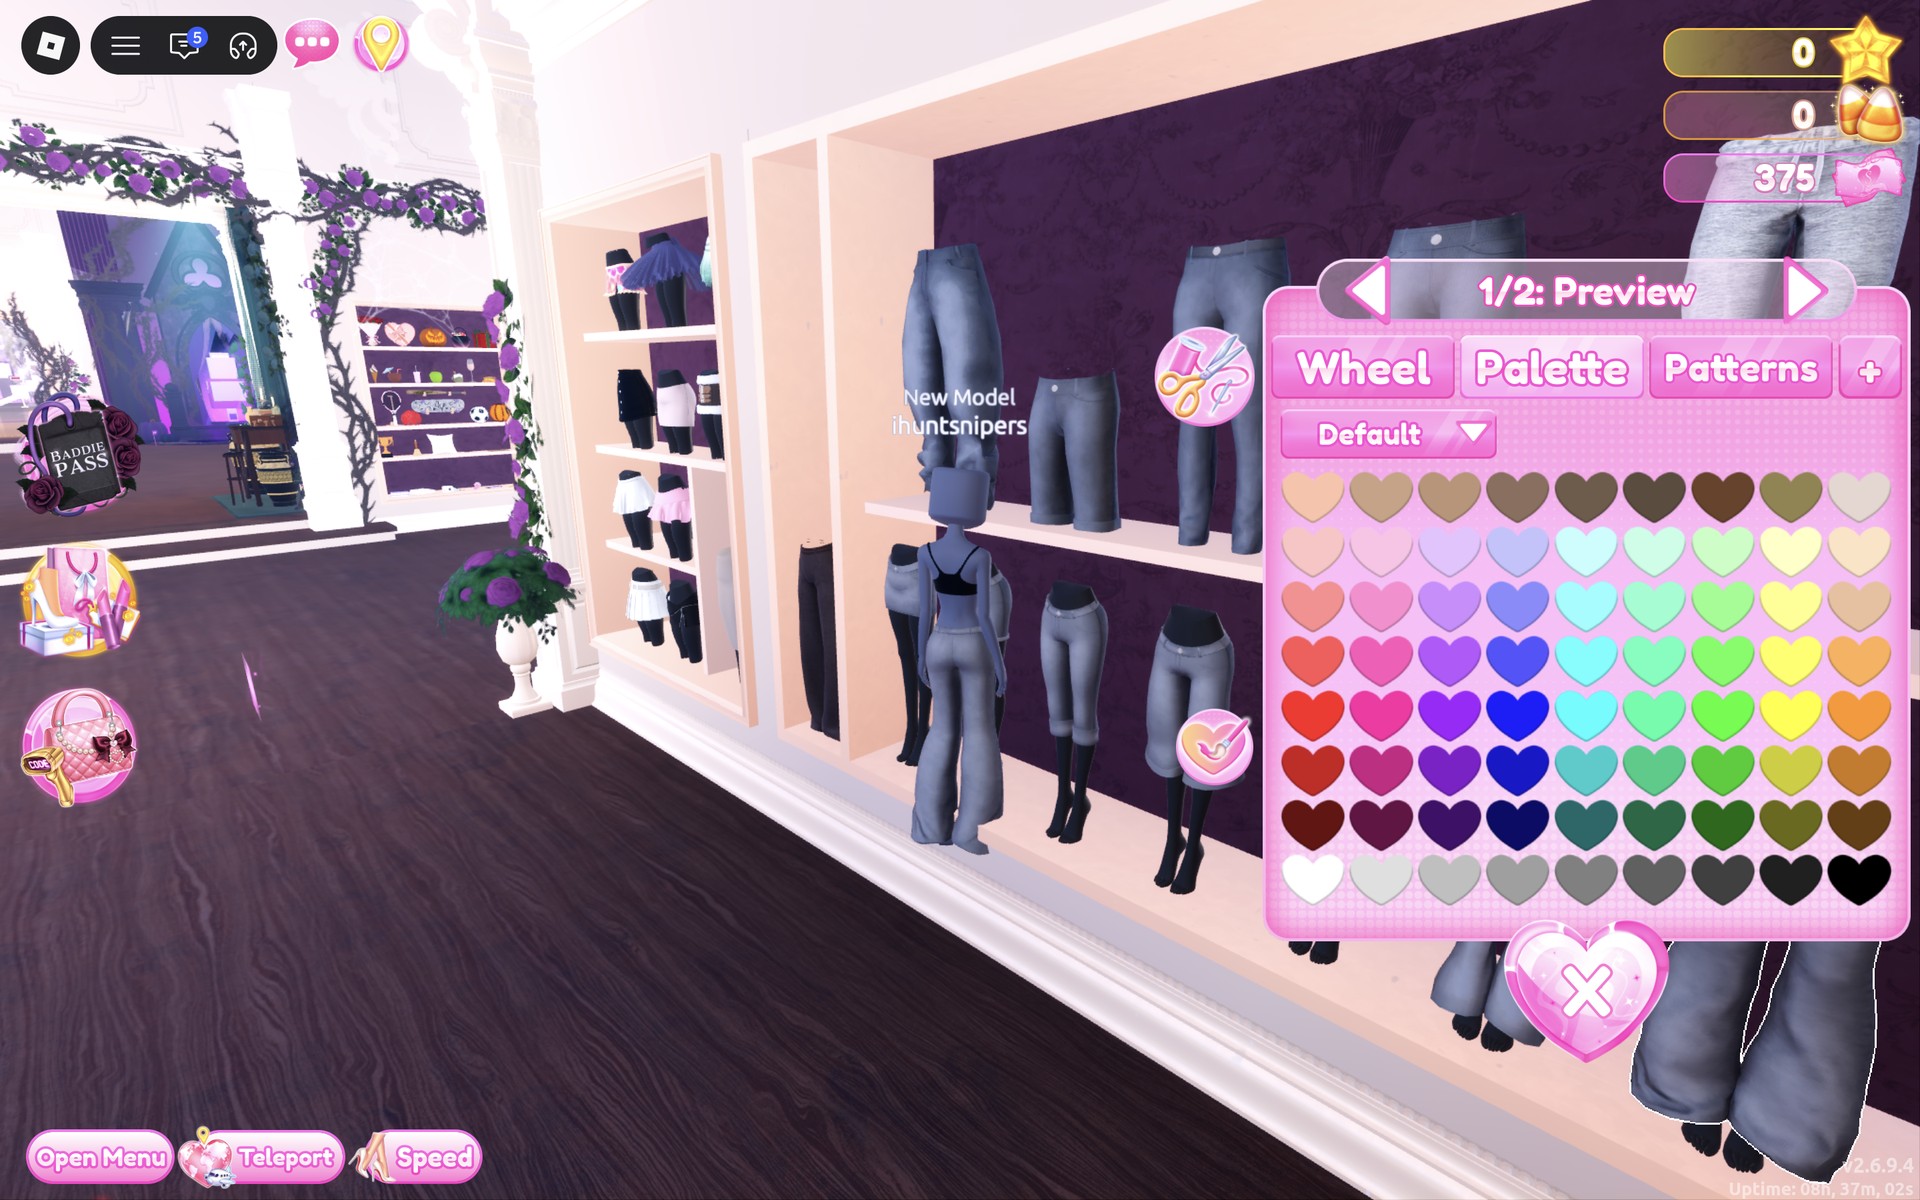
- Click the piece on the shelf so it shows on you as a preview and its color panel opens.
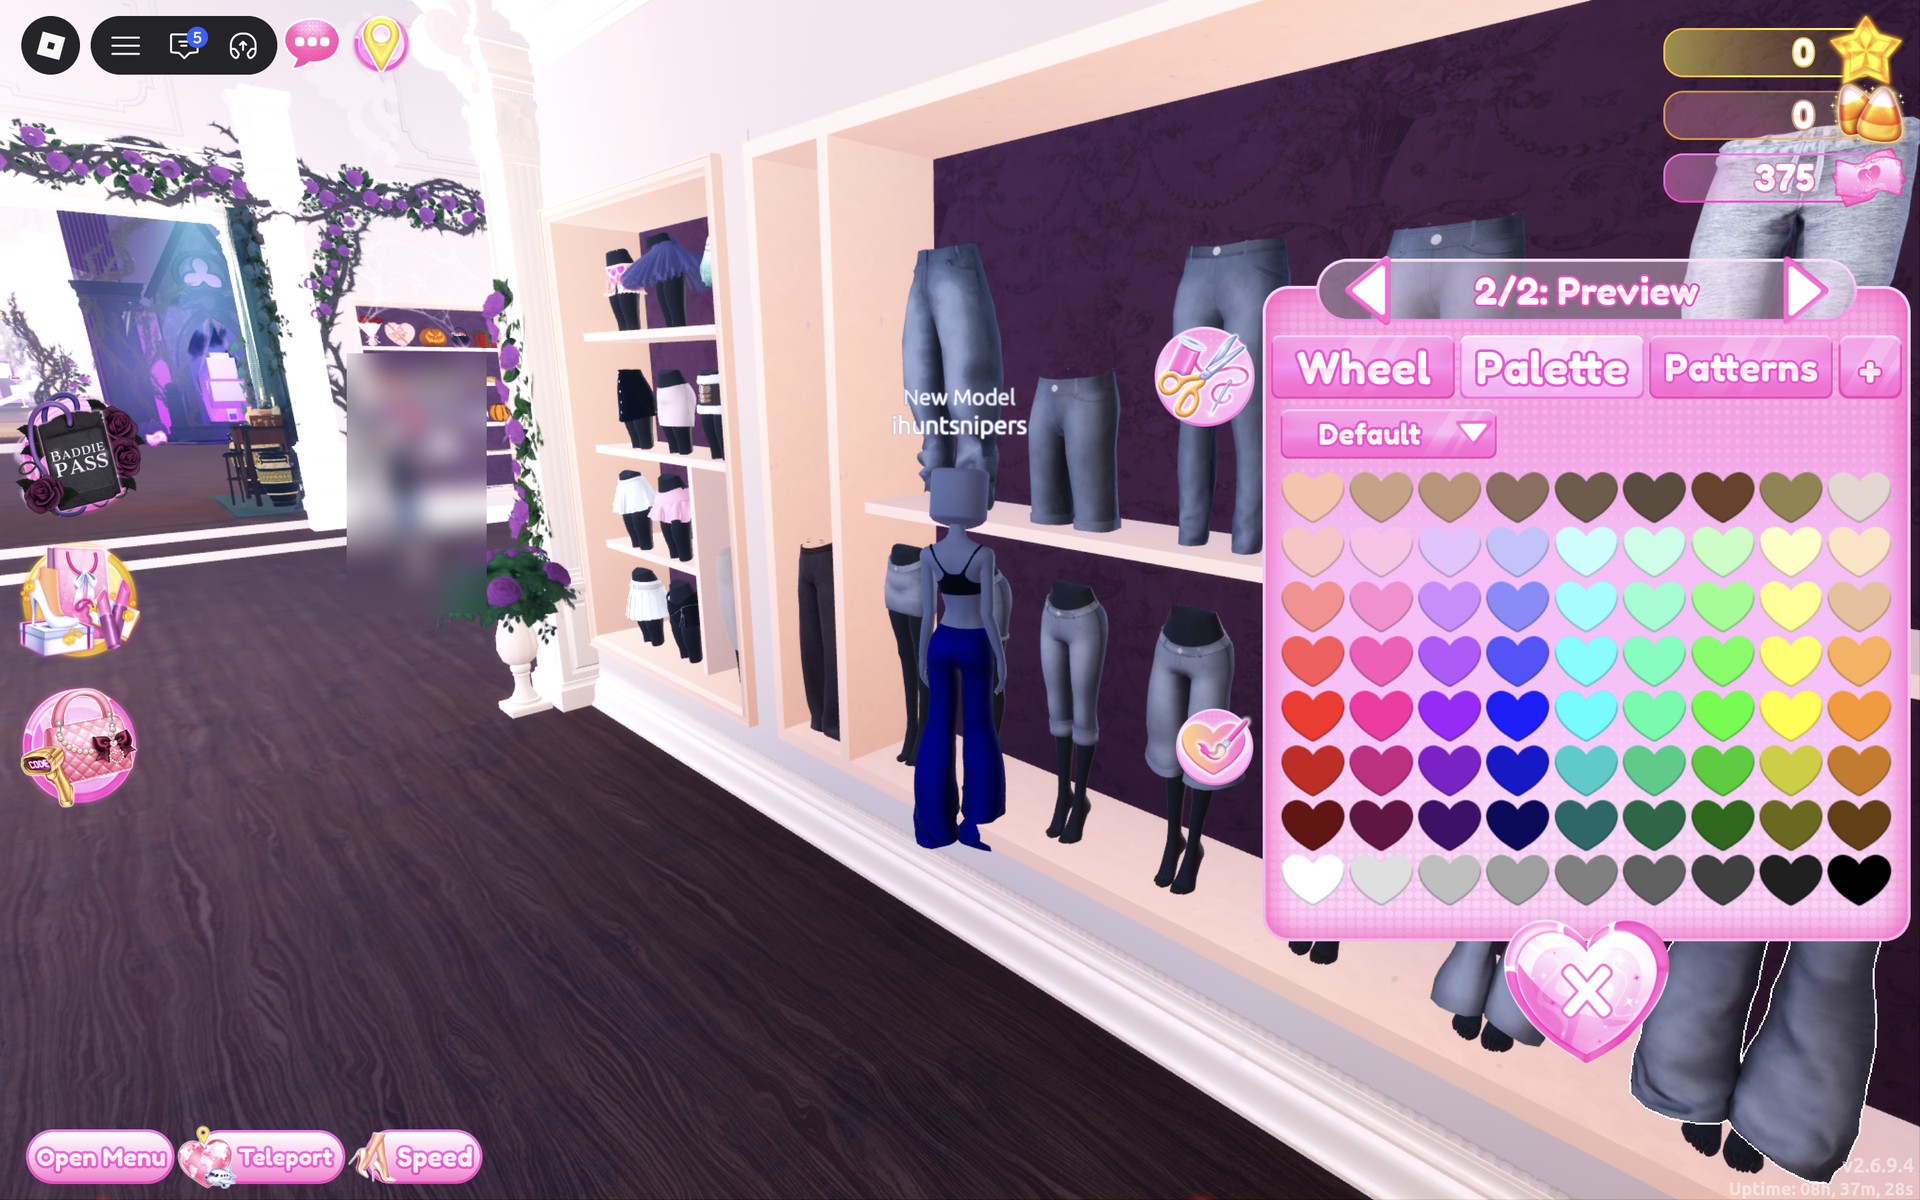
- Pick the part with the arrows beside the part name (“1/2: Preview”, “2/2: Preview”). Each part takes its own color and material.
- Choose the color on the Palette tab (the Default palette: columns are hues, rows run light to dark, and the last row runs from white to black).
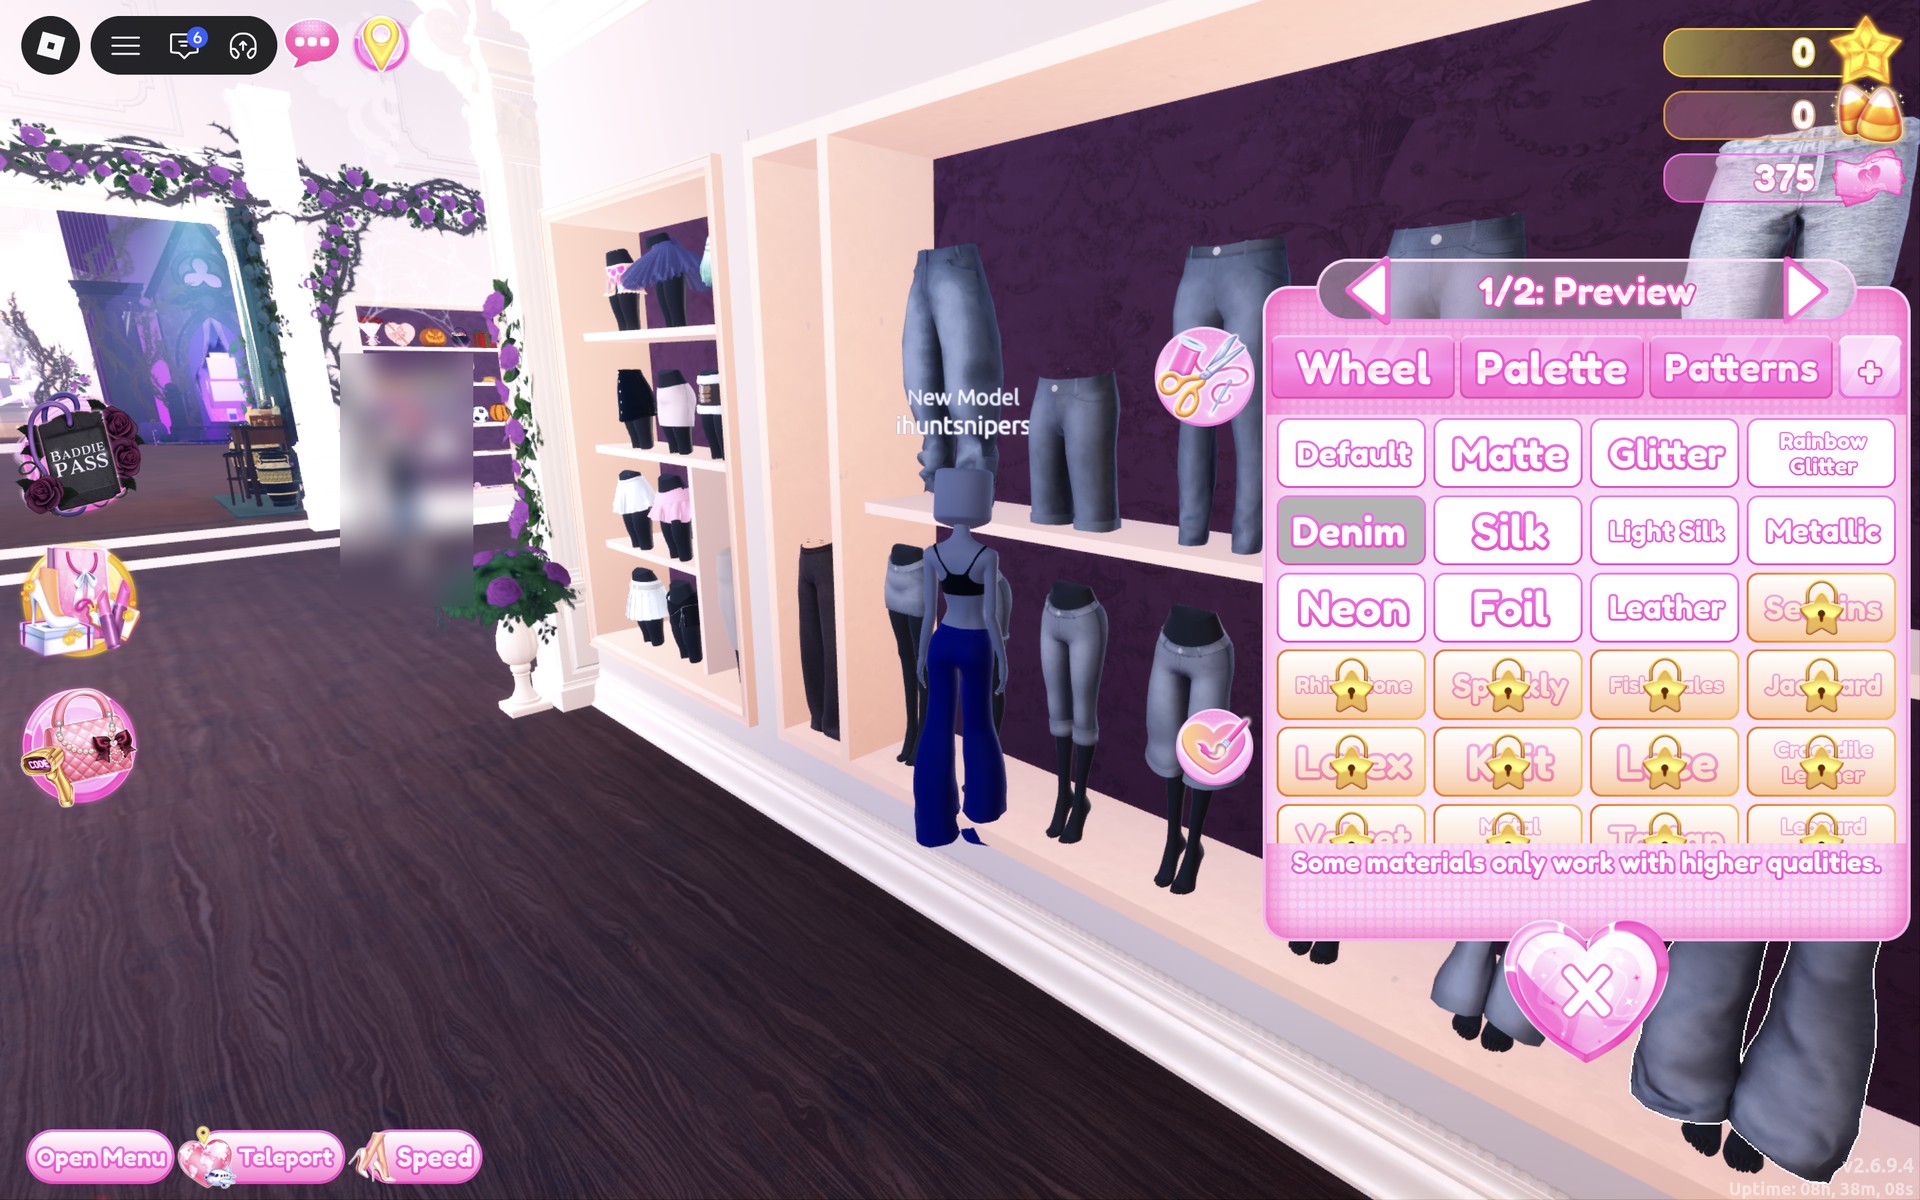
- Open the “+” tab and click Denim for that part. Some materials show a lock; Denim was open on our account.
- Repeat for every part, then press “Put On”. To change a piece you already wear, click its picture in the Wearing panel and set the part again; that is how Look 2’s trousers went from blue to tan without walking back to the shelf.
To take a piece off, click the heart X under its picture in the Wearing panel.
NPC Core colors on the Default palette
Rows count from the top of the palette, columns from the left. These are the spots we used.
| Color | Column | Row | Used for |
|---|---|---|---|
| Darkest blue | 4 | 7 | Jeans “1/2: Preview” and “2/2: Preview” (Look 1, with Denim) |
| Tan | 3 | 1 | Top “1/2: Preview” (Look 1); jeans, both parts (Look 2) |
| White | 1 | 8 | Top (Look 2, the color it reads in our pictures) |
| Grey | 4 | 8 | T-shirt, both parts (previewed only) |
NPC Core pieces to look for
None of these pieces has a name in the game, so look for them by place and shape. All of them are free and worked on our account with no VIP and 0 stars.
| Piece | Where | Colors we used |
|---|---|---|
 Wide-leg jeans (two parts), grey denim on the shelf | Spawn-hall trousers wall, top shelf, right half | Look 1: darkest blue (column 4, row 7) + Denim on both parts: reads bright royal blue |
 Top with a gathered sweetheart front, a thin halter strap and small cap sleeves (two parts), white on the shelf | Dressing Room tops wall by the Halloween circle; it looks like the white halter top at the right end of the middle shelf | Look 1: tan (column 3, row 1) on part 1: reads beige |
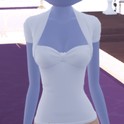 The same cap-sleeve top | Worn again for Look 2 | Look 2: white, as it reads in our pictures |
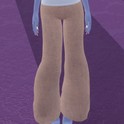 The same wide-leg jeans, recolored | Recolored from the Wearing panel on the runway | Look 2: tan (column 3, row 1) on both parts, Denim kept: reads khaki tan |
 Plain short-sleeve crew-neck T-shirt (two parts), lilac on the shelf | Tops wall, middle unit, middle shelf, left of the white camisoles | Previewed only: grey (column 4, row 8) on both parts: reads light grey |
Poses for NPC Core
Any free pose from the Poses menu works; a simple standing pose suits a background character best. For the full list with a picture of each, see every free pose in Dress To Impress.
Building it in Freeplay Mode first
Freeplay Mode has no timer, so it is the place to find the pieces and test colors without a round running out. That matters here: some jeans on the trousers wall cannot be put on, and the top’s second part did not change color for us, so it helps to know which pair and which part work before a round. For more themes built the same way, see our Boho, Robot Takeover, Album Cover, Potion Maker, Monochrome Mood, Divine Beings, Drag, Sweet 16, Camouflage, Deserted Island, Summer Cruise, Favorite Show, Fairytale, Cotton Candy Couture, Cyberpunk, Birth Stones, Y2K Popstar, Video Game Character, Top Model, Fast Food Mascot, DJ, Award Show, Drama Queen, Instagram Model, Day of the Dead, Malibu Dream, Stained Glass, Summer Camp, Modern Royalty, Trad Goth, Wonderland, Trip To London, Pop Art Princess, Sugar And Spice, Paranormal Investigator, Cursed Lagoon, Complementary Colors, Galactic Glam, Dancer, Midnight Circus, Jellyfish, Garden Tea Party, Enchanted Curse, Harvest Festival, Thrifted, Lazy But Cute, Possessed, Night At The Orchard, Bioluminescent Depths, Coronation, Your Country, Reality Television, Subway Rush, Candlelit Library, Dystopia, Decora, Vaporwave and Gymnastics outfit ideas.
How a theme round works
We have not had NPC Core as a round yet; this is from ordinary server rounds on other themes. On the main lobby, the theme shows in a banner at the top with a timer under it. After dressing, each player walks the runway in turn, about 7 seconds each, while the others vote with five stars along the bottom of the screen, with a “Voting complete!” banner between players. A “Results” card then ranks the players, followed by an “Intermission” countdown.
The “Pick Theme” button next to the intermission timer lets you choose the theme, but only with Theme Props. The panel reads “You have: 0 Theme Props” and offers a “Buy More” button priced at 75 Robux. We bought none and saw no free ones, so without Robux you wait for NPC Core to roll.
What we have not checked
No round we joined rolled NPC Core, so these looks have not walked a real round: there is no score, star count or vote for them. We did not capture the moment the top turned white for Look 2; our pictures show it white. We did not find out why some jeans say “Can’t be put on.”. We used no hair, makeup, shoes or accessories, and did not change the skin tone (the lilac-grey shown was the character’s existing one). Shopkeeper and quest-giver NPC looks were not built. Both looks were made with 0 stars, and nothing was bought.
FAQ
What is the NPC Core theme in Dress To Impress?
The game gives only the theme’s name. We read it as dressing like a background character in a game: plain, ordinary clothes in muted colors with nothing styled.
Can I do NPC Core without VIP?
Yes. Both looks were built on an account with no VIP and 0 stars, and every piece, color and material used here worked on it, with no lock or price on any of them.
Should I add hair or makeup for NPC Core?
We skipped both on purpose. A fresh Freeplay character starts with a blank, faceless head and no hair, and keeping it gives the default look of a background character. Both of our looks keep that head and go barefoot.
Where are the jeans in Freeplay?
On the trousers wall on the right side of the spawn hall, where you arrive after joining Freeplay Mode: wide-leg, straight, cropped and baggy jeans in grey denim on two shelves.
Why do some jeans say “Can’t be put on.”?
Some pairs on the trousers wall answered a click with that message for us, and the game did not say why. Another pair, the wide-leg jeans on the top shelf, went on without a problem.
How do I make jeans look like denim?
While the jeans are still a preview, pick a part, open the “+” tab and click Denim, then do the same for the other part and press “Put On”.