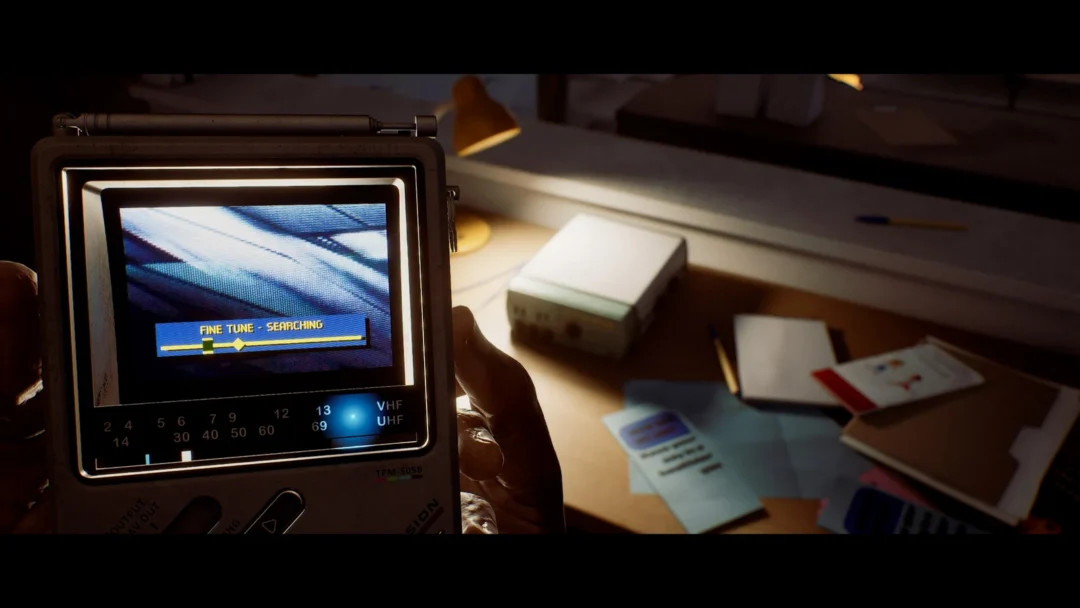
Gaming How-To

How to Complete Orientation in Control Resonant (Full Quest Guide)

Every objective in the opening mission, from the containment chamber escape to the three void rituals and The Artist boss fight.

Every objective in the opening mission, from the containment chamber escape to the three void rituals and The Artist boss fight.

Image: Remedy Entertainment

Orientation is the first quest in Remedy Entertainment’s CONTROL Resonant, and it does a lot of work in a short span. It gets Dylan Faden out of his cell in the Oldest House, hands him the Aberrant, introduces FBC agent Zoe de Vera, teaches the game’s aerial movement, and finishes with a boss. Most of it is linear, but two decision points and one fight can stall you.

Quick answer: Escape the containment chamber, grab the FBC radio to reach Zoe, meet her on the rooftops, complete three void rituals for Double Jump, Elevate and Rush, then defeat The Artist.


What Orientation unlocks and rewards

The quest permanently changes how Dylan moves and fights. Everything below is granted before or at the moment the mission closes out.

Unlock or rewardDetail
Double JumpFirst void ritual
ElevateSecond void ritual (hover)
RushThird void ritual (air dash)
Primary Aberrant formStrike or Cleave
Secondary Aberrant formCrush, Drill or Extend
Source+2000
ItemsLiving Shard, Reset Item
BadgeUntapped Badge 11-60

The Reset Item lets you undo upgrade spending later, so neither Aberrant choice in this quest is permanent.


Aberrant form stats for both choices

The Aberrant is a length of morphing metal, and Orientation asks you to configure it twice. The first prompt offers Strike or Cleave. The second, after an arena encounter in the street, offers Crush, Drill or Extend.

FormDamageFalterPower Recovery
Strike30-600Low
Cleave655Low
Crush127-22221-42Medium
Drill95-2800-21Medium
Extend63-1270-21Medium

Strike is the fast option with a 30% critical chance, while Cleave trades that away for flat damage and bonus damage when you hit an enemy from behind. Among the secondaries, Crush is slow but knocks enemies down and can be charged, Drill can be held to keep grinding a single target, and Extend reaches further and can catch several enemies in one swing.


Escaping the Oldest House
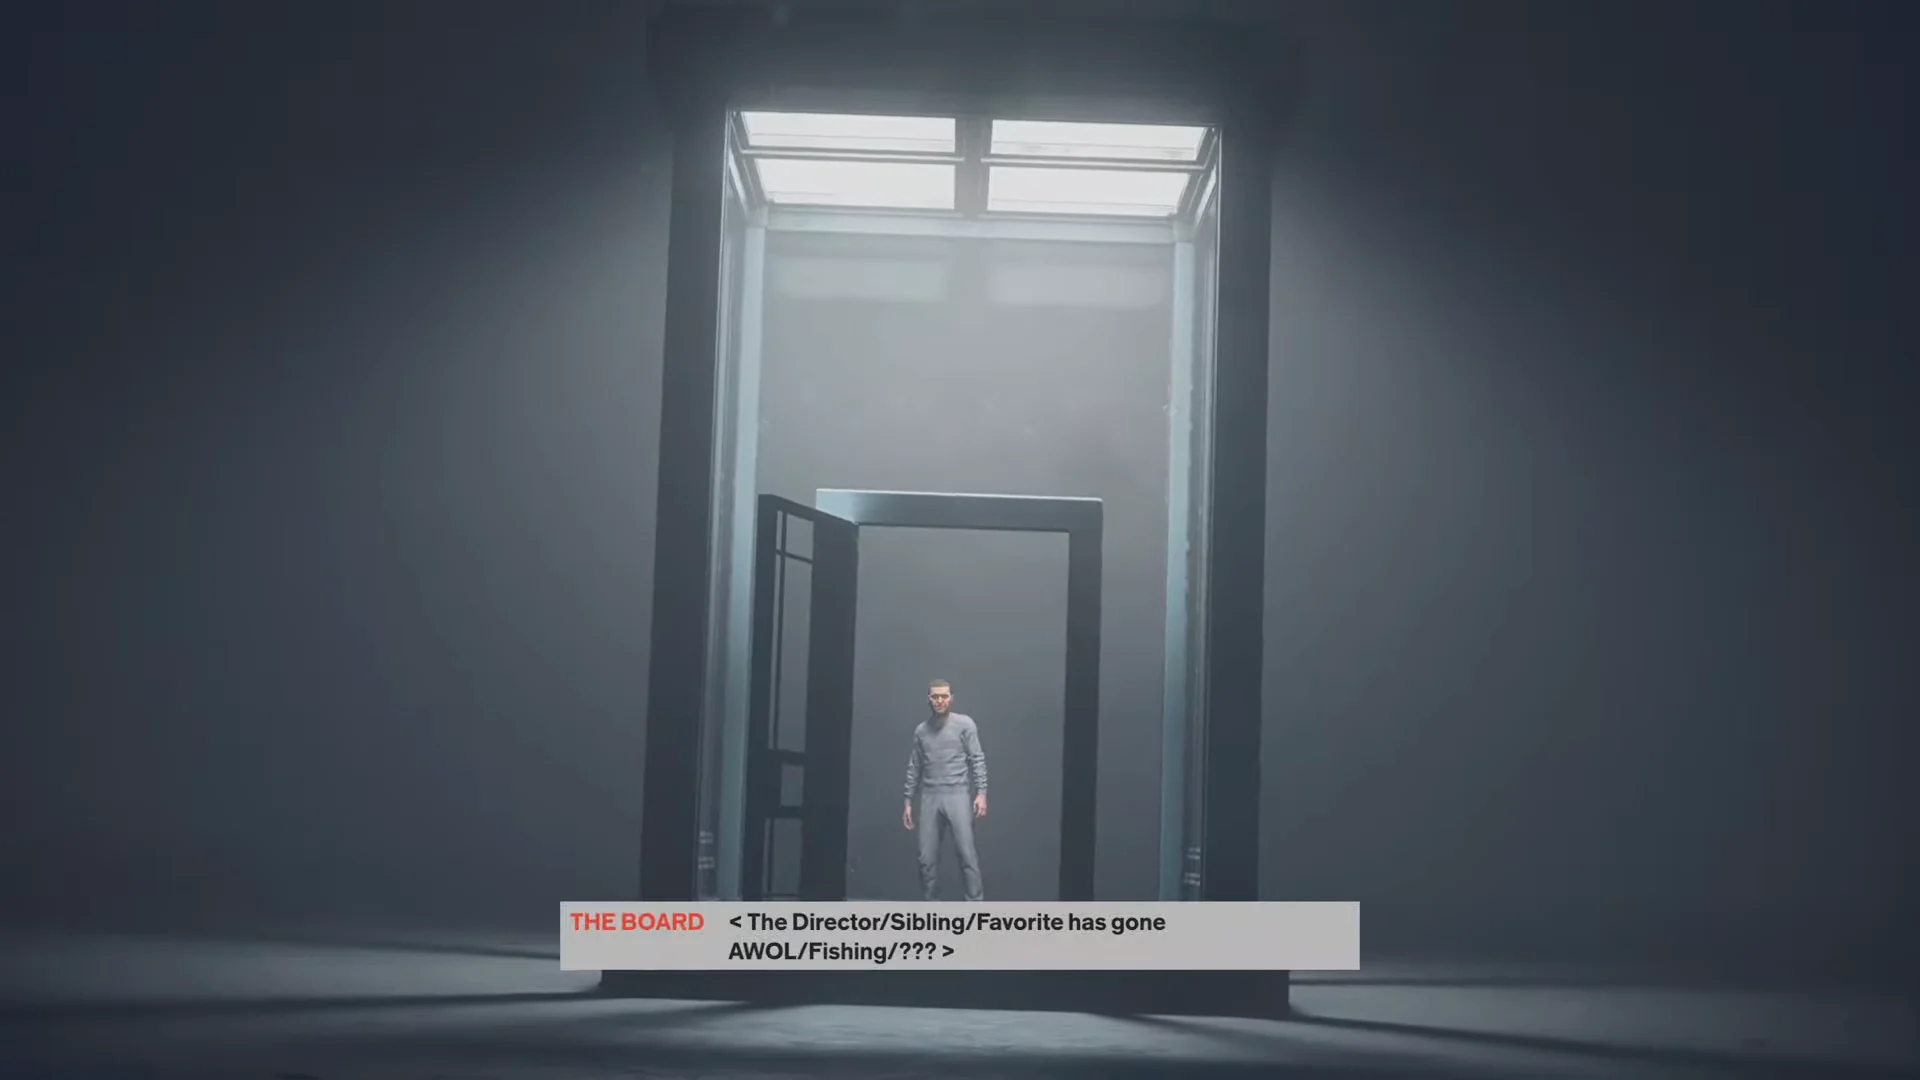
Dylan wakes inside a glass containment chamber. Once Jesse Faden leaves, step out of the open cell and follow the corridor ahead.
Escape01:29Escape
The opening moment of Orientation, with the containment chamber door already open. Shown at 01:29 in Ditech Gaming’s video. Image: Remedy Entertainment
Move across the fog-shrouded darkness to the large black monolith, then touch it. A transition follows, bringing Dylan back to the chamber with a metal bar through him.
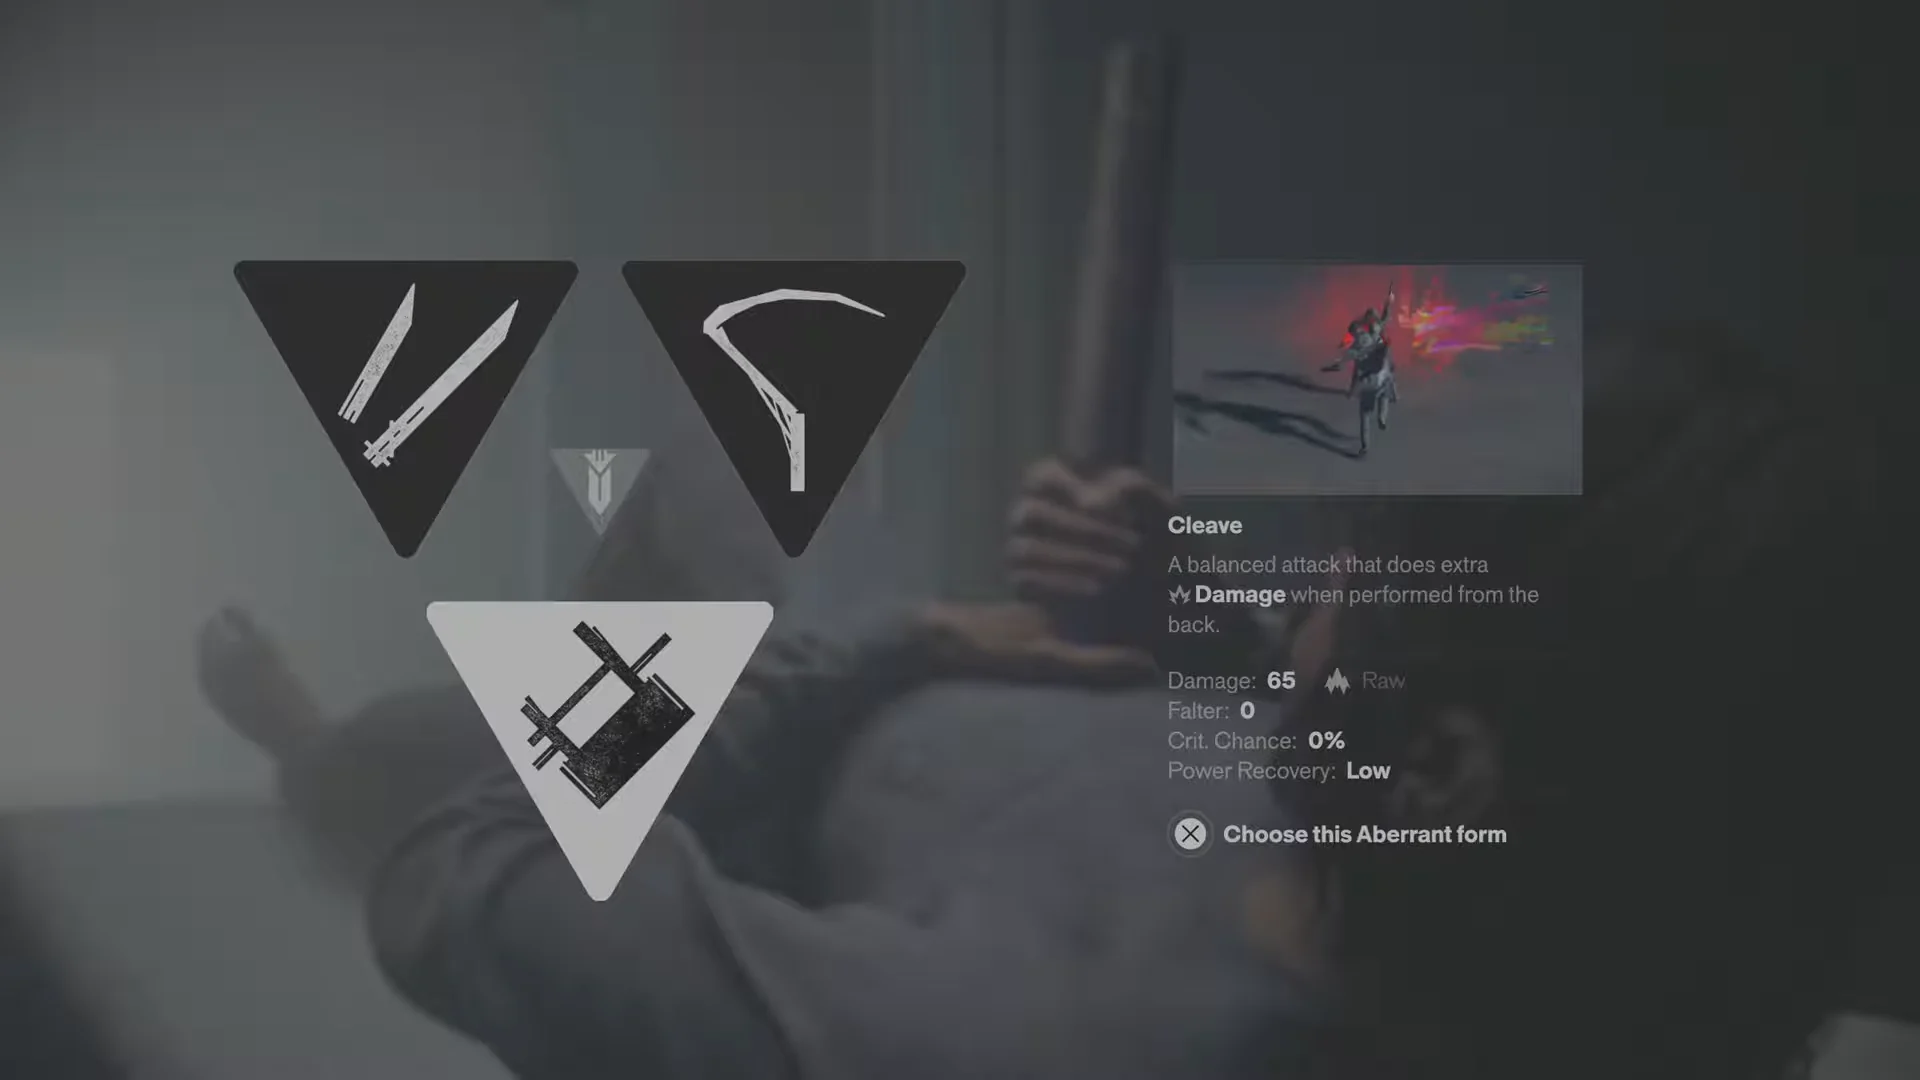
Pull the bar free and pick your first Aberrant form when the menu appears. Cleave or Strike both carry you through the early Hiss enemies without trouble.
Aberrant Form03:13Aberrant Form
The first Aberrant form menu, with Cleave selected. Shown at 03:13 in Ditech Gaming’s video. Image: Remedy Entertainment
With the objective now reading Leave the Oldest House, fight through the red-lit, Hiss-infected corridors. The route is a single path, so follow the yellow diamond waypoints until you reach the Thomas Street Exit and step outside.

Crossing Manhattan to meet Zoe

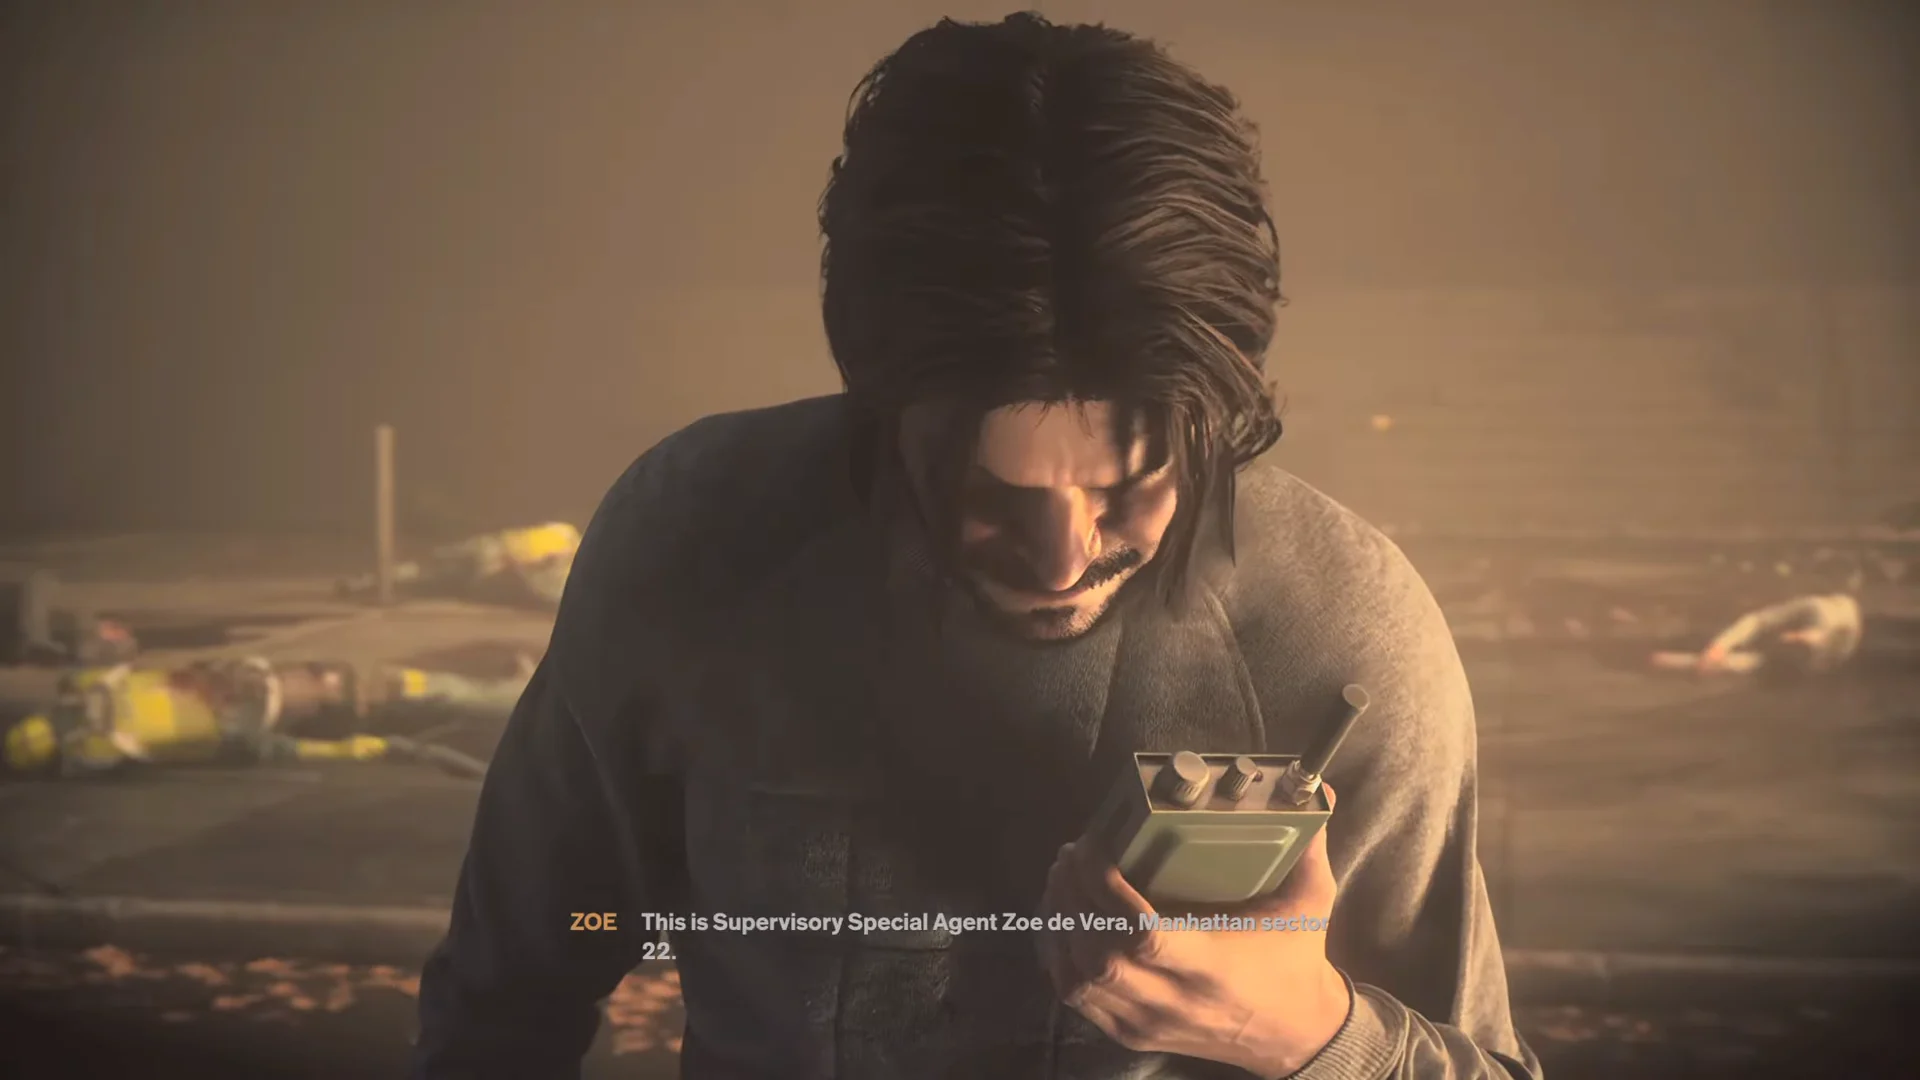
On the dusty street outside, walk to the fallen FBC agent and take the radio transmitter. This opens the line to Agent Zoe de Vera and sets the objective Meet Zoe at the Hotel Building.
Manhattan08:07Manhattan
Picking up the radio transmitter opens contact with Zoe de Vera. Shown at 08:07 in Ditech Gaming’s video. Image: Remedy Entertainment
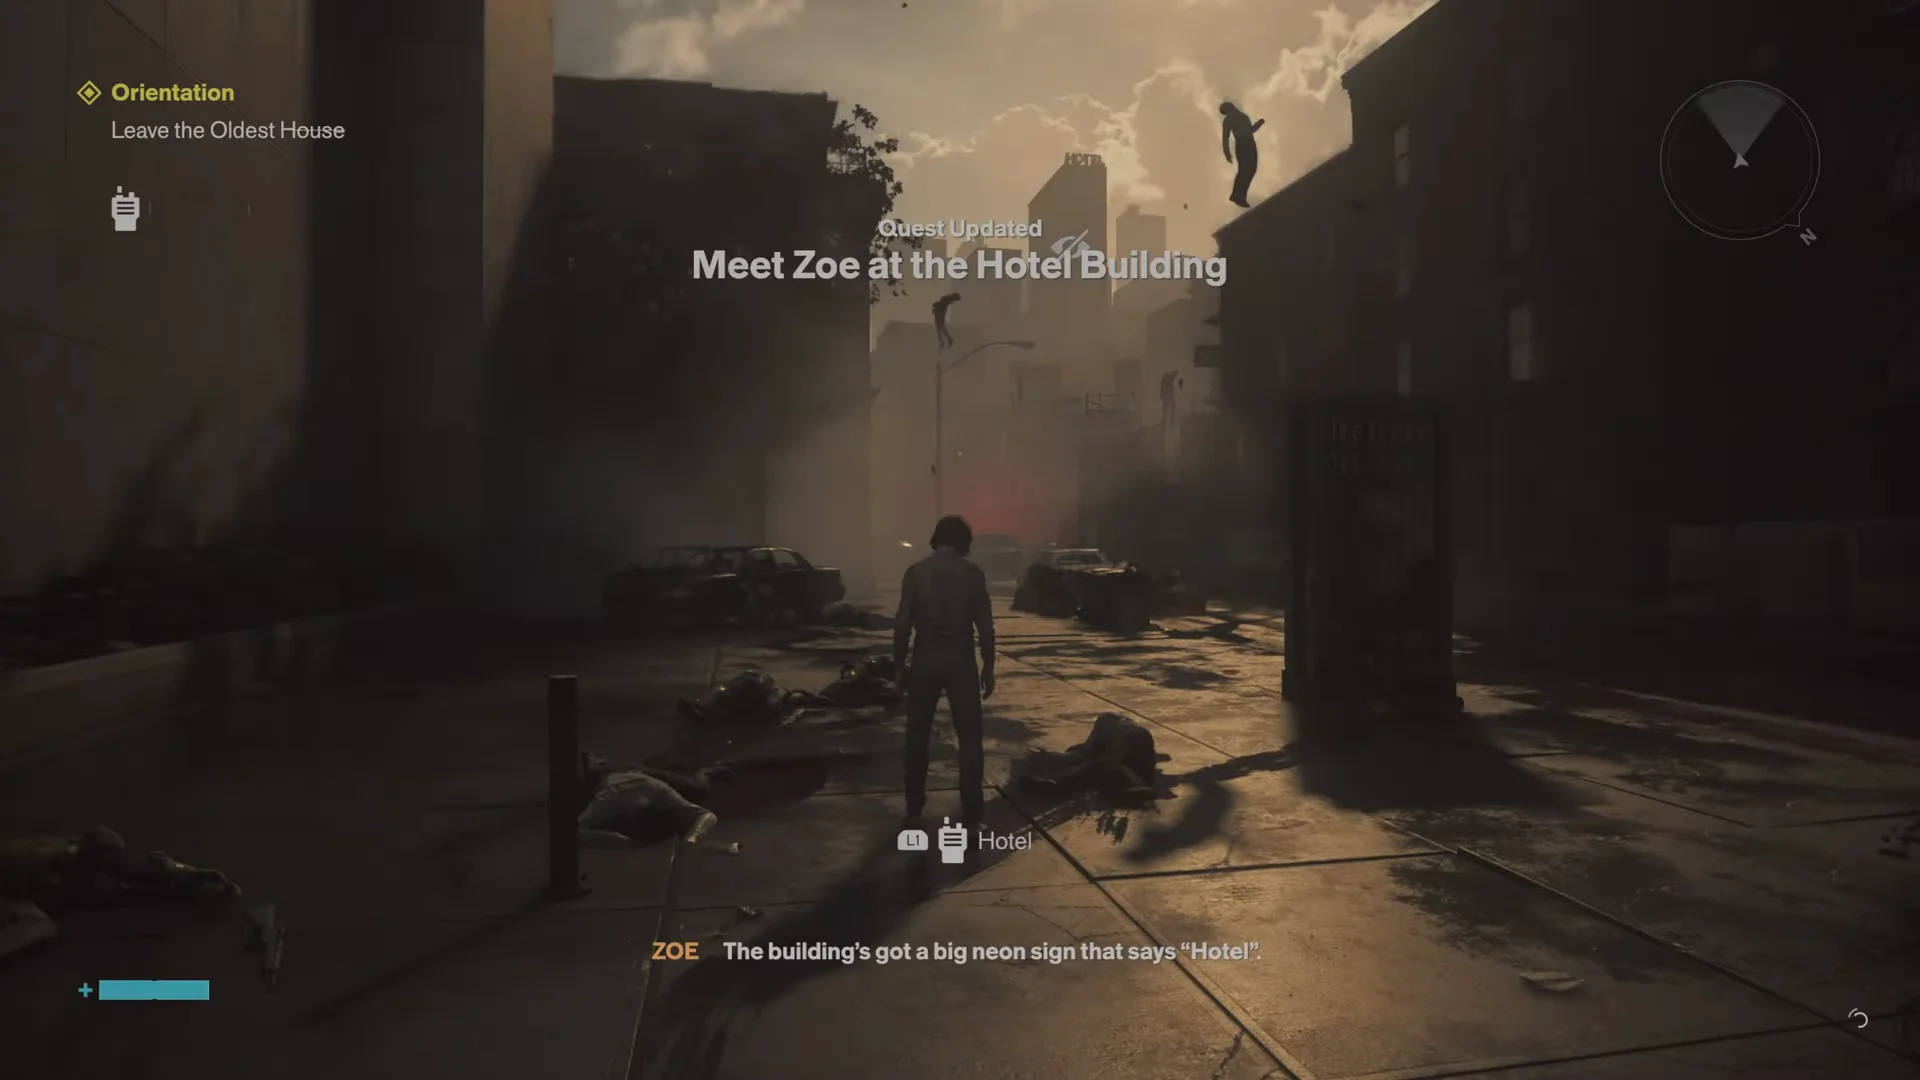
Head down the wrecked streets and alleys toward the hotel, clearing Hiss groups and barriers as you go. One detour asks you to Investigate the Alley before the route continues.
Alleys08:58Alleys
The debris-choked streets between the Oldest House exit and the hotel. Shown at 08:58 in Ditech Gaming’s video. Image: Remedy Entertainment
Clear the arena encounter that blocks the path. These fights follow fixed rules that are worth knowing before the first one starts.
  • You must defeat every wave of Heavy enemies to finish an arena encounter.
  • Drone enemies keep respawning for as long as any Heavy enemy is still alive.
  • The barriers only drop once the final Heavy wave is dead.
  • The Radar shows you where enemies are, which helps when drones circle behind you.
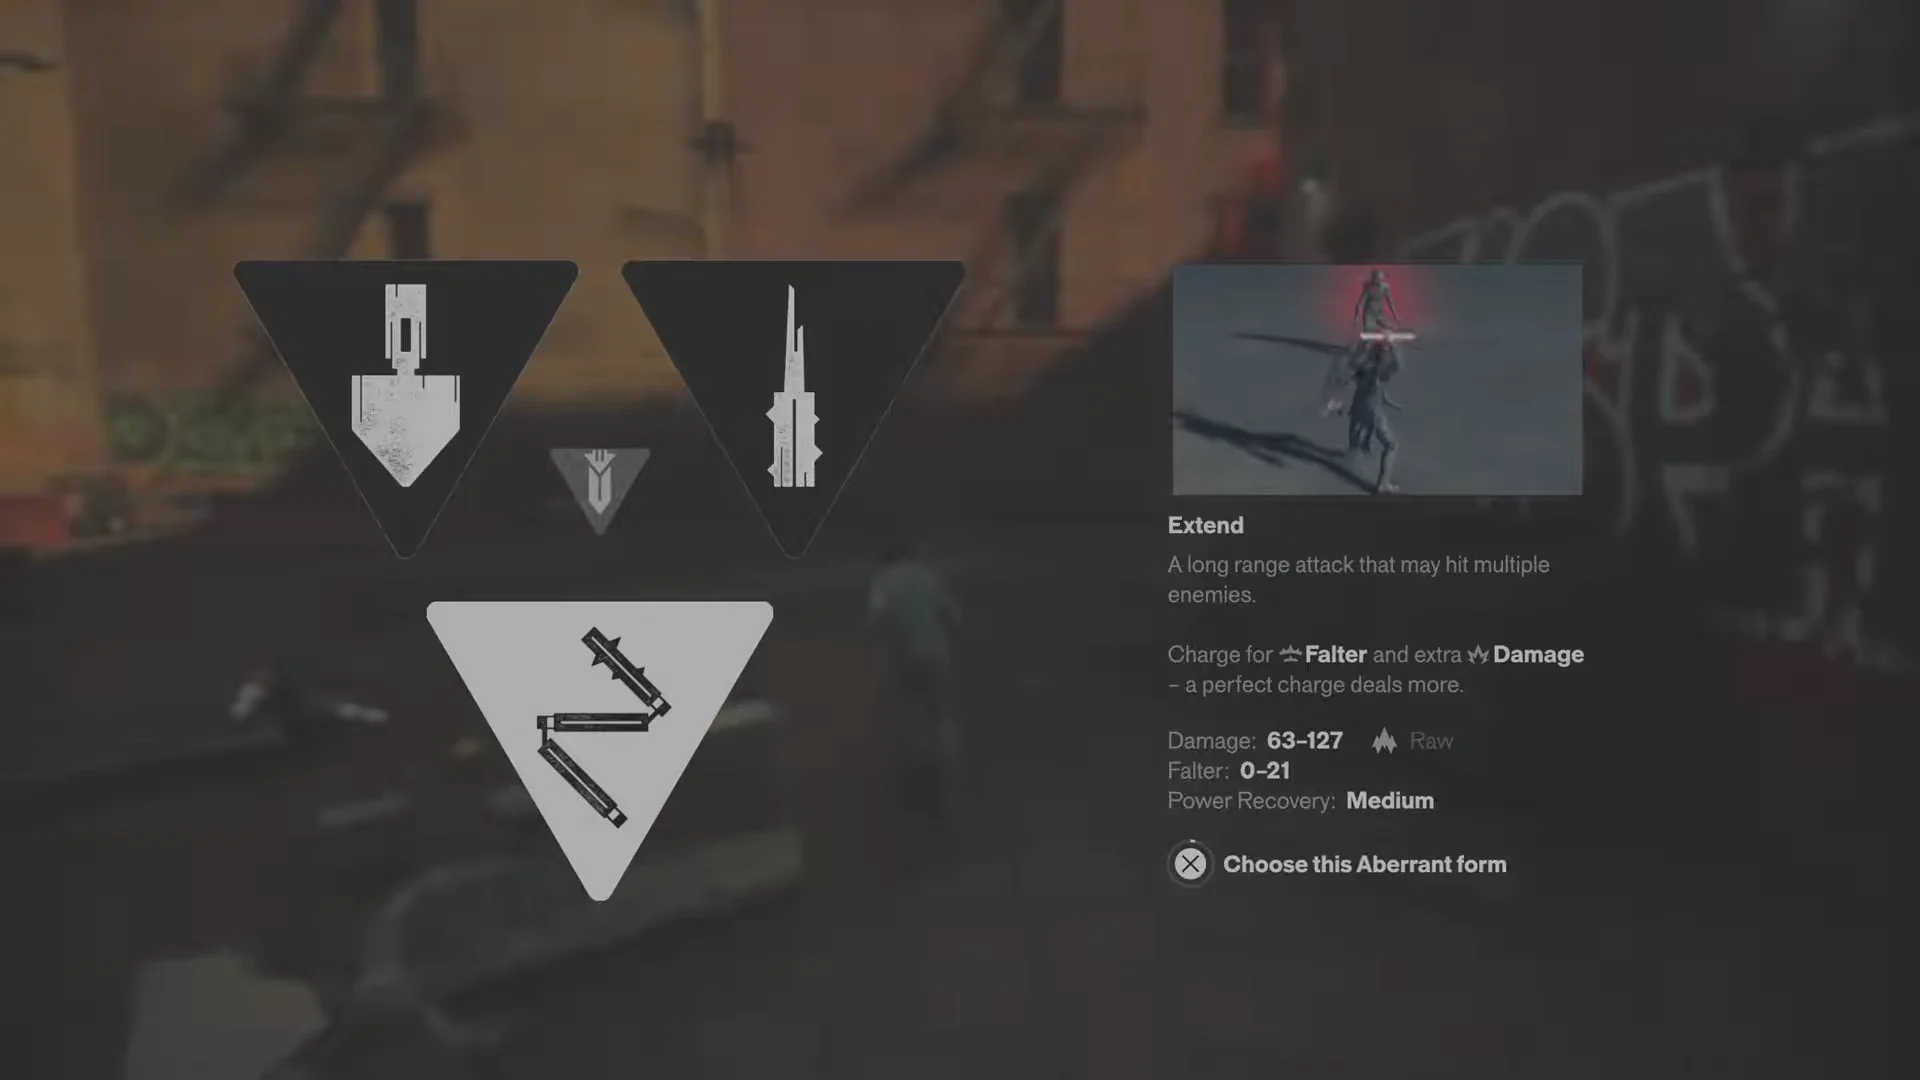
Clearing the arena unlocks the secondary Aberrant slot. Pick Crush, Drill or Extend from the menu. Extend is the safest pick here because its longer reach hits several Hiss at once during the wave fights that follow.
Arena Upgrade11:12Arena Upgrade
The secondary Aberrant menu, with Extend selected. Shown at 11:12 in Ditech Gaming’s video. Image: Remedy Entertainment
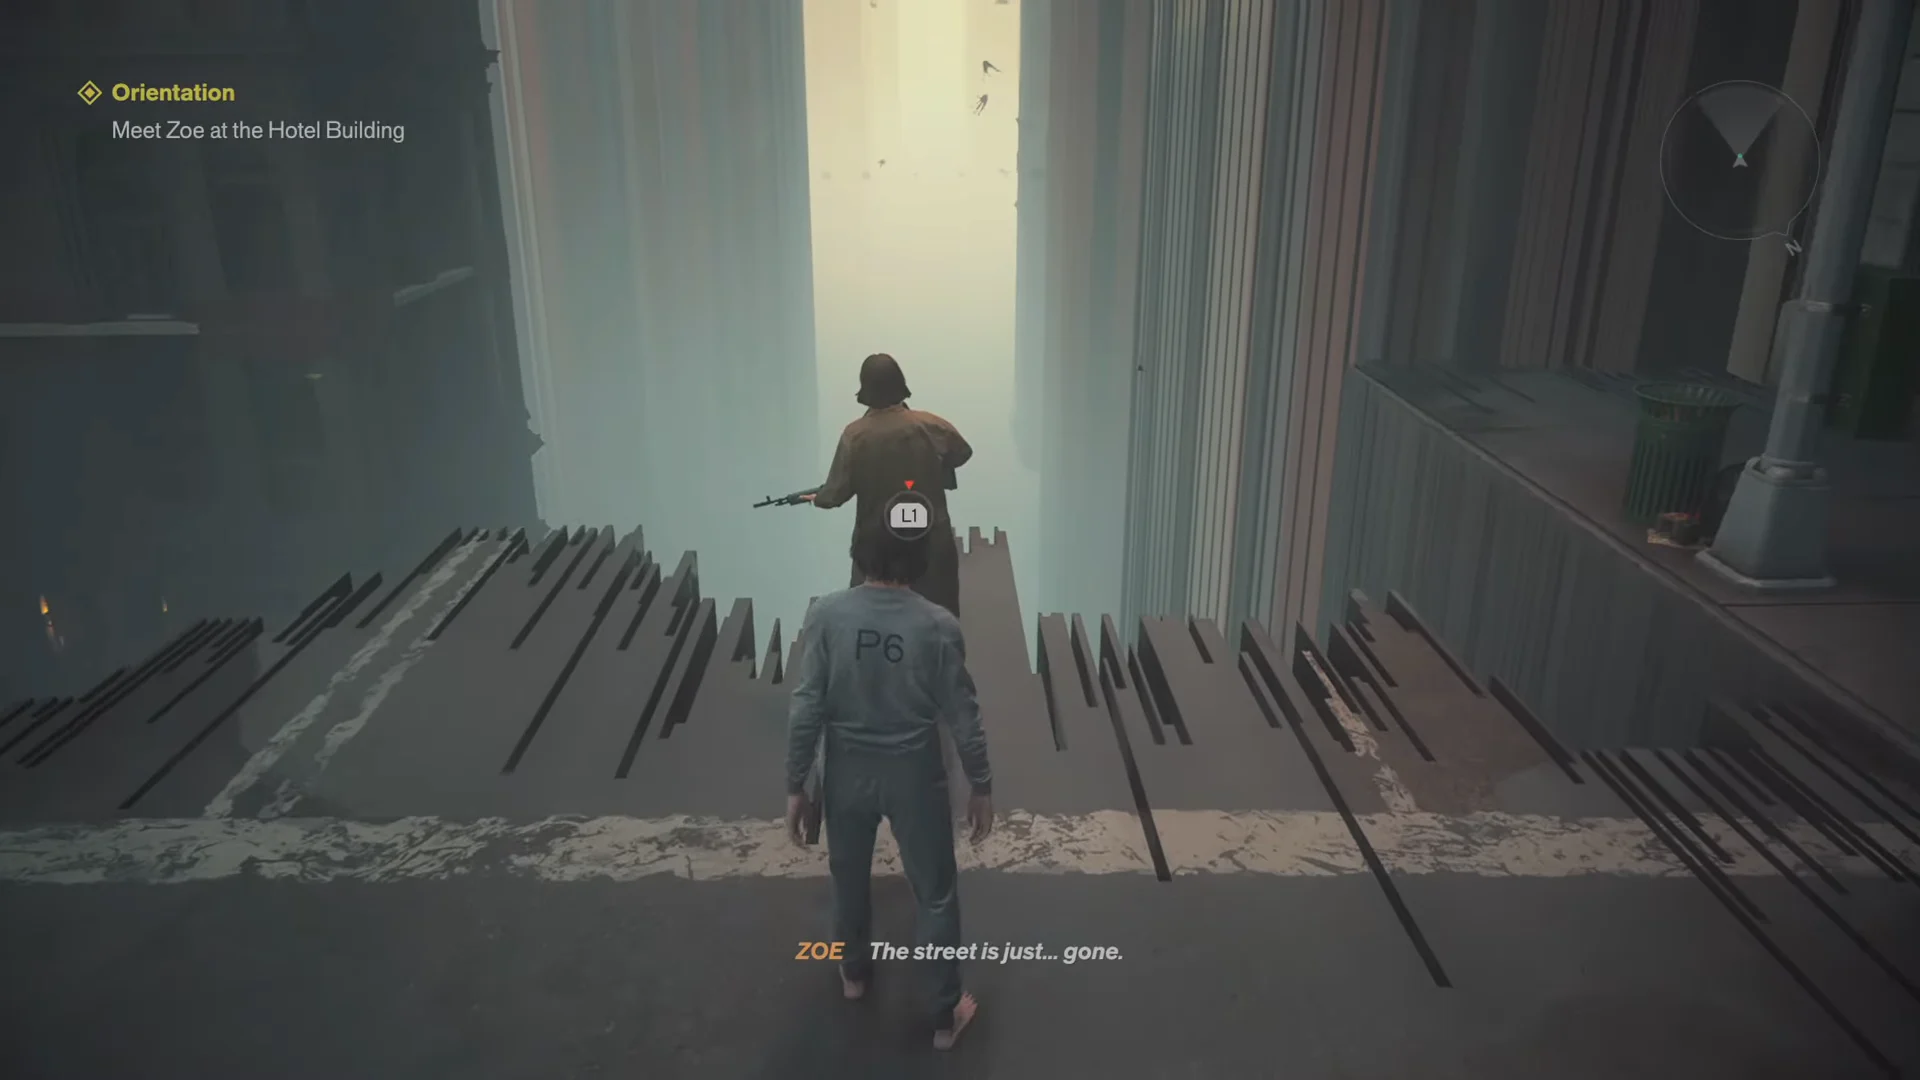
Climb into the hotel and work across the rooftops until the objective changes to Find a Vantage Point. Zoe is waiting at a ledge that looks out over an enormous chasm torn through the street below.
Rooftops13:58Rooftops
The rooftop vantage point where Dylan meets Zoe. Shown at 13:58 in Ditech Gaming’s video. Image: Remedy Entertainment

The three void rituals for Double Jump, Elevate and Rush

A huge image of Jesse Faden forms overhead and draws Dylan into a void where yellow leaves float. The objective changes to Search for Jesse, and three TV monitors structure the area. Each screen plays a brief ritual that awards one movement ability.

Walk to the first TV monitor and interact with it to start Complete the Ritual. Finishing it grants Double Jump.
Use the new double jump to reach the second monitor and repeat the ritual. This one grants Elevate, a hover that extends how long you stay airborne.
Do the same at the third monitor to unlock Rush, an air dash. With all three, chain jump into hover into dash to cross the floating rooftop islands ahead.

The “I Have to Go” collectible audio recording of Jesse sits in your inventory menu at this point and can be played from there without leaving the void.

Follow the floating islands until the objective updates to Reach the Source of the Patterning, then drop into the large plaza at the end of the route.

How to beat The Artist

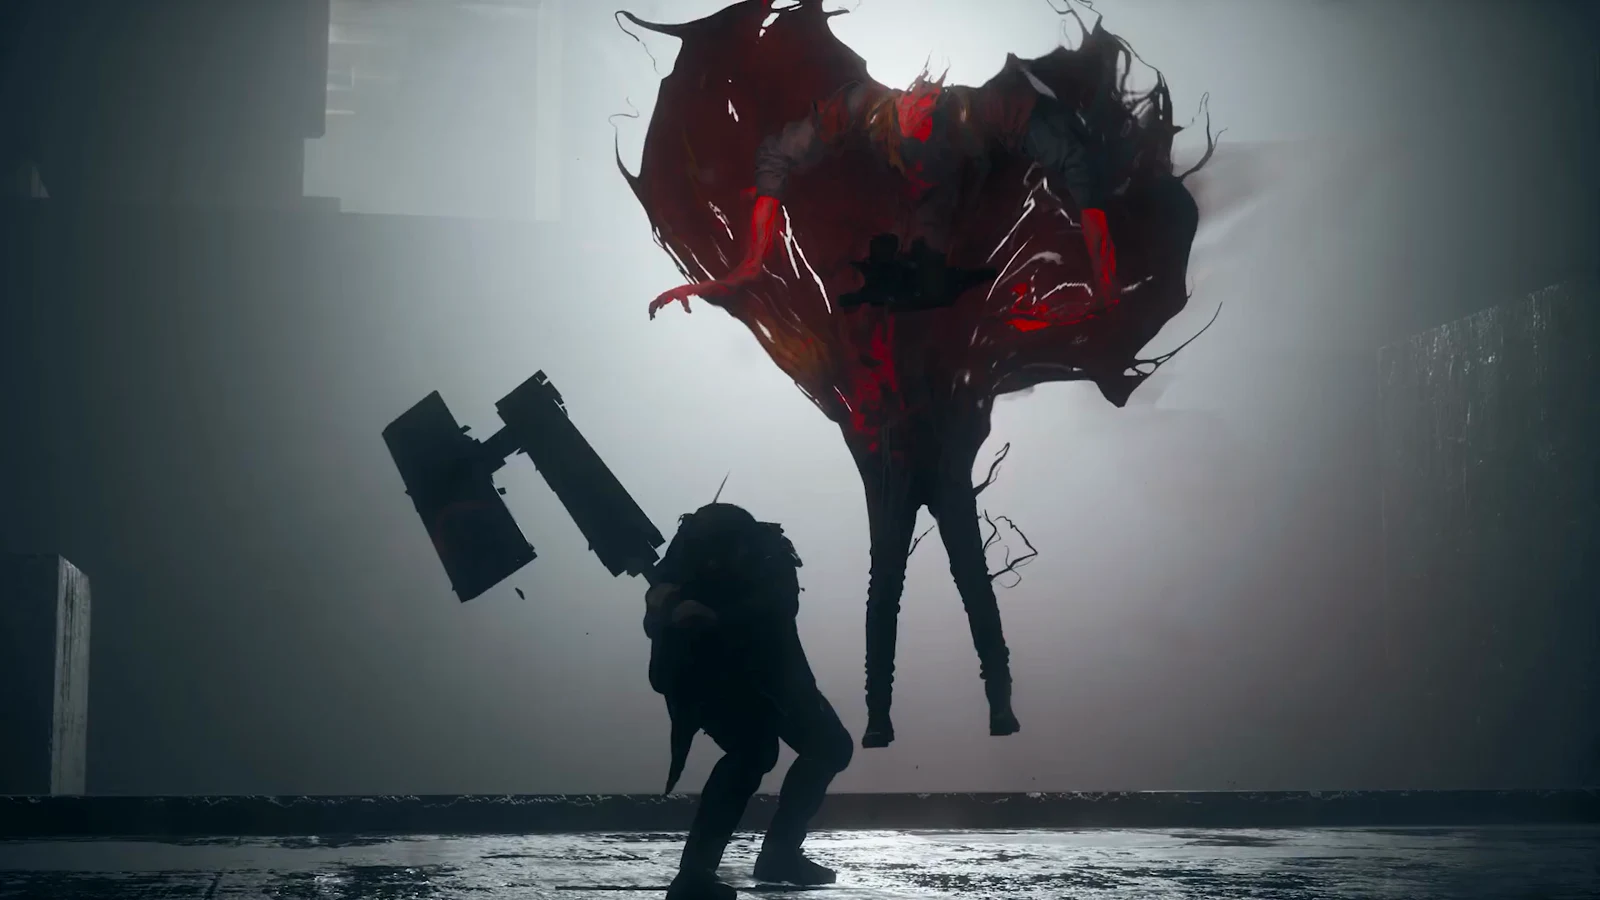
THE ARTIST is a giant floating stone head, and the fight is a movement test as much as a damage check. The objective reads Defeat the Artist once her health bar appears.

Hit her face with your Aberrant whenever she lowers into reach. Ground attacks are your main source of damage between her attack patterns.
Dodge the boulders she throws across the plaza. Keep moving laterally rather than backing into the plaza edges, and use Rush to reposition quickly.
When she raises out of melee range, use Double Jump and Elevate to climb up and strike her eyes. Alternate between face damage on the ground and eye strikes in the air until her health is gone.

Confirming Orientation is complete

The moment The Artist falls, the on-screen banner reads Quest Completed: Orientation and the reward list appears with +2000 Source, a Living Shard, a Reset Item and the Untapped Badge 11-60. If you still see the Defeat the Artist objective in the tracker, the boss is not finished, so check whether she has retreated into the air for another pass.

From here you carry Double Jump, Elevate and Rush permanently, and both Aberrant forms stay equipped until you change them at an upgrade screen. That movement set is the baseline the rest of Manhattan is built around, so it is worth spending a minute in the plaza practicing the jump-hover-dash chain before moving on.