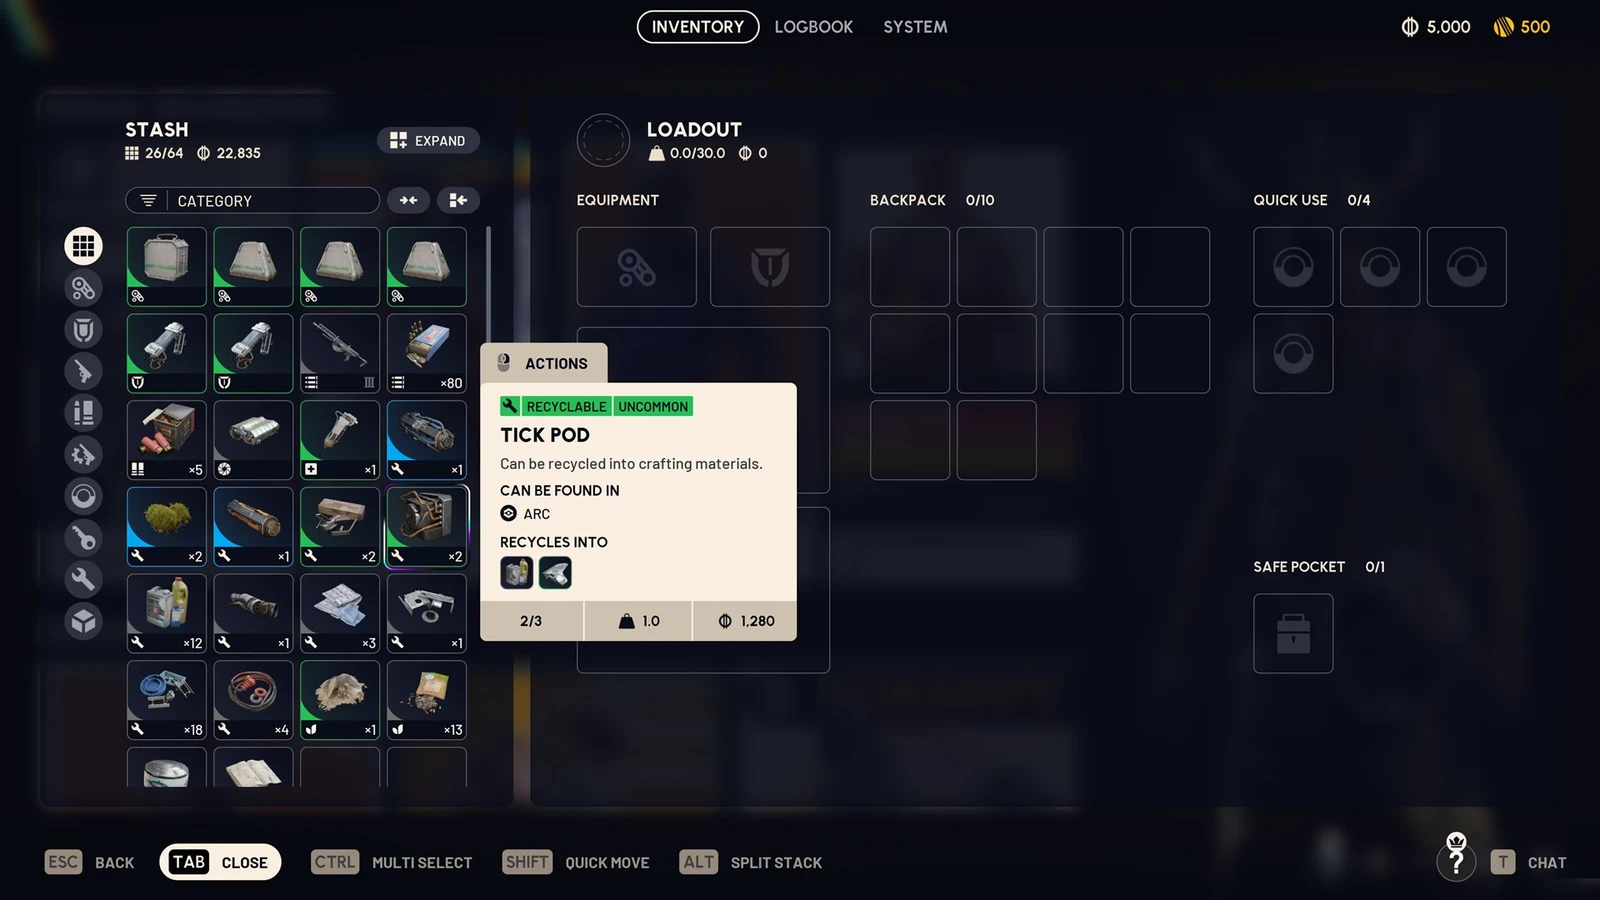
The Fallen Emperor is a downed ARC walker on Pendola Pass that opens into the game’s first dungeon, and the door at its base stays sealed until you craft and use the Emperor Gateway Conduit. The key is a legendary item, and both its blueprint and the parts to build it come from one activity on the map.
Quick answer: At Workbench I, combine the blueprint with one each of the ARC Conductive Coupler, ARC Insulated Coupler, and ARC Plated Coupler to produce the Emperor Gateway Conduit. Fit it into the socket at the Emperor’s base to open the hatch.
What you need to craft the Emperor Gateway Conduit
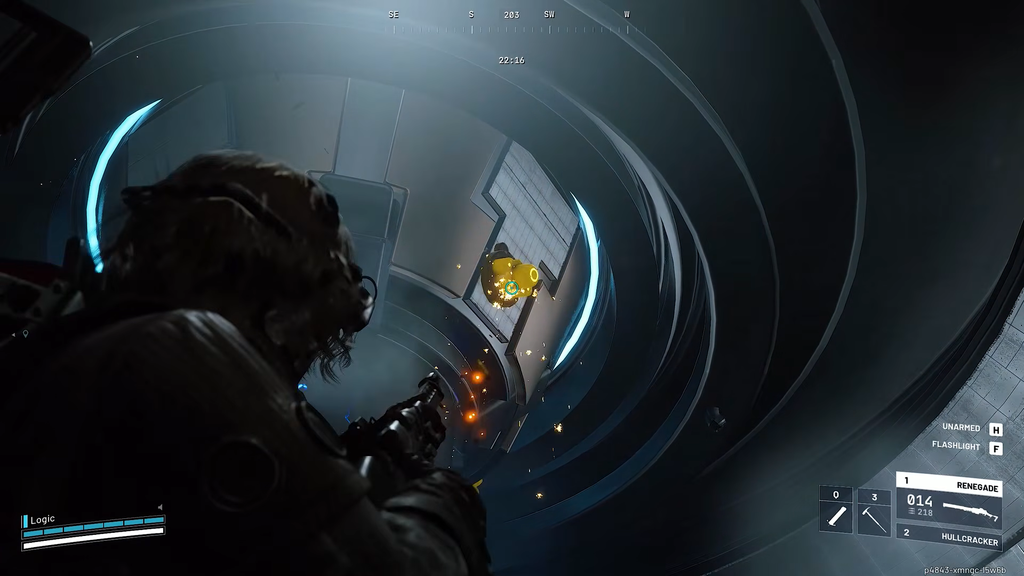
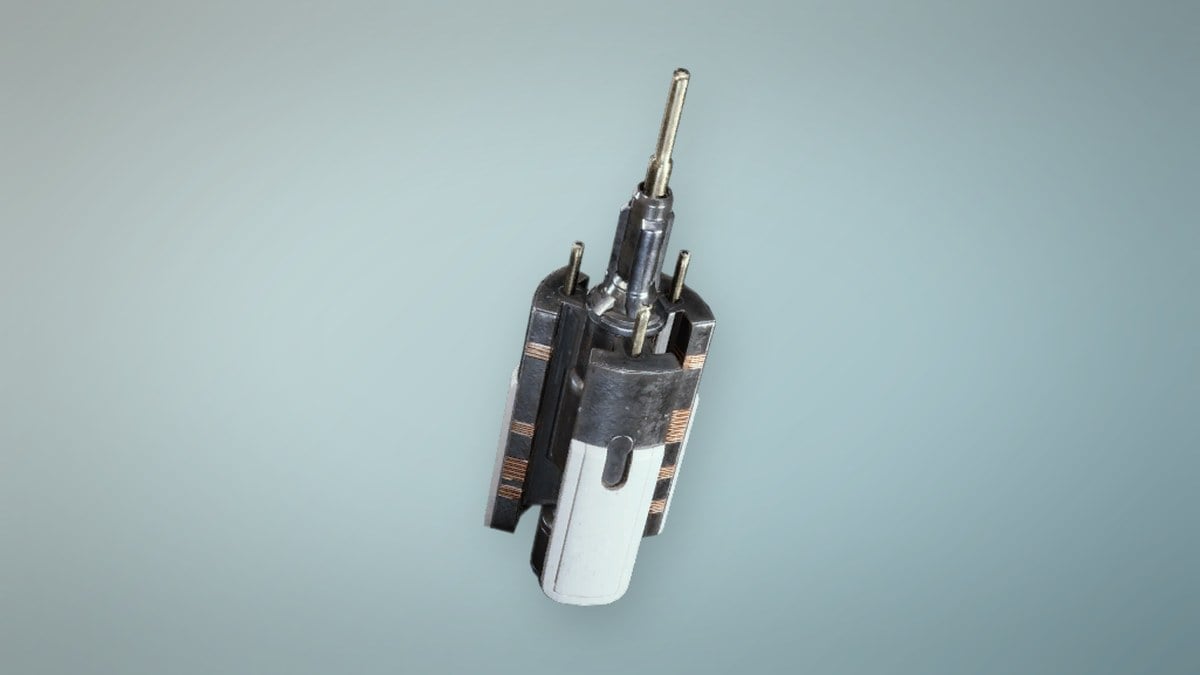
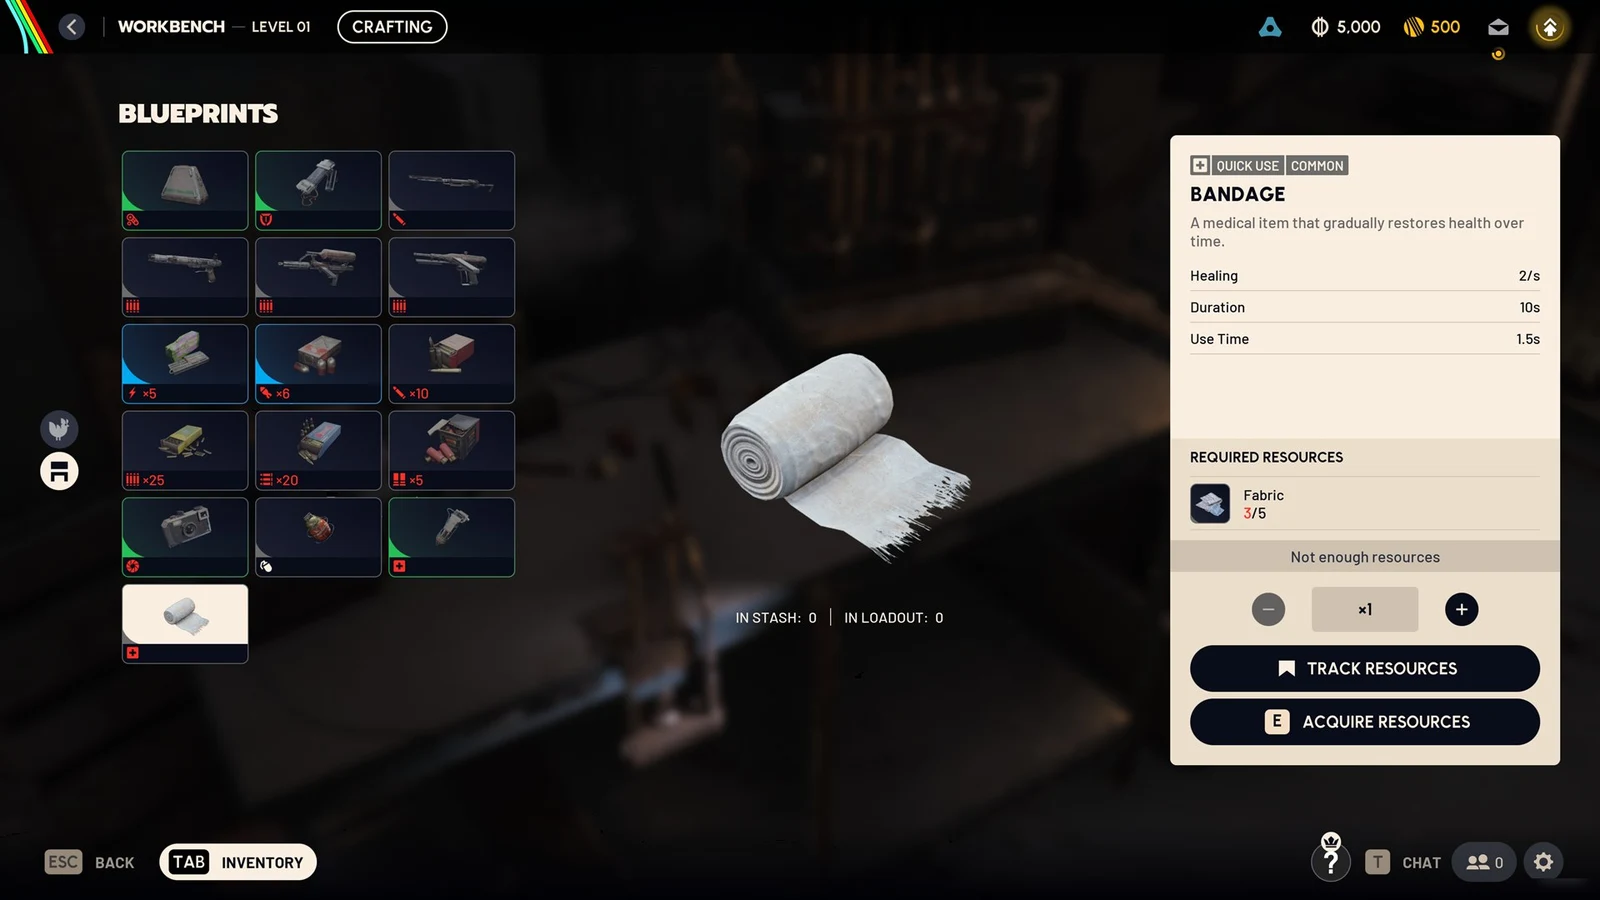
This legendary key can be made at a basic Workbench I; upgrading the workbench is unnecessary. Learn the Emperor Gateway Conduit Blueprint before accessing the recipe. After that, the recipe requires one of each of the three ARC Couplers.
| Coupler | Rarity | Weight |
|---|---|---|
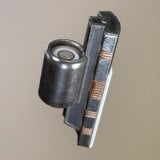 ARC Conductive Coupler ARC Conductive Coupler | Epic | 0.5 |
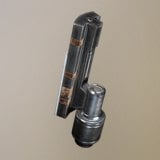 ARC Insulated Coupler ARC Insulated Coupler | Epic | 0.5 |
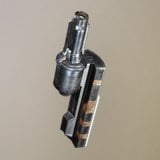 ARC Plated Coupler ARC Plated Coupler | Epic | 0.25 |
All three are separate materials, and you need one of each for a single key. A full set weighs 1.25, so it sits comfortably in a loaded kit. The couplers themselves come easily, often several per run, while the blueprint is the rare piece you will chase across multiple raids.
Farm the blueprint and couplers during Redirection
During the Redirection map condition on Pendola Pass, Harvester Payloads contain the blueprint and all three couplers. Redirection isn’t active in every match, so queue when the condition is live.
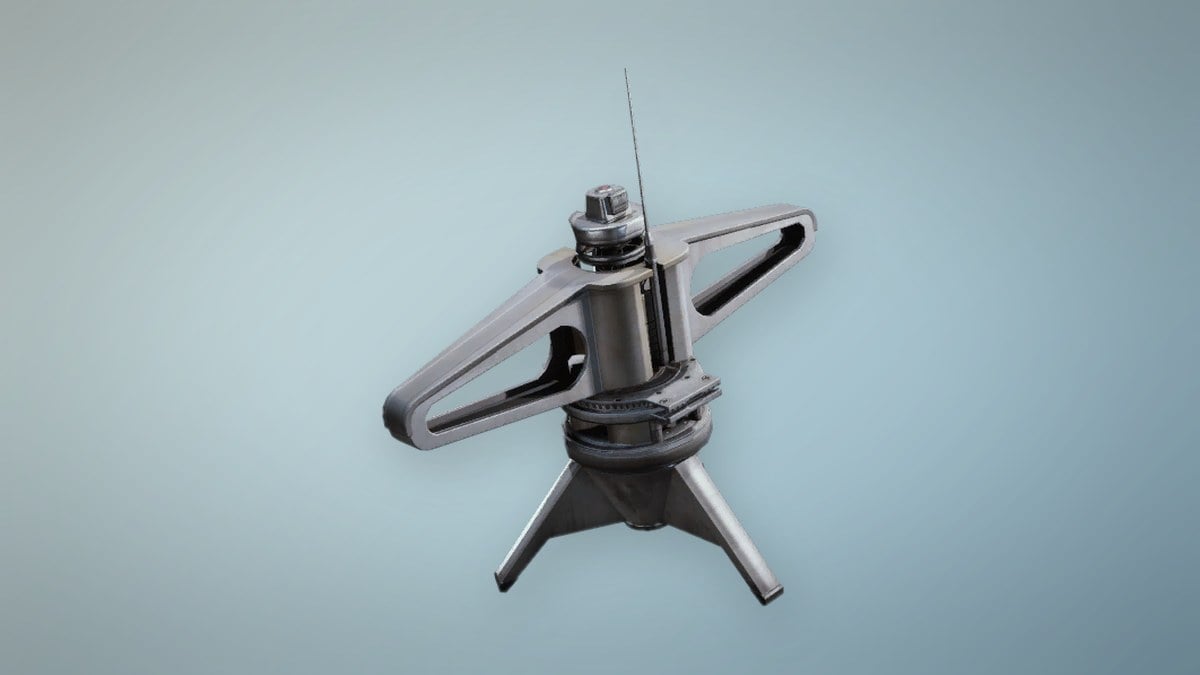
The blueprint is not guaranteed from any single payload, and the drop chance is low. Expect to run several payloads, holding spare beacons so one relay can feed more than one drop. Couplers also appear on the Frigate if you want a second source for those.
Put the blueprint in your safe pocket the moment you find it, then pocket one of each coupler type, so a death still leaves you a full set and the rarest drop.
Craft the conduit at Workbench I
Extract with the blueprint, return to Speranza, and consume it to add the Emperor Gateway Conduit to your crafting list. With the recipe unlocked and one of each coupler in your stash, craft the key at Workbench I. You cannot build it mid-raid, and you cannot pool couplers with teammates, so each raider needs their own full set.
Reward Pass alternative at Level 60
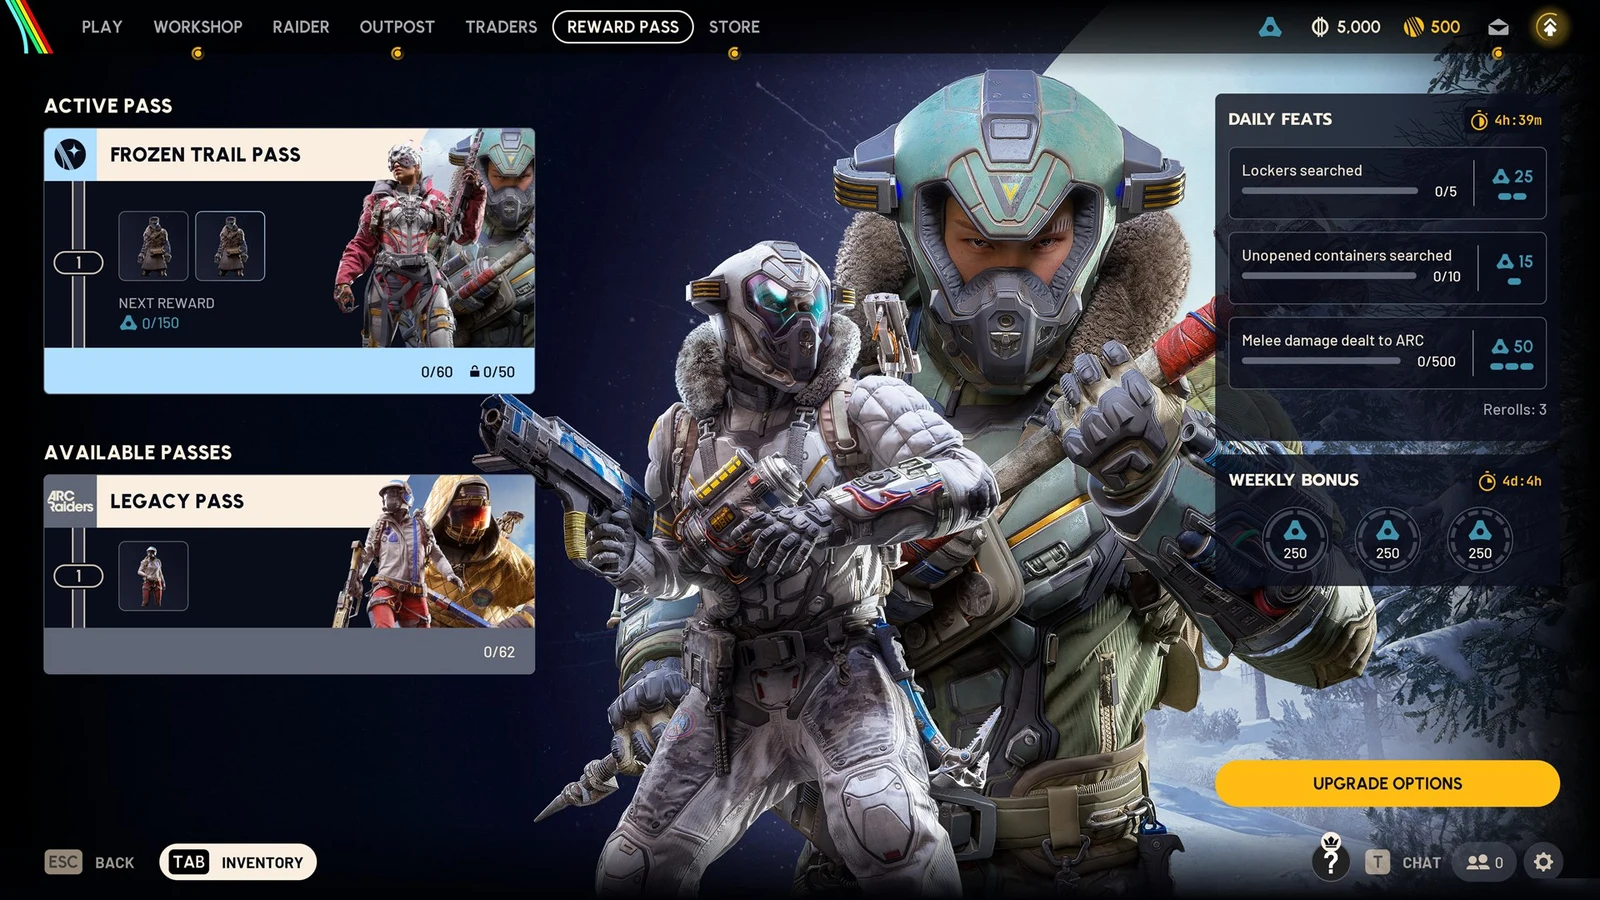
If you do not want to rely on blueprint drops, the Frozen Trail Reward Pass hands you a finished Emperor Gateway Conduit at Level 60. That gives you the key itself rather than the blueprint, so the Redirection route stays the better option if you intend to craft more conduits for repeat runs.
Use the conduit at the Fallen Emperor
Load into a fresh Pendola Pass match carrying the crafted key. The Fallen Emperor sits toward the western part of the map, west of Piazza della Rupe and north of Old Town, between Old Town and Almatera Station.
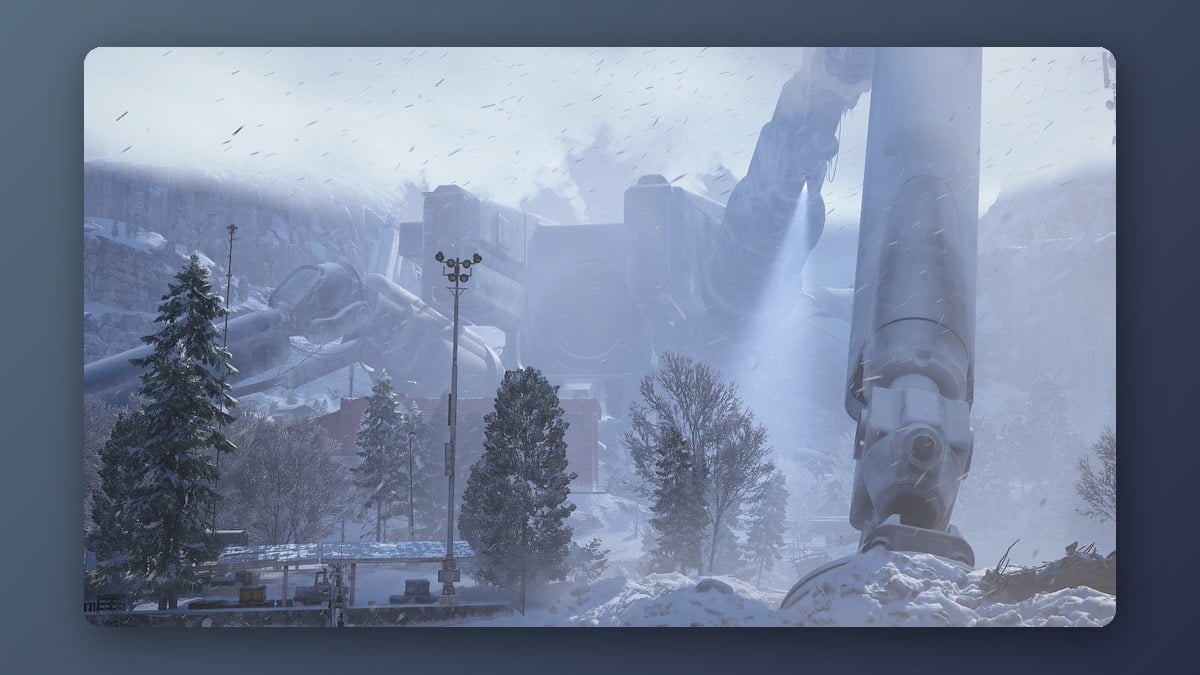
Head to the base of the walker and work through the ruined buildings beneath its leg to reach a large round hatch on the hull. A flat panel beside the hatch shows the prompt Unlock 0/1 Emperor Gateway Conduit. Hold interact with the key in your inventory, and the round hatch opens. One conduit opens it, and that confirms it worked.
The closest way out afterward is the Reckless Transceiver, a gondola point sitting in the Emperor’s shadow. It is the nearest exit after a run and also the most exposed.
What the dungeon holds
The ground floor and the last hangar with loot remain fixed, but the trials between them are shuffled for each session. The loot is the main draw: Amplification Modules are found here and only on the Frigate elsewhere, while an Emperor Modulator lets you raise the Gunsmith to Level 4. Pack a full loadout and a safe pocket; the trials and ARC inside make a light kit risky.