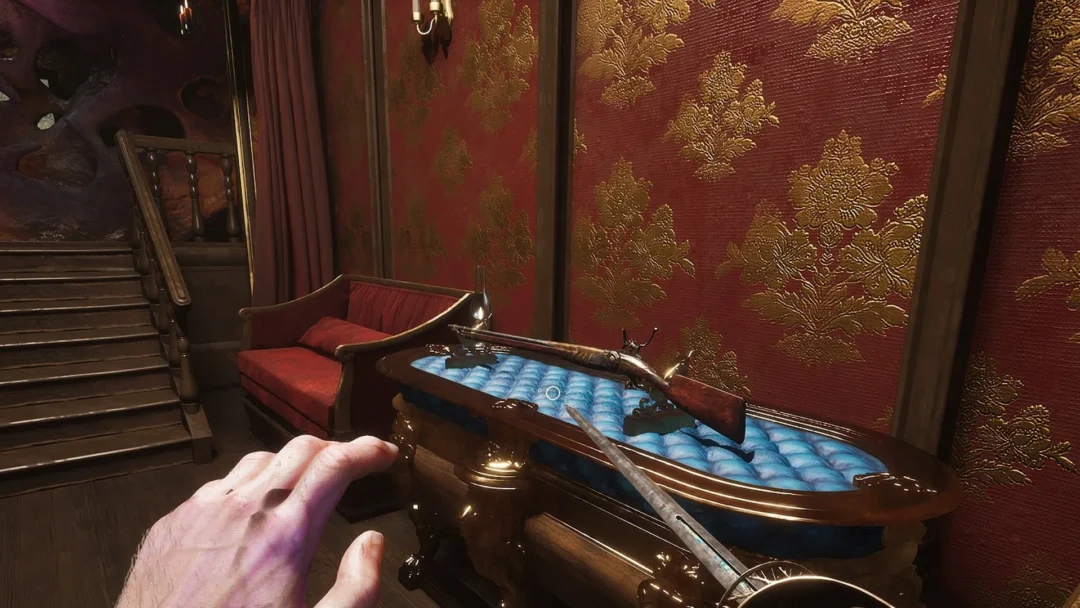
Valor Mortis hands you keys as you work through its all 11 chapters, a few to push the story forward and most to crack open side rooms, stashes, and chests. A locked door always tells you which one it wants with the line “This door is locked and requires <key name>”, and the right key answers with “The door was opened with <key name>”. Use the lists below to match a key in your inventory to its door, or to track down the key a door is asking for.
Quick answer: There are 27 keys in total, each a one-off. Several move the story on, among them the Cave Grotto Key, the Outward Pass Key and the two Sewers keys; many of the others open side rooms, stashes and chests.
Chapter III: Fallen Village keys
Weathered Key
The Weathered Key belongs to the Lullaby side quest. Begin at the crib in the nearby house, reached from the Marketplace Lantern. Search the garden behind the house; the key is on the muddy ground among infected villagers.
It opens the locked hut across the long wooden footbridge over the water. Inside is the Toy you place in the crib to finish Lullaby. Its inventory text reads: “An old key that has seen better days.”
Full route in the Lullaby quest walkthrough.
Storage Key
Head to the underground area behind a building in the Fallen Village. Go out the back, climb down the ladder, and at the bend with two enemies pick the key up from a box. The nearest Lantern is Orchard. Its text reads: “A heavy key that unlocks the storage room, packed with supplies left behind in haste.”
The storage-room door immediately beside the key is what it unlocks. Inside, destroy the weak point to collapse the plague wall blocking your route. See the Chapter III collectibles for more.
Chapter IV: Caverns and the Cave Grotto Key
Cave Grotto Key
After Louis returns, speak with James at his Iron Bench in the Abandoned Church; at Chapter III’s end, he hands over the Cave Grotto Key. The conversation launches Chapter IV. The description says: “Opens the path to a nearby grotto leading to the back entrance of the salt mine.”
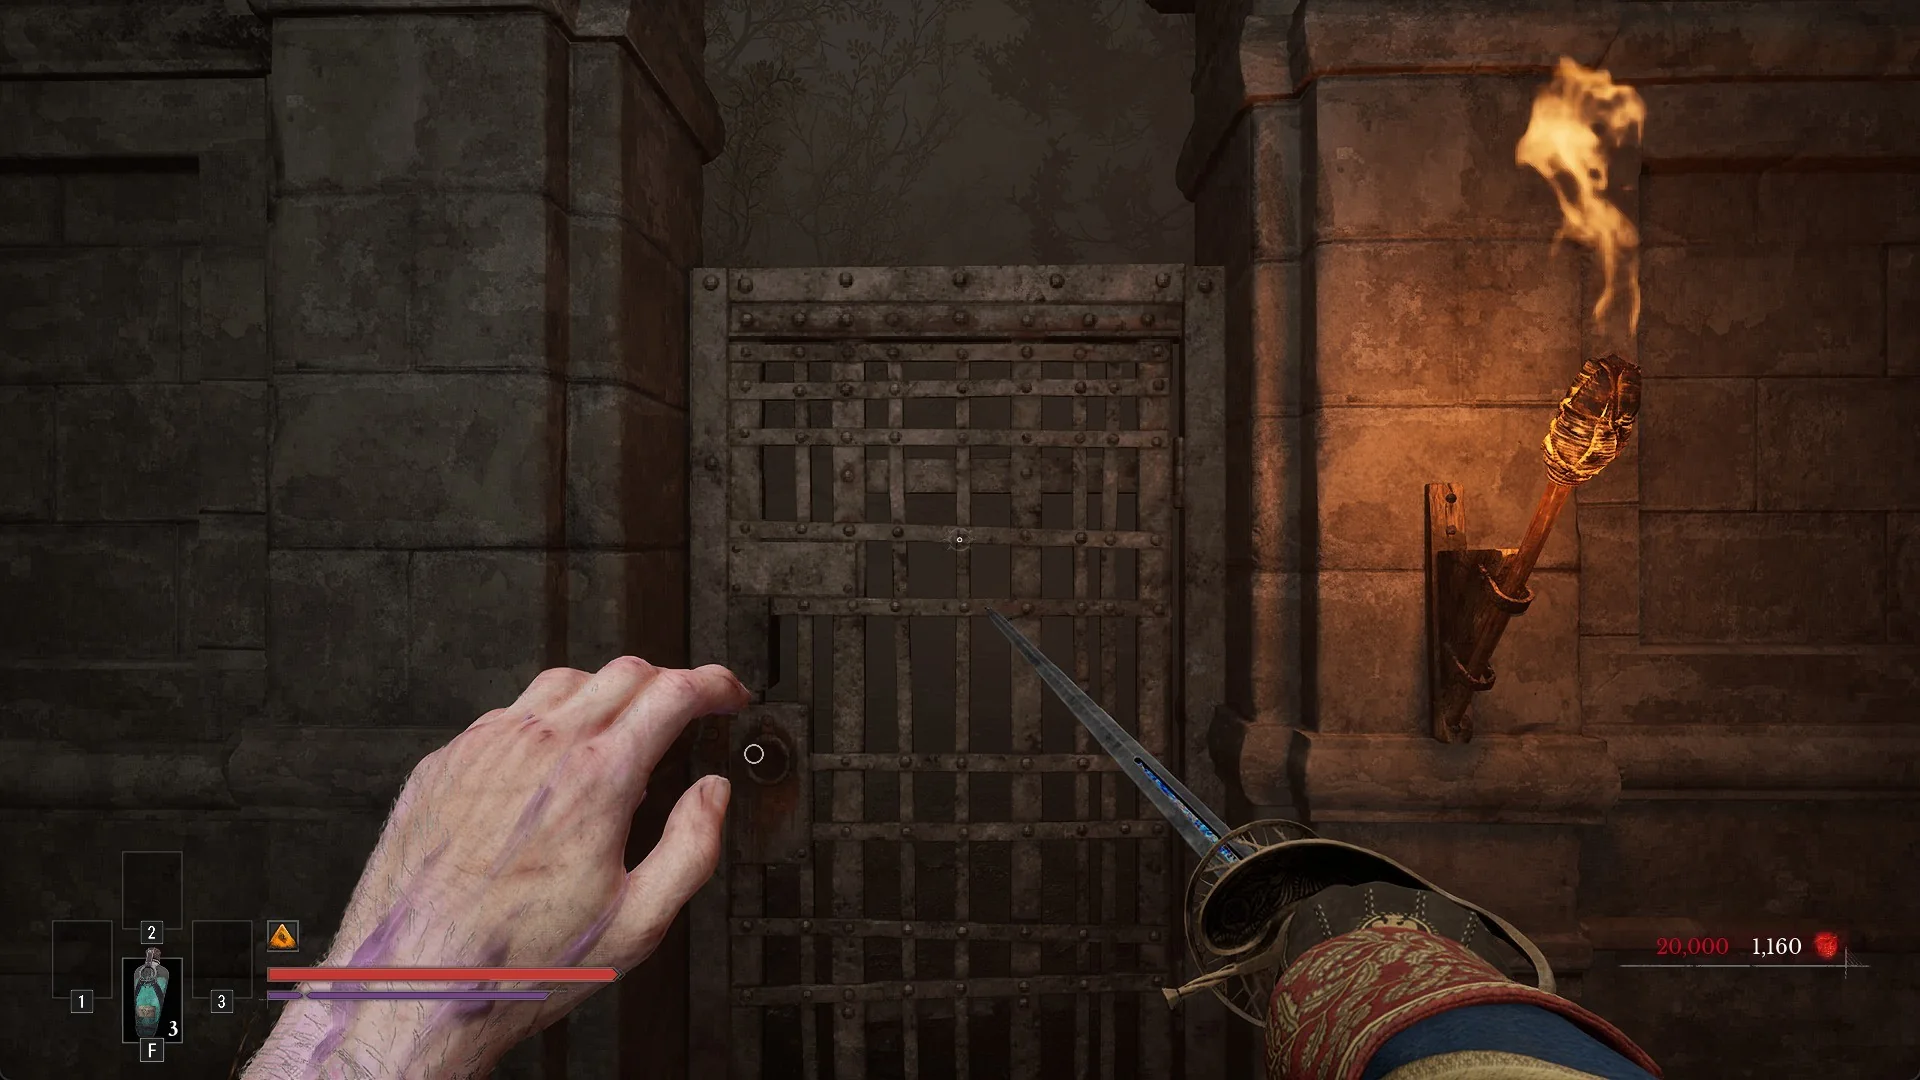
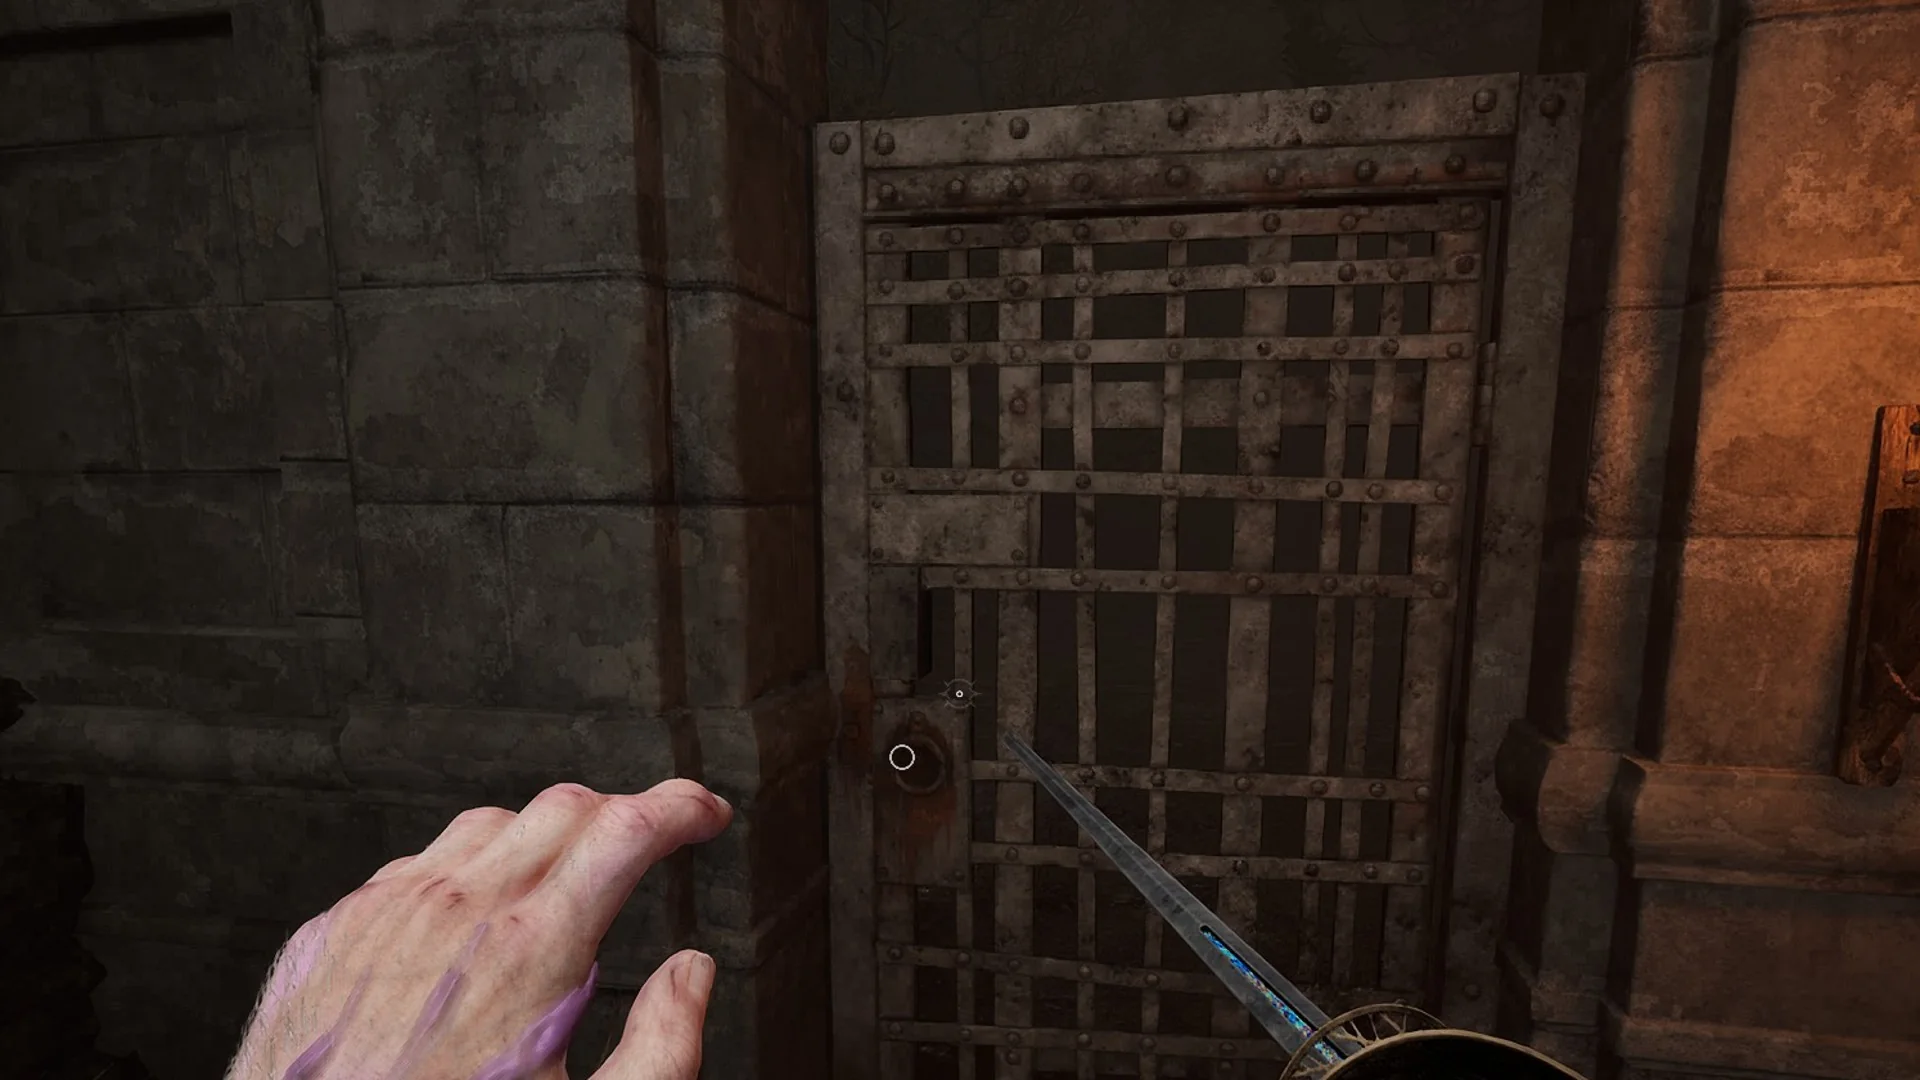
Use it on the timber-framed iron barrier at the entrance to the dark tunnel connecting the church grounds and the Caverns.
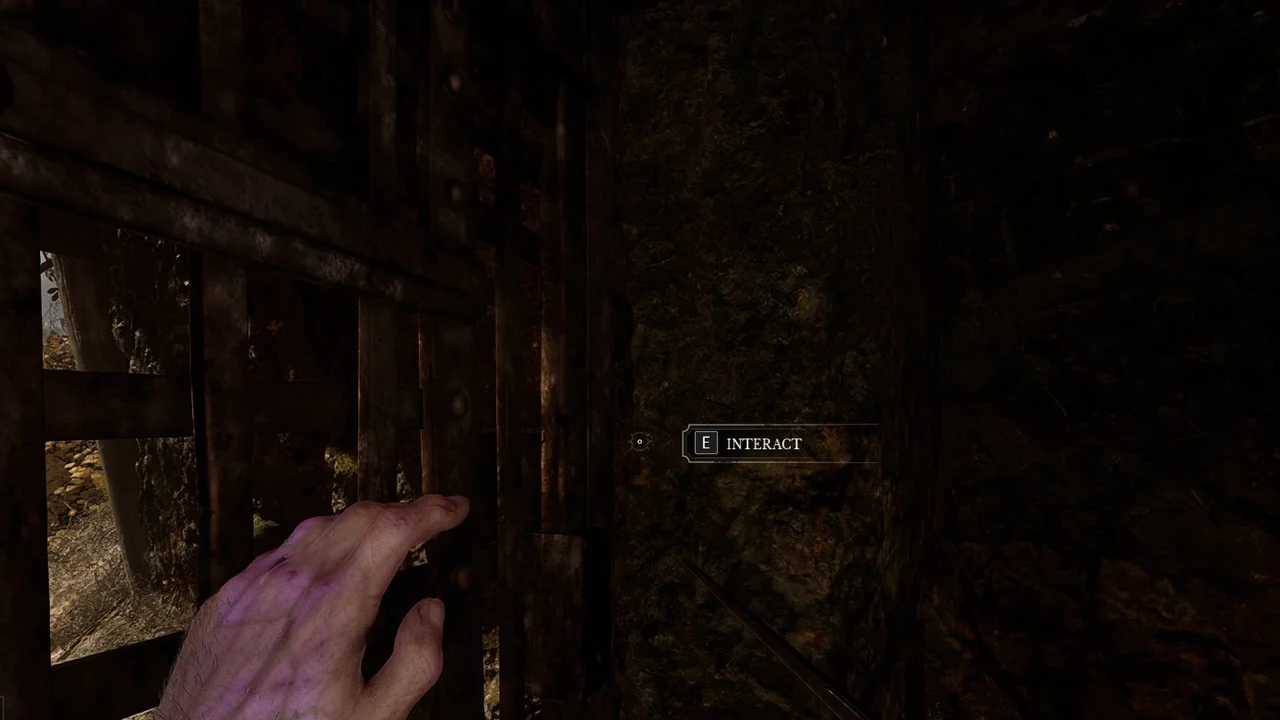
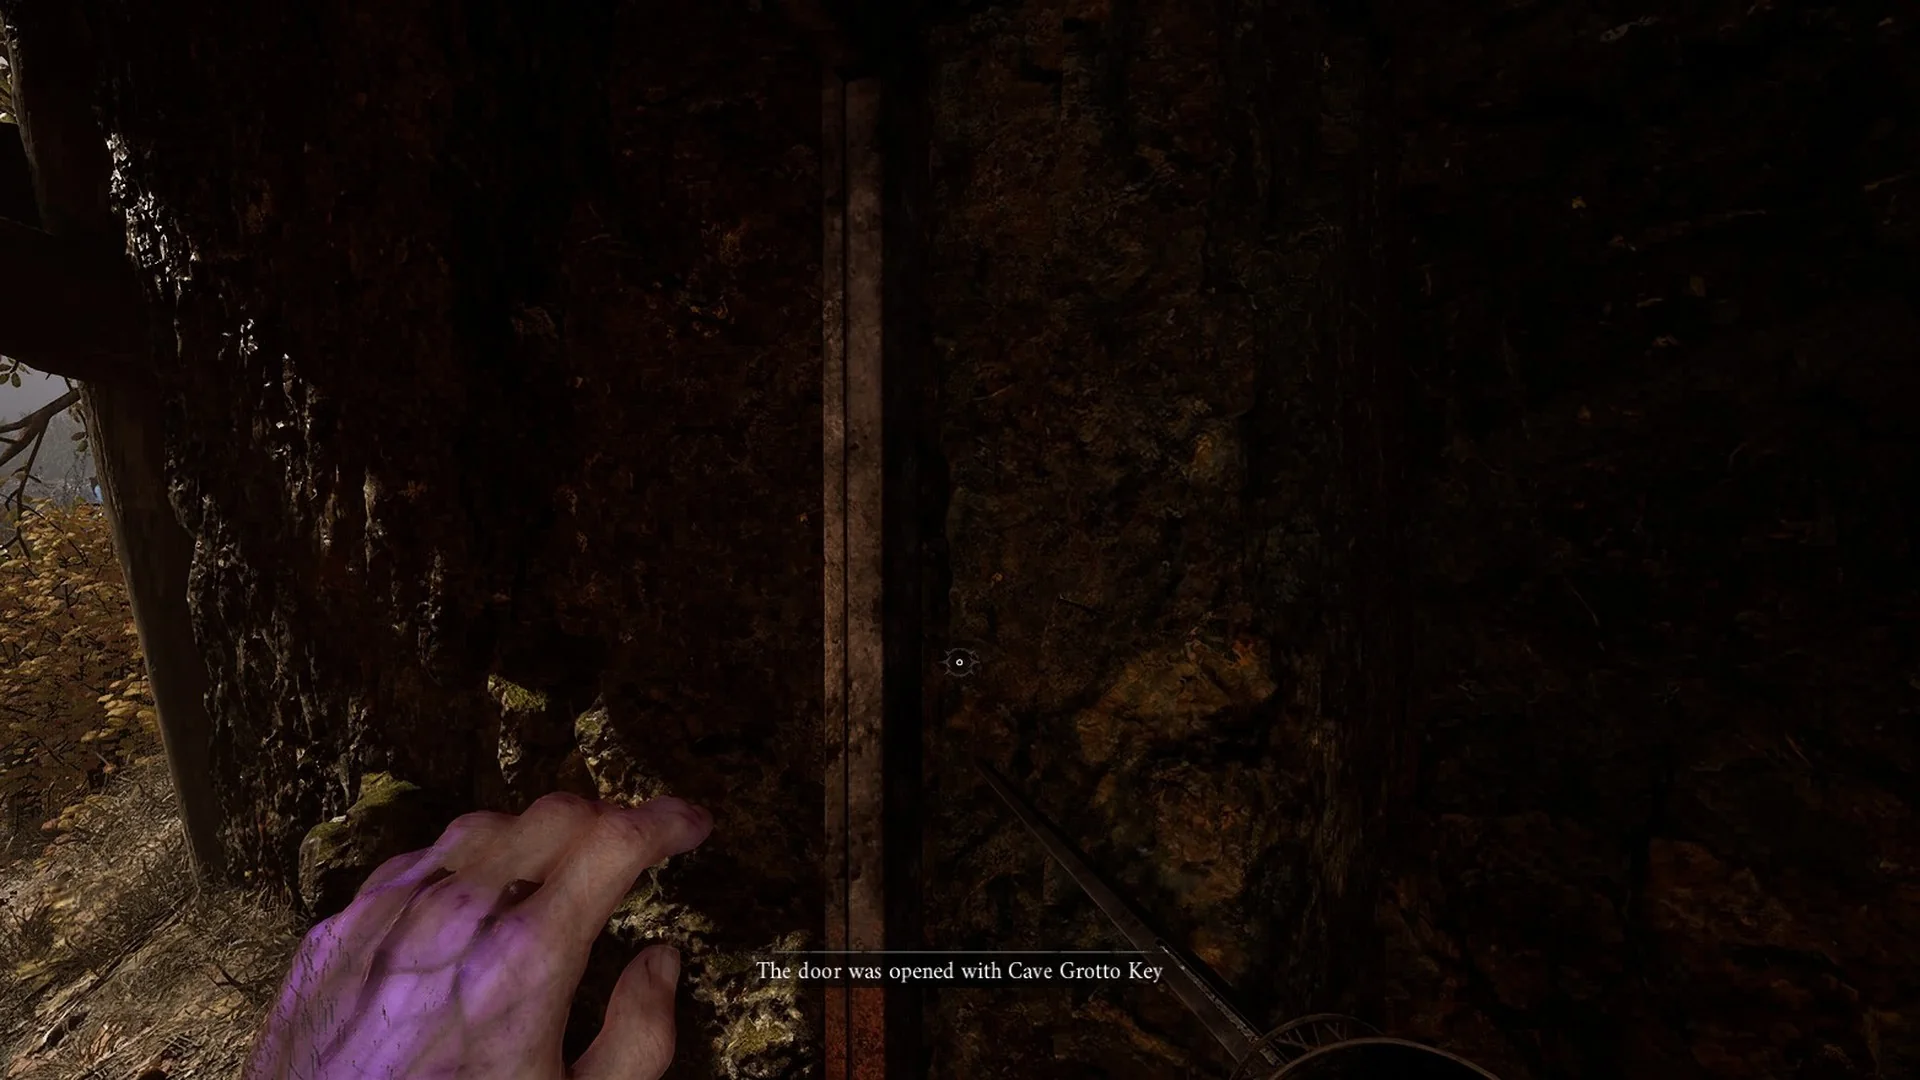
Full route in the Chapter IV walkthrough.
Mining Shaft Key
You pick up the Mining Shaft Key in the Old Mine, on the way down from the Old Mine Lantern toward the Mine Cart Route Lantern. The nearest Lantern is Old Mine. Its text reads: “An old, rusty key leading to the mining shaft.”
It opens the way into the mining shaft, exactly as its text says. Grab it when you see it. It is also covered in the Chapter IV walkthrough linked above.
Chapter V: the Outward Pass Key
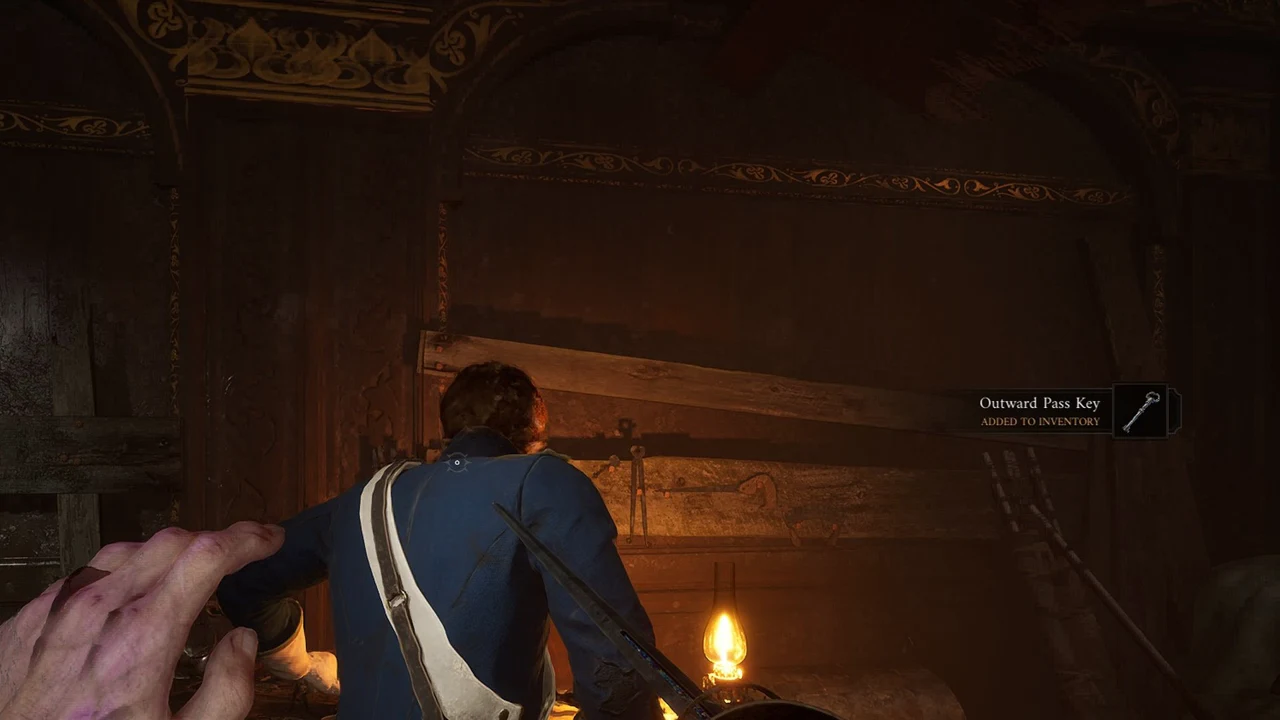
Defeat the Sphinx to complete Chapter IV, then receive the Outward Pass Key from James. Speak with him at that point to begin Chapter V. As he walks back to his bench, the toast “Outward Pass Key / ADDED TO INVENTORY” appears. The description reads: “A battered camp key that unlocks the Outward Pass Gate, opening the path towards the city.”
The Outward Pass Gate is a low iron grille set between two stone pillars, with a lit torch atop the right pillar. Find it along the path to the Cave Grotto Key door, about 15 metres beyond that door. At the lock, choose “[E] INTERACT”; the gate displays “The door was opened with Outward Pass Key”. The Vale of Wrath lies beyond.
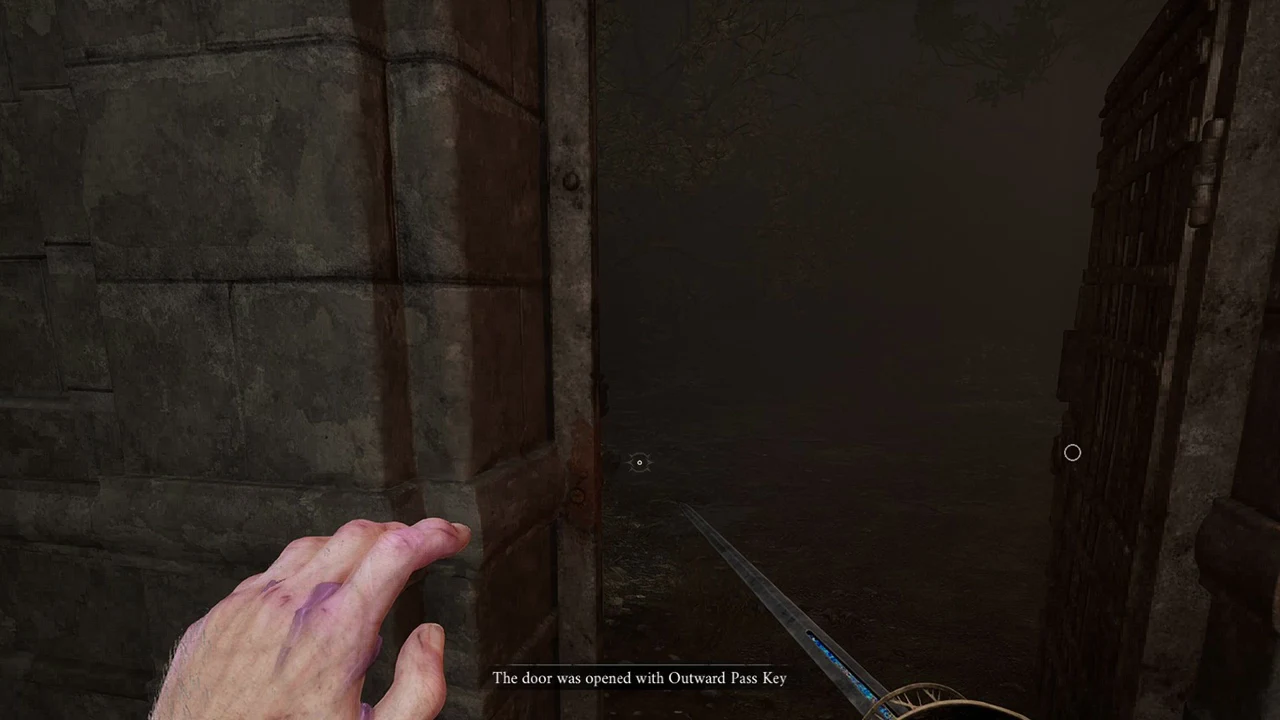
See the complete guide to obtaining the Outward Pass Key.
Chapter VIII: the Sewers keys in the City of Orphans
Sewers Key
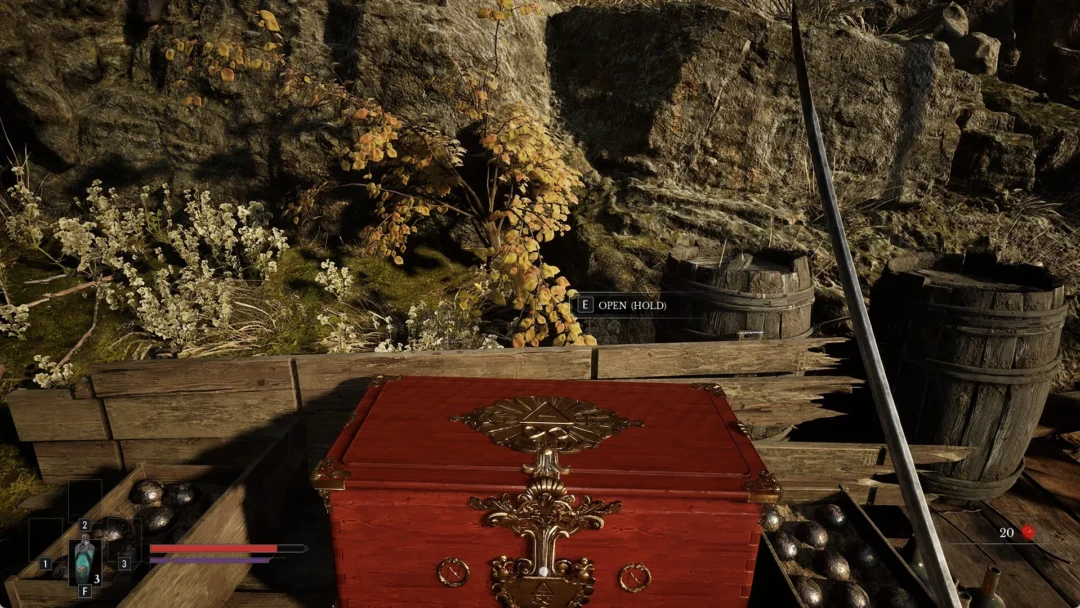
The Sewers Key sits in the sewers under the city, inside a chest guarded by two Risen Grenadiers in a cramped room below a ladder. The Sewers Lantern is the checkpoint for the route, while the map lists Shamble Street as the nearest Lantern to the key itself. Its text reads: “A corroded key that unlocks the sewers, leading into a labyrinth beneath the city’s bones.”
Beyond the Sewers Lantern, the key unlocks the gate beside the first grapple point.
Sewers Master Key
After passing through the gate, take the left route all the way to its end. Pull the platform from the wall across the half-flooded gap to get the Sewers Master Key. Sewers is the nearest Lantern. Its description reads: “A damp, rusted key that unlocks all doors in the sewers.”
It unlocks the last locked sewer passage and routes that provide a quicker return to the city. Details are in the Sewers Key and Sewers Master Key locations.
Chapter X: the Silver Lockpick in Napoleon’s Prison
The Silver Lockpick works as a key. Burn the hanging corpse in your own starting cell with Fire to recover it. Its text reads: “A small, silver lockpick recovered after an impromptu cremation.”
The lockpick grants access to a cell containing an Eternal Catalyst Clot valued at 5,000 Catalysts.
Collect the Clot and open the cell before escaping; you cannot return to the prison afterward. Follow the Napoleon’s Prison escape route.
Keys from later chapters, and other keys
| Key | Region and chapter | The key’s own text |
|---|---|---|
| Wagon Key | Vale of Wrath, Chapter V | “A heavy carriage key to the Eternal Guard wagon.” |
| Beekeeper’s Hut Key | Vale of Wrath, Chapter V | “The beeswax-stained key to the beekeeper’s hut which became a deserter’s hideout.” |
| Basement Key | Vale of Wrath, Chapter V | “A paint-splattered key to the painter’s basement.” |
| Cellar Key | Vale of Wrath, Chapter V | “A rough iron key to the cellar under Mirek’s house.” |
| Deserter’s Stash Key | Vale of Wrath, Chapter V | “A dirty key that unlocks the deserter’s stash.” |
| Lake Cave Chest Key | Vale of Wrath, Chapter V | “A rusty key belonging to the Eternal Guard stationing in Lake Cave.” |
| Headman’s Key | Cursed Hollow, Chapter VI | “An engraved key that unlocks the headman’s house.” |
| Harbour Residence Key | The Outskirts, Chapter VII | “A salt-stained key found in the captain’s quarters in the harbour, where abandoned ships creak against the tides. It might open one of the harbour houses.” |
| Auditorium Key | University, Chapter IX | “A worn brass key that unlocks the abandoned auditorium.” |
| Library Key | University, Chapter IX | “A slender key that unlocks the library, where dust-laden tomes guard knowledge long forgotten.” |
| Lift Shaft Key | University, Chapter IX | “A cold steel key that unlocks the Lift shaft.” |
| Laboratory Key | University, Chapter IX | “This key was given to me by the mysterious Shrike. It has the Eternal Guard emblem on it with medical engravings. Supposedly, it leads to the laboratories below the university.” |
| Louis’s Hideout Key | University, Chapter IX | “The Key to Louis’s hideout.” |
| Armoury Key | Napoleon’s Prison, Chapter X | “A reinforced iron key that unlocks the armoury.” |
| Key to the Chapel | Napoleon’s Prison, Chapter X | “An old ceremonial key that unlocks the sealed chapel and its dark secrets.” |
| Captain’s Key | Fortress, late story | “An ornate naval key that unlocks the captain’s quarters.” |
| Fortress Armory Key | Fortress, late story | “A key leading to the armory hidden in the Fortress.” |
| Mice’s Key | Entropy, final area | “A small key unlocking a safe shortcut through the nightmare realm.” |
| Abandoned House Key | Fallen Village, Chapter III | “A weathered key that unlocks the abandoned house on the hill.” |
Some of these keys are dropped by elite enemies that drop keys, and the map marks where the picked-up ones lie.
Where each key is on the map
The interactive map’s keys page groups all Valor Mortis key pickups by region and shows the nearest Lantern for each: 19 locations across 10 regions. Keys handed to you in conversation by James or other characters are not marked on the map.