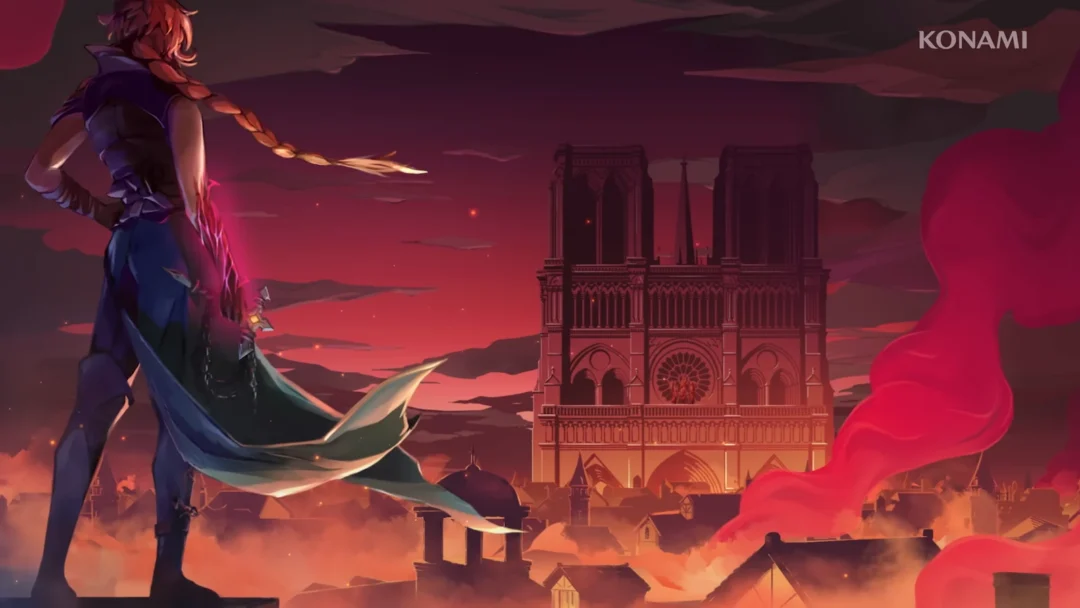
With the first Death fight behind you, the banner switches to “Reach Dracula’s Castle” and the map marks it as your target. The road there runs out of the Catacombs ruins, across the water to Paris, through the Justice District, over two bridges, and finally down into the castle to the chained mirror in the Mirror Rooms. This covers that path, not a rundown of every pickup or secret along the way.
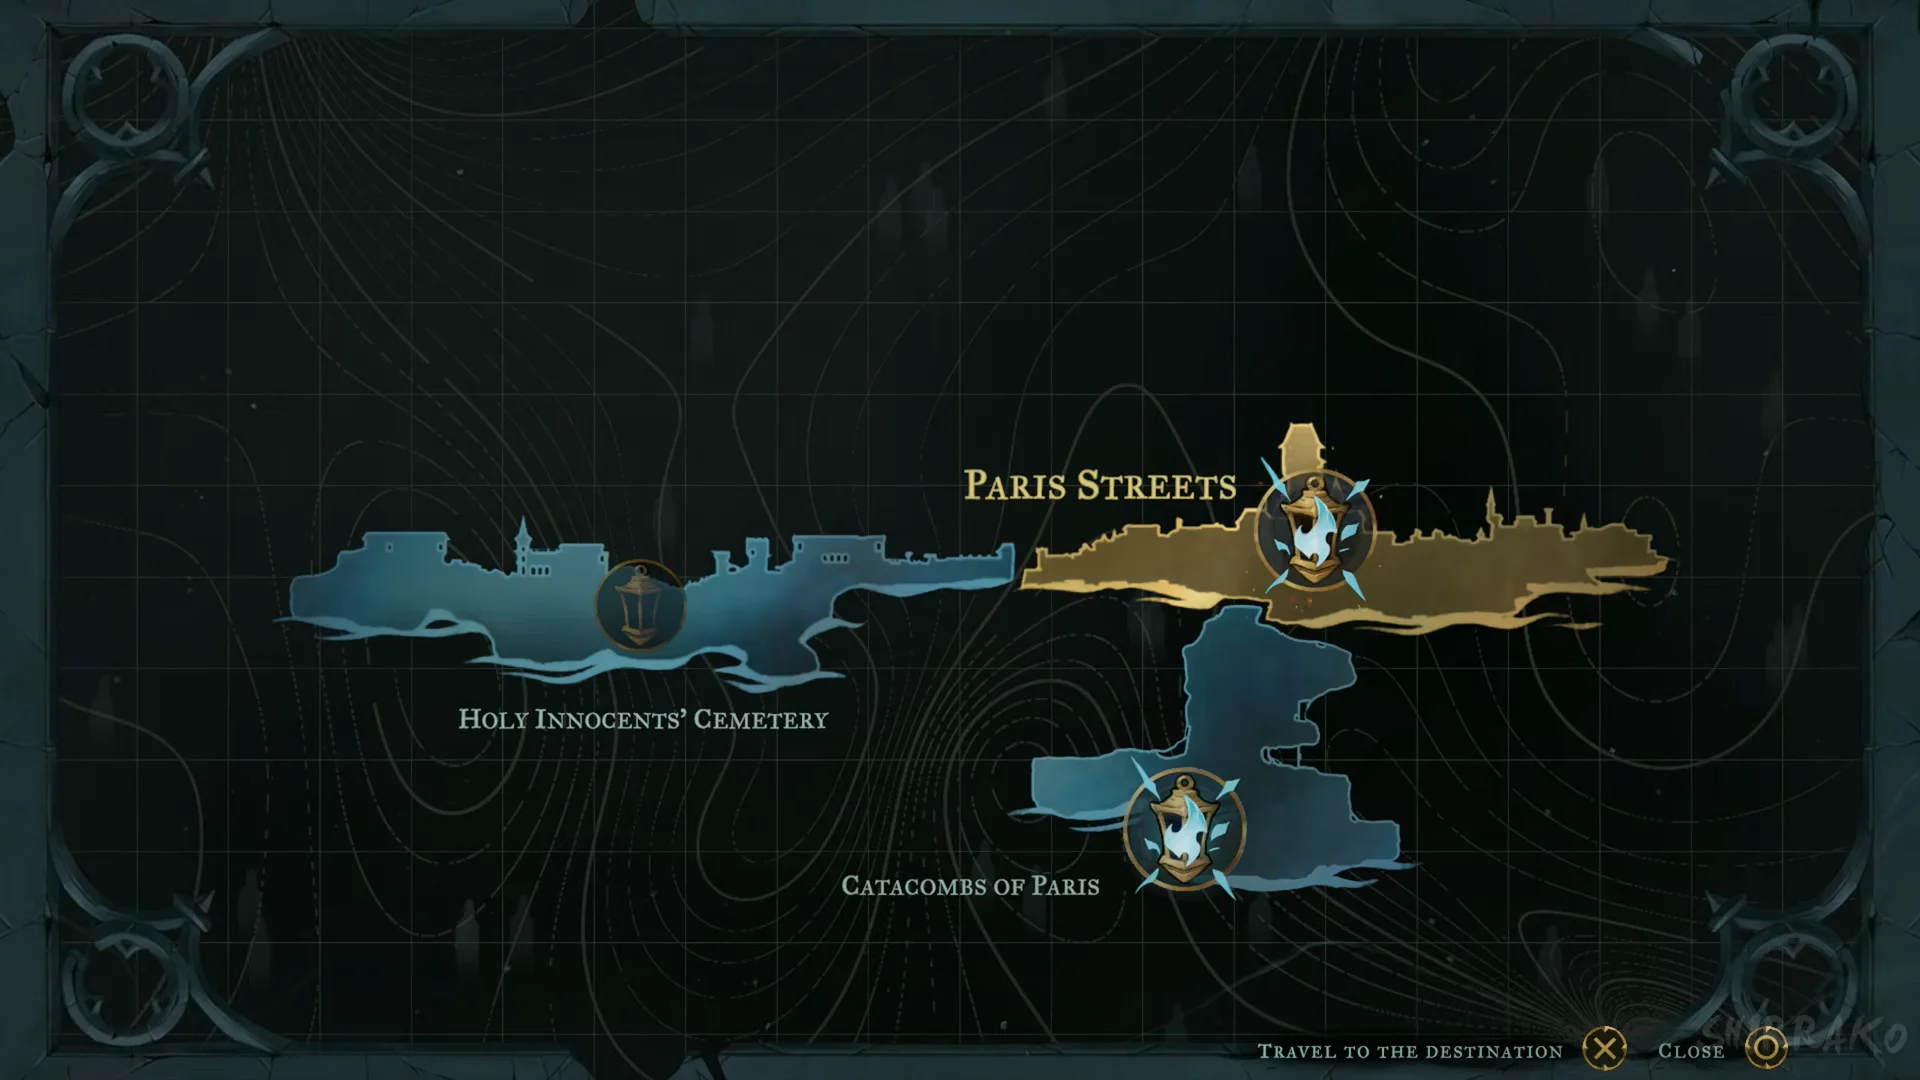
Quick answer: At the Ferryman’s boat, press R1 and choose Paris Streets. Make your way through the Justice District and over the Notre-Dame Bridge, defeat the Isaac illusion, then descend through the castle to the Mirror Rooms.
From Ferryman’s Wharf to Paris Streets
Through the Justice District to the Docks
You arrive from the dock into the Justice District Sewers. The area banners come in a set order, so use them to check you are on track.
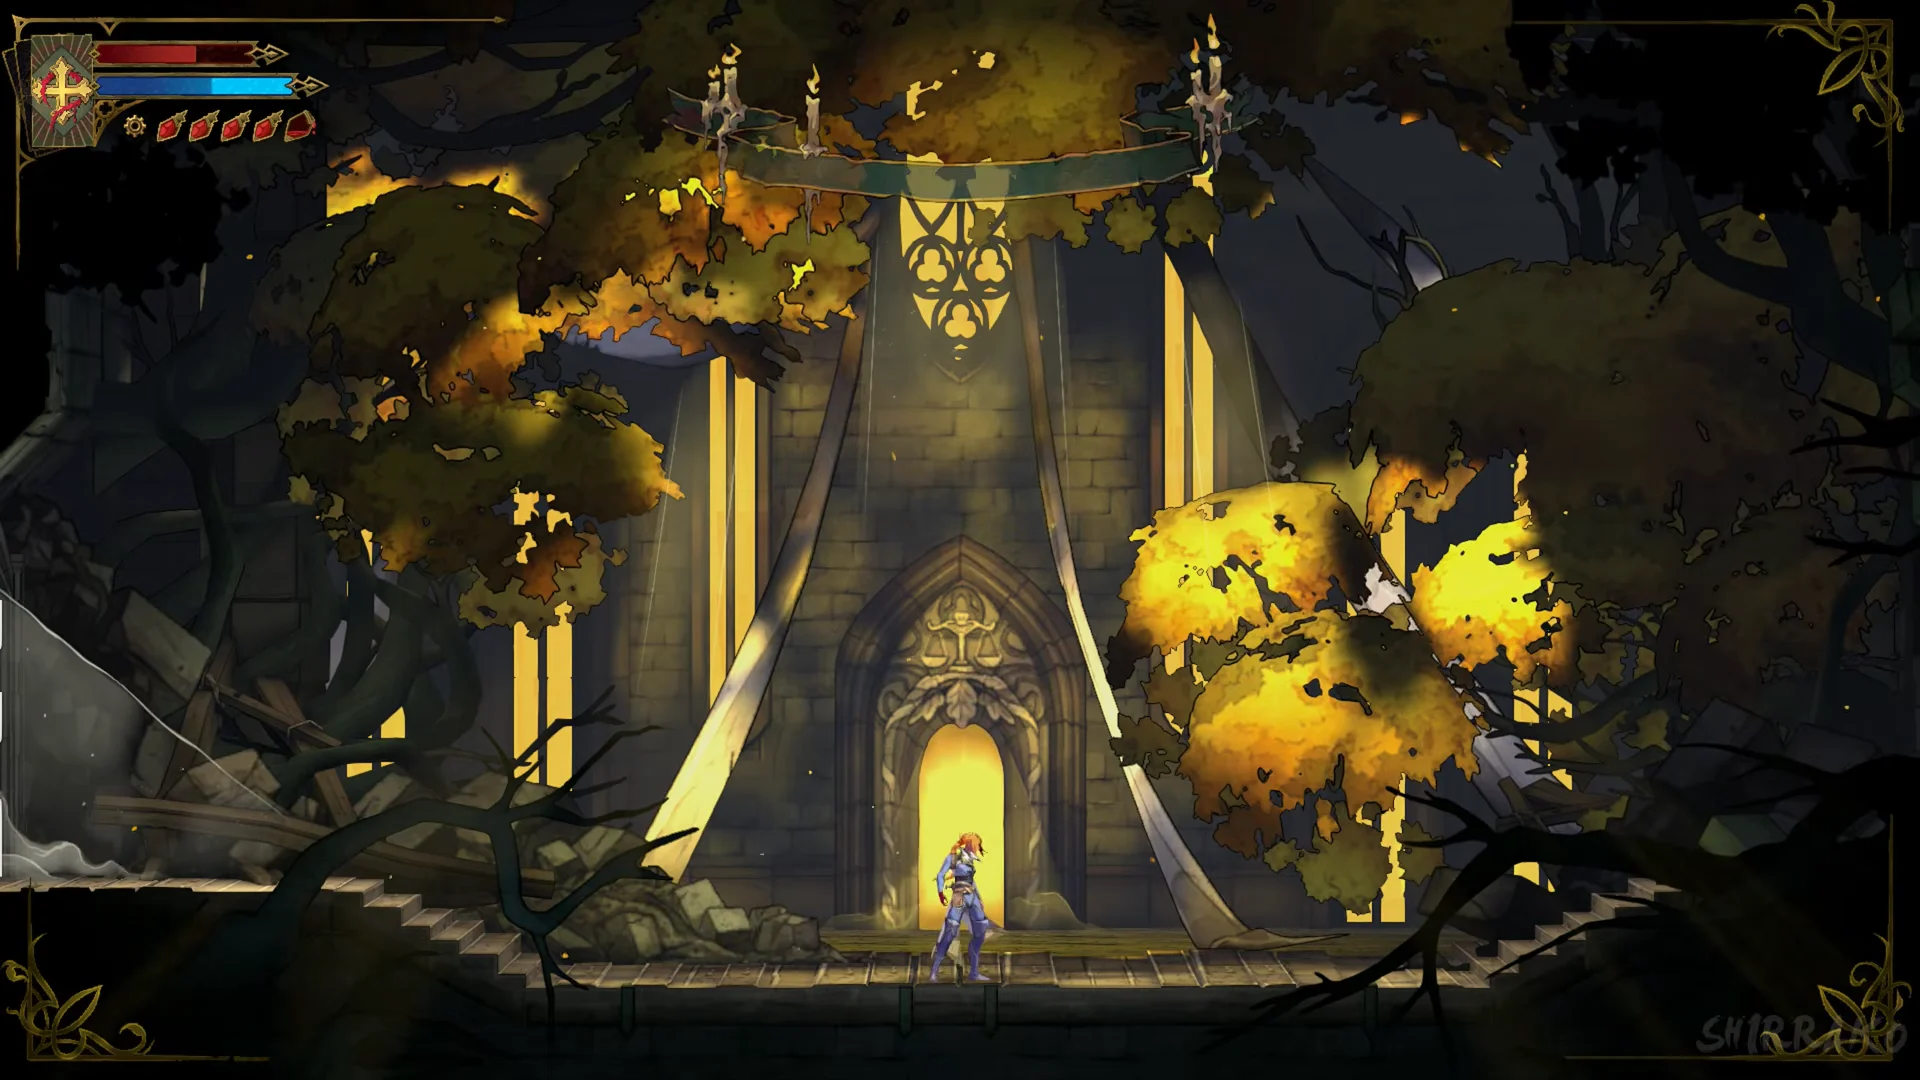
A side room off the Court of Justice hallway is the Bishop’s Office; you can read the papers on the table and those in the adjoining room. Continue to the Docks, then descend toward the lower entrance that leads back to the Justice District Sewers. Navigate the spinning spiked wheels and rings to reach a lever; a chest sits on an upper ledge and contains a weapon.
| Pickup | Details | Where |
|---|---|---|
| Bastard Sword | Refined, ATK 50 | Docks, chest on an upper ledge |
For its special move and the rest of the arsenal, see the weapon locations guide.
Gate to the Stone Bridge and the Notre-Dame Bridge
Use R1 on the mirror at the Gate to the Stone Bridge to refresh the map, then press R1 at the large iron gate to open it. Bats fly off as Dracula’s castle appears in view. Leon speaks with you at the overlook.
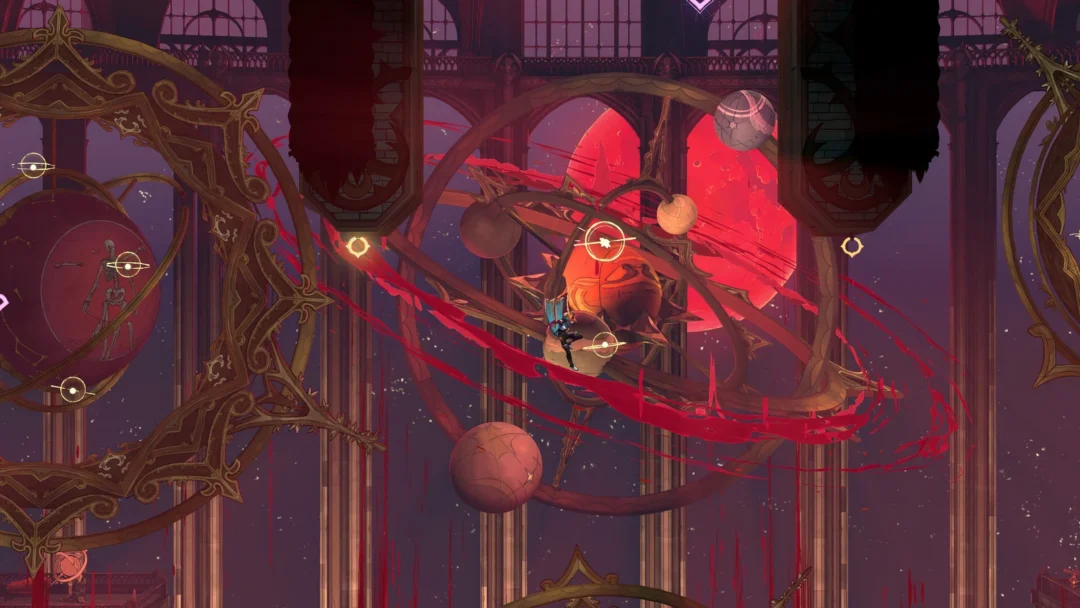
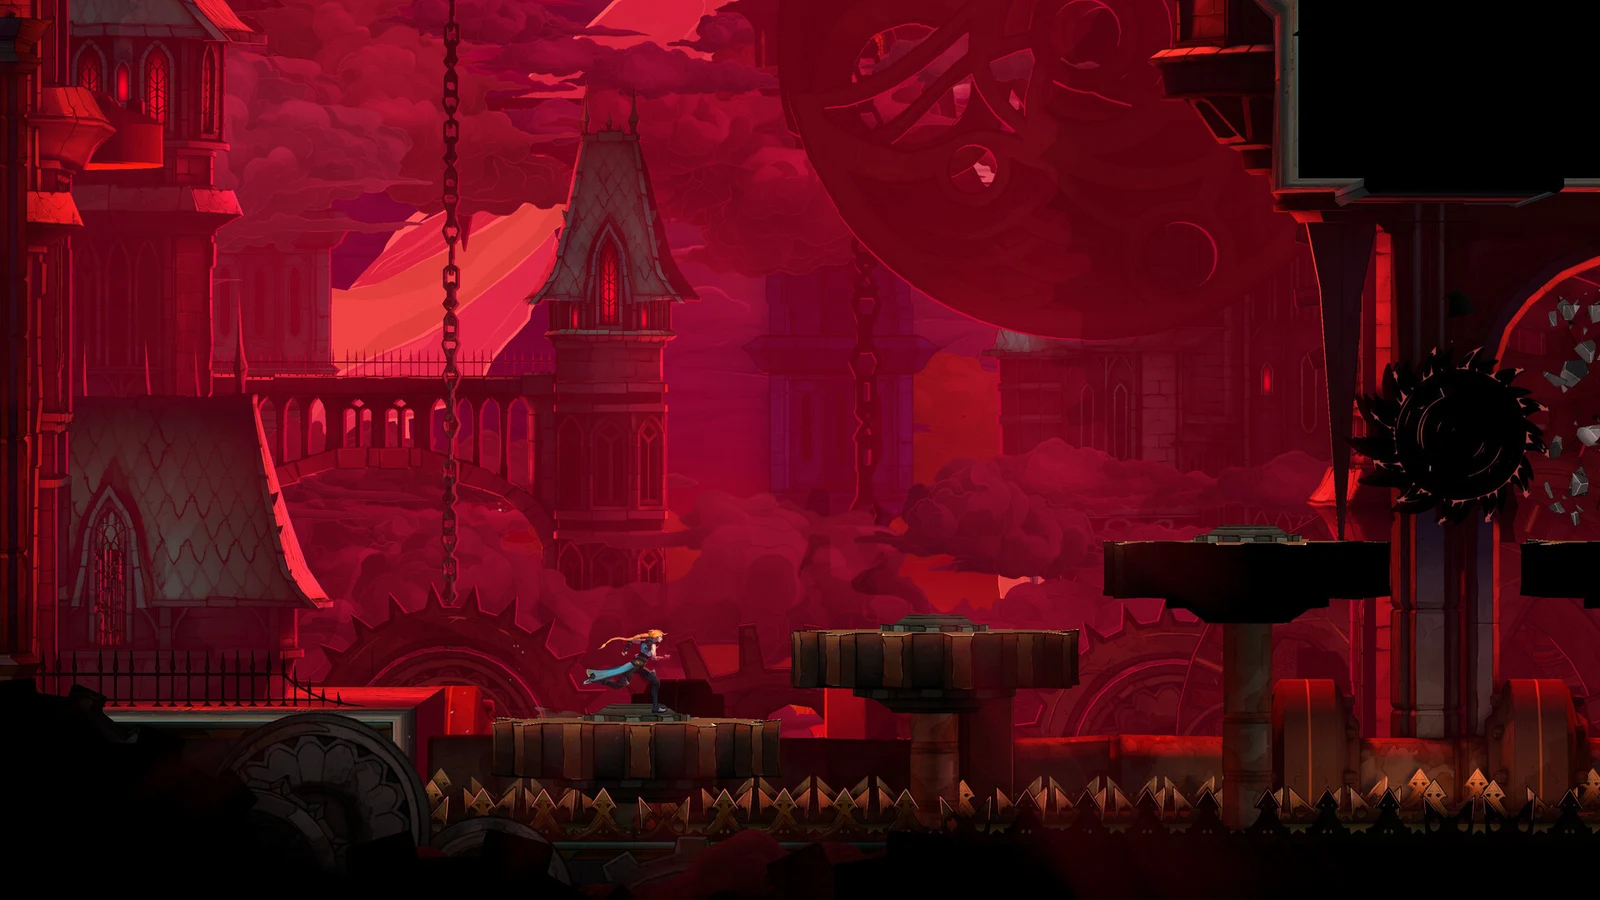
Beneath a red sky, the Notre-Dame Bridge extends ahead. Use the whip rings to move between the ruined piers; a fall into the water returns you to a nearby ledge. Activate the wooden gatehouse lever (R1) to handle part of the crossing. On the far deck, defeat the armoured guards and flying enemies; your health is restored when the last one falls. Sprint right through the archway to trigger a cutscene with Carmilla and Isaac.
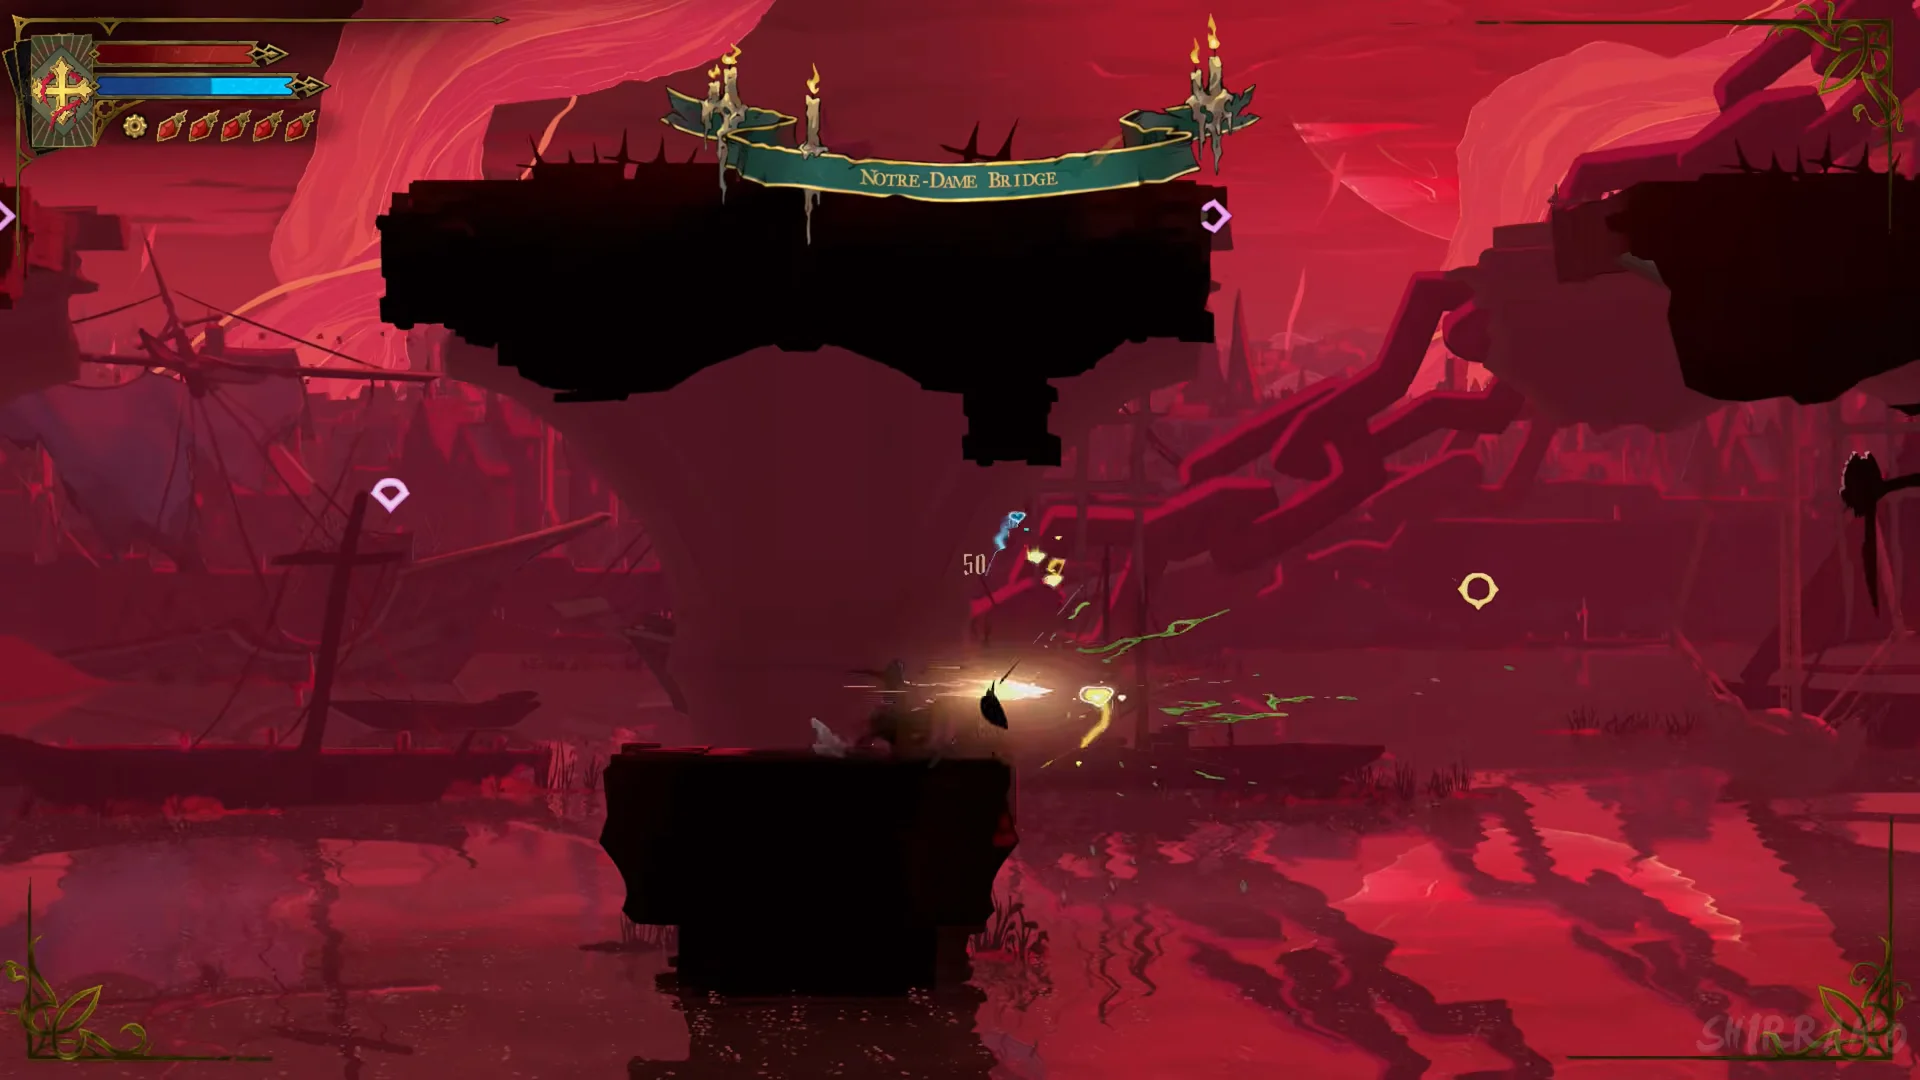
The fight begins with one red bar named “ISAAC”. For the full breakdown of this encounter and the later one, see the Isaac boss guide.
After he falls, a cutscene exposes him as an illusion. The bridge gives way, but Leon catches Rose. Run right over the remaining structure and enter the castle through the front doorway.
Inside the castle to the Mirror Rooms
Beyond the Inner Courtyard, the Entrance Corridor banner appears, and spirits address you from portraits. A “New Objective” banner sets your task to “Find Dracula and defeat him”. Follow the red-carpet hallway, grapple up to the upper stairway, and press R1 at the mirror shrine at the top to refresh the map. Press R1 to operate a wall gear. Mermen attack in the chamber below, where a hooded Seer Statue delivers a rhyme. Grapple to a chandelier ring, climb to the upper balcony, and smash the wooden barrier.
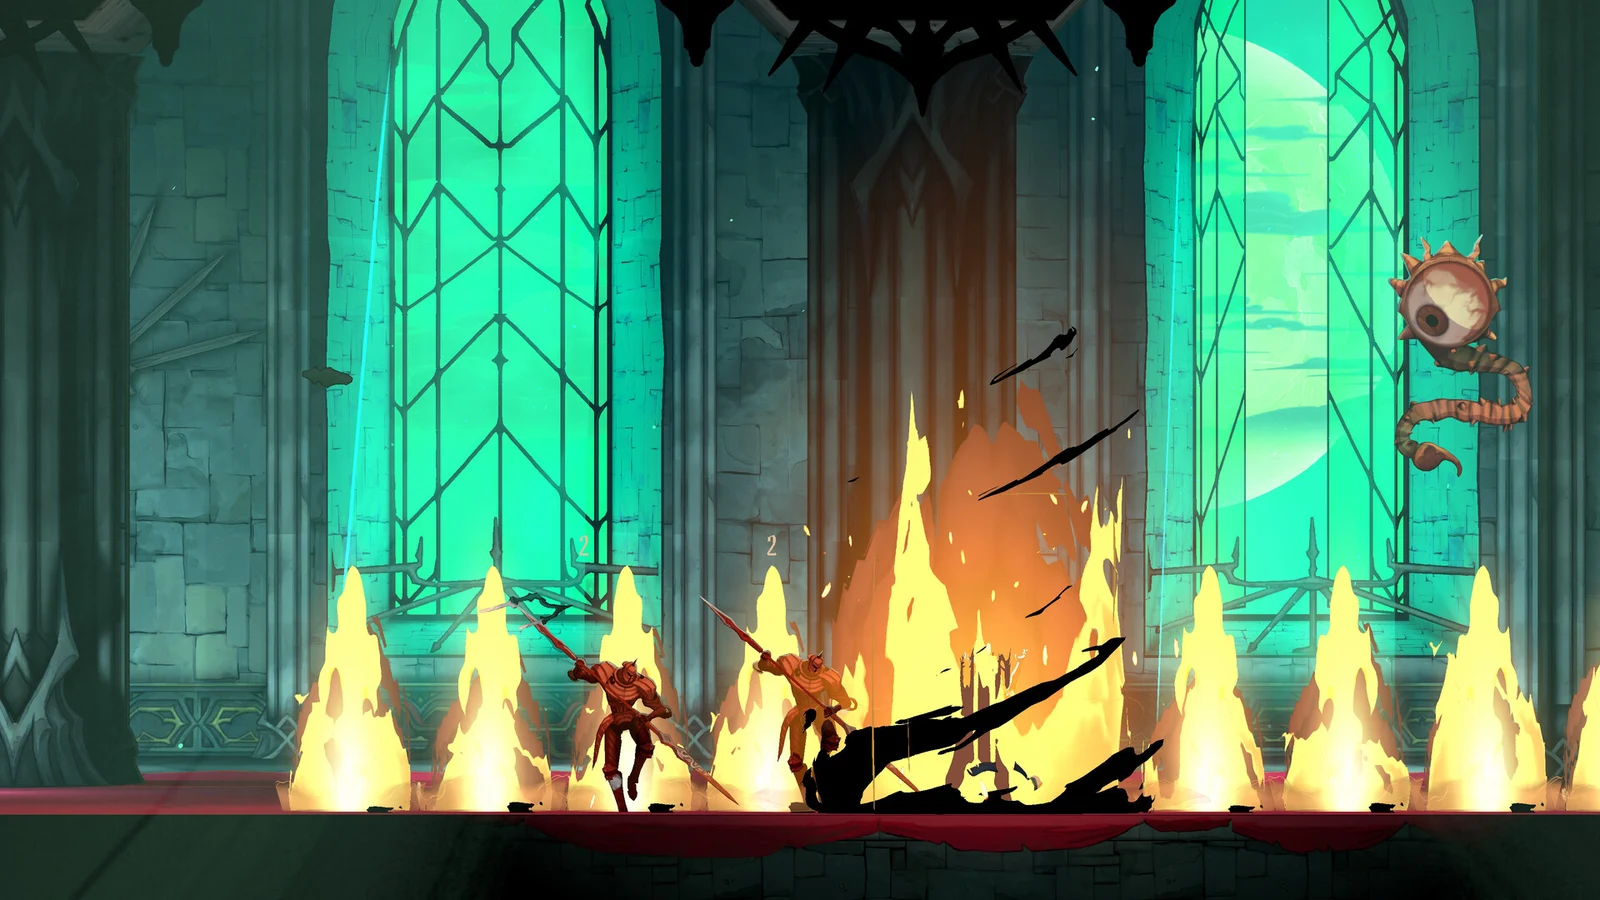
Under green stained glass, the Grand Hall forms a stairway. Next, the Abandoned Workshop contains a drafting room, blueprints attached to its back wall, and another hooded Seer Statue; the statue offers a clue about The Builder. Smash the dragon skull pillar to reveal the upper room and its chest, which contains a relic.
| Pickup | Type | Where |
|---|---|---|
| Ghostly Pendant | Relic | Abandoned Workshop, upper-room chest |
For where the rest of the relics sit and what they do, see the relics guide.
Floating swords and a red-armoured knight occupy the Boudoirs. Use R1 on the red door to enter the Waterworks, where a hooded statue with a mirror refreshes the map; another Waterworks banner appears on your return. In the Forgotten Basement, grapple rings hang above spinning buzzsaws, and a blue wall mechanism operated with R1 repositions the platforms. Return to the Grand Hall, hit the large gear, then press R1 to open the floor and access a lower hall. Deeper in the Forgotten Basement, a locked chamber triggers an arena fight.
The Mirror Rooms
The map now displays “Main Hall / Mirror Rooms”. Queen Eleanor is inside a large, freestanding mirror suspended by glowing chains. Interact with her to hear her speak; at this stage, the chains cannot be opened, and this is the end of the route.
Walkthrough series: Previous: Part 3: Joan of Arc to Death | Next: Part 5: Library and Clock Tower to Talos