If the Fell Thunderbrute kills you in Enshrouded, you don’t return to your base. You respawn at the Return Beacon on the Elixir Well’s upper level, while the boss remains below. Once you know which wall to climb, reaching the bottom takes little time.
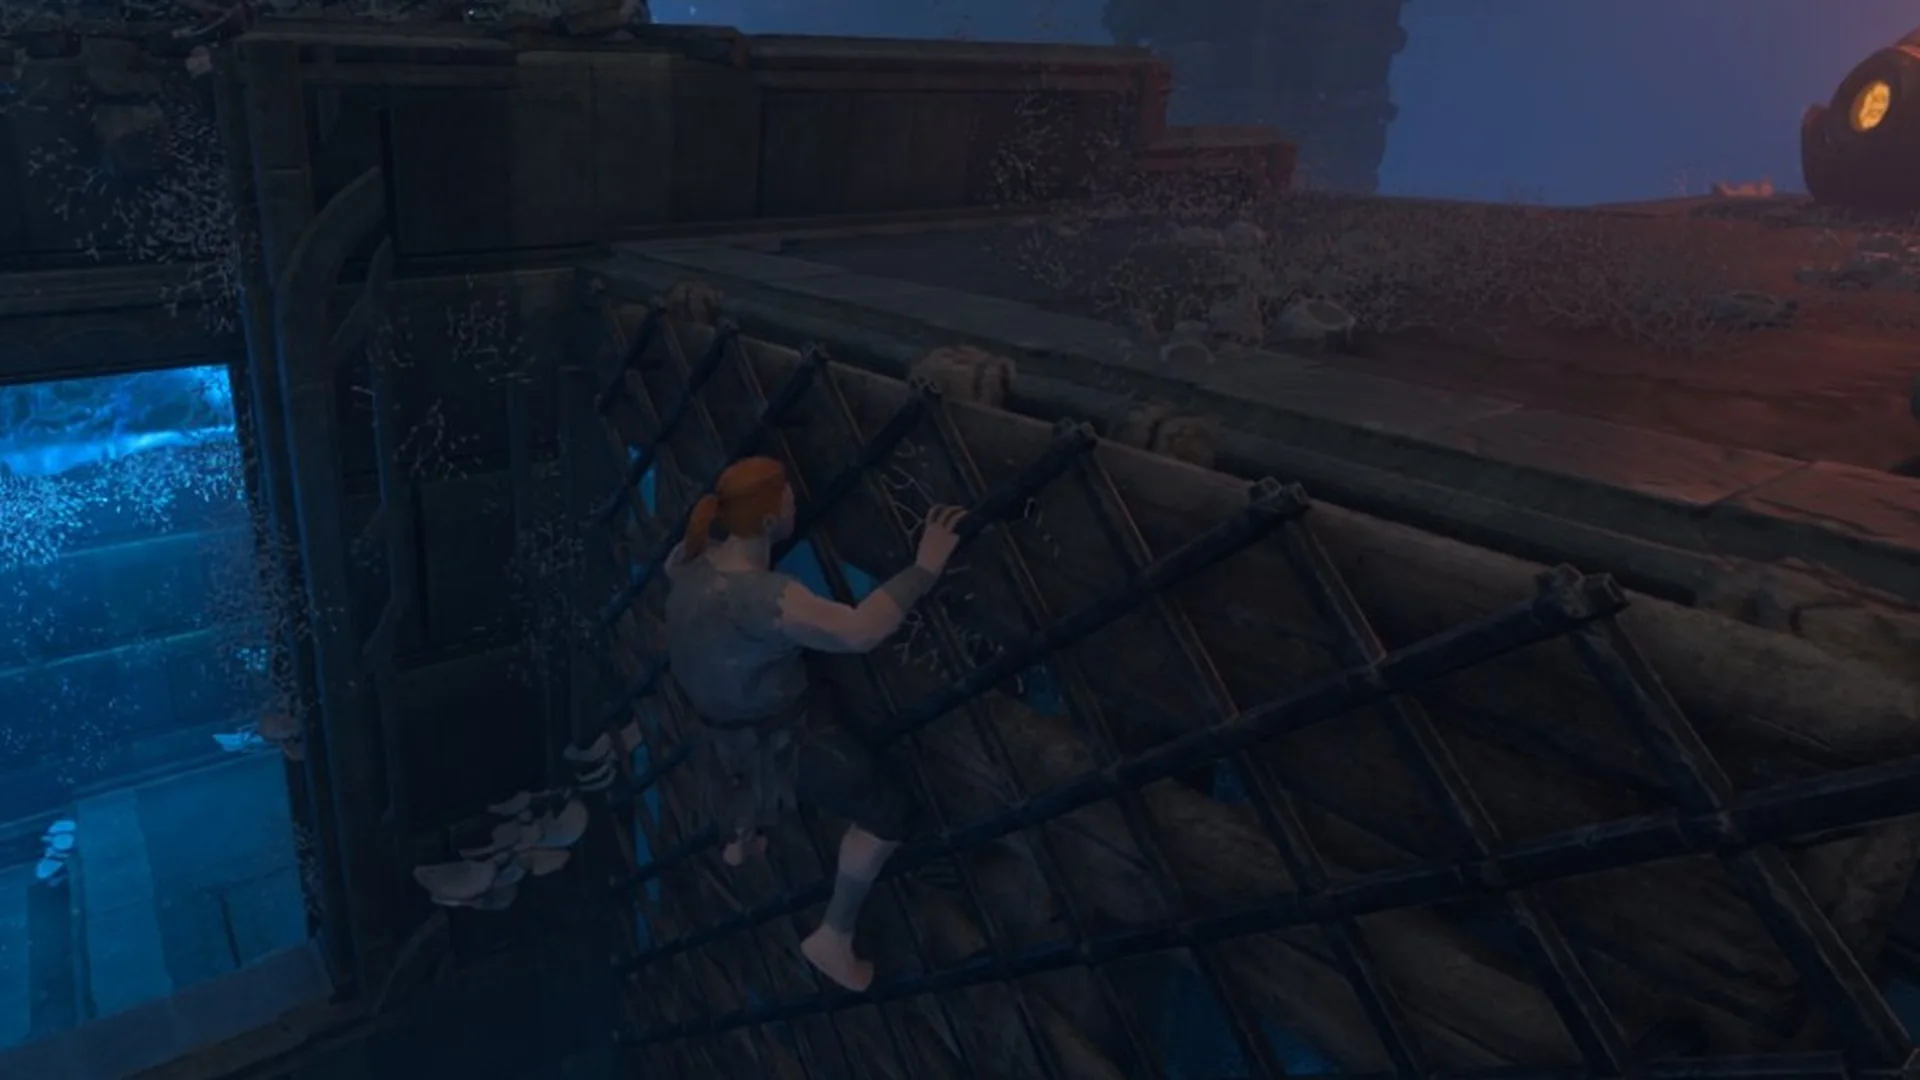
Quick answer: From the Return Beacon, climb down the grate on the east edge of its platform. Work down the wooden platforms to the lowest ledge, jump, and press Space to glide down to the boss floor.
To reach the well for the first time and open the chest at the top, follow the full Clear The Elixir Well walkthrough.
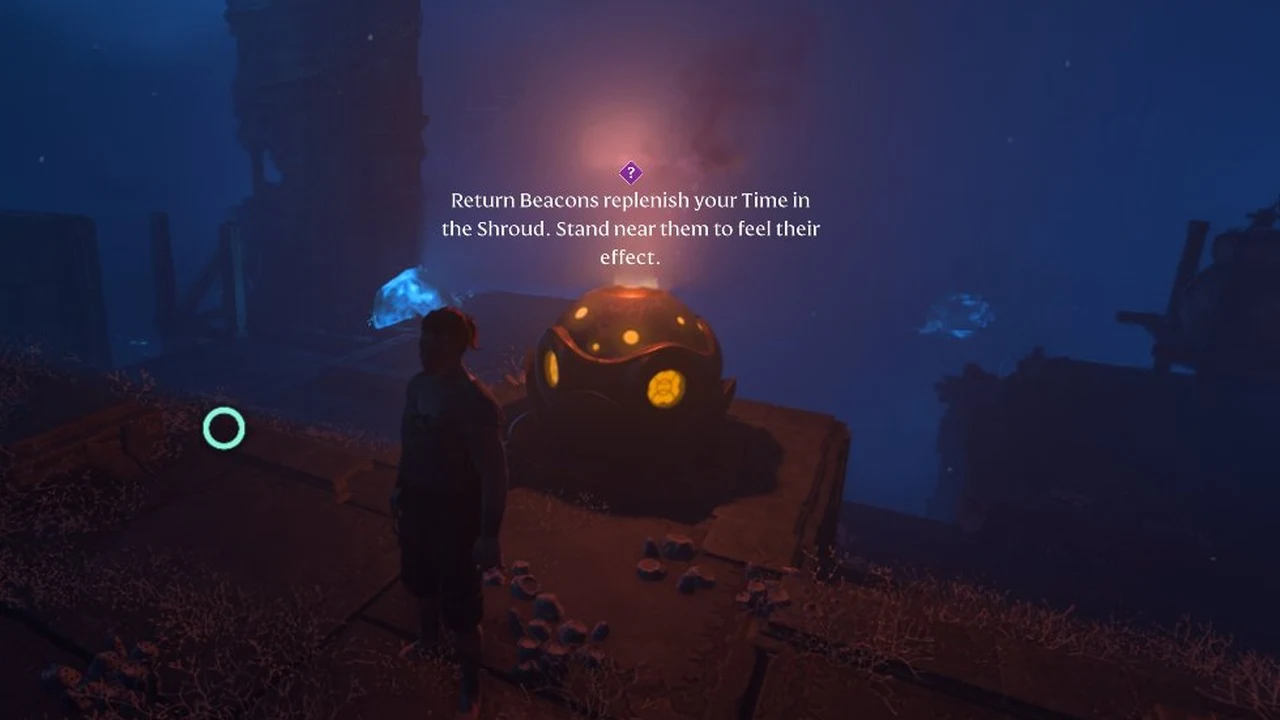
Return Beacon in the Elixir Well: Where you respawn
The Return Beacon is a round, glowing beacon set on a stone block on the top level of the well. Each death inside the well puts you back next to it. When you stand beside it, the game shows a tutorial line:
“Return Beacons replenish your Time in the Shroud. Stand near them to feel their effect.”
For how the timer itself works, see how the Shroud timer works and how to extend it. Bring a sword for the fight, a felling axe for the Shroud Root, and your Glider for the drops inside the well.
Route from the Return Beacon to the Fell Thunderbrute
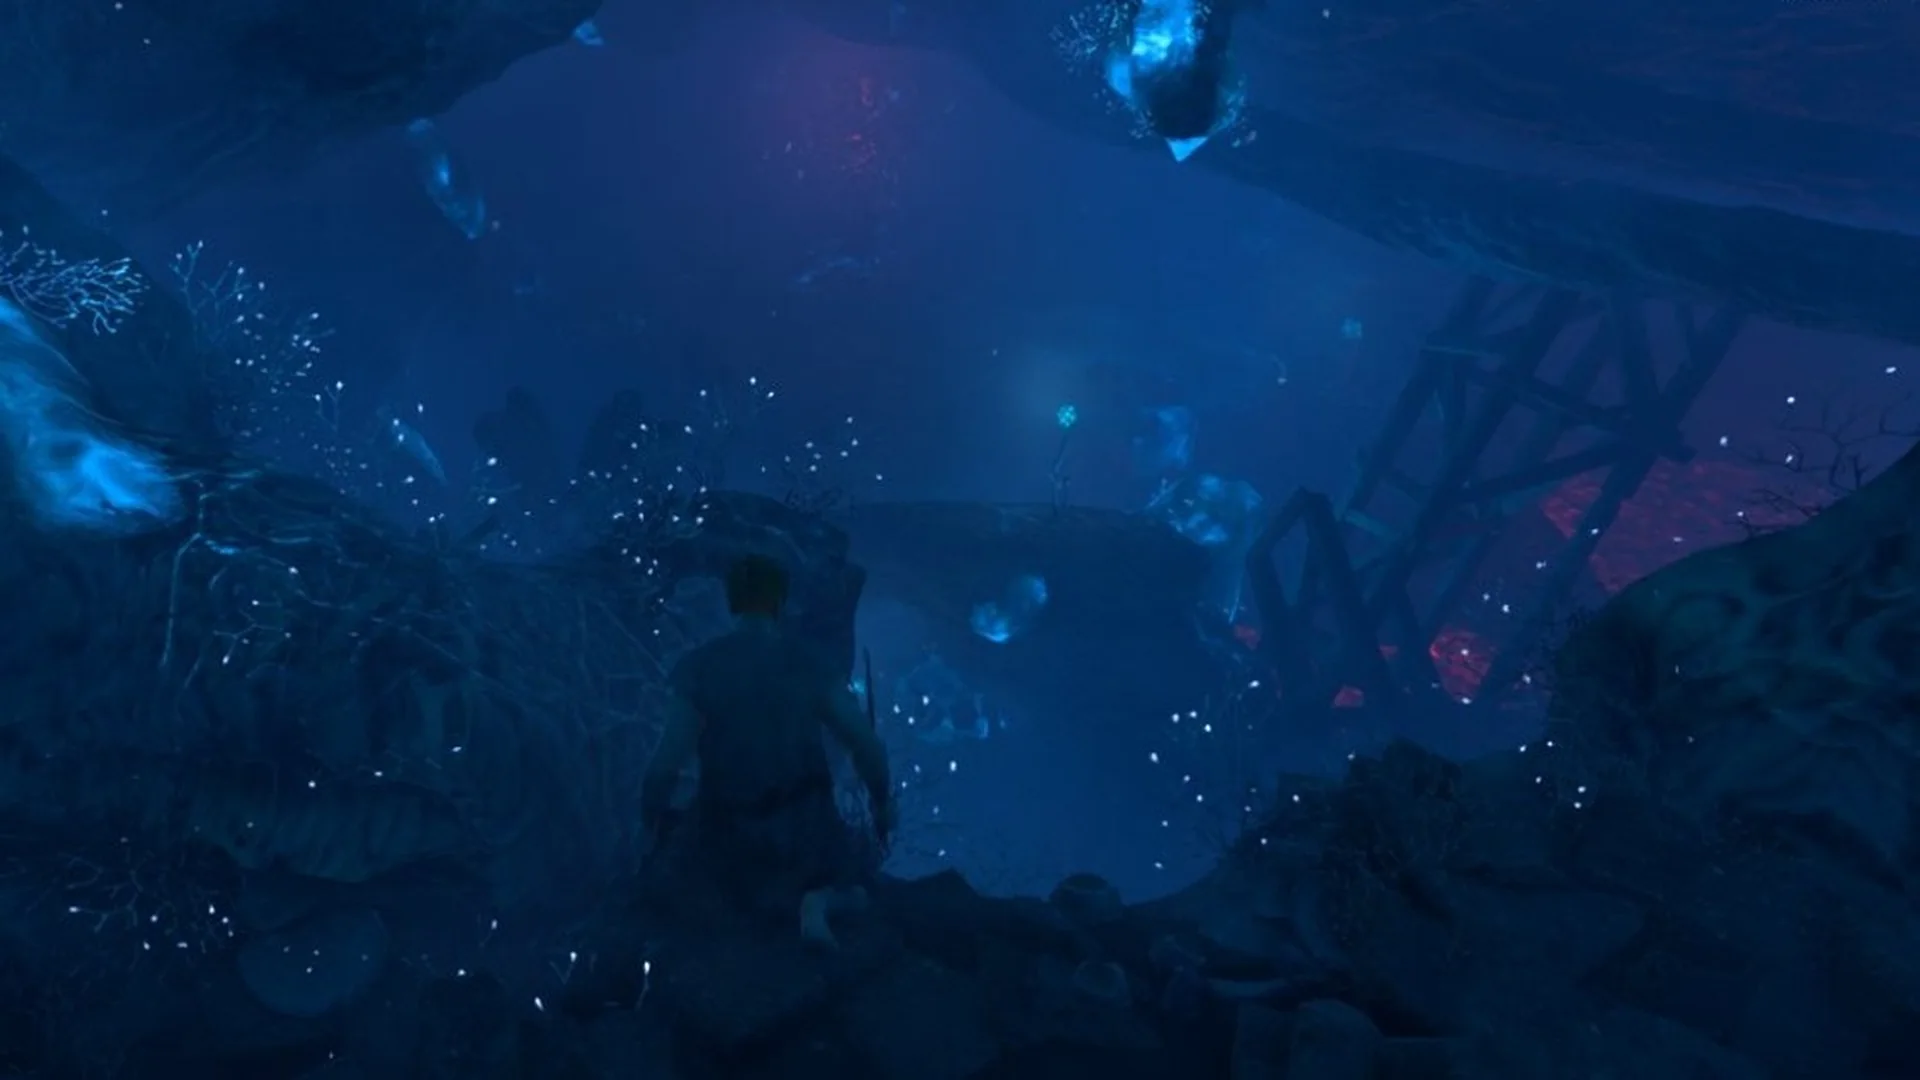
You know you are in the right place when the “FELL THUNDERBRUTE” health bar appears at the top of the screen as you land. The cavern floor is the boss arena.
Fell Thunderbrute attacks and how to fight it
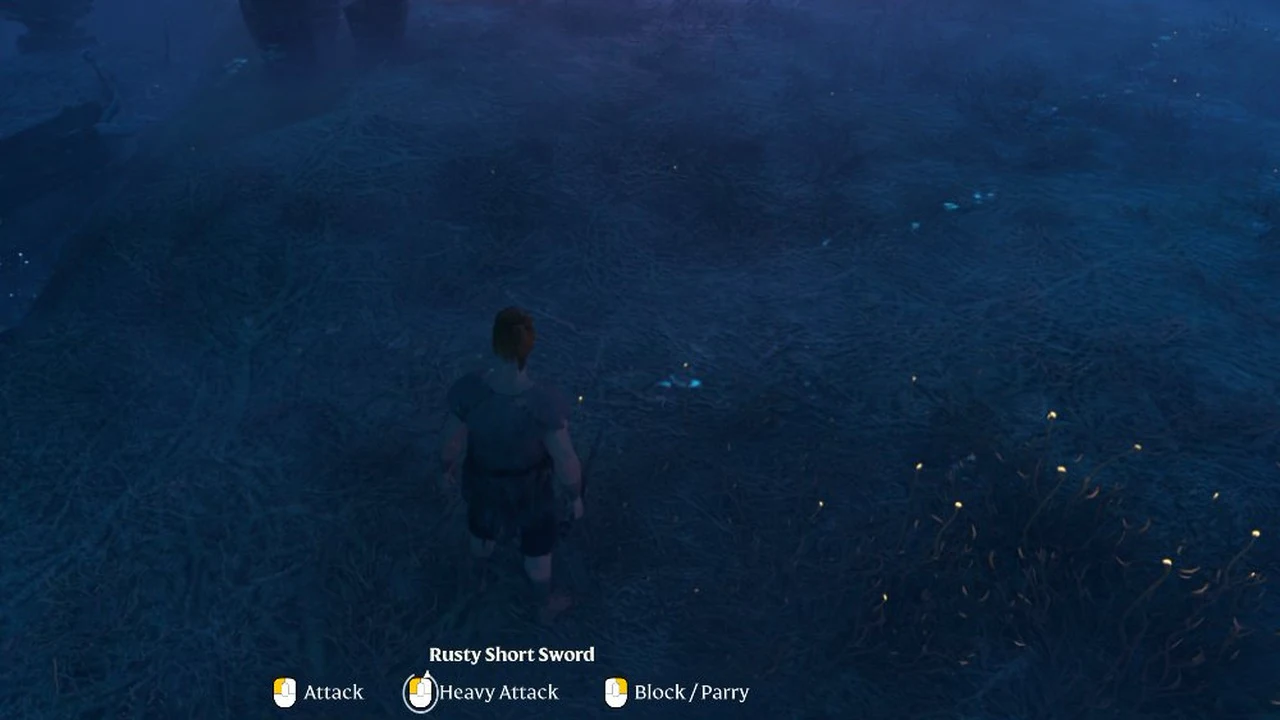
The Fell Thunderbrute, a large Fell brute, waits on the cavern floor beside the Shroud Root. Be ready for the boss’s attacks.
- It springs upward, then slams into the ground, releasing a blue blast. If the blast catches you, you receive the “Stunned” debuff, shown among your statuses on the left.
- Wide cleaves when you are at close range.
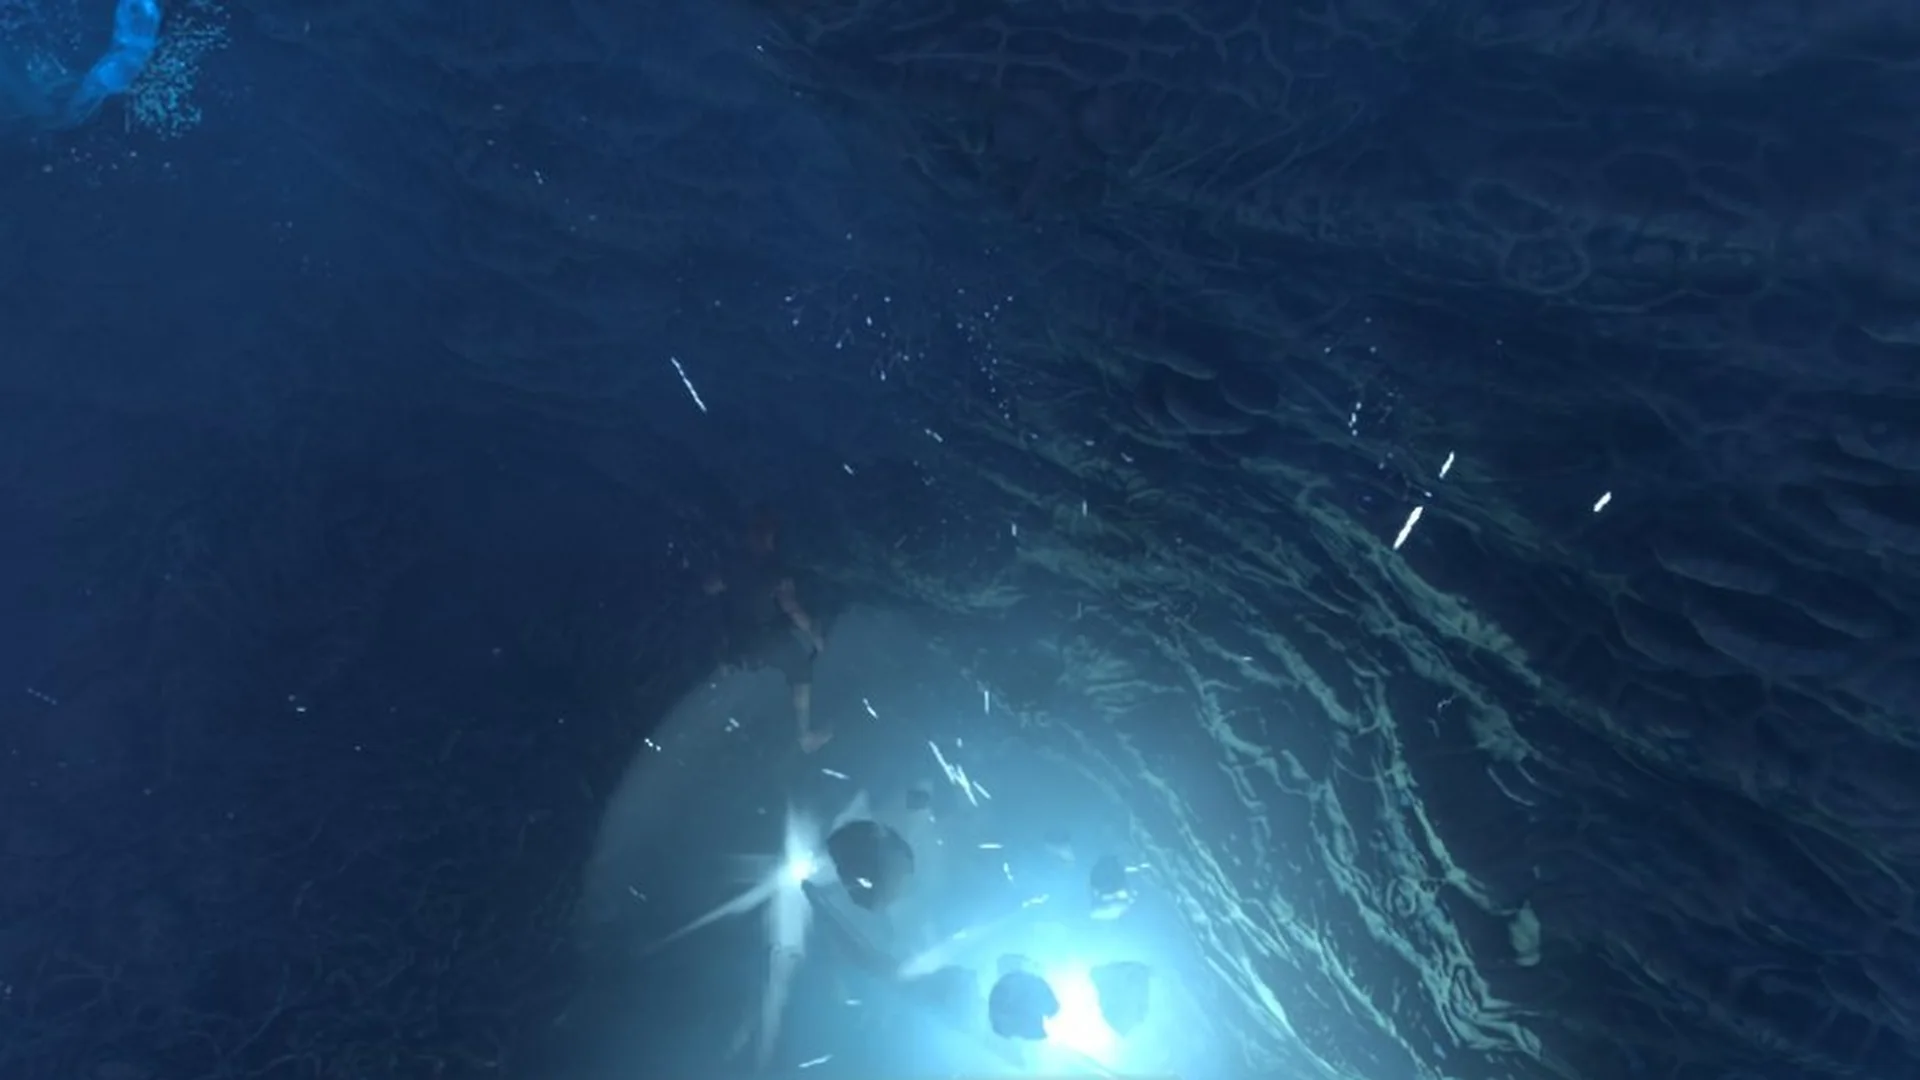
Press Tab to lock on, then keep attacking with your sword. Stay close and at the boss’s elevation. If it climbs onto the raised root mound while you are below, your strikes will not connect.
The boss’s health bar resets to full when you die. It also disappears and comes back full if you drift too far away mid-fight, so keep your distance short.
When the boss dies, the game shows “QUEST UPDATED – Clear The Elixir Well” and the quest step changes to “Destroy The Shroud Root”. On Steam, the achievement “Thundering success – Defeat the guardian of the first elixir well” unlocks at the same time.
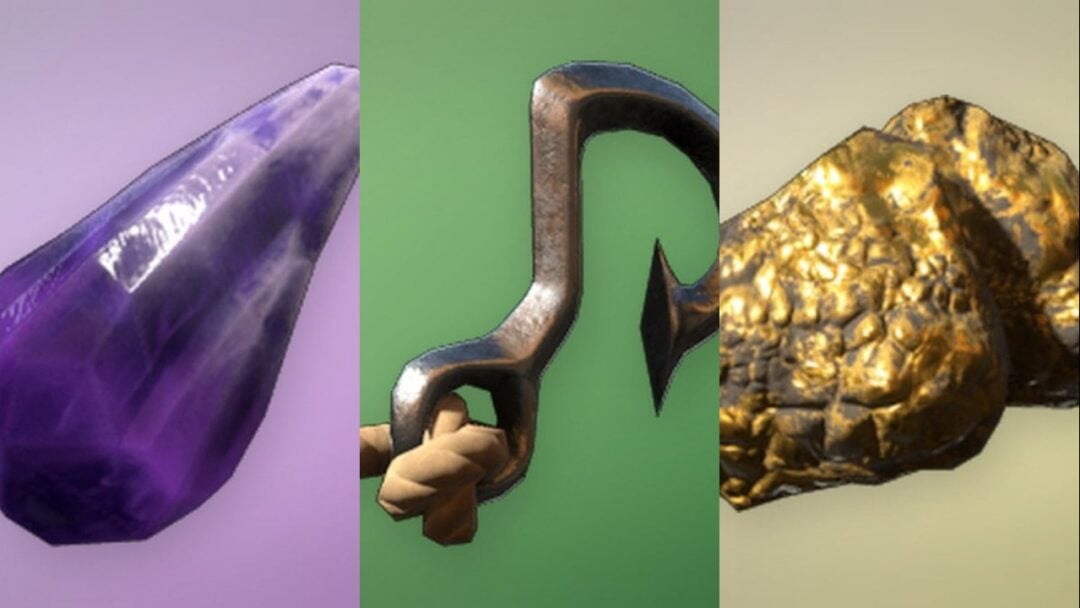
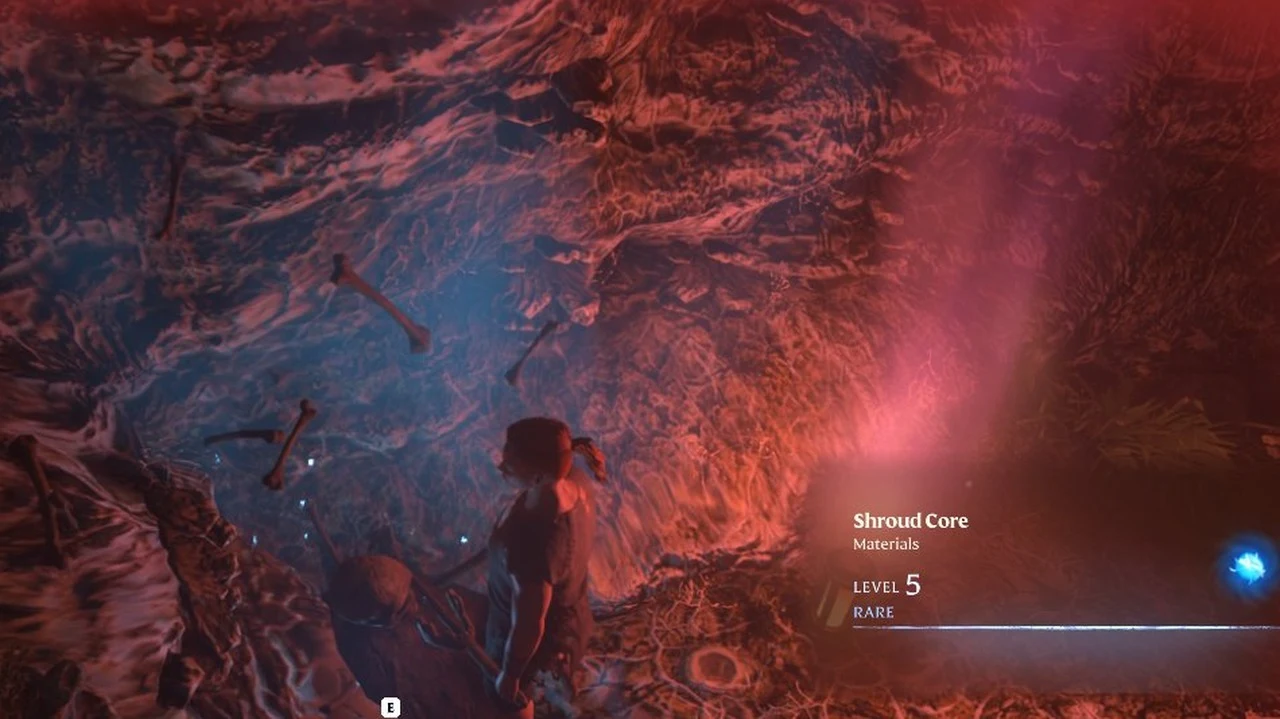
Press E on the body to loot it. The window includes a Shroud Core (Materials, Level 5, Rare), a Fell Thunderbrute Head and a Tainted Axe. Press F to take everything.
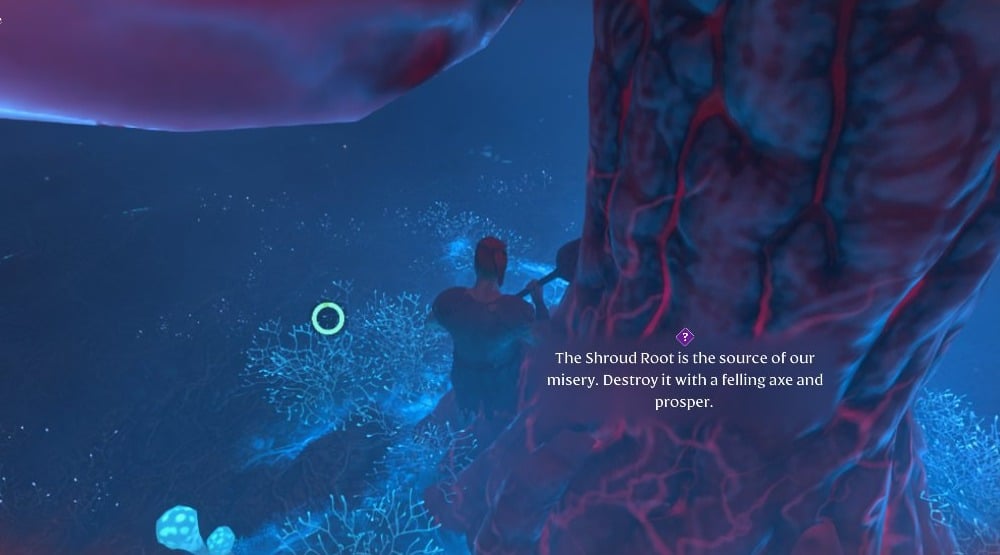
Destroy the Shroud Root to clear the Elixir Well
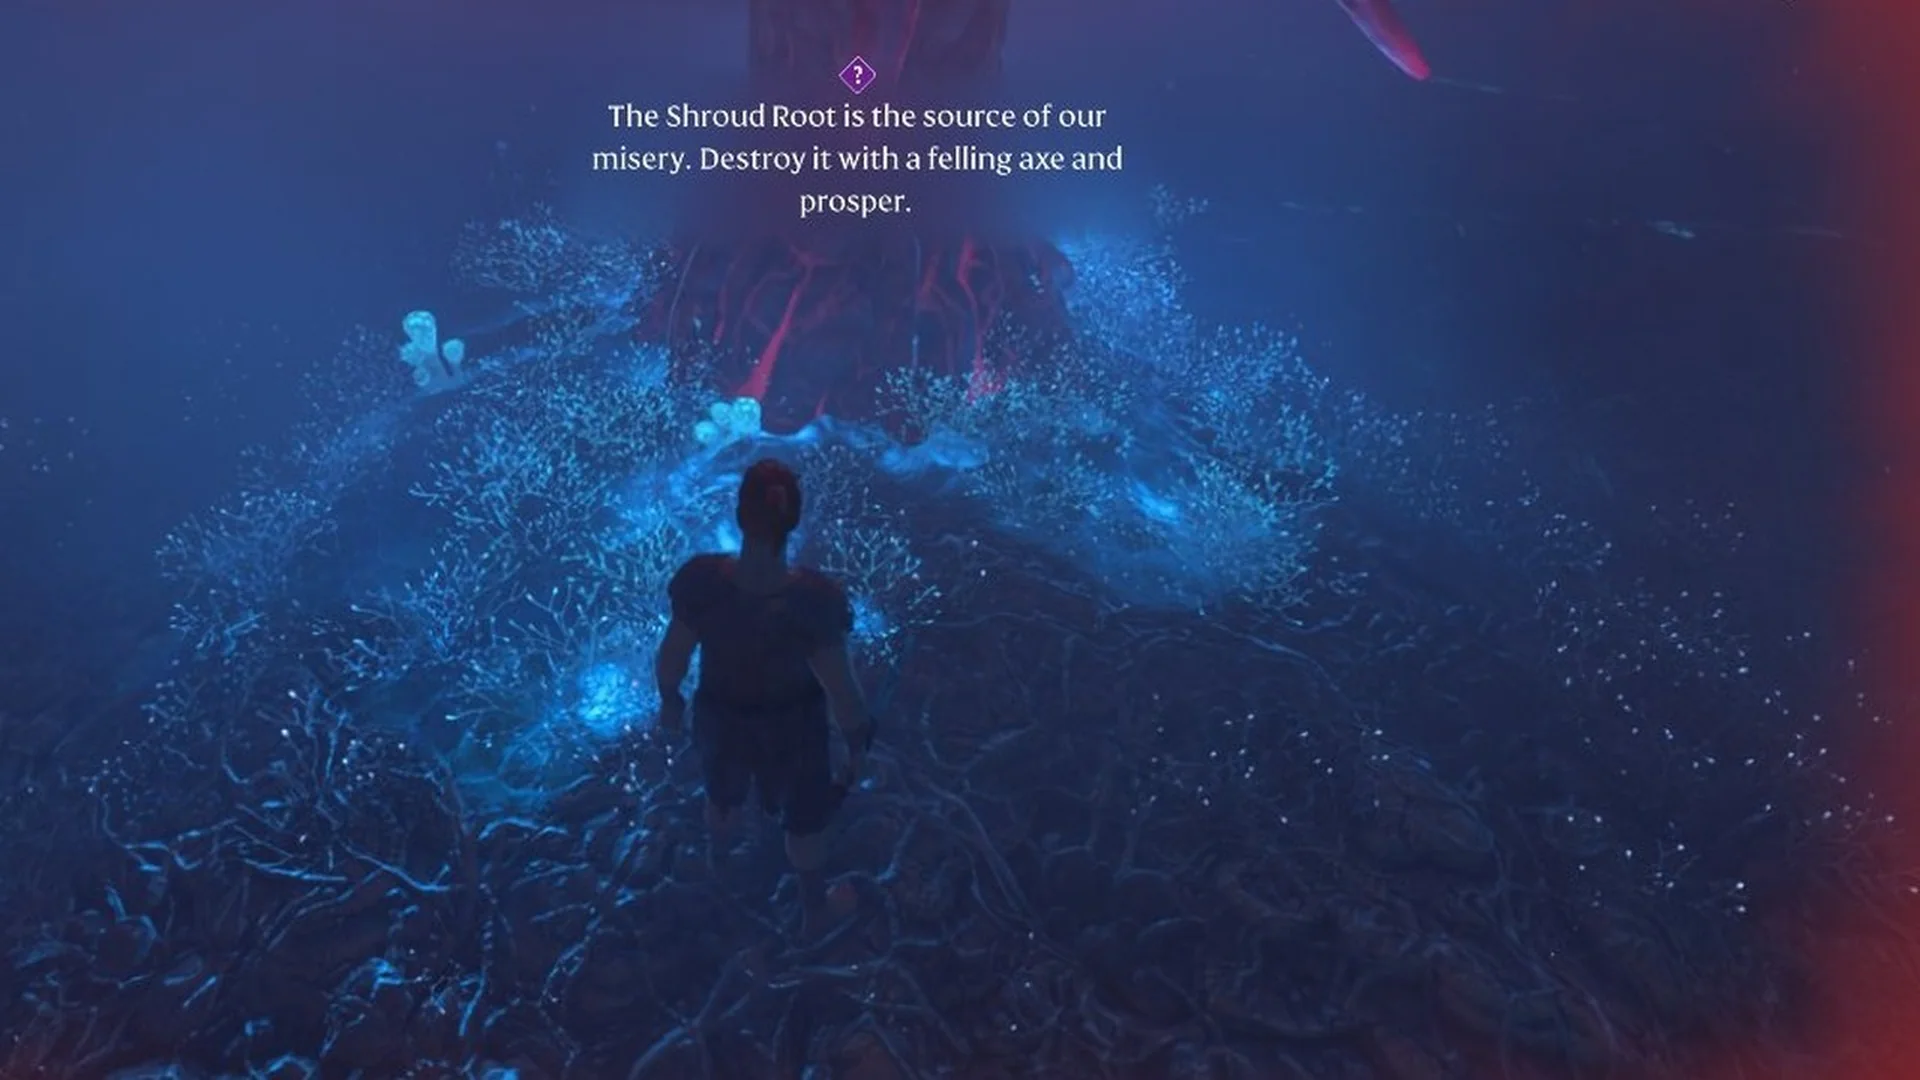
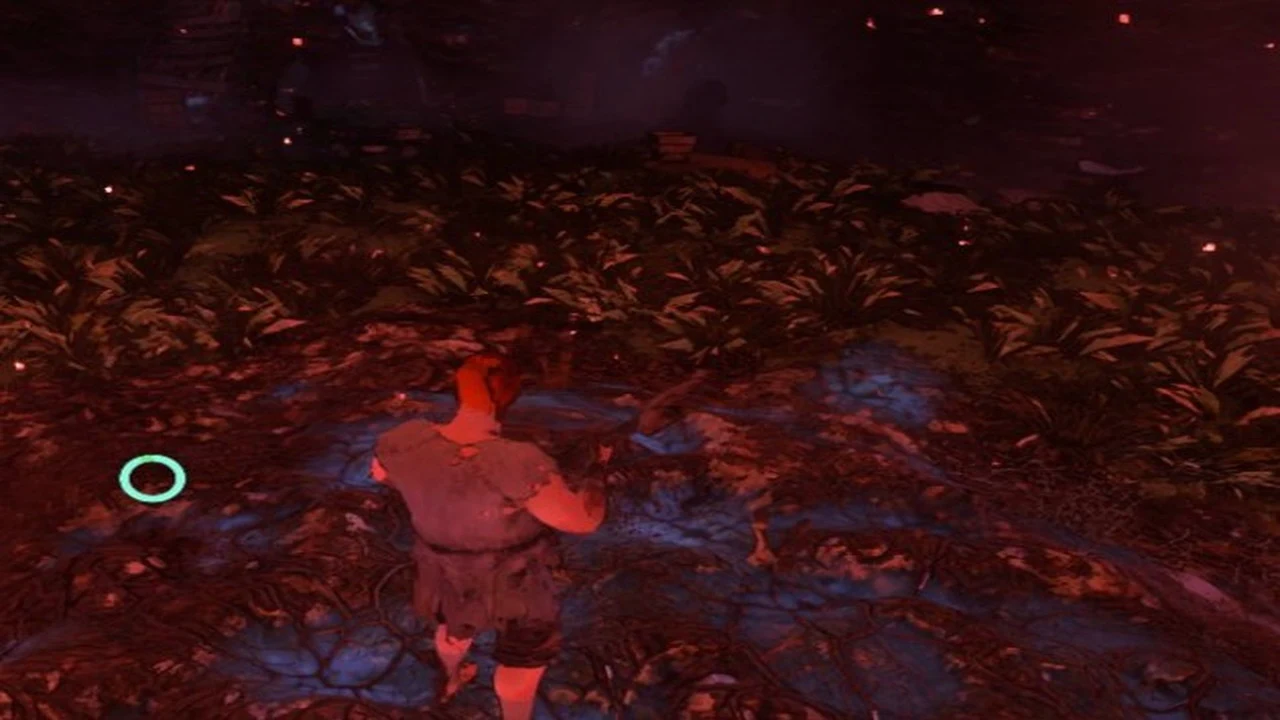
When the root breaks, “NEW LOCATION CHARTED!” appears with a new map marker (Show on Map), followed by a quest reward and the Steam achievement “Well done! Cleared the first elixir well.” The red root is gone, leaving plain ground where it stood. The chamber is also free of the Shroud, and the Shroud timer box at the top of the screen disappears. At that point, Clear The Elixir Well is complete.
For the other Shroud Roots and wells, see all Shroud Root and Elixir Well locations.