Cheek products in Facecard: Makeup Showdown are not on the main screen. They sit one level down inside the Makeup tab, in their own category. Once you open it, you get five products you paint straight onto the 3D head. Those are Contour, Blush, Highlighter, Freckles and Glitter. In a round, you paint the theme onto that head, other players rate it from 1 to 5 stars, and the face with the best rating takes first place.
Quick answer: Click MAKEUP on the left panel and pick CHEEKS. Choose Contour, Blush, Highlighter, Freckles or Glitter, set the colour and brush on the right, then click and drag over the cheekbones.
How to apply cheek makeup in Facecard: Makeup Showdown
The game is free on Roblox. You can paint cheeks in a timed round or take your time in Freeplay. The editor works the same way in both.
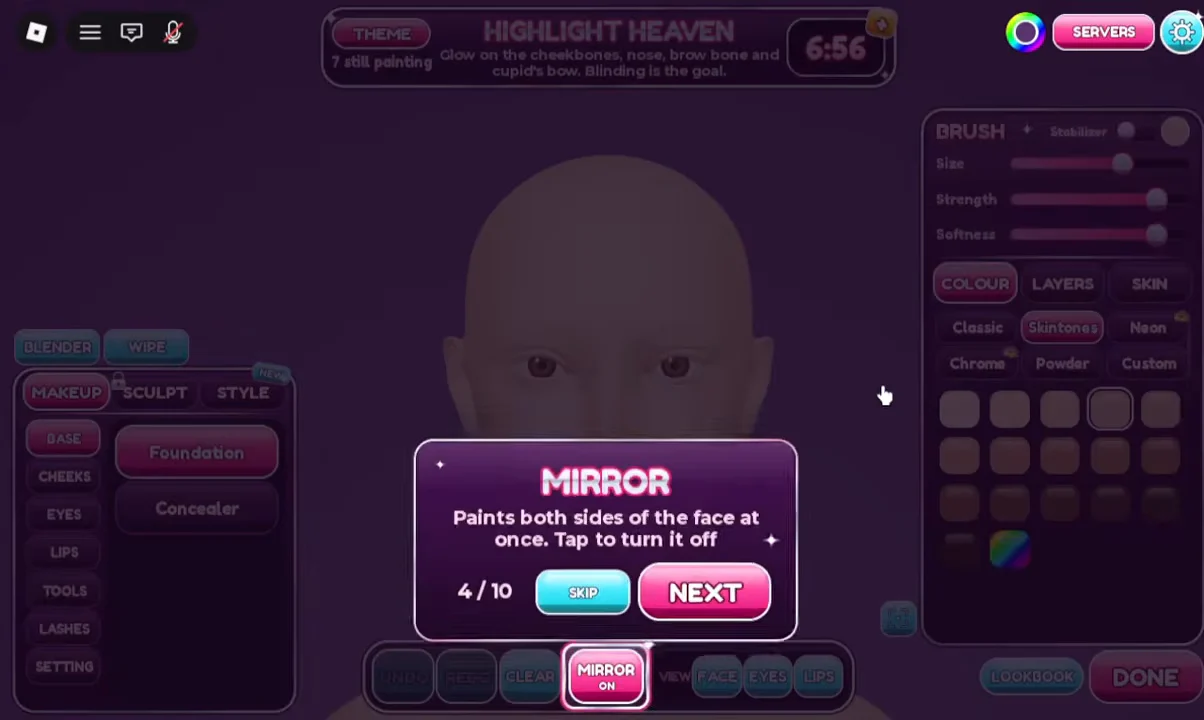
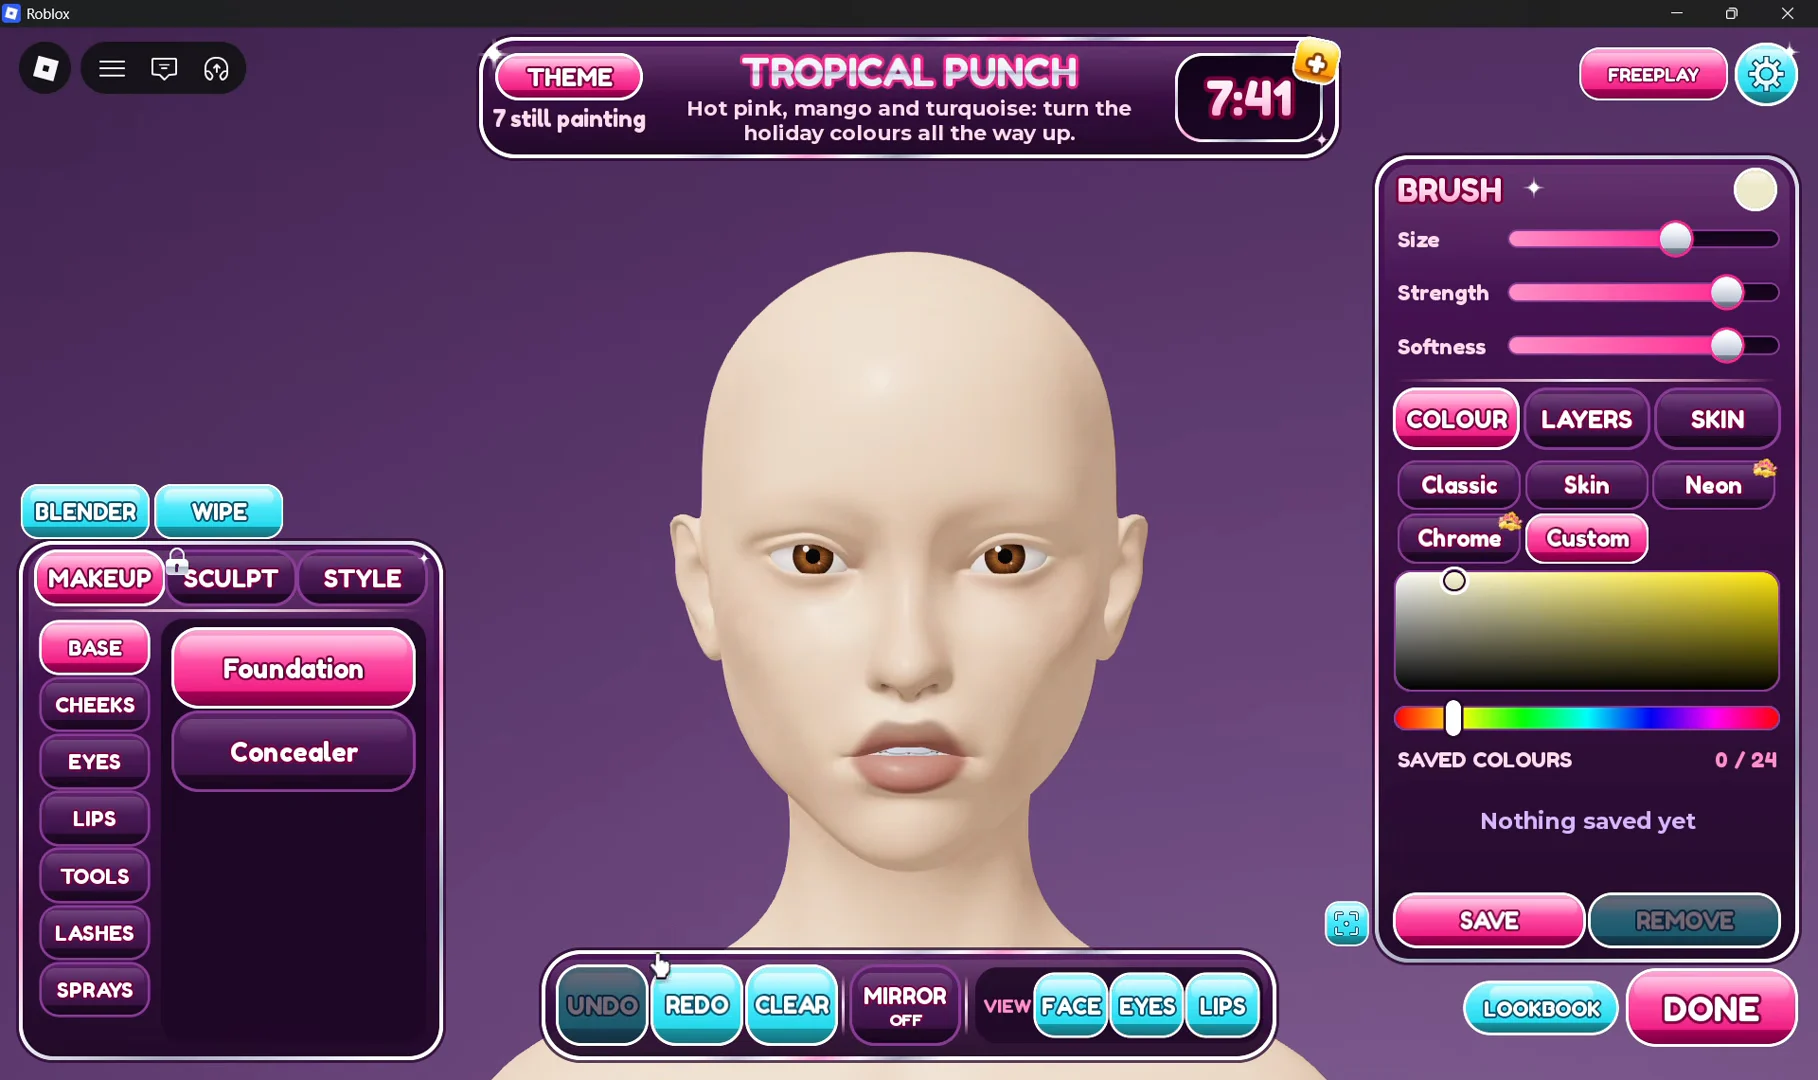
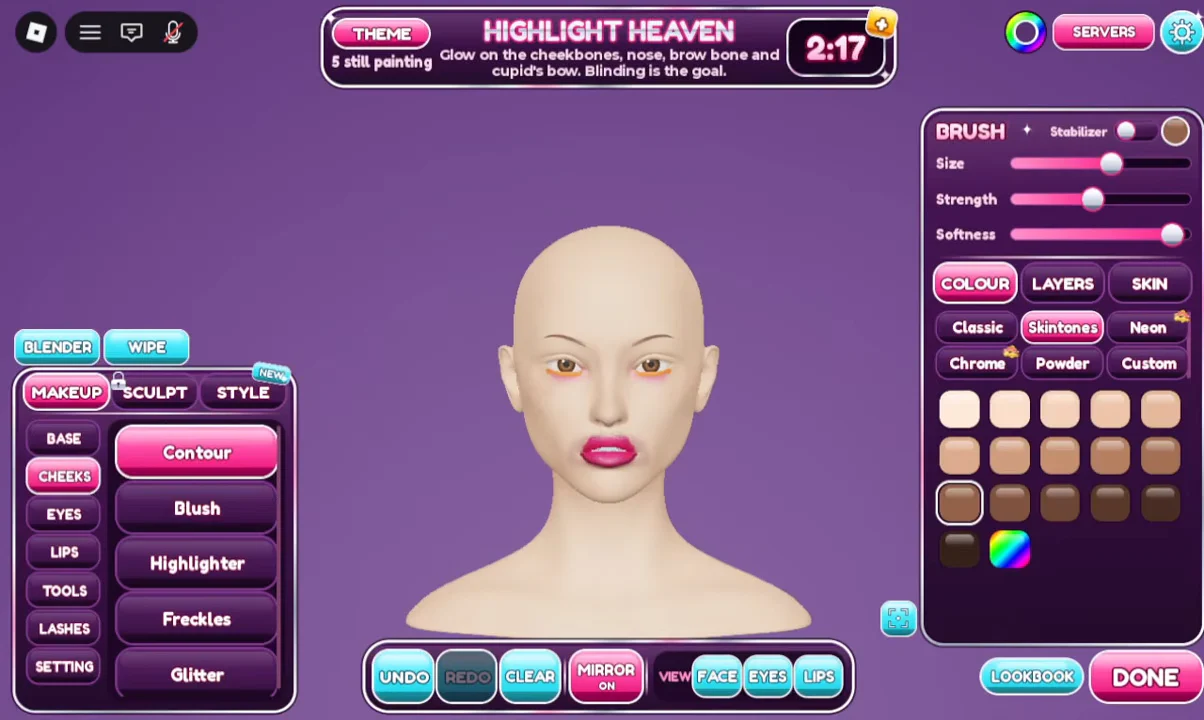
You can tell it worked as soon as you drag. The colour or effect appears on the face under the cursor. With Mirror on, the same stroke also shows up on the other cheek.
Cheeks products and where they go on the face
Each product is its own tool, so you build a cheek look one layer at a time. Placement follows normal makeup logic, but the theme card has the final say. A glow theme like Highlight Heaven, for example, asks for shine on the cheekbones, nose, brow bone and cupid’s bow.
| Product | Typical placement | What it adds |
|---|---|---|
| Contour | Cheekbones, jawline, forehead, nose | Shading and shape |
| Blush | Cheeks, bridge of the nose | Colour |
| Highlighter | Cheekbones, down the nose | Glow |
| Freckles | Cheeks and nose | Freckle pattern |
| Glitter | Upper cheeks, around cheekbones, nose | Sparkle |
A simple order works well. Start with Contour to set the shape, then Blush for colour, then Highlighter. Finish with Glitter on top. Contour isn’t limited to the cheeks, either. You can use the same brush to shade the jawline, forehead and nose without switching categories.
Brush and colour settings for cheek makeup
The right panel controls how each cheek product goes on. Change these before you drag across the face, because they decide whether a stroke looks like a soft flush or a hard stripe.
- BRUSH picks the brush or stamp pattern for the product.
- Stabilizer smooths shaky strokes.
- SIZE sets how wide the circular cursor paints.
- STRENGTH controls how much product each stroke lays down.
- SOFTNESS blurs the edge of the stroke.
- COLOUR offers Classic, Skintones, Neon, Chrome, Powder and Custom palettes.
- LAYERS keeps products stacked separately on the face.
For contour, the Skintones palette is the natural choice. For a bright theme, try Neon or Chrome blush. If you stack lots of cheek products and run out of room, the Increased Layer Limit game pass (129 R$) raises the cap.
Mirror, blending and undoing cheek strokes
The MIRROR ON toggle at the bottom of the screen copies every stroke to the opposite side of the face. Leave it on and you only need to paint one cheek to get a matching pair. Turn it off if you want an uneven look, like freckles on just one side.
To soften harsh edges, use Blender. You’ll find it under TOOLS and in the bar above the face. Wipe removes product from a spot. UNDO and REDO step back and forward through your strokes, and CLEAR resets the face. The VIEW buttons (FACE, EYES, LIPS) move the camera, which helps when you’re placing highlighter high on the cheekbone.
Settings has a BLENDER MODE toggle and a REDUCE FLASHES option. Check them if blending or glitter feels different from what you expect.
When the cheeks are done, move on to the EYES and LIPS categories. Click DONE before the timer runs out so your look goes into voting.