Dark Arisen gives Dragon’s Dogma 2 the boss roster the base game lacked. The snowbound region of Norgan has a new set of large monsters. The post-game Ruin Night loop hides fights that only appear under specific conditions. The Lost Rites dungeons in Vermund, Battahl, and the Unmoored World add corrupted versions of familiar bosses. Some of these encounters are plainly marked. Others, like Death and the empowered Satanachia, only show up if you meet a trigger the game barely explains.
Quick answer: Death appears in Devouring or Virulent Rancor vortexes during the second Ruin Night. Empowered Satanachia appears when you leap into Nifthei carrying three Morbid Glares.
Dark Arisen secret bosses in the Ruin Night end-game
The hardest fights in Dark Arisen come after the story, during the post-game quest Into Rancor and the Ruin Night loops that follow it. You don’t find these bosses by walking into a lair. They are tied to rift types and to items you carry.
Death
Death turns up inside Devouring Rancor and Virulent Rancor vortexes during the second Ruin Night. It is a Spirit-type boss with 666,666 health spread over 11 health bar segments. Its lantern puts targets to sleep, and a wide scythe swing follows that kills instantly and can’t be blocked. Sleep resistance, such as Aimon’s Ring, takes the setup apart. Death also flees if the fight drags on, so the damage has to come quickly. Death is immune to every debilitation, including petrification. It takes 1.5x holy damage to the body and double slash, strike, and holy damage to the head.
Empowered Satanachia
Satanachia, the Thane of Darkness, is the final DLC boss. He teleports, slams down from the air to send out shockwaves, fires projectiles, and can corrupt your pawns into hostile red spheres. He has a stronger version too. Dispelling Virulent Rancor during the second Ruin Night yields Morbid Glares, and Death’s drop table includes them as well. If you leap into Nifthei holding three of them, the soul seal lifts. The game confirms it with a “Satanachia’s Power Increased” message. In this form he turns dark red, his stats go up, and he drops extra rare spoils, including pieces of the Destroyer armor set.
Draug
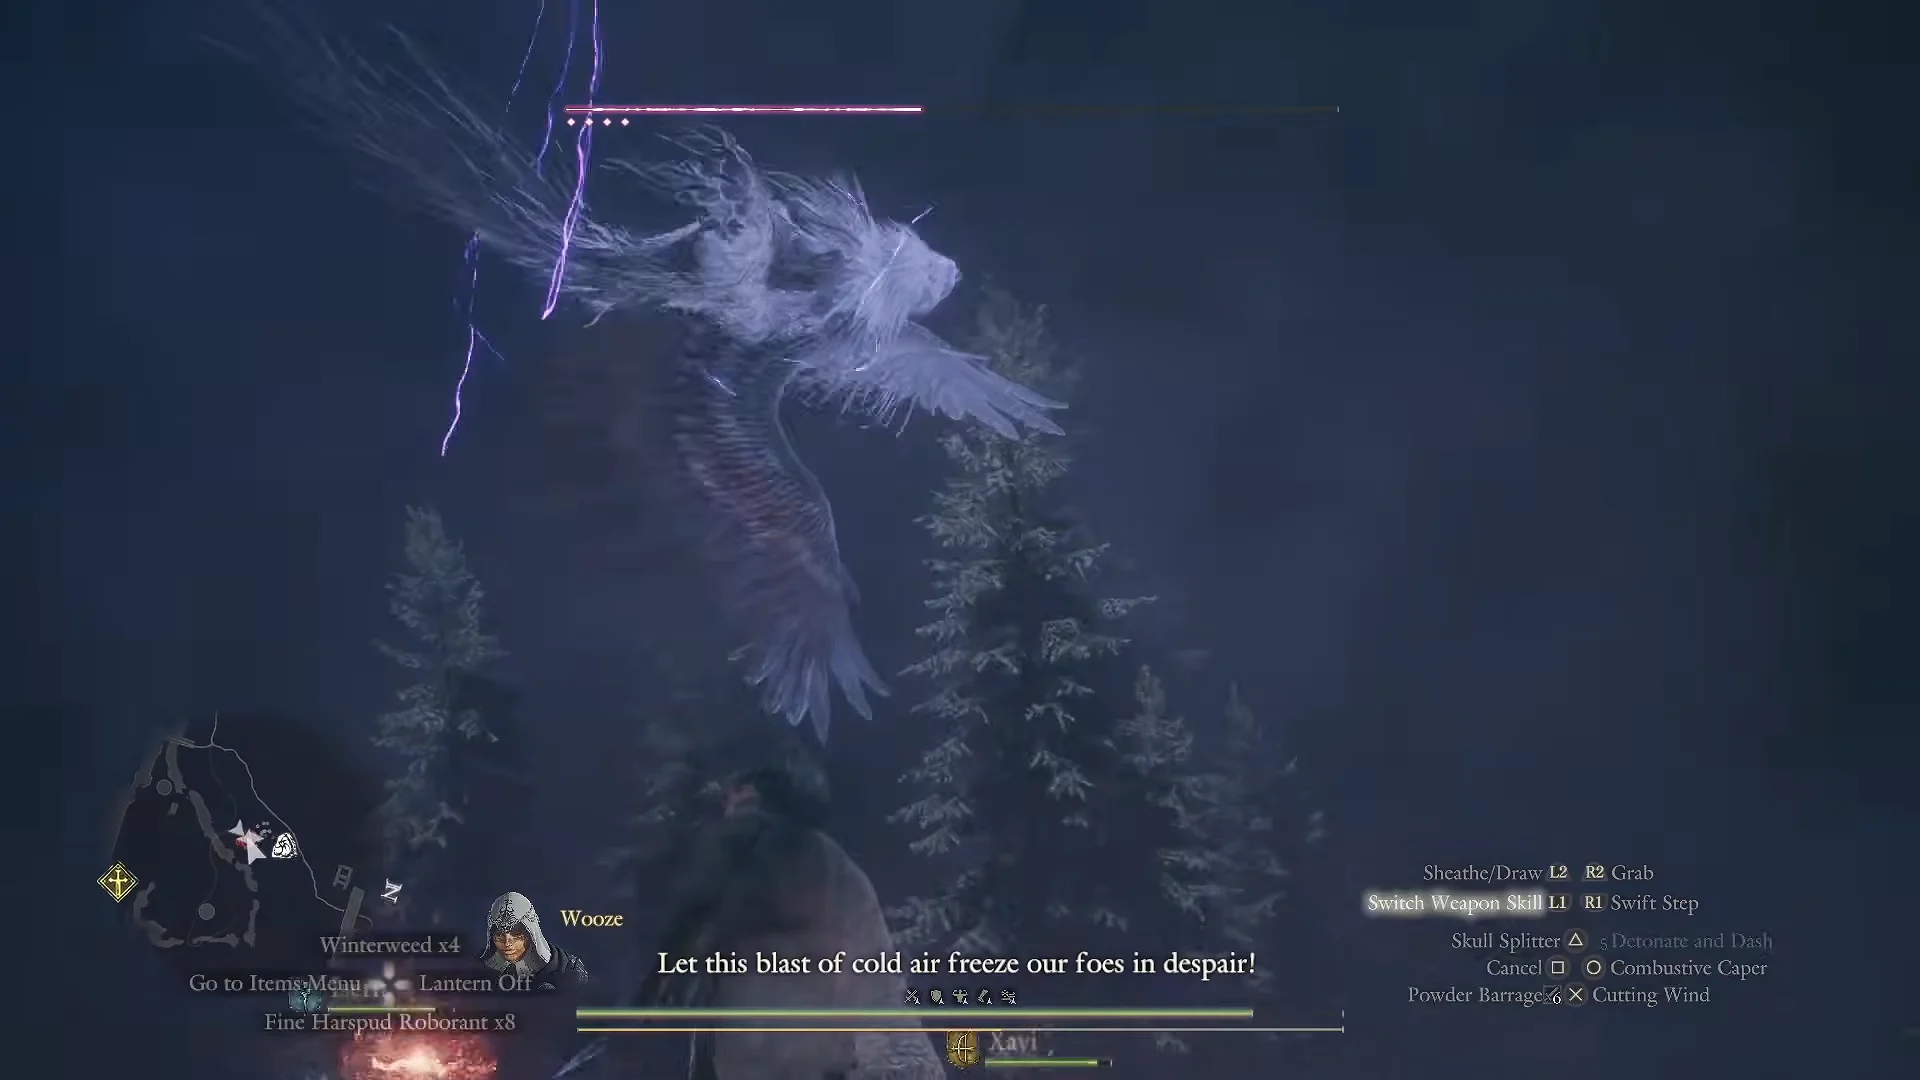
The Draug is a huge owl-and-harpy hybrid found in Virulent Rifts during Ruin Night. It stays airborne and throws lightning. Despite its bird shape, the game classes it as an Abomination. It takes 1.35x ice damage and only 0.5x lightning damage. It is one of the few late-game bosses that isn’t immune to most debilitations, since only sleep and unconsciousness are off the table.
Fallen Dragon
The undead Fallen Dragon appears three times, each tougher than the last. The end-game version lives in Rancor rifts. To bring it down you have to destroy both wings, both arms, and the head, while it keeps summoning Lesser Demons into the fight.
New Norgan bosses and their weak points
Most of Norgan’s new large enemies are built around a single gimmick. Each one has a body part, an element, or a piece of terrain that decides how the fight goes.
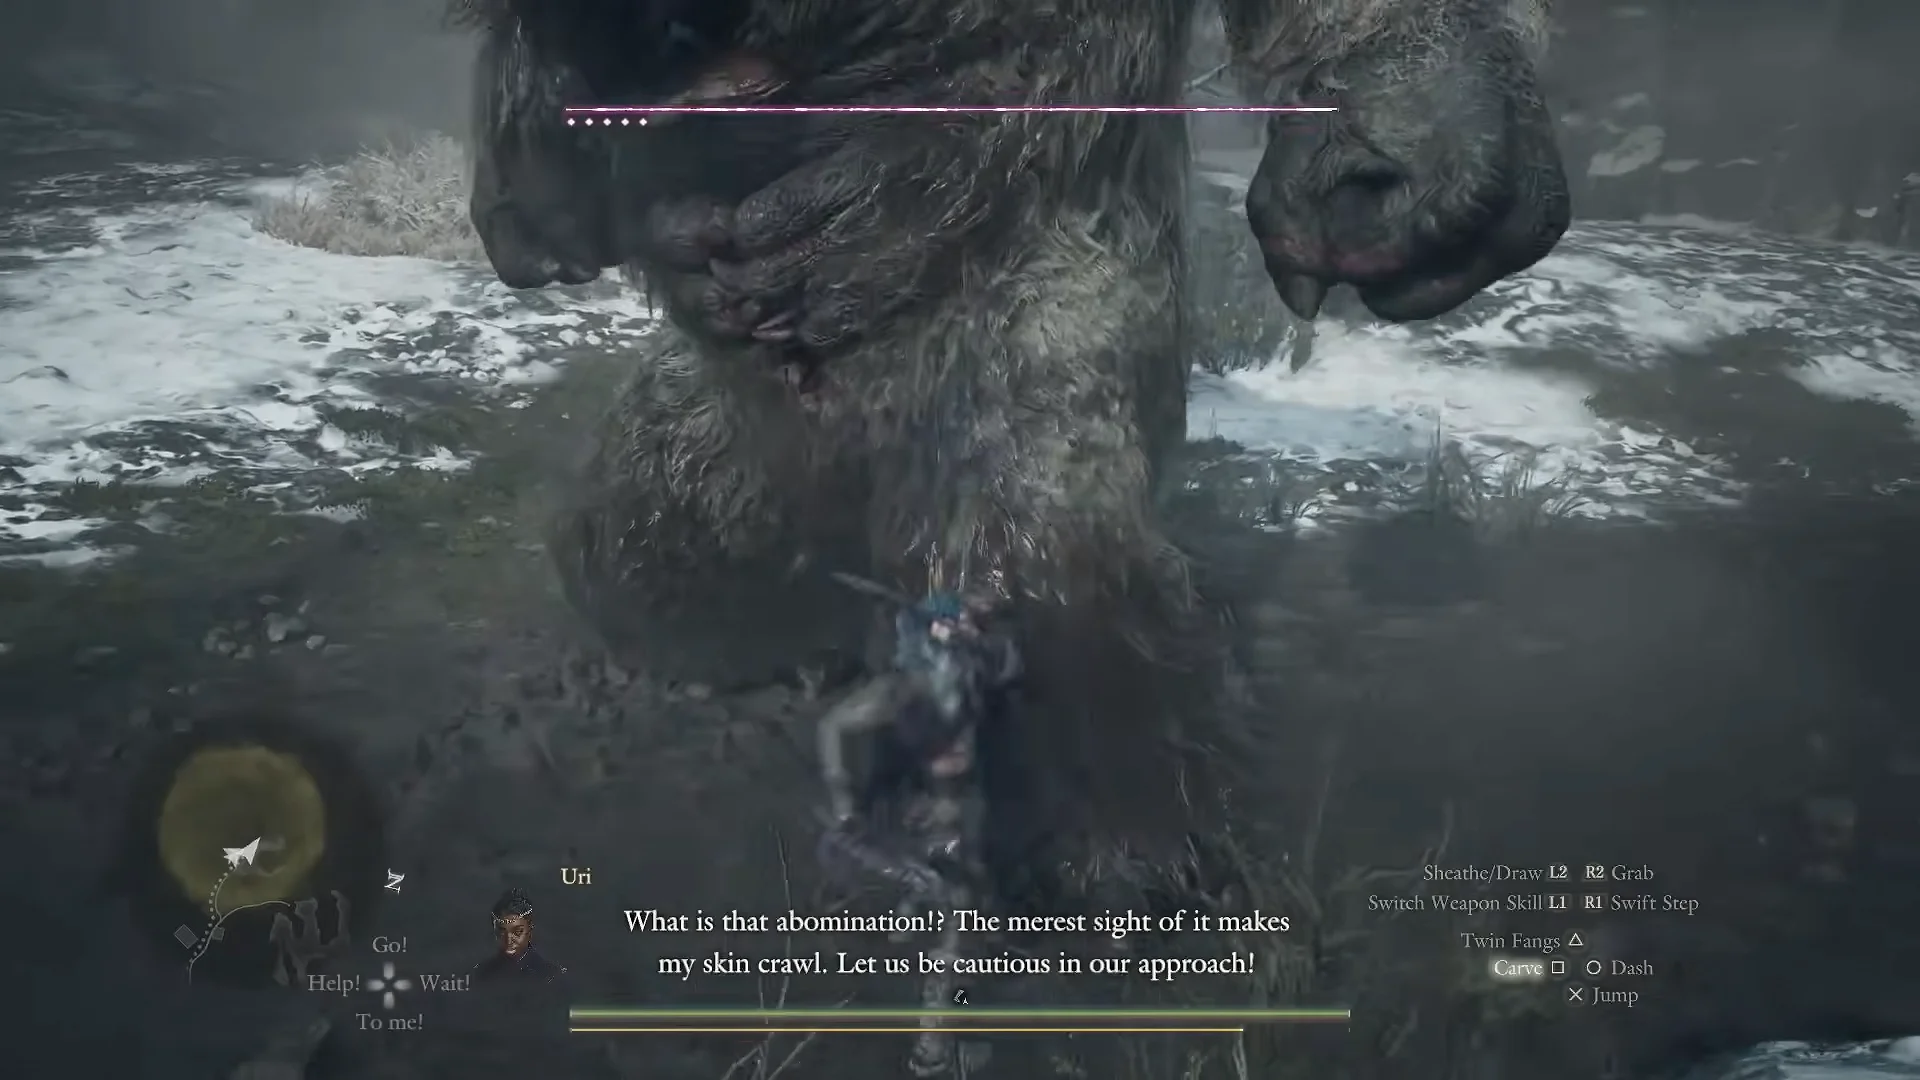
Norgan Giant and Blemmyae
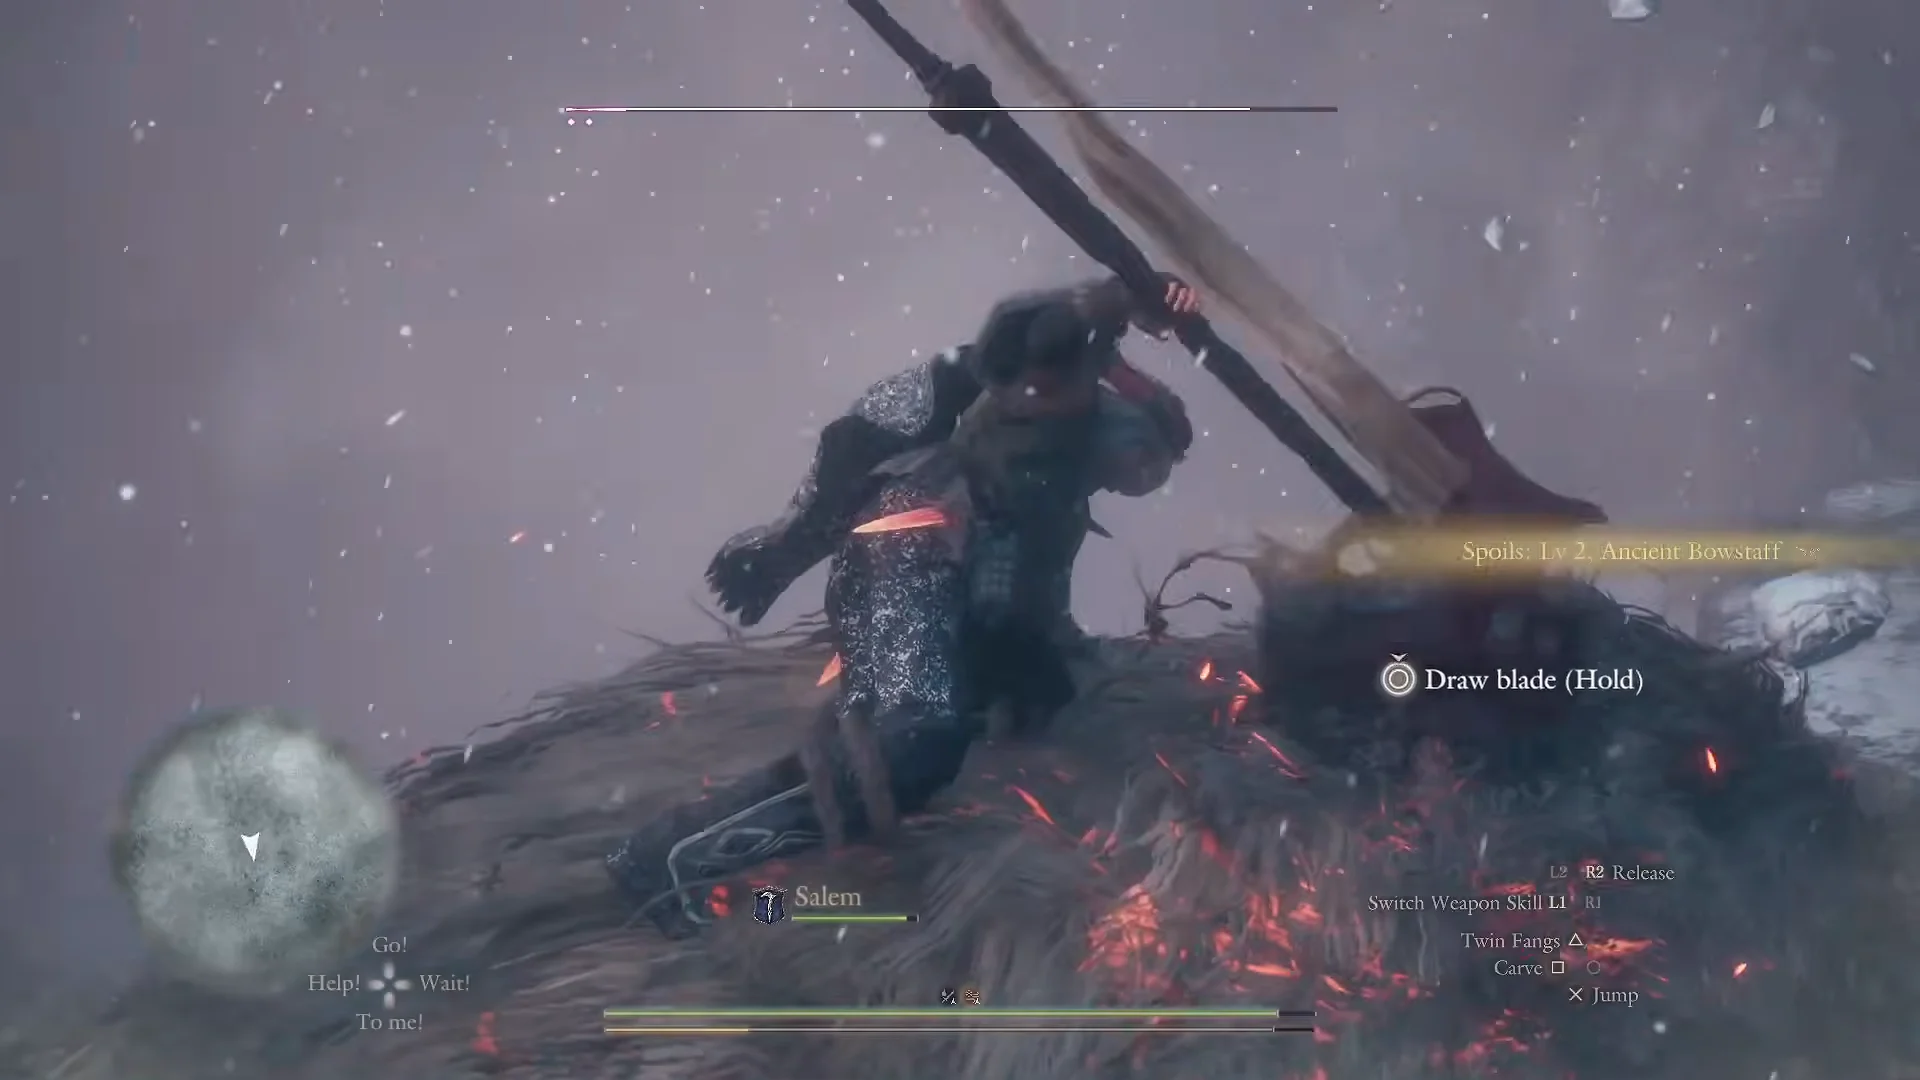
The Norgan Giant is a tusked, woolly, club-wielding brute with old weapons stitched into its hide. Climb onto it and a “Draw blade (Hold)” prompt lets you rip those weapons out. Each pull deals burst damage, opens a knockdown window, and drops relic spoils. The Blemmyae is its undead cousin, with a gaping mouth in its chest that swallows whoever it grabs. Hitting that chest maw frees the victim and exposes the Blemmyae’s critical weak point. It also takes extra damage from fire.
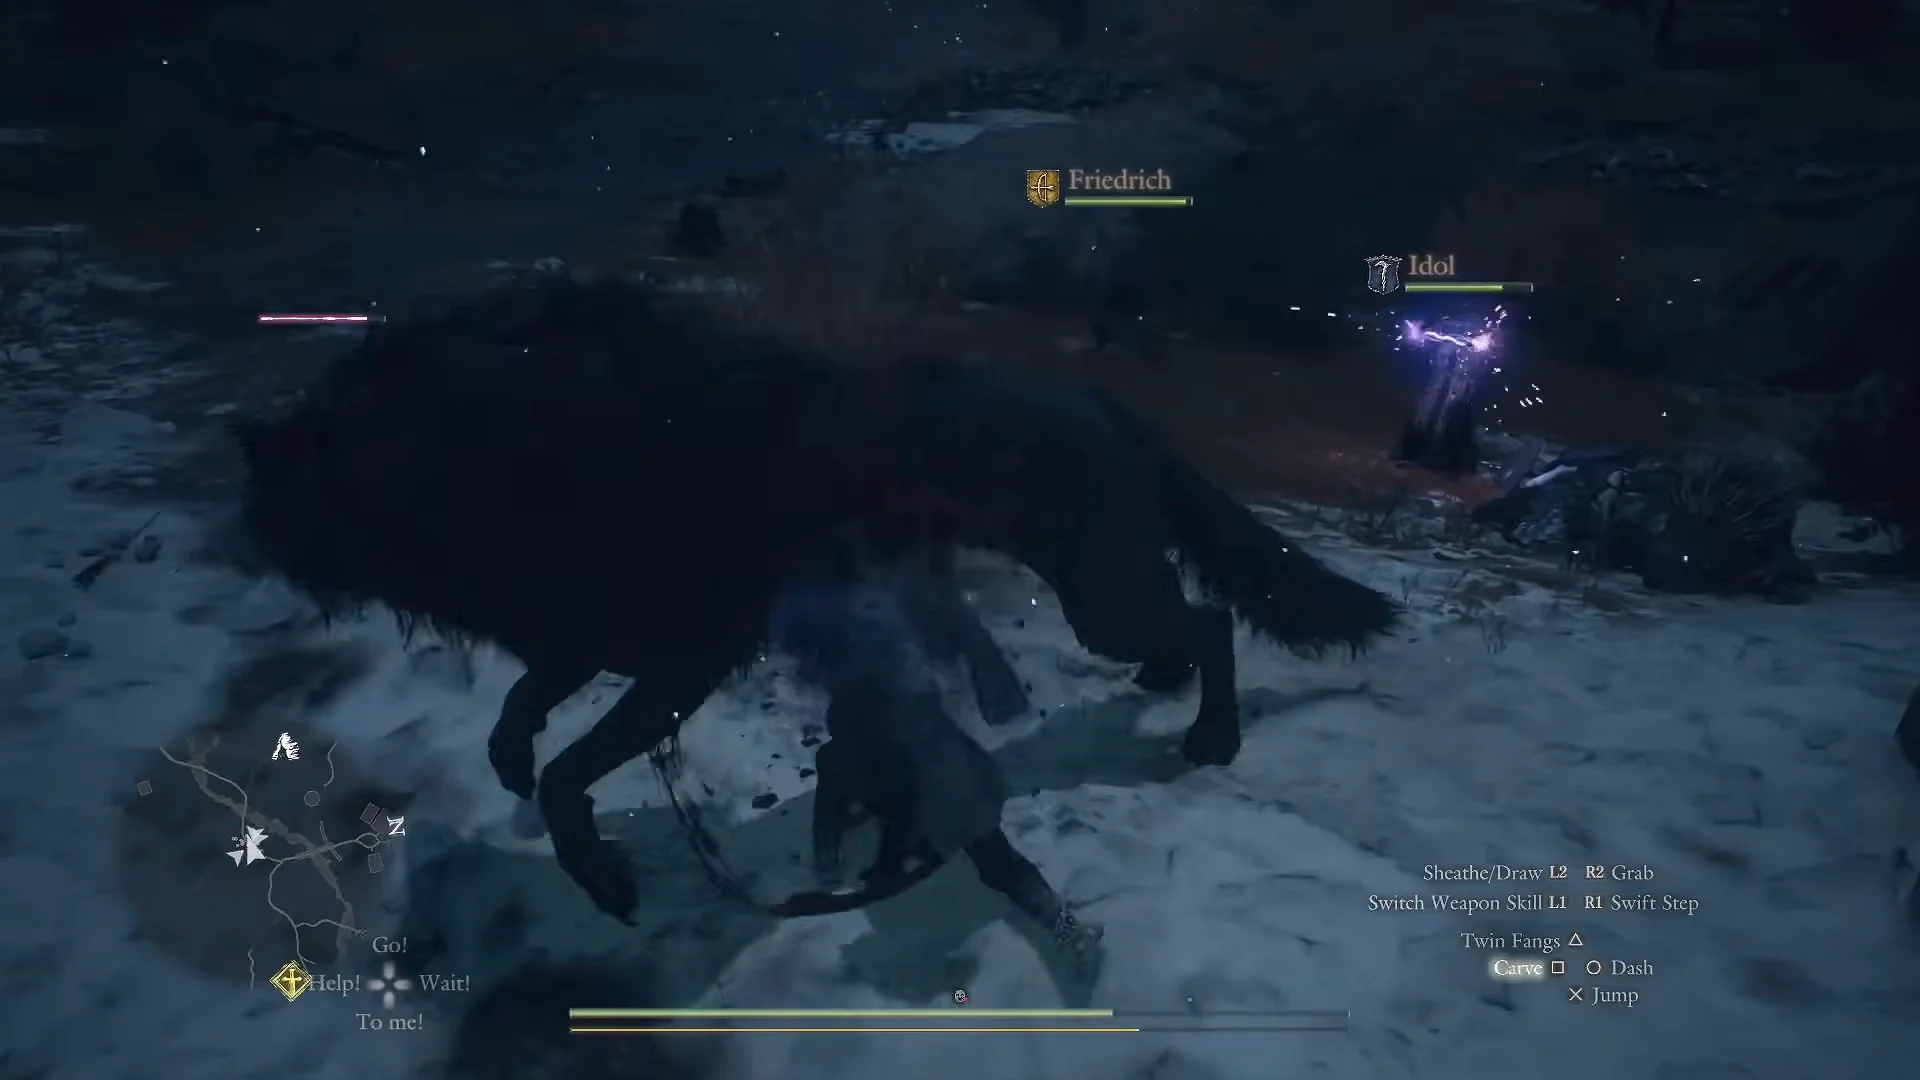
Blackdog
The Blackdog is a spectral direwolf, and you face one in the side quest A Howl in the Dark. A magick shield makes it invulnerable until holy damage breaks it. A holy hit shatters the shield at once and briefly stuns the wolf. Holy remains its weakness after that too, at 2x damage taken, while fire does only 0.8x.
Snowfoot, Gagana, and Norgan Griffin
- Snowfoot: a white-furred ogre that fights exactly like a standard ogre and is weak to fire.
- Gagana: this chimera-like creature wields fire and poison. To summon it, kill three lizards and set them on braziers. Hitting its luminous chest sac interrupts its lingering nightmare-fire spray.
- Gagana mount: in a late-game quest you can ride a Gagana back to its nest for loot.
- Norgan Griffin: a sleeker white griffin that leans heavily on lightning and turns up during a Norgan side questline.
Fimbl and the ferocious fimbl
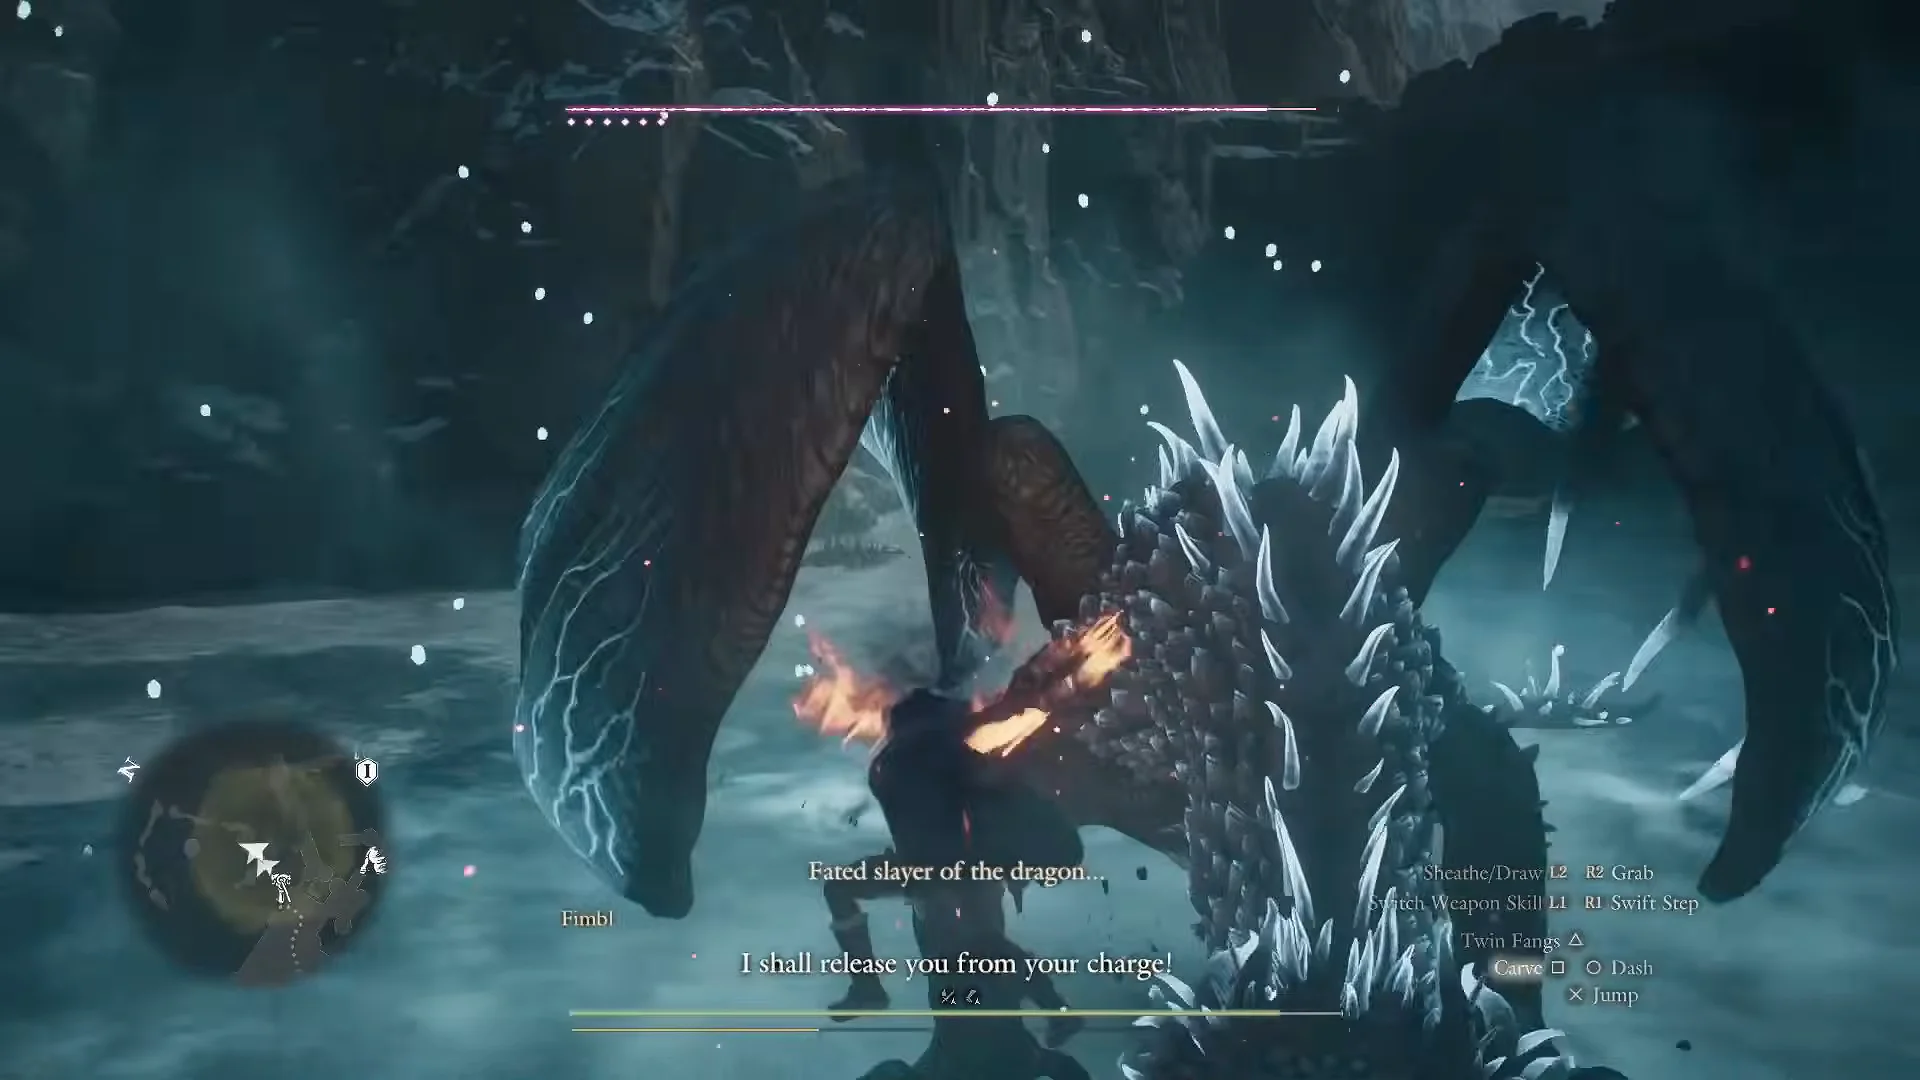
Fimbls are ice drakes that bring blizzards with them. While one is alive, the whiteout disables the map and teleportation, and the drake leaves ice crystal hazards across the ground. The enhanced version glows dark blue, has more health, and roams the northeastern snowfields. It also appears during castle siege sections, where ballistas do the heavy lifting.
The side quest Reaching the Far Shore, unlocked after Rumbles in the North, centers on a ferocious fimbl. It must be killed beside Lake Norgan: its death alters the water, opening a route across to a cavern on the opposite bank. Weaken the creature until it flees to the lakeshore, then finish it there. If it dies too soon, Jiera will track down another fimbl. The quest rewards 50,000 experience, 10,000 G, and 1,000 Rift Crystals, and unlocks transmog for Norgan armor.
Lesser Demons and Greater Demons
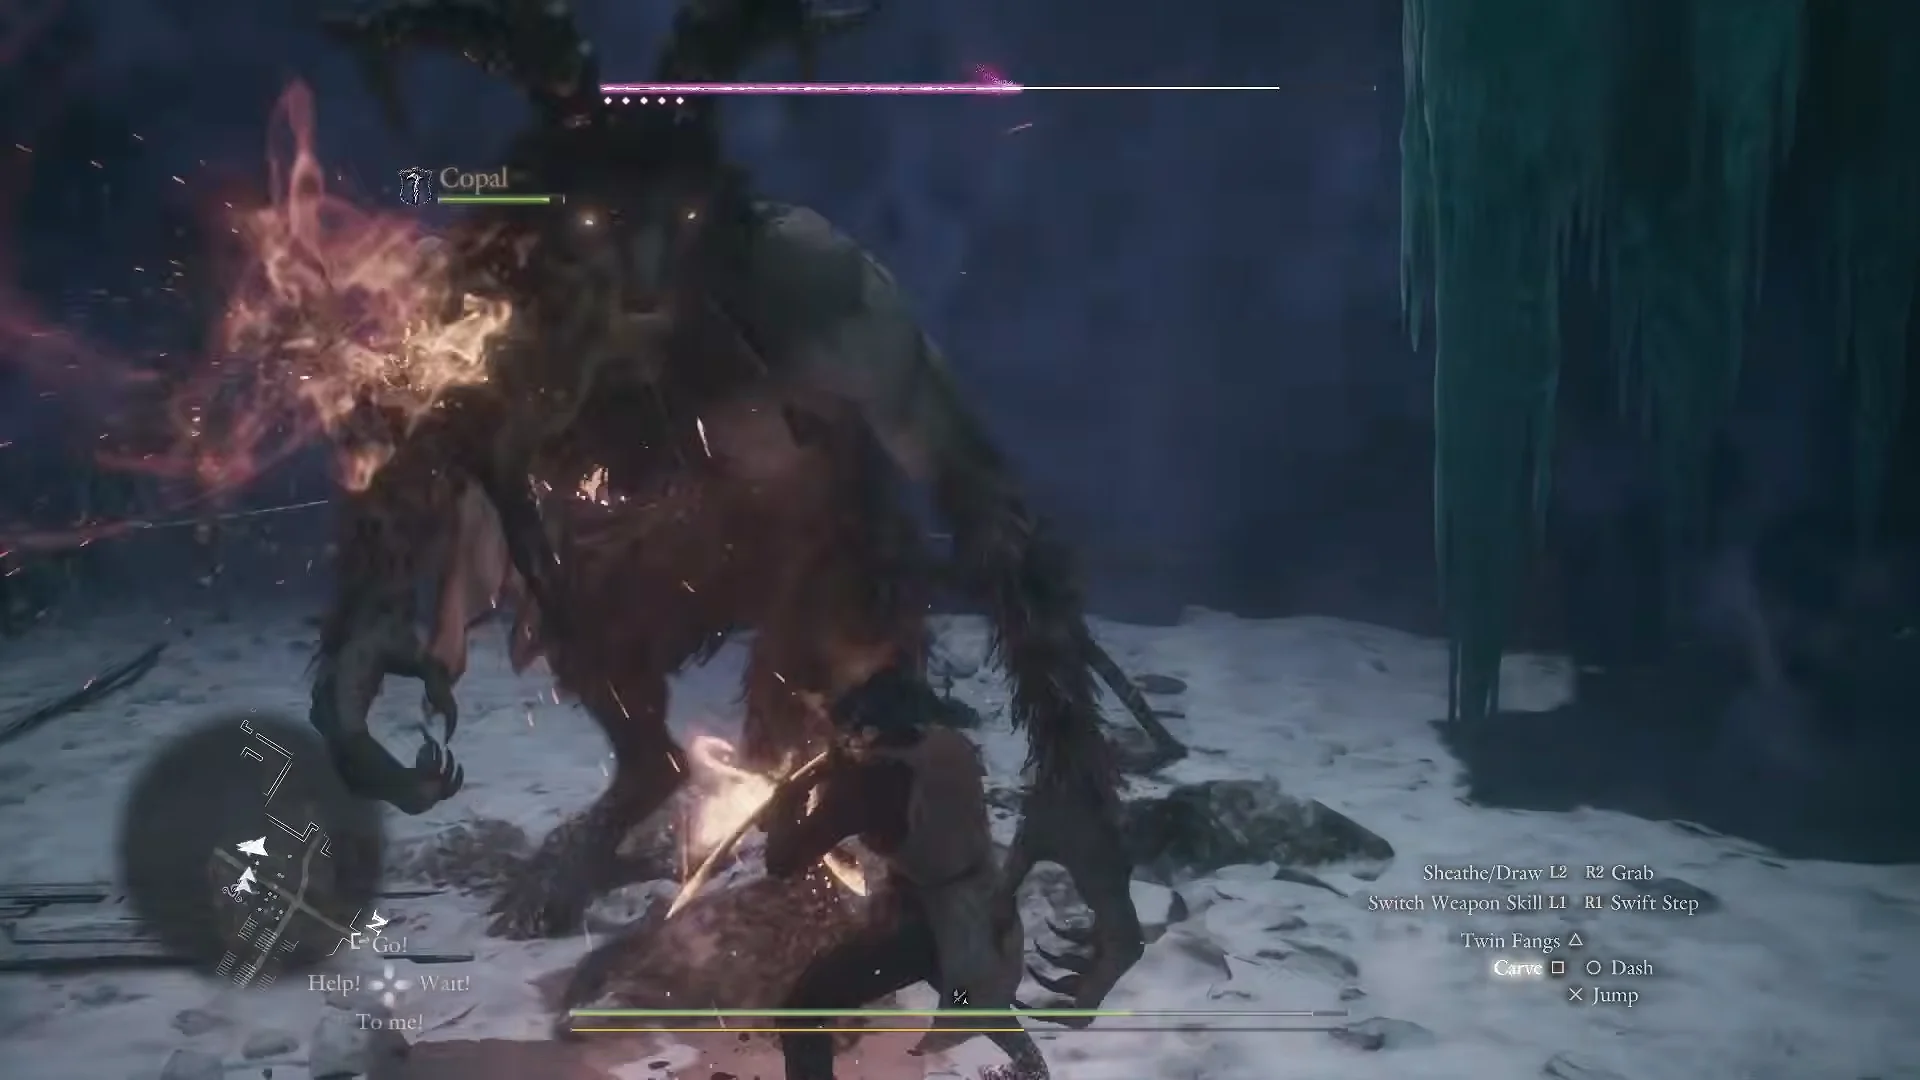
Dark Arisen’s horned demons fight like an Arisen would. They use vocation weapon skills, such as the Thief’s powder-bomb lines and Magick Archer projectiles, and mix in elemental spells. The Greater Demon has more horns, purple glowing arms, and a much larger health pool. Lesser Demons appear during the main quest Where There’s a Will, There’s a Way, where you help the sphinx fend them off.
Lost Rites bosses and corrupted variants
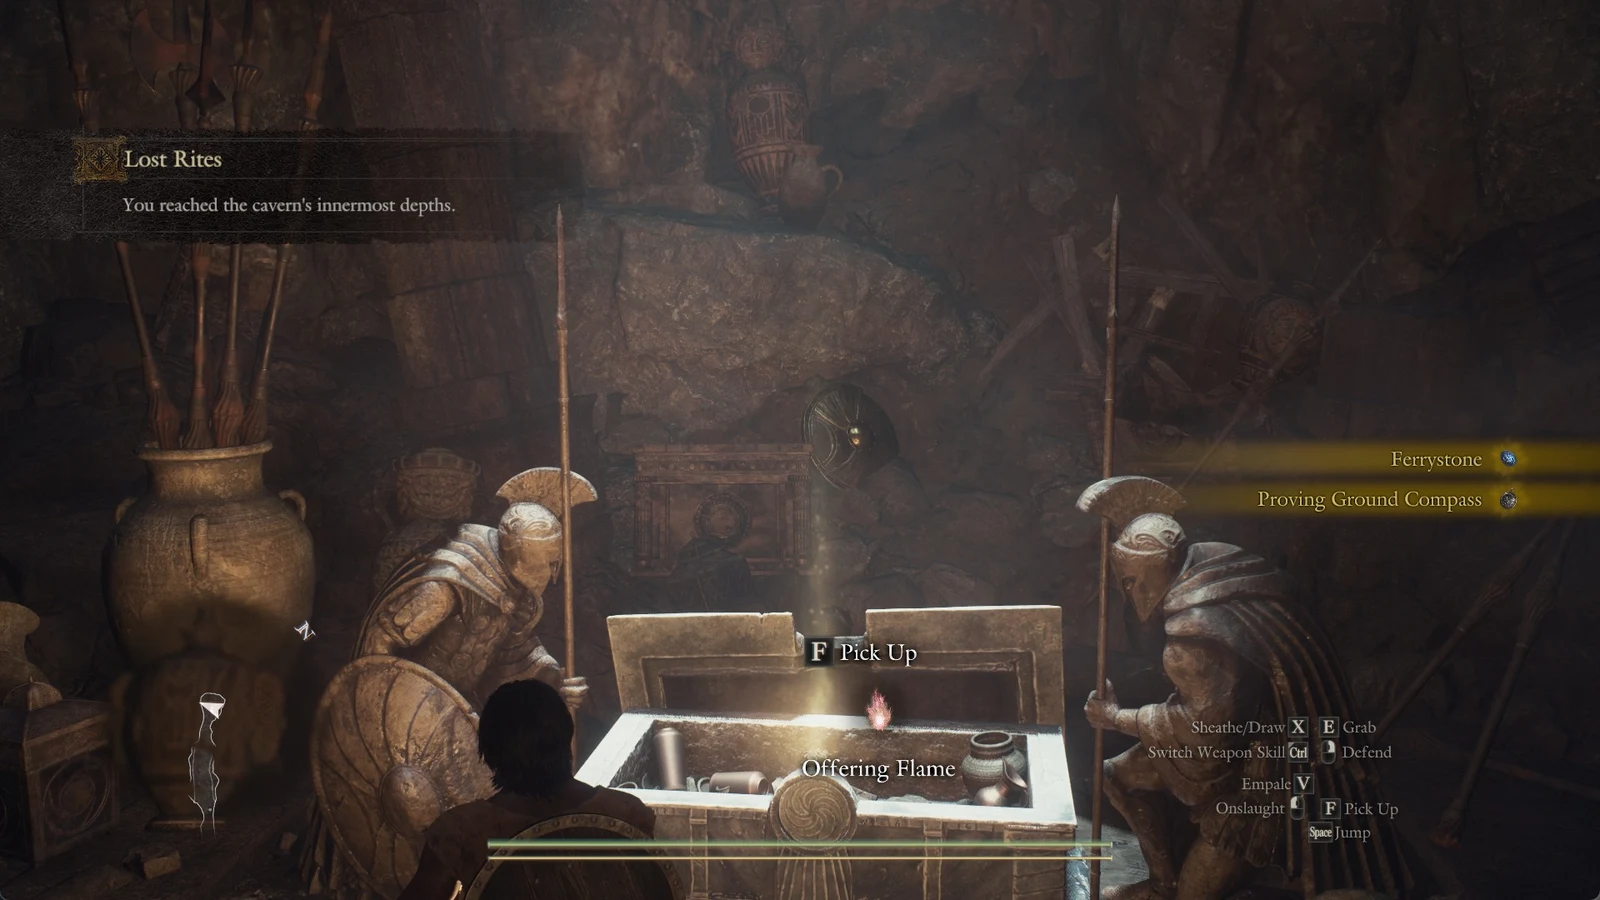
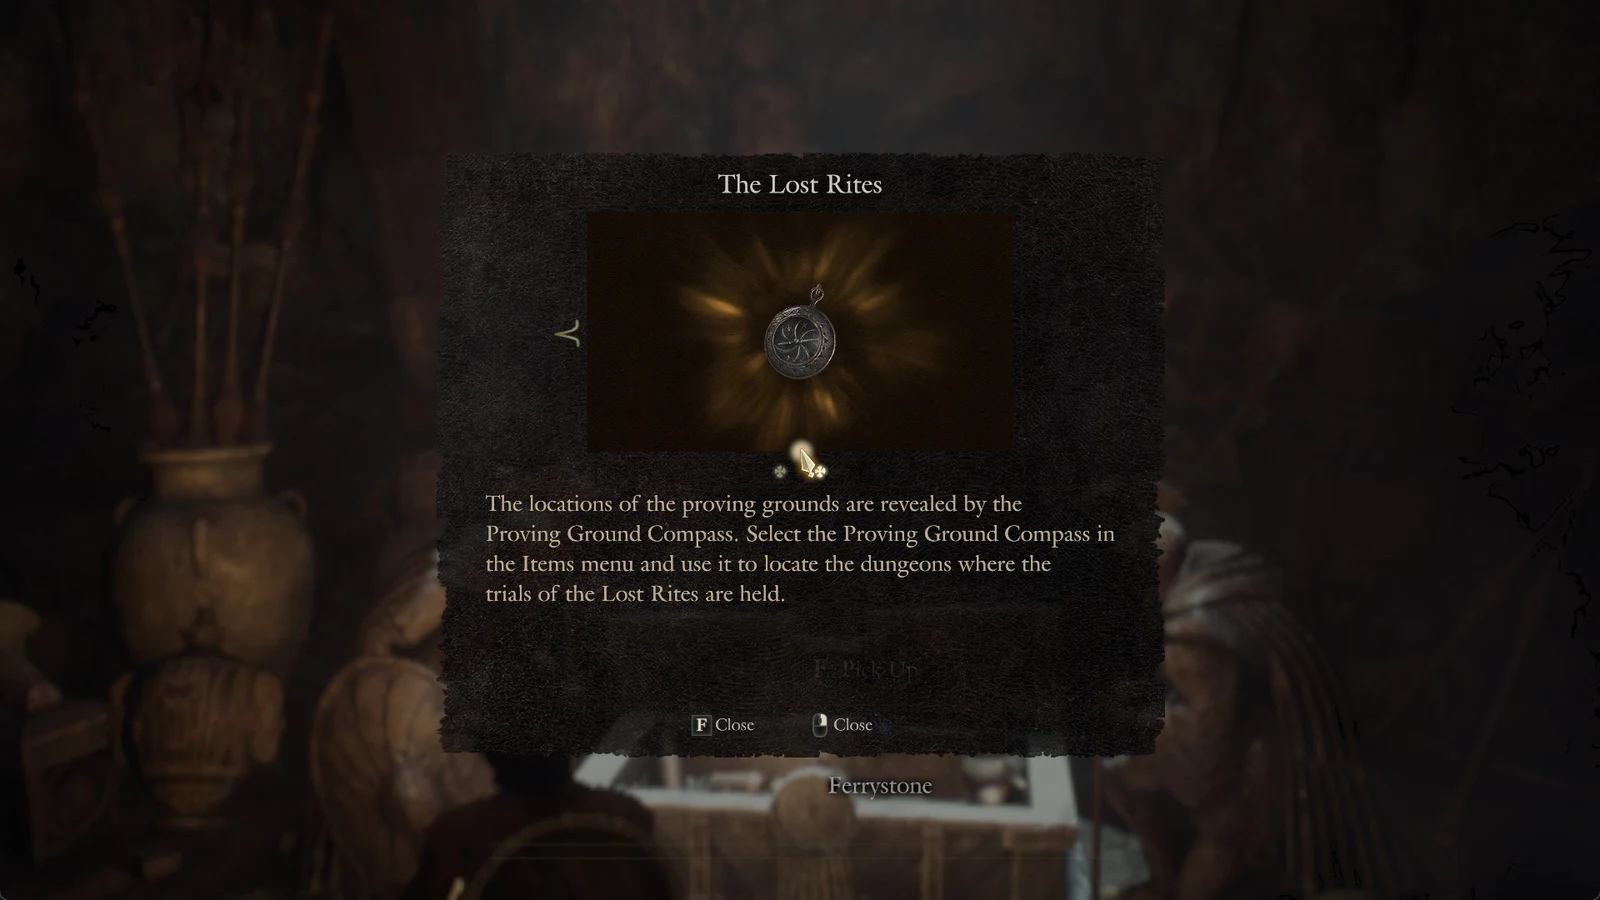
The Lost Rites are trial dungeons added to Vermund, Battahl, and the Unmoored World, and the Proving Ground Compass reveals them on the map. Some of their bosses only appear in these dungeons.
- Evil Eye: a tentacled eye shielded by a barrier. Kill its tentacles and throw its small spawned eyes at the shield to break it, then attack the central eye. It appears in Lost Rites in Battahl, such as Mired Conduit, and in the Unmoored World.
- Willan Barbatos: this hooded spectral mage hovers above the ground, summons wights, and uses high-tier magick. Its vulnerable spot is the glowing core set in its chest, and it also summons regular Barbatos.
- Corrupted bosses: darker versions of base-game monsters that populate the Lost Rites and the Unmoored World proving grounds.
The Final Proving Ground runs ten trials back to back, and one of them pairs a Corrupted Medusa with a Corrupted Sphinx. Sever the Medusa’s head and you get the Withered Medusa Head, a 1.00 kg item you equip like a lantern. Its petrifying gaze, turned on the Sphinx, turns the second boss to stone and ends that fight. Getting into the Final Proving Ground requires clearing both the Molten Gauntlet and the Seafloor Sepulcher first.
Dark Arisen boss stats: Health, experience, and weaknesses
These figures are the shipped values for the Dark Arisen bosses that have full records. Hard Mode leaves their health and defense unchanged but cuts the damage they take, as shown in the second table.
| Boss | Health | Experience | Takes extra damage from |
|---|---|---|---|
| Death | 666,666 | 300,000 | Holy 1.5x (head: holy, slash, strike 2x) |
| Willan Barbatos | 276,000 | 180,000 | None (slash, strike 1x) |
| Draug | 150,000 | 150,000 | Ice 1.35x |
| Blackdog | 150,000 | 120,000 | Holy 2x, ice 1.25x |
| Barbatos | 150,000 | 55,000 | None (slash, strike 1x) |
| Bugaboo | 18,000 | 7,100 | Lightning 1.2x |
| Boss | Defense | Hard Mode damage taken | Health bar segments |
|---|---|---|---|
| Death | 1,300 | 1x | 11 |
| Willan Barbatos | 1,100 | 0.7x | 6 |
| Draug | 1,000 | 0.7x | 5 |
| Barbatos | 1,000 | 0.85x | 5 |
| Blackdog | 900 | 0.75x | — |
| Bugaboo | 750 | 0.75x | — |
Debilitations are mostly useless against this group. Death and Willan Barbatos are immune to every status, petrification included. Barbatos and the Blackdog shrug off everything except petrification, which takes a buildup of 8,000 and 12,000 respectively. The Draug can be frozen, tarred, drenched, silenced, blighted, and petrified, though frostbite needs 8,000 buildup and petrification 12,000.
Best loot from Dark Arisen bosses and Lost Rites
Boss drop tables
| Boss | Notable drops |
|---|---|
| Death | Morbid Glare, Governing Soul, Prescribed Tranquility, Giant Hunk of Rift Crystal, Allheal Elixir |
| Barbatos | Ring of Retaliation, Midnight-Black Tatter, Winter’s Path, Threshing Blaze, Fulgurous Lord, Tiger Eye |
| Blackdog | Spectral Beast’s Fur, Tiger Eye, Allheal Elixir, Norgan Ducat |
| Draug | Beast-Steak, Abandoned Supplies (Rare), Norgan Ducat |
| Bugaboo | Bugatooth, Abandoned Supplies (Rare), Gold |
Spoils from Norgan monsters
Gear in Norgan comes as spoils, unappraised relics with random stats and effects. Spoils: Lv 2, Ancient Bowstaff is a typical example. The Norgan Giant, Blemmyae, Fimbl, Griffin, Snowfoot, Bugaboo, Dullahan, and several other monsters drop it. Appraisal costs 25 Rift Crystals and turns it into Gargoyle’s Perch, Soothstone, or Zephyr’s Arc, with two special skill slots rolled from a pool that includes Critical Shot, Myriad Shot, and Swift Strike I.
Lost Rites chests
| Lost Rite | Trial | Entry condition | Chests |
|---|---|---|---|
| Devilkin Hollow | 1 | None | 1 |
| Daemons’ Corral | 2 | None | 7 |
| Interminable Corridor | 4 | Whole party Very Light | 15 |
| Embersand Mine | 8 | No grimoires, enchanted weapons, or elemental archmagick skills | 7 |
| Seafloor Sepulcher | 11 | None | 16 (plus 9 sealed) |
| Final Proving Ground | 12 | Molten Gauntlet and Seafloor Sepulcher cleared | 14 |
Interminable Corridor has the most valuable chests of the group, with 80,000 G, 20 Wyrmslife Crystals, 10 Giant Hunks of Rift Crystal, and accessories like the Band of Dunscaith and Ring of Amplification. Seafloor Sepulcher’s nine sealed chests open with an Ephemeral Key. A brittle key means only one prize, though one sealed chest holds two items, Seraphic Spar and Celestial Crux. The other sealed chests hold weapons such as Blade of Aldose, Parhelion, and Oscine. The Final Proving Ground leans toward consumables and rings, including the Ring of Predominance and two Dragonslayer’s Mantles.
Taken together, Dark Arisen’s bosses fall into two kinds. Norgan’s open-world monsters teach you a trick, like a chest sac, a holy-breakable shield, or a lake that freezes over. The Ruin Night and Lost Rites fights then test whether you prepared for them. Death and an empowered Satanachia sit at the top of that ladder, and you only meet them if you go looking.