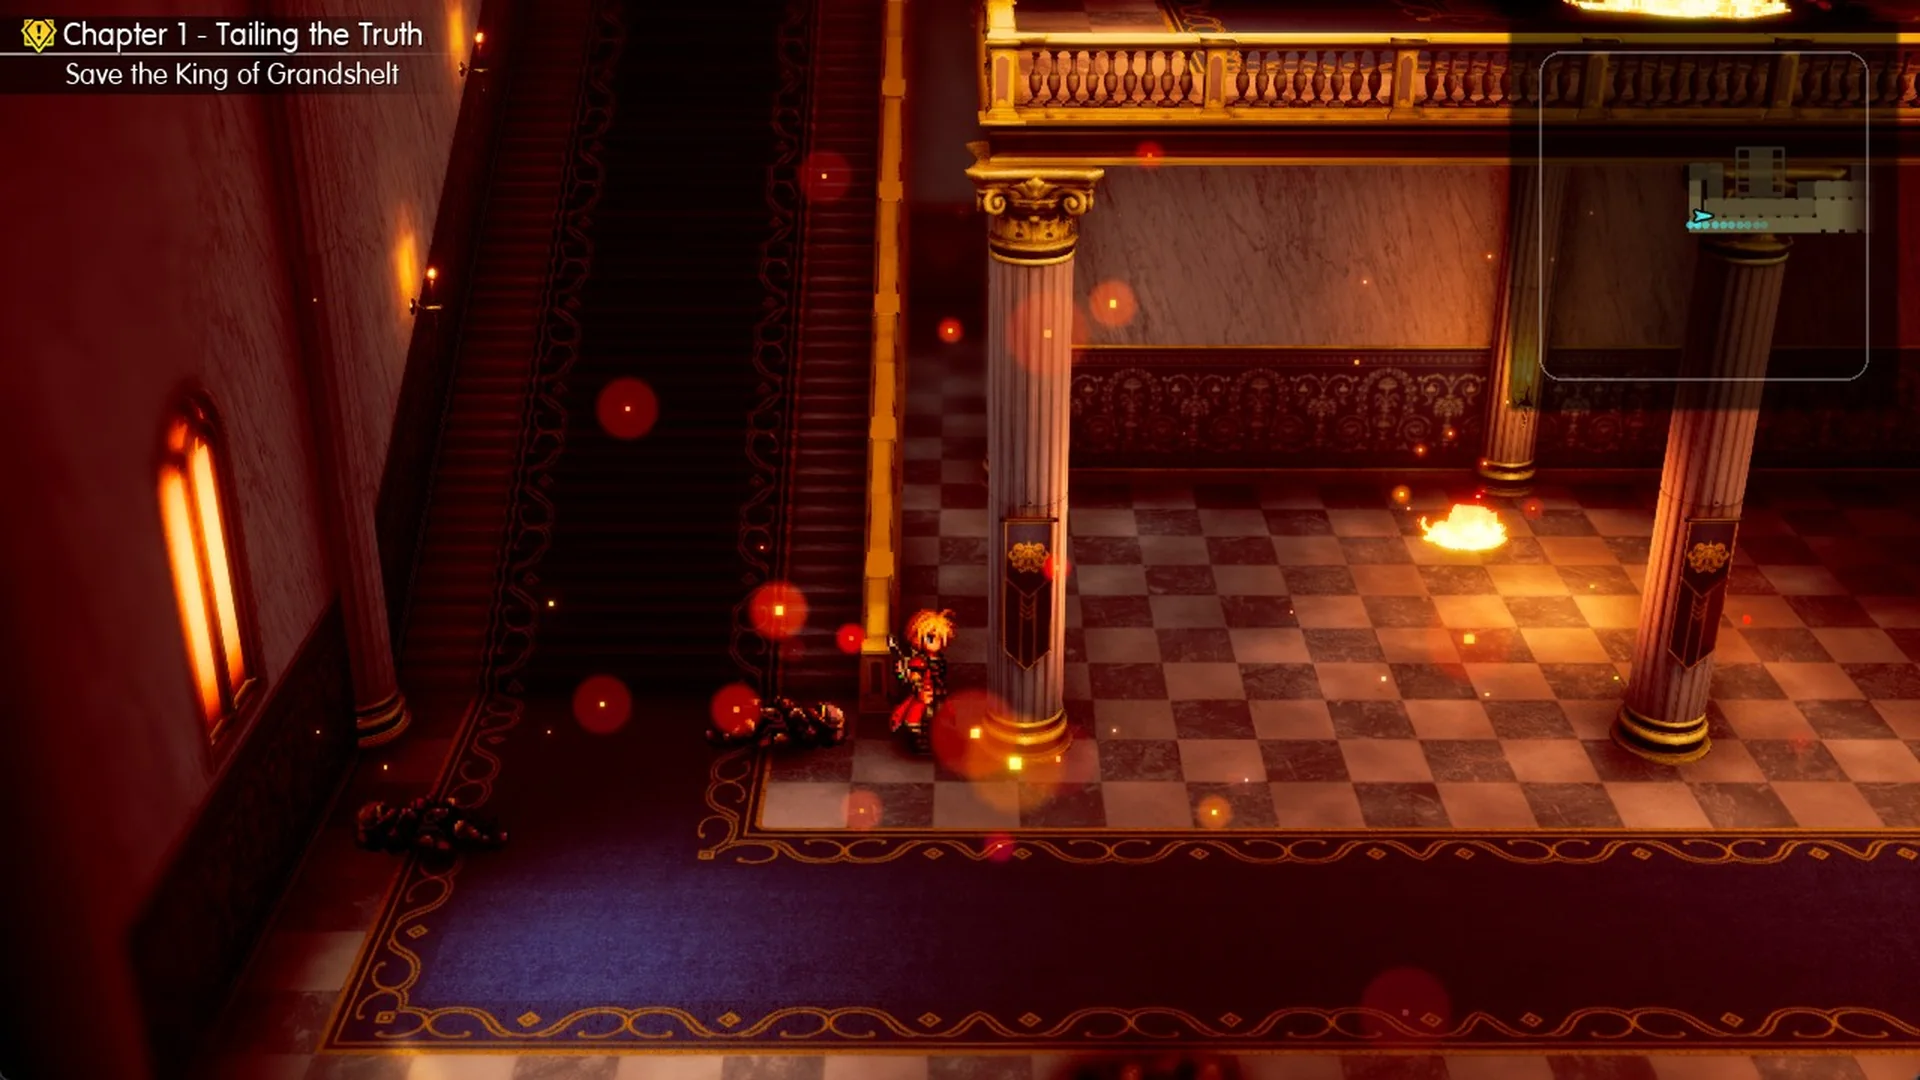
Burning Grandshelt Castle in Chapter 1 begins with the fire at the foot of the grand staircase, which you get past by taking the carpeted stairs at the west end of the main corridor and the hidden path onto the gallery. From there you reach the save point in the second lounge and the wooden ladder in that lounge that leads on. Beyond the ladder are a Mist Potion from a soldier in a side room, the boss Hell’s Rider at the grand staircase, and the Black Garb chest in the banquet hall after the boss.
Quick answer: Head to the west end of the corridor, go up the carpeted stairs and along the gallery to the second lounge, then climb the ladder right of the lounge’s right-hand pillar. Follow the upper walkway west to the grand staircase for Hell’s Rider. After the fight, take the left upper flight west to the banquet hall for the Black Garb.
Before you go in
The Earth Shrine walkthrough covers the journey to the capital and finishes at the starting point of this guide. On arrival, the screen displays “Grandshelt, the Royal Capital” and “Recommended Level 5”.
Fire spreads across the castle courtyard. Find the pink-glowing save point at the bottom of the castle steps on their west (left) side. Stand in the middle of it, press F, then select Save progress. There is no Save row in the capital’s System Menu, so use this save point before you go up the steps. For more detail, read how saving works.
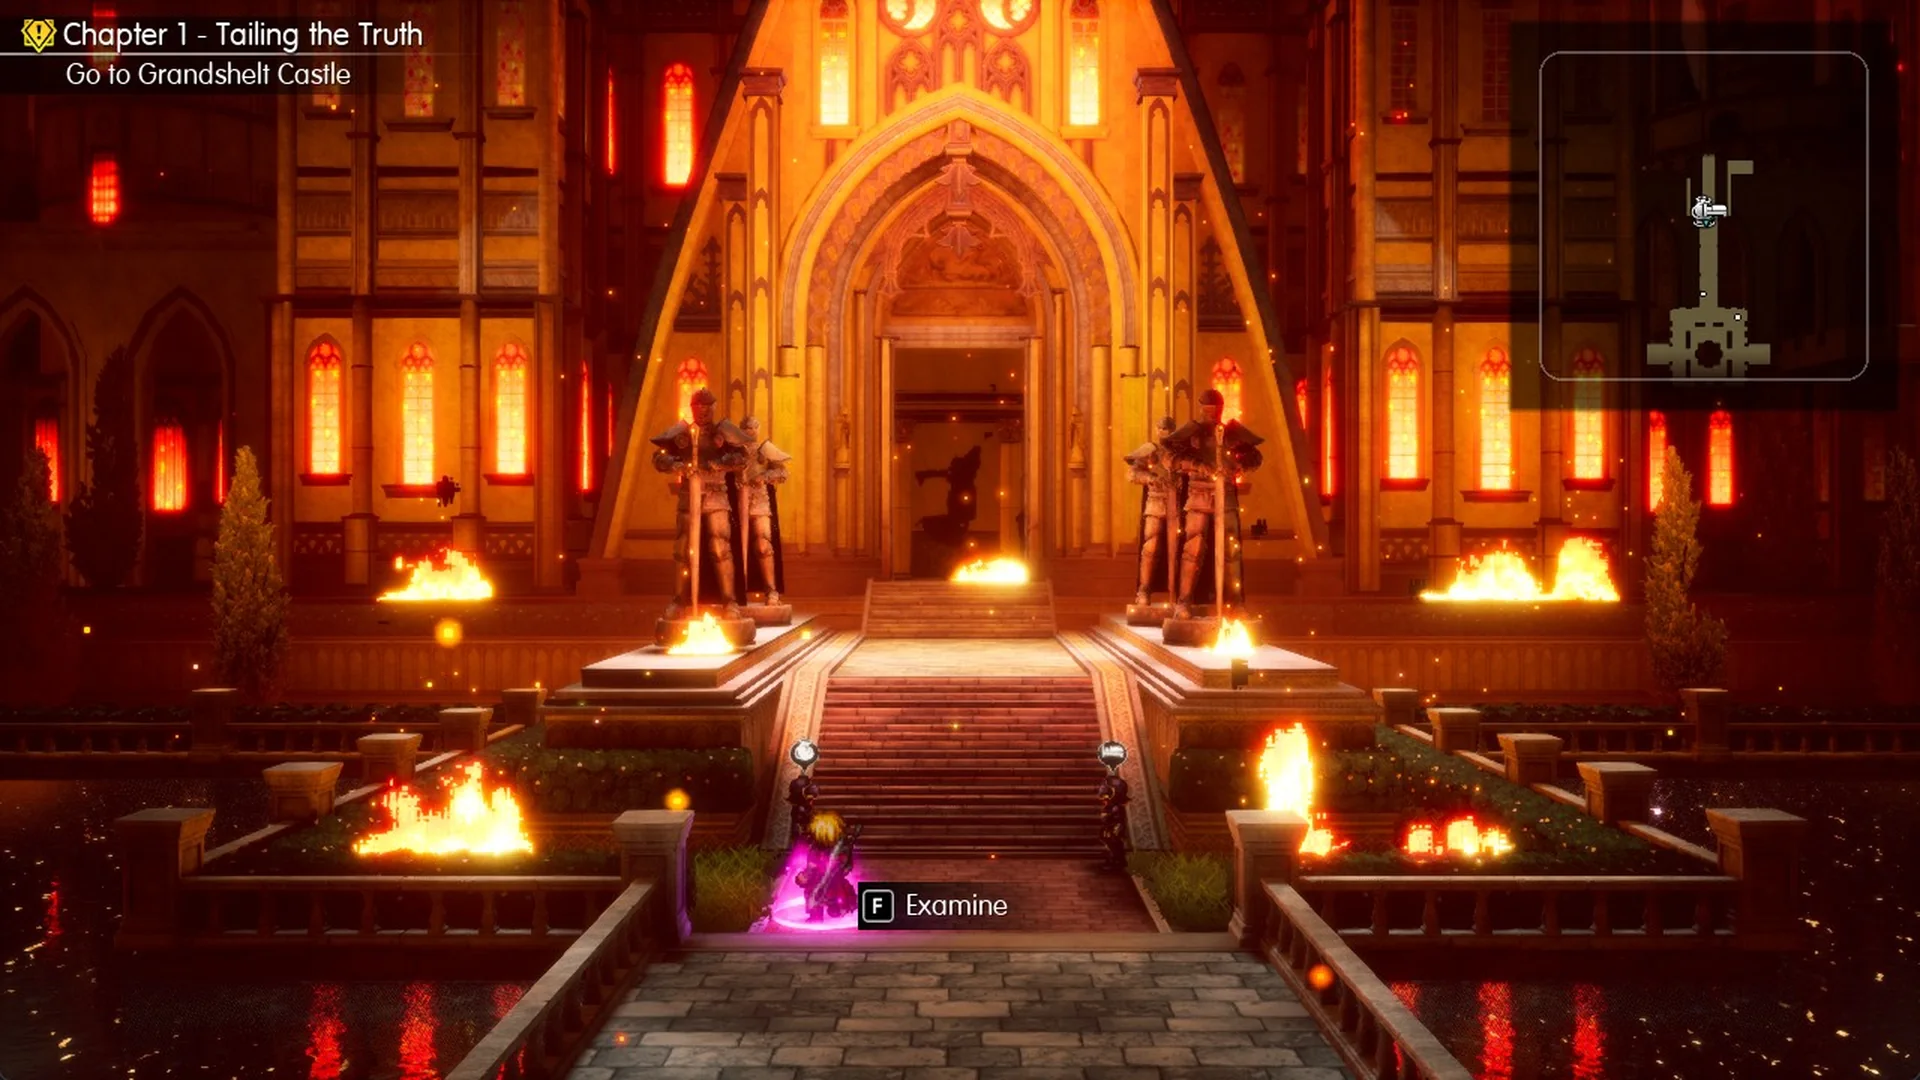
The castle door closes behind you once you’re inside, so you can’t walk back out to this save point.
Inside the castle: Charlotte joins
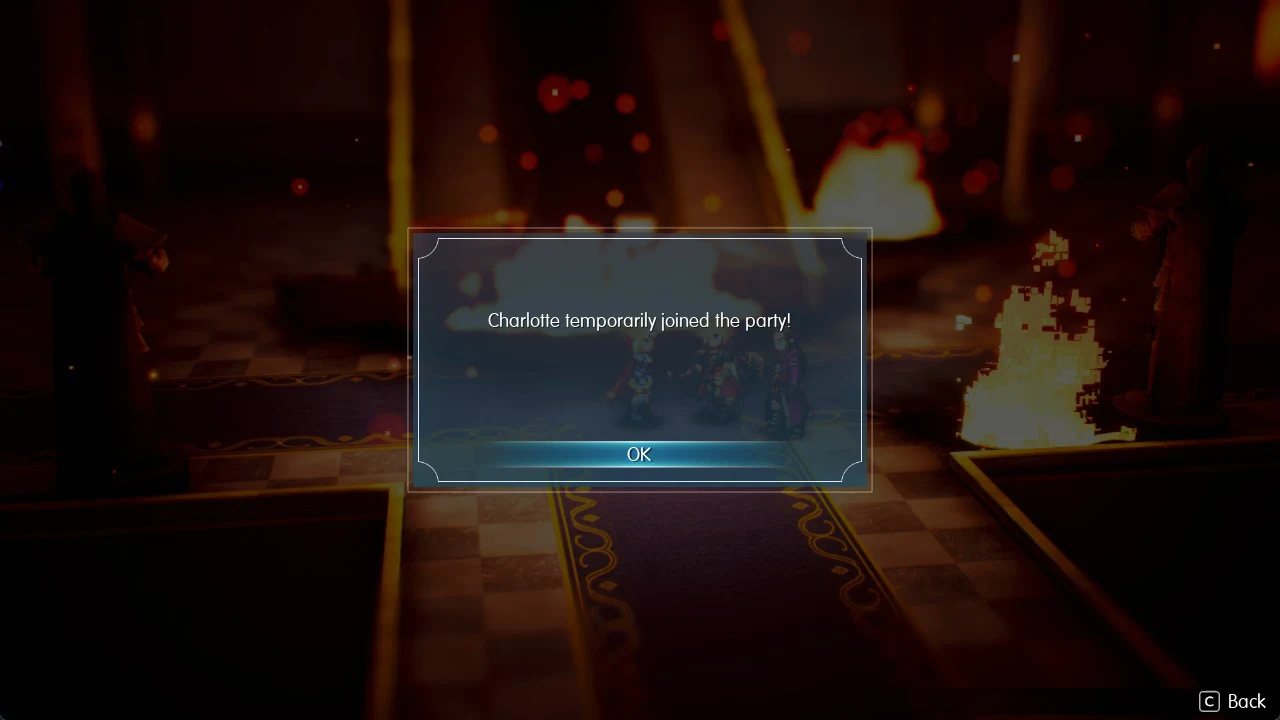
Head north up the castle steps into the entrance hall, the room with the big chandelier, and press F at the far door. In the scene that follows, an Injured Soldier says “Then there was this man in black armor…”, and Rain answers “It’s him… The one responsible for shattering the Earth Crystal.” Then Charlotte joins you, and the popup reads “Charlotte temporarily joined the party!”
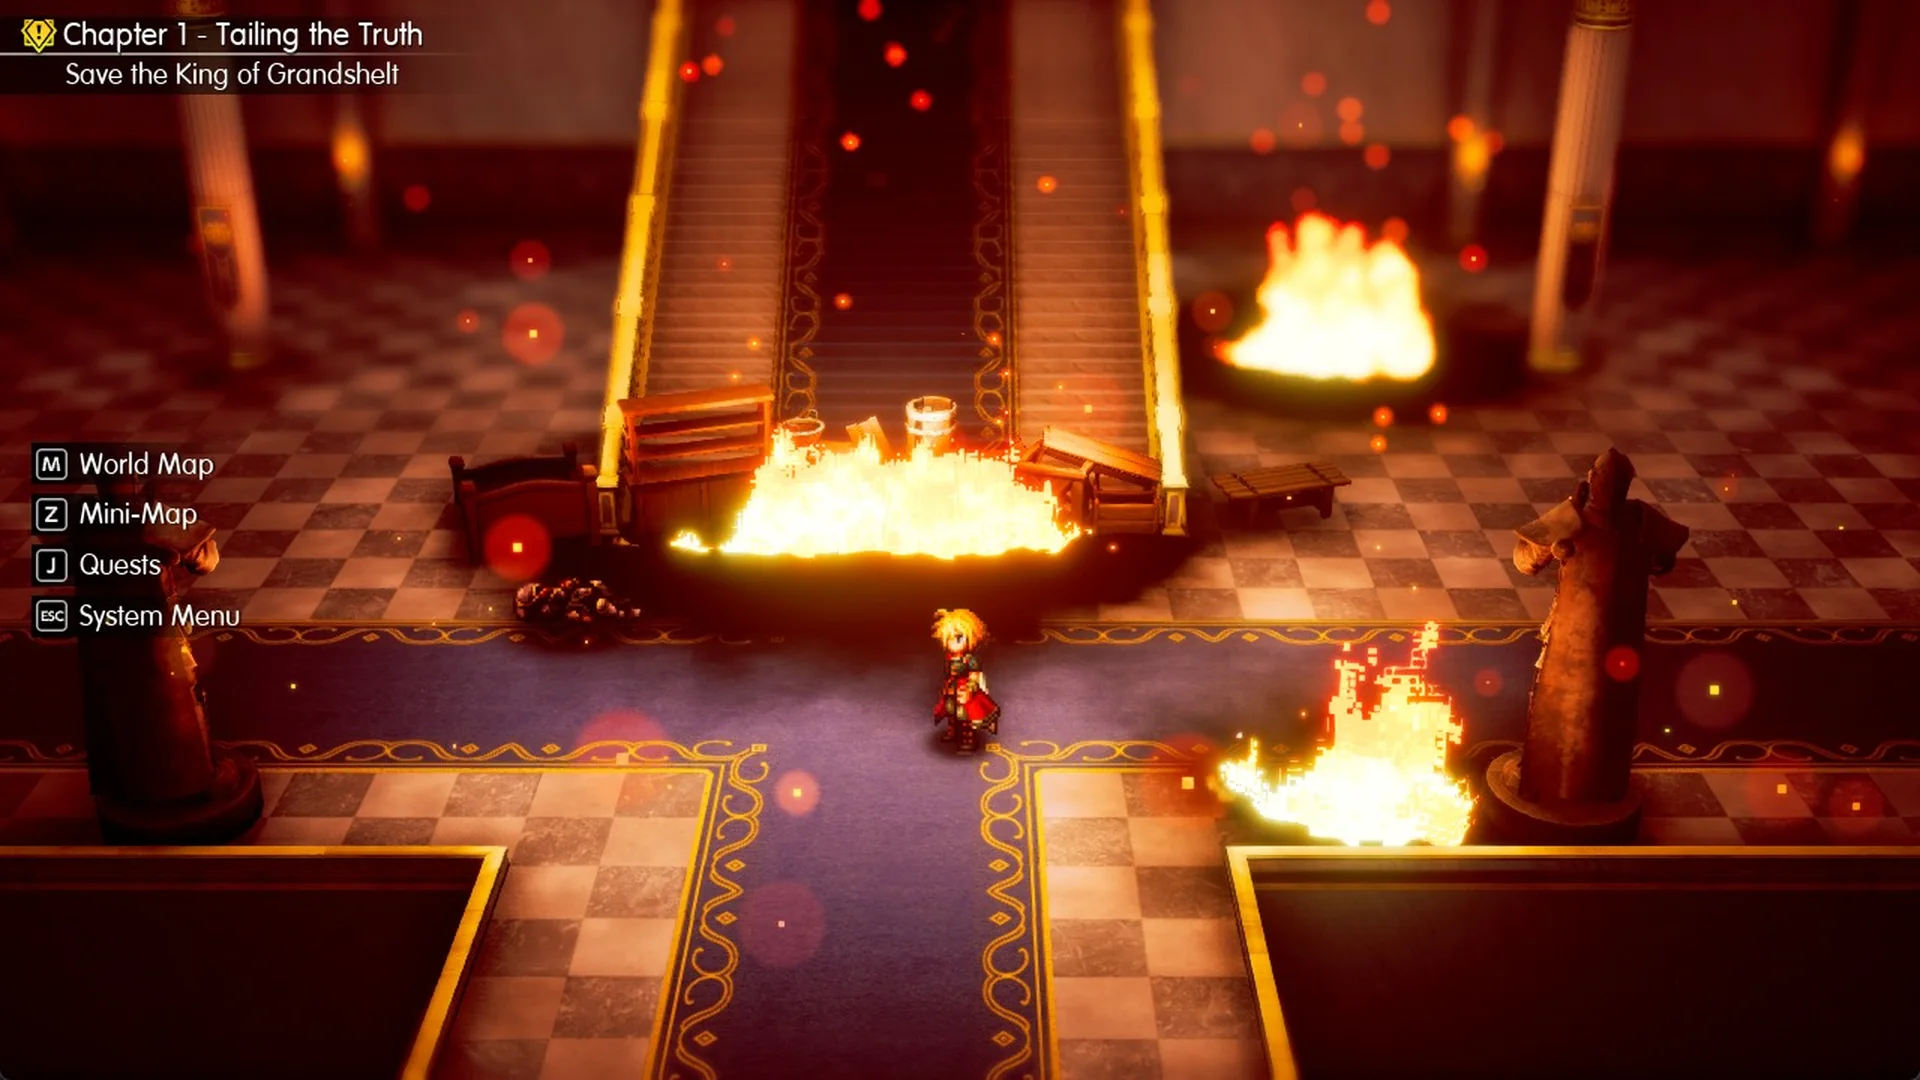
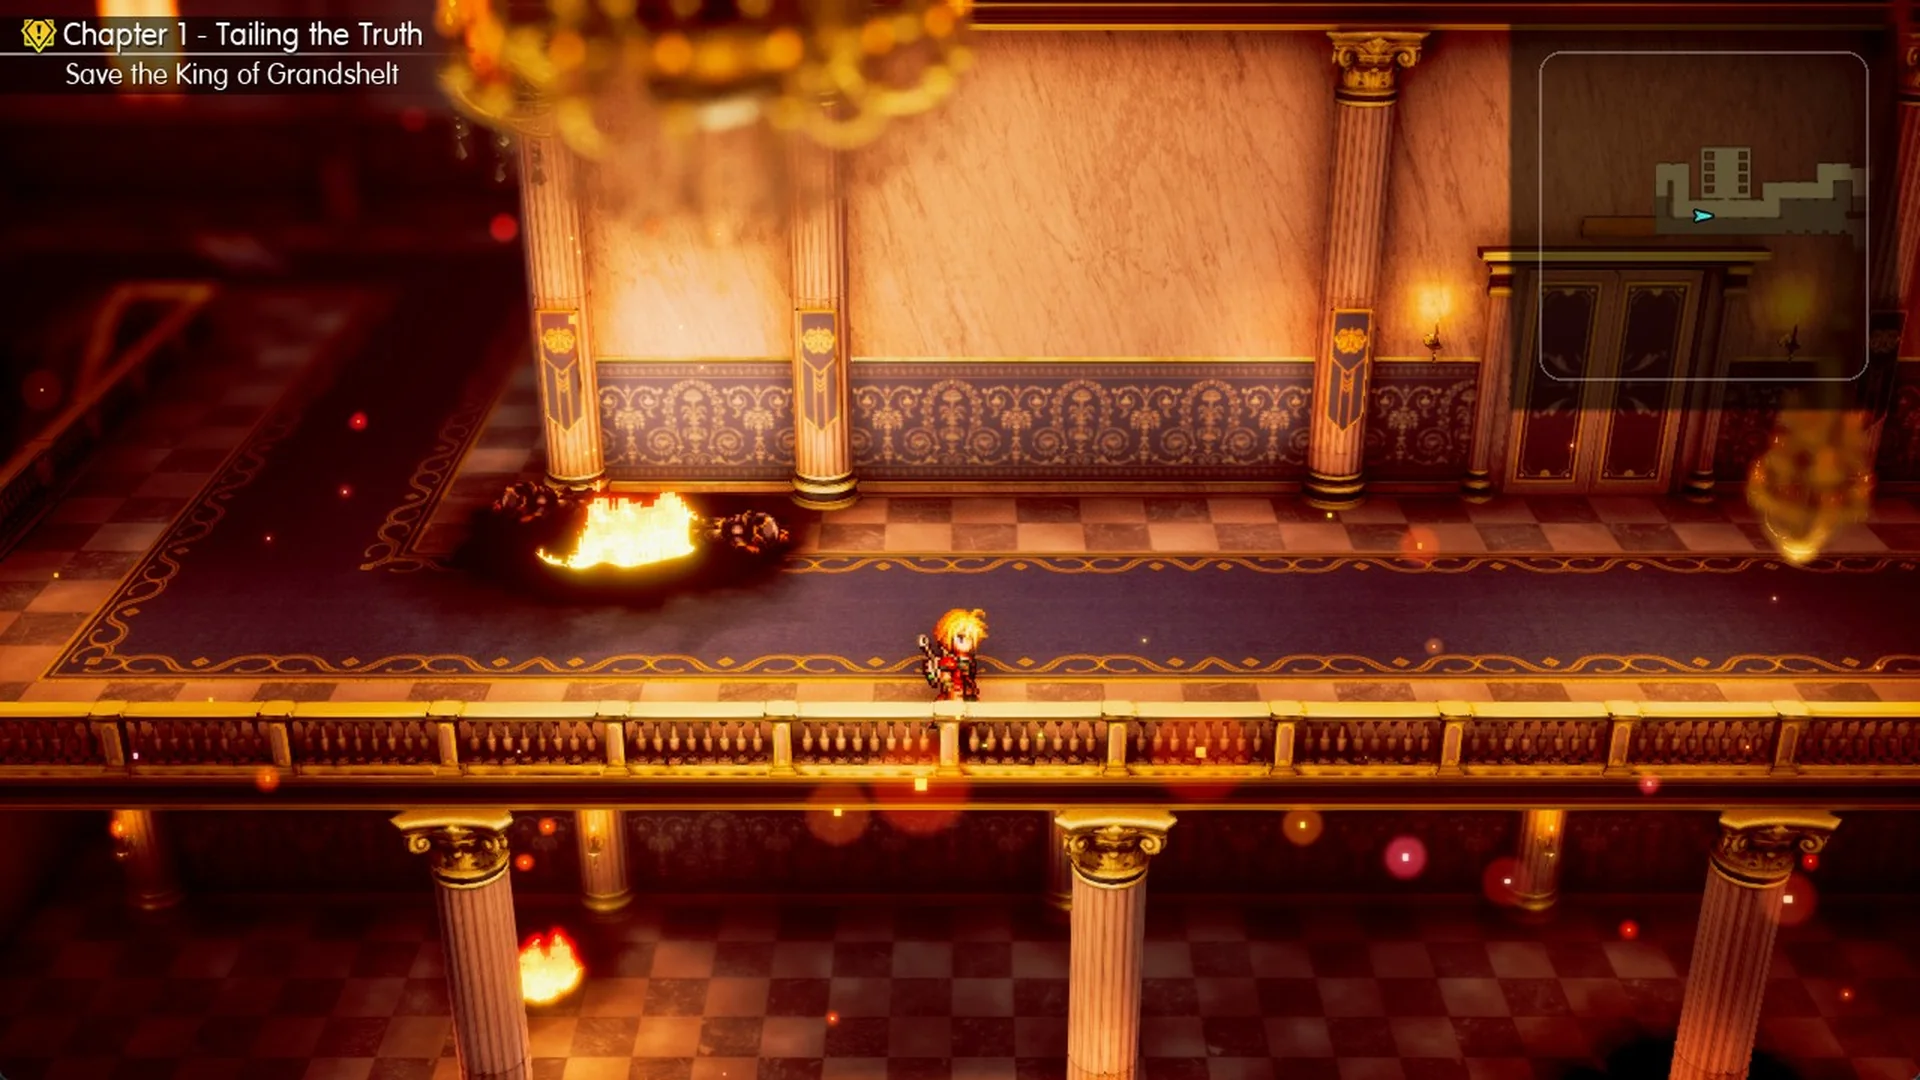
Your new objective is “Save the King of Grandshelt”. The castle’s main corridor runs east to west, with the grand staircase branching north from its midpoint. Flames block the staircase’s base, but that isn’t your way forward; don’t spend time trying to get past them.
West corridor: Skeletons and Phoenix Downs
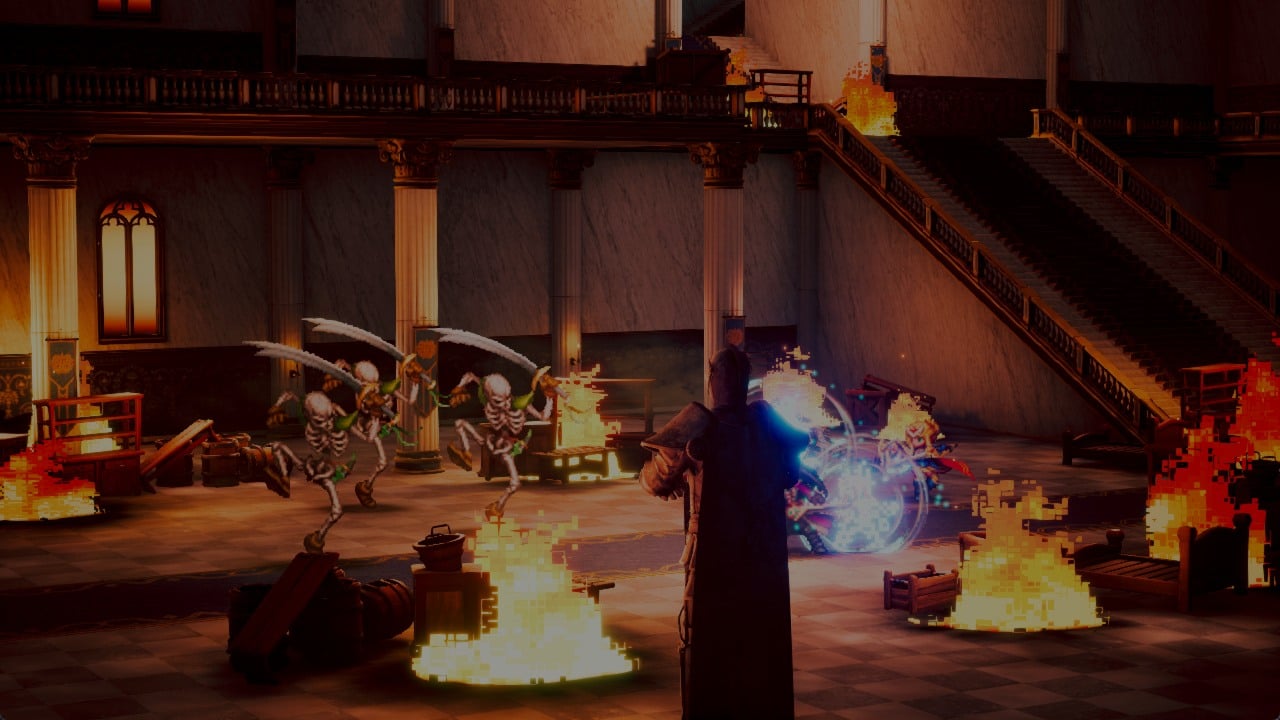
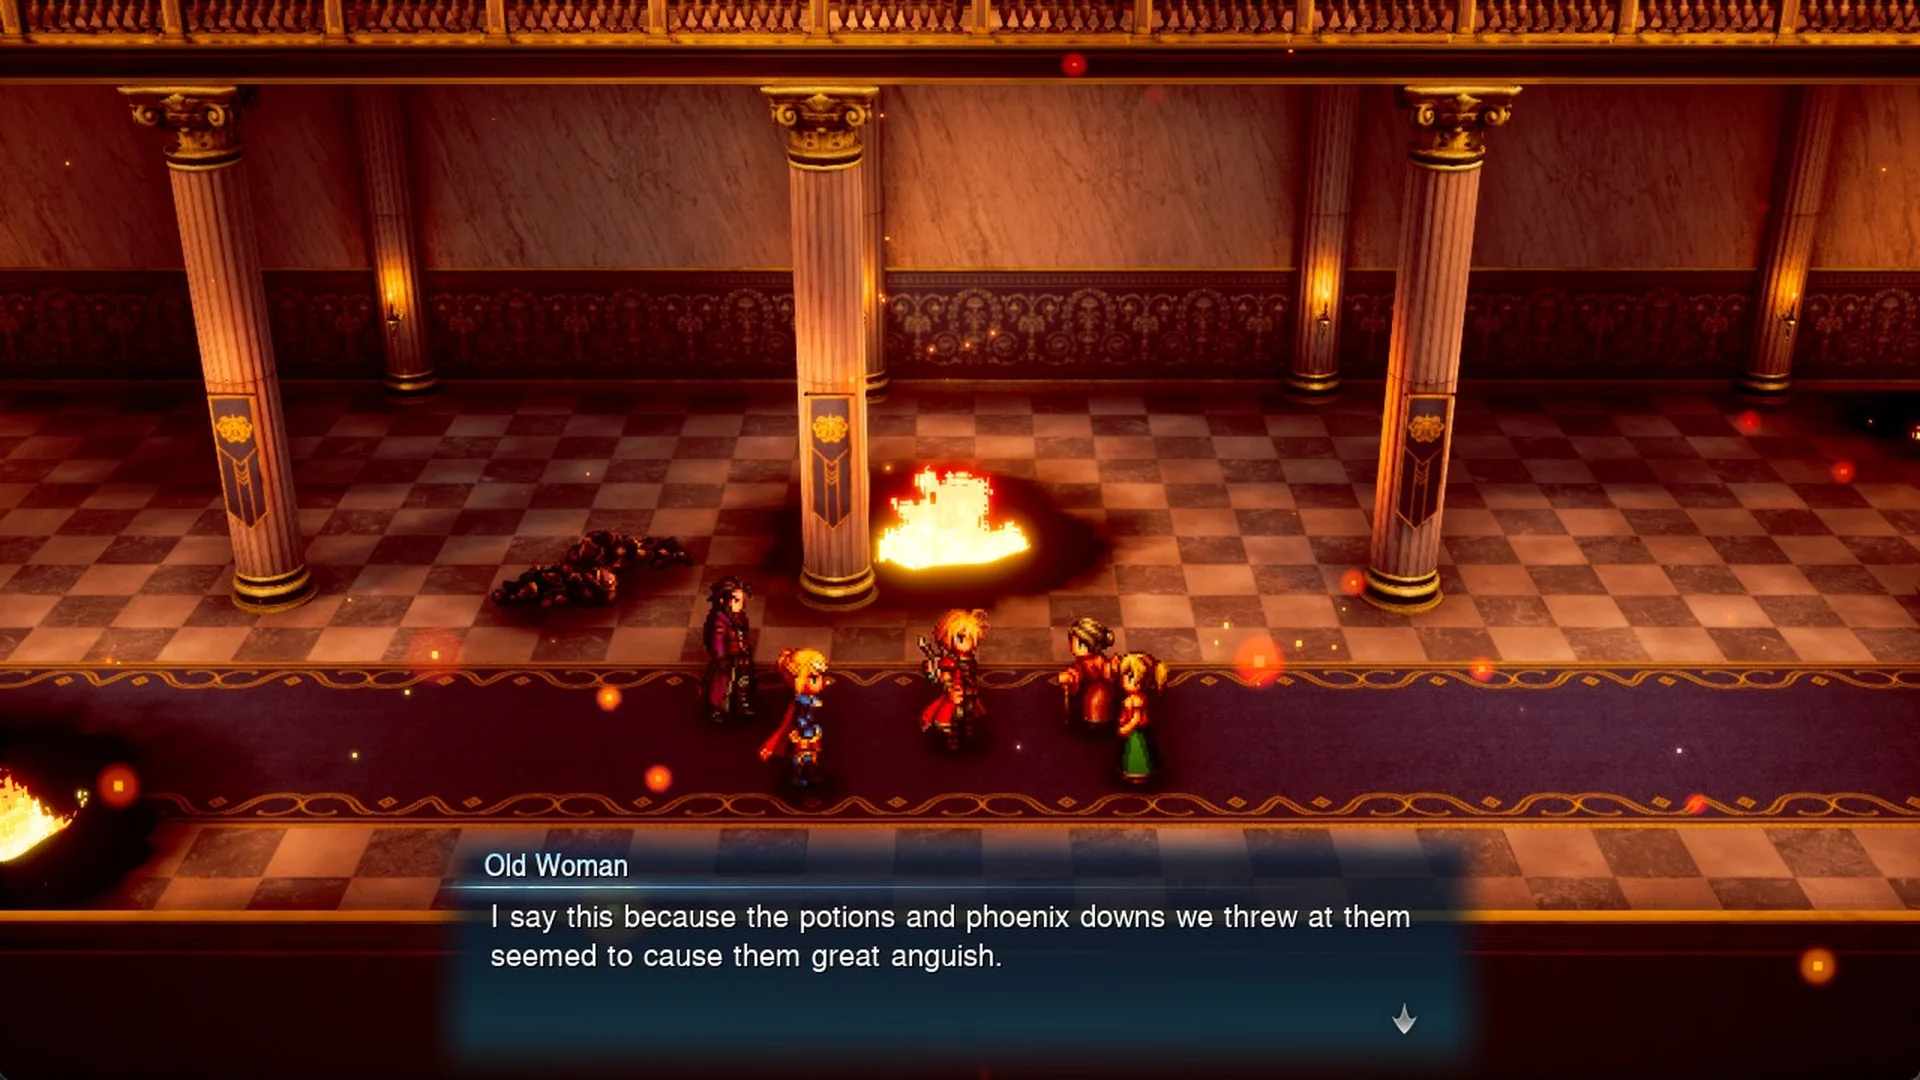
Walk west along the corridor. A woman screams “AHHHHHH!” and Skeletons attack. Once you win, an Old Woman tells Rain that the attackers are undead, adding “I say this because the potions and phoenix downs we threw at them seemed to cause them great anguish.” Lasswell then talks about wraiths and undead.
You obtain Phoenix Down x3. The game autosaves after Charlotte instructs the people to evacuate.
Using Potions on Skeletons
The Old Woman’s advice about Potions is correct. During a fight against Skeletons, choose Items, then select Potion.
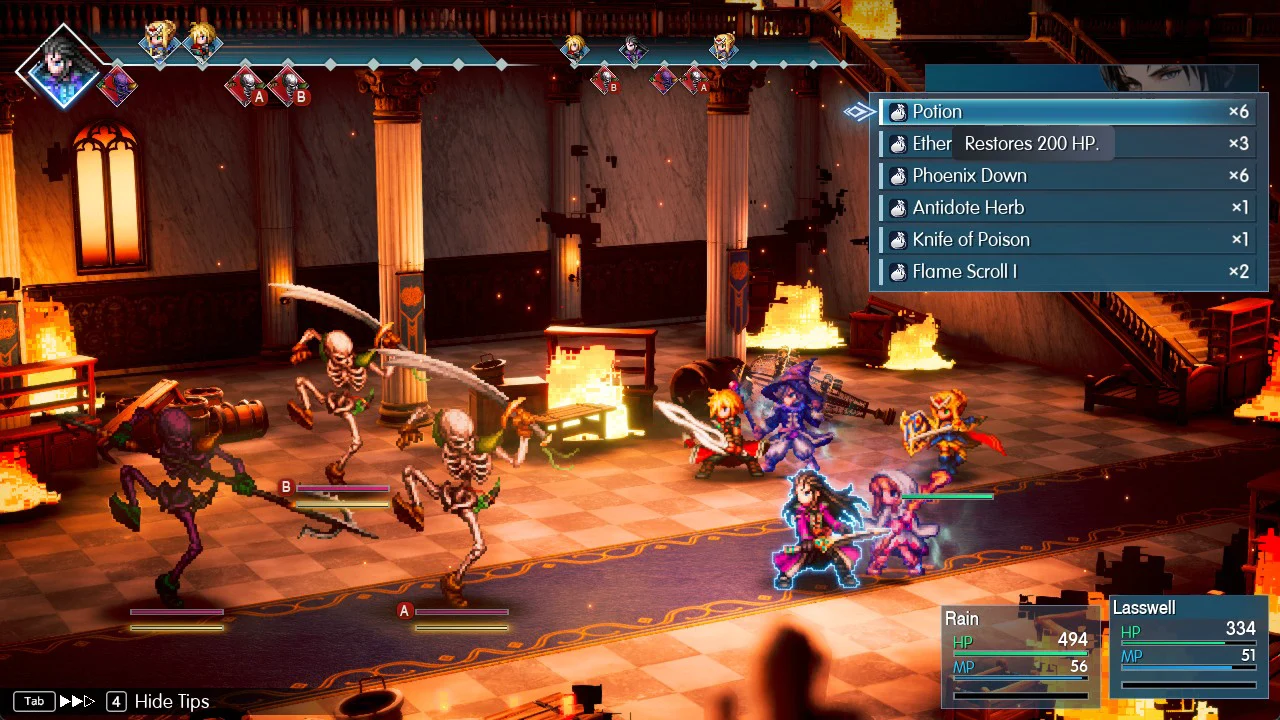
You can aim a Potion at an enemy as well as at your party, so move the target arrow onto a Skeleton.
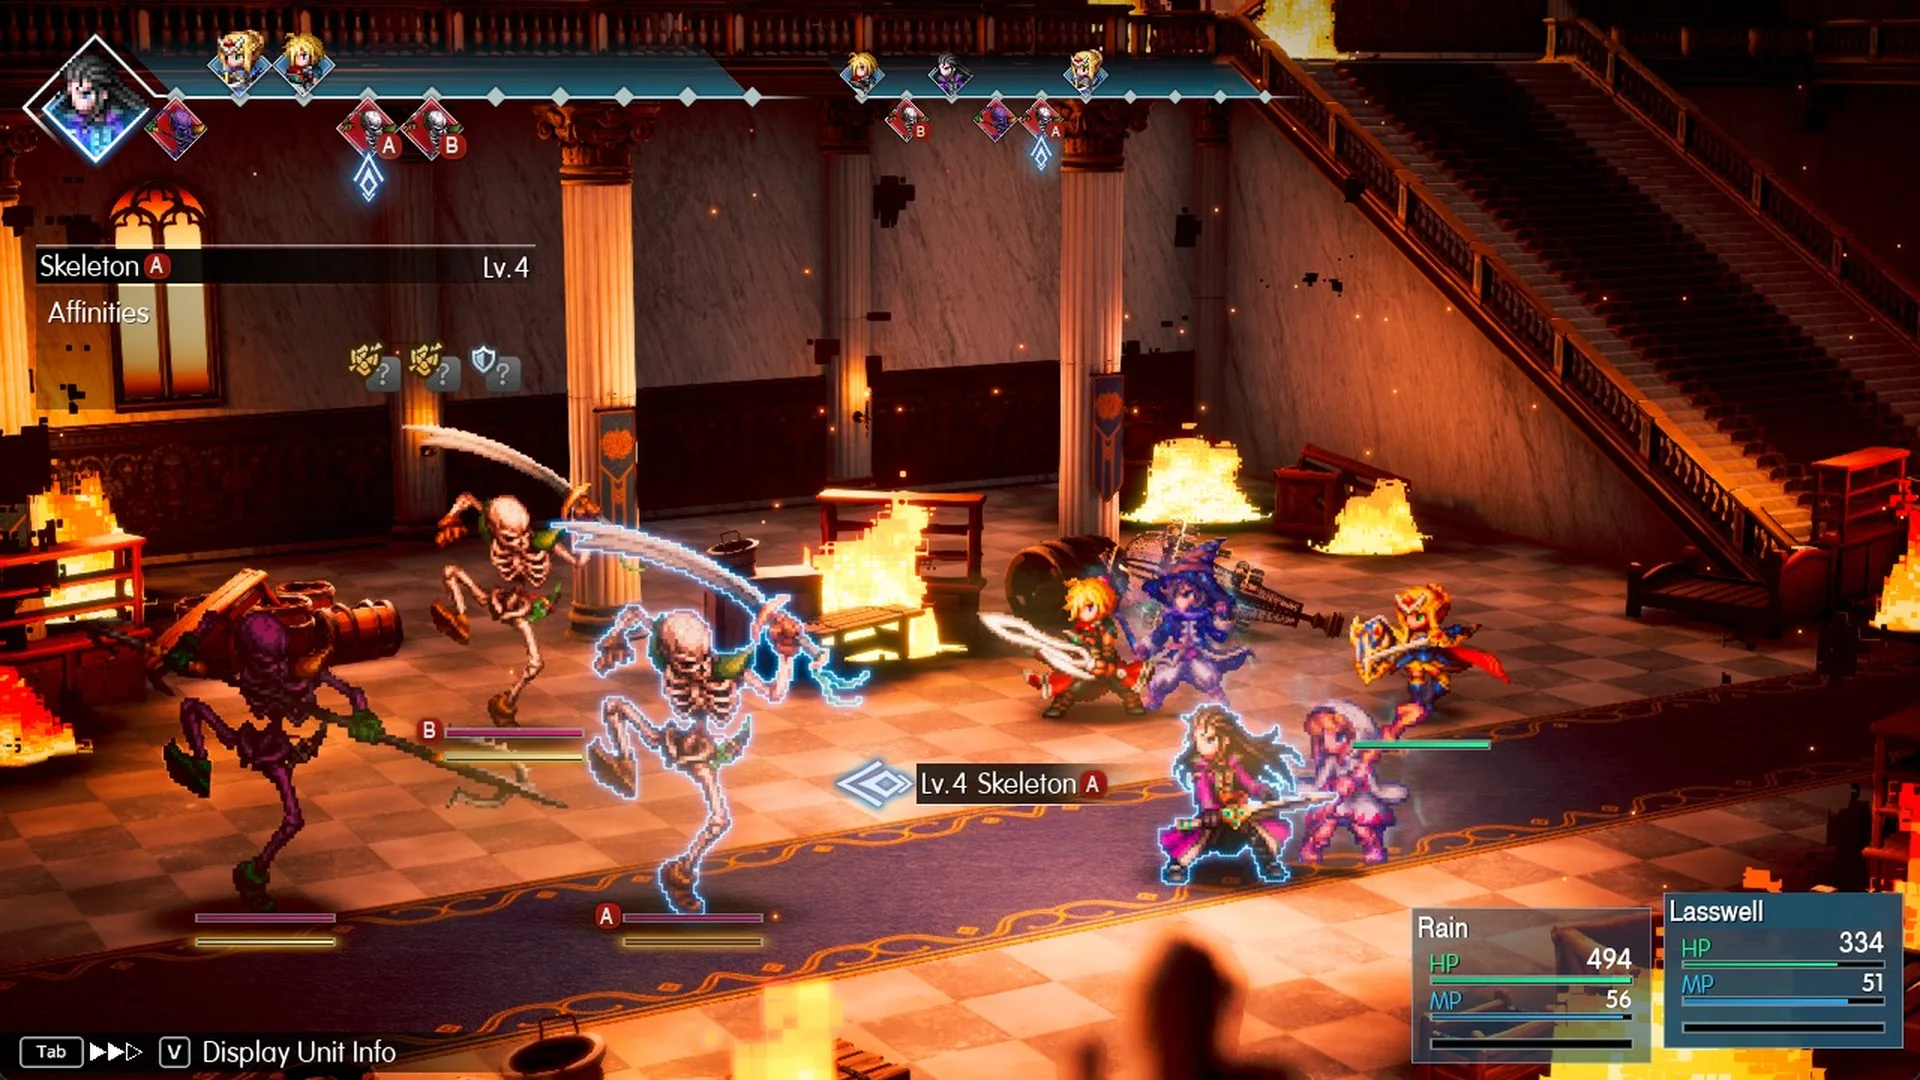
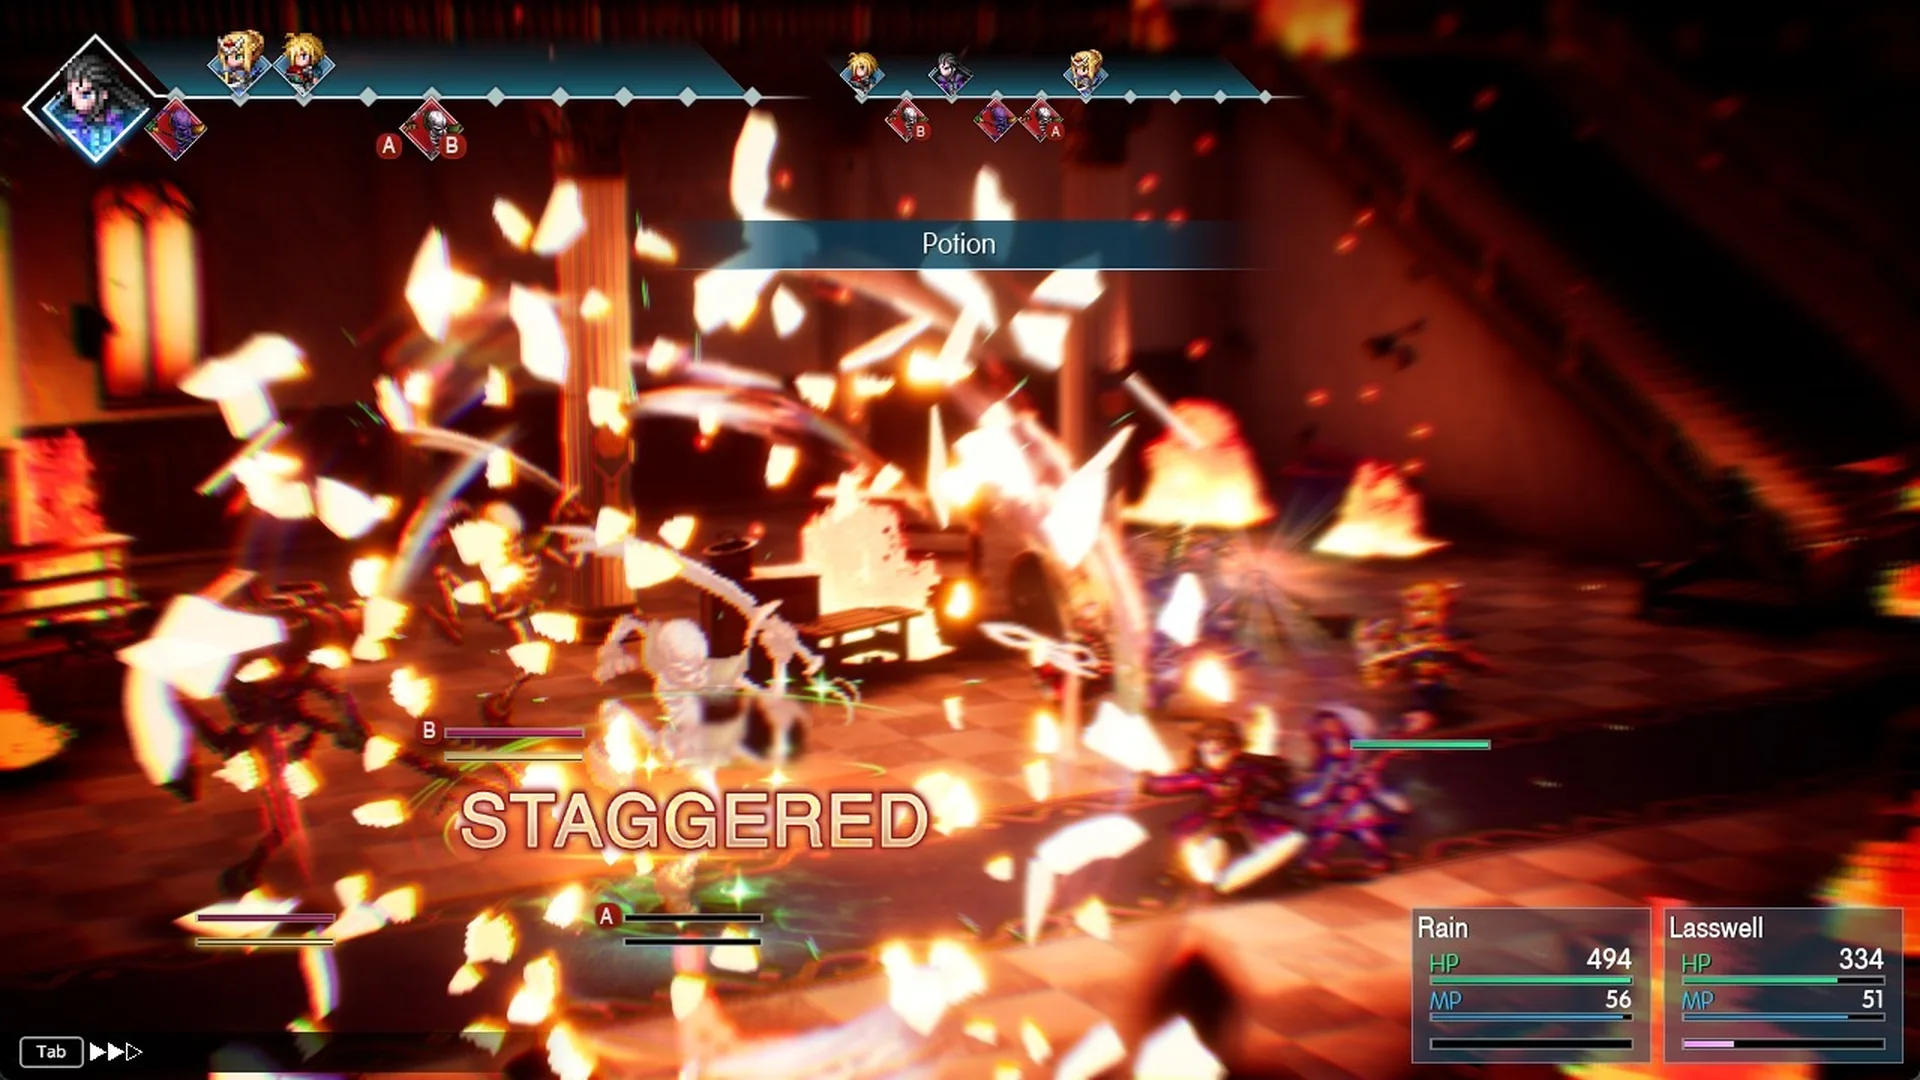
A Potion hurts a Skeleton, which then displays “STAGGERED”. This makes Potions a cheap way to break the castle’s undead foes; see how stagger works. The Old Woman’s hint also mentions Phoenix Downs.
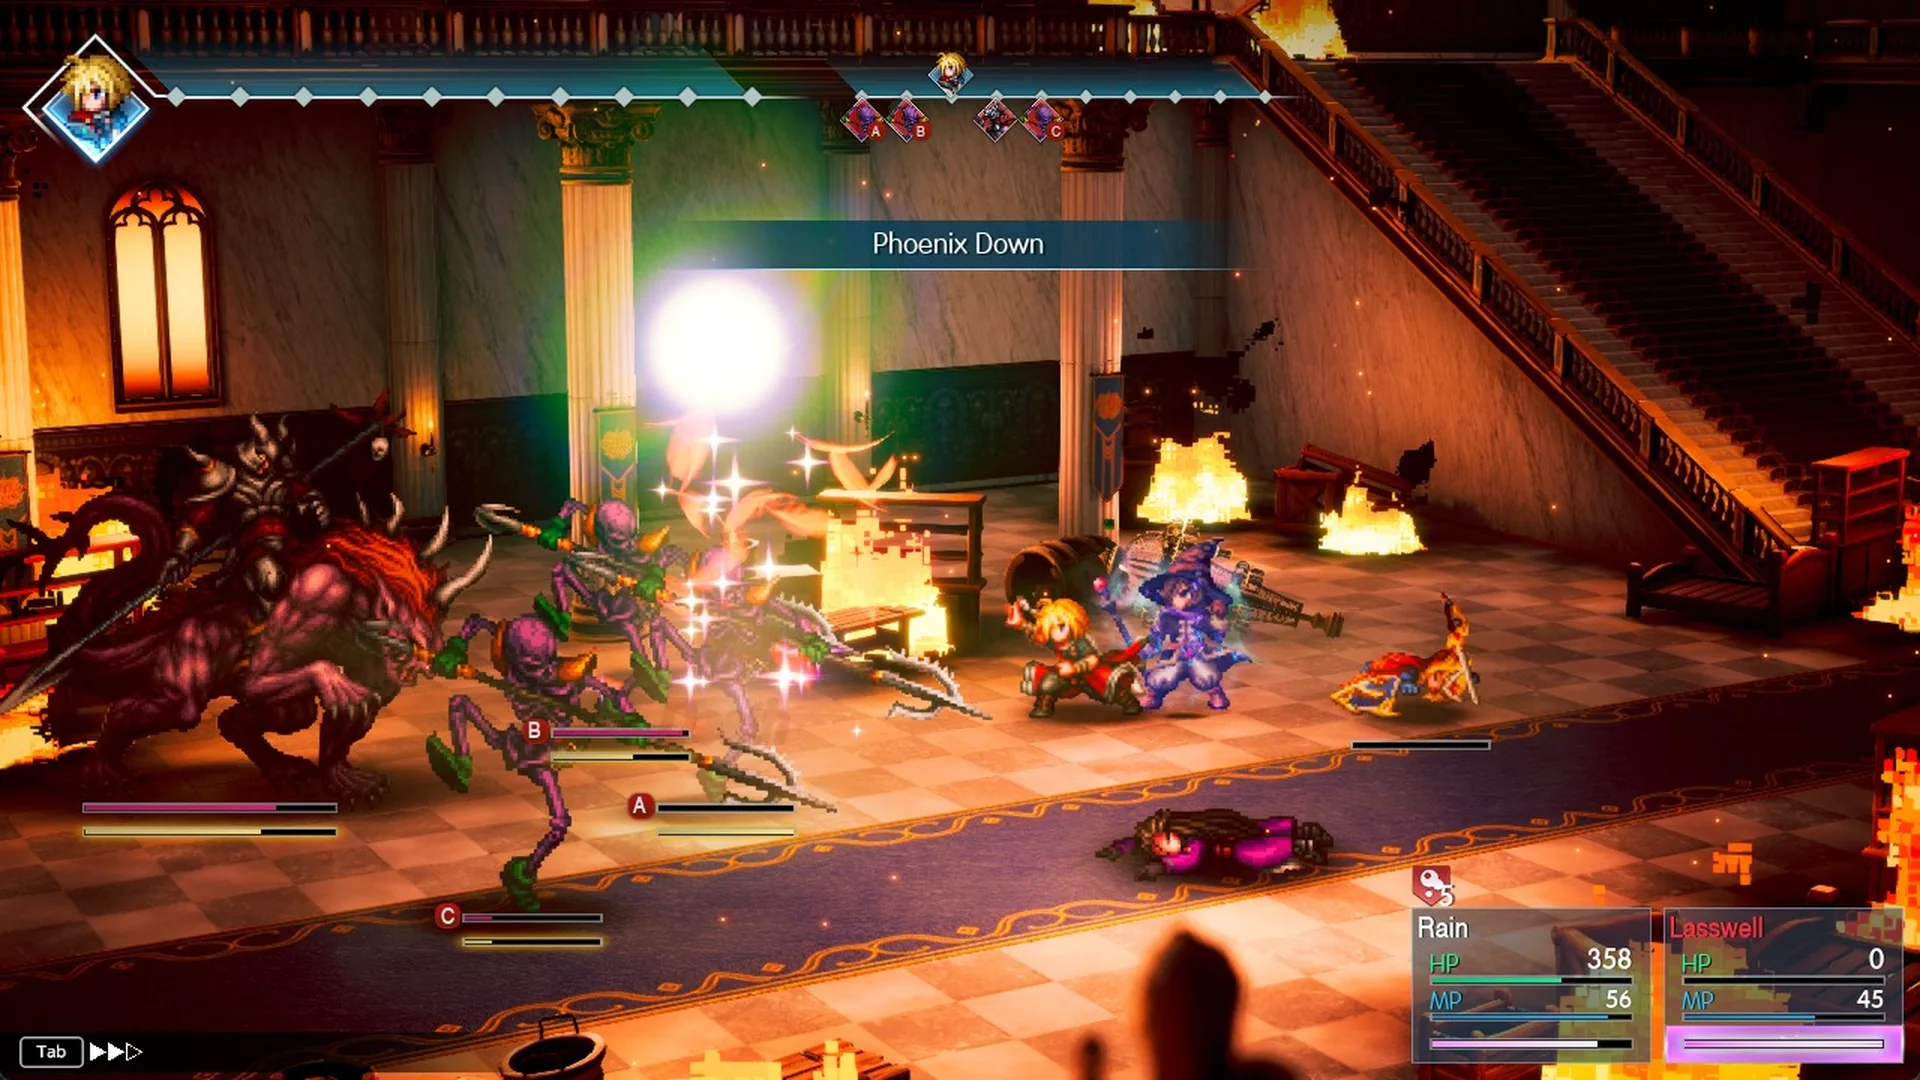
The Old Woman’s hint about Phoenix Downs is right too. In the Hell’s Rider fight, using a Phoenix Down from Items on a Dark Skeleton defeats it outright, and the Dark Skeleton either vanishes or shows a “Death” popup over it.
East wing chest: Flame Scroll I
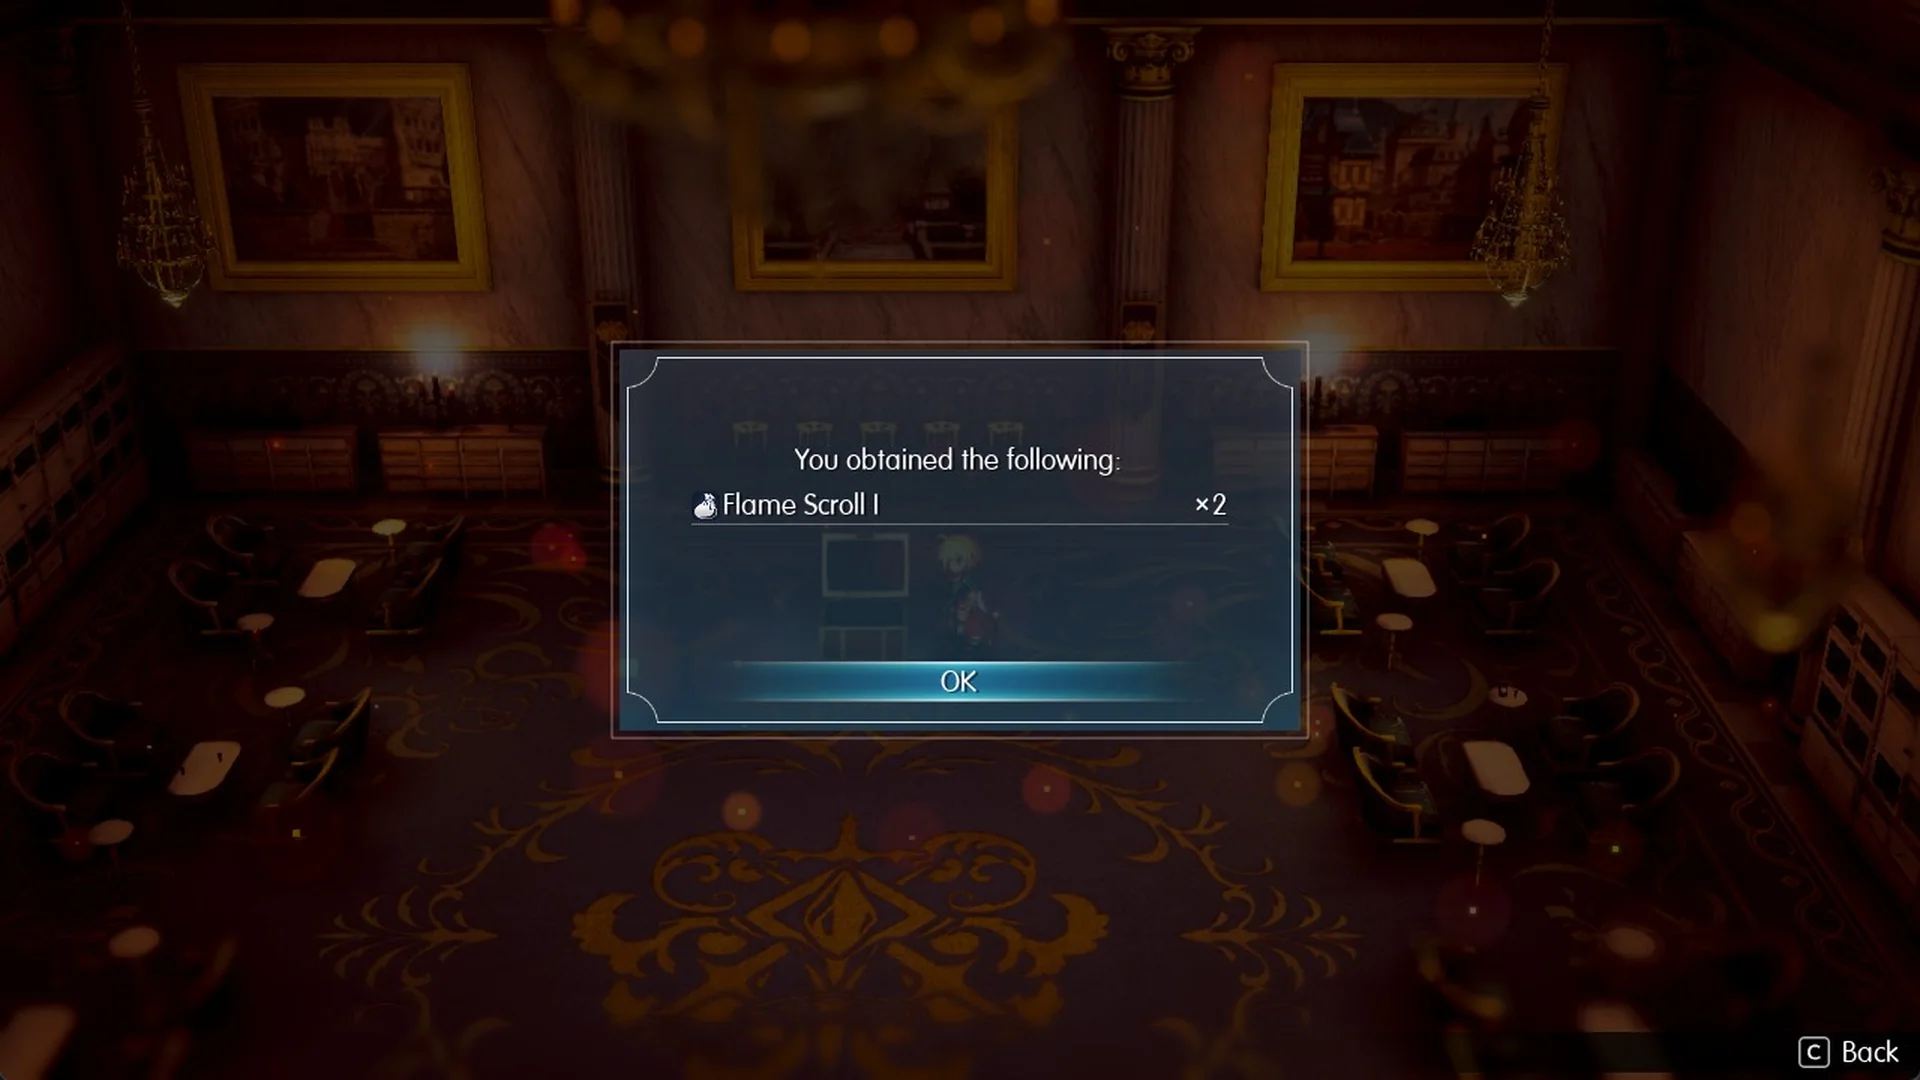
Before you take the route past the fire, grab the chest in the east wing. From the corridor, head east around the fire at the foot of the staircase, passing on its south side, and go between the statues. The room in the east wing sits north of the corridor.
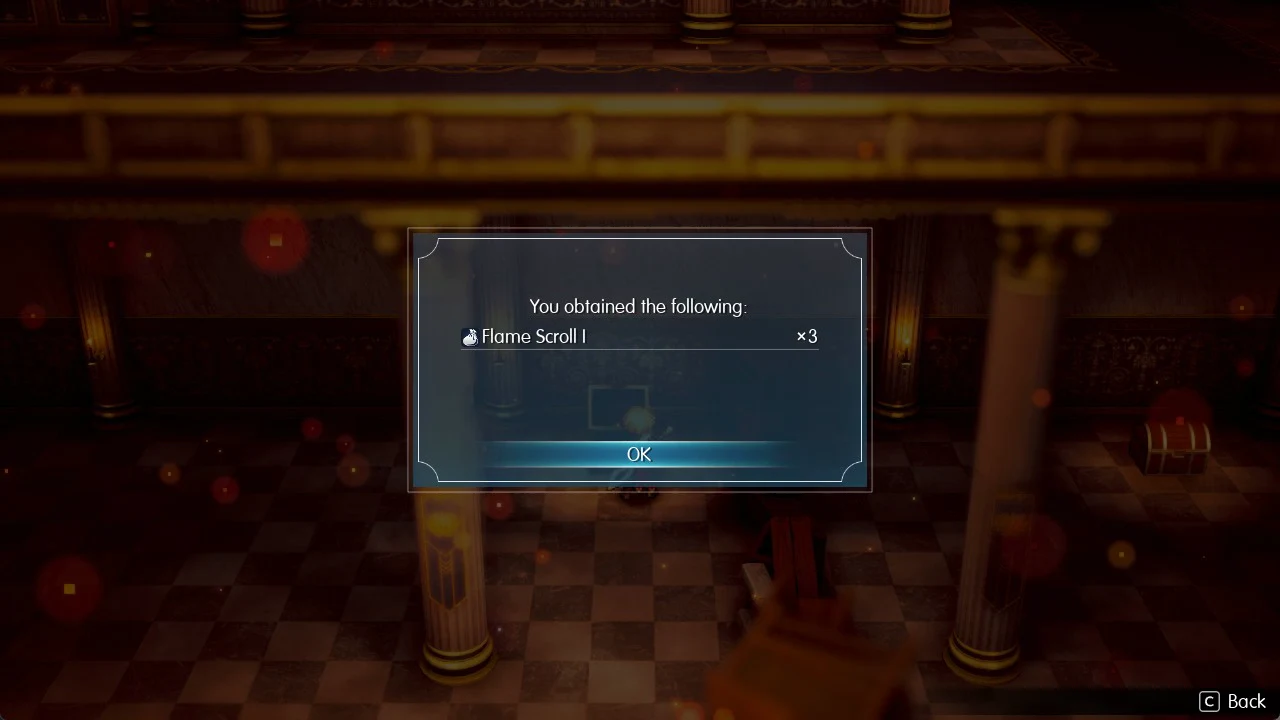
A second chest sits further east in the same room, but a fallen, burning bookcase cuts it off. Leave it.
How to get past the fire in Grandshelt Castle
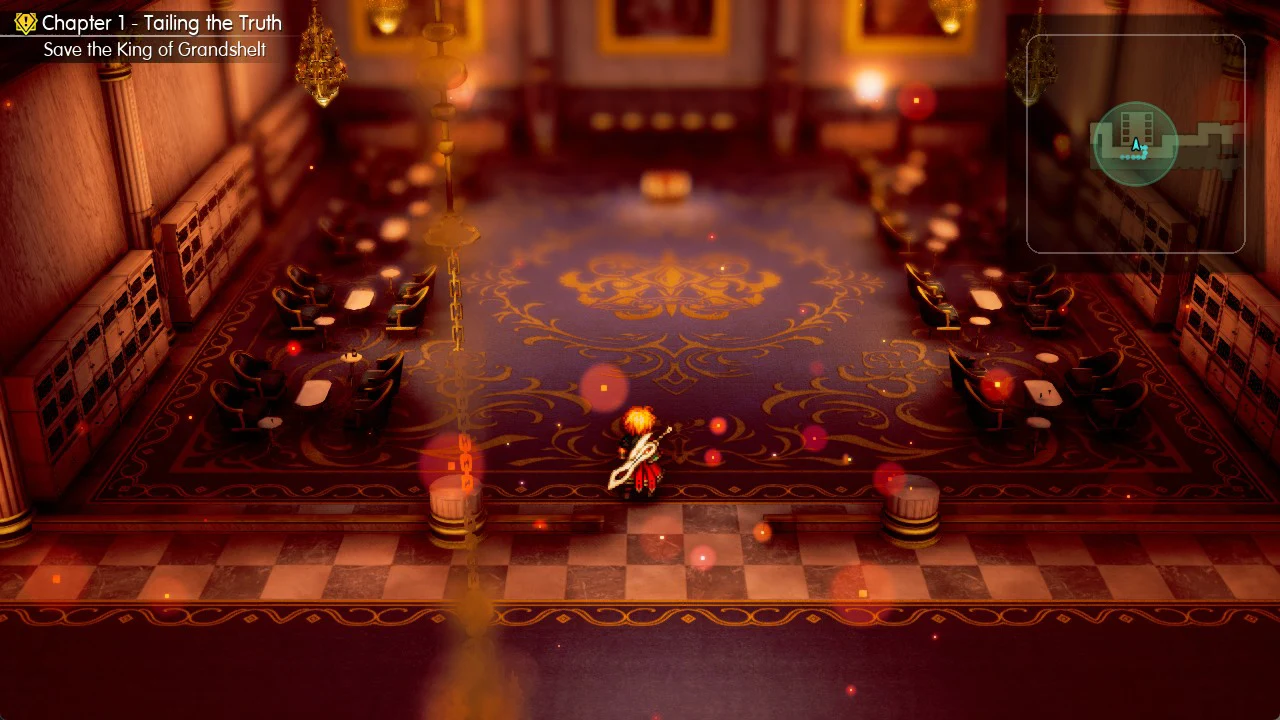
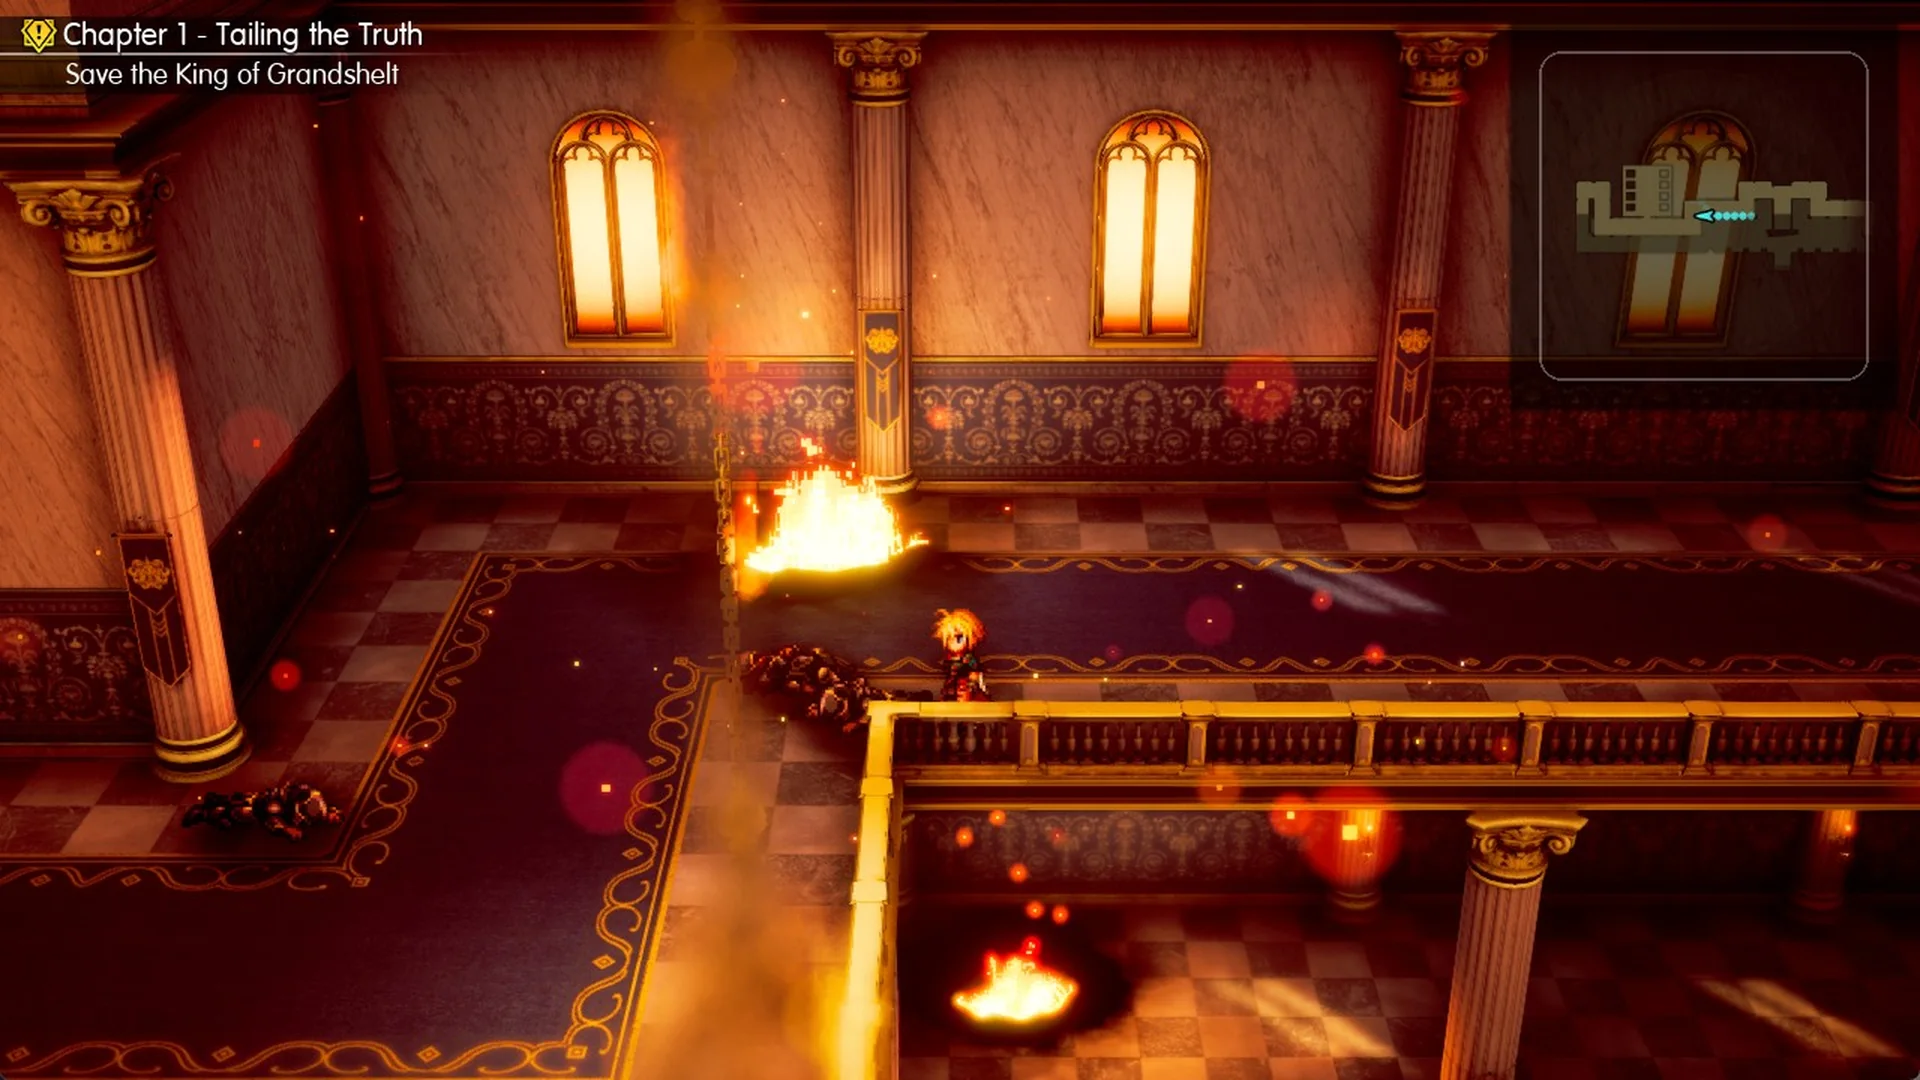
The camera looks down from the south, so “north” means up the screen and “west” means left, which matches the mini-map in the top-right corner.
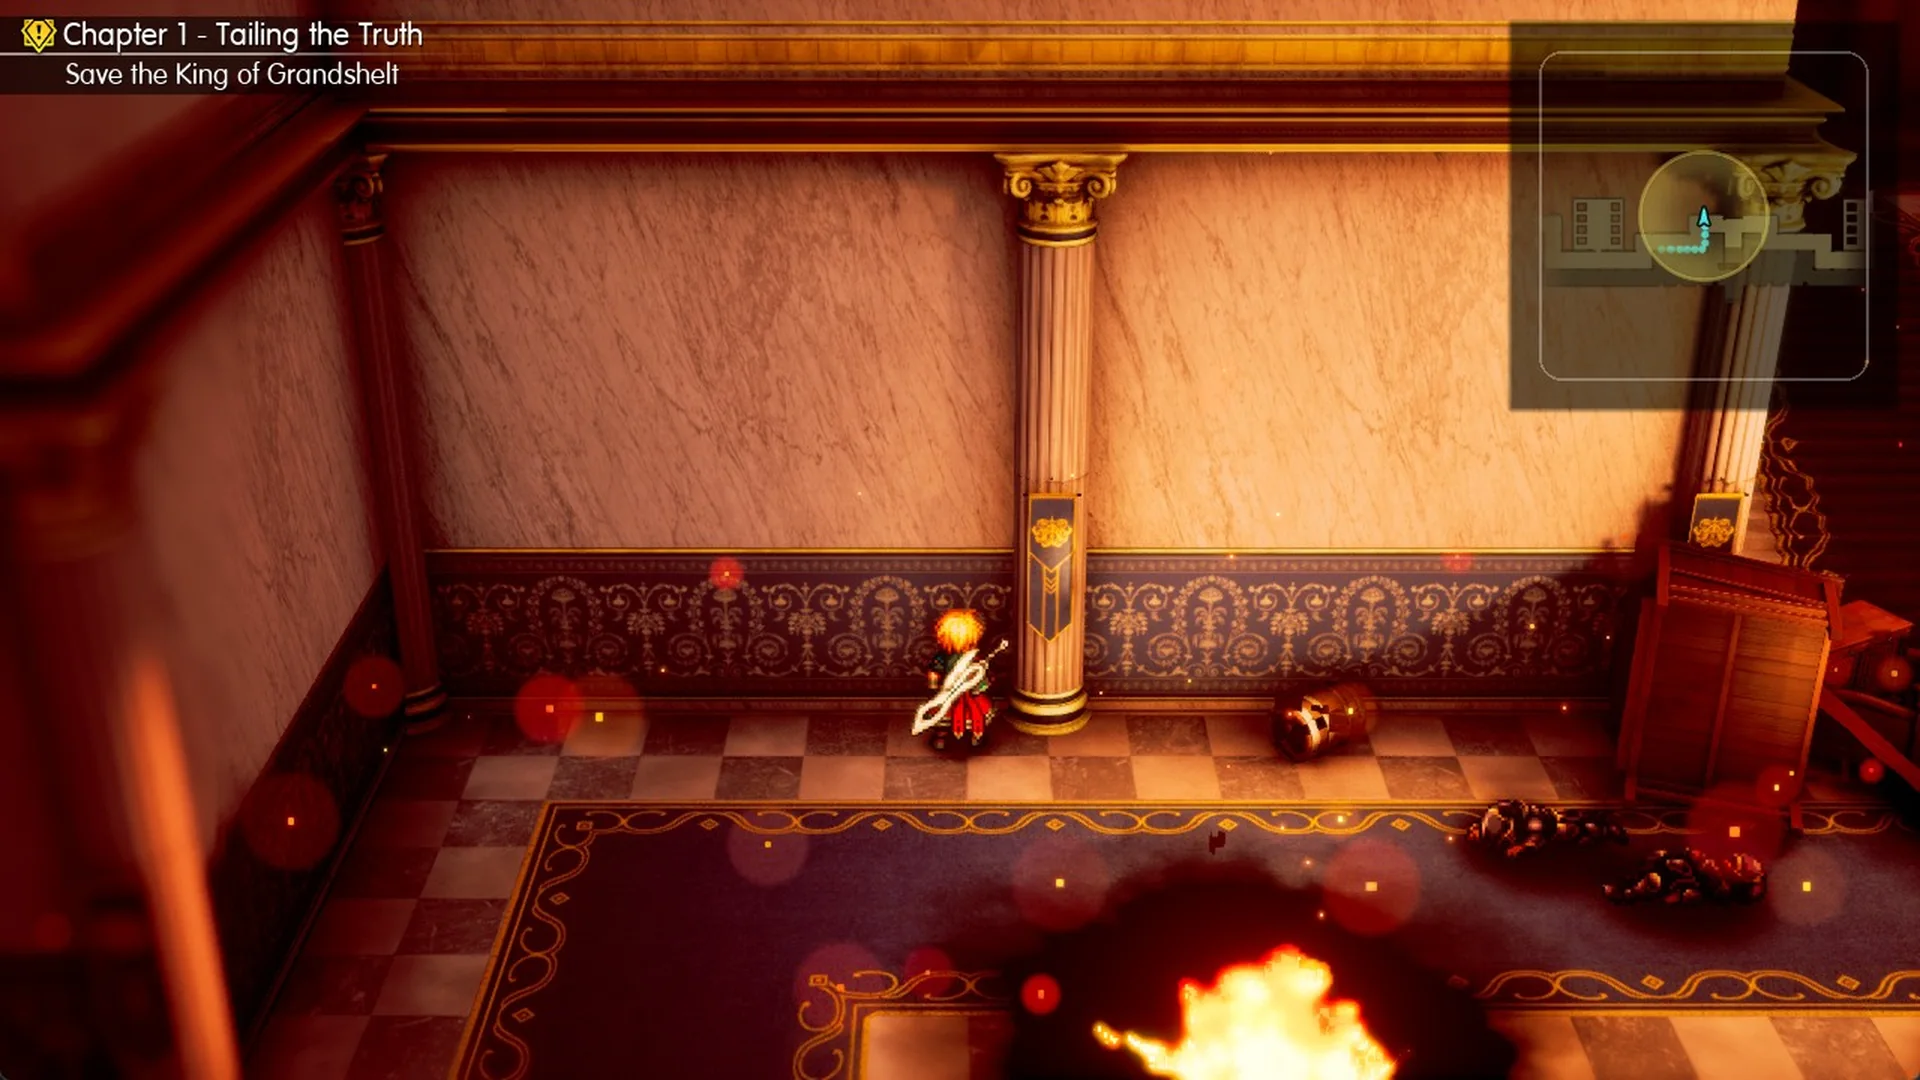
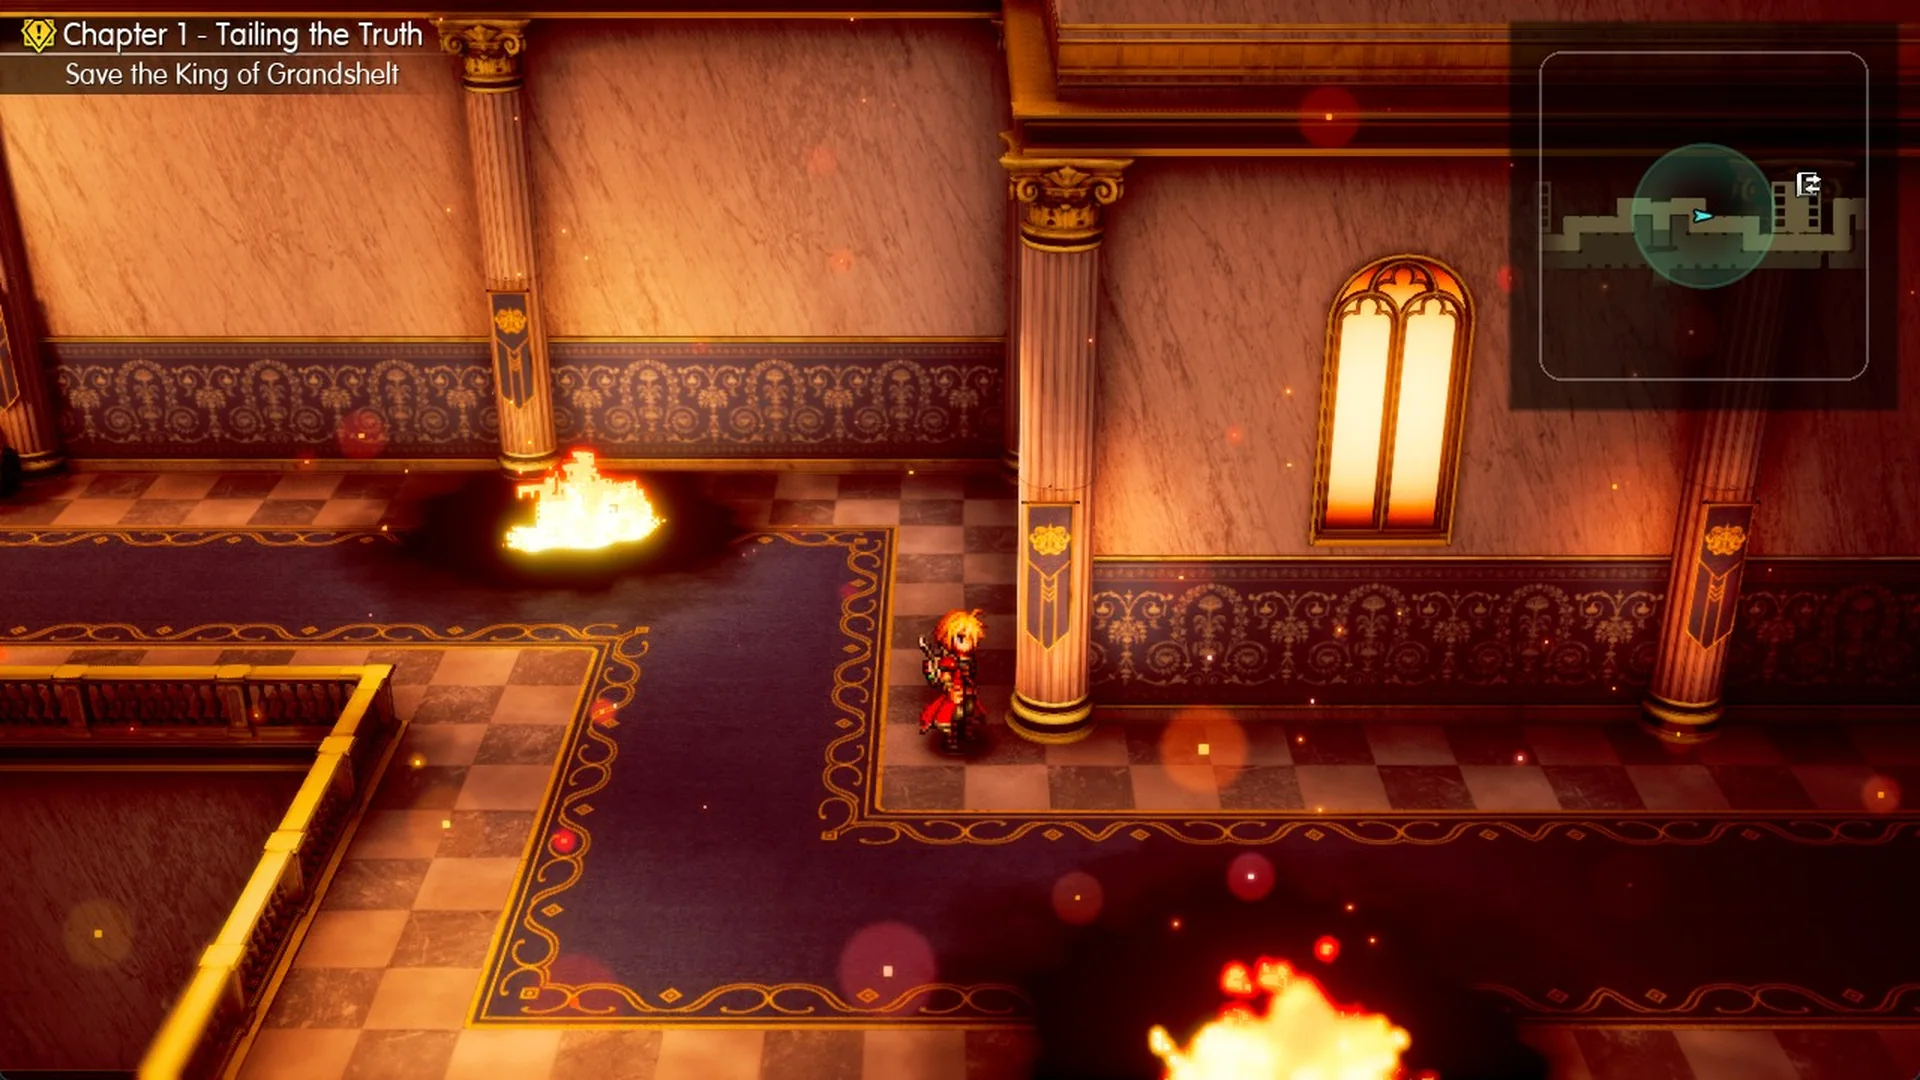
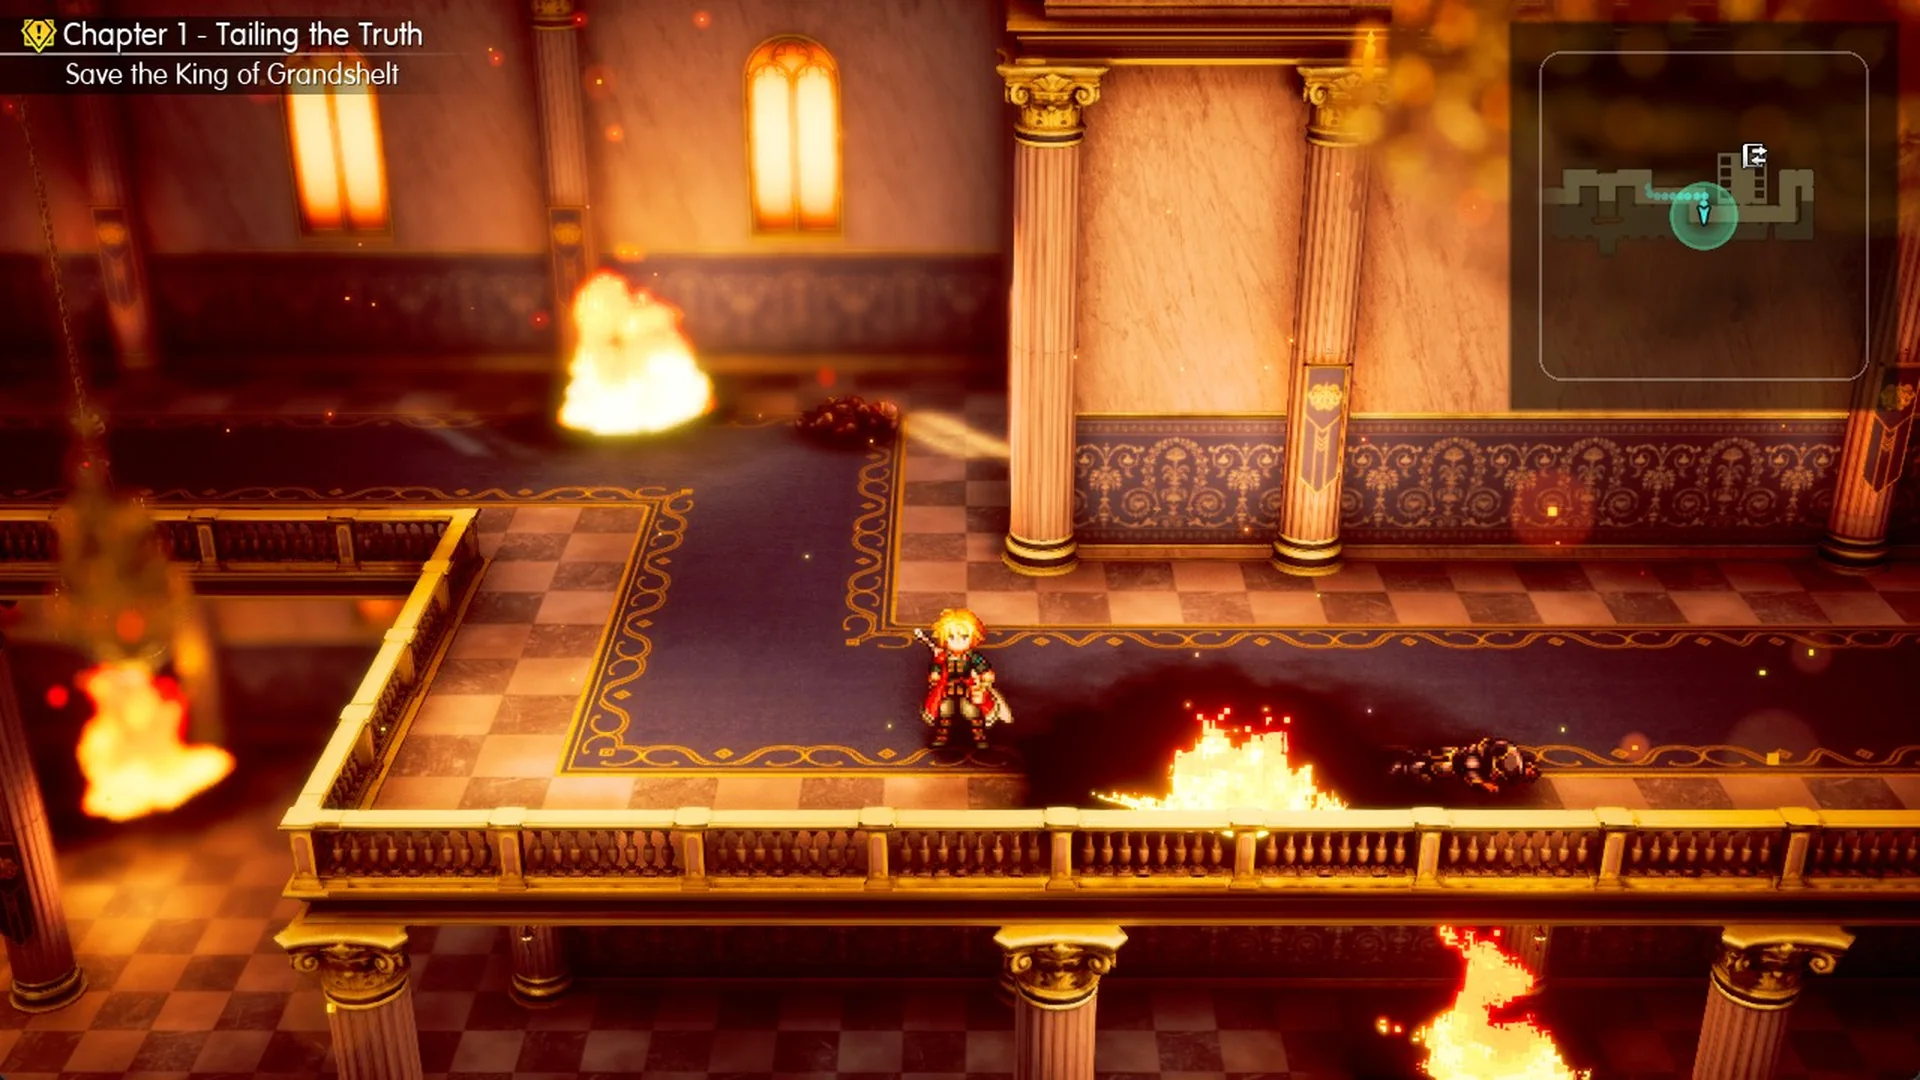
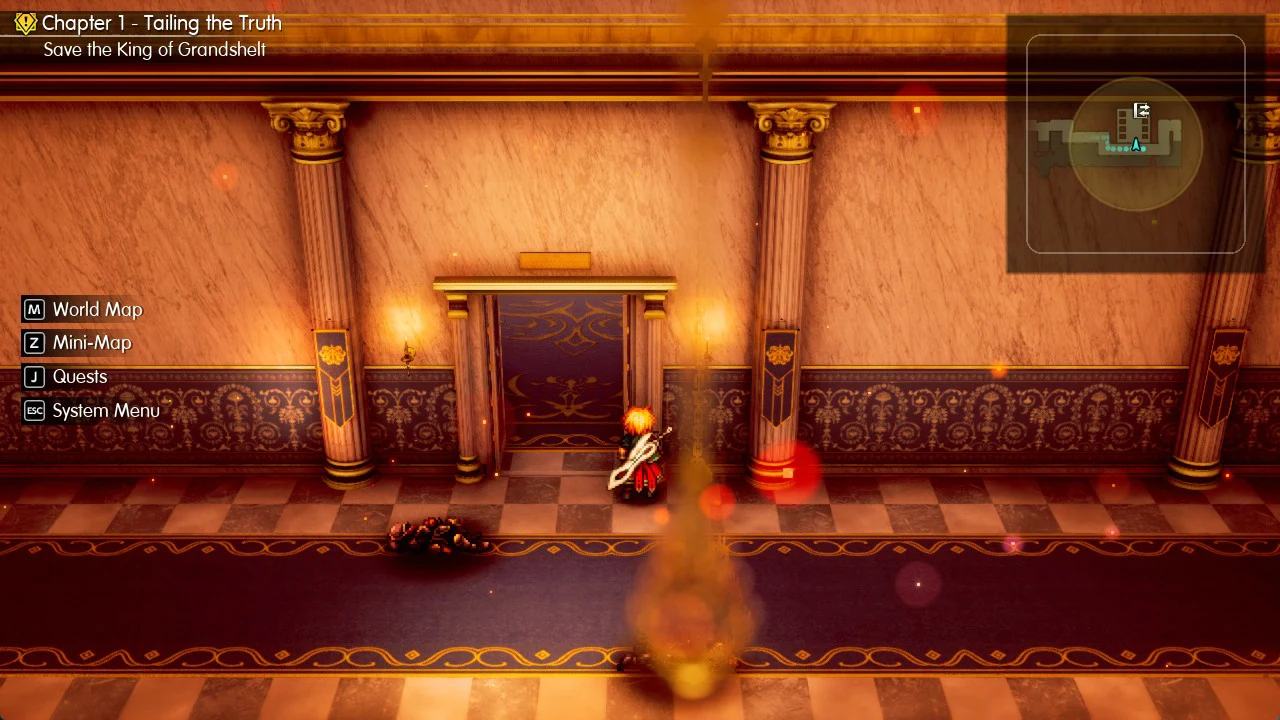
Second lounge: the save point before the boss
Inside, a soldier is backing away from Skeletons, crying “S-stay away, stay away!” Rain steps in with “Stand back, I’ll deal with them!” Win the fight. The soldier then tells you “Yes, he broke through to the throne room. A whole company of soldiers tried to hold him back there…”
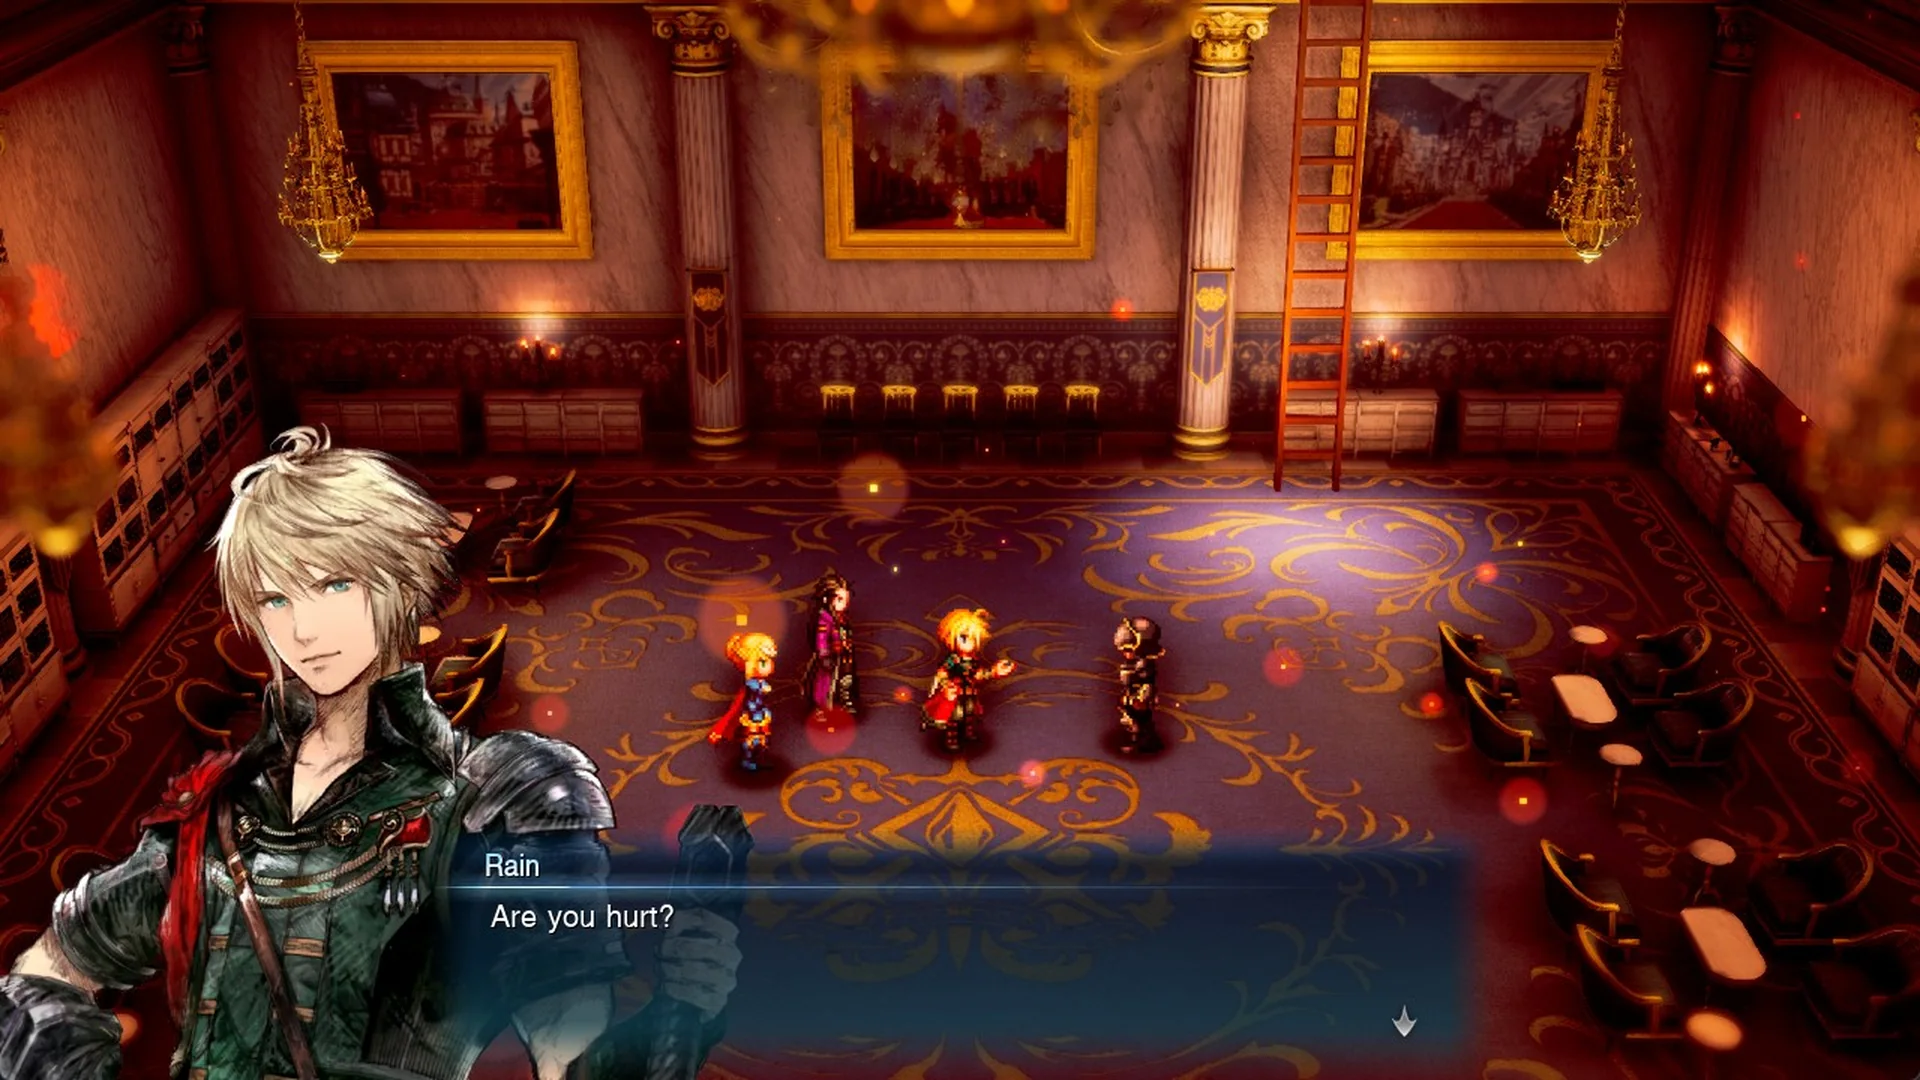
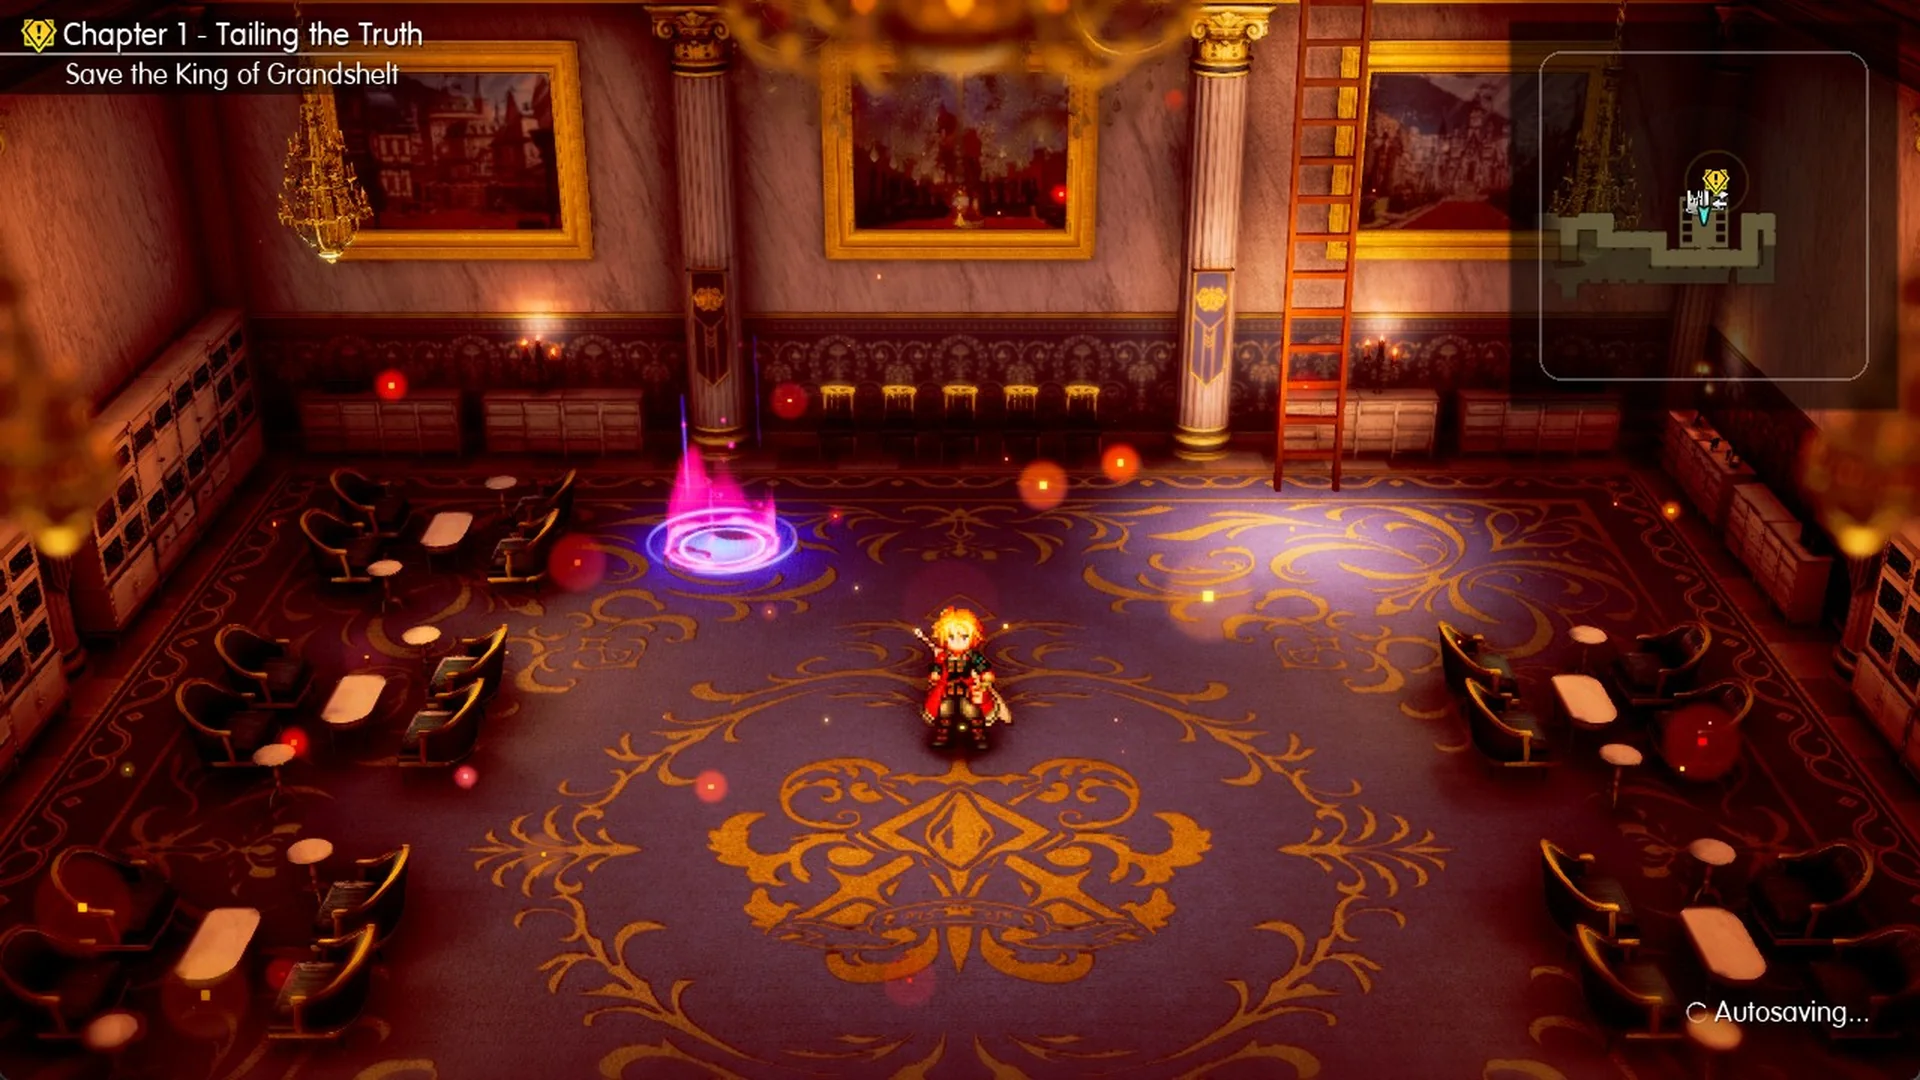
Lasswell suggests tending to injuries first, and Charlotte replies “But we shall move immediately once we are battle-ready.” A save point appears with a pink glow, left of the room’s centre, and the game autosaves.
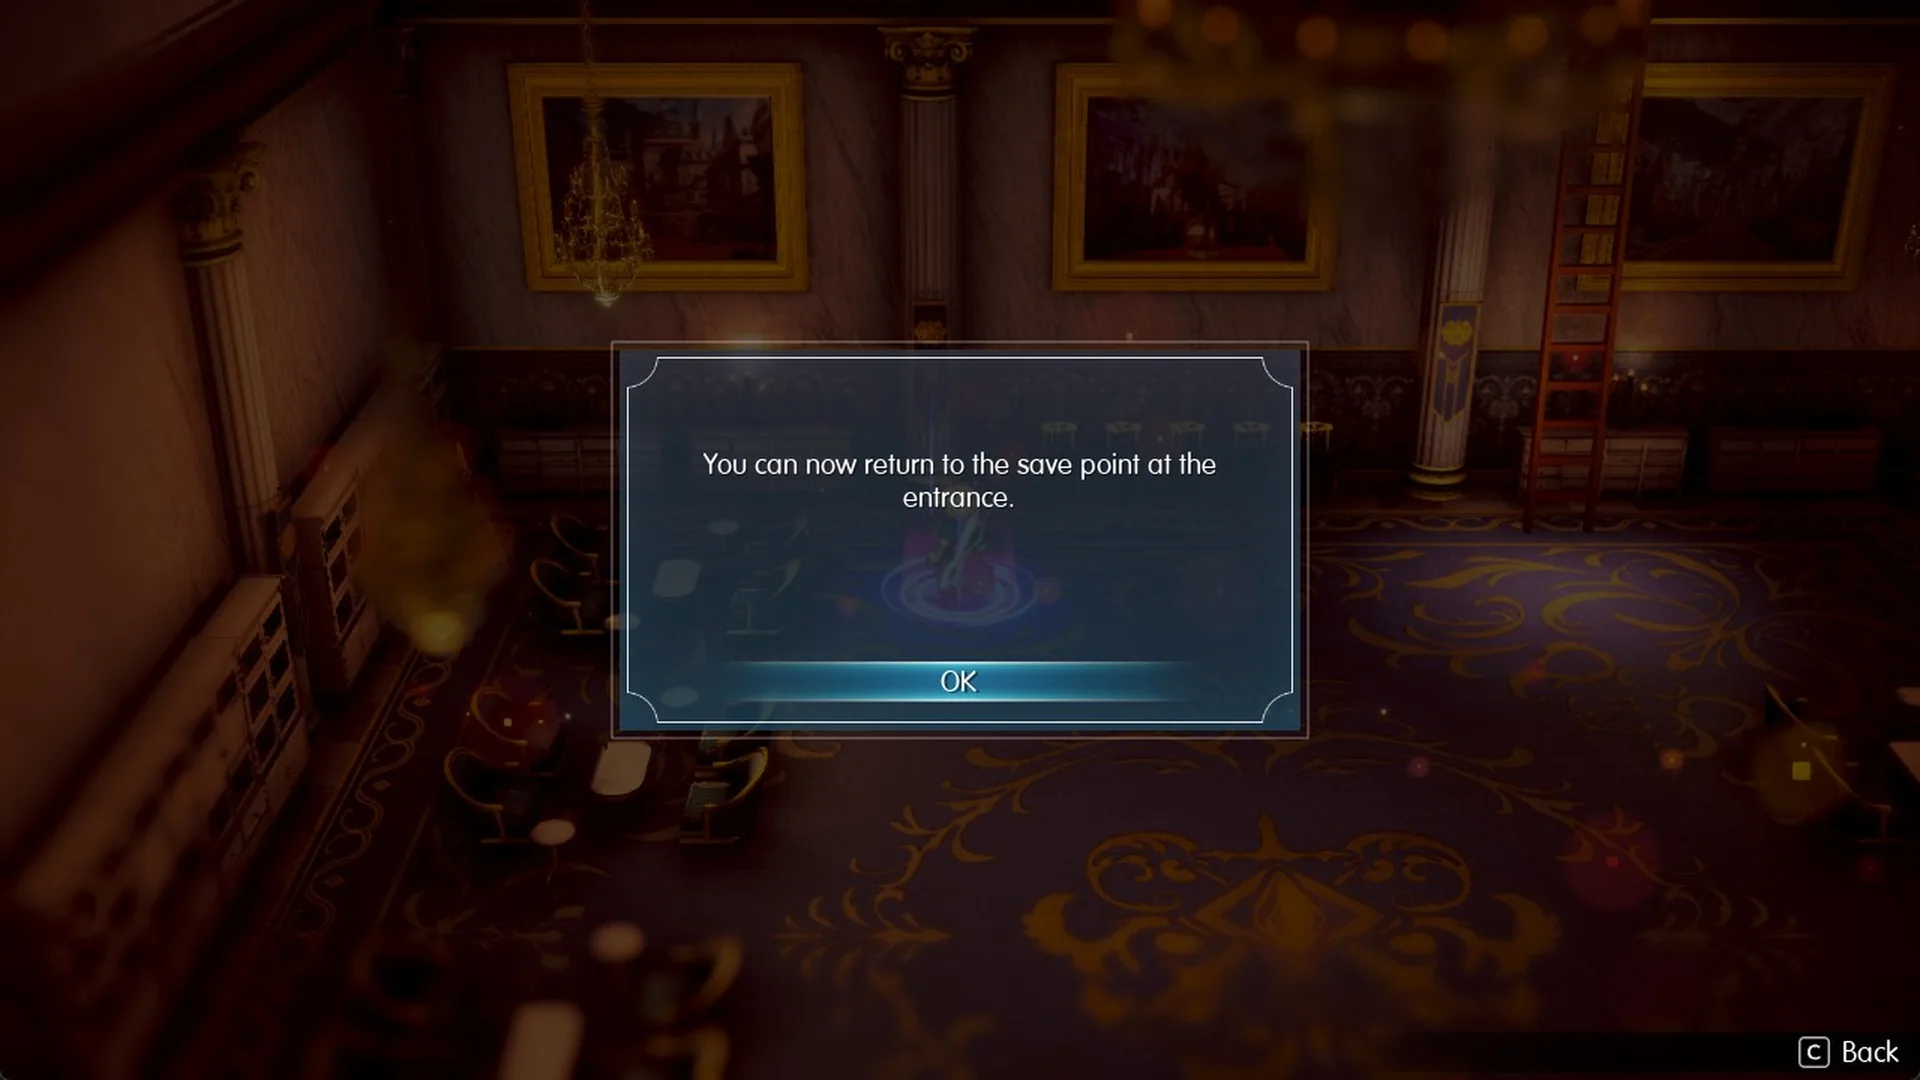
Touch the save point and you’ll see “You can now return to the save point at the entrance.” That message confirms the two save points are linked, so you can travel between this one and the one at the castle steps. While you stand on it, the System Menu also has a Save row.
Save your progress at the save point in the second lounge. The way forward is not a door but the tall wooden ladder on the lounge’s back (north) wall, which climbs to the floor above and on toward the boss.
Climb the ladder in the second lounge
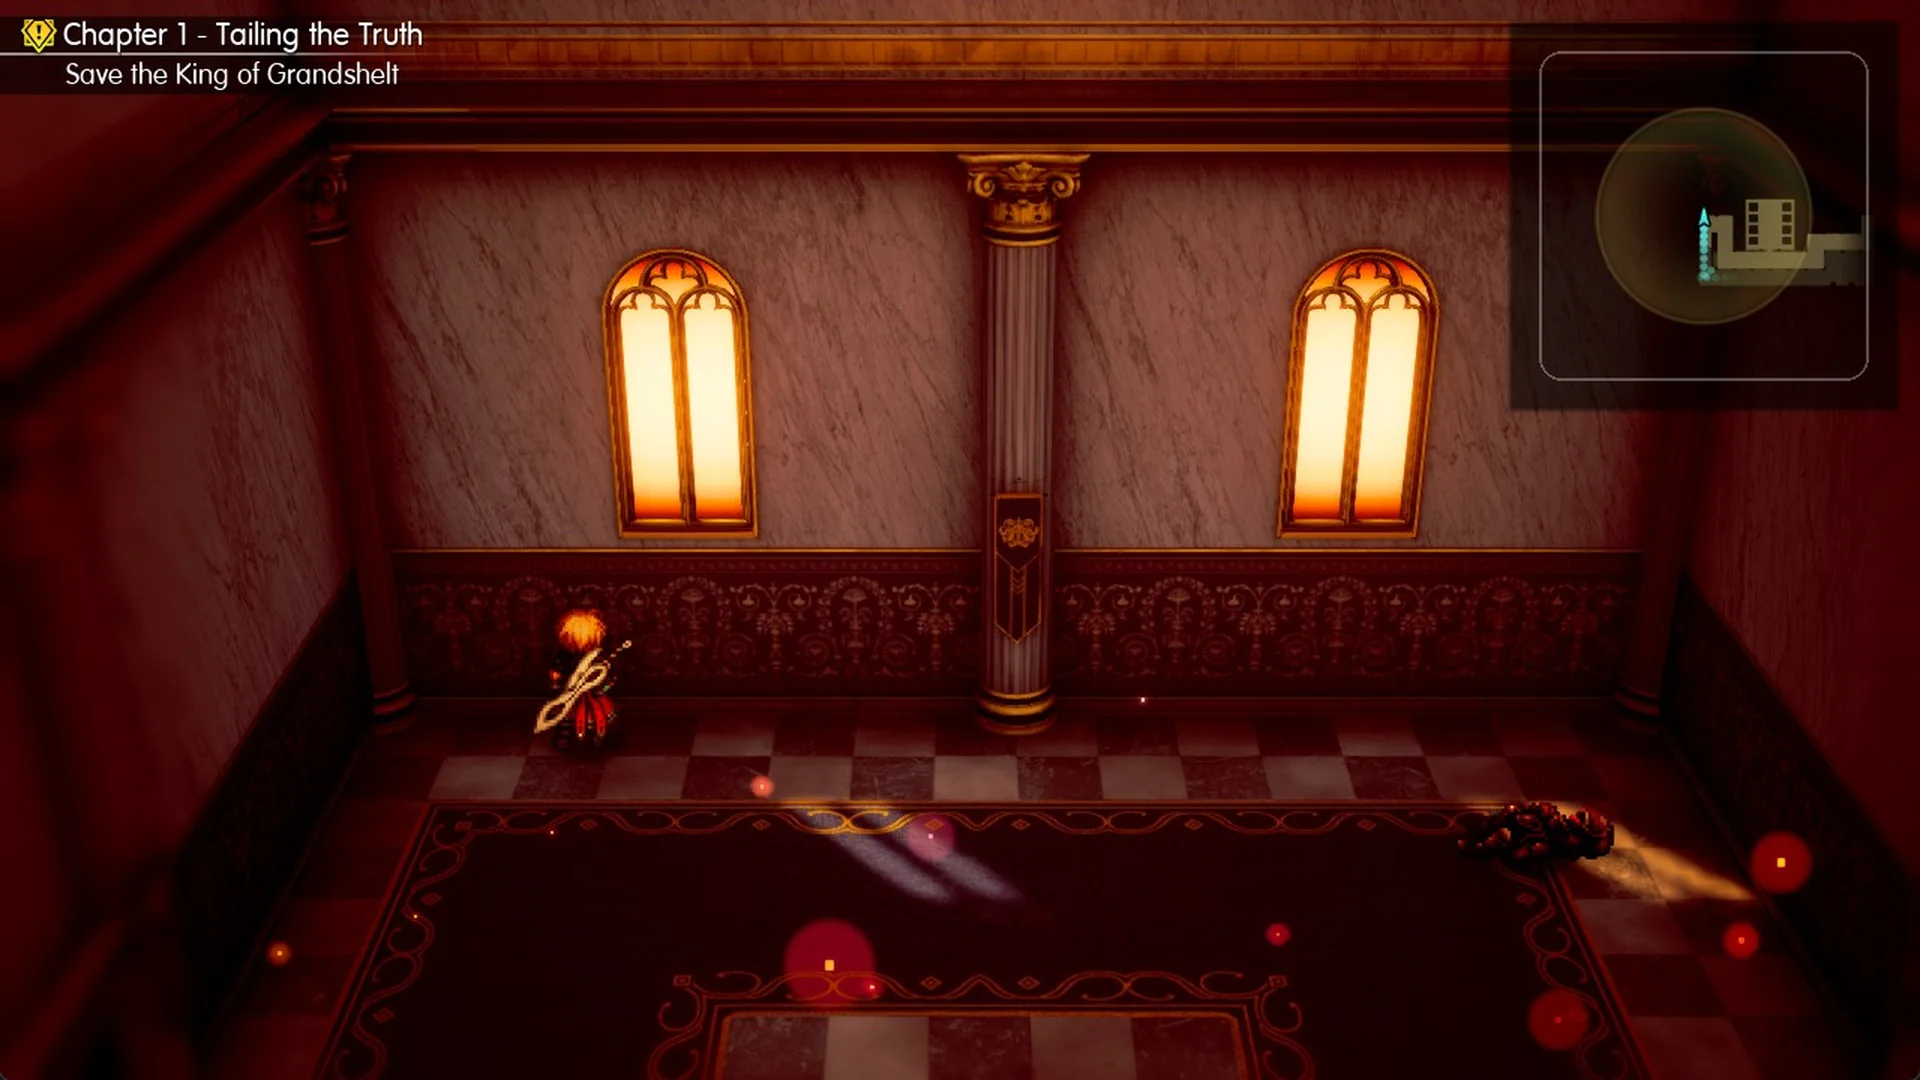
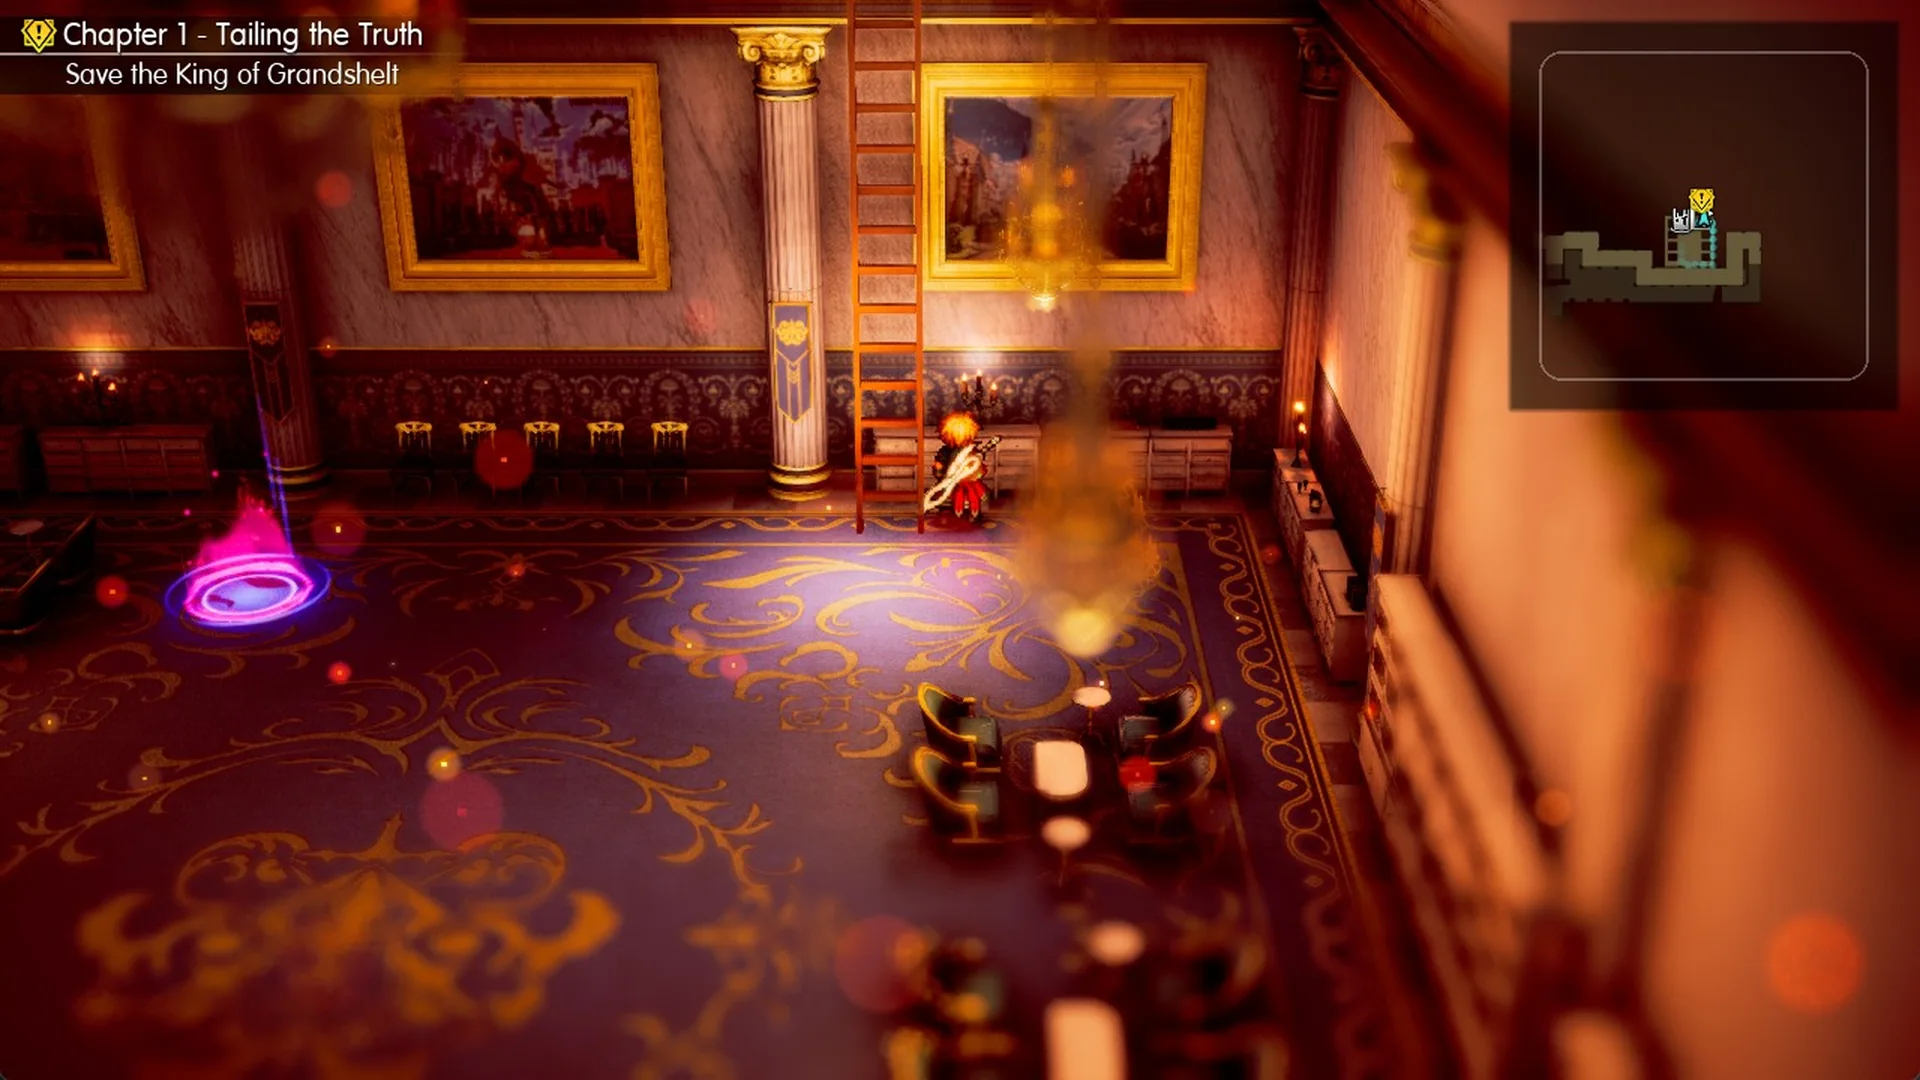
The second lounge’s back (north) wall has two pillars with paintings beside them, and the wooden ladder sits just right of the right-hand pillar, between that pillar and the right painting. Stand exactly under the ladder and hold up (W on a keyboard) to climb. Even half a step off to the side, your character just walks into the wall and the ladder appears not to work, so tap left or right in small nudges until you are lined up, then hold up again.
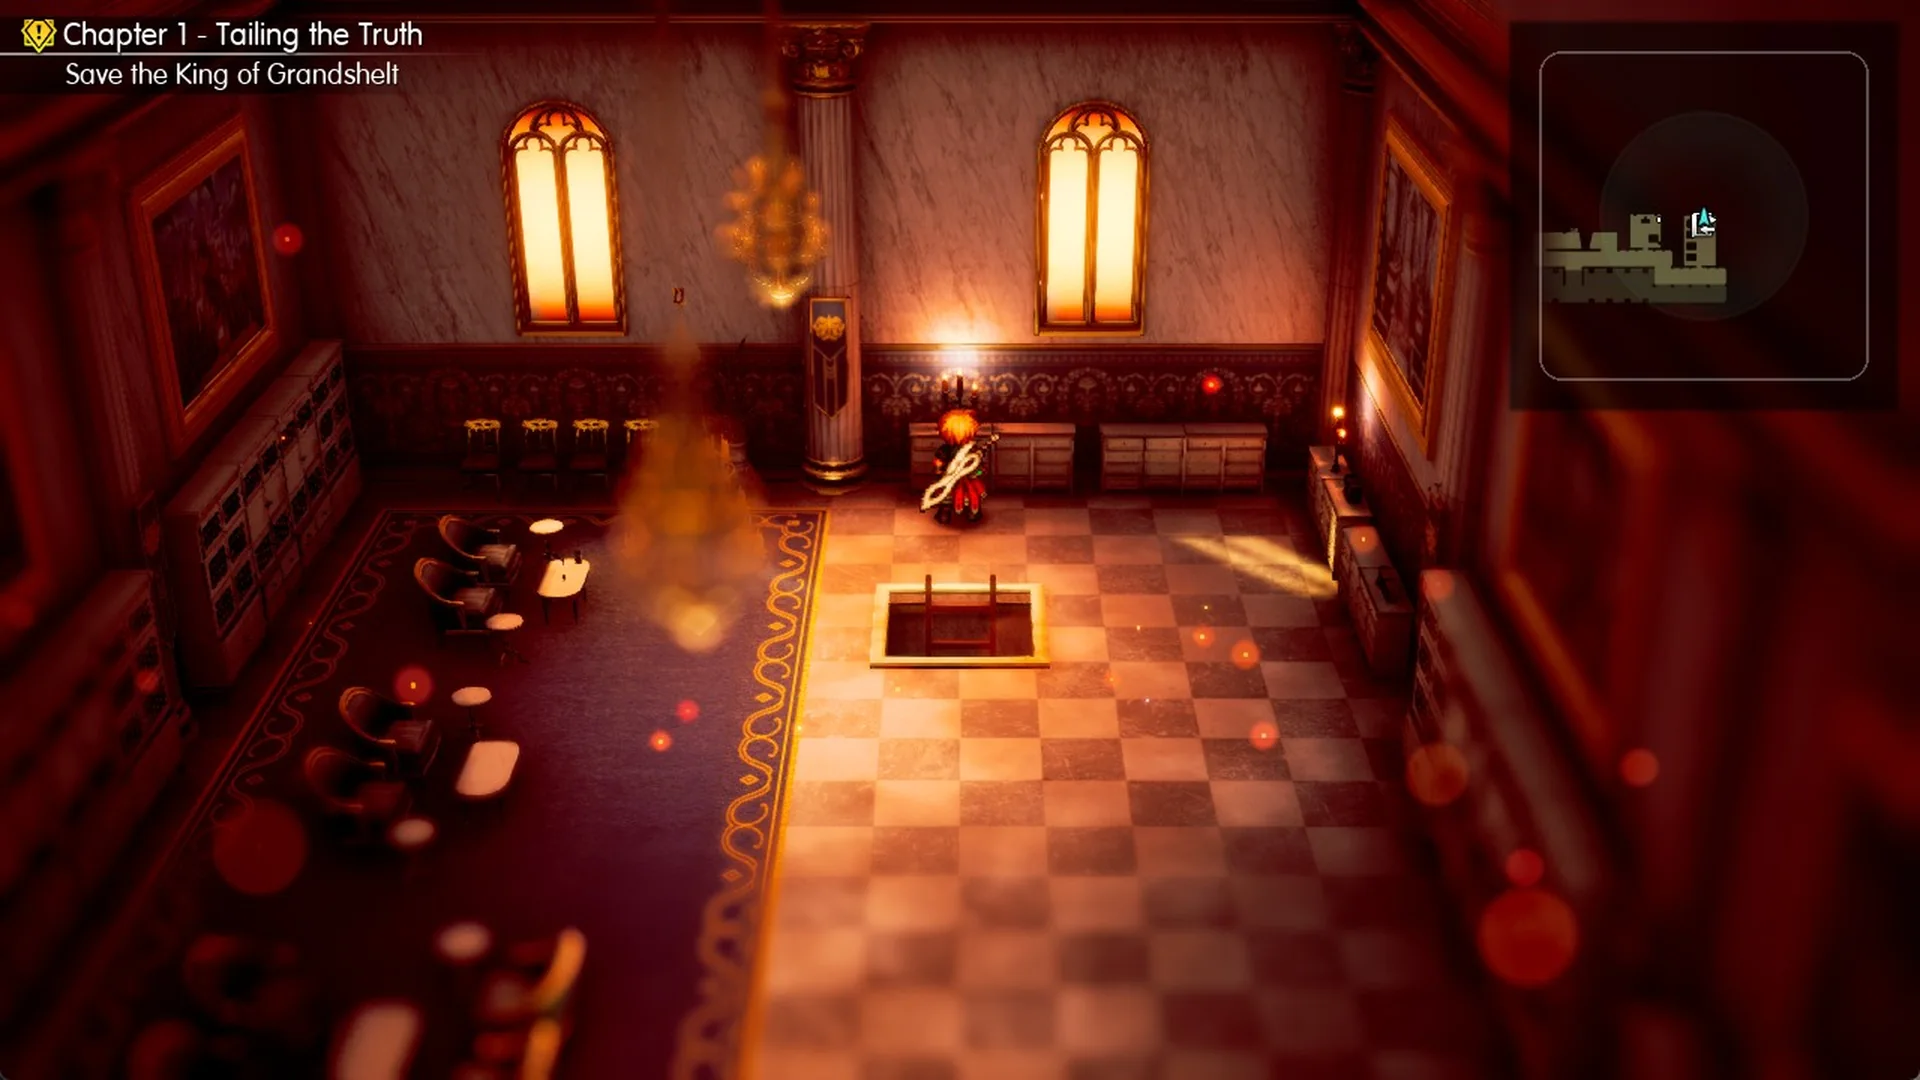
At the top, you come out in a small upper room above the lounge, with two tall arched windows and a trapdoor set into its checkered floor.
Side room: Mist Potion from a soldier
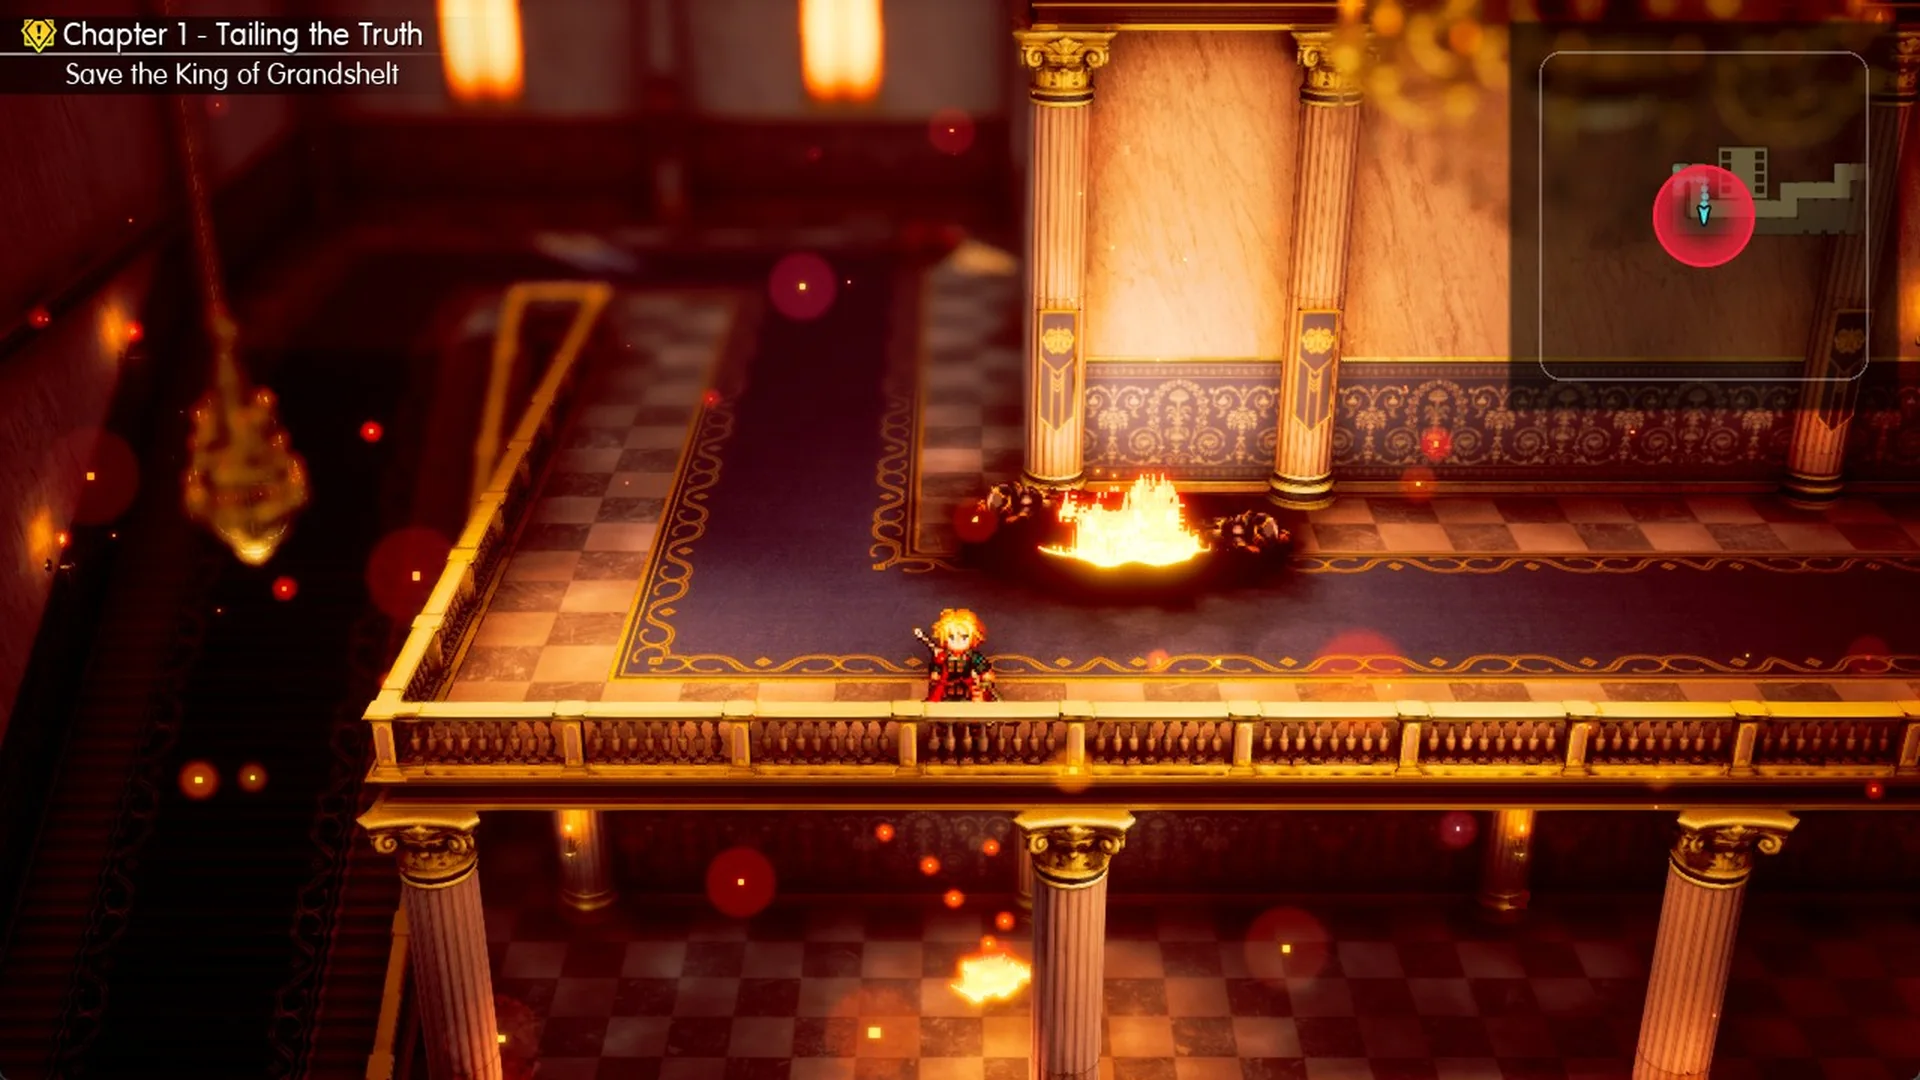
Exit the upper room through its south doorway. It opens onto the upper railed balcony overlooking the castle.
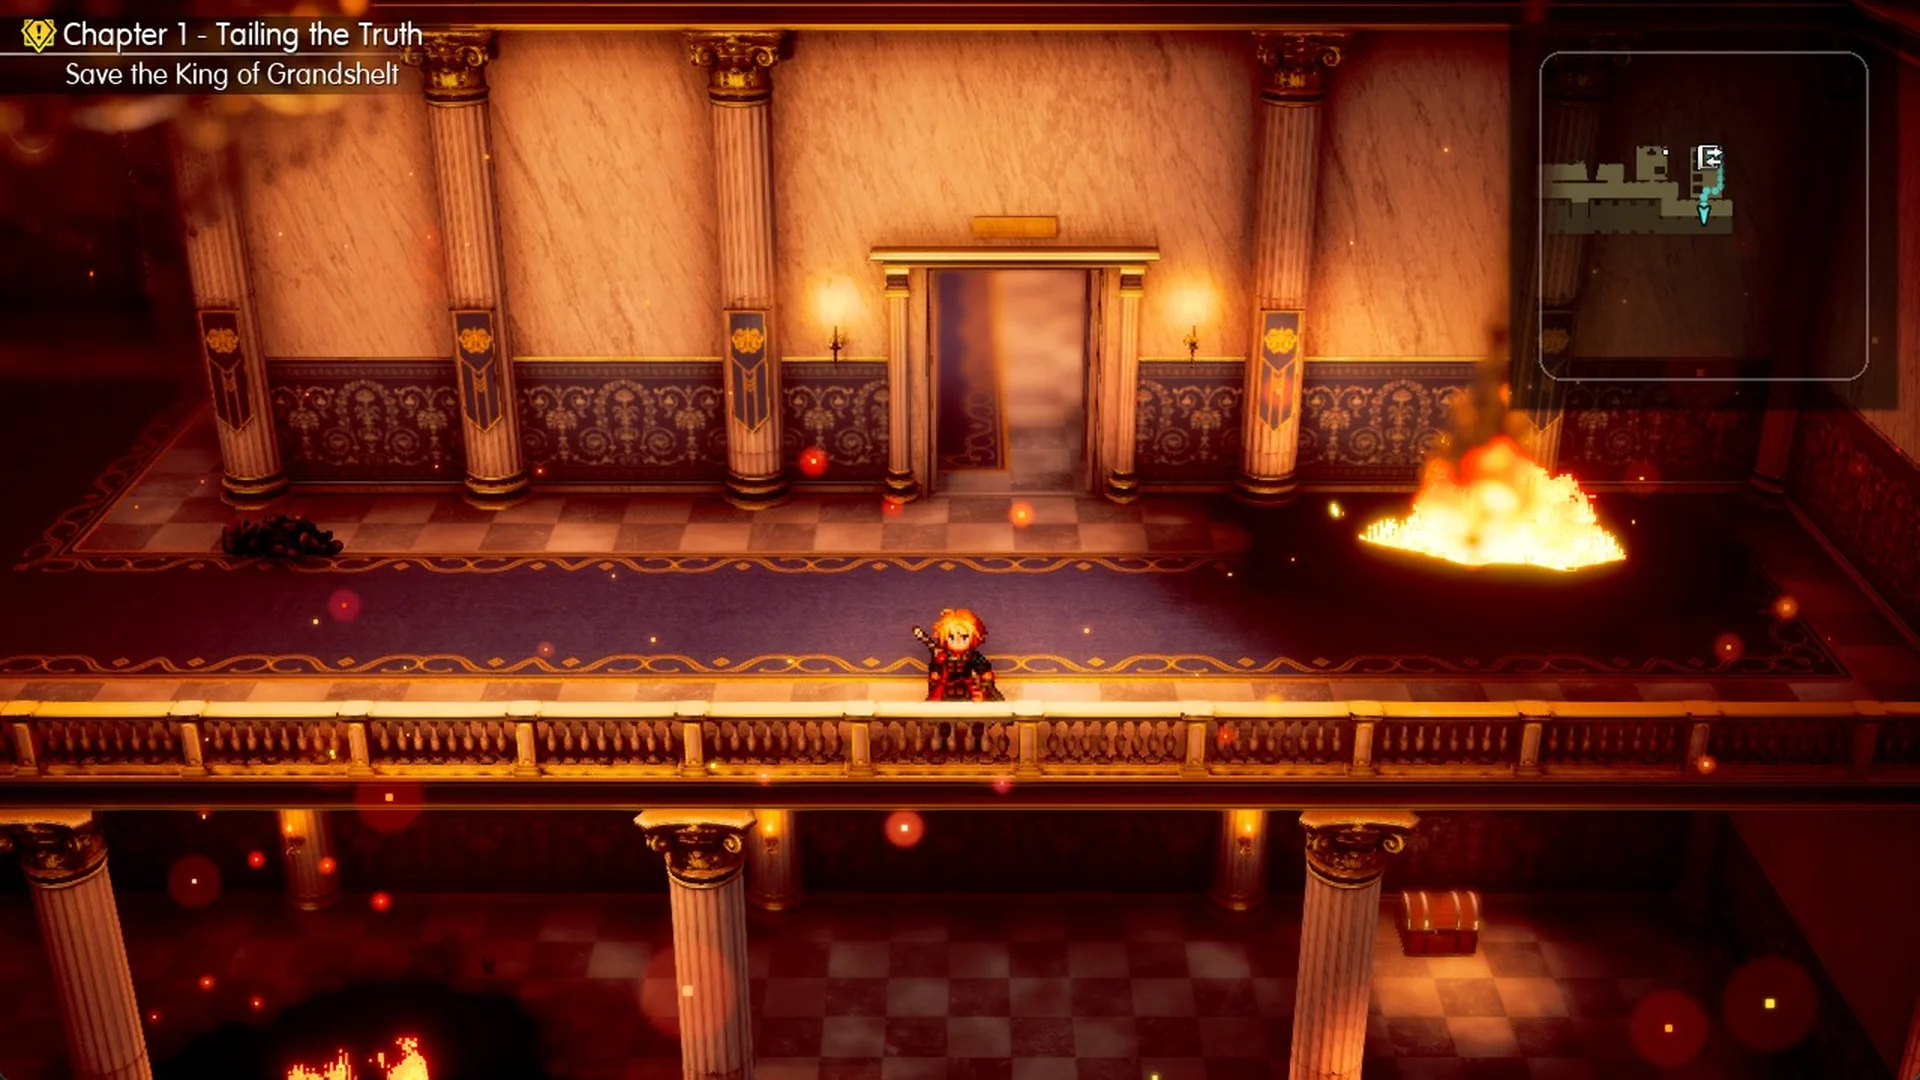
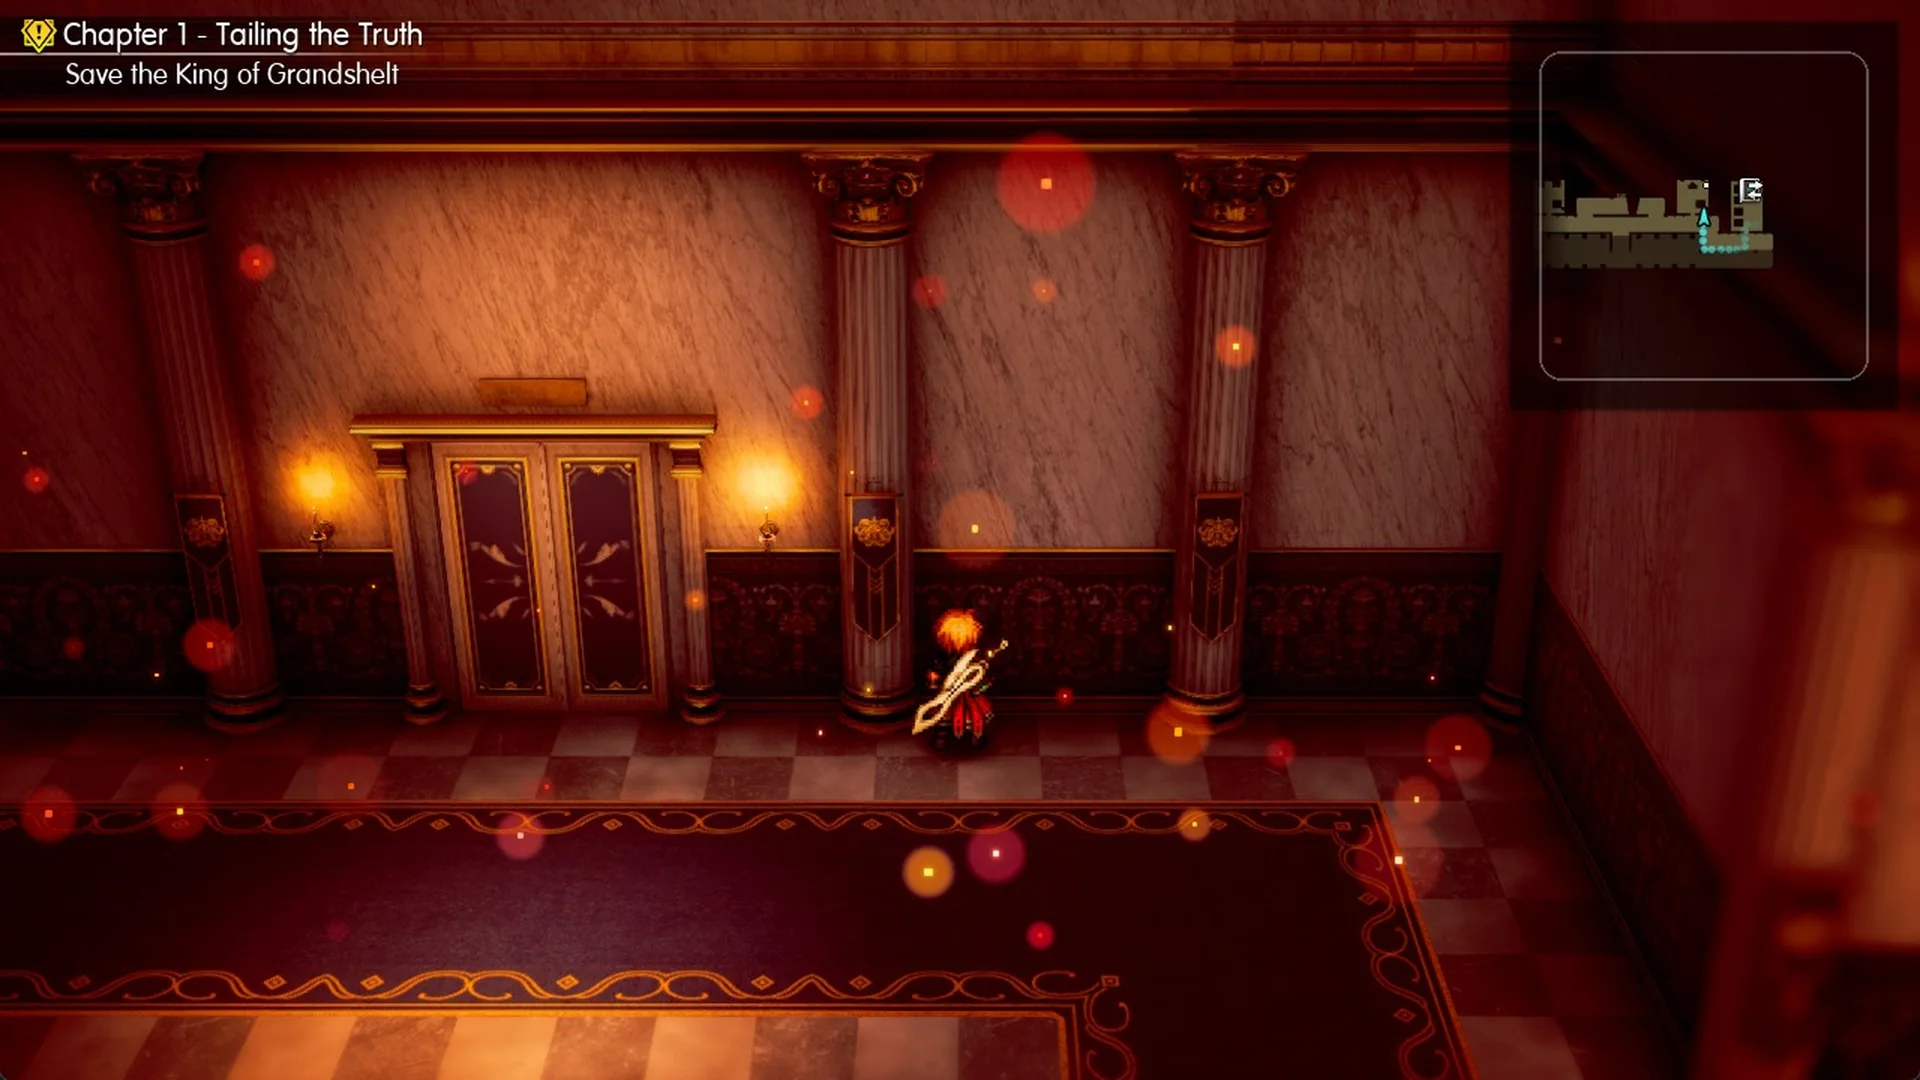
Follow the balcony west, then head north across the inner walkway to an ornate double door. Press F to pass through into a side room with a desk and two arched windows.
A soldier waits in the side room. Rain asks “You all right?”, and the soldier answers “I am, sir. I was just looking for medical supplies for our wounded.” and then “I managed to scrounge up a bunch. Here, let me give you some.”
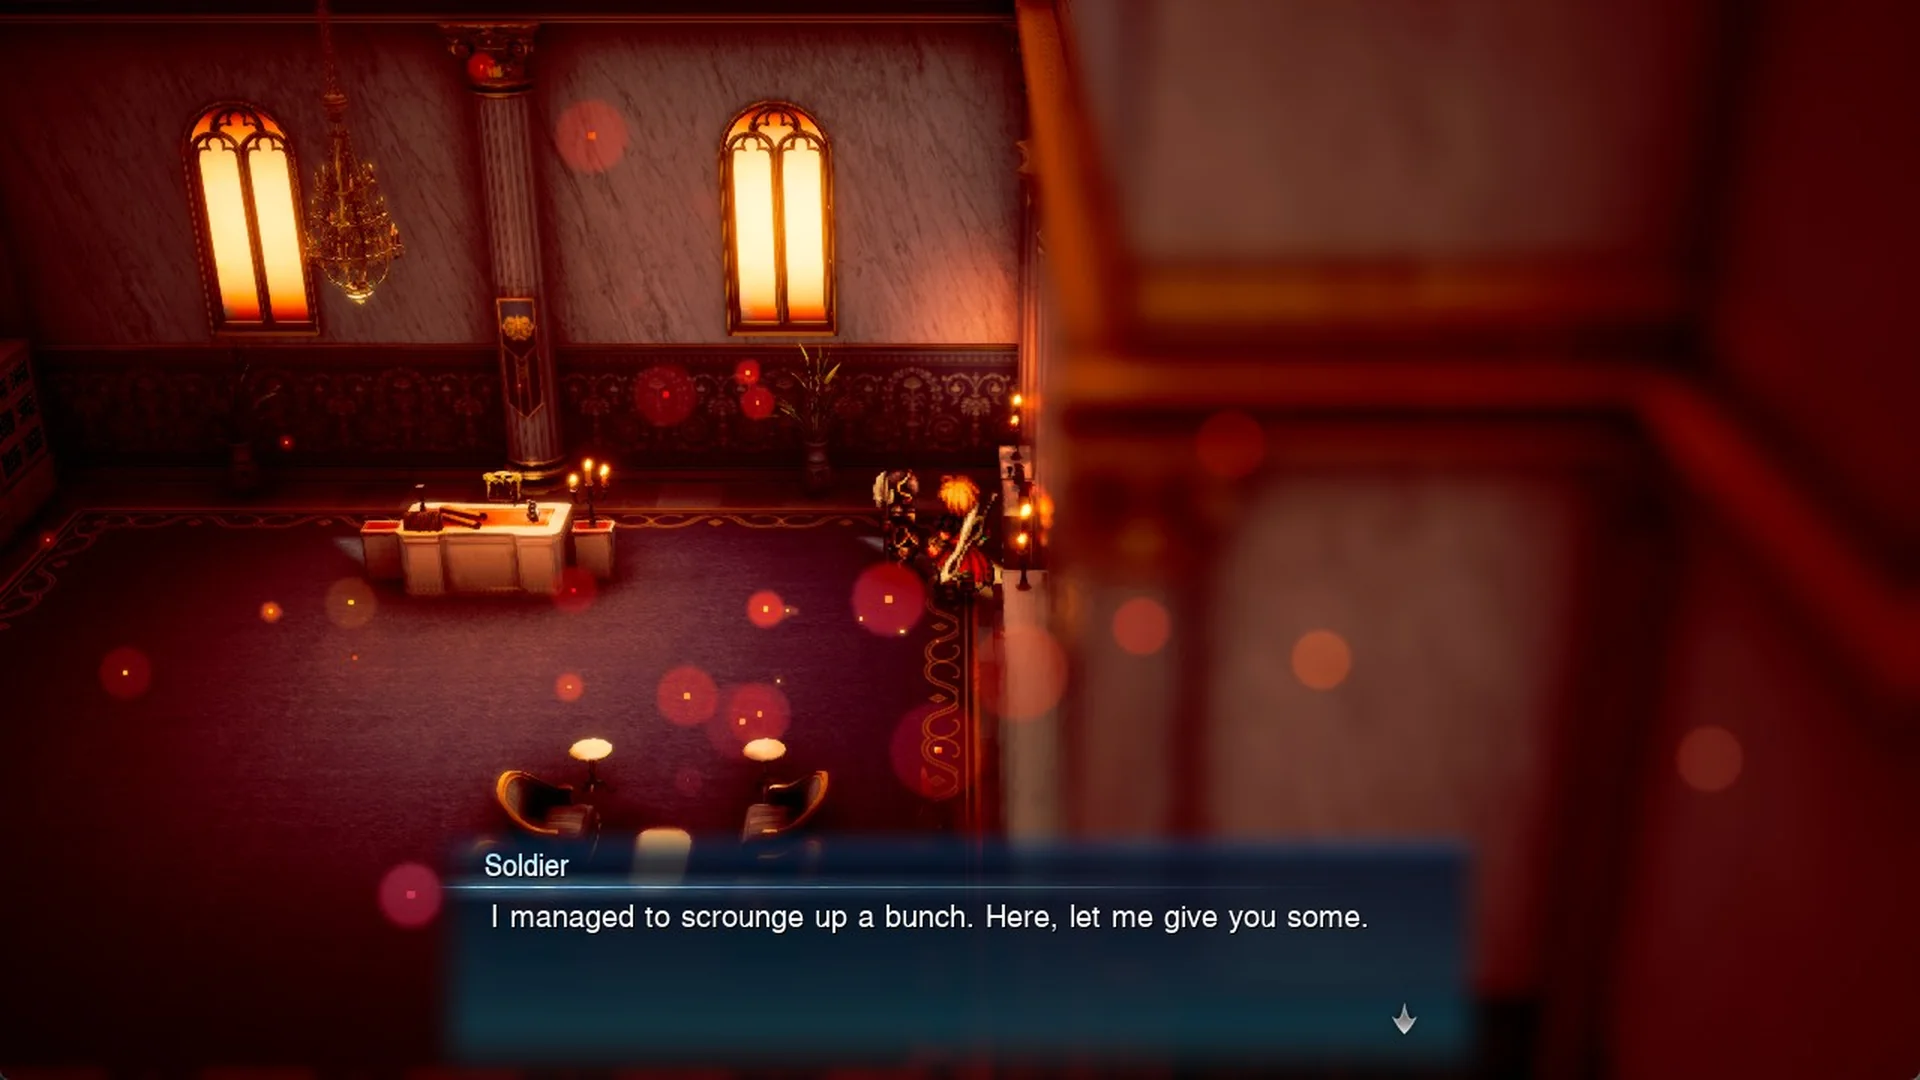
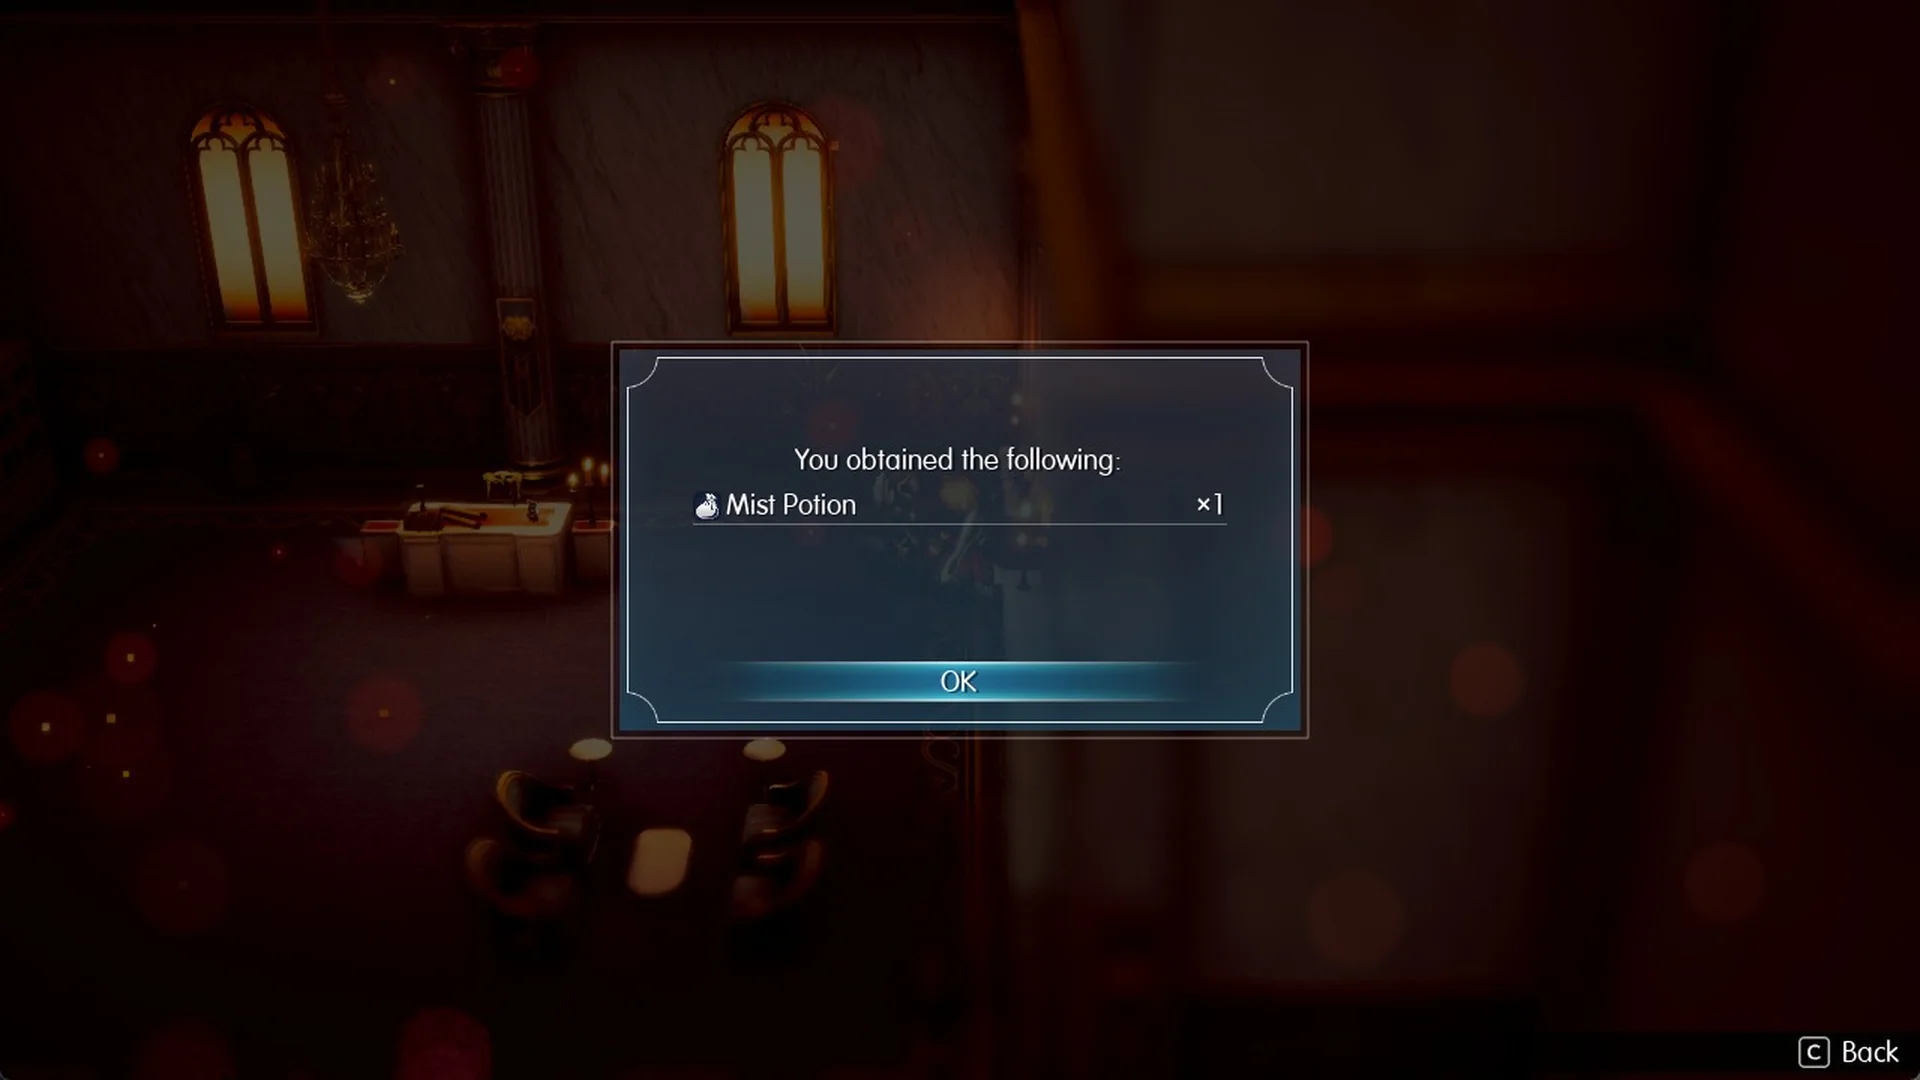
A popup confirms “You obtained the following: Mist Potion x1”. Before you leave, the soldier adds “I saw a huge monster heading towards the throne room. Please, Commander, get His Majesty out safely!”
West along the walkway to the grand staircase
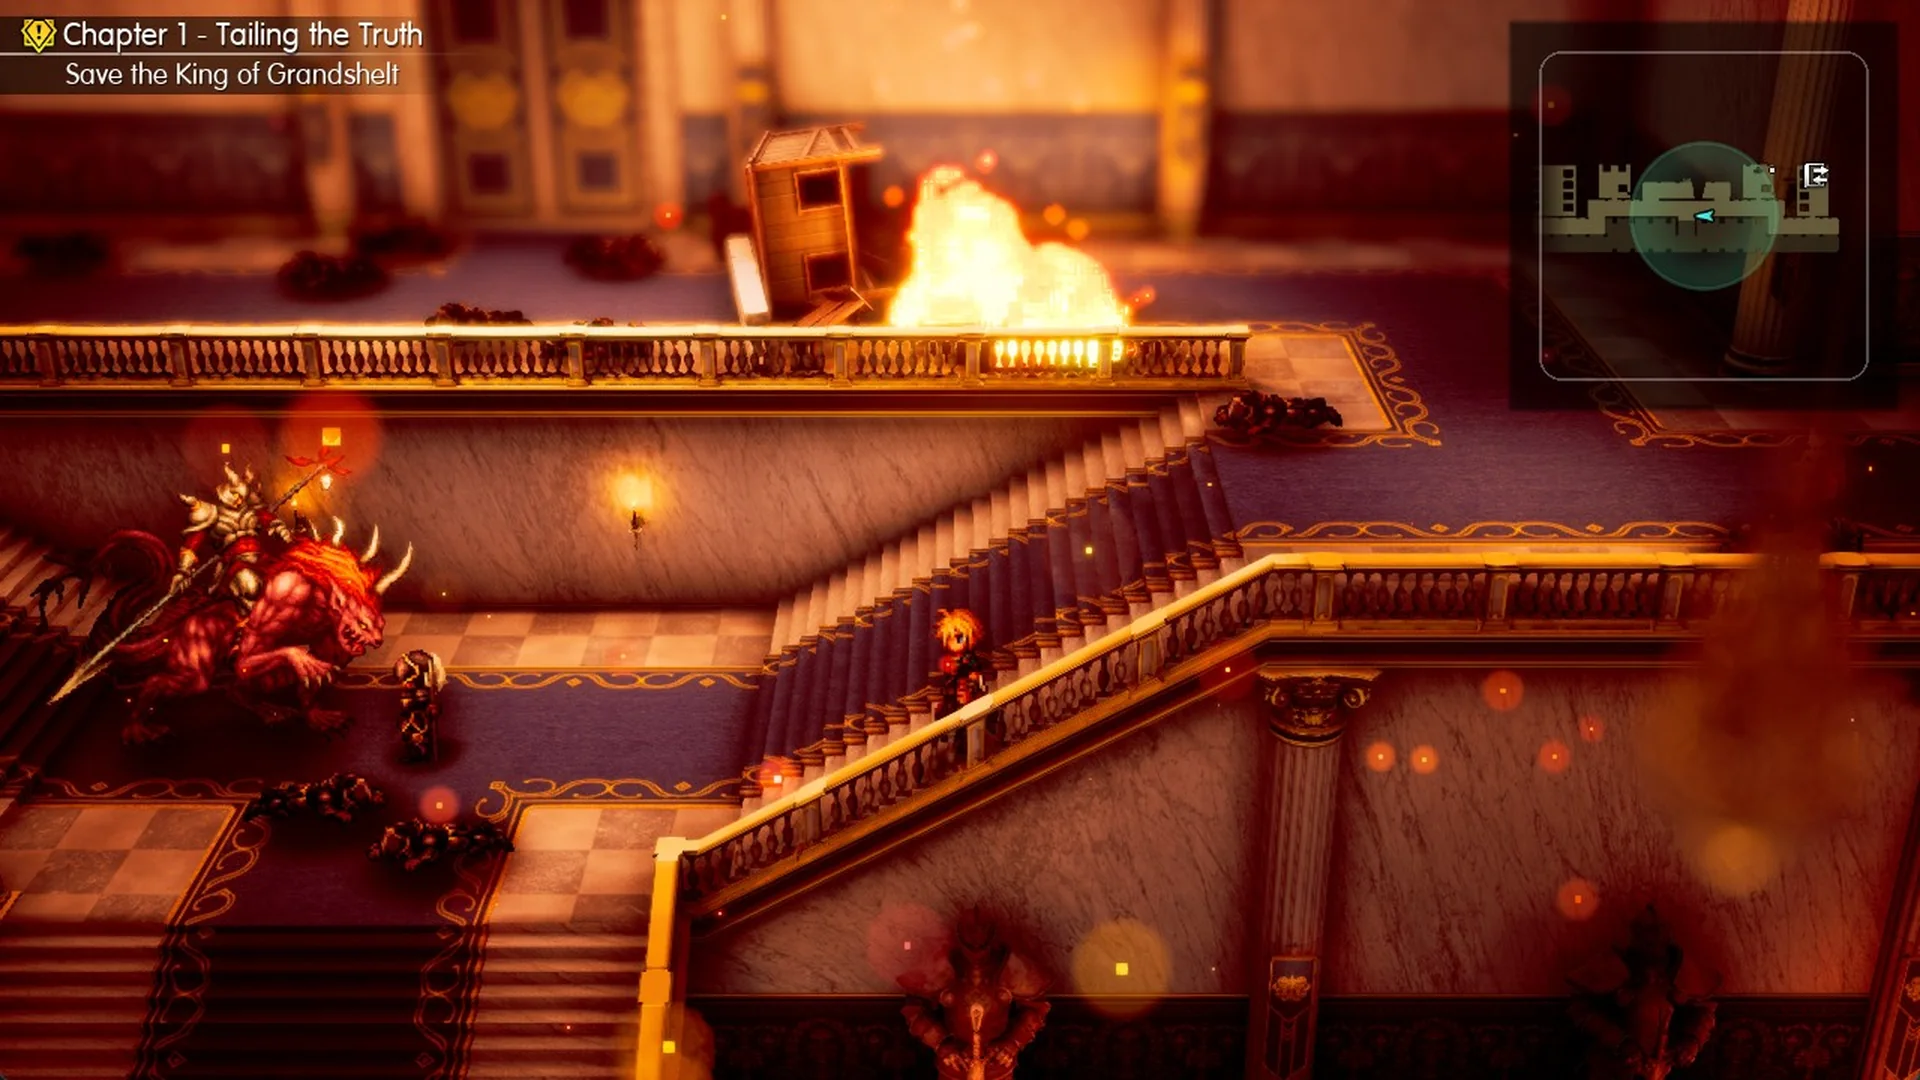
Step back out through the side-room door, turn west (left on the screen), and follow the railed walkway past a fallen soldier. Skip the east end of the balcony, which is a dead-end corner.
Just before a burning, overturned bookcase blocks the walkway, the grand staircase leads down to the left. Stepping onto it starts the boss scene, so save first if you can. The last save point is the one in the second lounge, and the castle’s save points are linked.
Boss: Hell’s Rider at the grand staircase
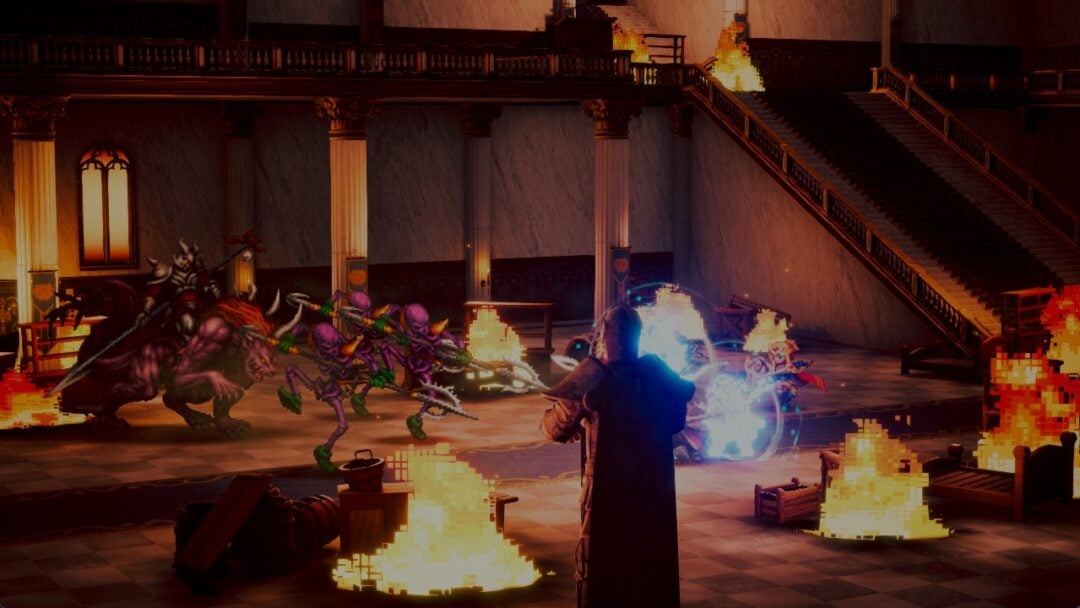
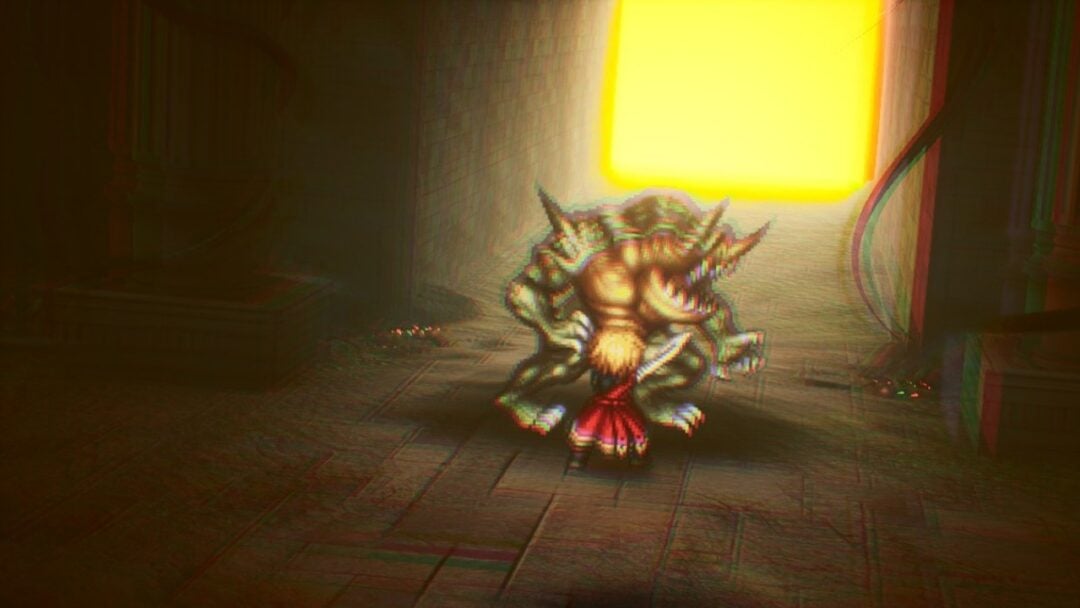
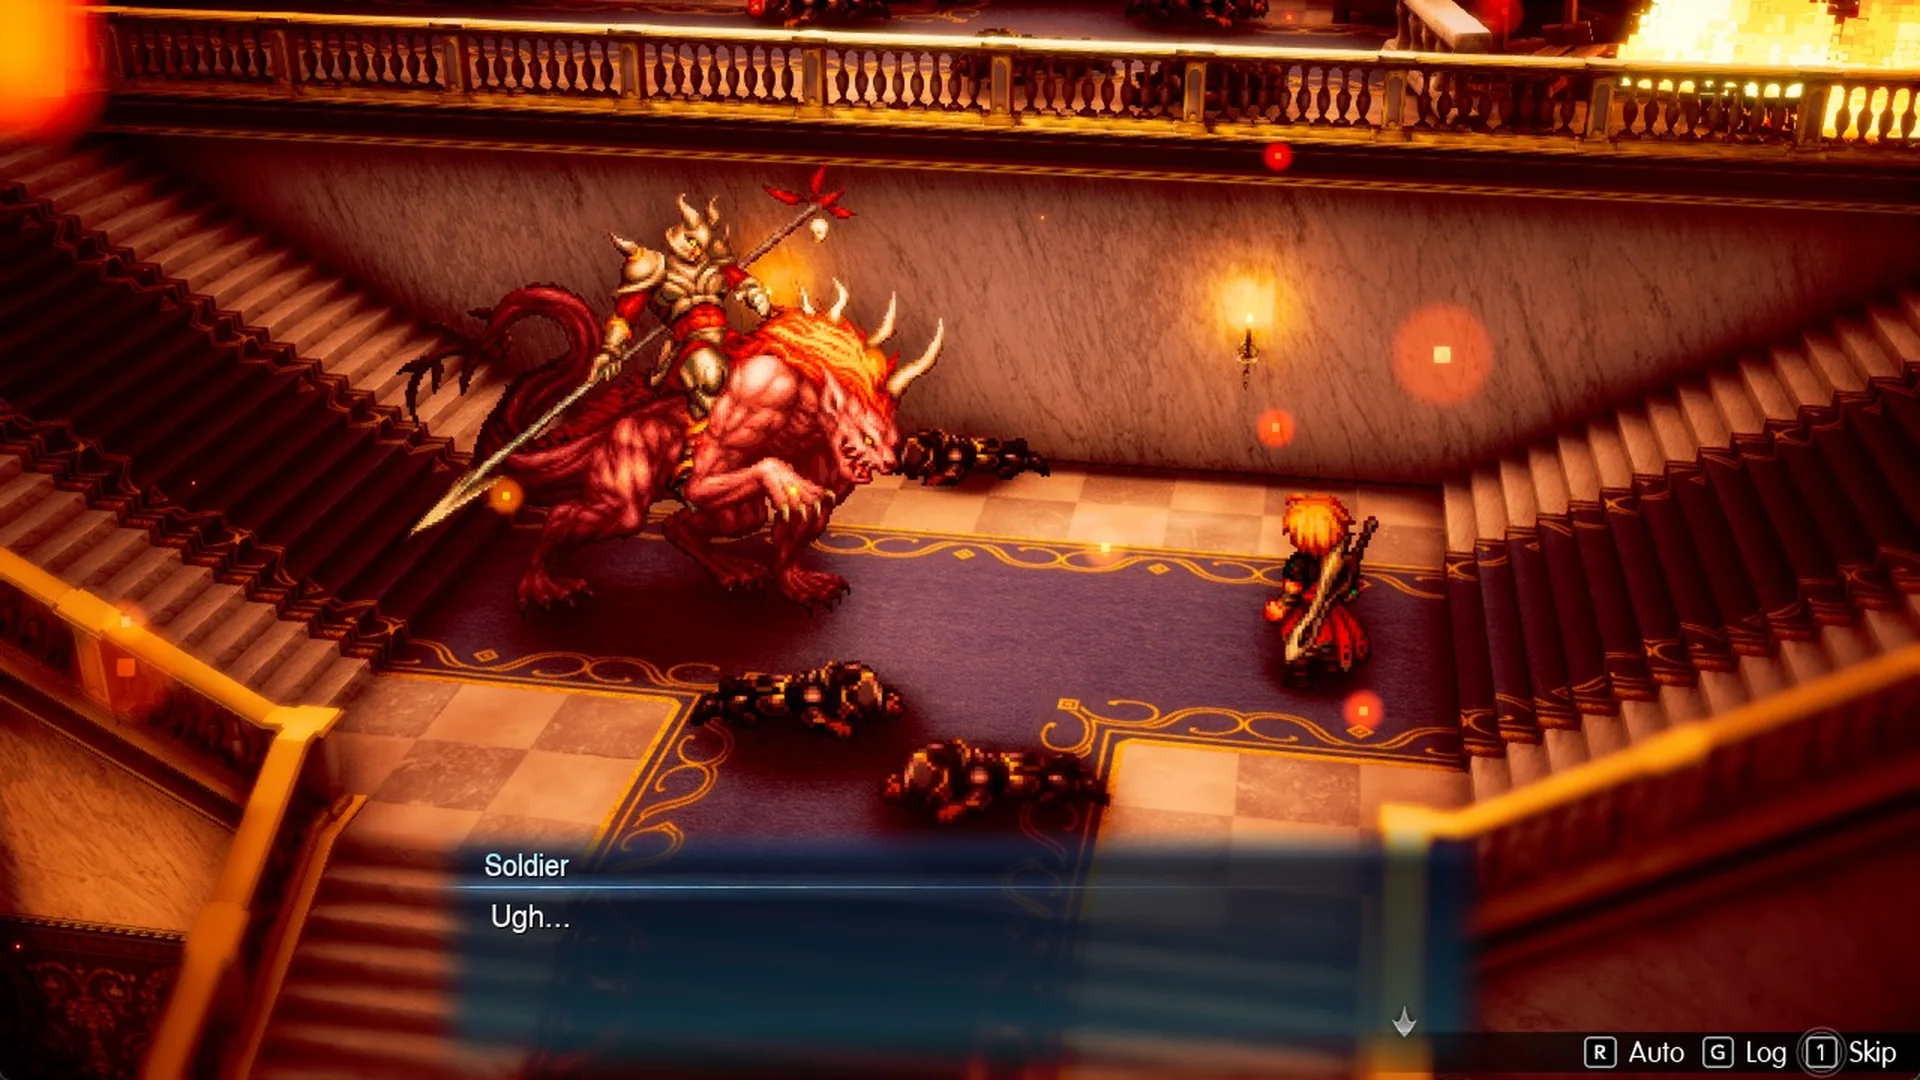
A huge mounted monster stands at the foot of the grand staircase, blocking the way to the throne room. A wounded soldier groans, Rain says “Dammit, we’re so close to the throne room!”, and Lasswell replies “It appears there’s no other way but through that monster.” The “Status Ailments” tutorial appears, and then the battle opens against “Lv.6 Hell’s Rider” and three “Lv.5 Dark Skeleton” enemies, with Charlotte fighting alongside the party as a guest.
In short: , use a Phoenix Down from Items on each Dark Skeleton first, since one Phoenix Down defeats a Dark Skeleton outright. Do not throw Potions at Hell’s Rider, because a Potion heals it, and hit it with ice and light attacks, its weaknesses, to stagger it. The full strategy, its attacks and the rewards are in the Hell’s Rider boss guide.
After the boss: Black Garb in the banquet hall
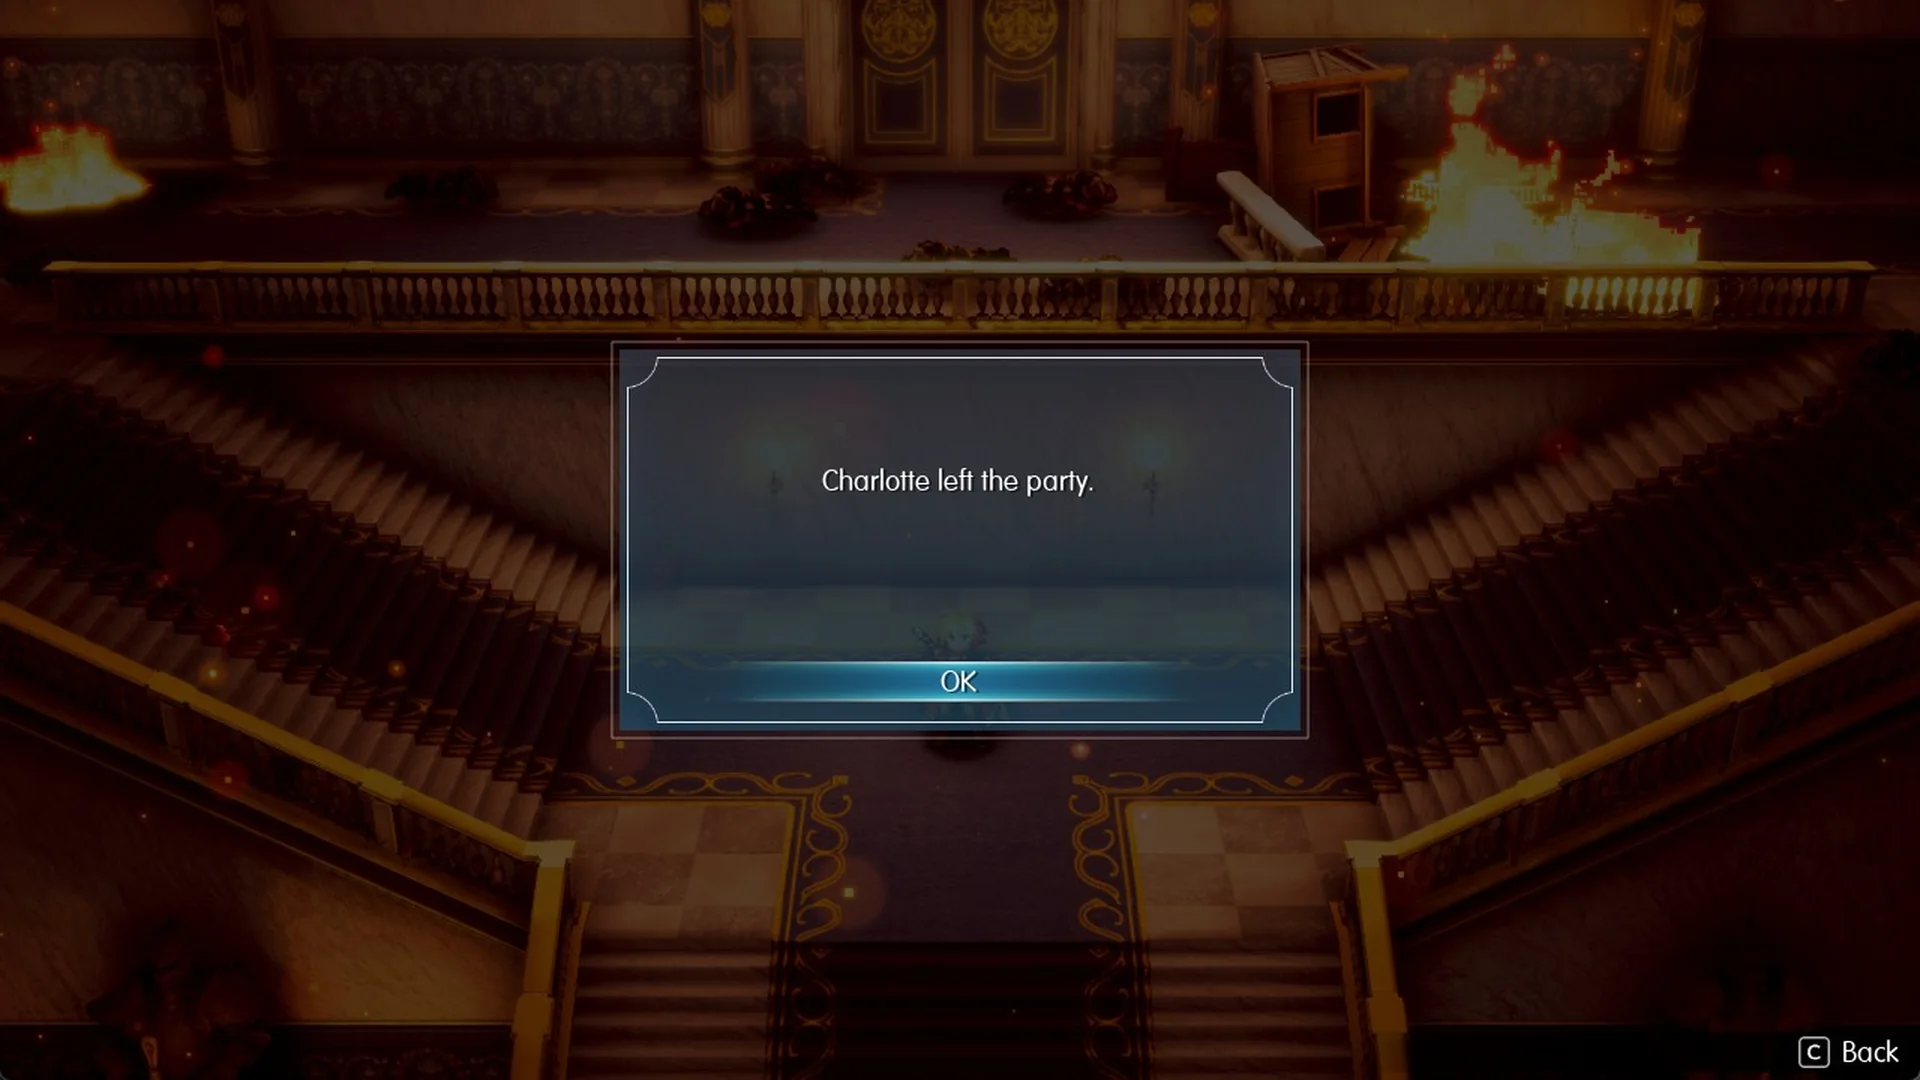
Once the fight ends, Rain tells Charlotte: “Charlotte, you help the surviving soldiers out of the castle. We’ll continue looking for His Majesty.” The popup “Charlotte left the party.” appears, and the game autosaves on the stair landing.
From the stair landing, climb the left upper flight of the grand staircase.
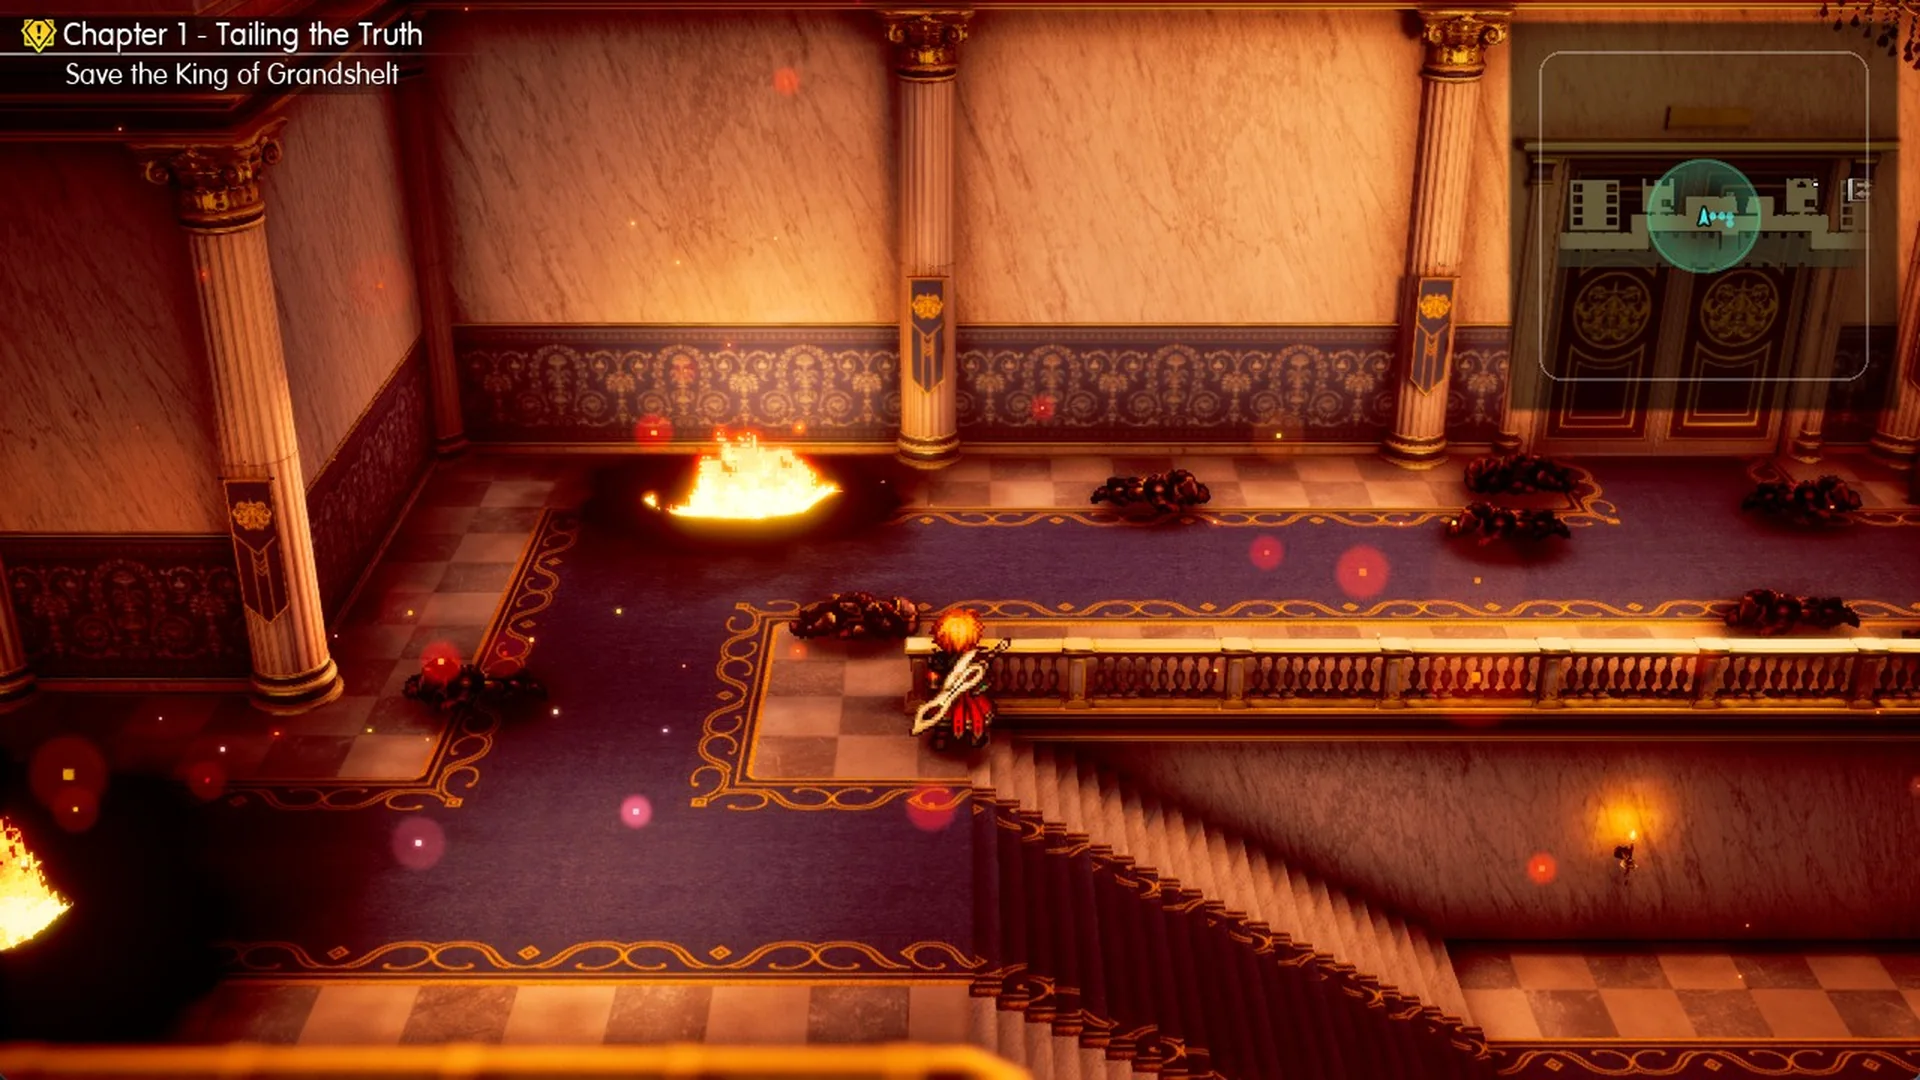
At the top, follow the upper walkway west, past a double door on the north wall and a fire, to the archway at the walkway’s west end.
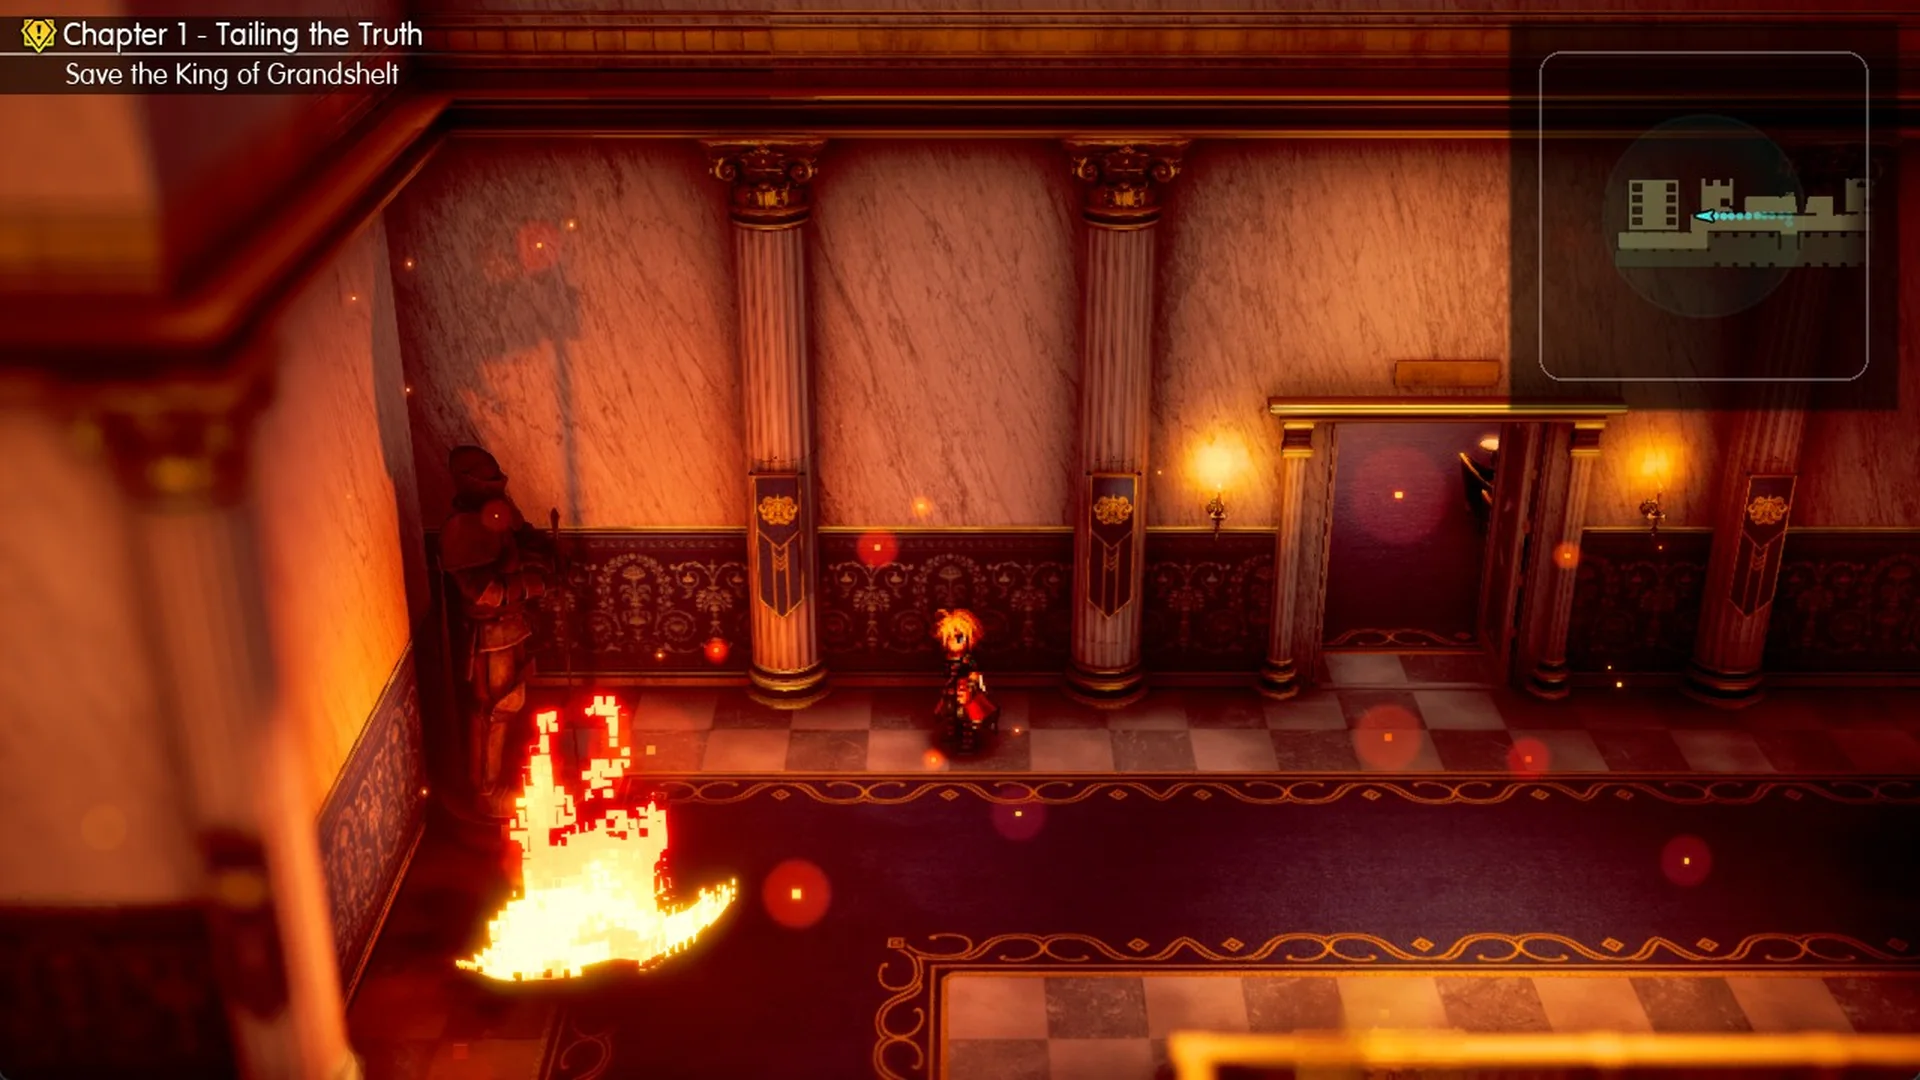
The archway leads into the banquet hall, with long tables, chandeliers and a large patterned carpet.
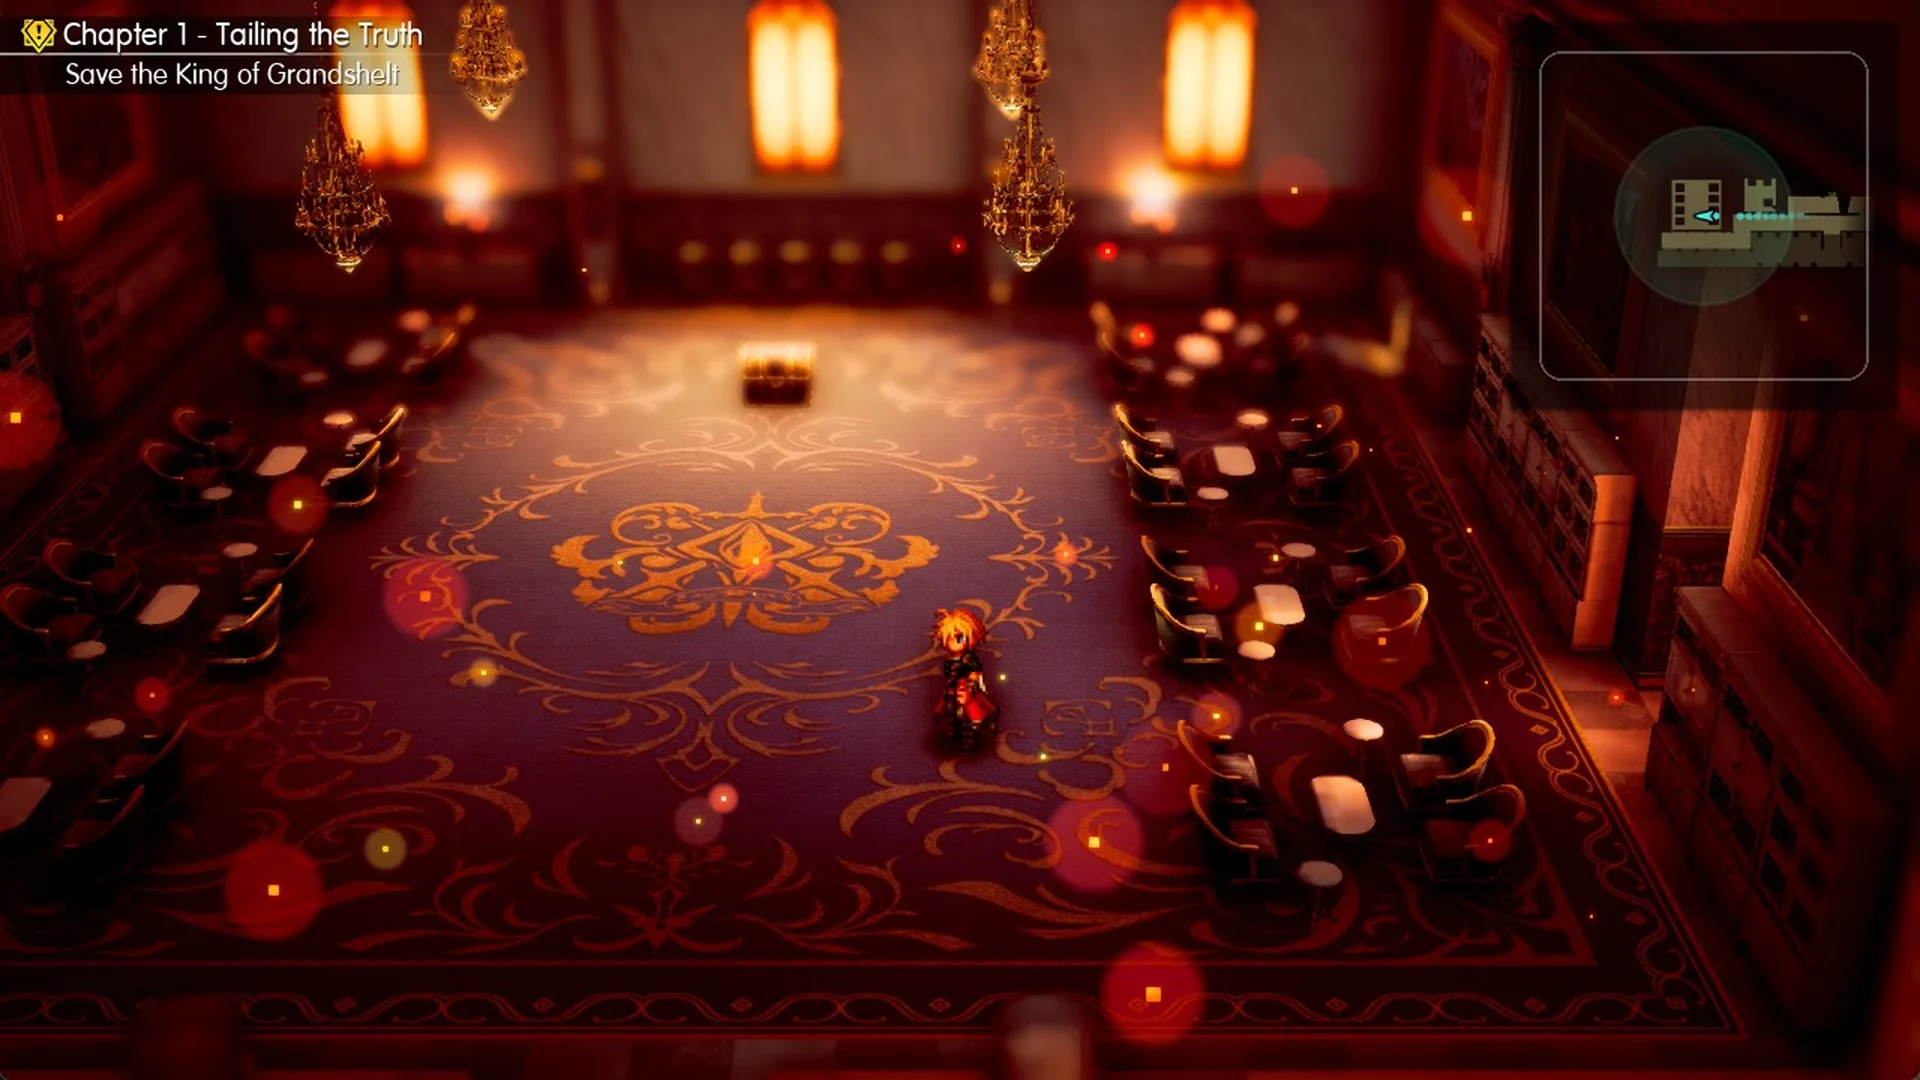
The chest sits at the far north end of the hall, in the centre.
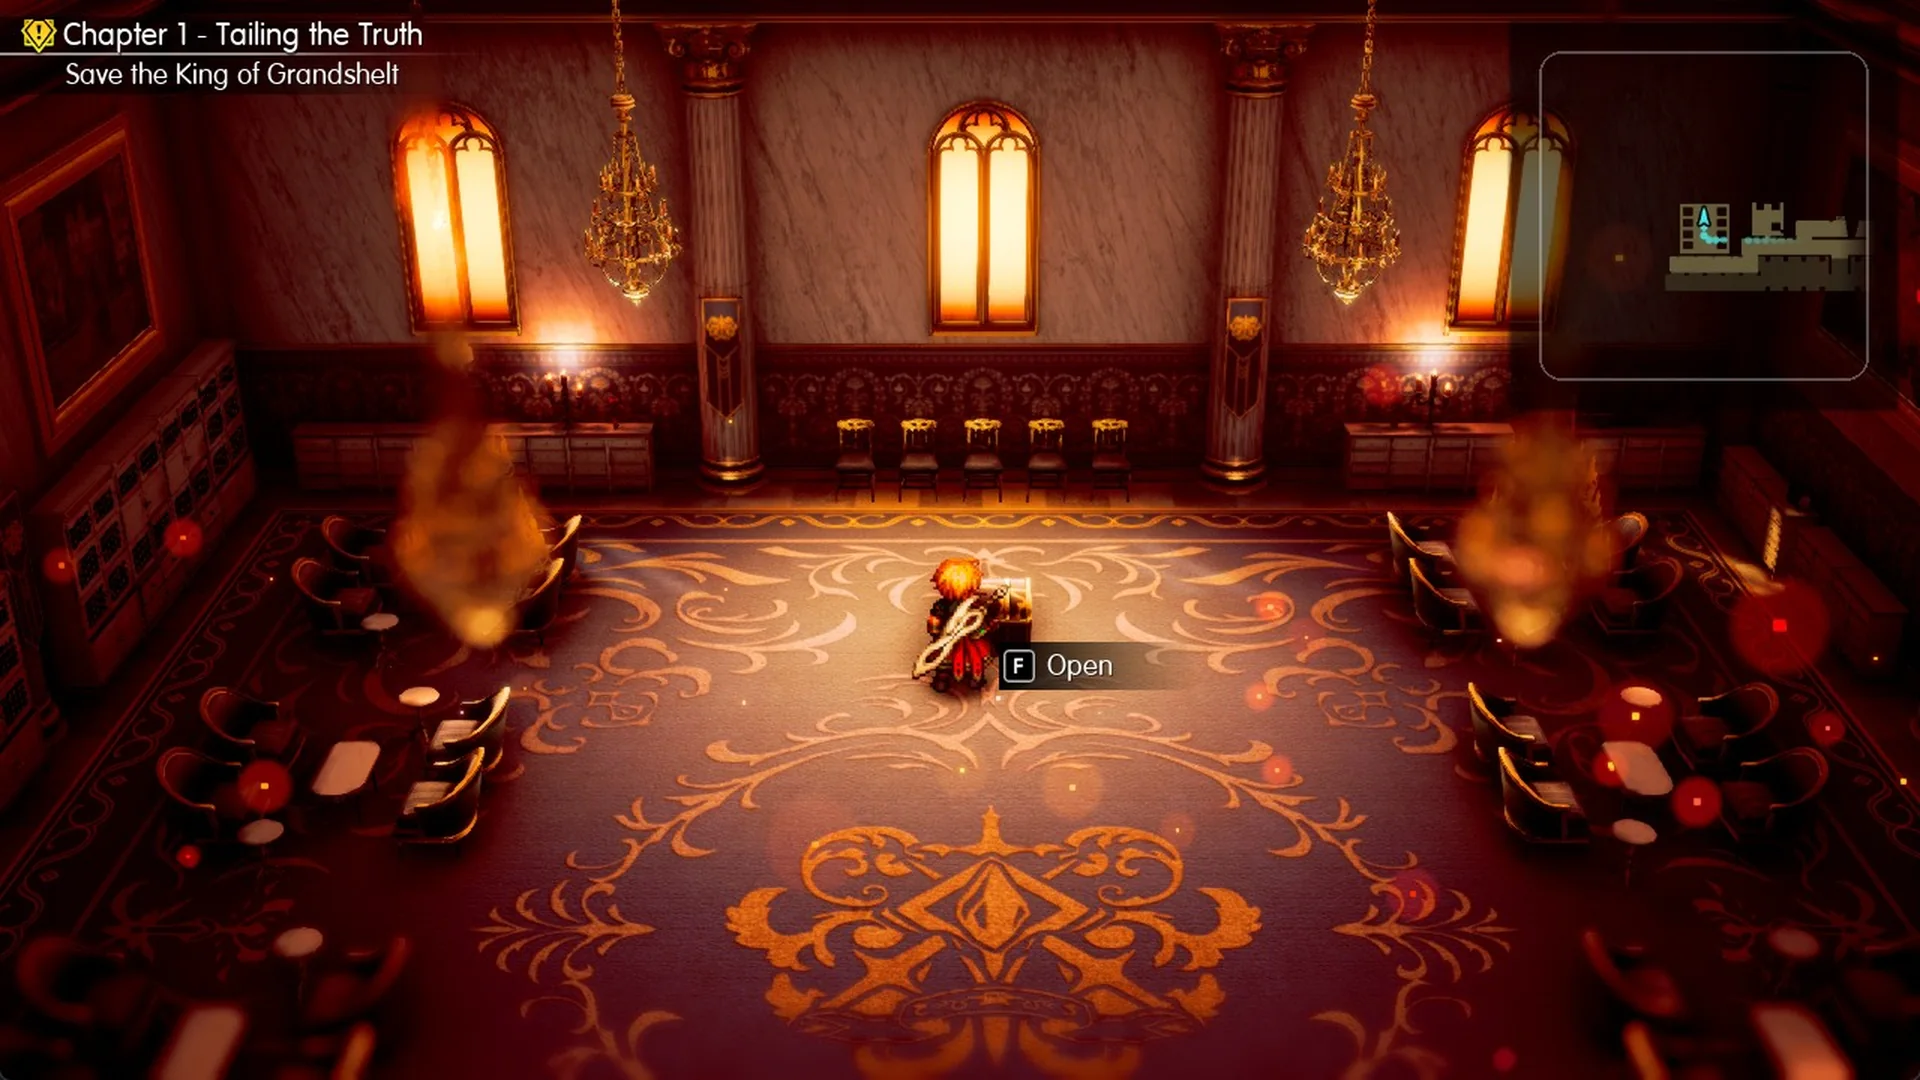
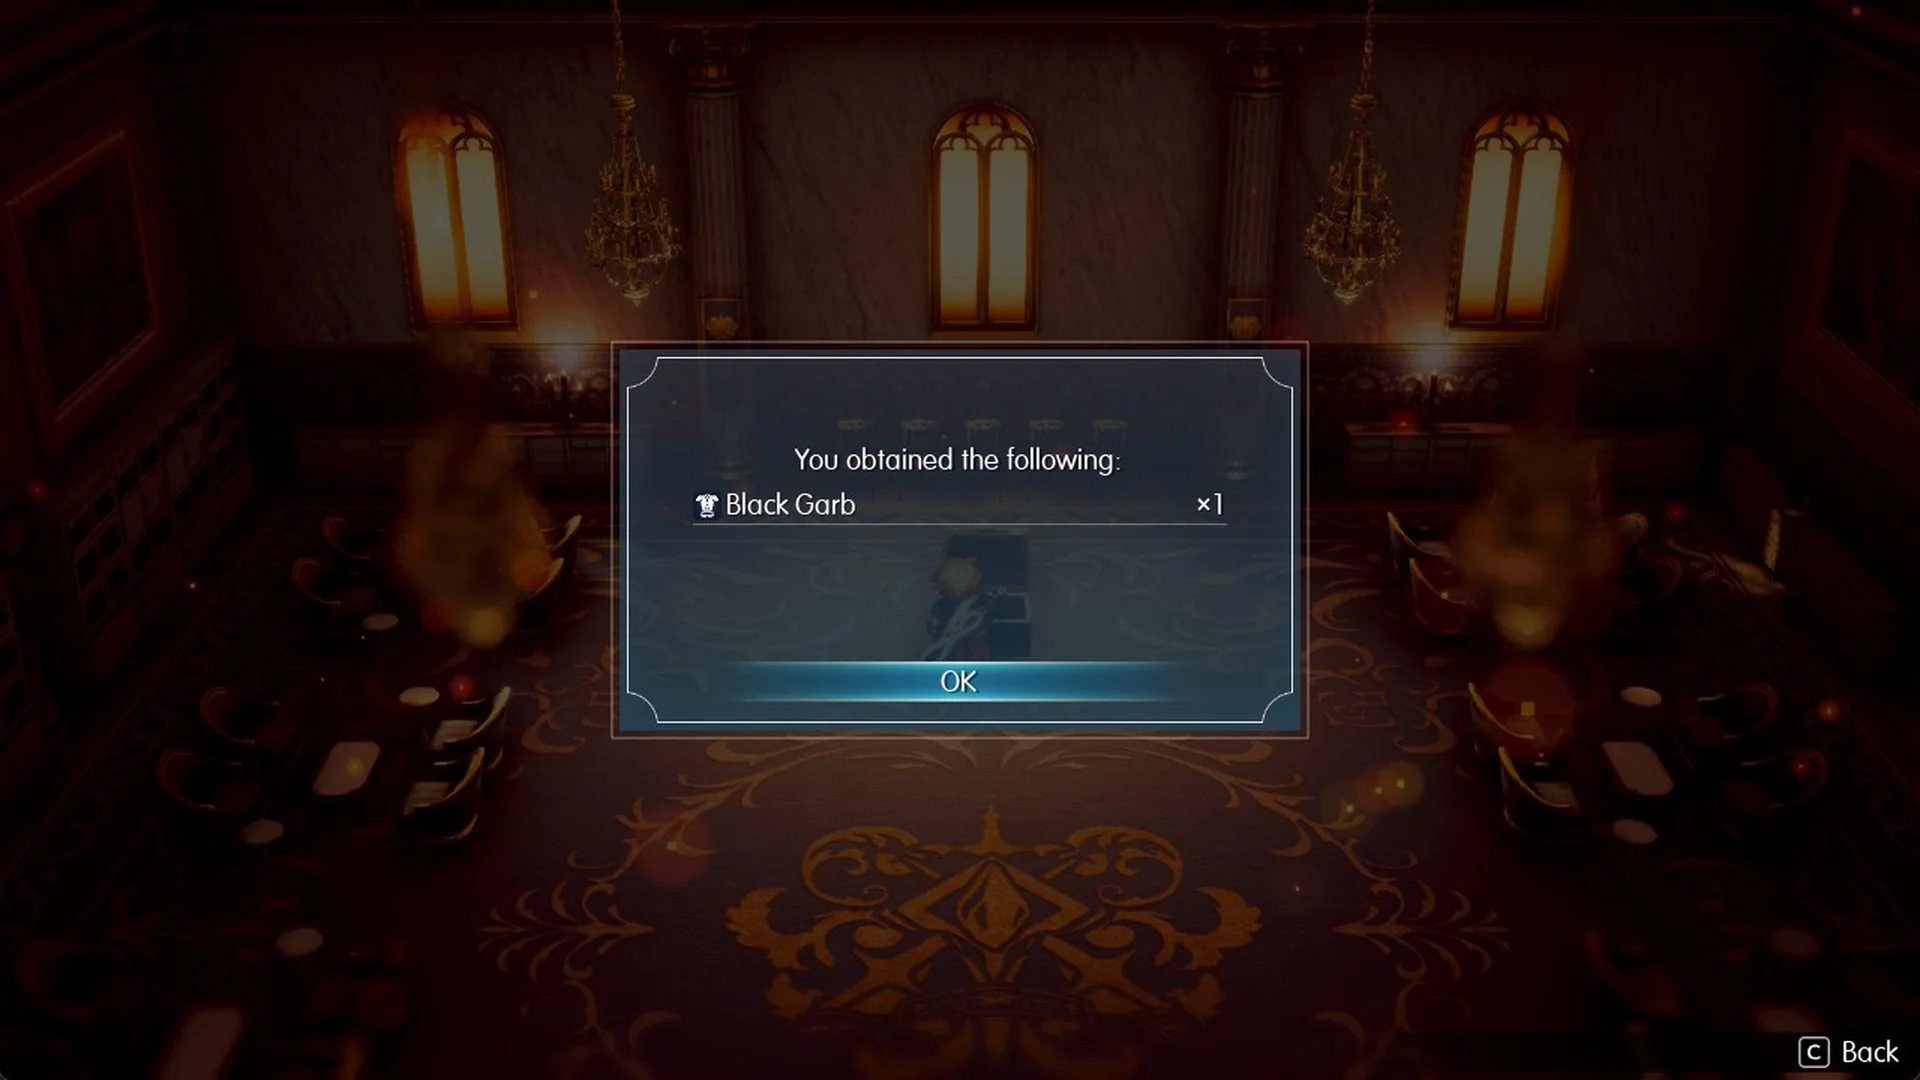
Press F to open it, and the popup reads “You obtained the following: Black Garb x1”.
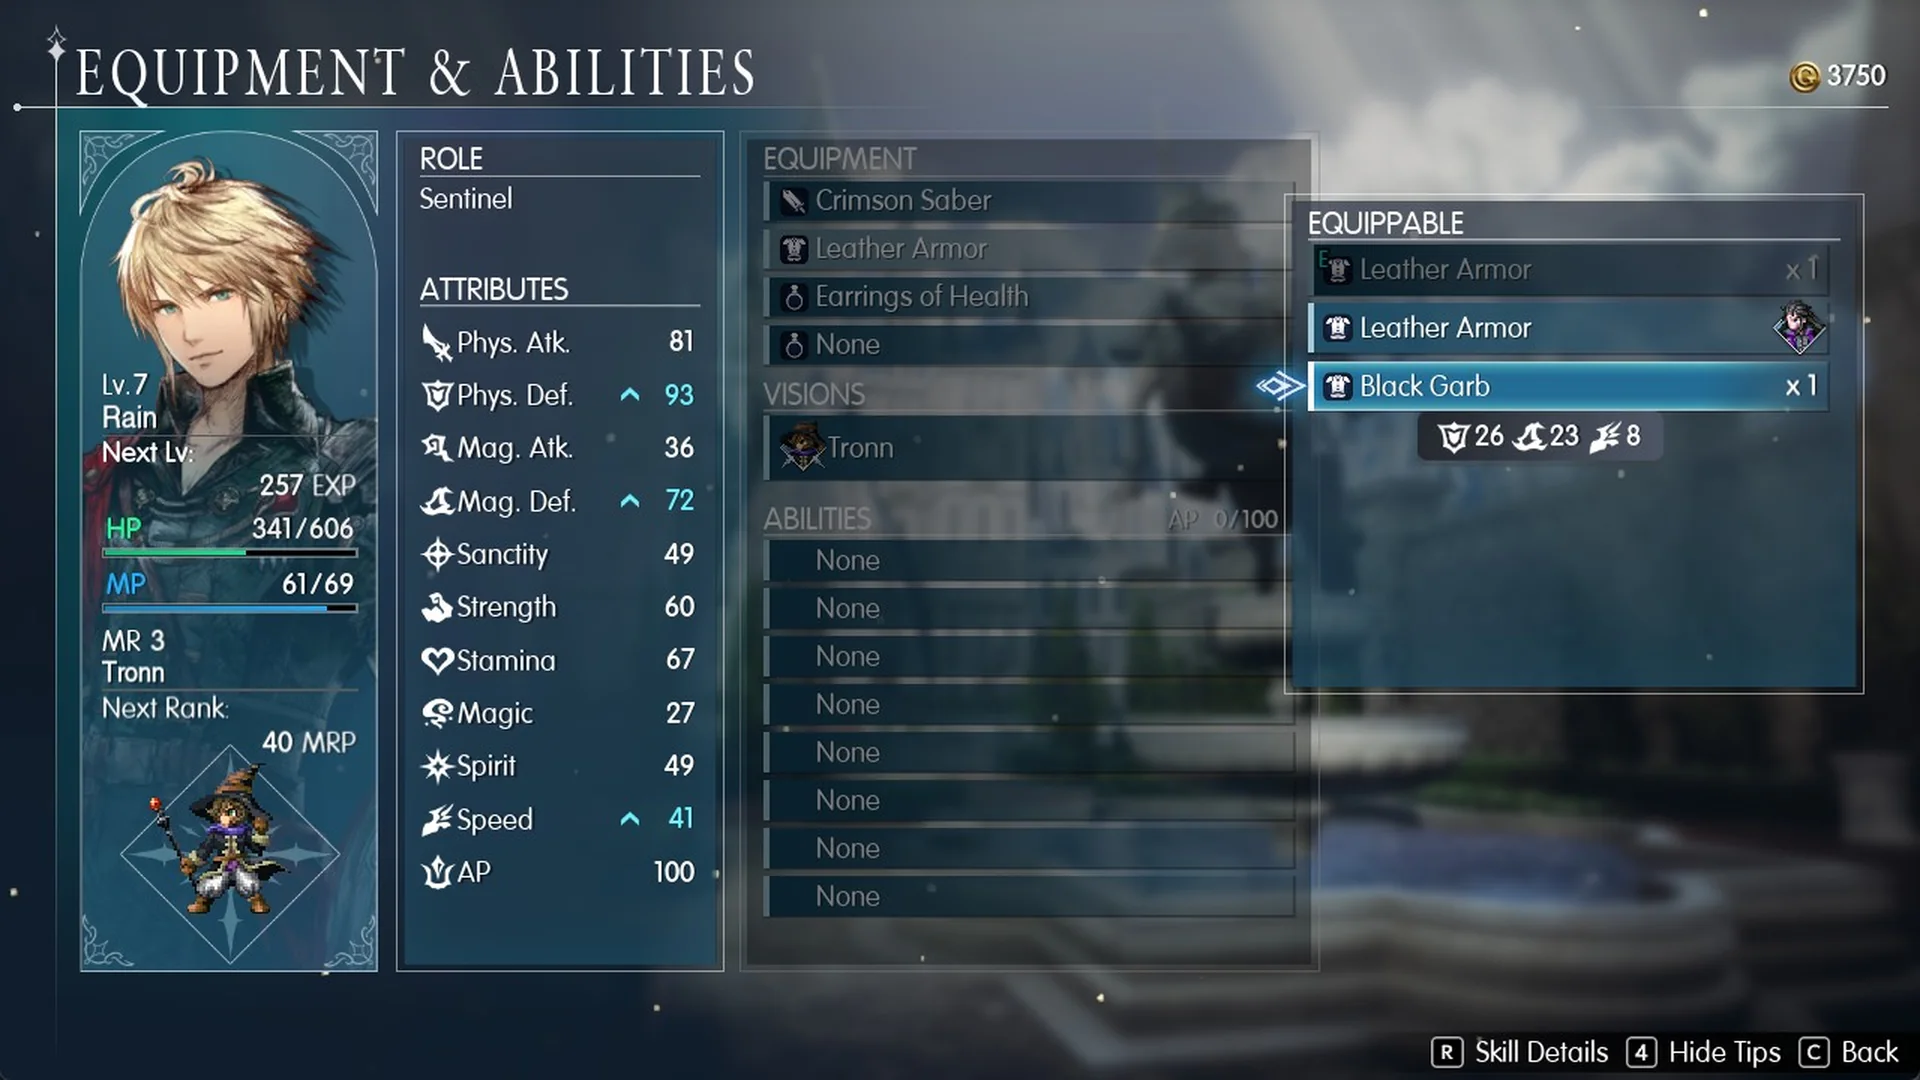
Black Garb occupies the body-armor slot. On the Equipment & Abilities screen, its bonuses are Phys. Def. +26, Mag. Def. +23 and Speed +8. Rain begins with Leather Armor; at Lv.7, Black Garb takes his Phys. Def. from 72 to 93, his Mag. Def. from 52 to 72 and his Speed from 33 to 41. Open Main Menu > Equipment & Abilities, choose a character, enter the armor slot and select Black Garb.
Two more chests after the boss: Phoenix Downs
Return to the upper walkway and use the double door in the north wall, just east of the banquet hall archway. It leads to a bedroom furnished with four beds and armchairs.
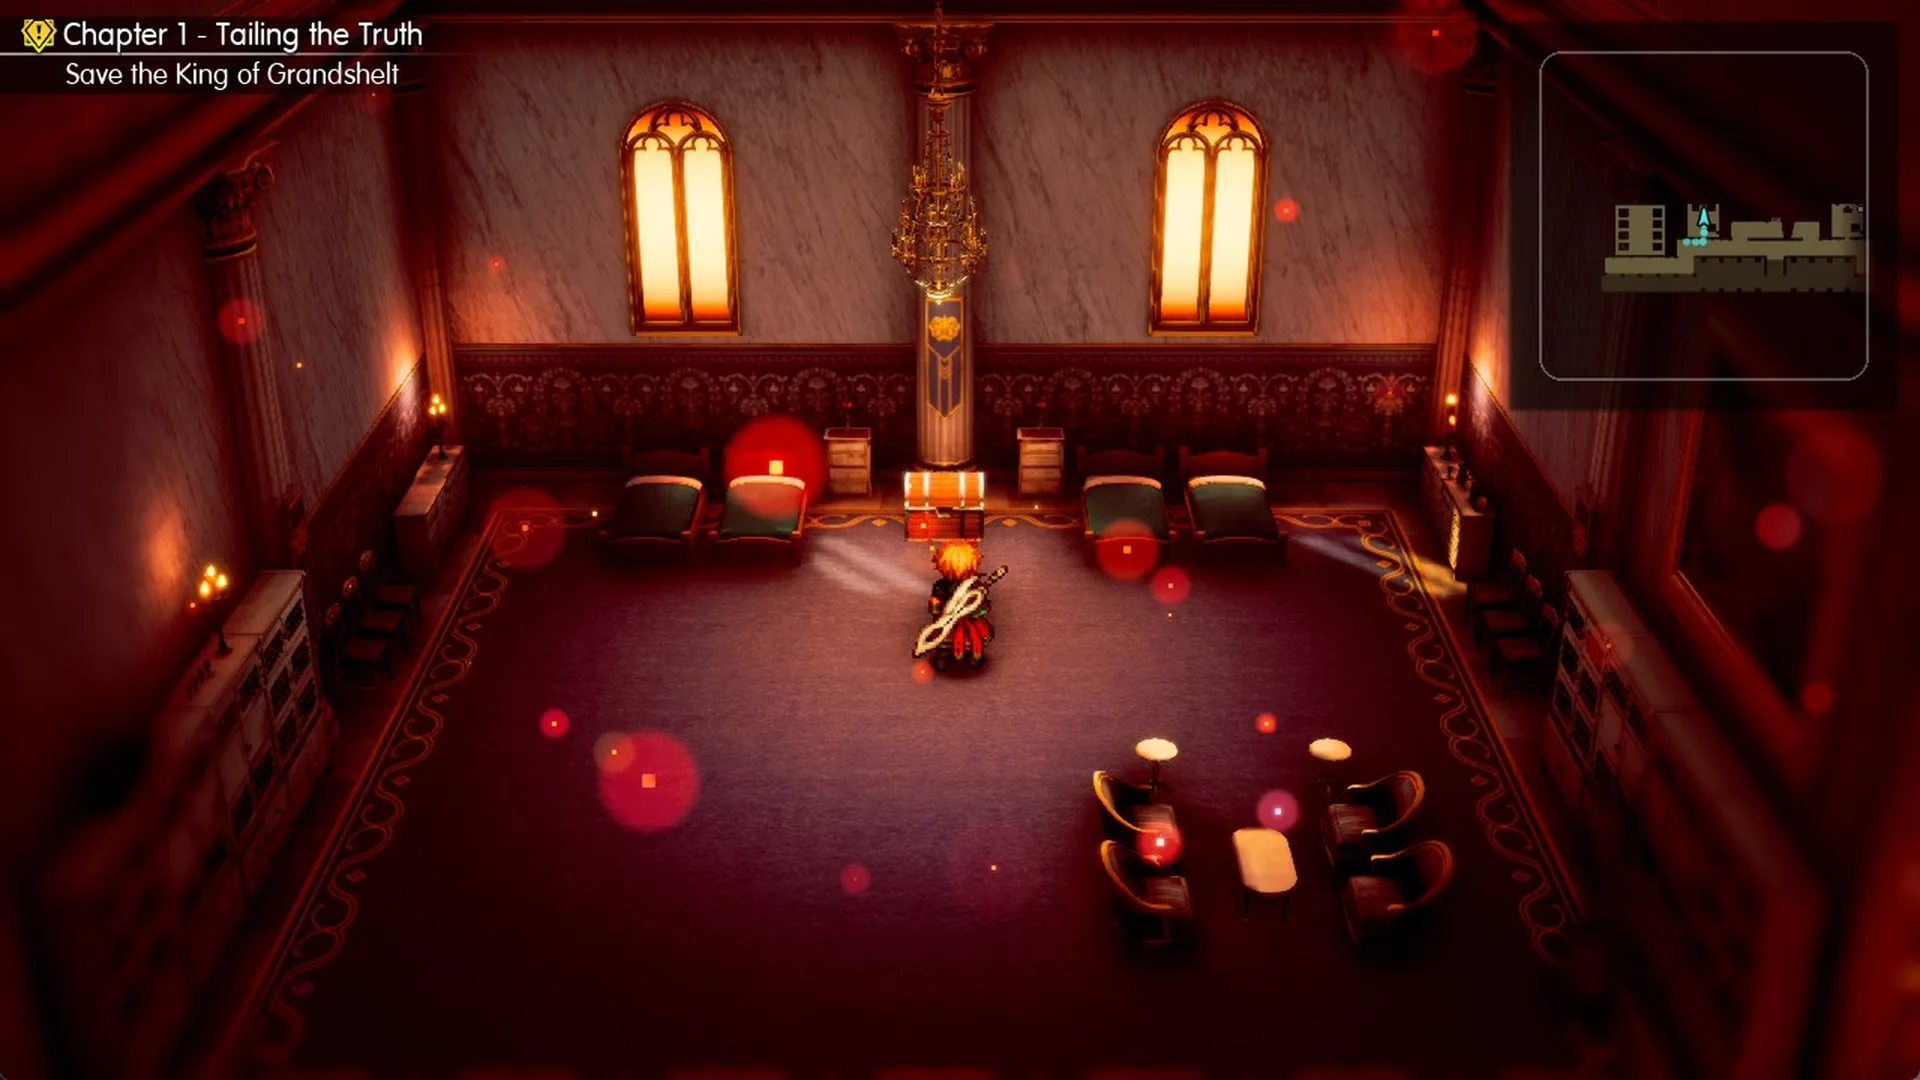
Between the beds, at the centre of the north wall, is a chest containing “Phoenix Down x1”.
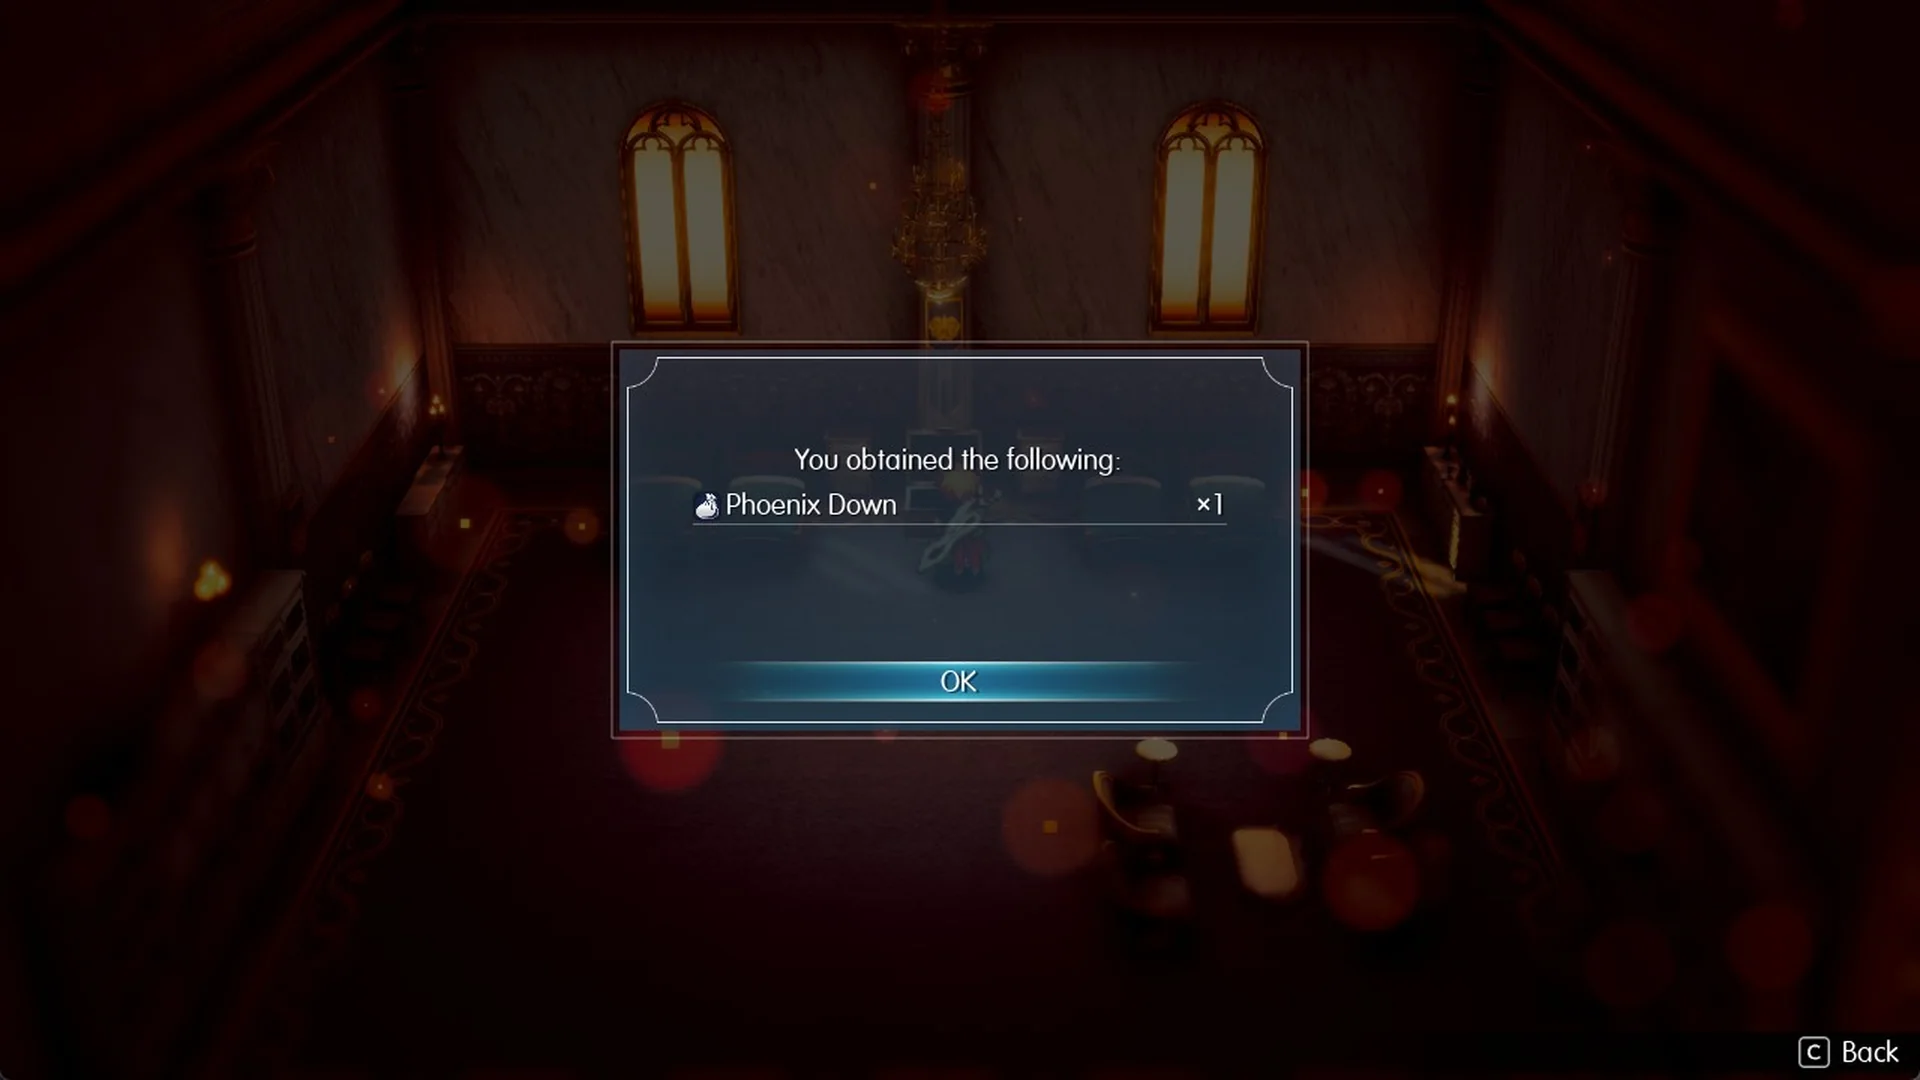
Descend to the ground floor by the central stairs, then pass the statues heading east until you reach the far end.
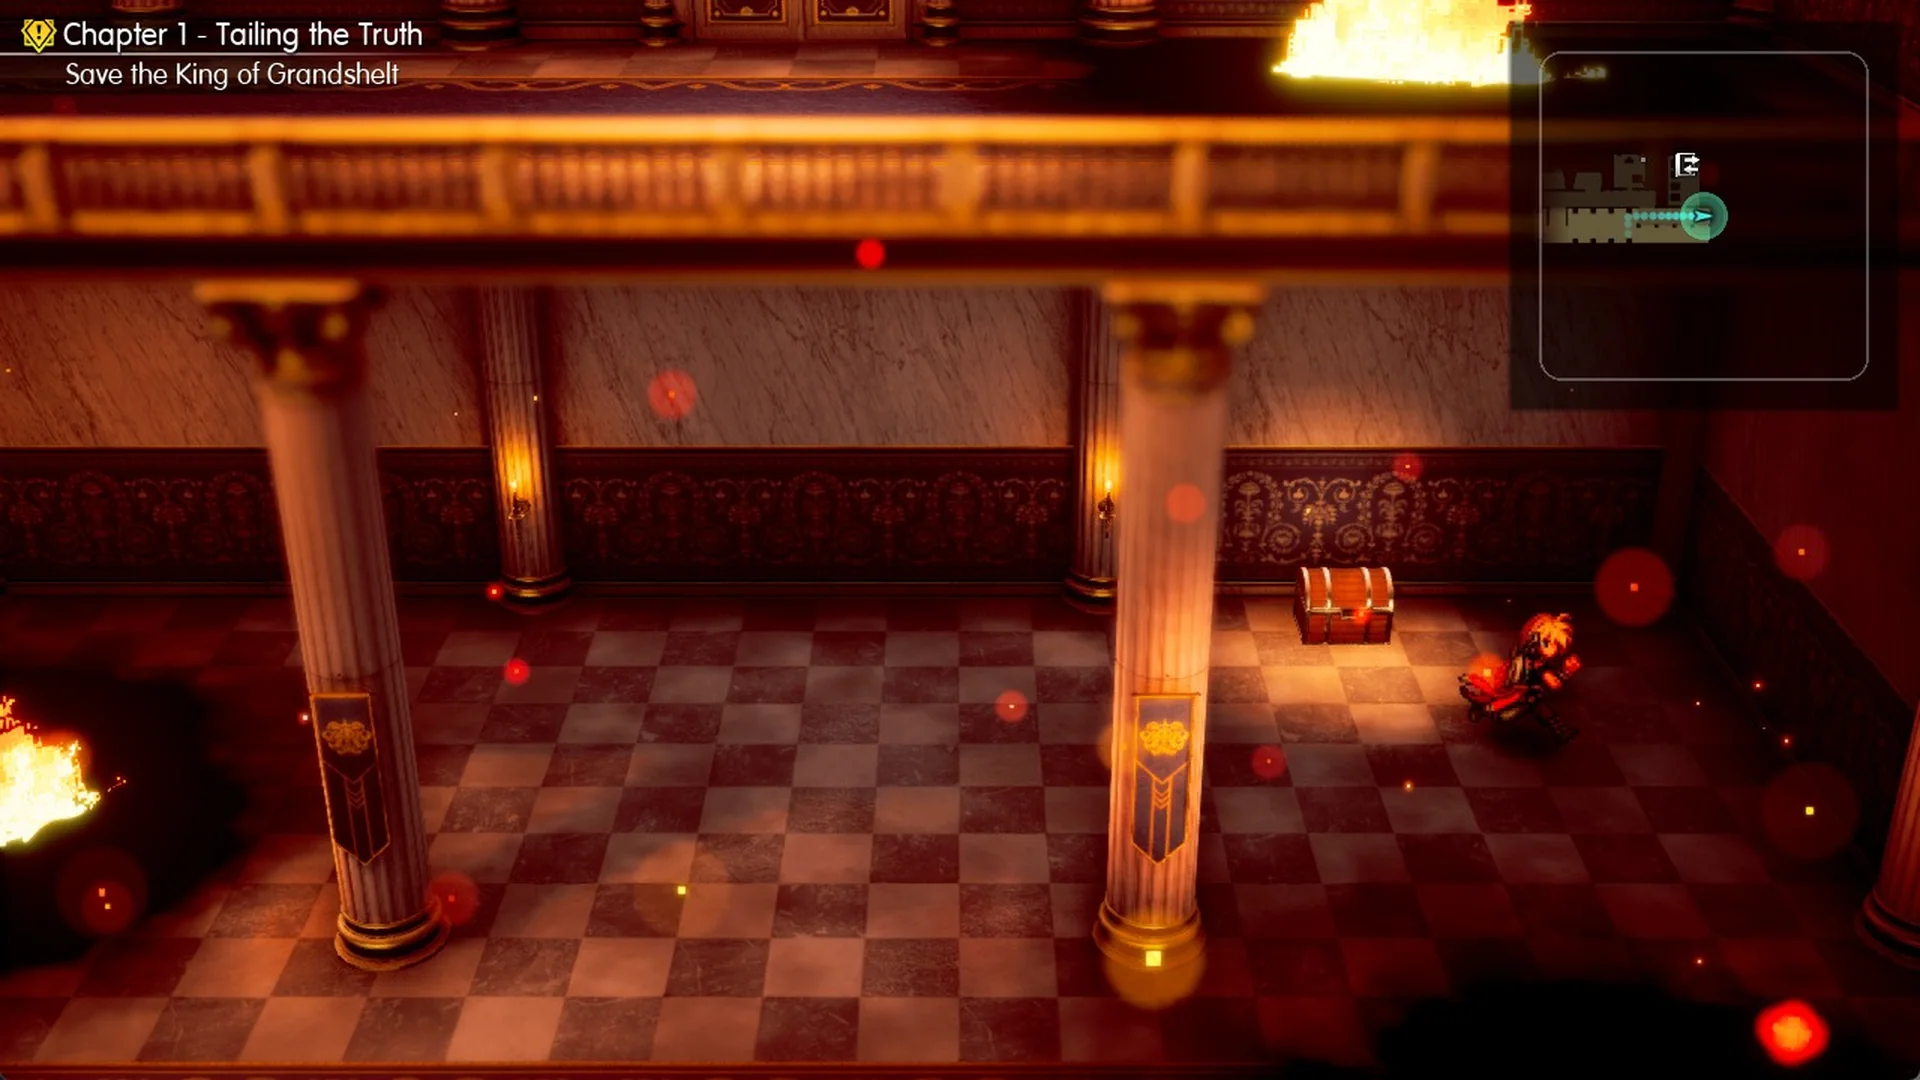
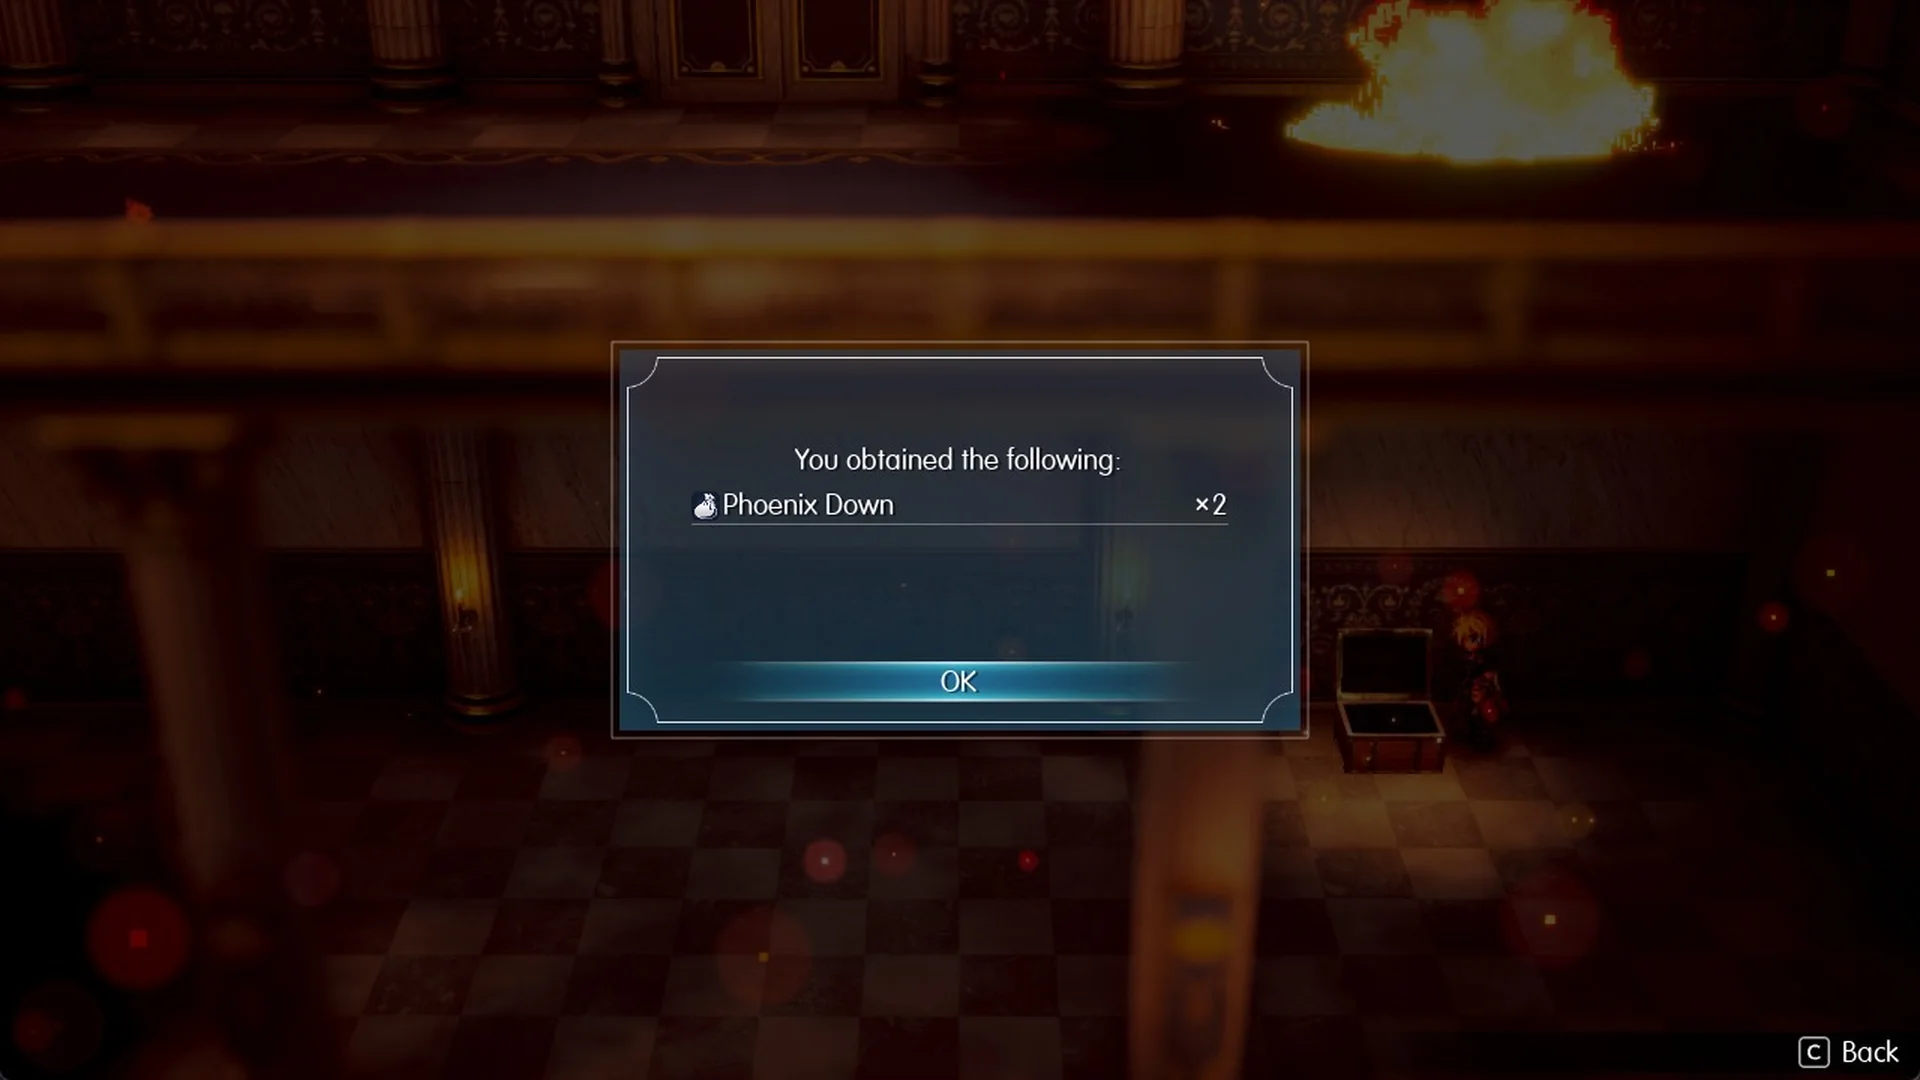
Behind the last pillar, beside the east wall, a chest contains “Phoenix Down x2”.
Enemies in Grandshelt Castle
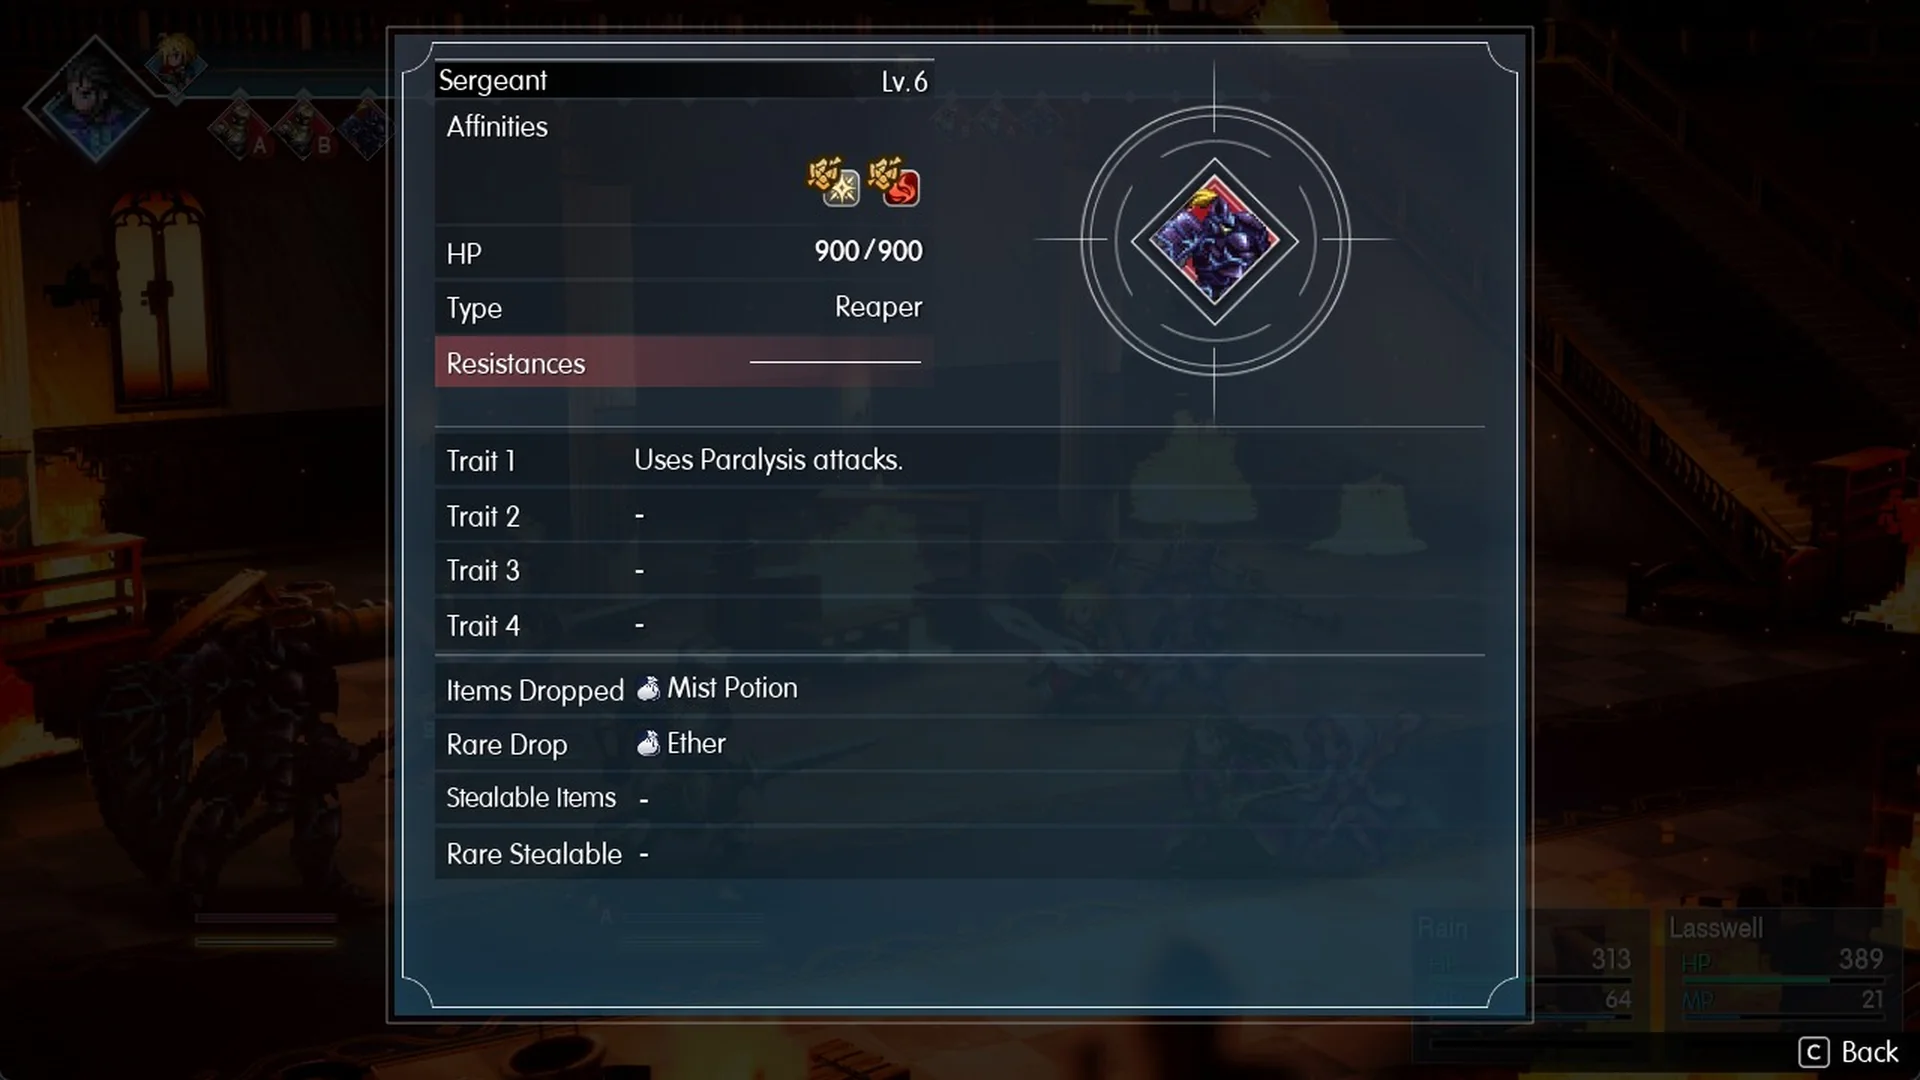
Random battles keep happening in the castle after the boss as well as before it. The table below lists what Leah’s Libra skill (MP 1, “[White Magic] Analyze an enemy for information.”) shows for each enemy type you meet in the castle on NORMAL, covering level, HP, type, weaknesses, resistances, trait and dropped items. The Wraith Soldier, Soul, Skeleton and Sergeant are all weak to Fire, while the Fire Wisp resists Fire and is weak to Ice and Water instead.
| Enemy | Lv. | HP | Type | Weak to | Resists | Trait | Drops |
|---|---|---|---|---|---|---|---|
| Wraith Soldier | 5 | 240 | Reaper | Light, Fire | Dark | Easily staggered. | Knife of Poison |
| Soul | 5 | 200 | Reaper | Fire | Ice | Easily staggered. | Knife of Blind (rare: Ether) |
| Fire Wisp | 4 | 200 | Fairy | Ice, Water | Fire | Easily staggered. | Ether |
| Skeleton | 4 | 200 | Reaper | Light, Fire | Dark | Easily staggered. | Knife of Poison |
| Sergeant | 6 | 900 | Reaper | Light, Fire | – | Uses Paralysis attacks. | Mist Potion (rare: Ether) |
| Hell’s Rider (boss) | 6 | 4000 | Demon | Light, Ice | 5 status effects | Uses a special skill when alone in battle. | Mist Potion |