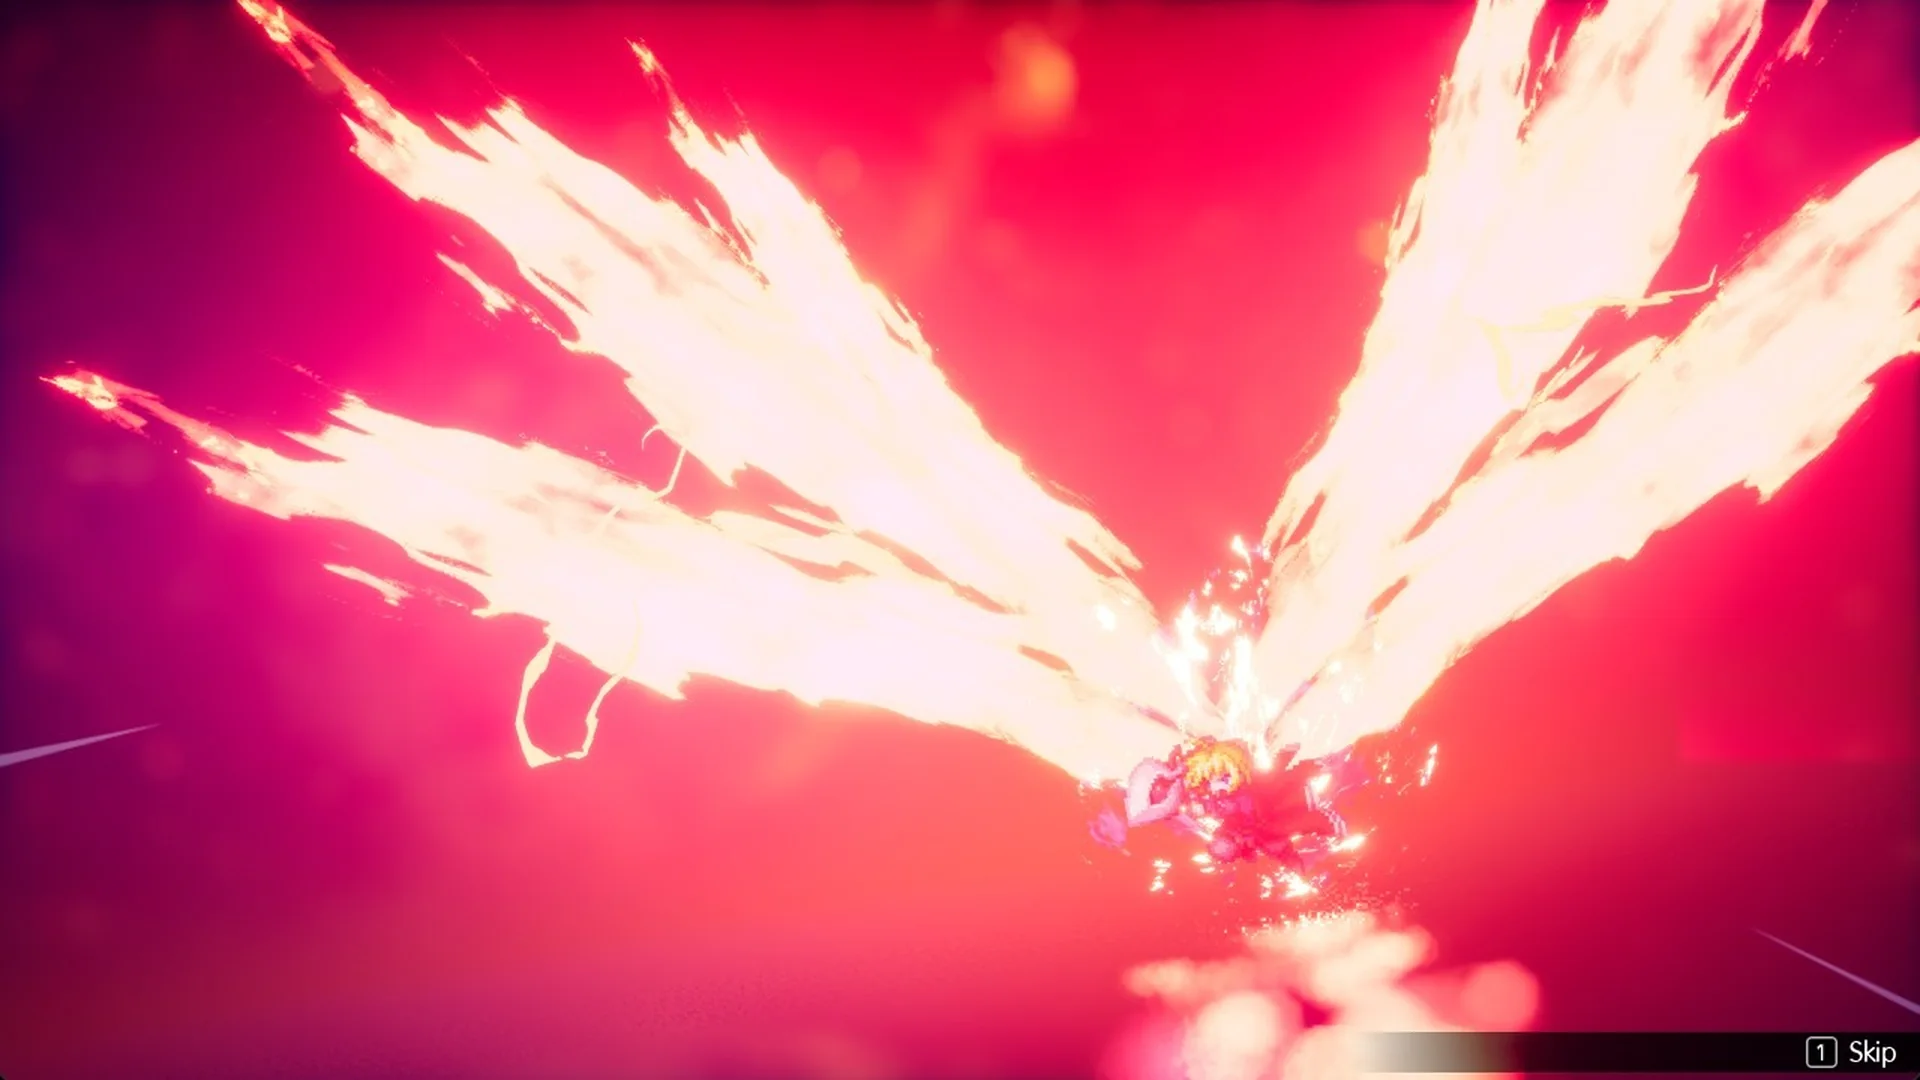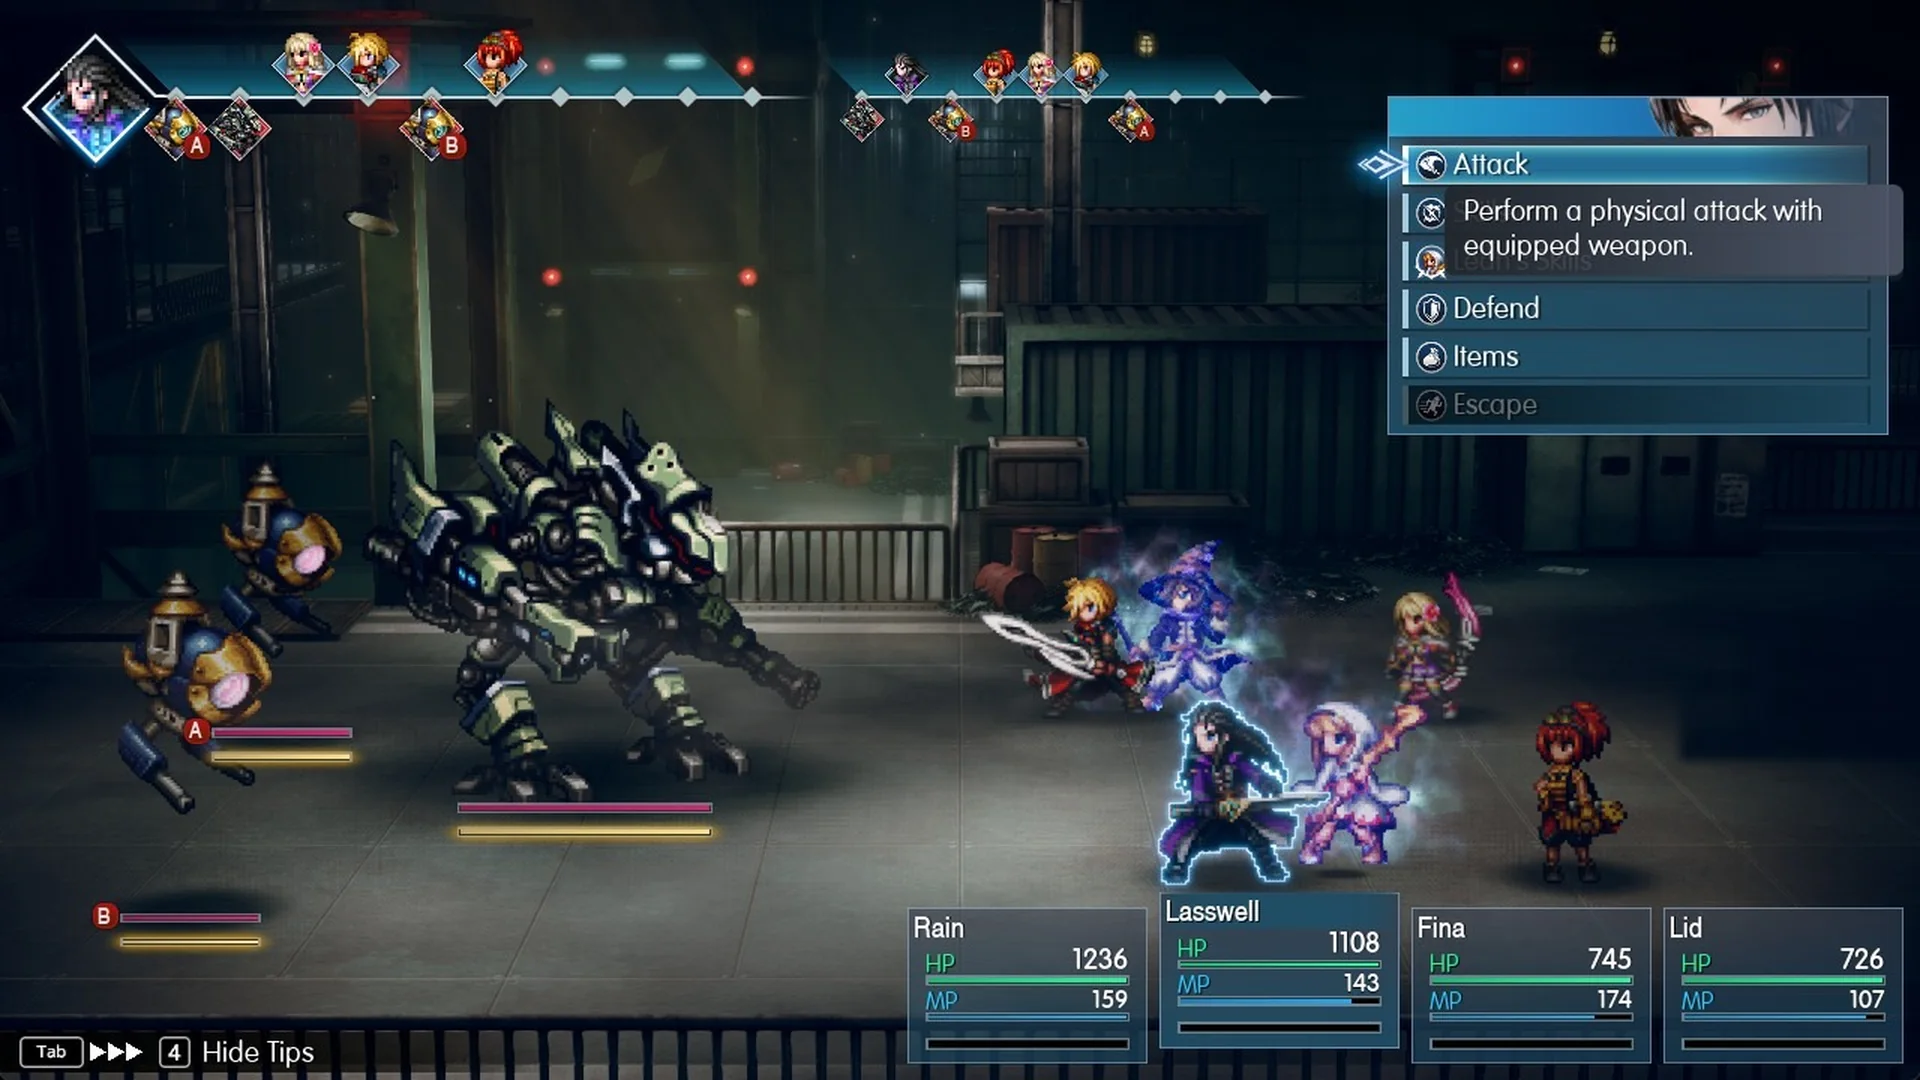
In Final Fantasy Resonance, every Vision carries its own special attack, called a Resonance. You can’t fire one whenever you like. It only becomes available after you break an enemy’s guard, and only for characters wearing a Vision.
Quick answer: The game has 26 Resonances, with one tied to each Vision. When an enemy is staggered, the SELECT RESONANCE wheel appears, and any character equipped with a Vision can use its Resonance.
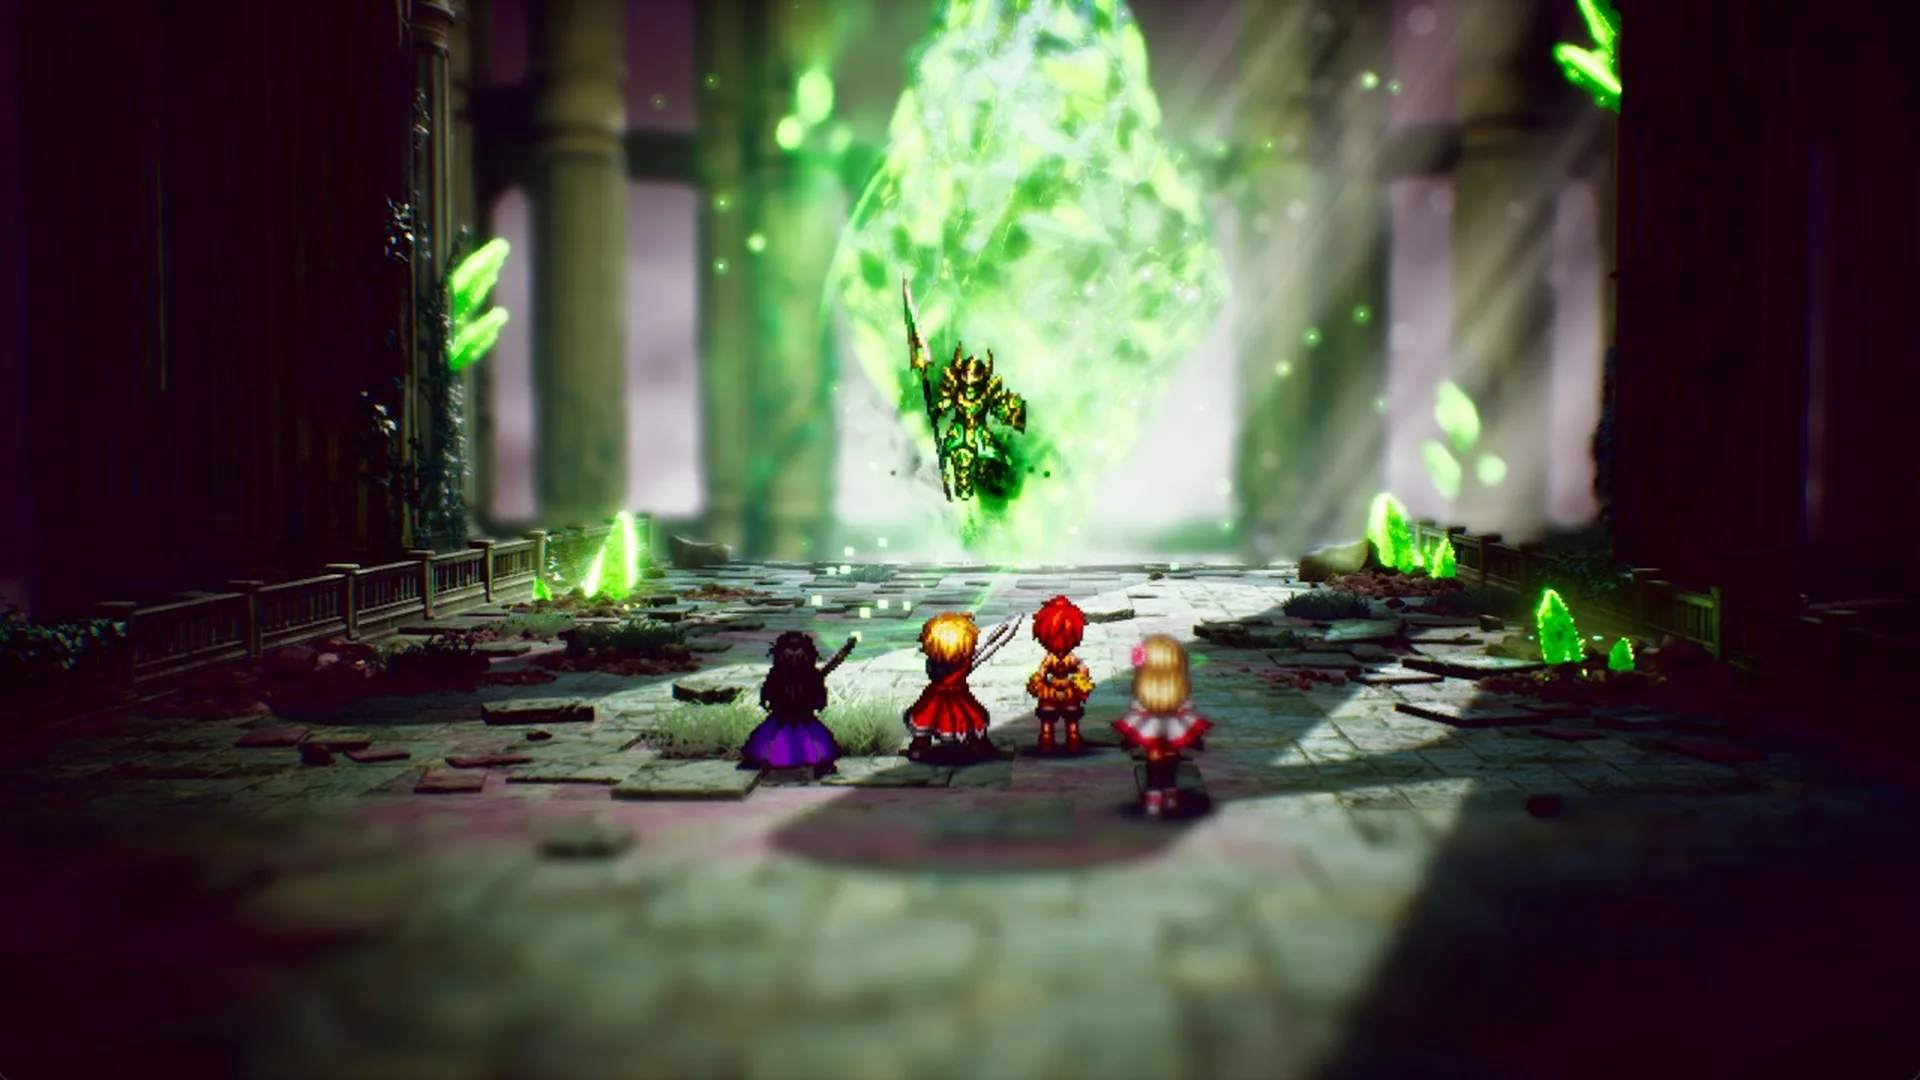
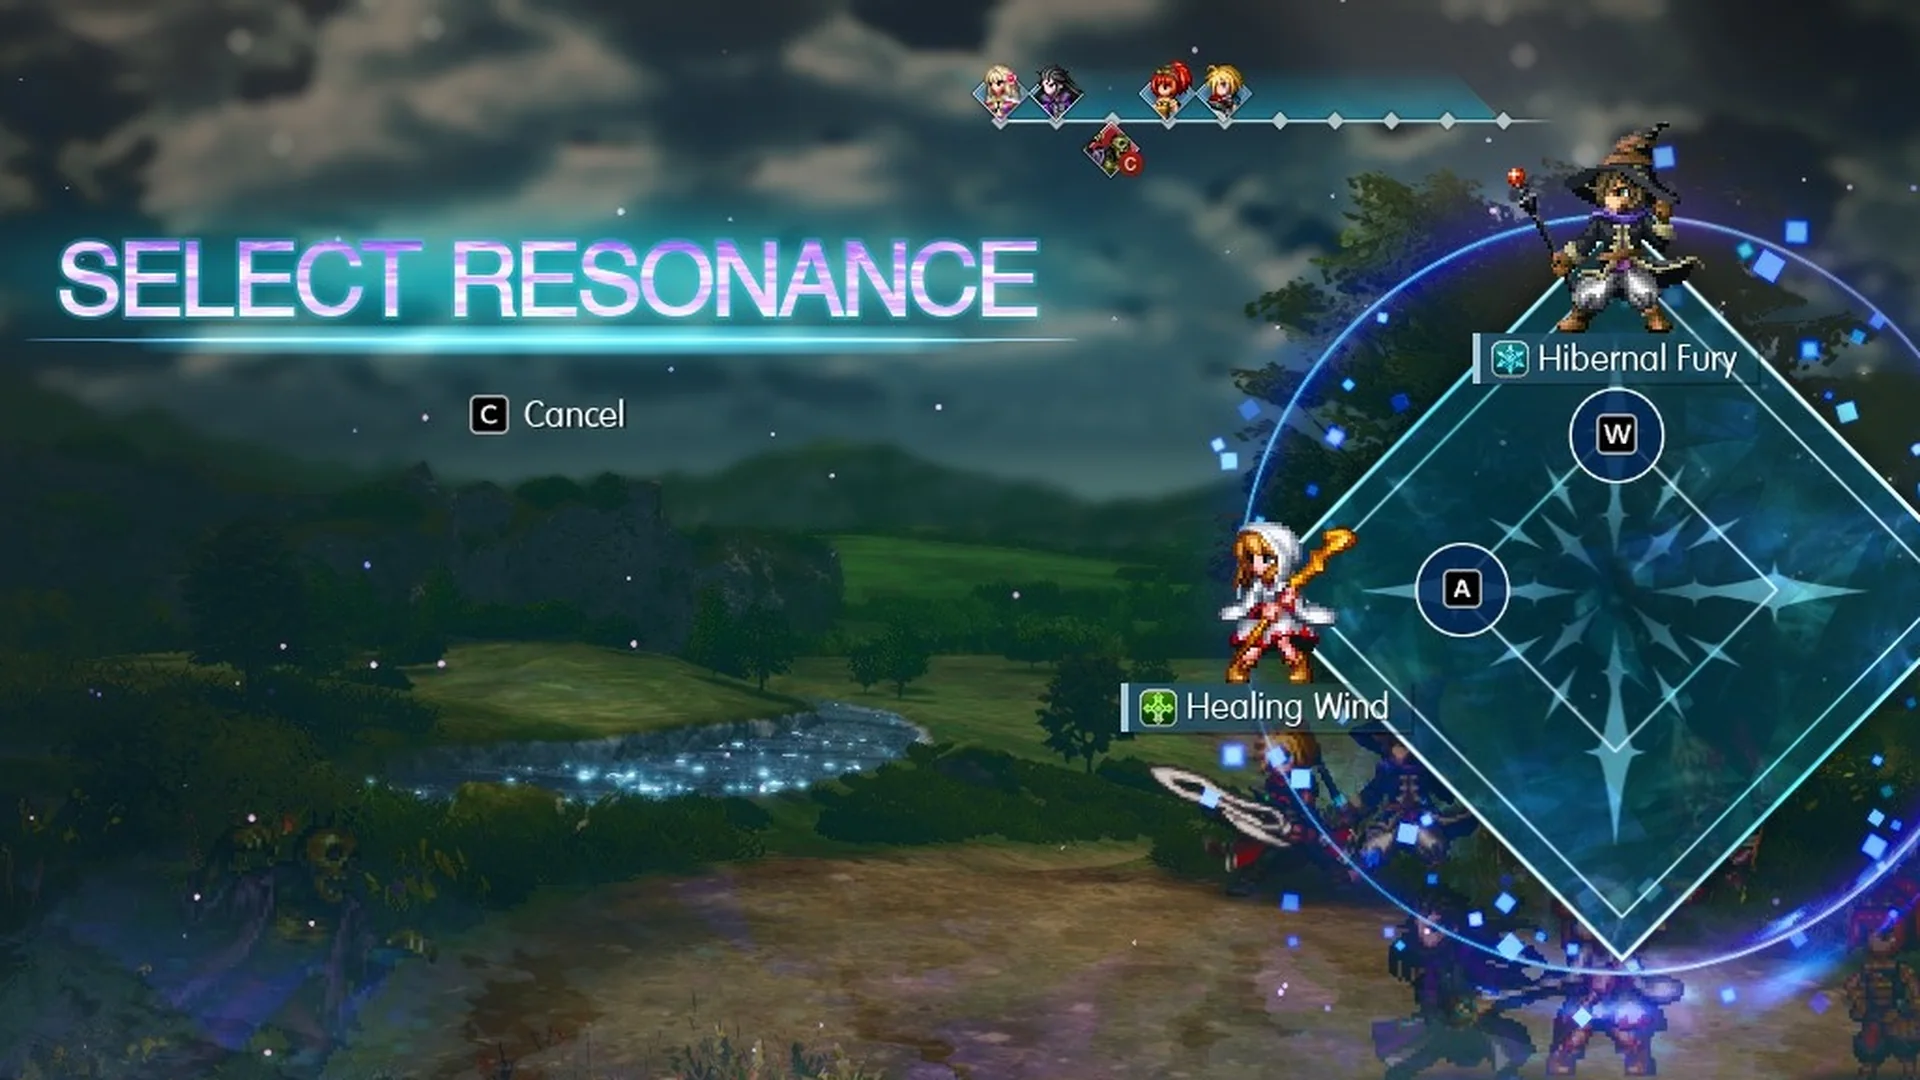
Rain’s first two Visions are Tronn and Leah. They bring Hibernal Fury and Healing Wind. The Warrior of Light Vision brings Crystal Braver. Each of the nine original Visions and each of the 17 series heroes has its own Resonance, and none of them cost MP.
All Resonances in Final Fantasy Resonance
The nine original Visions come first, followed by the series heroes. The full roster is in the Final Fantasy Resonance Visions list.
| Vision | Resonance | What it does | How to get the Vision |
|---|---|---|---|
| Tronn | Hibernal Fury | Deal Ice magic damage to random enemies 5 times. | Vision Crystal under Rain’s house, Town of Mitra (Chapter 1) |
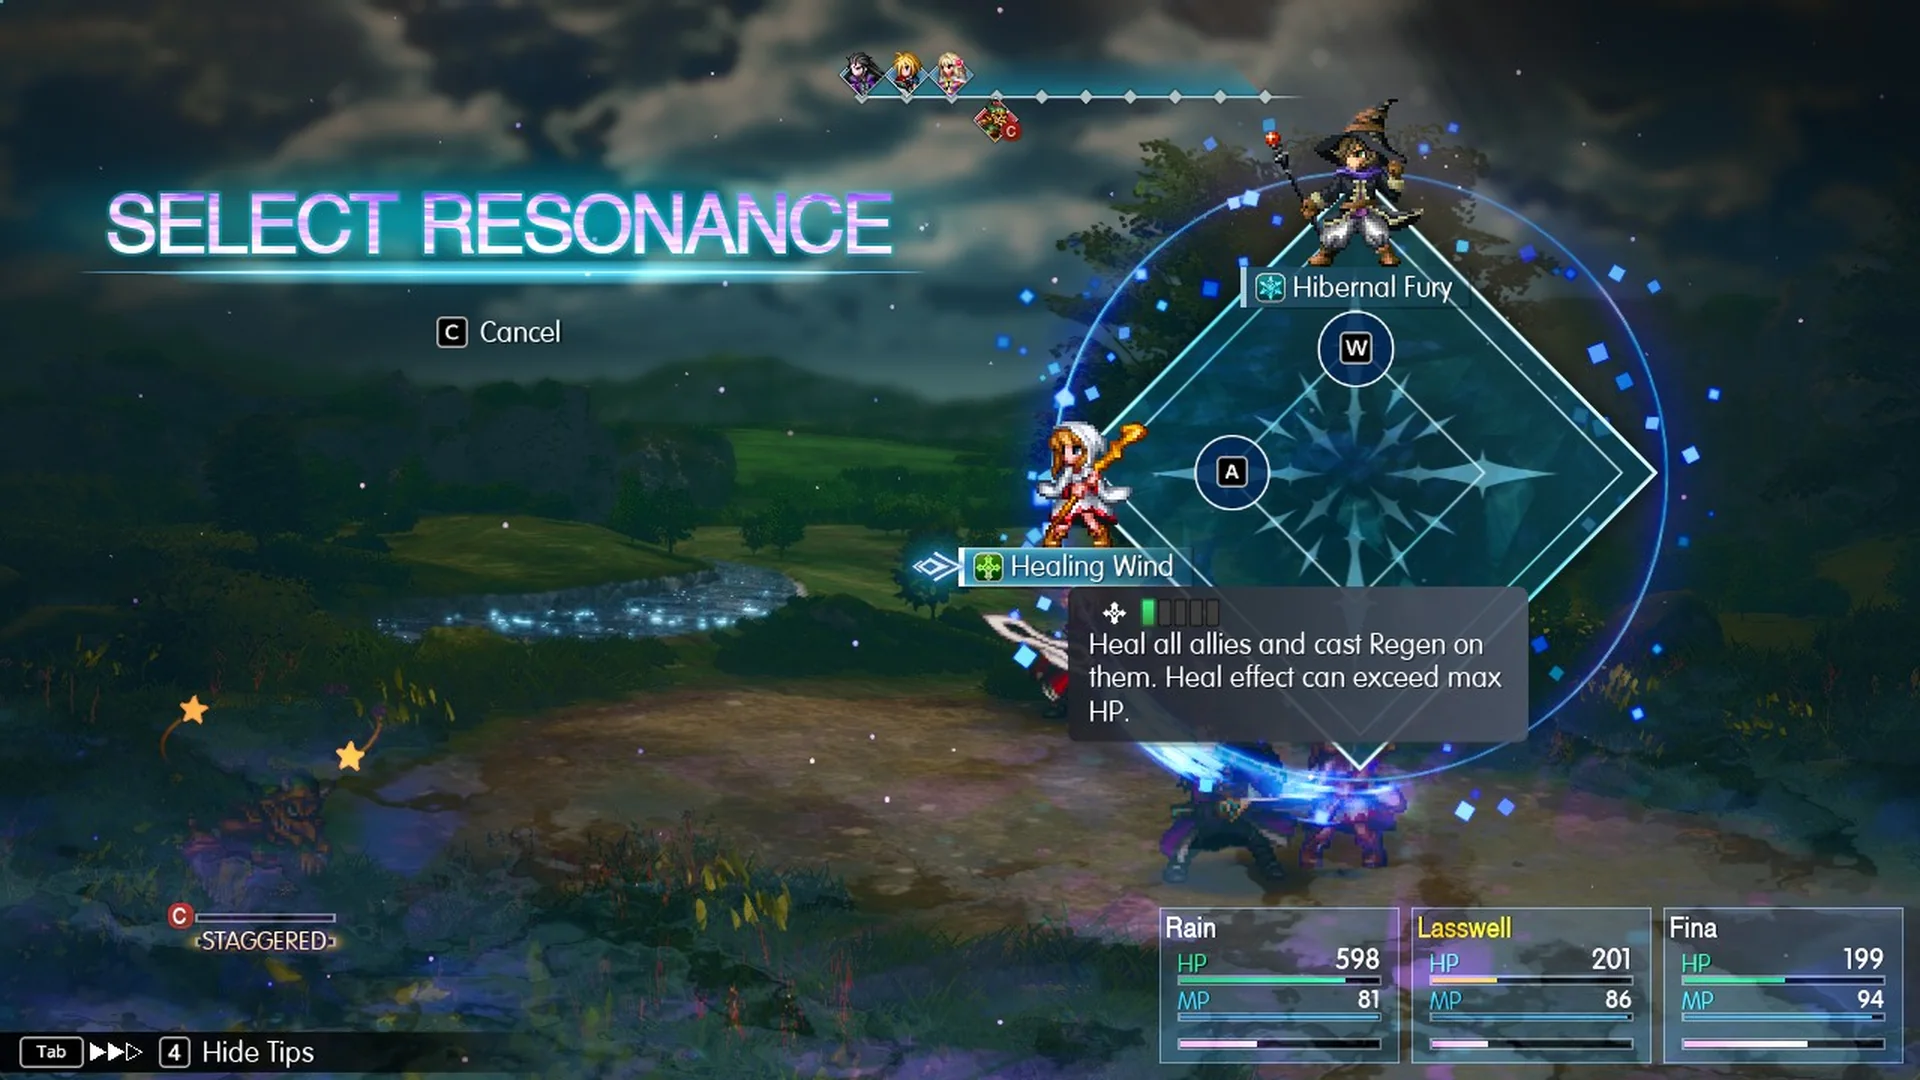
| Leah | Healing Wind | Heal all allies and cast Regen on them. Heal effect can exceed max HP. | Vision Crystal under Rain’s house, Town of Mitra (Chapter 1) |
| Aileen | Fatal Impact | Deal Earth physical damage to an enemy. | Side quest “Forger of Wills” (Chapter 5) |
| Amelia | Errand’s End | Deal Fire magic damage to an enemy. | Side quest “Errand’s End” (Chapter 4) |
| Ayaka | Angelic Embrace | Restore HP, remove debuffs, and cure all status ailments other than KO for all allies. | Side quest “The Admirable Apprentice” (Chapter 7) |
| Camille | Alluvial Undertow | Deal Water physical damage to an enemy. | Side quest “The Call from Beyond” (Chapter 5) |
| Charlotte | Resolute Bastion | Restore HP and increase physical and magic defense for all allies. | Side quest “The Shield of the Weak” (Chapter 7) |
| Victoria | Agony | Deal Dark magic damage to all enemies and inflict Poison and Blind. | Side quest “Victoria Revivified” (Chapter 5) |
| Wilhelm | Towering Rampart | Activate a barrier on all allies that reduces damage taken once. | Side quest “O General! My General!” (Chapter 5) |
| Warrior of Light | Crystal Braver | Deal physical damage to all enemies, cast Regen on self, and increase own defense and spirit for 3 turns. | Sanctum of Light north-west of the Village of Kol, Kingdom of Grandshelt |
| Firion | Weaponsmaster | Deal Light physical damage to an enemy and fill LB gauge by 20%. | Sanctum of Light, Olderion Federation |
| Onion Knight | Job Change Attack | Deal non-elemental magic damage to all enemies. Increase power of Blade Torrent until battle ends. | Sanctum of Light, Dirnado |
| Cecil | Knight of Duality | Deal Light physical damage to all enemies. Activate a barrier on all allies that reduces damage taken once. | Sanctum of Light, Zoldaad Empire Territory |
| Bartz | Spellblade-Dual Wield-Rapid Fire | Deal physical damage to an enemy. | Sanctum of Light, Mysidia |
| Terra | Riot Blade – Lotus | Deal non-elemental magic damage to all enemies. | Sanctum of Light, Kingdom of Grandshelt |
| Cloud | Ascension | Deal Lightning physical damage to an enemy. Has a high critical hit rate. | Sanctum of Light, Kingdom of Grandshelt |
| Sephiroth | True Octaslash | Deal non-elemental physical damage to all enemies. | Beat Sephiroth at Whirlpool Hollow, Kingdom of Grandshelt (later in the story) |
| Squall | Blasting Zone | Deal Fire physical damage to all enemies. | Sanctum of Light, Olderion Federation |
| Zidane | Climax Edge | Deal Wind magic damage to an enemy. | Sanctum of Light, Dirnado |
| Tidus | Blitz Ace | Deal Water physical damage to an enemy. The last hit targets all enemies. | Sanctum of Light, Olderion Federation |
| Shantotto | Colossal Shantotto II | Deal Dark magic damage to an enemy and fill LB gauge by 20%. | Sanctum of Light, Zoldaad Empire Territory |
| Vaan | True Pyroclasm | Deal Fire physical damage to all enemies. Guaranteed to steal from affected targets. | Sanctum of Light, Mysidia |
| Lightning | Zantetsuken | Deal Lightning physical damage to all enemies with a 40% chance of Instant Death. | Sanctum of Light, Mysidia |
| Y’shtola | Aetherial Wind | Deal Wind magic damage to all enemies and remove their buffs. | Sanctum of Light, Zoldaad Empire Territory |
| Noctis | Armiger Unleashed | Deal physical damage to all enemies. | Sanctum of Light, Dirnado |
| Clive | True Ifrit-Primed | [Eikon Skill] Deal Fire physical damage to an enemy. | Sanctum of Light, Kingdom of Grandshelt |
Four Resonances heal or protect the party: Healing Wind, Angelic Embrace, Resolute Bastion and Towering Rampart. The ones that hit every enemy include Hibernal Fury (on random targets), Agony, Crystal Braver, Job Change Attack, Knight of Duality, Riot Blade – Lotus, True Octaslash, Blasting Zone, True Pyroclasm, Zantetsuken, Aetherial Wind and Armiger Unleashed.
The original Visions after Tronn and Leah come from Final Fantasy Resonance side quests. Most series heroes wait at a Sanctum of Light, including the one Dirnado shrine covered in the Onion Knight Vision walkthrough. Sephiroth is the exception, and you have to beat him first, as laid out in how to get Sephiroth.
How Resonances work
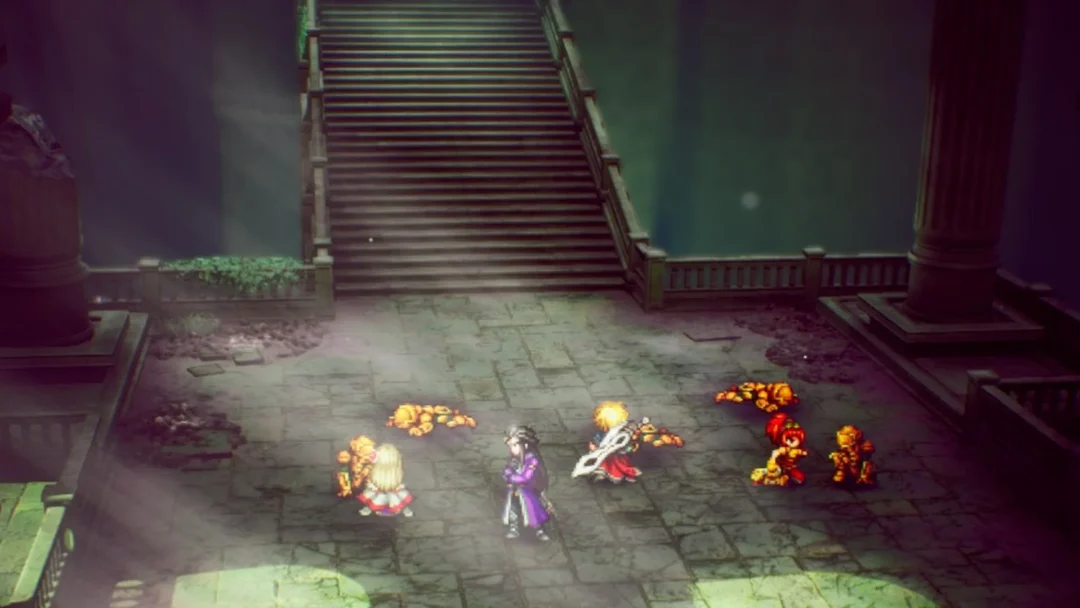
Resonances are tied to the stagger system. Once you stagger an enemy, a SELECT RESONANCE prompt opens with a diamond-shaped wheel. Each option sits on a key, W, A or S on the keyboard, with the Vision’s portrait next to it. Press C to back out without using one.
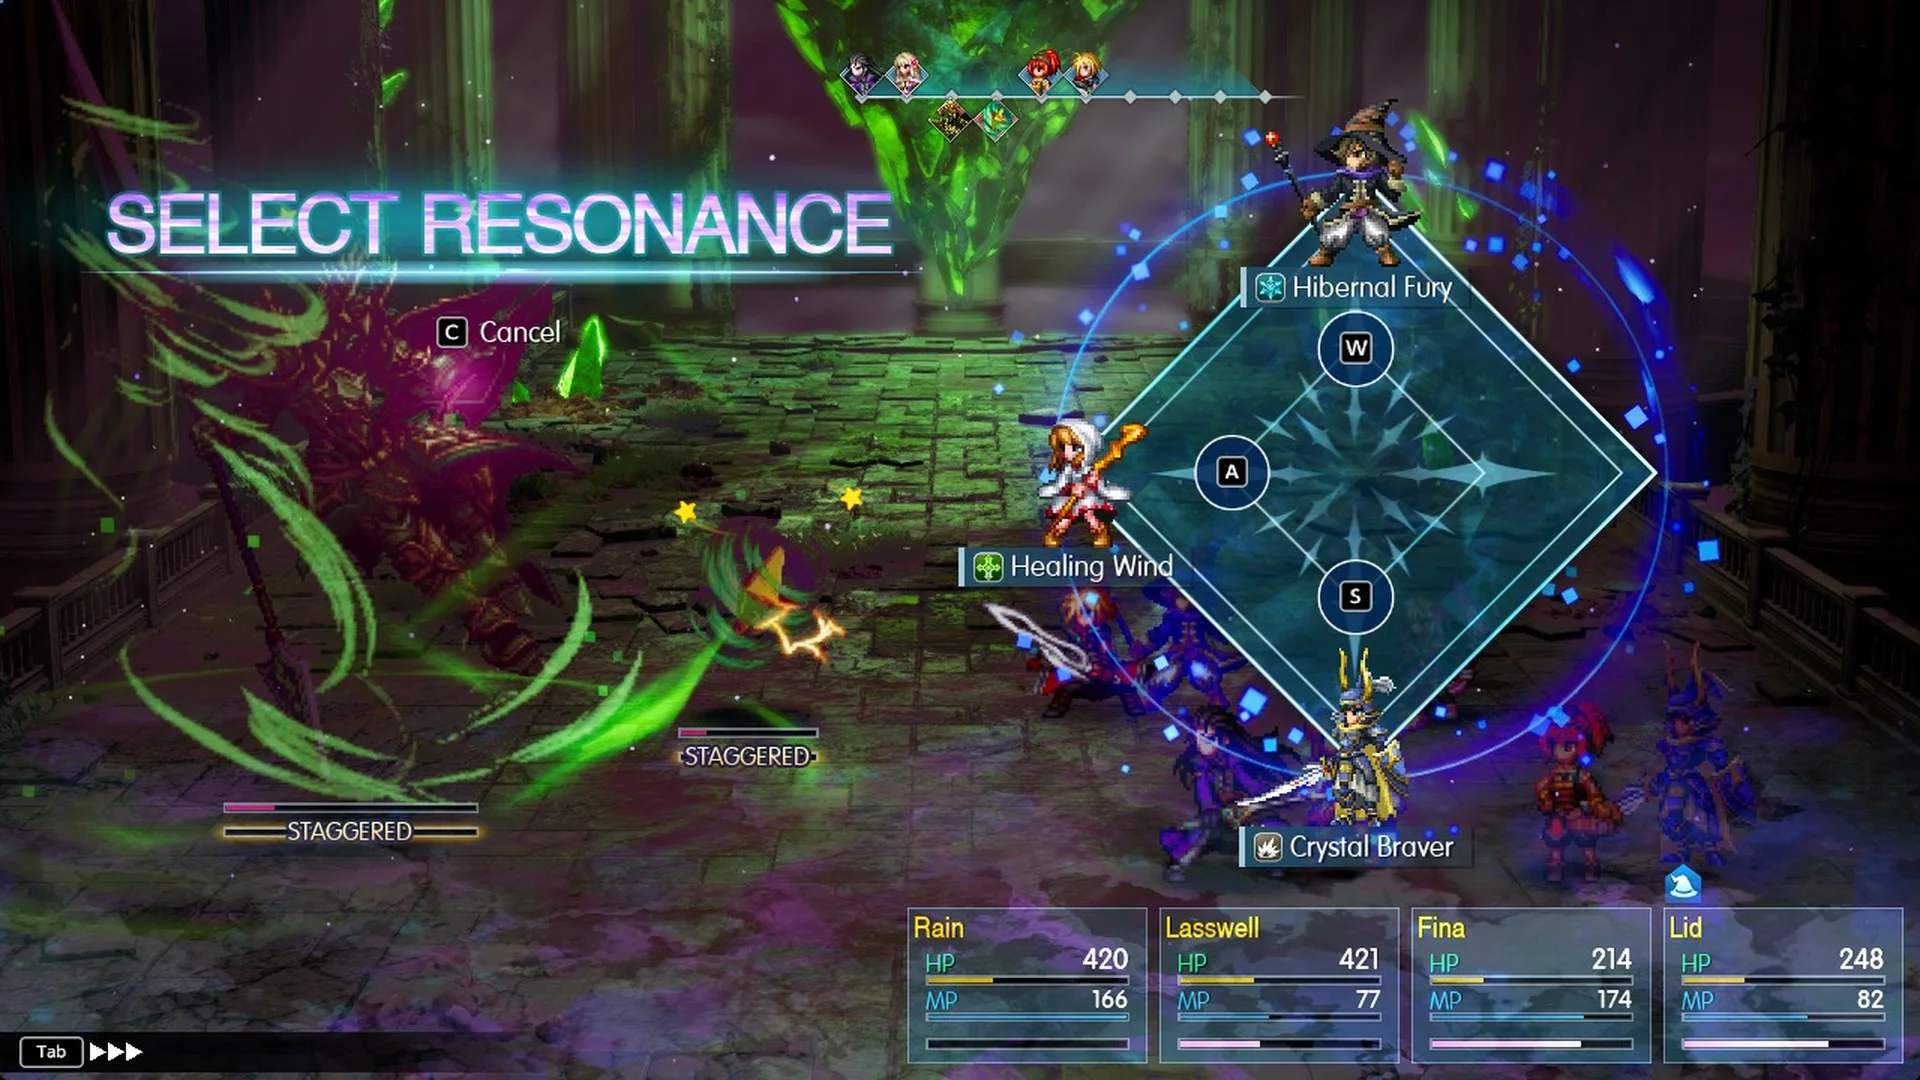
Highlighting an option brings up its description, so you can check what it does before you commit.
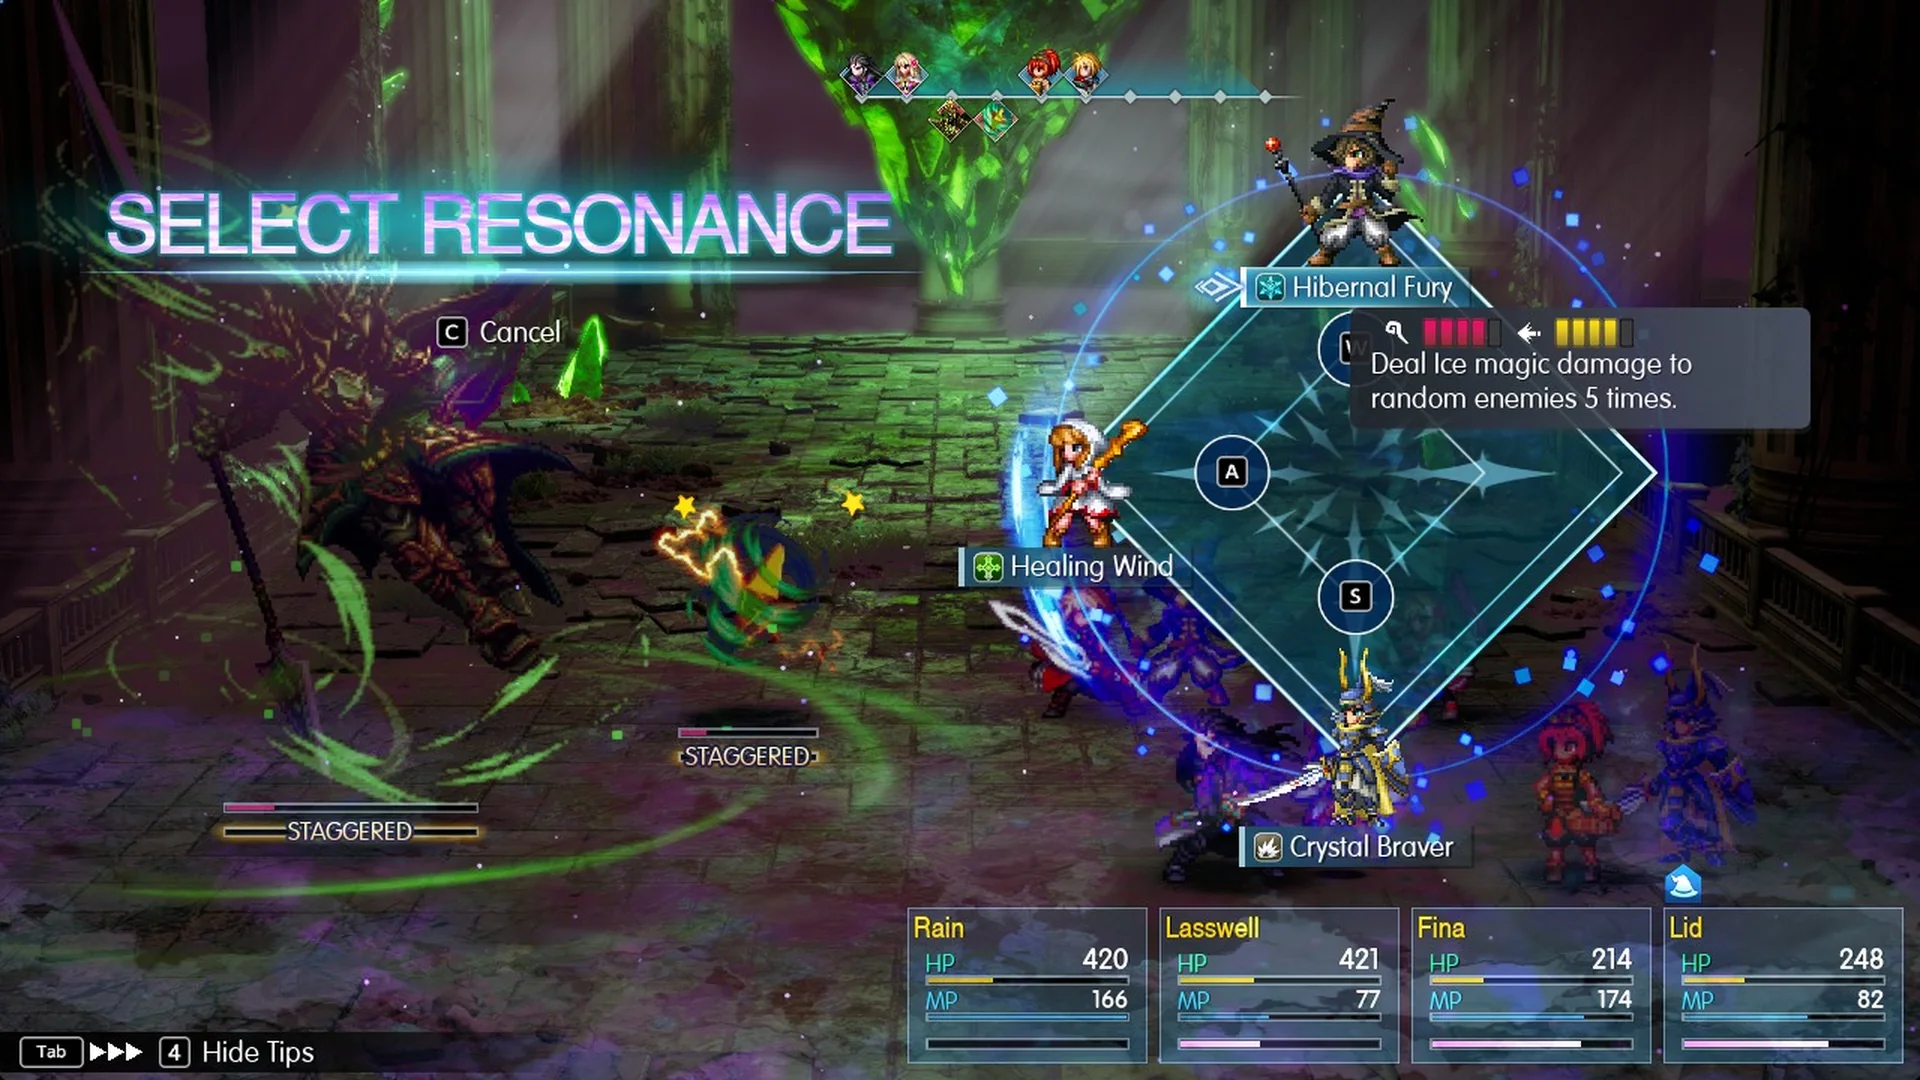
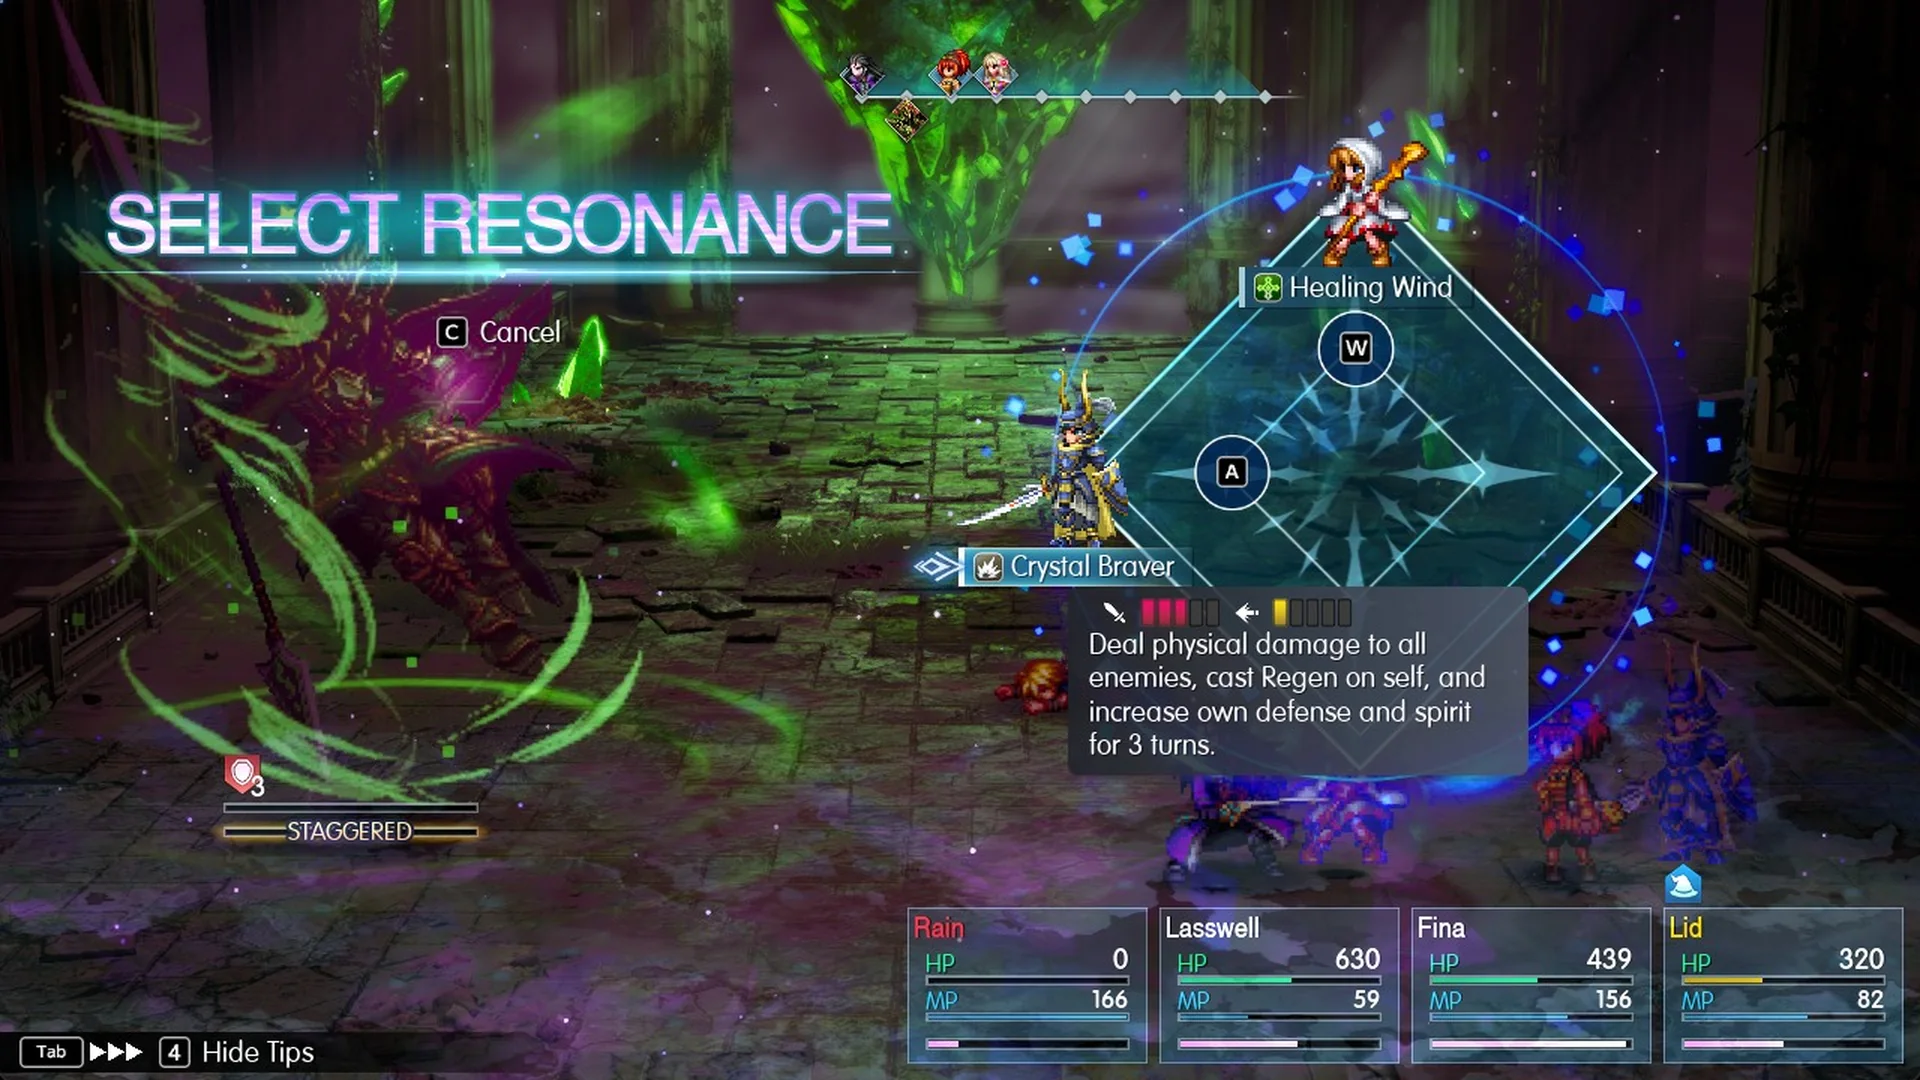
Each wheel position is assigned to a party member carrying a Vision. For example, assigning Tronn to Rain, Leah to Lasswell, and Warrior of Light to Lid gives you Hibernal Fury, Healing Wind and Crystal Braver to choose from.
A knocked-out character’s Resonance drops off the wheel. If Rain is KO’d in that same party, only Healing Wind and Crystal Braver remain.
If Fina is KO’d instead, nothing changes, because she has no Vision and Hibernal Fury and Healing Wind still appear. In short, every party member carrying a Vision adds an option to the wheel.
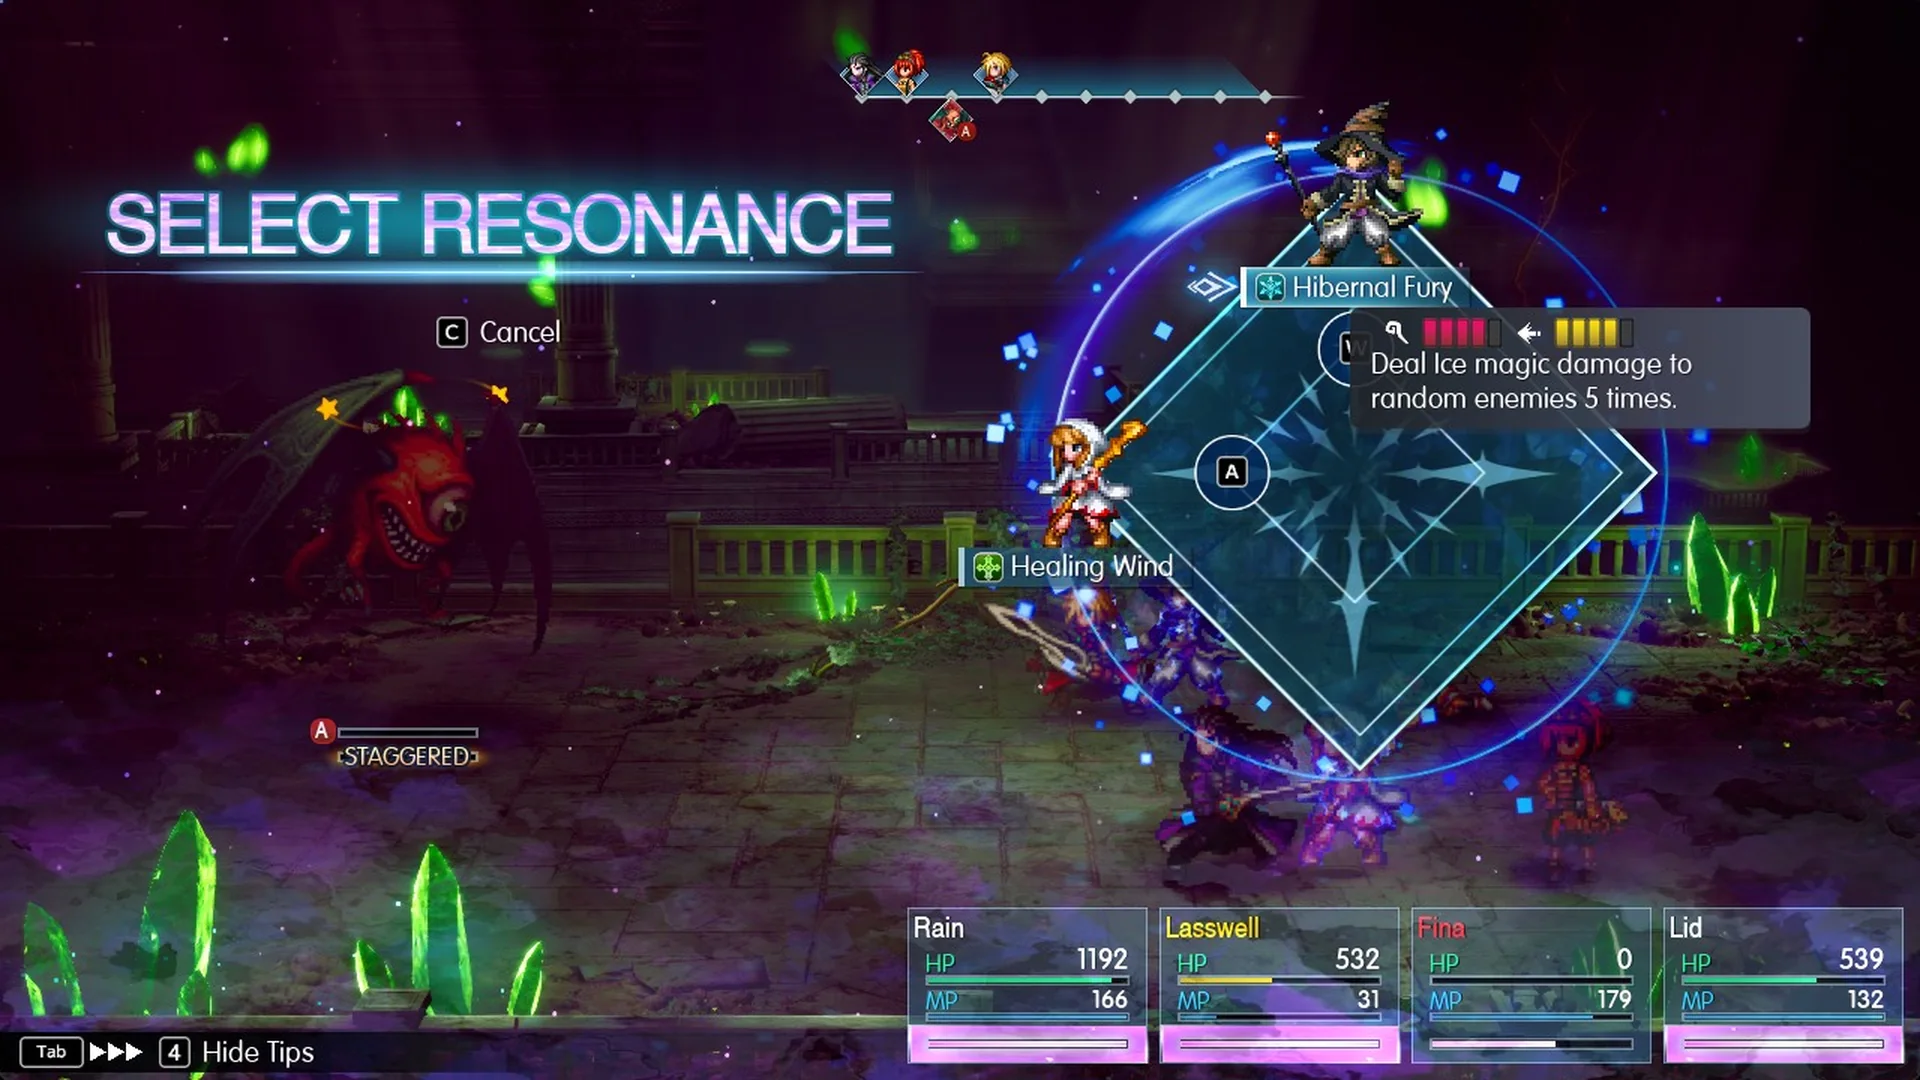
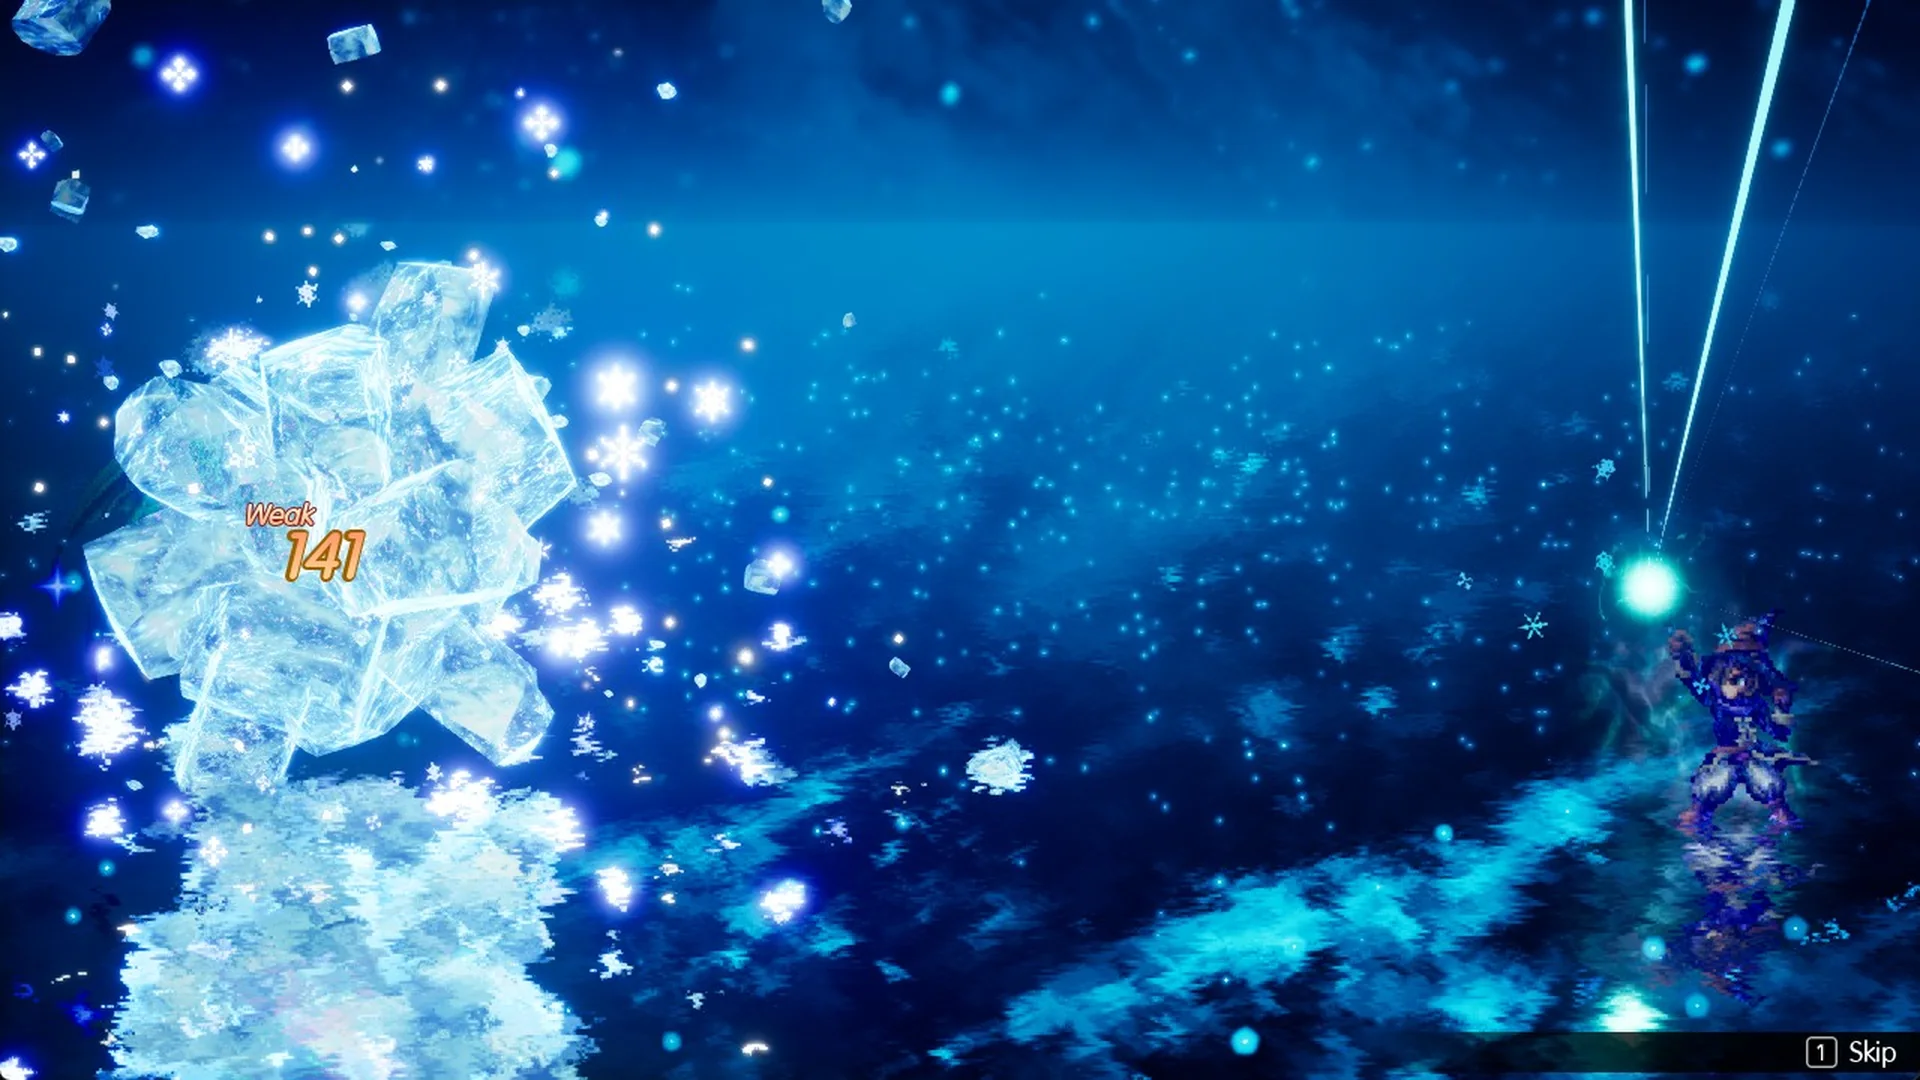
A Resonance uses no MP. Press 1 during its cinematic to skip it.
Hibernal Fury, Healing Wind and Crystal Braver in battle
Hibernal Fury (Tronn) drops Ice magic on random enemies five times. Against anything weak to Ice, those hits register as “Weak” damage. On a Green Elemental in the Wind Shrine, one hit landed for 141. It is also the best Resonance to bring against Aether.
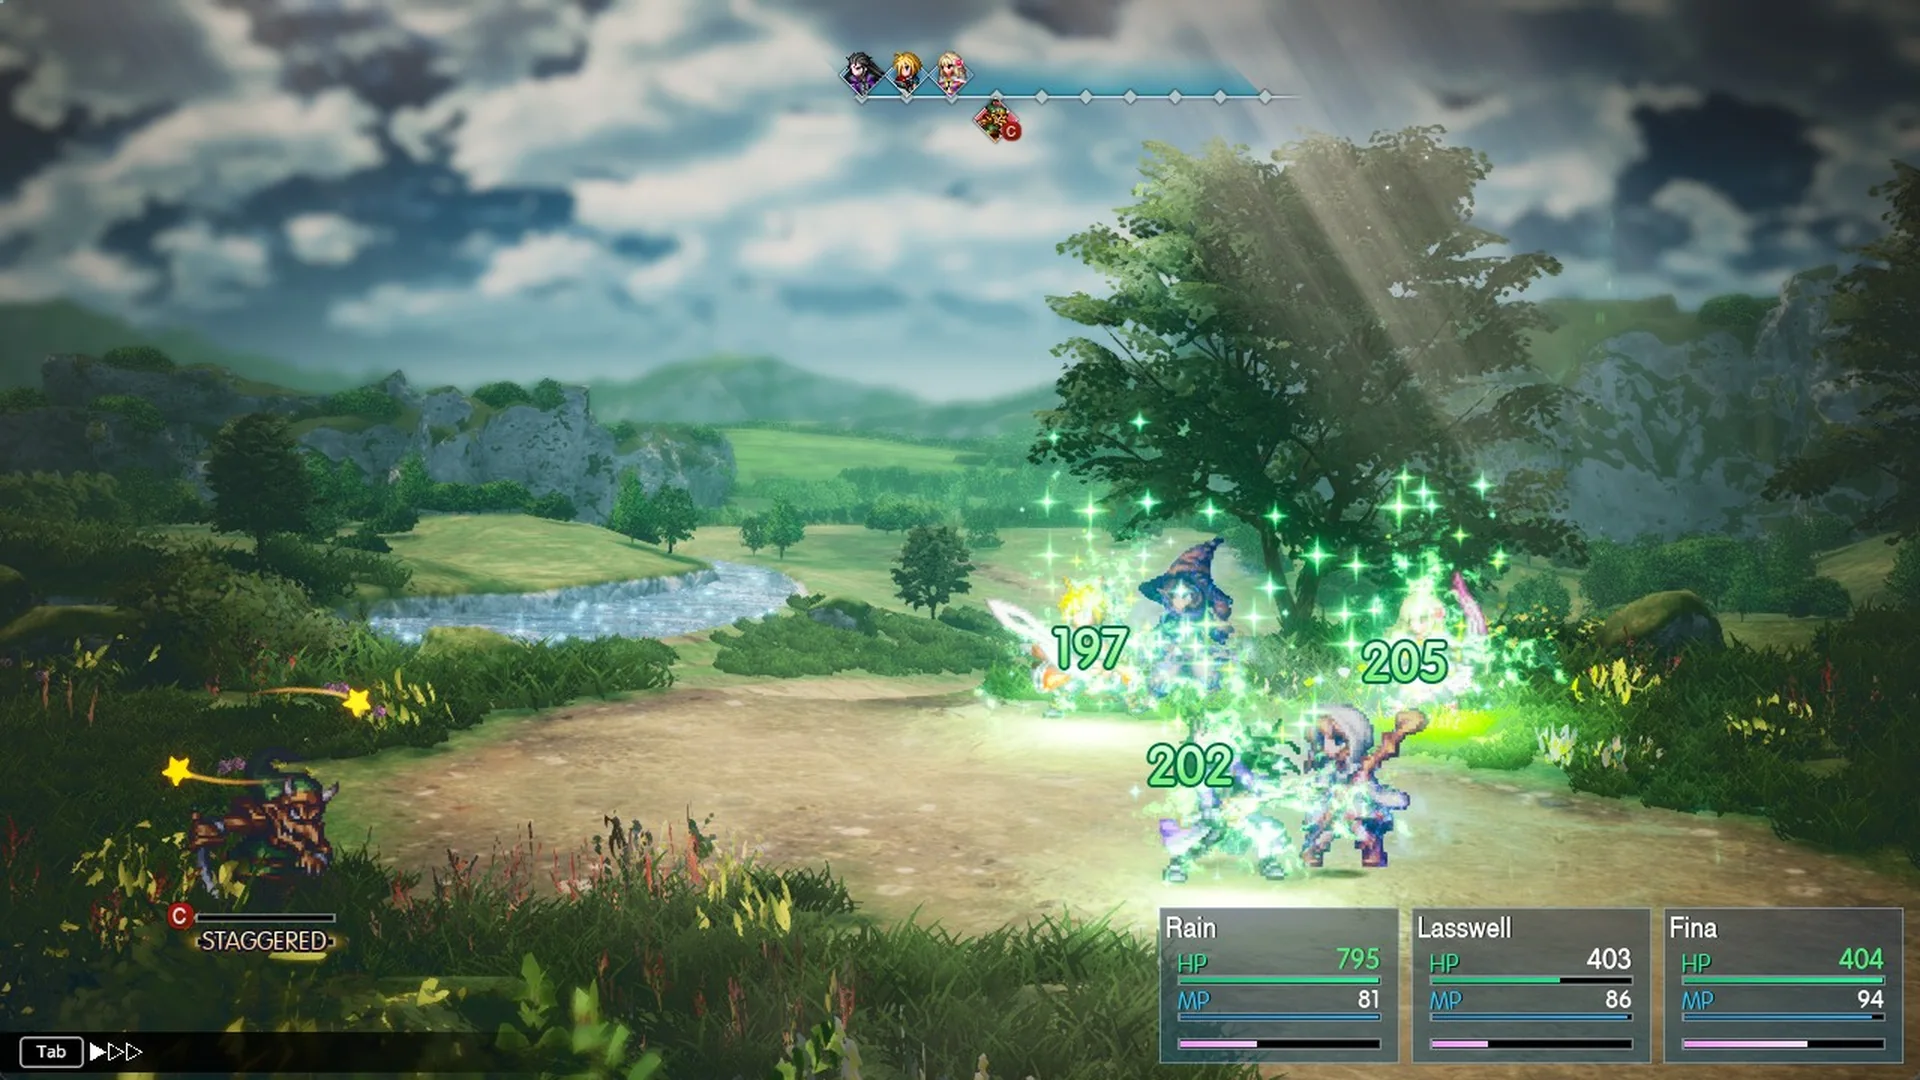
Healing Wind (Leah) restores HP to the entire party and grants Regen; its healing can exceed the HP cap.
For example, Rain’s HP rises from 598 to 795 despite a maximum of 718, with the extra amount displayed in green.
Crystal Braver (Warrior of Light) deals physical damage to every enemy. It also gives the user Regen and raises their defense and spirit for 3 turns.
Which Resonance to pick
Choose based on the fight in front of you:
- Use an elemental Resonance that targets the enemy’s weakness, such as Hibernal Fury on Ice-weak foes.
- Use Healing Wind when the party’s HP is low.
- Use an all-enemy Resonance against groups.
None of that works if the wheel only offers one option, so equip Visions on every party member. To get the wheel open more often, see how stagger works. Hibernal Fury plays a key role in how to beat Aether.