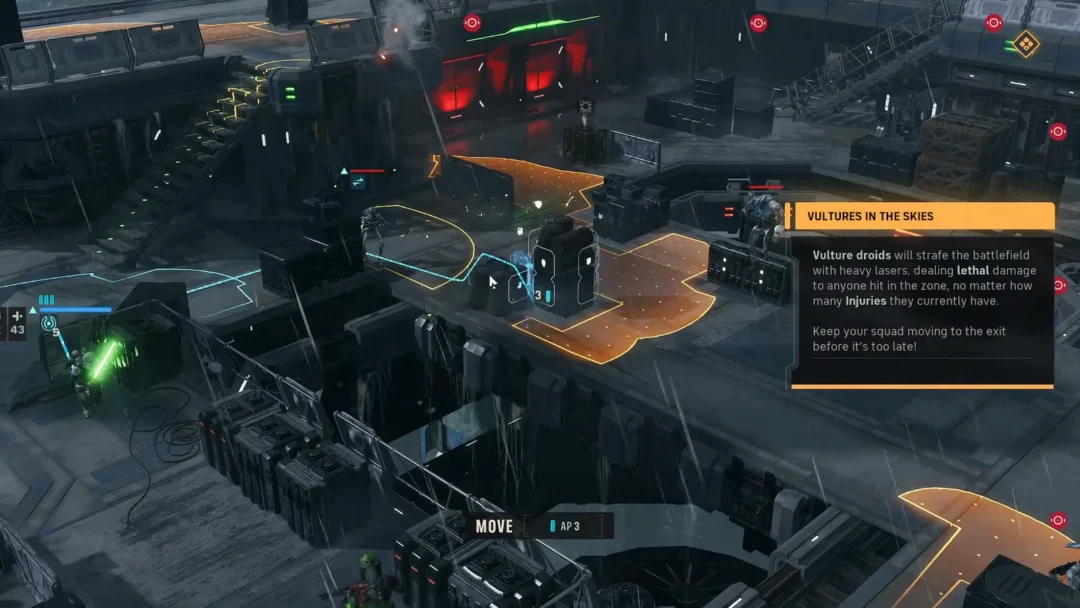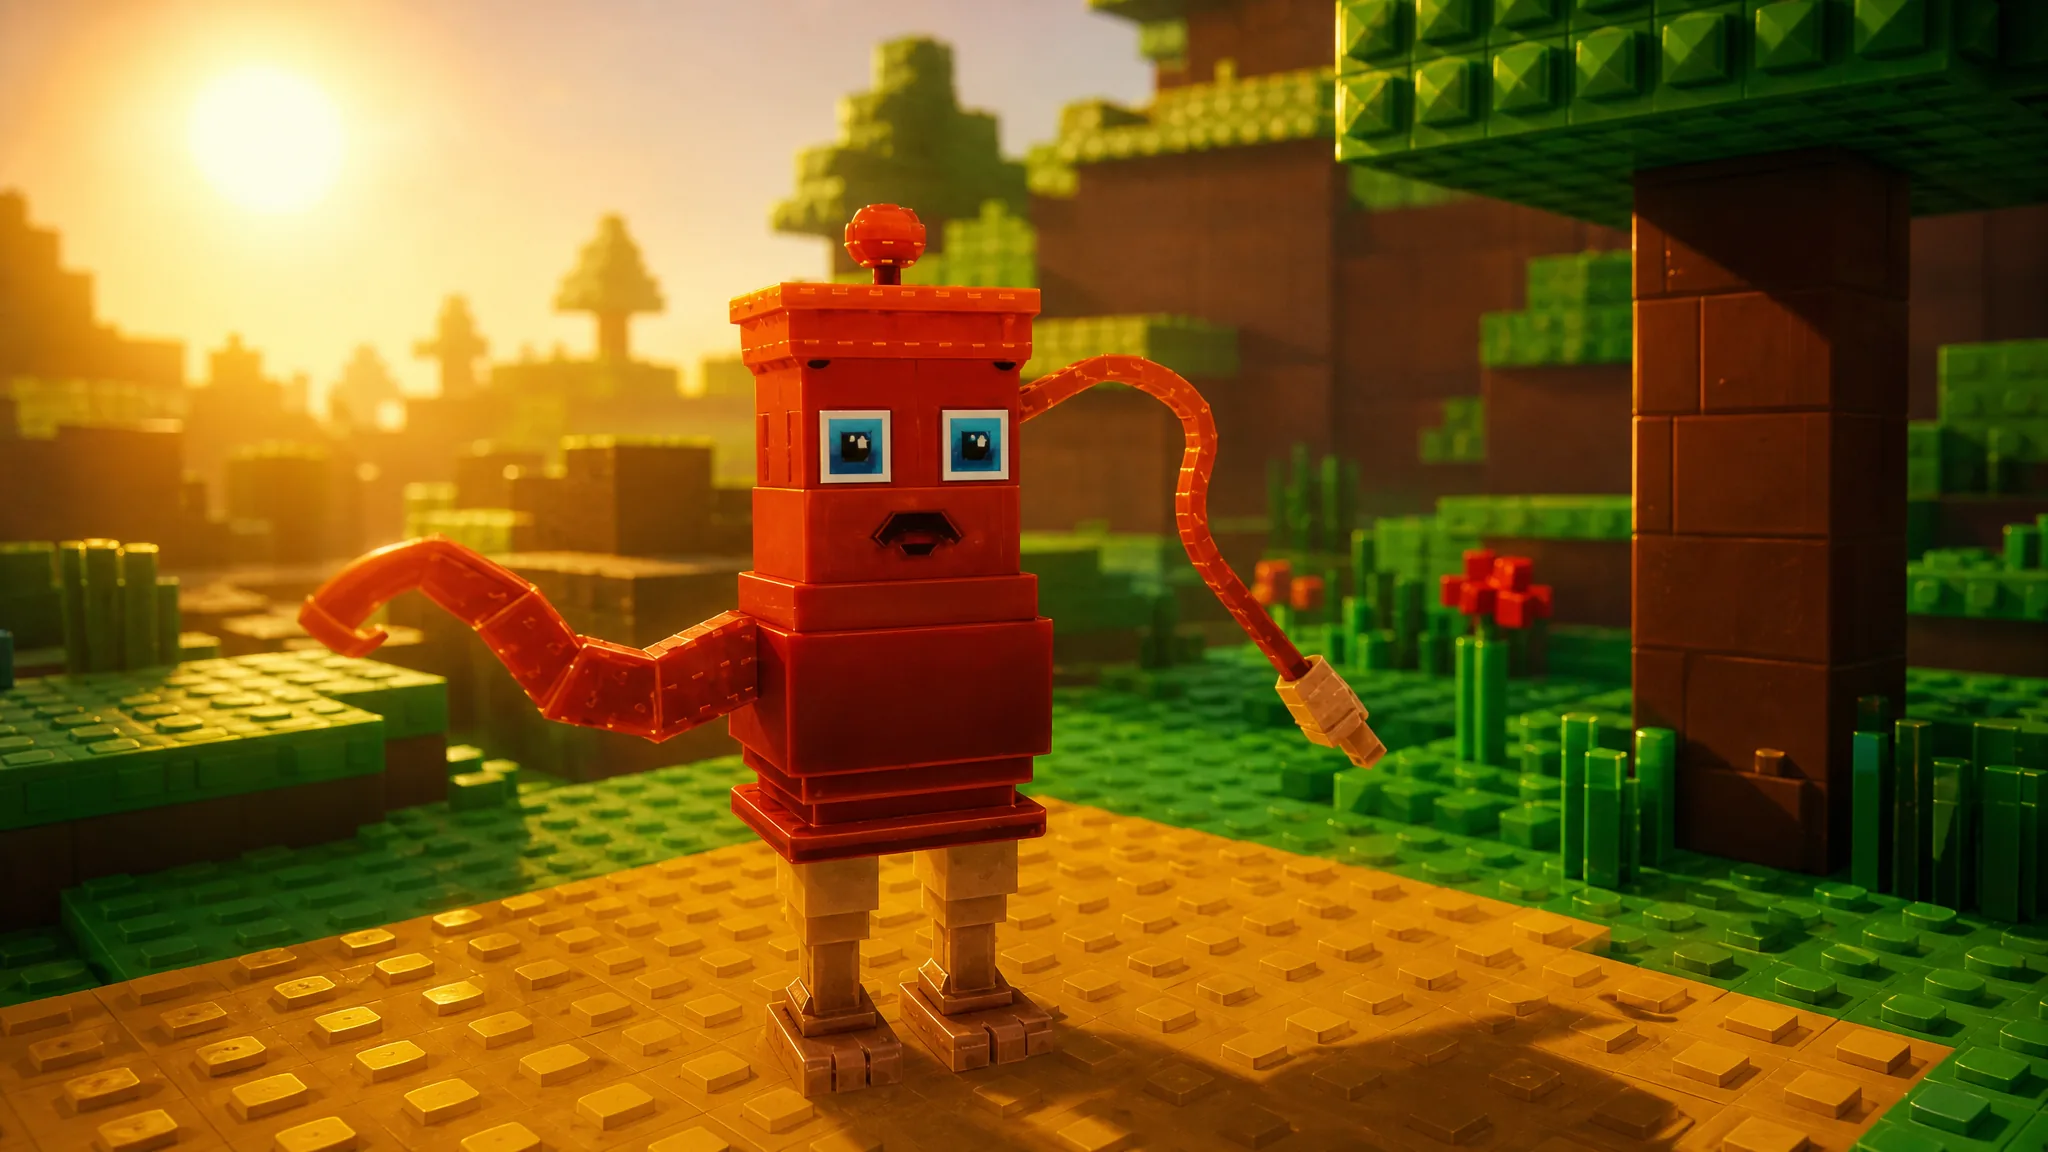
TaTaTa Sahur is a Rare Brainrot in Catch a Brainrot, the creature-collecting RPG on Roblox from Indieun. You can pick up its base version in World 1, and it slots into your party as a pure damage dealer. It carries a standard Charge ability plus three offensive skills, with no defensive options in its kit.
Quick answer: Find TaTaTa Sahur wandering in World 1, weaken it in a Charge battle until a capture window opens, then throw a capture box to add it to your party.
Where to get TaTaTa Sahur in World 1
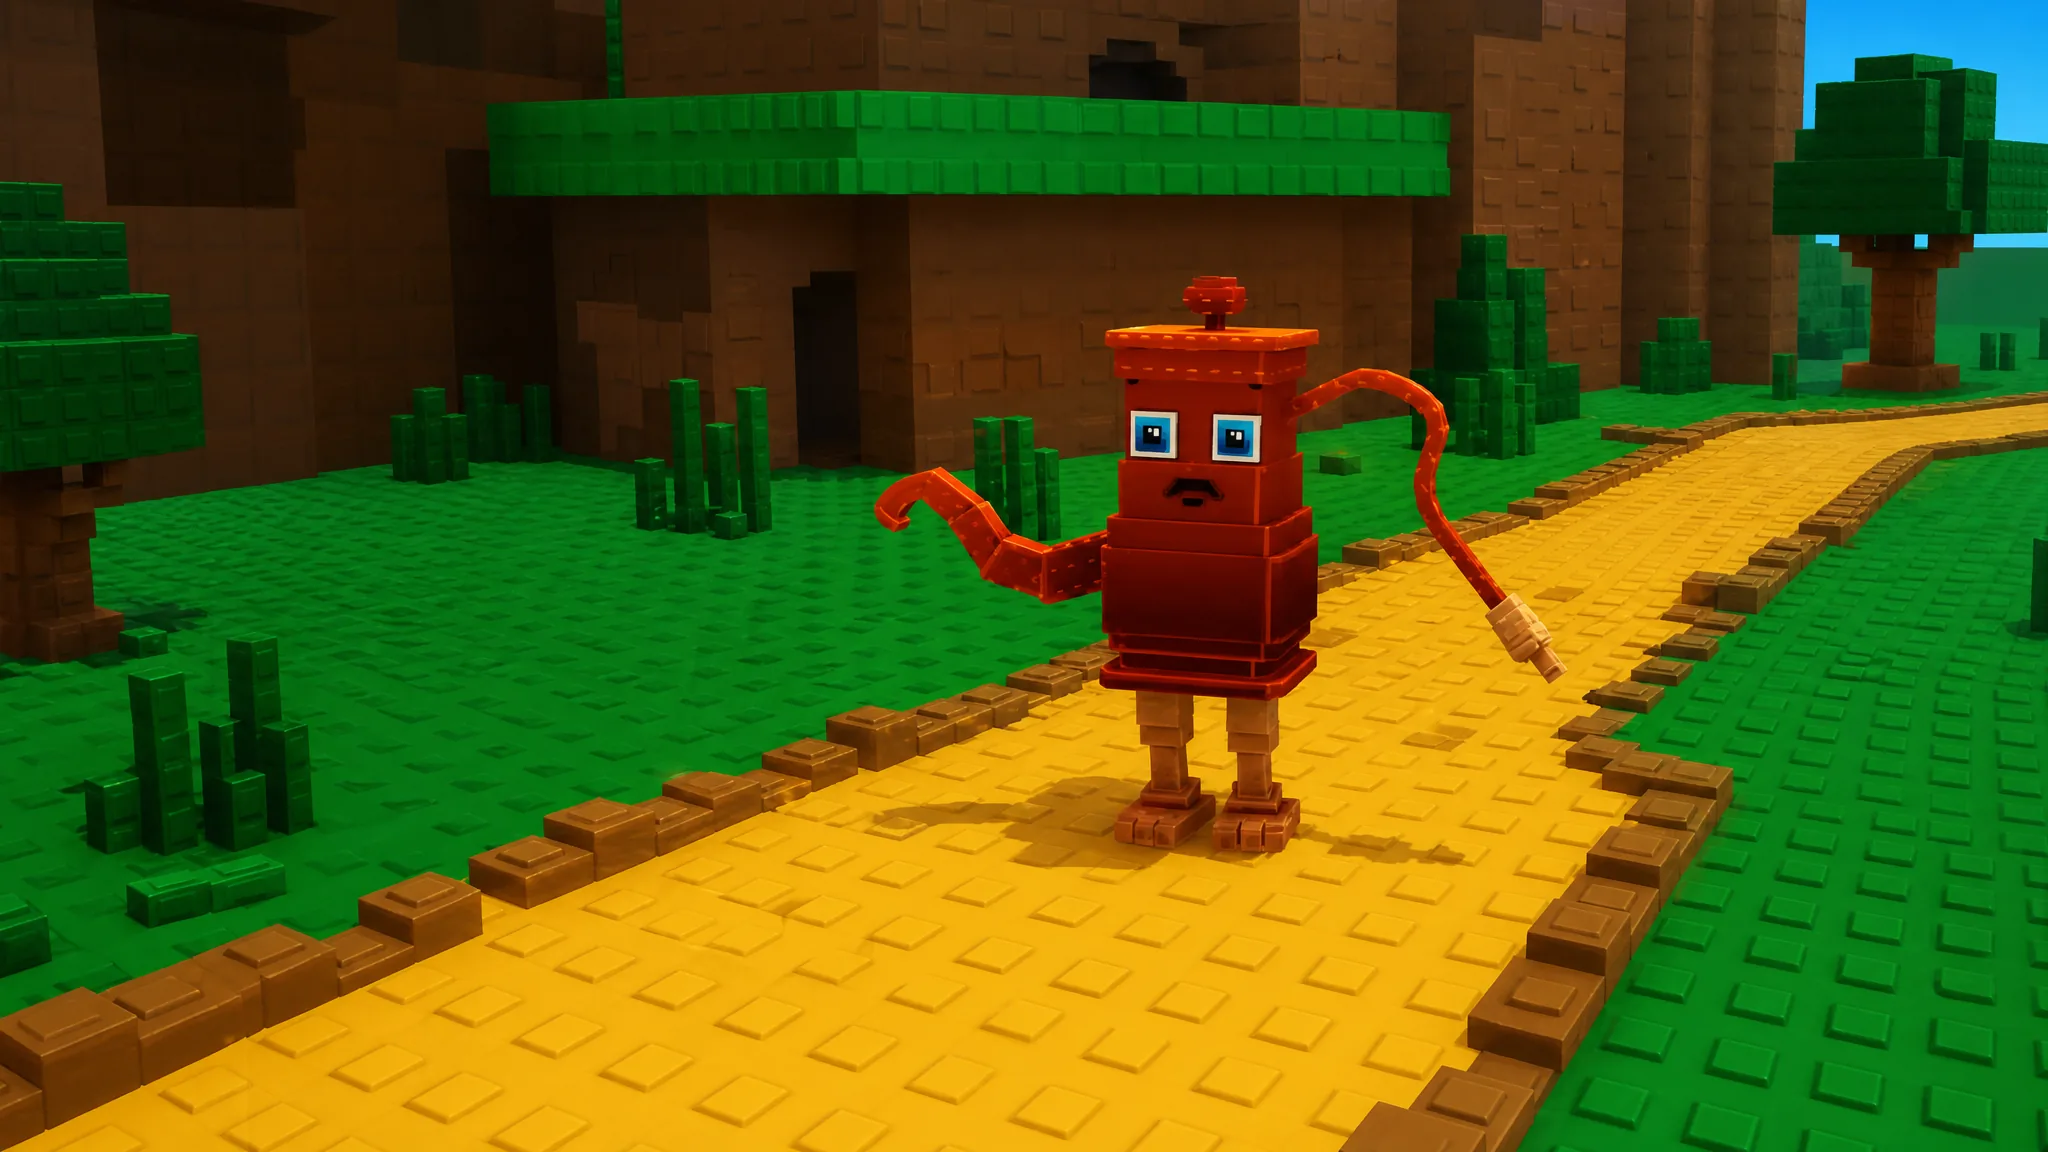
The base version of TaTaTa Sahur spawns as a wild Brainrot in World 1, the game’s opening region. You do not craft it or buy it. You catch it the same way you build the rest of your early party, by finding it on a route and capturing it in battle.
Note: Match your box level to the target so the capture registers. If the throw fails, the most common reasons are too-high remaining HP or a box level cap below what the species needs.
You can launch the game and start hunting from the official Catch a Brainrot Roblox page.
TaTaTa Sahur abilities and Charge costs
Like every Brainrot, TaTaTa Sahur uses a Charge system instead of a fixed skill pool. Charge is the free action that fuels everything else, and its three attacks each cost a set number of Charges. There are no shields or healing moves here, so the entire kit is aimed at dealing damage.
| Ability | Cost | Effect |
|---|---|---|
| Charge | Free | Grants a single Charge on use. |
| Firework | 4 Charges | Fires a set of fireworks at the opponent. |
| Fire Blast | 4 Charges | Shoots a fire blast at the opponent. |
| Whirlpool | 6 Charges | Engulfs the opponent in a wave of water for massive damage. |
Whirlpool is the heaviest hit and the most expensive at 6 Charges, while Firework and Fire Blast both trigger at 4. Because Charge only builds one point at a time, expect to spend several turns stacking it before you can fire off the bigger attacks.
How to use TaTaTa Sahur in battle
TaTaTa Sahur rewards patient Charge management. Since every skill requires a full bar of Charges, you cannot open with damage. Spend the first turns using the free Charge action, then release Firework or Fire Blast once you have four, or save toward Whirlpool for a single large burst at six.
The lack of any defensive move means TaTaTa Sahur takes hits with nothing to soften them. Keep a route back to the Brain Rot Center in mind so you can heal your party when it drops low, and use map teleport when the run to the next fight gets long.
Registering TaTaTa Sahur in the Brain Index the first time you catch it grants Index XP and helps unlock better shop boxes. Duplicates you don’t need can be sold for extra Tong coins, which you can reinvest in golden capture boxes to catch tougher Brainrots on later routes.