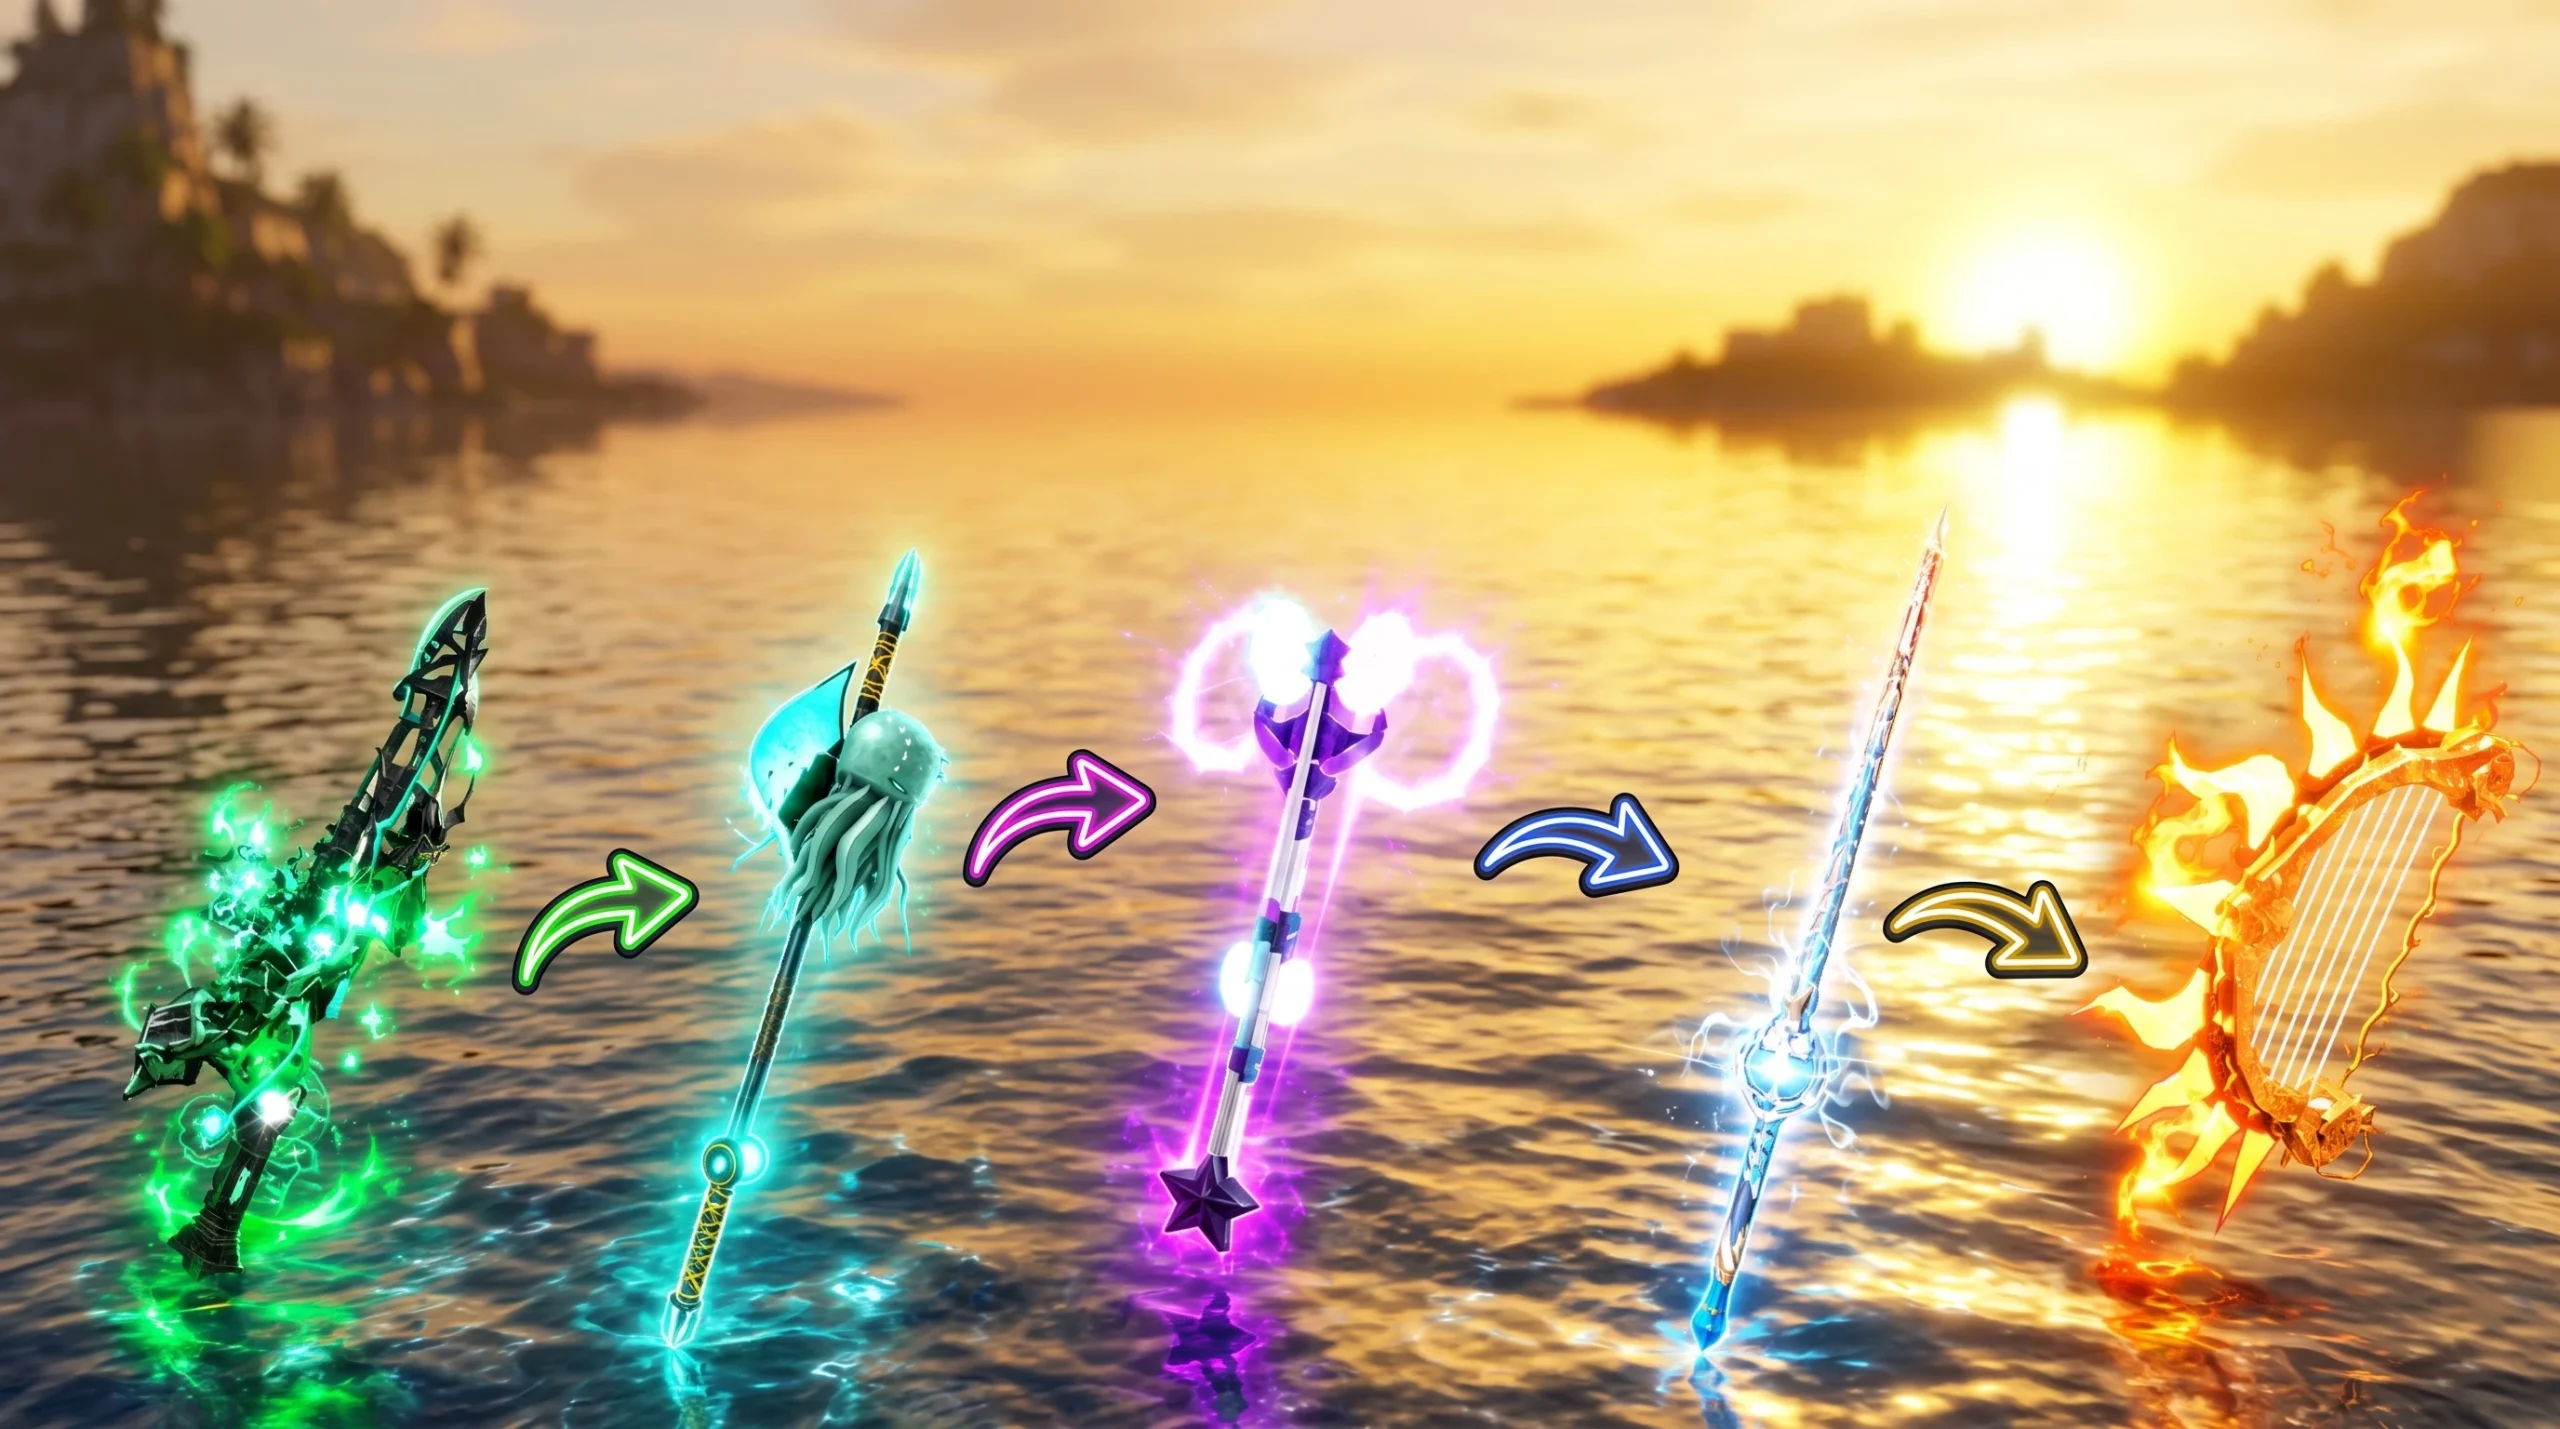
Your rod sets the ceiling on everything in Fisch. It decides how fast you hook a bite, how much weight you can pull, and how often mutations turn an ordinary catch into a big payout. Chase the wrong ones and you burn hours; follow the right order and each rod pays for the next.
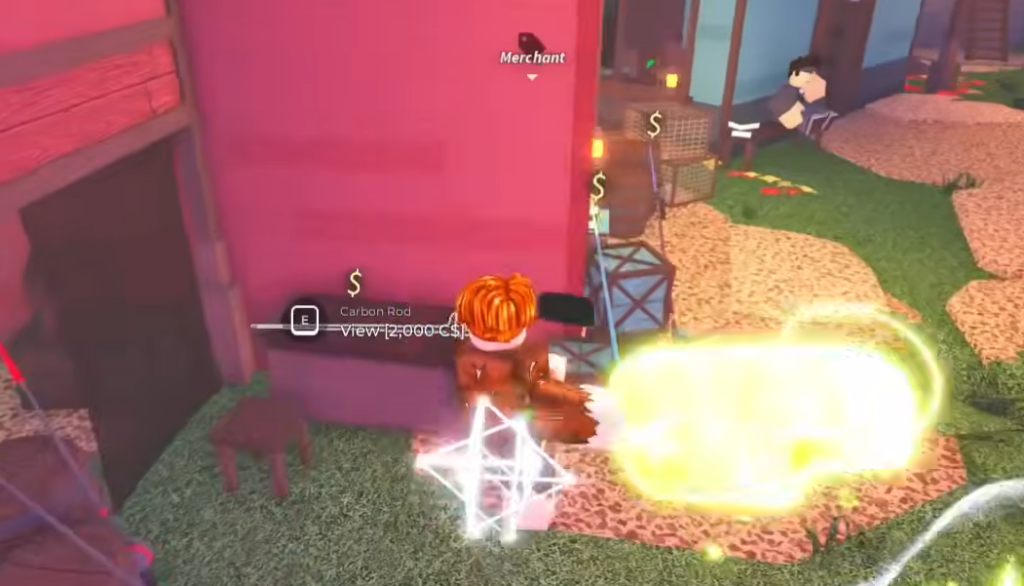
Quick answer: Skip the Training Rod. Get the free Fungal Rod from Agaric at Mushgrove Swamp, buy the Arctic Rod at Northern Summit, then climb through the Trident Rod, Rod of The Depths, and Kraken Rod before finishing on the Wingripper or Chrysalis Rod from the Underground Music Venue.
Full rod progression order
Work through the rods in sequence instead of jumping ahead. Each one earns the C$ that funds the next tier, and every rod you buy is money you are not spending on bait, teleports, or shop unlocks.
| Stage | Rod | How you get it |
|---|---|---|
| Early | Fungal Rod | Free from Agaric quest, Mushgrove Swamp |
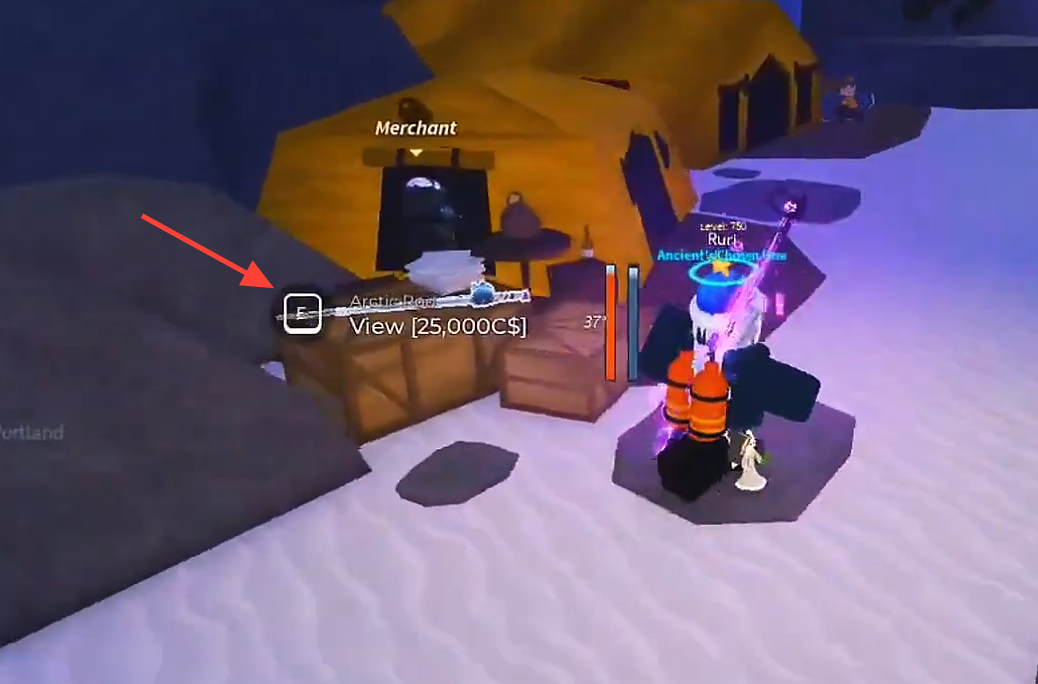
| Early | Arctic Rod | 25,000 C$ at Northern Summit |
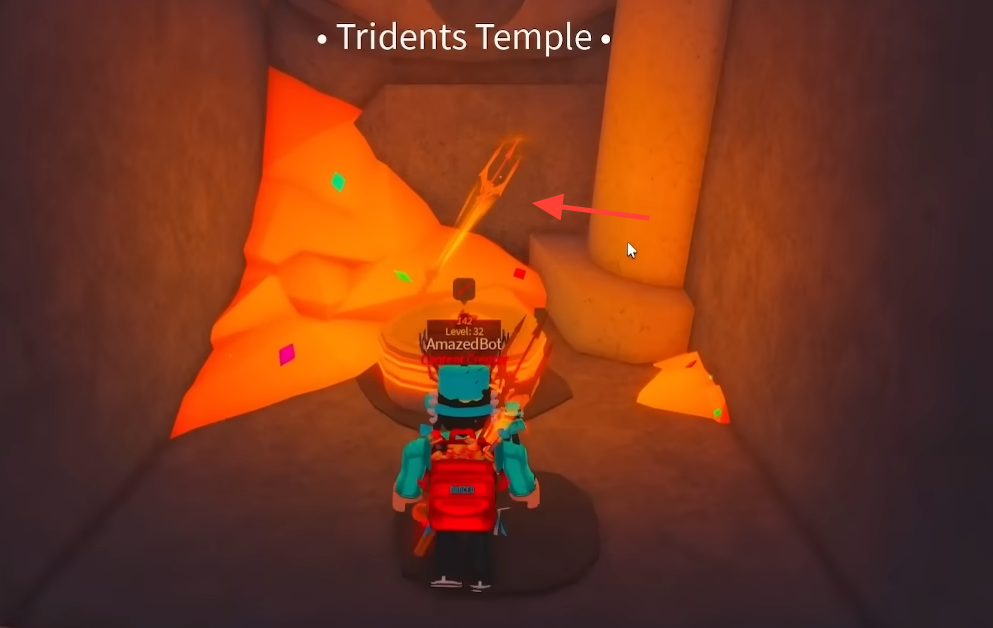
| Mid | Trident Rod | 150,000 C$ at Trident’s Temple |
| Mid | Sunken Rod | Treasure Chests (RNG) |
| Late | Rod of The Depths | 750,000 C$ inside The Depths |
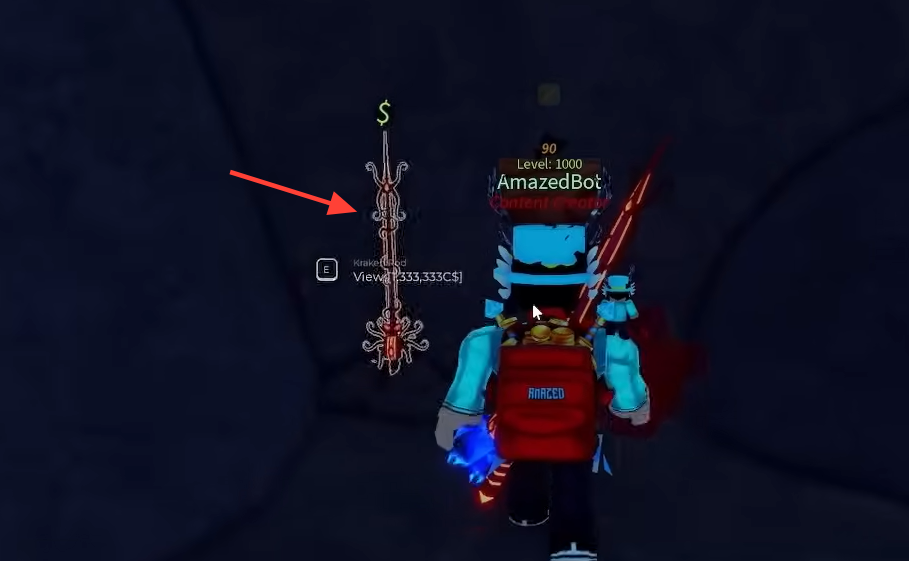
| Late | Kraken Rod | 1,333,333 C$ at Atlantis |
| End | Chrysalis Rod / Wingripper | Underground Music Venue quests |

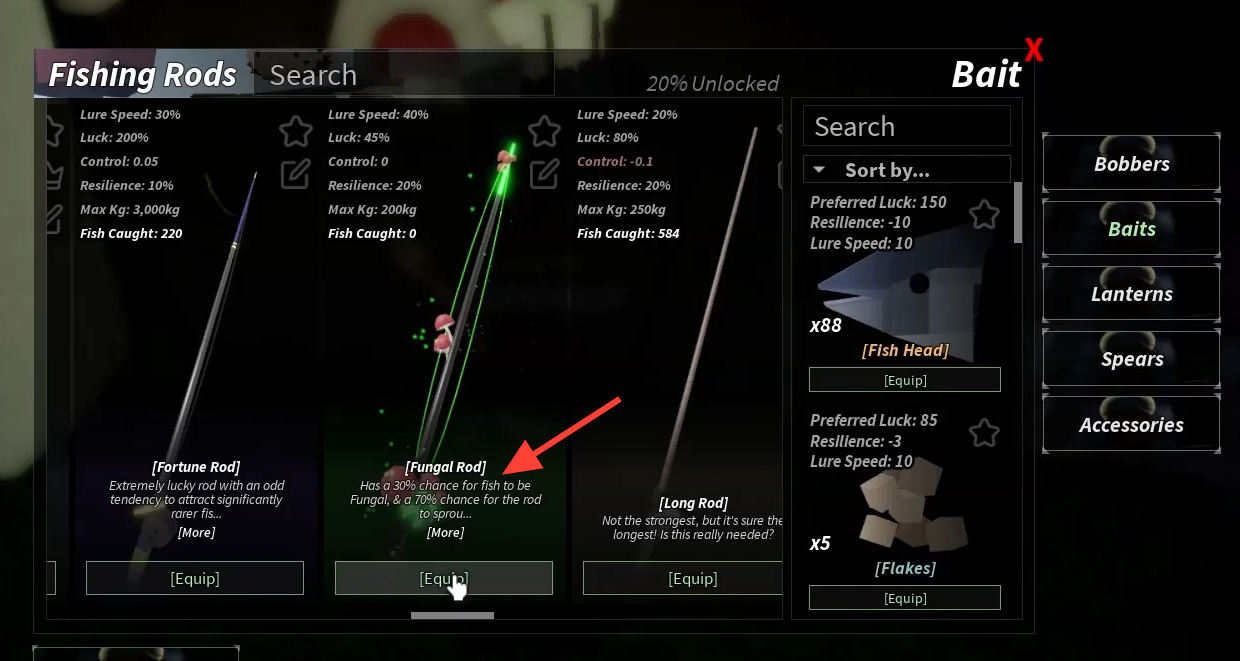
Fungal Rod: your real early game start
Every account begins with the Flimsy Rod. It caps out around 10.4kg with the rest of its stats at zero, so it is a placeholder you replace within your first handful of catches. Do not spend on the Training Rod either. Save that money and go straight for the Fungal Rod, which costs nothing.
The rod’s passive gives roughly a 60% chance after each catch to grant a strong luck boost for 45 seconds, which speeds up your early rare finds. Some players also value it for its fungal mutation chance, which stacks a large value multiplier on a hooked fish. The negative lure speed looks rough, but the luck uptime more than makes up for it in the early hours.
You know it worked when the Fungal Rod appears in your Equipment Bag and can be equipped from the hotbar.
Arctic Rod: first paid power spike
Once you have banked some cash, head to the Northern Summit and buy the Arctic Rod for 25,000 C$. It applies the Frozen mutation for a x1.3 value boost, and its much larger weight cap lets you start landing heavier fish that the Fungal Rod would snap on.
| Stat | Fungal Rod | Arctic Rod |
|---|---|---|
| Lure Speed | -10% | 25% |
| Luck | 45% | 45% |
| Control | 0 | 0.06 |
| Resilience | 0% | 15% |
| Max kg | 200kg | 7,500kg |
| Cost | Free (Agaric quest) | 25,000 C$ |
Mid game: Trident Rod and Sunken Rod
Mid game is where a rod starts to shape how you play. The choice comes down to steady income or treasure hunting.
The Trident Rod is the reliable money pick, bought at Trident’s Temple for 150,000 C$. Its passive gives a 30% chance to land the Atlantean mutation for x3 value, and paired with 150% luck, it turns into a consistent profit engine.
The Sunken Rod is the treasure route. It carries a 25% chance to reel a Treasure Map every 10 catches plus a 10% chance for the Sunken mutation, which sells for 8.25x normal. You cannot buy it. It only drops from opening Treasure Chests, so obtaining it comes down to RNG.
| Stat | Trident Rod | Sunken Rod |
|---|---|---|
| Lure Speed | 25% | 30% |
| Luck | 150% | 150% |
| Control | 0.05 | 0.15 |
| Resilience | 0 | 15% |
| Max kg | 6,000kg | 5,000kg |
| Source | Trident’s Temple (150,000 C$) | Treasure Chests (RNG) |
Late game: Rod of The Depths and Kraken Rod
Late game rods start chaining passives, and the weight caps jump sharply. Both of these are big power spikes over anything from the mid game.
The Rod of The Depths costs 750,000 C$ and is bought inside The Depths. Its passive gives an extra fish for every 3 successful catches, which stacks well with high value multipliers for fast farming.
The Kraken Rod costs 1,333,333 C$ at Atlantis and is the late game favorite for many players. It has a 10% chance to double any catch, a 5% chance to apply the Tentacle Surge mutation for x10 value, and it guarantees a legendary, mythical, or exotic fish every 50 catches. With 185% luck, it works as a rare-catch machine.
| Stat | Rod of The Depths | Kraken Rod |
|---|---|---|
| Lure Speed | 65% | 60% |
| Luck | 130% | 185% |
| Control | 0.15 | 0.2 |
| Resilience | 10% | 15% |
| Max kg | 30,000kg | 115,000kg |
| Cost | 750,000 C$ (The Depths) | 1,333,333 C$ (Atlantis) |
If you prefer a quest route at this stage, the Great Dreamer Rod is worth chasing. You spawn the Cursed Isle by buying a Smokescreen Totem for 2,000 C$ from the Shipwright and using it at night, then pull the rod from a shipwreck on the island. Its passive adds an extra fish every 1 to 3 catches with a 50% chance for that fish to be Cursed Touch, so it catches faster than its raw stats suggest.
Rods for leveling and XP farming
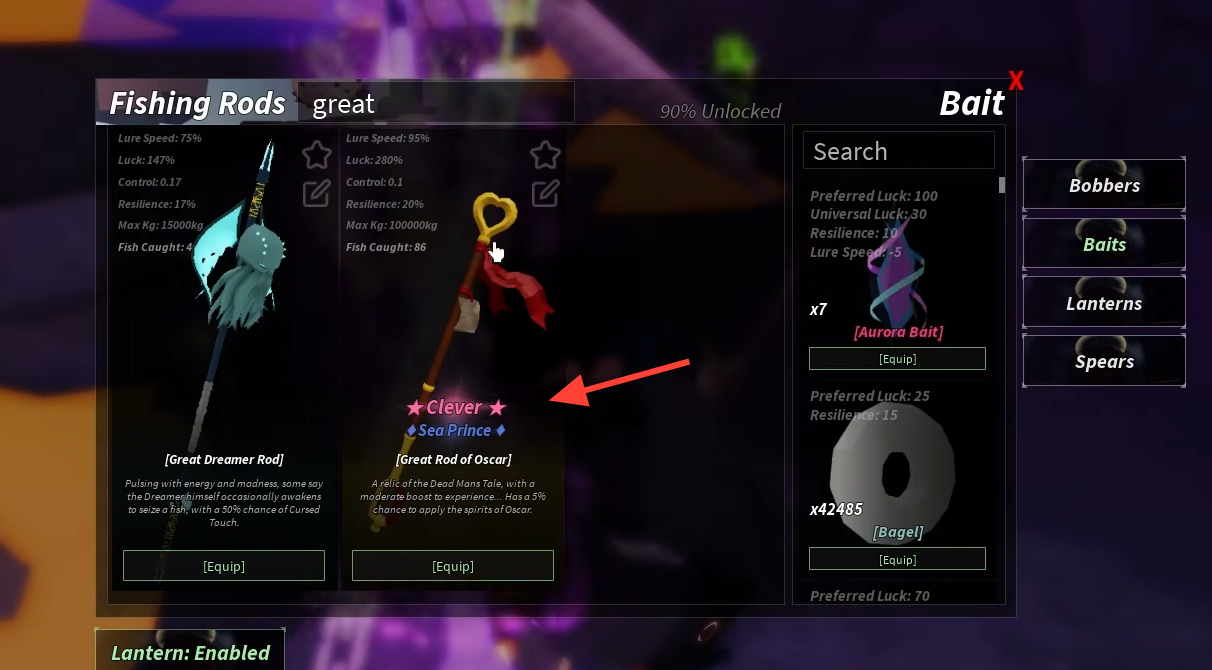
Some of the strongest rods are earned by reaching level milestones, so it pays to have an XP rod in your rotation. The Great Rod of Oscar is the standout for climbing levels fast because its passive grants about 1.5x XP from every fish.
To claim the Great Rod of Oscar, travel to Grand Reef and pick up the purple amulet from a sunken boat, then head to Terrapin Island and swim south into the open ocean to reach an underwater cave. Hold out the amulet at the glowing green barrier to open it and take the rod. It costs 2,500,000 C$ to purchase and sits at 280% luck with a 100,000kg cap.
The No-Life Rod and Seraphic Rod are both unlocked purely by leveling up. The Seraphic Rod at level 1000 carries a 30% chance for the Blessed mutation, an 8.5x value multiplier, and no weight limit at all.
| Stat | Great Rod of Oscar | No-Life Rod | Seraphic Rod |
|---|---|---|---|
| Unlock | Level 250 / 2,500,000 C$ | Level 500 | Level 1000 |
| Lure Speed | 85% | 90% | 95% |
| Luck | 280% | 105% | 150% |
| Control | 0.1 | 0.23 | 0.2 |
| Resilience | 20% | 10% | 20% |
| Max kg | 100,000kg | 10,000kg | Infinite |
Endgame: Chrysalis Rod and Wingripper
The two strongest rods in Fisch are both unlocked by completing questlines at the Underground Music Venue, and both remove the weight limit entirely.
The Chrysalis Rod is built for mutation farming. It adds +10% progress speed, a 90% chance for the Bloom mutation (x5 value), and a 10% chance for the Flora mutation (x10 value). It also has a 20% chance to spawn an eye that catches an extra Flora fish, with a further chance for that fish to be shiny, sparkling, or both.
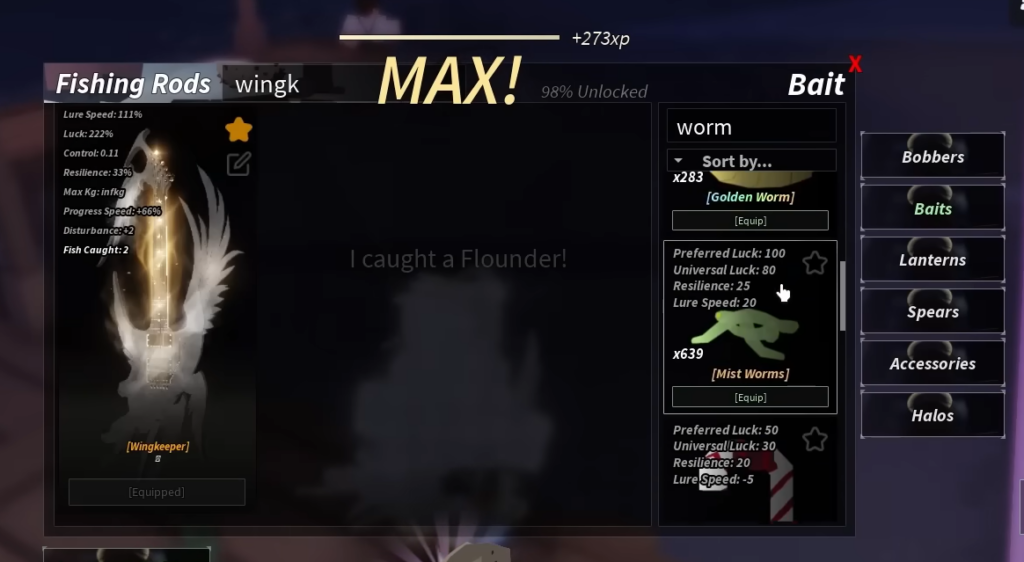
The Wingripper is the fastest rod in the game and shifts performance across the day and night cycle. During the day, it adds +22% progress speed; at night, that jumps to +222%, though control drops. It also carries a 30% chance for the Diurnal mutation (x13.5 value) and a 10% chance for the Nocturnal mutation (x16.2 value). Played around its night bonus, it is the strongest rod currently available.
| Stat | Chrysalis Rod | Wingripper |
|---|---|---|
| Lure Speed | 100% | 222% |
| Luck | 150% | 222% |
| Control | 0 | 0.22 |
| Resilience | 100% | 22% |
| Max kg | Infinite | Infinite |
| Source | Underground Music Venue quests | Underground Music Venue quests |
Limited rods: Castbound and Remembrance
A pair of limited rods also live around the Underground Music Venue and sit at the very top of the stat charts. Castbound comes from The Guide and requires level 1000. It reaches Stage 9 with infinite lure speed, 390% luck, 0.14 control, 32% resilience, and no weight cap. Remembrance is the companion limited rod, obtained from Luneth and also gated behind level 1000.
Because these are limited, treat them as bonus targets rather than core progression. Missing them does not block the standard path, since the Wingripper and Chrysalis Rod already cover endgame farming.
No single rod is perfect, so the best pick always depends on your current stage and what you are hunting. Multiplier raises sell value, but if a biome demands Control or Resilience to land its rare catches, a balanced rod completes more reels per hour. Shiny hunters should lean toward Luck loadouts even when the headline multiplier is smaller. Follow the order above, let each rod fund the next, and you will always be holding something that pushes your run forward instead of stalling it.