Every Pal in your party gains experience from everything you do, and each one is capped to your own character level. That means leveling a Pal fast in Palworld 1.0 comes down to two things: keeping the Pal in your party while you farm high-value XP, and stacking the boosts that multiply every payout. The level cap now sits at 80, up from 65, so there is more ground to cover and more reason to run an efficient loop.
Quick answer: Put the low-level Pal, an Omascul, and a strong carry Pal in your party. Equip the Growth Acceleration Bell, feed the target Pal EXP food, then clear the highest-level Tower Boss you can beat quickly. One clean kill can take a Pal from level 10 to the mid-60s, and three to four final-tower kills covers a full 1-to-80 run.

Build the EXP boost stack first
Set up three boosts before you farm anything. Each one multiplies the XP your target Pal receives, and they all apply at the moment a kill, capture, or crafting payout lands. Getting them ready first is the difference between a Pal creeping up a few levels and one jumping dozens at a time.
- Omascul in your party. Its partner skill, Masquerade Dance, raises party Pal EXP by 40% at rank 1 and 80% when fully condensed. The effect does not stack, so one Omascul is all you need. Condense a single one rather than carrying extras.
- Growth Acceleration Bell equipped. This rare accessory grants Pal EXP Up Lv. 3. Equip it on the Pal you are leveling before the payout hits.
- EXP food active. Feed the target Pal Seafood Salad or Fried Gloopie Balls for a timed EXP boost. Eat one yourself too if you also want the player-side bonus.
Omascul’s bonus scales with how far you condense it:
| Omascul rank | Party Pal EXP bonus |
|---|---|
| Rank 1 | +40% |
| Rank 2 | +44% |
| Rank 3 | +52% |
| Rank 4 | +64% |
| Rank 5 (condensed) | +80% |
The Growth Acceleration Bell schematic sits inside a stone tower structure just west of Mount Flopie Summit, around coordinates [-34, -99]. Running into it unlocks the recipe, which you then craft at a High-Quality Workbench:
| Bell material | Amount |
|---|---|
| Ingot | 25 |
| Paldium Fragment | 30 |
| Mysterious Mushroom | 10 |
| Ancient Civilization Parts | 3 |
For the food, farm Gloopie for Gloopie Tentacles. Each Gloopie drops one to two Tentacles, and the Isle of Decayed Treasures around [611, -163] is a reliable spot. Cook the results at a kitchen stove.
| EXP food | Recipe |
|---|---|
| Fried Gloopie Balls | 2 Gloopie Tentacles + 3 Flour |
| Seafood Salad | 3 Gloopie Tentacles + 4 Lettuce |
Fastest method: Tower Boss carry
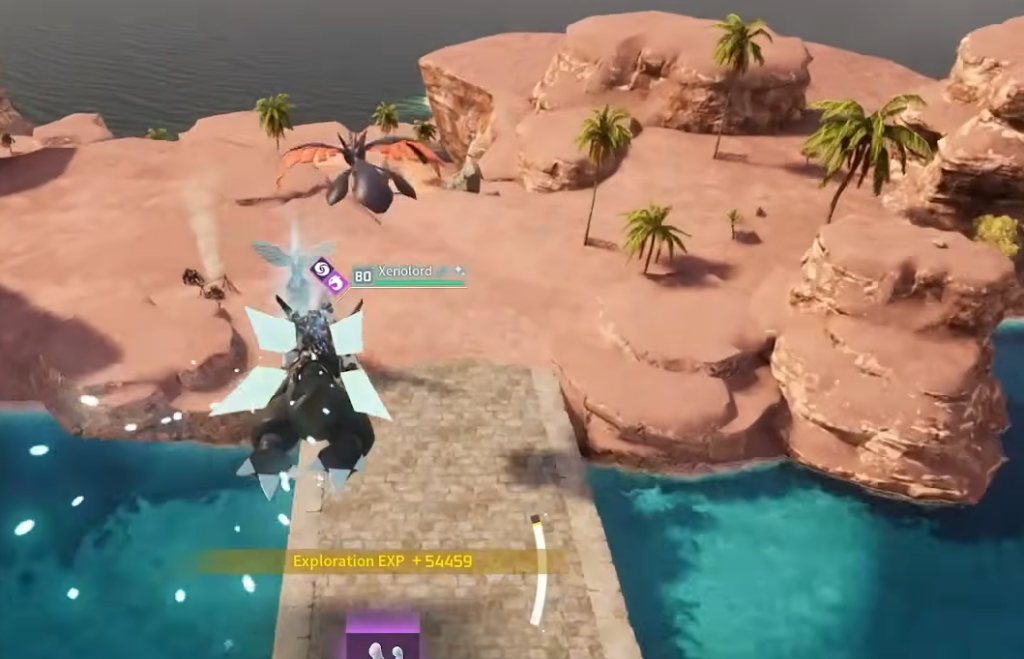
A single Tower Boss kill dumps an enormous lump of EXP into every party Pal. With the boost stack running, that is enough to erase most of the climb in one fight. Pick the highest-level tower your carry Pal can beat quickly and reliably. Fast resets beat a longer prestige clear, so a two-minute level 70 tower usually out-earns a five-minute level 80 tower.
You know it worked when the party EXP bar pops up after BOSS ELIMINATED and the Pal’s level jumps on the results screen, often learning several new active skills in the process. If nothing lands, the usual cause is the Pal not being in your party during the fight, or the food buff expiring before the boss died.
Two-minute 1-to-80 clips are optimized endgame runs. Your real pace depends on clear speed, your Omascul rank, food uptime, and world settings.
Steady method: Catch five Pals per species
The capture bonus is the backbone of Palworld leveling, and 1.0 trimmed it so each species tops out at just 5 catches instead of 12. The bonus ignores the caught Pal’s level, scales with your own level, and is unaffected by the world-settings XP multiplier, so chain-catching stays strong even on custom rates.
Every capture also grows your Paldeck, so this route pays off twice. A “First capture EXP Bonus!” prompt on screen confirms the bonus is still active for that species.

Hands-off method: Pal Sphere recycle loop at base
Base crafting pays EXP to every Pal in your party, and the Pal Sphere loop turns that into a background engine that can run indefinitely. One basic Pal Sphere costs exactly one Paldium Fragment, and a Cryogenic Crusher returns exactly one Paldium Fragment from that sphere. Your material count comes back each cycle while the crafting work keeps paying party EXP.
This is not the fastest route to 80, but it costs nothing and never stops. Two other passive setups do the same job. An arrow line on High Quality Workbenches staffed by Handiwork Level 2 Pals like Robinquill crafts each arrow in about 1.5 seconds and pays XP per craft. A campfire loaded with red berries and a Fire Pal from your party cooks for XP the same way.

Pull lagging Pals up with Training Manuals
When a single Pal falls behind a fresh breeding project, direct XP items are the quickest fix. Training Manuals drop from Wildlife Sanctuary chests and dungeon chests, and the Bellanoir raid boss drops both Manuals and the rarer Training Crystals that are exclusive to it. Feed them to whichever Pal is behind to inject levels straight away. Sanctuaries are guarded by drones, searchlights, and boss patrols in 1.0, so raid them once you are geared.
Which method to use
| Method | Speed | Best for |
|---|---|---|
| Tower Boss carry | Fastest | One to three fresh Pals |
| Catch five per species | Steady | Growing your Paldeck as you level |
| Pal Sphere recycle loop | Hands-off | A whole low-level party at once |
| Training Manuals / Crystals | Instant top-up | A single Pal that lags behind |
Two things carry across every route. Always capture rather than kill Alpha Pals, dungeon bosses, and raid bosses, since catching pays far more XP and adds to the species bonus at the same time. And because your Pals can never outlevel you, keep pushing your own character level too. Raising your cap is what lets the whole team climb toward 80.
If speed matters more than the grind, the world-settings EXP multiplier goes up to 20x and can be changed on an existing save at any time. It accelerates everything except the fixed capture-bonus payouts, so the catch loop stays relevant even at high rates. A mild 2-3x bump keeps progression feeling meaningful, while maxing the slider flattens the sense of growth quickly.