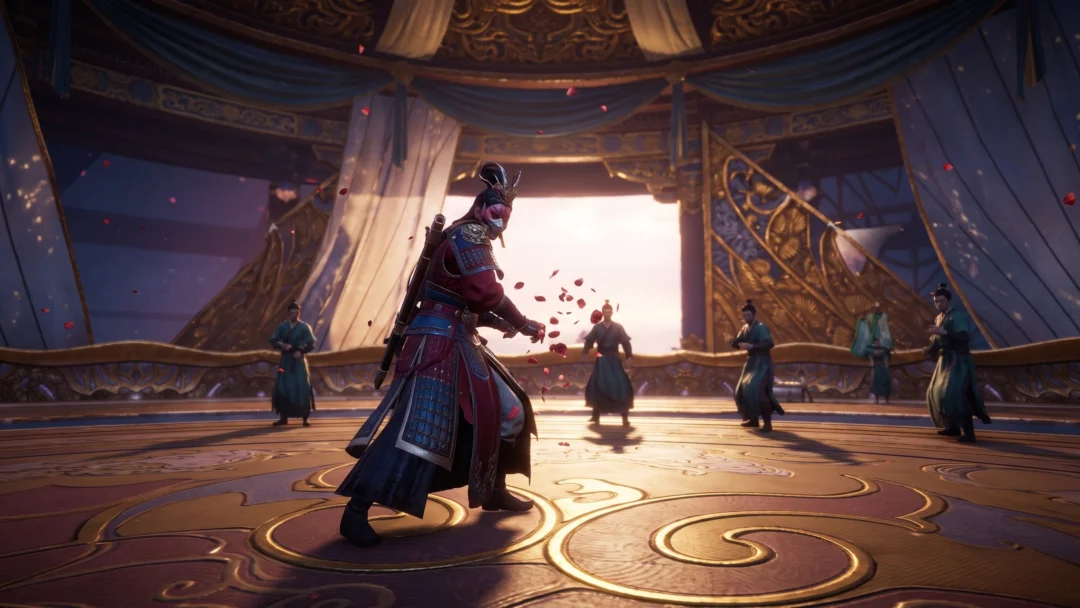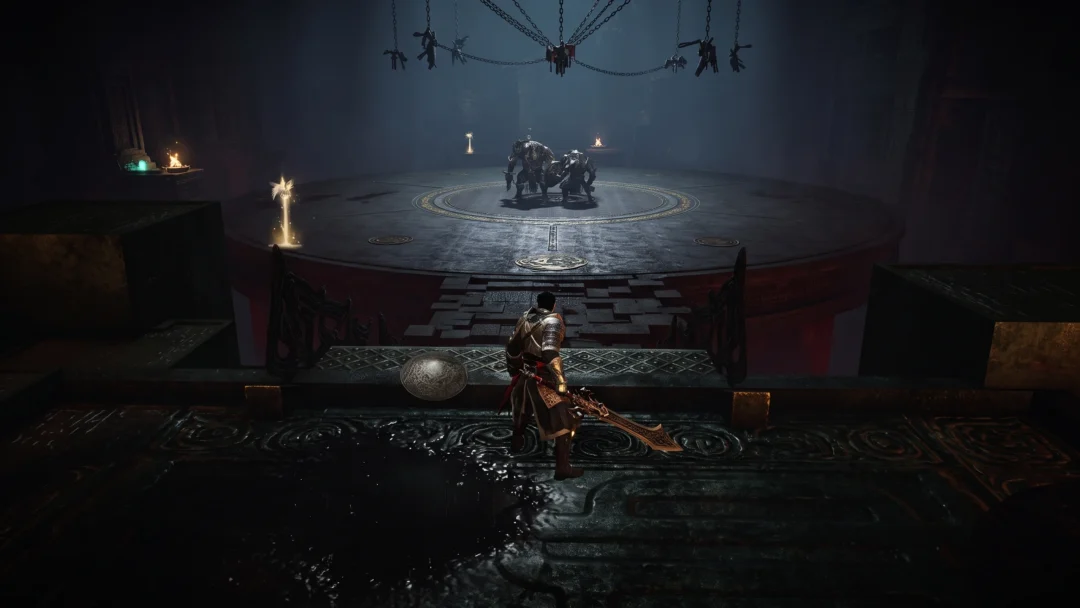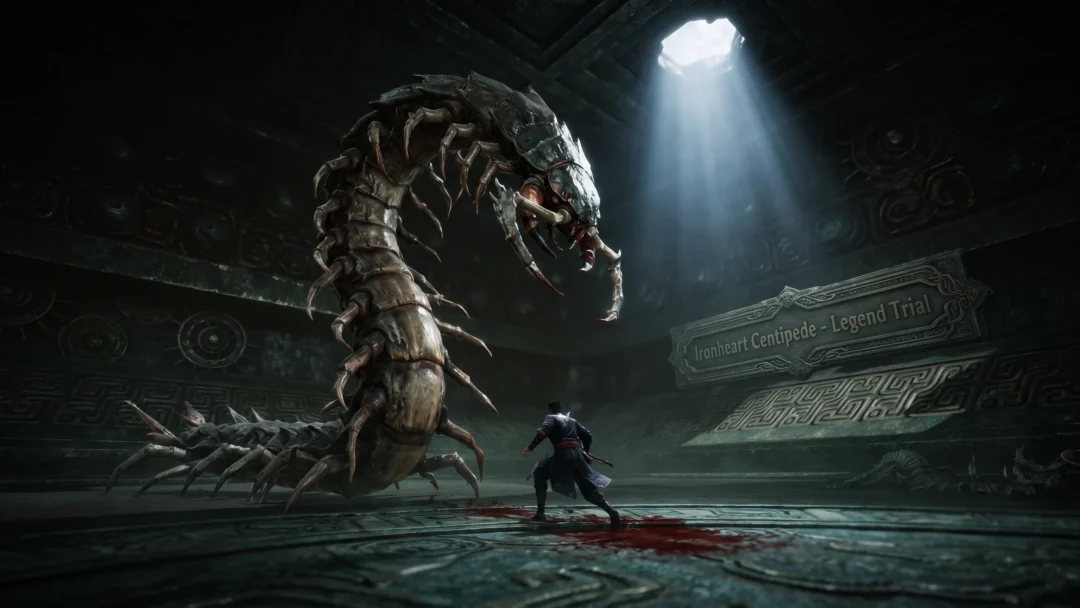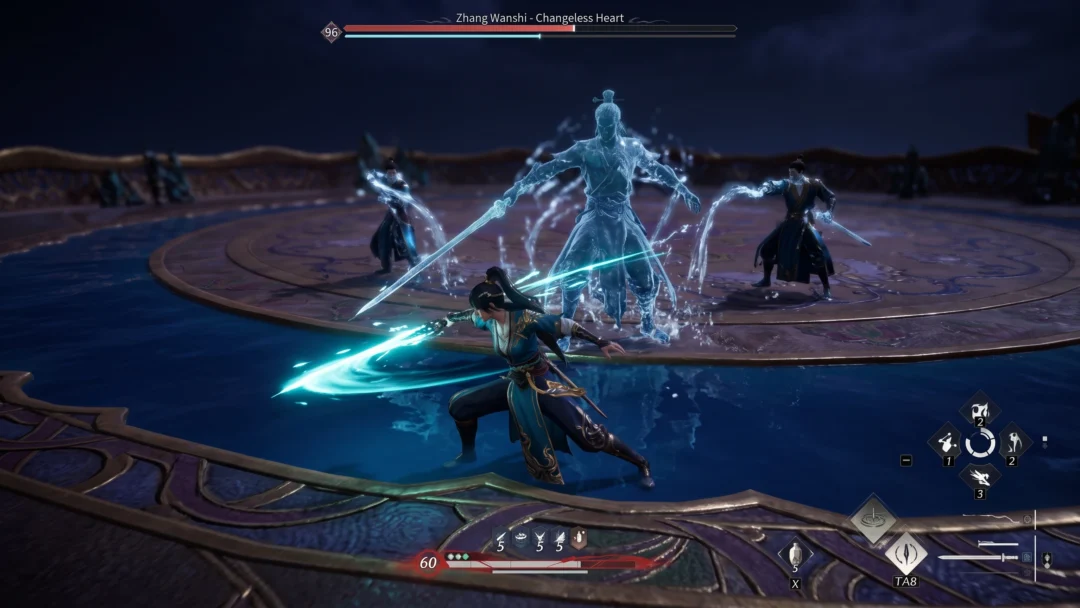
The Strategic Sword is a melee DPS weapon in Where Winds Meet built around stacking Bleed and then detonating those stacks for a burst of damage. On Legend difficulty, that burst matters far less than staying alive, because world bosses hit hard, your healing is cut on first clears, and most of your progress comes from clean parries. Getting value out of the sword means saving your damage for the moments the boss is actually open.
Quick answer: Build Bleed to 5 stacks with Inner Track Slash and light attacks, then press Inner Balance Strike III to clear all stacks for massive bonus damage. Only commit this during the boss’s exhausted phase, and treat everything before that as parry practice.
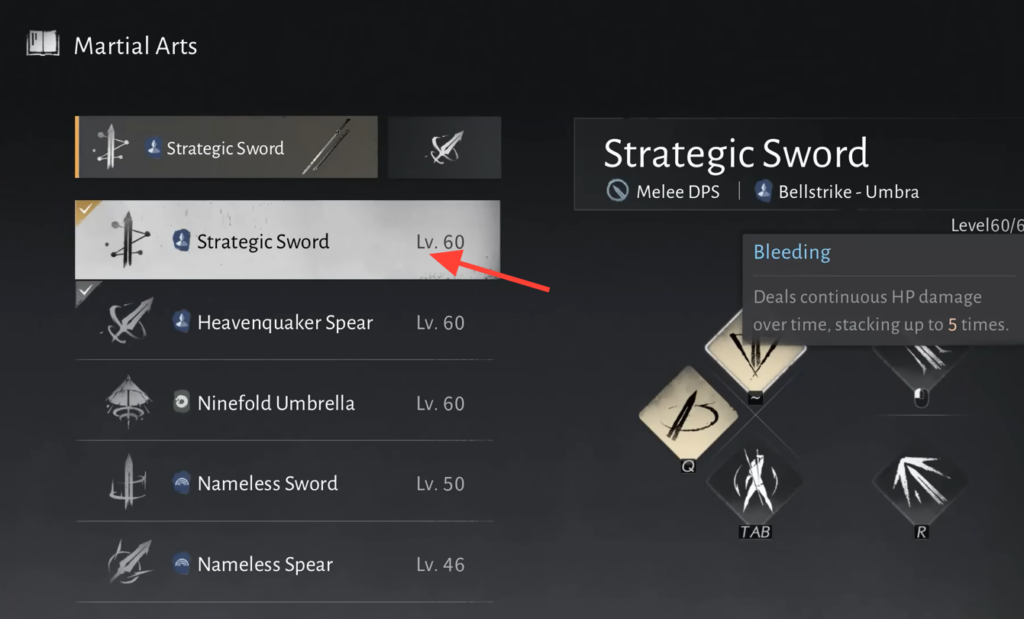
Strategic Sword skills and inputs
The Strategic Sword is a bleed-oriented Melee DPS style paired with the Bellstrike – Umbra inner track. Its kit rewards controlled aggression and mobility, with dashes that let you close gaps, then disengage. Here is the full skill list with inputs and cooldowns.
| Skill | Input | Effect | Cooldown |
|---|---|---|---|
| Inner Track Slash | Q | Dash to an enemy and slash, applying Bleed. Press again within 2s for four consecutive slashes that also apply Bleed. | 12s |
| Inner Balance Strike III | ~ | Consumes Endurance to dodge backward and hit enemies in front, applying Bleed. If the target has 5 Bleed stacks, deals massive bonus damage and clears all stacks. | 1s |
| Sword – Conversion | TAB | Switch to a sword and slash. | 3s |
| Sword – Light Attack | LMB | Up to four light attacks with a longsword. | 0.6s |
| Sword – Heavy Attack | R | Up to three heavy attacks with a longsword. | 0.9s |
| Second Track Slash | Hold R | Charge and consume Endurance to dash forward, dealing massive damage and Bleed. You are untargetable and immune to all damage during the dash. | 1s |
Note: Second Track Slash’s immunity window is a survival tool as much as a damage tool. You can dash through a dangerous attack and take no damage while still landing a hit.
Bleed stacking and detonation
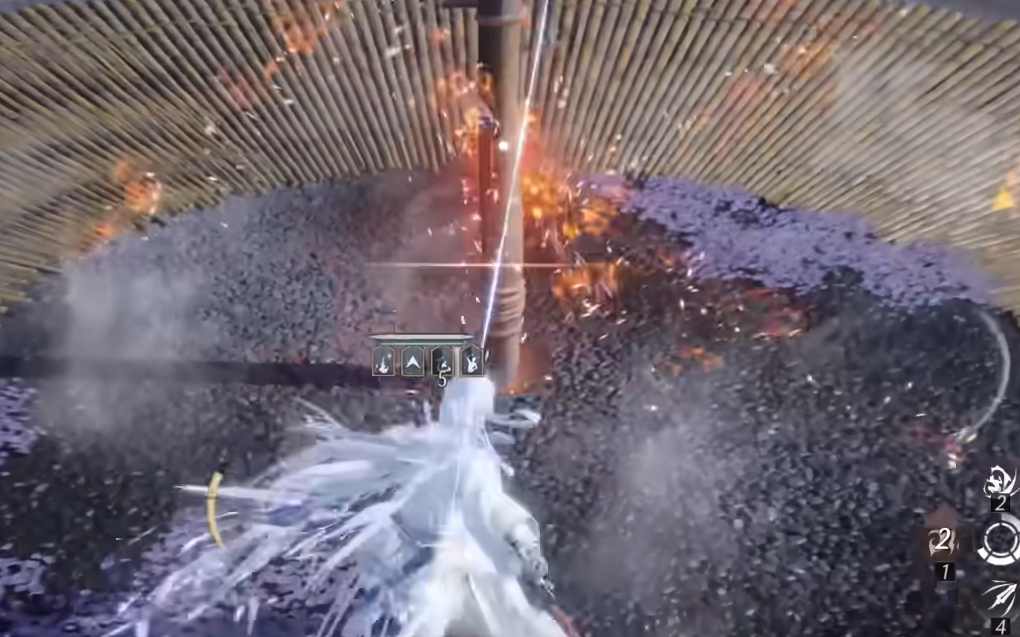
Bleed deals continuous damage over time and stacks up to 5 times. Most of the Strategic Sword’s skills apply it, so reaching 5 stacks is fast once the boss is standing still. The payoff is Inner Balance Strike III, which does normal damage on a target below 5 stacks but detonates for a large hit when the target is at 5 stacks and wipes the stacks in the process.
The practical loop is simple. Apply Bleed until you see 5 stacks, fire the detonation, then rebuild. On a Legend world boss you rarely have the uptime to keep this rhythm going for long, so aim to hit 5 stacks and detonate inside a single safe window rather than spreading it across the fight.
Legend difficulty rules that decide the fight
Legend world bosses are a parry-or-die encounter. Outside of the boss’s exhausted phase, you often do not need to attack at all. The correct play is to defend, punish the openings, and only push damage when the boss is stunned or recovering.
Healing is the other trap. On a first clear, healing is heavily debuffed, which makes a support fan close to useless during the boss. Potions become your only reliable heal, and the debuff lifts only after you have cleared that boss once. A blunt but accurate way to think about it: if you carry 5 potions, you can afford to get hit about 5 times, because once the potions run out many bosses will finish you in two hits.
Because of that, dropping the healing weapon for a second damage weapon is usually the stronger choice on the first Legend kill. The Strategic Sword slots in well here as a burst partner to your main weapon.
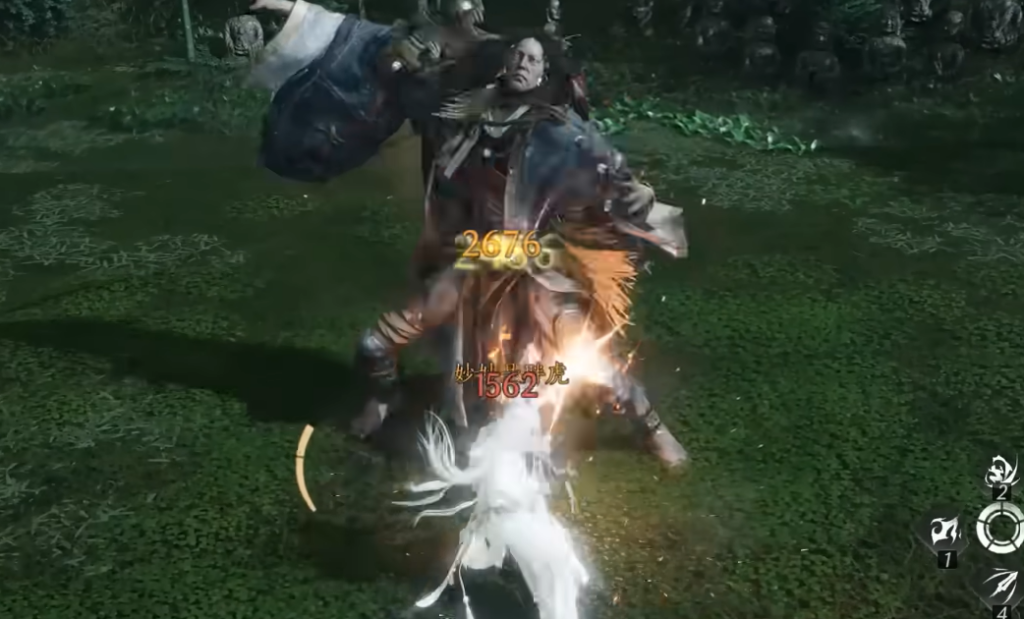
Weaken world bosses before you engage
Two tools lower the difficulty before the fight even starts.
If parries are still costing you the run, bring a companion such as Yi Dao, or call in another player. First clears are the hardest point of the fight, and there is no penalty for taking help.
Preparation checklist for Legend world bosses
Raw survivability and potion quality carry more weight than fine-tuning gear stats. Focus on the items below before committing to a Legend attempt.
| Priority | Why it matters |
|---|---|
| Max oddities | One of the biggest boosts to your character’s readiness; check the improvement tips sphere in the Develop tab and fill it out. |
| Max talents | Earned through sidequests; prioritize talents that help you survive. |
| Level medic profession | Needed to craft better potions. Basic potions can heal less than the boss takes off you, while top-tier potions restore a large chunk of HP. |
| Raise potion carry limit | Potions are your only dependable heal on first encounters, so more slots means more mistakes you can absorb. |
| Fill Arsenal to cap | Points over the limit convert into extra max HP, roughly 2 HP per point above the cap. |
| Max gear level | Use the highest world-level gear you can get. The gear level cap rises as your equipment improves. |
| Upgrade Mystic Skills | They deliver a chunk of burst and a safety net; put points into Vitality so you can cast them back to back. |
For solo runs, Honking Havoc is a standout Mystic Skill. Its slow-time window is long enough to land heavy damage or reset your footing, and its cooldown is only 30 seconds, so you can slow time again shortly after it ends. Follow-ups like Leaping Toad into Lion’s Roar add damage and a damage-reduction buff.
Exhaust-phase rotation for maximum damage
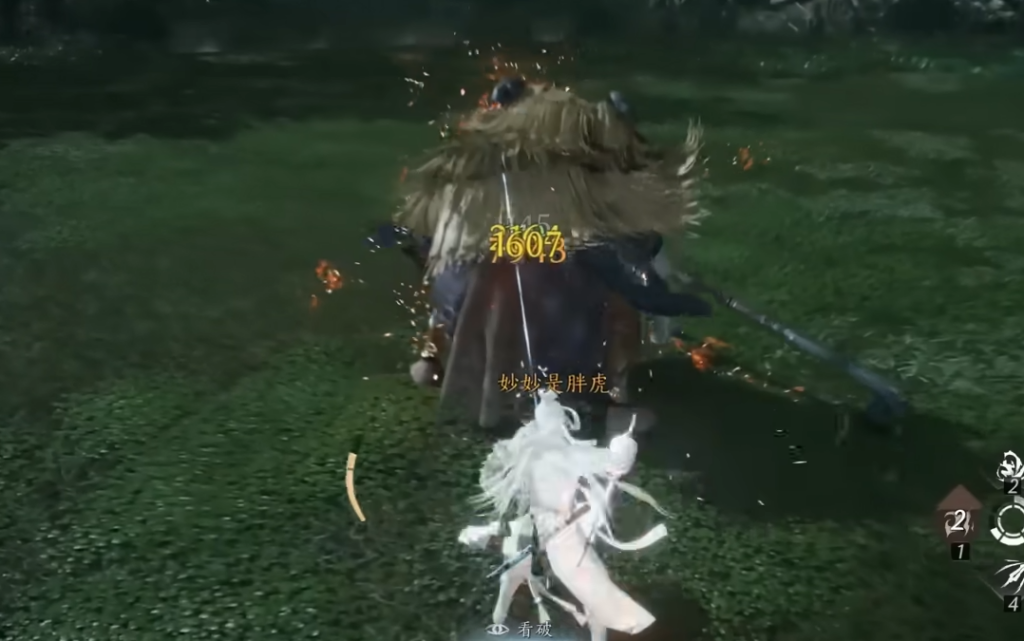
The exhausted phase is your real damage window. When the boss is stunned, chain your burst instead of trickling out hits. A reliable pattern is to lead with a weapon-swap attack, follow with your special and charged spin attack, land the exhaust attack, then use a Mystic Skill such as the goose for a free damage opening. Recover energy with a quick attack and repeat the special and spin.
The more damage you land in each of these windows, the fewer windows you need, and the fewer chances you give the boss to punish a mistake. Between those windows, hold position and parry. You know the approach is working when the boss reaches its exhausted state before your potions run dry, giving you a clean opening to detonate Bleed and push toward the kill.