

Equipment is the fastest way to squeeze more power out of a unit in Anime Expeditions once your core team is leveled and evolved. Some pieces are plain stat sticks that raise damage, range, attack speed, or crit. Others are locked to a single unit and carry a passive that changes how that character fights. Sorting out which is which, and where each one comes from, decides how much time you spend farming.
Quick answer: Every unit can hold two Standard Equipment pieces, and evolving a unit unlocks a third slot reserved for its Unit Equipment. Standard gear only adds stats, while Unit Equipment adds stats plus a unique passive that replaces the unit’s original passive.
How equipment slots and types work
There are two categories of equipment. Standard Equipment fits on any unit and only provides stat rolls. Unit Equipment is tied to one specific character, usually its evolved form, and layers a special passive on top of its stats.
Slot access is fixed. By default a unit has two Standard Equipment slots. Once you evolve that unit, a third slot opens, and it is exclusive to that unit’s own gear. Not every unit has an exclusive piece, so many characters simply run two standard slots.
Most Unit Equipment cannot be equipped until you own and evolve the matching unit. Farming an exclusive piece before that point leaves you with gear you can’t use yet.
All Unit Equipment: units, stats, and where they drop
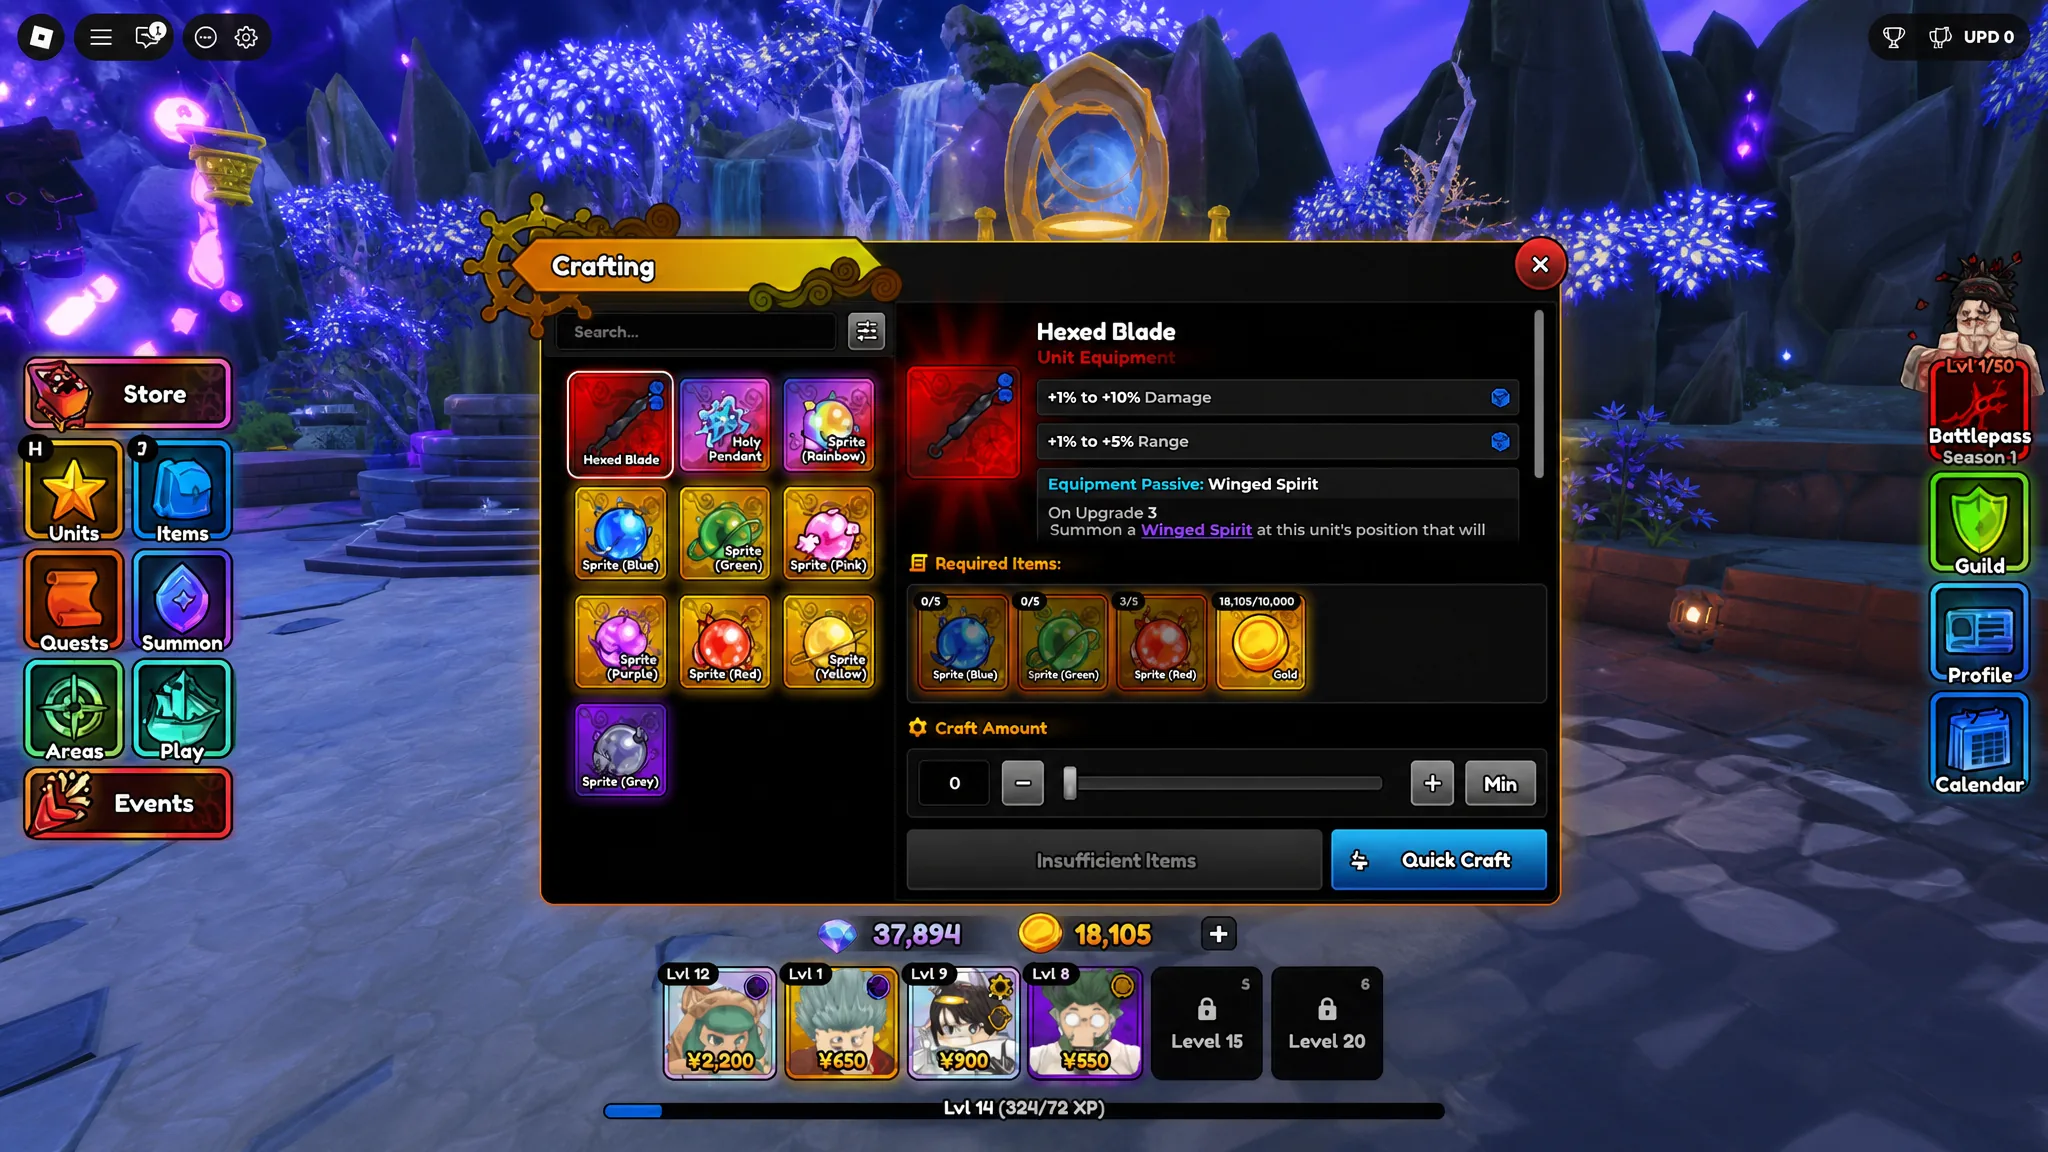
Unit Equipment is far rarer than Standard gear and often demands harder content. Several pieces drop from a unit’s Mastery route at a listed 5% chance with 20 pity, and many can also be crafted at the Armory Forge in the Expedition Hub. The table below pairs each item with its unit, source, and stat rolls.
| Equipment | Unit | Where to get | Stats |
|---|---|---|---|
 Promise Ring | Cursed Student (True Love) | School Grounds (Mastery), 5% / 20 pity; Armory Forge | -1% to -5% SPA · +1% to +10% Damage |
 Technique Amplifier | Salmon Sorcerer (Grade 1) | School Grounds; Armory Forge | +1% to +5% Range · -1% to -5% SPA |
 Hell’s Flower | Hollow (Blaze) | Flower Forest; Armory Forge | -1% to -5% SPA · +1% to +10% Damage |
 Emperor’s Attire | Flame Emperor (Reincarnate) | Rose Kingdom; Armory Forge | +1% to +5% Range · +1% to +10% Damage |
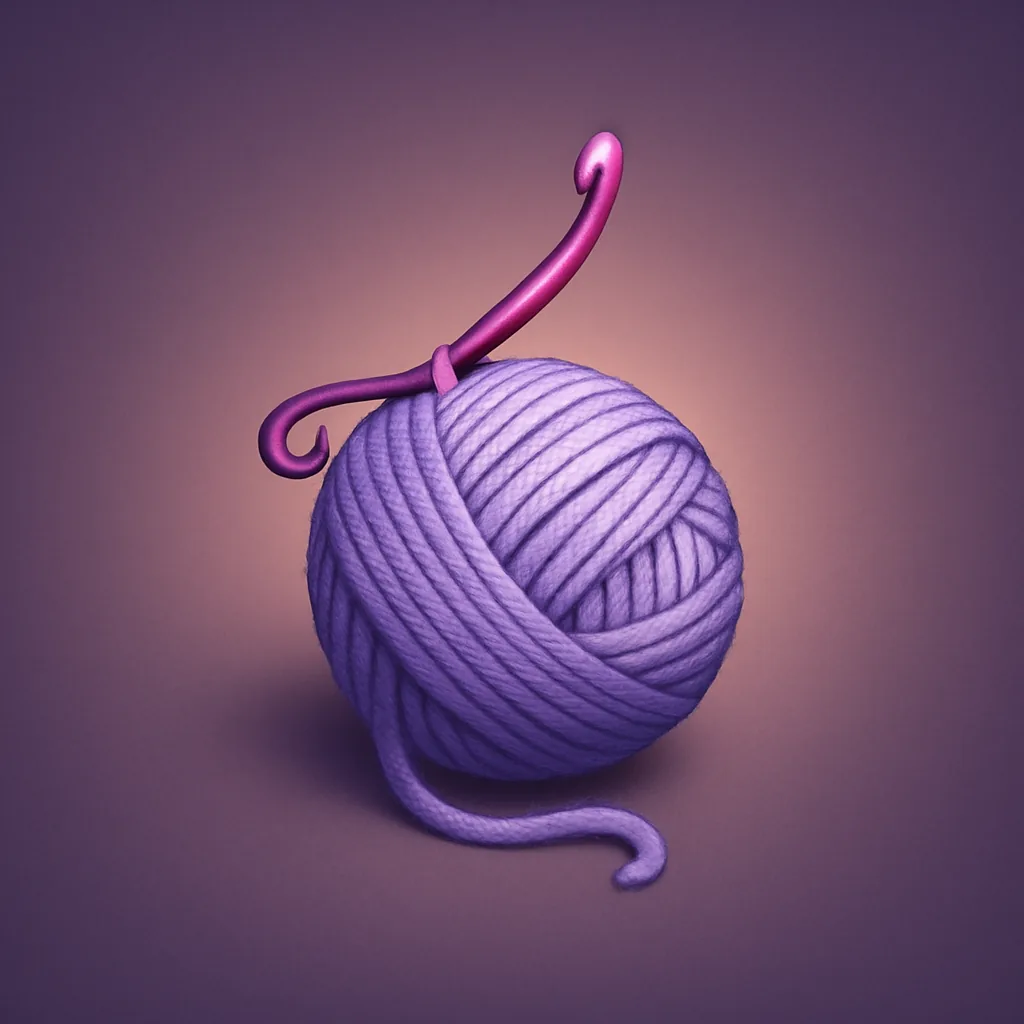 Webbed Fruit | String Demon (Awakened) | Rose Kingdom; Armory Forge | +1% to +10% Range · -1% to -5% SPA |
 Boulder | Lady Giant (Envy) | Fairy King Forest; Armory Forge | +1% to +5% Range · -1% to -5% SPA |
 Calamity’s Eye | Puppet (Telekinetic) | Fairy King Forest; Armory Forge | +1% to +5% Range · +1% to +10% Damage |
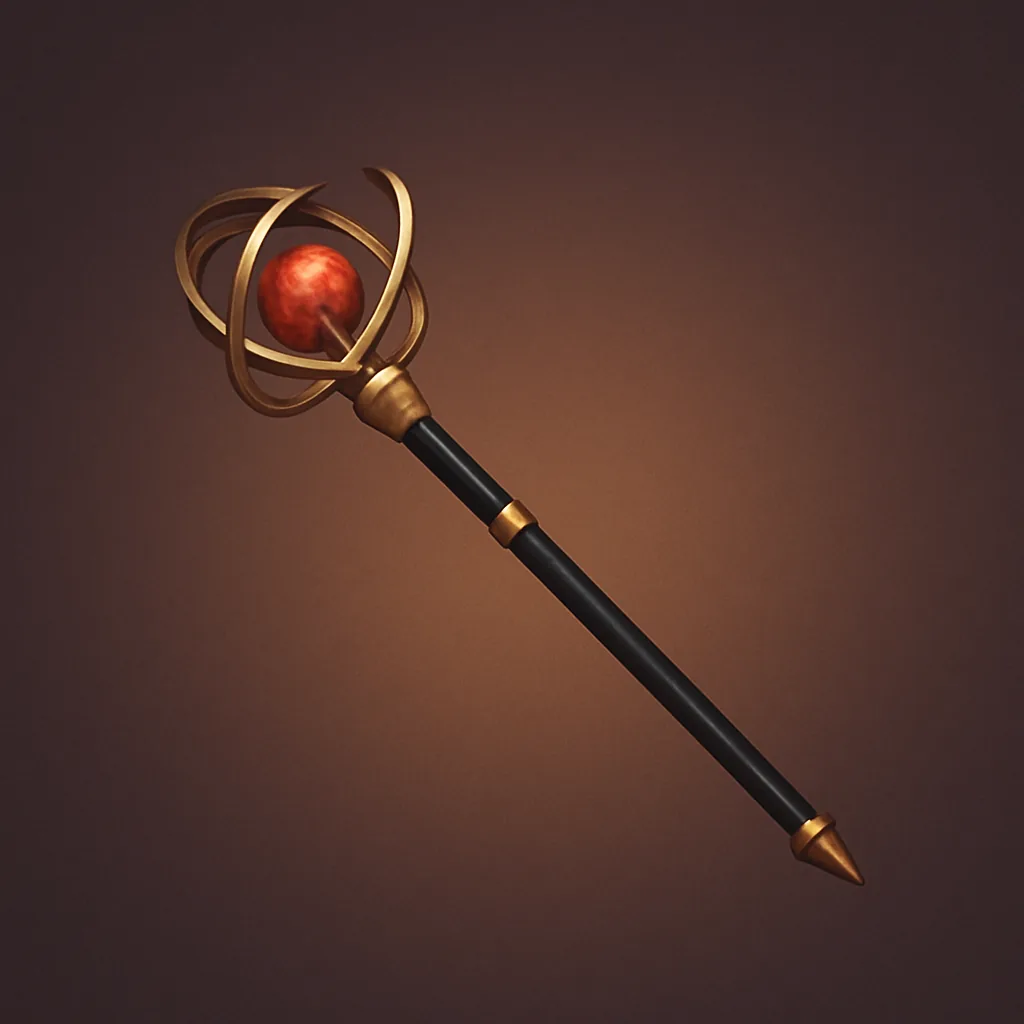 Elven Battle Staff | Elf Mage (Unleashed) | King’s Tomb; Armory Forge | +1% to +5% Damage · -1% to -5% SPA |
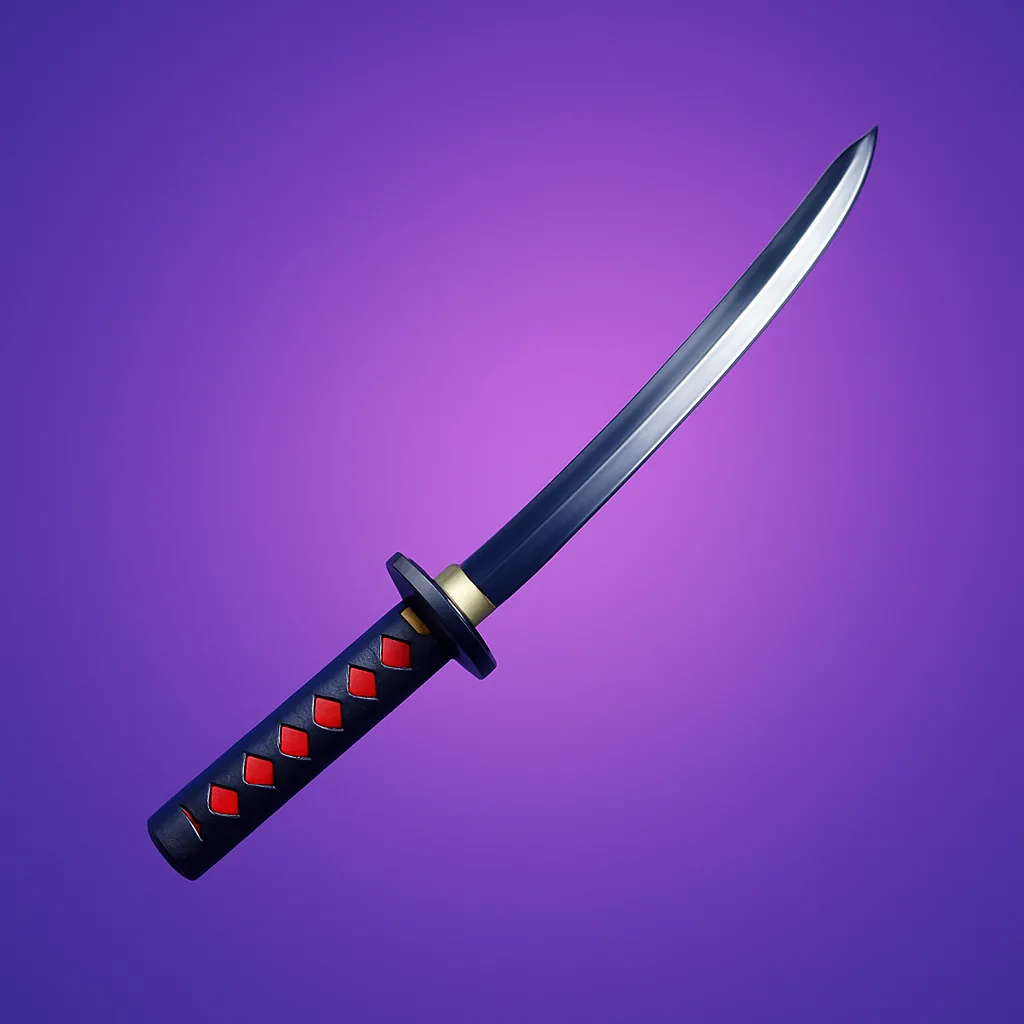 Spirit of the Moonblade | Reaper (Released) | Spirit City (Act 1); Armory Forge | +1% to +10% Crit Damage · +1% to +10% Crit Chance |
 Hair Bells | 8th Sword (Berserk) | Spirit City (Act 1); Armory Forge | +1% to +5% Range · +1% to +10% Damage |
| Hexed Blade | Shadow (Monarch) | Crafting only (1x Blue Sprite, 1x Green Sprite, 1x Red Sprite, 10k Gold) | +1% to +5% Range · +1% to +10% Damage |
What each Unit Equipment passive does
The passive is the reason to chase exclusive gear. Rerolling never changes it, so the effect you see is the effect you get. Each of these overrides the unit’s original passive.
| Equipment | Passive effect |
|---|---|
| Promise Ring — Spirit Bats | Every 20 total Bleed stacks in range summons a Bat Spirit (max 3). Each Bat deals 25% of current damage per attack and despawns after 3 attacks. |
| Technique Amplifier — Crumble Away | Applies Slow based on the attack used: Explode 20%, Blast Away 35%, Twist 50%, Crush 65%. |
| Hell’s Flower — Radial Flames | When a Burn stops ticking in range, converts one Burn application into Austere Flames for 85% of current damage. These instances do not stack. |
| Emperor’s Attire — Wildfire | On applying Burn, spreads it to the 5 nearest enemies that do not already have Burn. |
| Webbed Fruit — Cocoon of Carnage | Every 5 regular attacks cocoons enemies, stunning them for 10 hits or 5 seconds. Breaking the cocoon within 10 hits deals 125% of current damage; otherwise it despawns. |
| Boulder — Stone Wall | Summons a wall every 12 seconds (max 2). Base Form wall health is 75% of current damage; Giant Form is 50%. |
| Calamity’s Eye — Puppet Creation | When an enemy carrying this unit’s Puppet Mark dies, summons one Doll (max 1) with health equal to 200% of current damage. |
| Elven Battle Staff — Arcane Spells | Charge spells count as follow-up attacks: 3 charges casts Old Magic (line AoE, 100%), 5 casts Eruption (circle AoE, 125%, Mana Burn), 7 casts Storm (full AoE, 150%). |
| Spirit of the Moonblade — Adaptation | For each different enemy type attacked, permanently gains +10% Damage and +10% Critical Chance. |
| Hair Bells — Demonic Presence / Savage Rebound | Enemies within half range take 15% of current damage every second. When stunned, the unit cleanses the stun and performs a 125% follow-up attack; all follow-ups apply Dismembered. |
| Hexed Blade — Winged Spirit | At upgrade 3, summons a spirit circling at half range that deals 75% of current damage every 5 seconds and applies Stun. |
All Standard Equipment and stats
Standard Equipment is the backbone of early progression. Most of it crafts at the Armory, and several pieces also drop from Story maps. A few carry their own passive, most notably the Shinigami Sword, which scales with how many enemies sit inside a unit’s range.
| Equipment | Stats | Passive | Where to get |
|---|---|---|---|
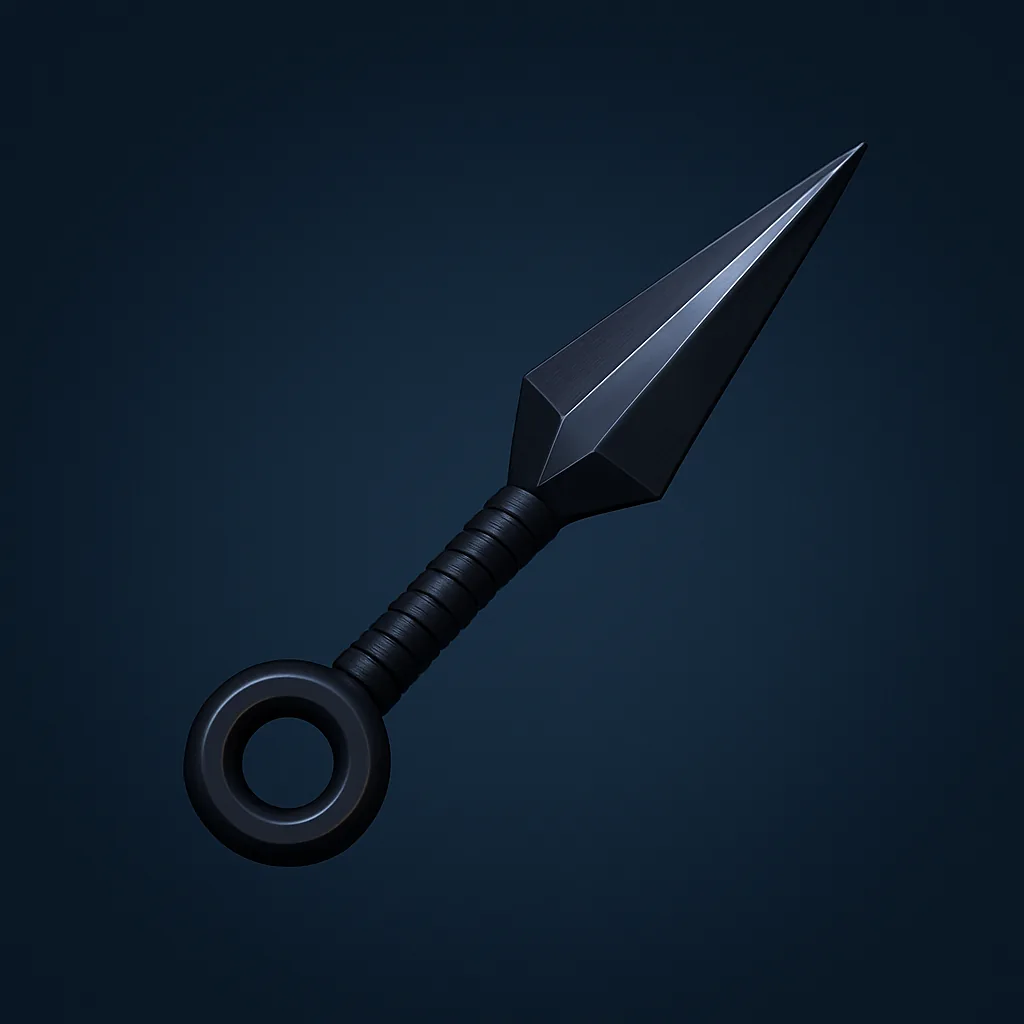 Kunai | +1% to +10% Damage · -1% to -5% SPA | None | Armory, Events, School Grounds |
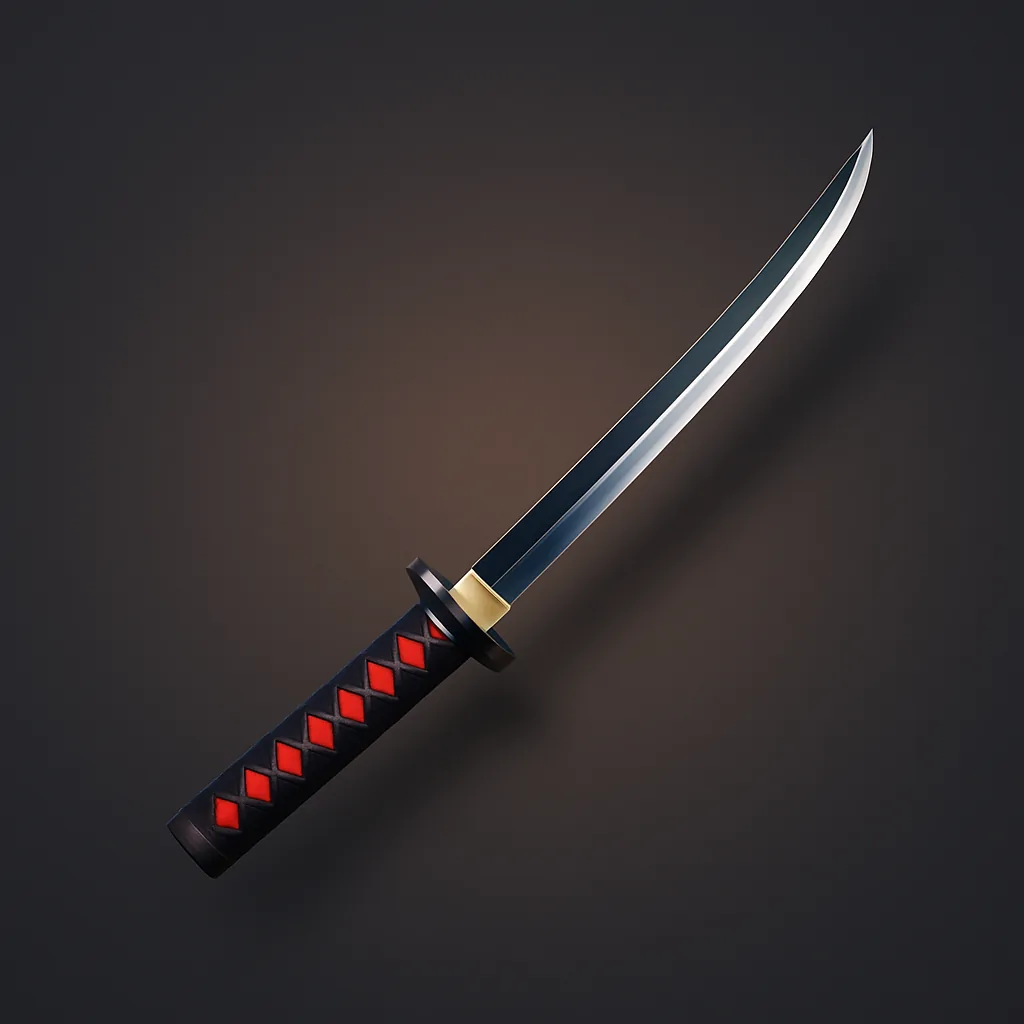 Katana | +1% to +5% Damage · +1% to +10% Physical Damage Dealt | None | Armory, Flower Forest |
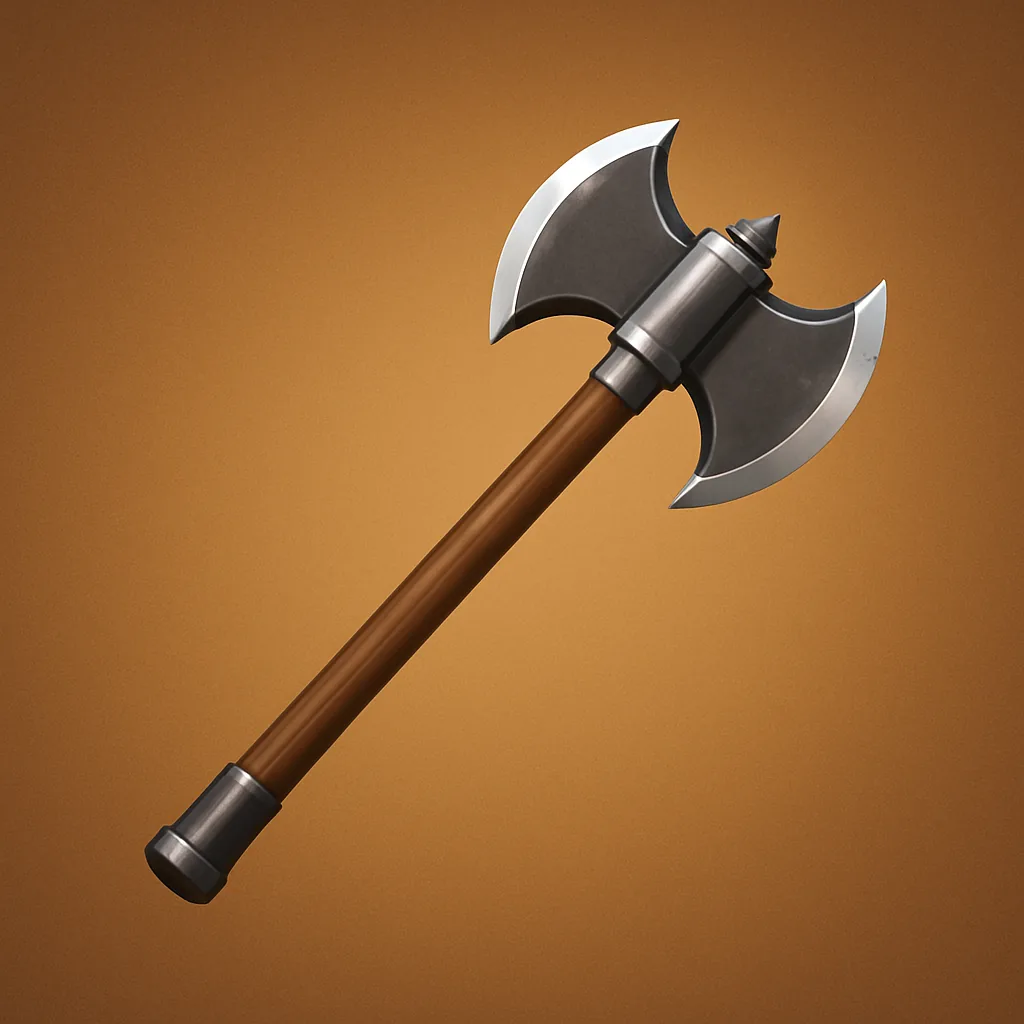 Warrior’s Axe | -1% to -5% SPA · +1% to +10% Physical Damage Dealt | None | Armory, Fairy King Forest |
 Magic Orb | +1% to +10% Range · +1% to +5% Damage | None | Armory, Rose Kingdom |
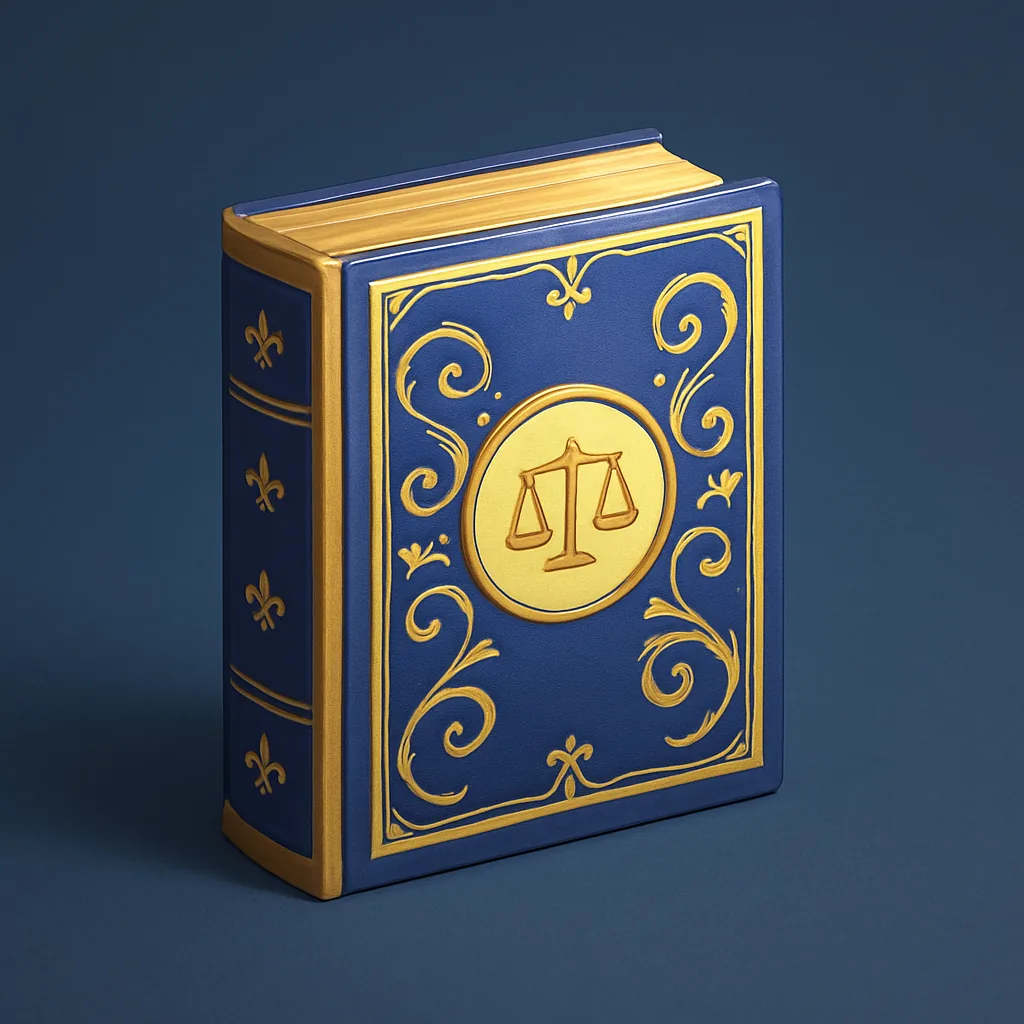 Magic Book | +5% to +20% Magical Damage Dealt | None | Armory, King’s Tomb |
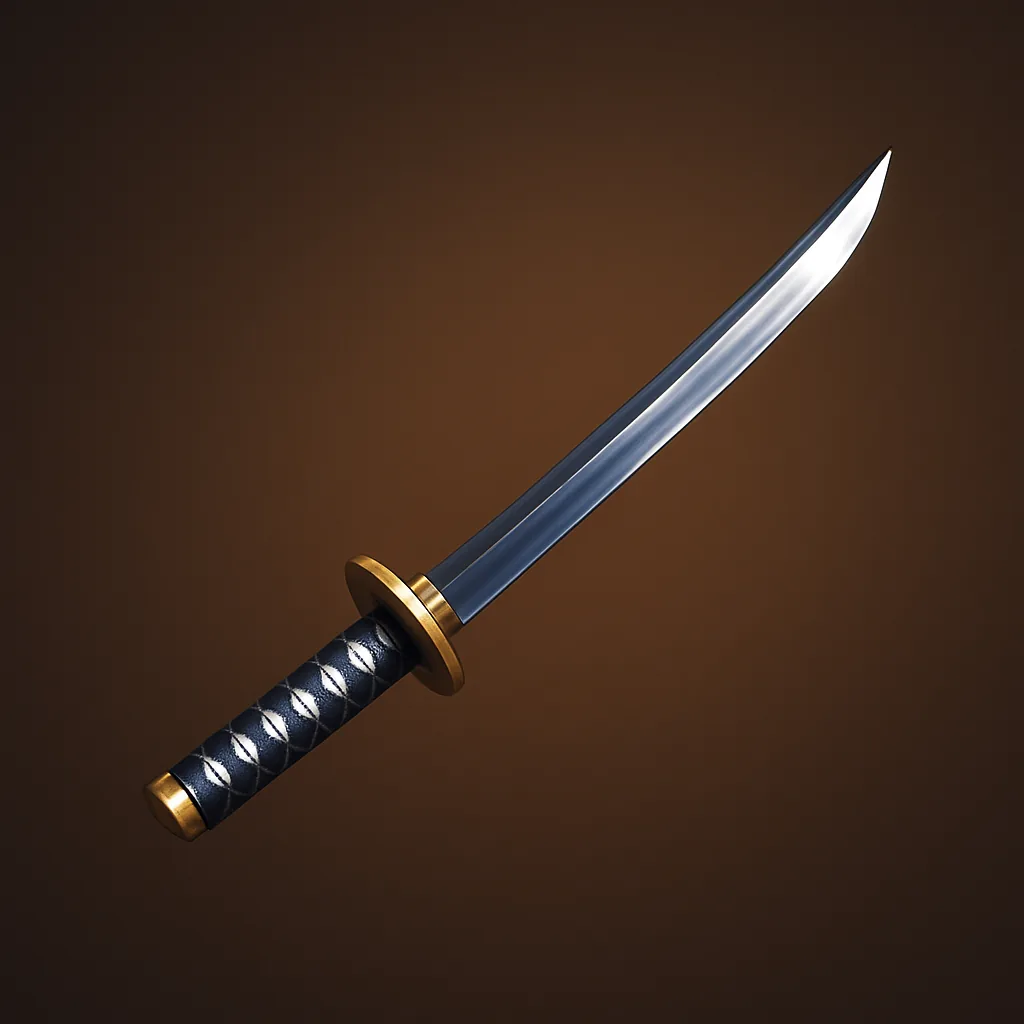 Shinigami Sword | +1% to +5% Damage · +1% to +10% Crit Chance | +0.5% to +1% Damage per enemy in range (cap 15%) | Armory, Spirit City |
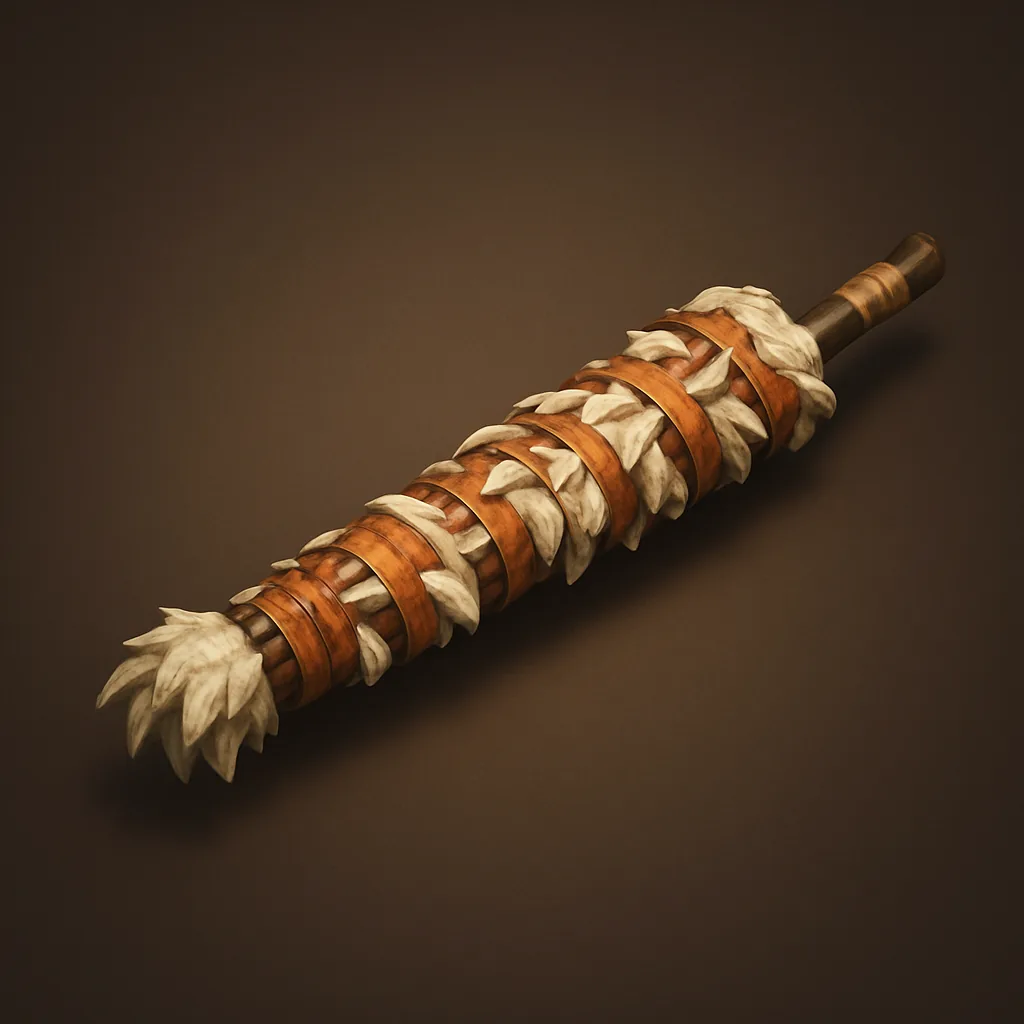 Soul Splitter | +1% to +5% Range · +1% to +10% Physical Damage Dealt | None | Armory |
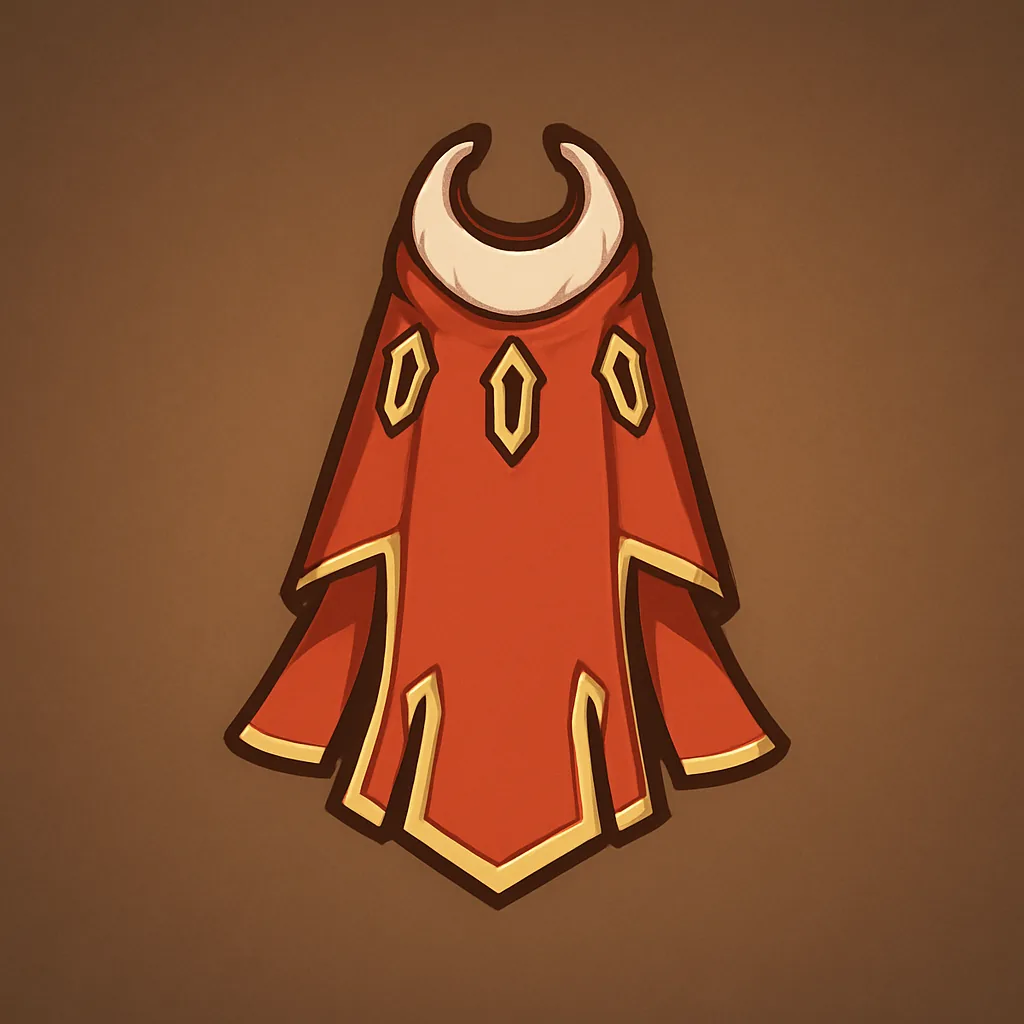 Raid Cape | +1% to +5% Range · +1% to +10% Damage | None | Armory |
 Bamboo Bottle | +1% to +10% Range | Each Active Ability use lowers its cooldown by 1% to 2% (cap 10%) | Armory |
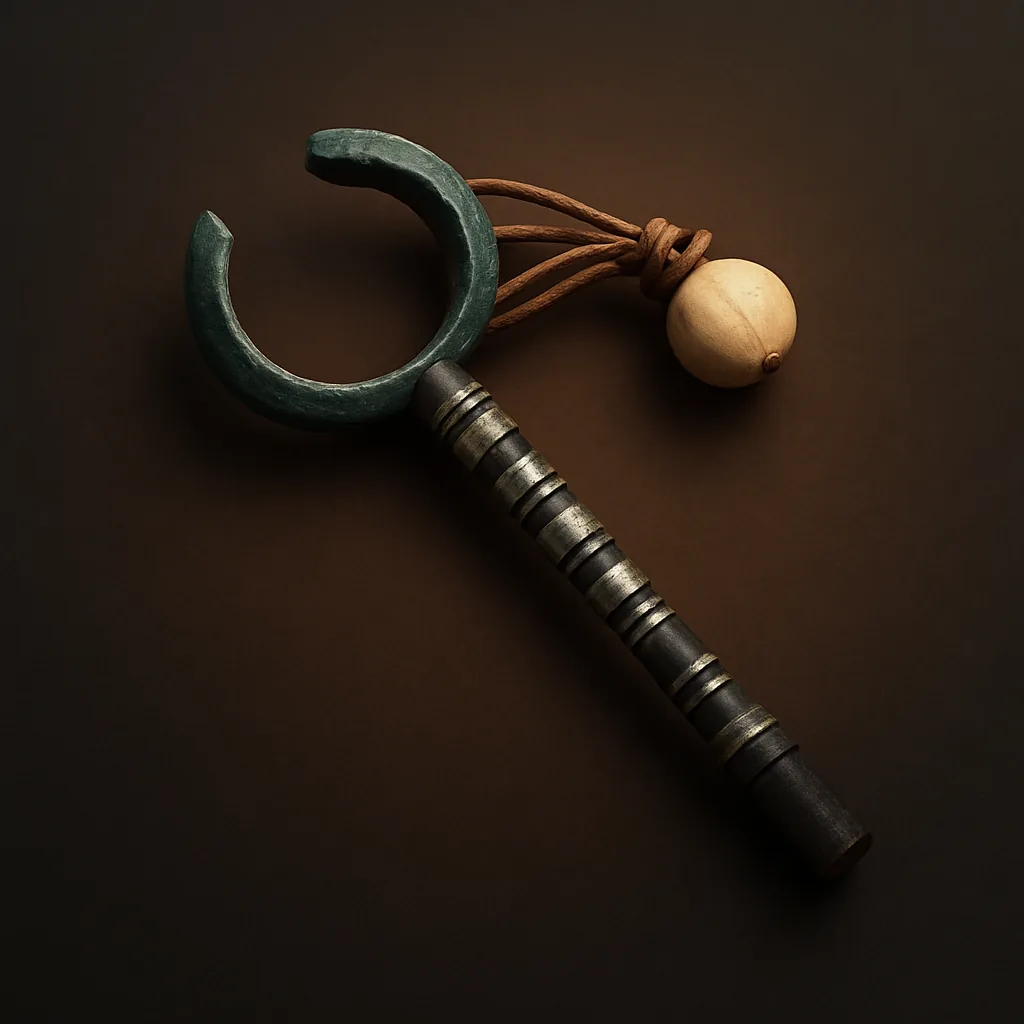 Pirate’s Slingshot | +5% to +15% Range | None | Armory |
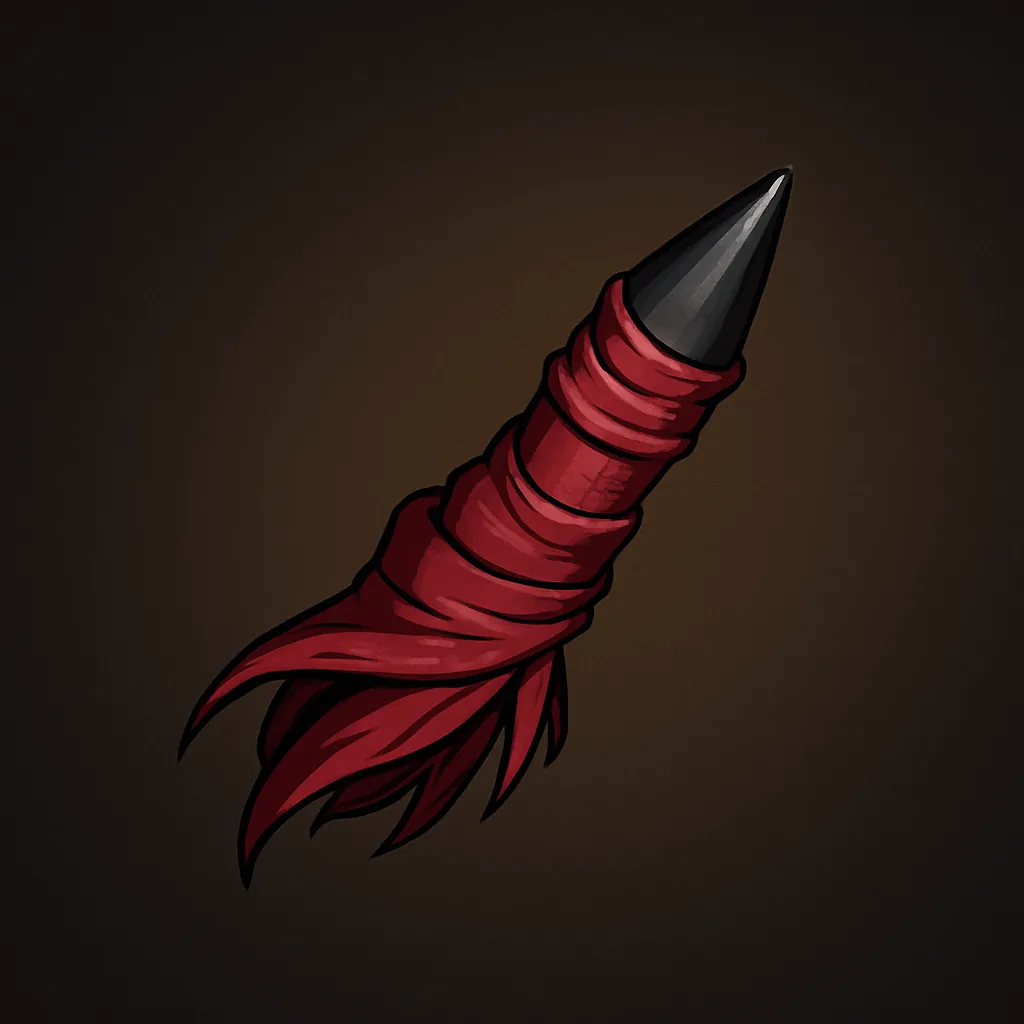 Cursed Finger | +1% to +10% Damage · +1% to +5% Crit Chance | +2% to +5% Bleed damage per Bleed stack (cap 20%) | Armory |
 Elf Suitcase | +1% to +5% Range · +1% to +10% Magical Damage Dealt | None | Armory |
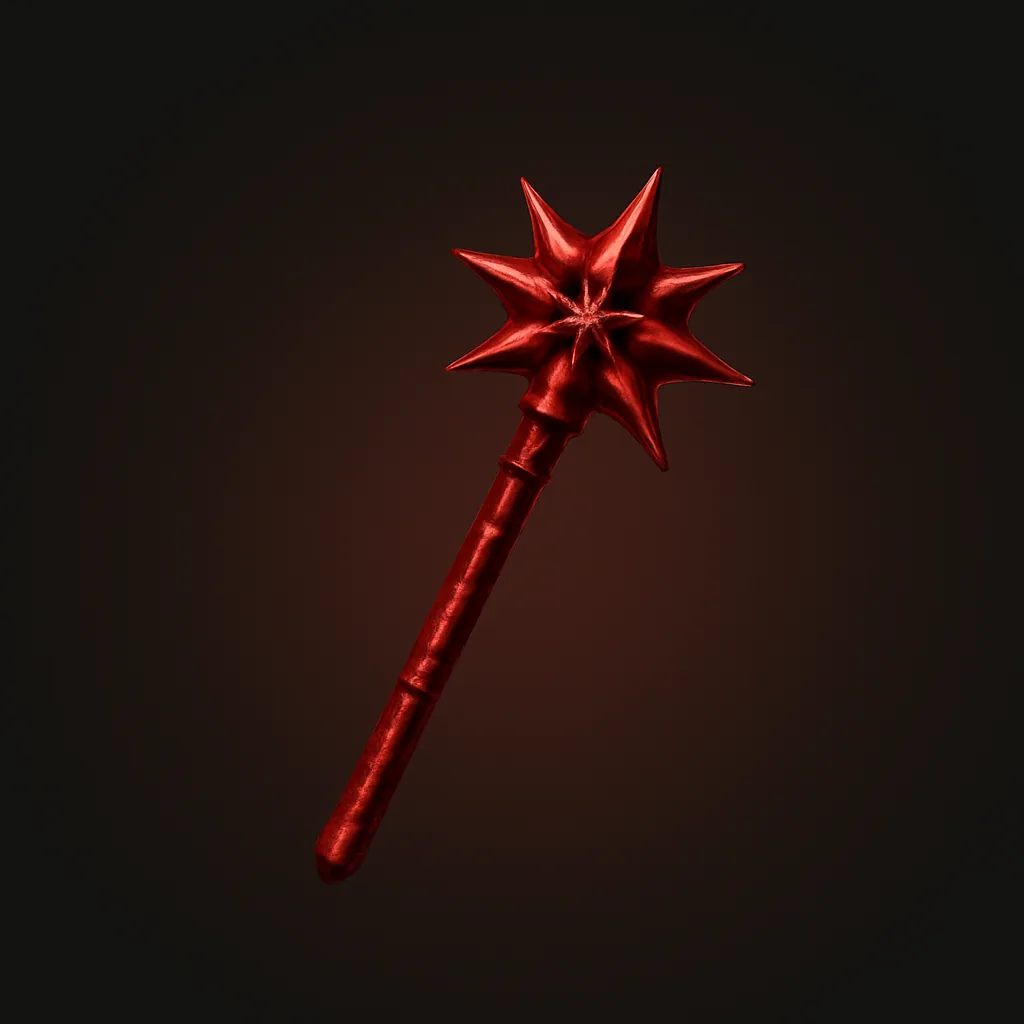 Staff of Chaos | -1% to -5% SPA · +1% to +10% Magical Damage Dealt | None | Armory |
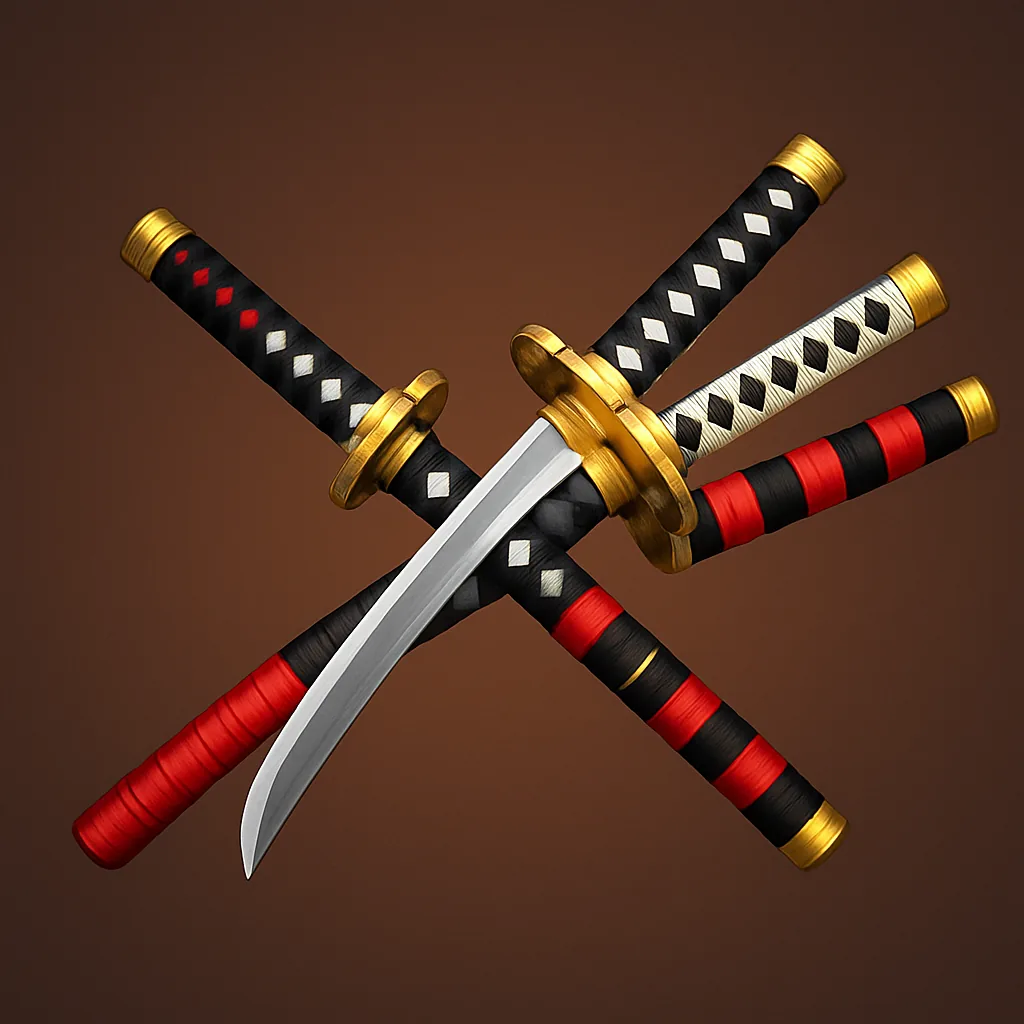 Three Swords From Hell | +5% to +15% Damage | None | Armory |
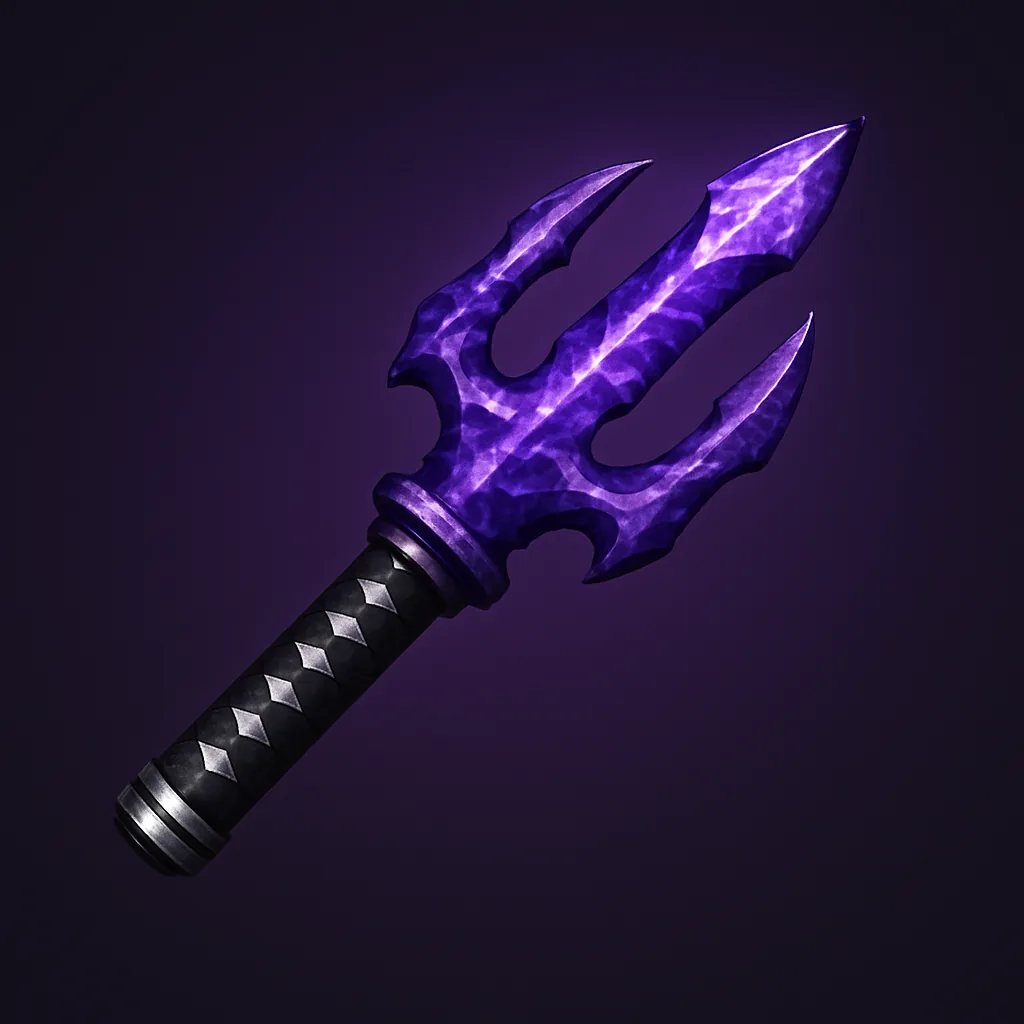 Accursed Equipment | -1% to -10% SPA | None | Armory |
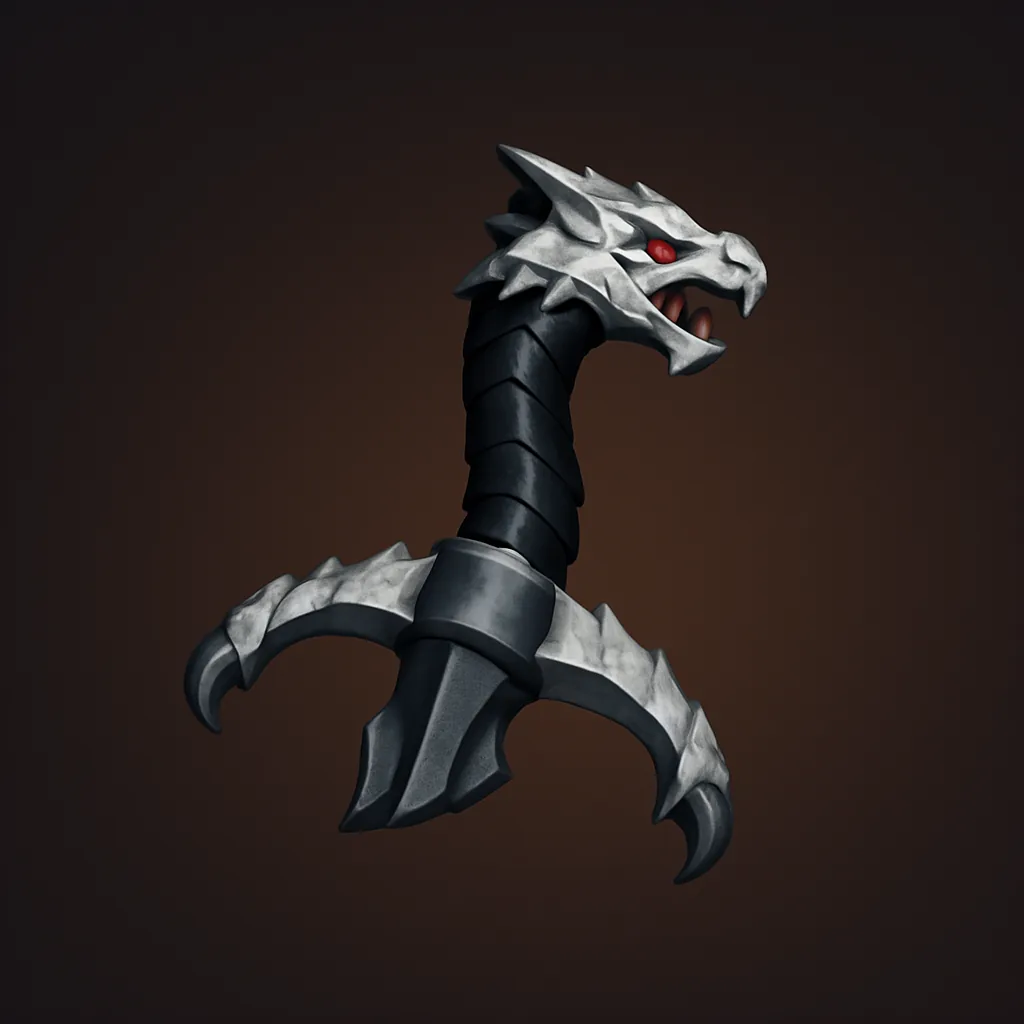 Dragon Hilt | +1% to +10% Crit Damage · +1% to +5% Crit Chance | None | Armory |
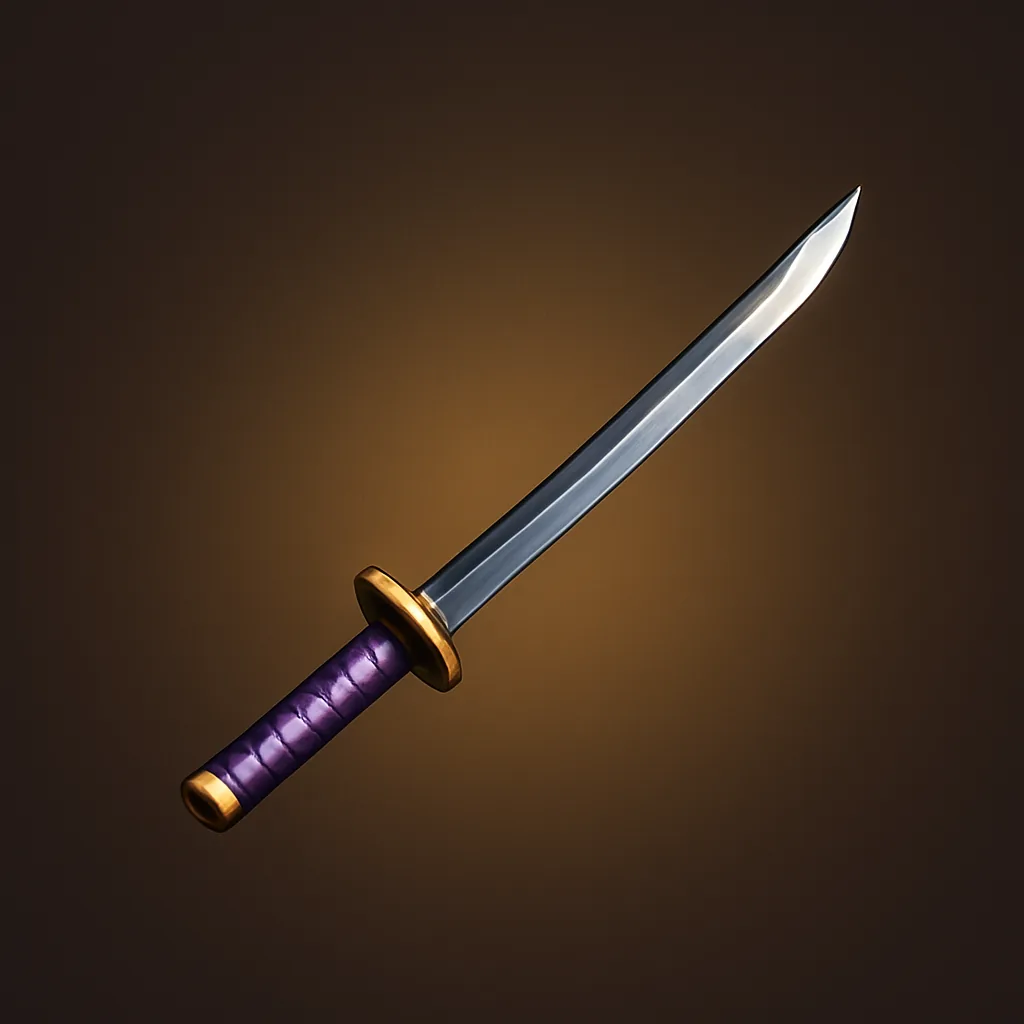 Enhanced Katana | +1% to +10% Crit Chance · +1% to +5% Crit Damage | None | Armory |
Where to farm equipment
Most gear comes from Story maps, so pushing forward usually beats grinding old stages. Exclusive Unit Equipment sits behind Mastery difficulty and the Spirit City raid, and each map is tied to specific drops. The Armory Forge in the Expedition Hub can craft many of these pieces once you meet the requirements.
| Source | Drops |
|---|---|
| School Grounds | Kunai, Promise Ring, Technique Amplifier |
| Flower Forest | Katana, Hell’s Flower |
| Rose Kingdom | Magic Orb, Emperor’s Attire, Webbed Fruit |
| Fairy King Forest | Warrior’s Axe, Boulder, Calamity’s Eye |
| King’s Tomb | Magic Book, Elven Battle Staff |
| Spirit City (Act 1) | Shinigami Sword, Spirit of the Moonblade, Hair Bells |
| Armory Forge / Crafting Station | Hexed Blade and most craftable standard gear |
Priority is simple. Fill empty slots with your best current-map Standard gear first, then farm the exclusive piece for your main carry. Since each exclusive drop is a 5% chance with 20 pity, budget for a long grind before the guaranteed pull.
Rerolling and locking equipment stats
Every piece rolls one or more stats inside a fixed range, and the gap between a low and a high roll is large. Equipment Rerolls are the Mythic Material used to reroll those values. Using one generates fresh numbers for every unlocked stat, but the passive effect never changes. You can get Equipment Rerolls from Challenges, in-game Shops, and the Robux store, and the Gold Shop sells them for 2,500 Gold each.
Equipment Locks protect a good roll before you reroll. Any locked stat stays the same while the rest are rerolled. For example, if a piece shows +10% Damage (locked) and +2% Range, a reroll keeps the +10% Damage and only rolls a new Range value. This lets you improve one stat at a time instead of gambling a strong roll.
Save rerolls for gear you plan to keep long term, such as an exclusive relic for a core unit or a high-value standard piece like the Shinigami Sword. Rerolling early blue drops burns resources you’ll want later.
You’ll know a change worked when the stat values on the equipment card update in the Armory. Locked stats hold their number, unlocked stats show new rolls, and the passive line stays identical every time.
Match each piece to the job a unit already does. Damage carries want damage and crit, debuffers want SPA to apply status faster, and area units want range for coverage. A magic relic on a physical attacker, or range gear on a unit that already reaches the whole lane, wastes a slot that could be pulling real weight.





