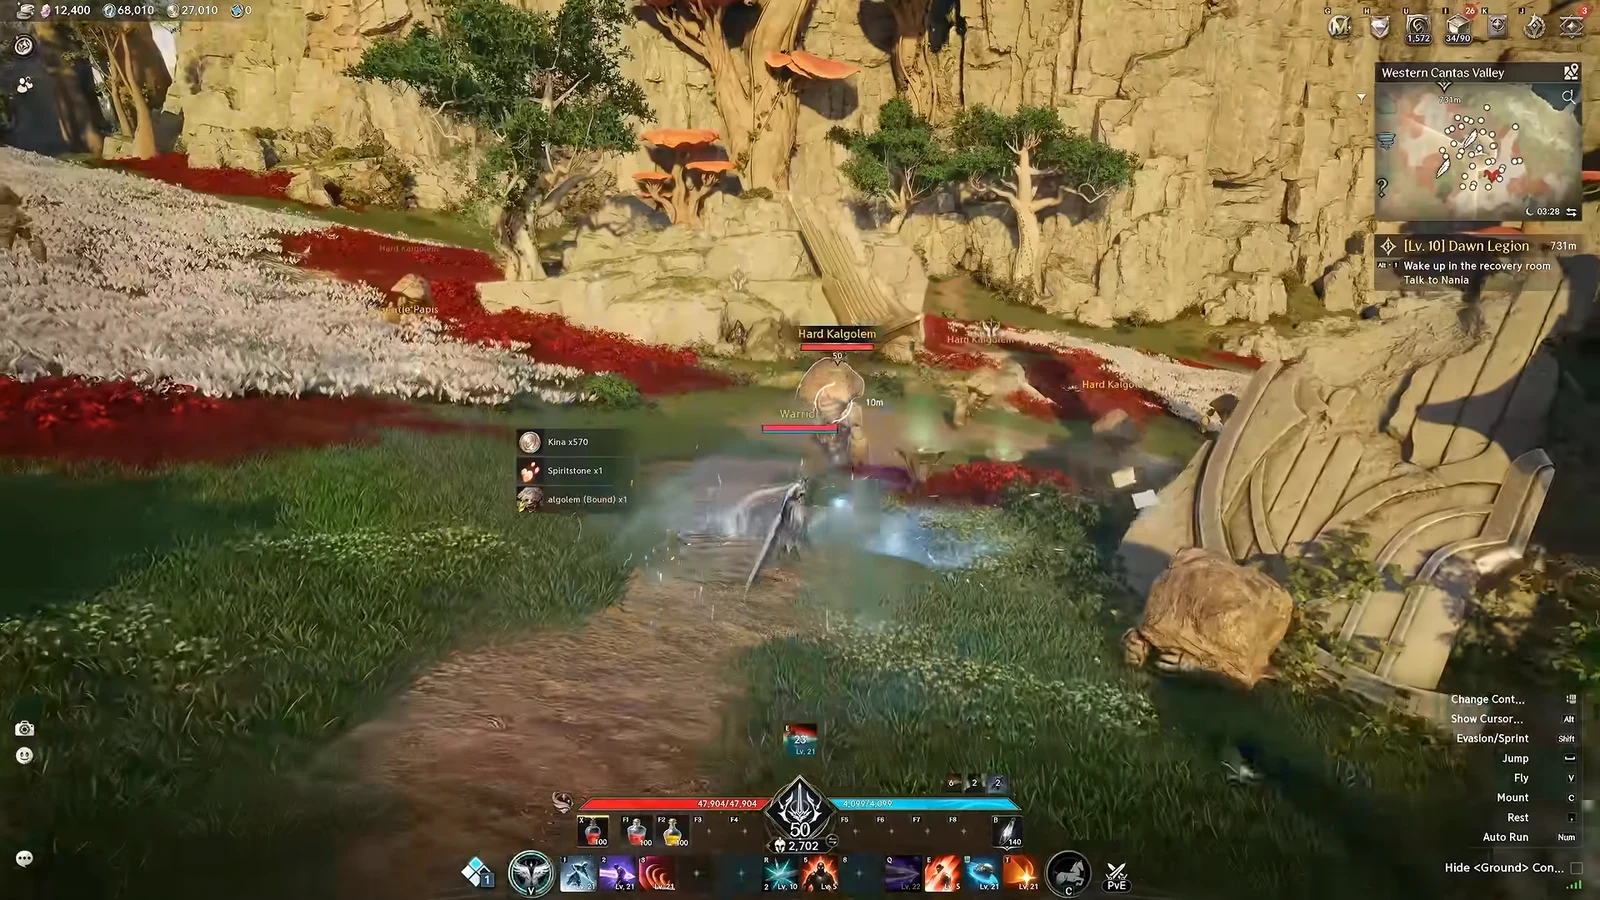
AION 2 lets you rearrange nearly every part of the on-screen interface. Through the Edit HUD menu you can move health bars, hotbars, chat boxes, boss timers, and target displays anywhere on the screen, resize the whole interface, and keep several layouts ready for different situations. The tools live in one panel, and changes apply per character.
Quick answer: Open the main menu, click Edit HUD near the Settings gear, drag elements into place, then press Save to write the layout to the active preset. Press F12 to hide the entire UI.
Open the Edit HUD menu
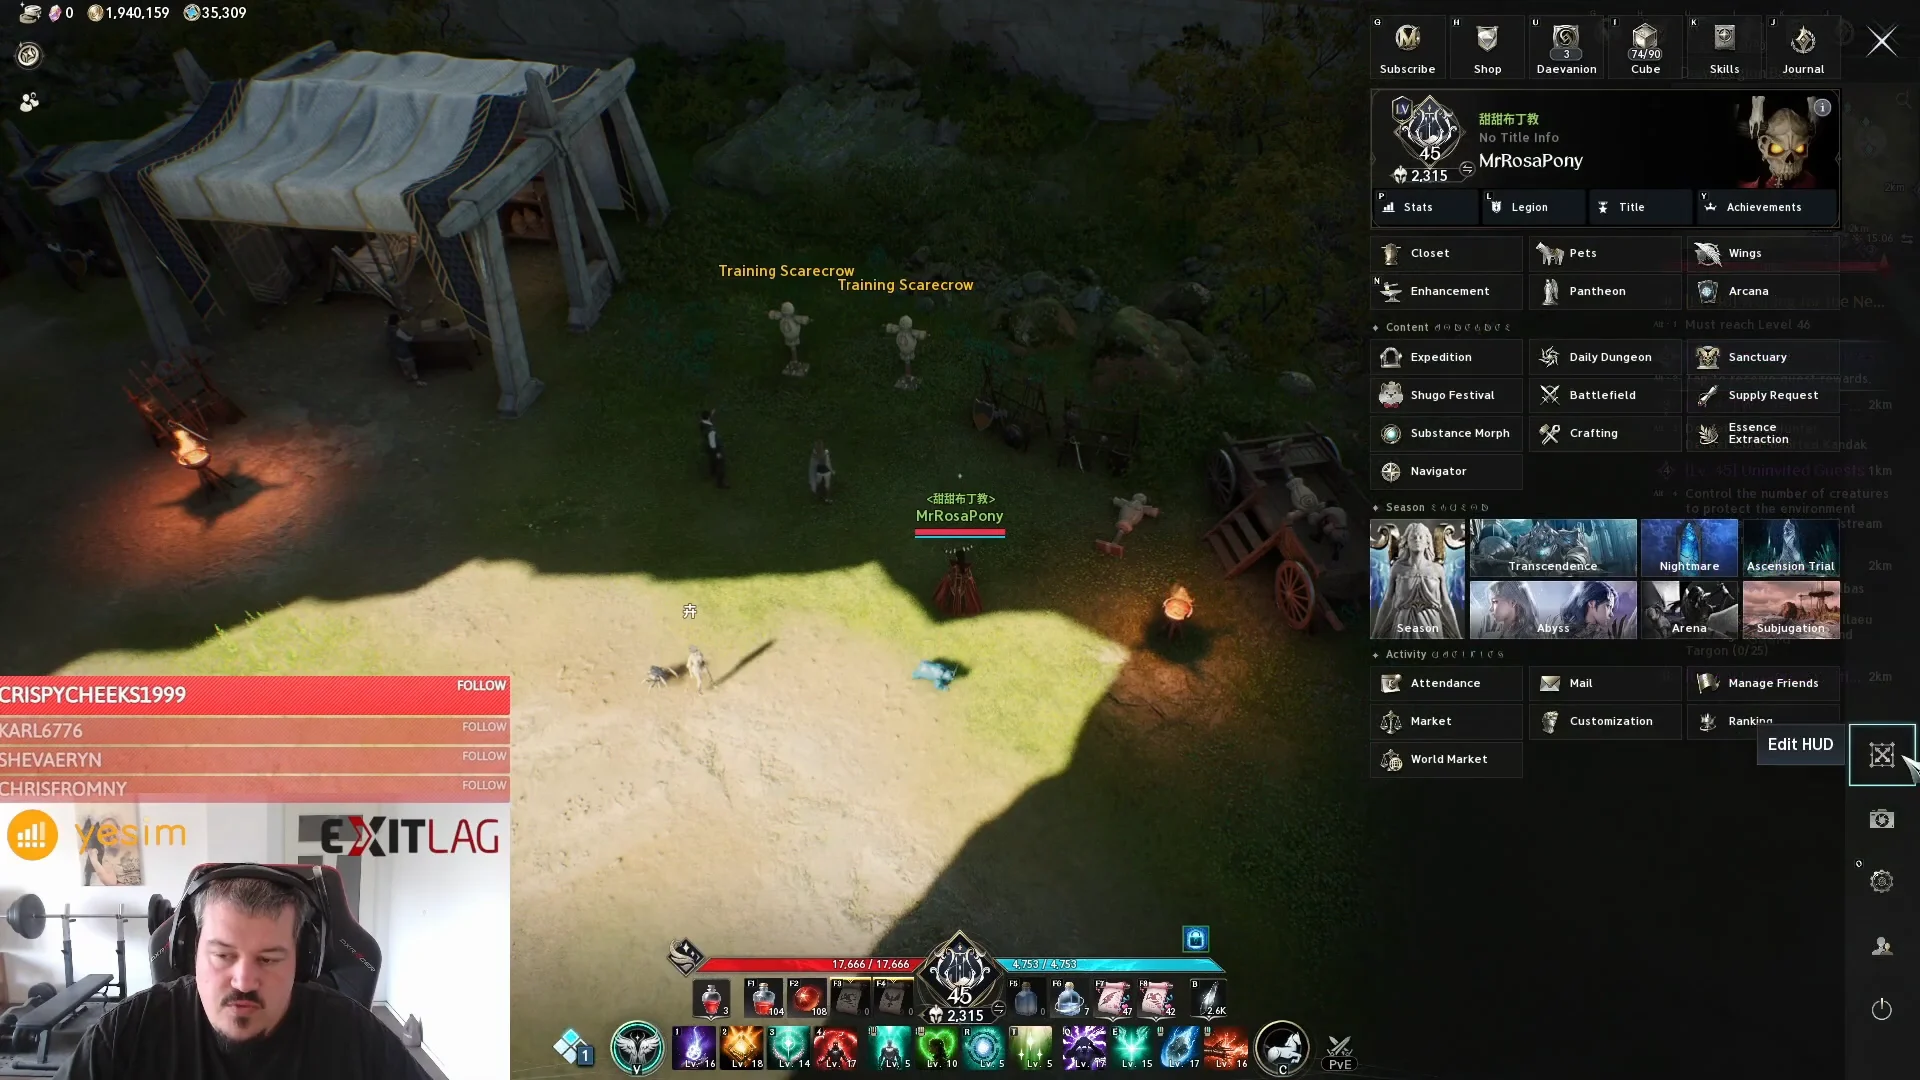
To hide the interface entirely without editing anything, press F12. You can view or remap this key under Settings, then Key Settings, then the Menu subcategory, where it appears as Hide UI.
Set the global HUD options first
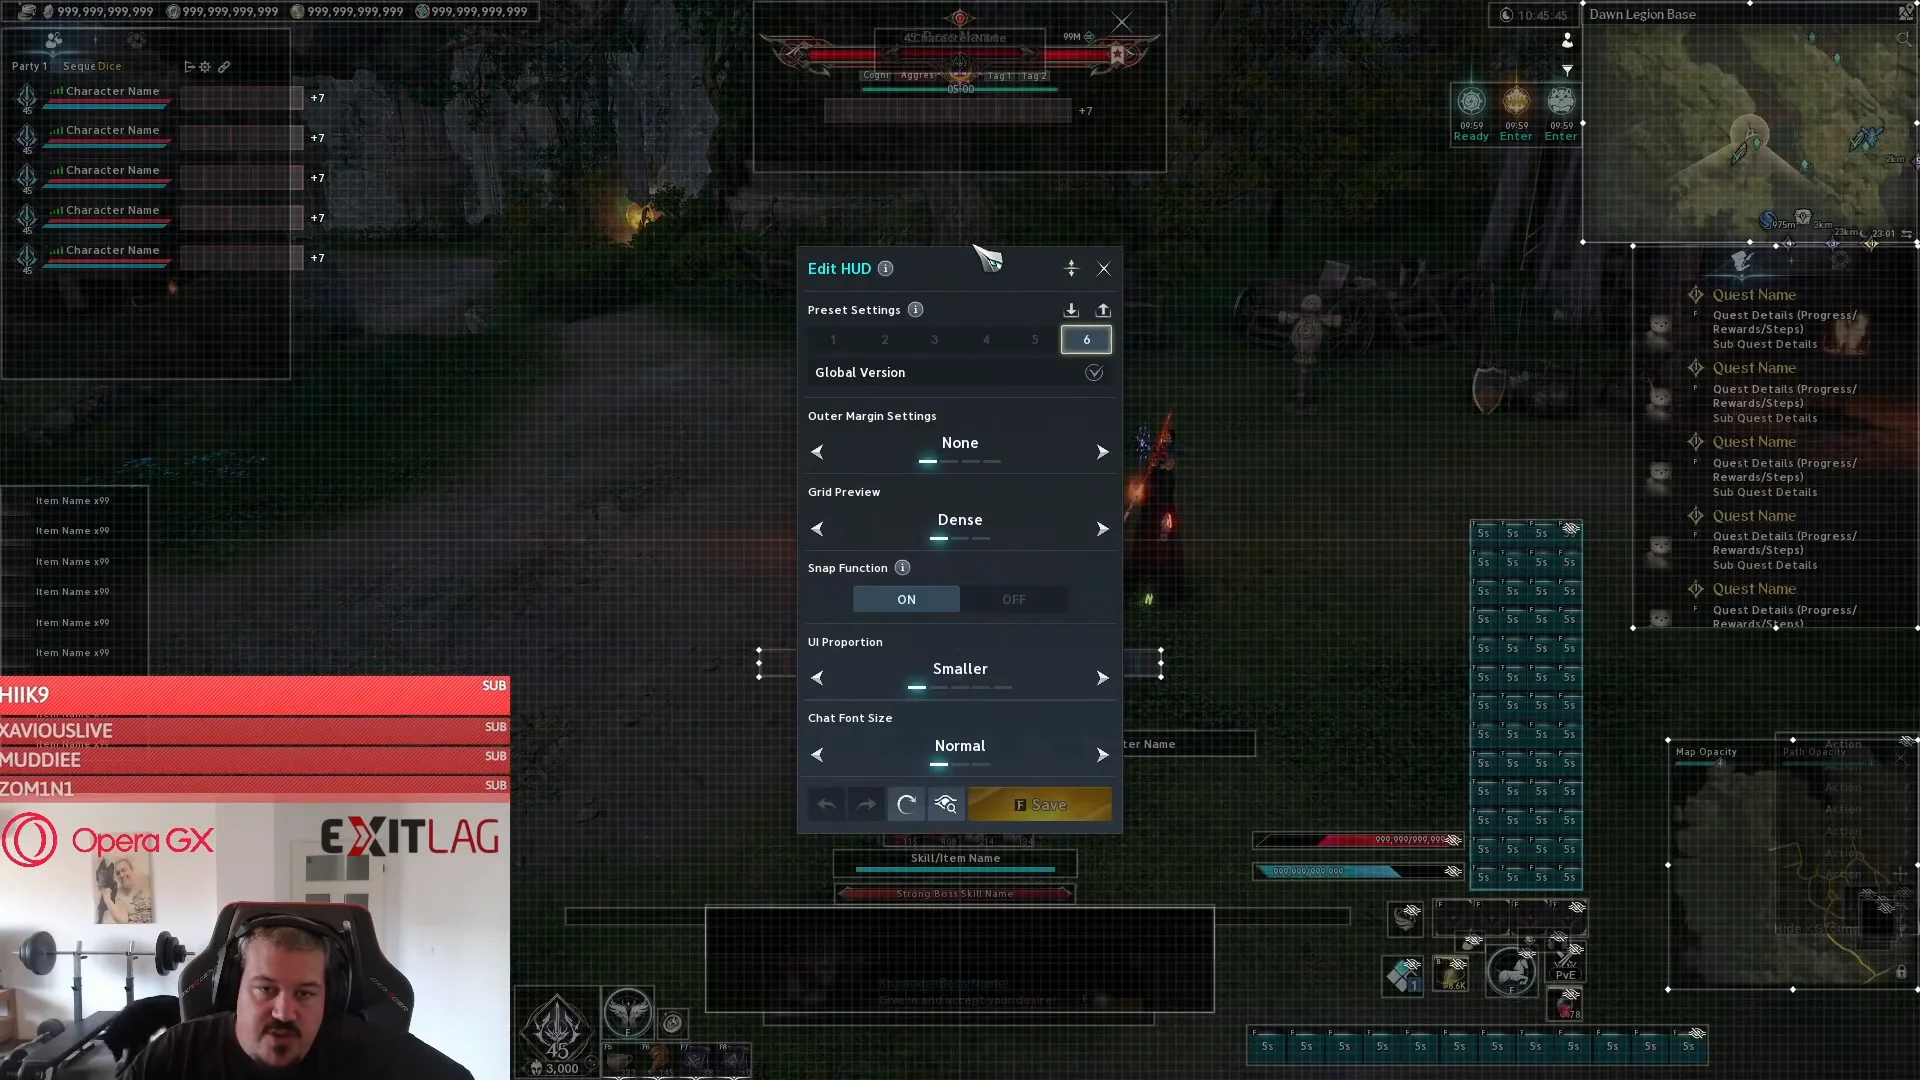
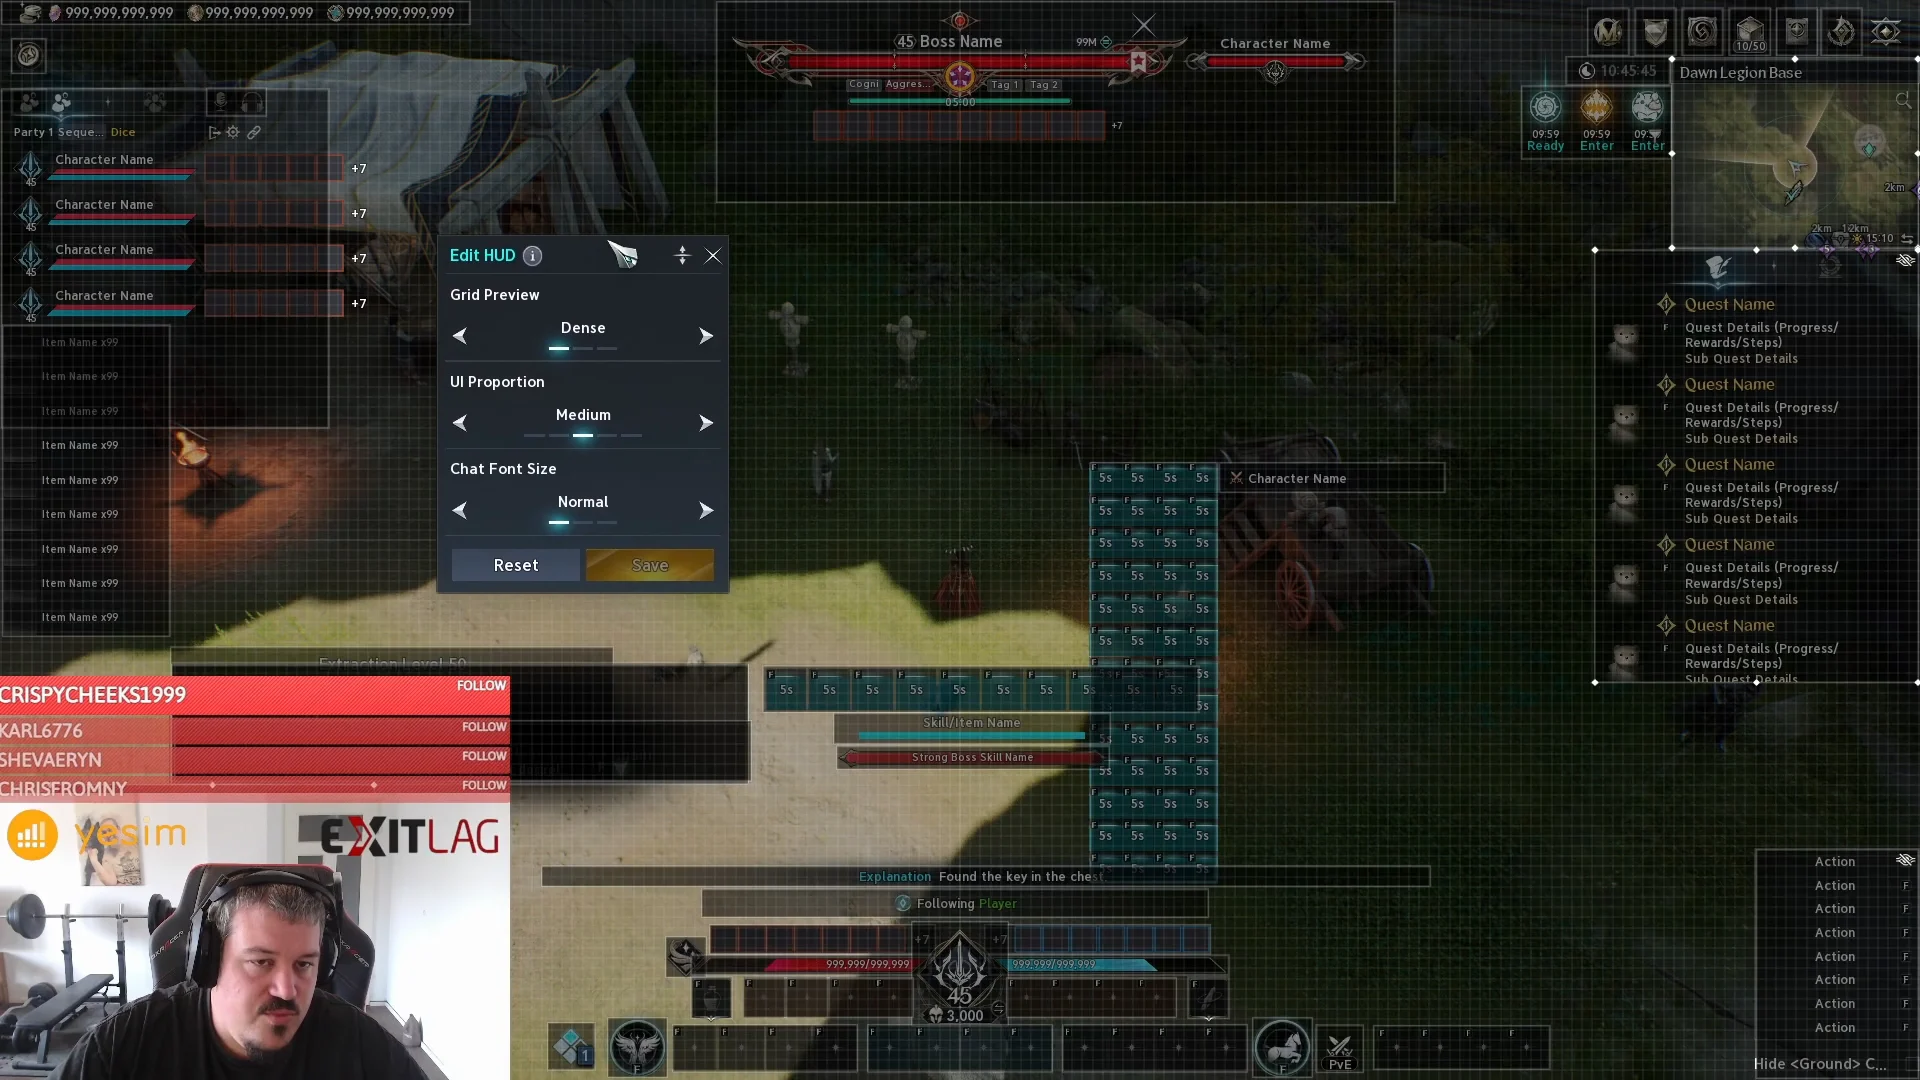
Before dragging anything, set the screen-wide options at the top of the Edit HUD window. These control the alignment grid, how the interface scales, and how much space sits around the edges. Getting these right first means less realignment later.
| Setting | Options | Effect |
|---|---|---|
| Outer Margin Settings | None, Narrow, Wide | Padding between elements and the screen edge |
| Grid Preview | Dense, Wide | Density of the alignment grid |
| Snap Function | ON, OFF | Snaps elements to the grid automatically |
| UI Proportion | Smaller, Small, Medium, Large, Larger | Global size of every HUD element |
| Chat Font Size | Normal, Medium, Extra Large | Size of chat text |
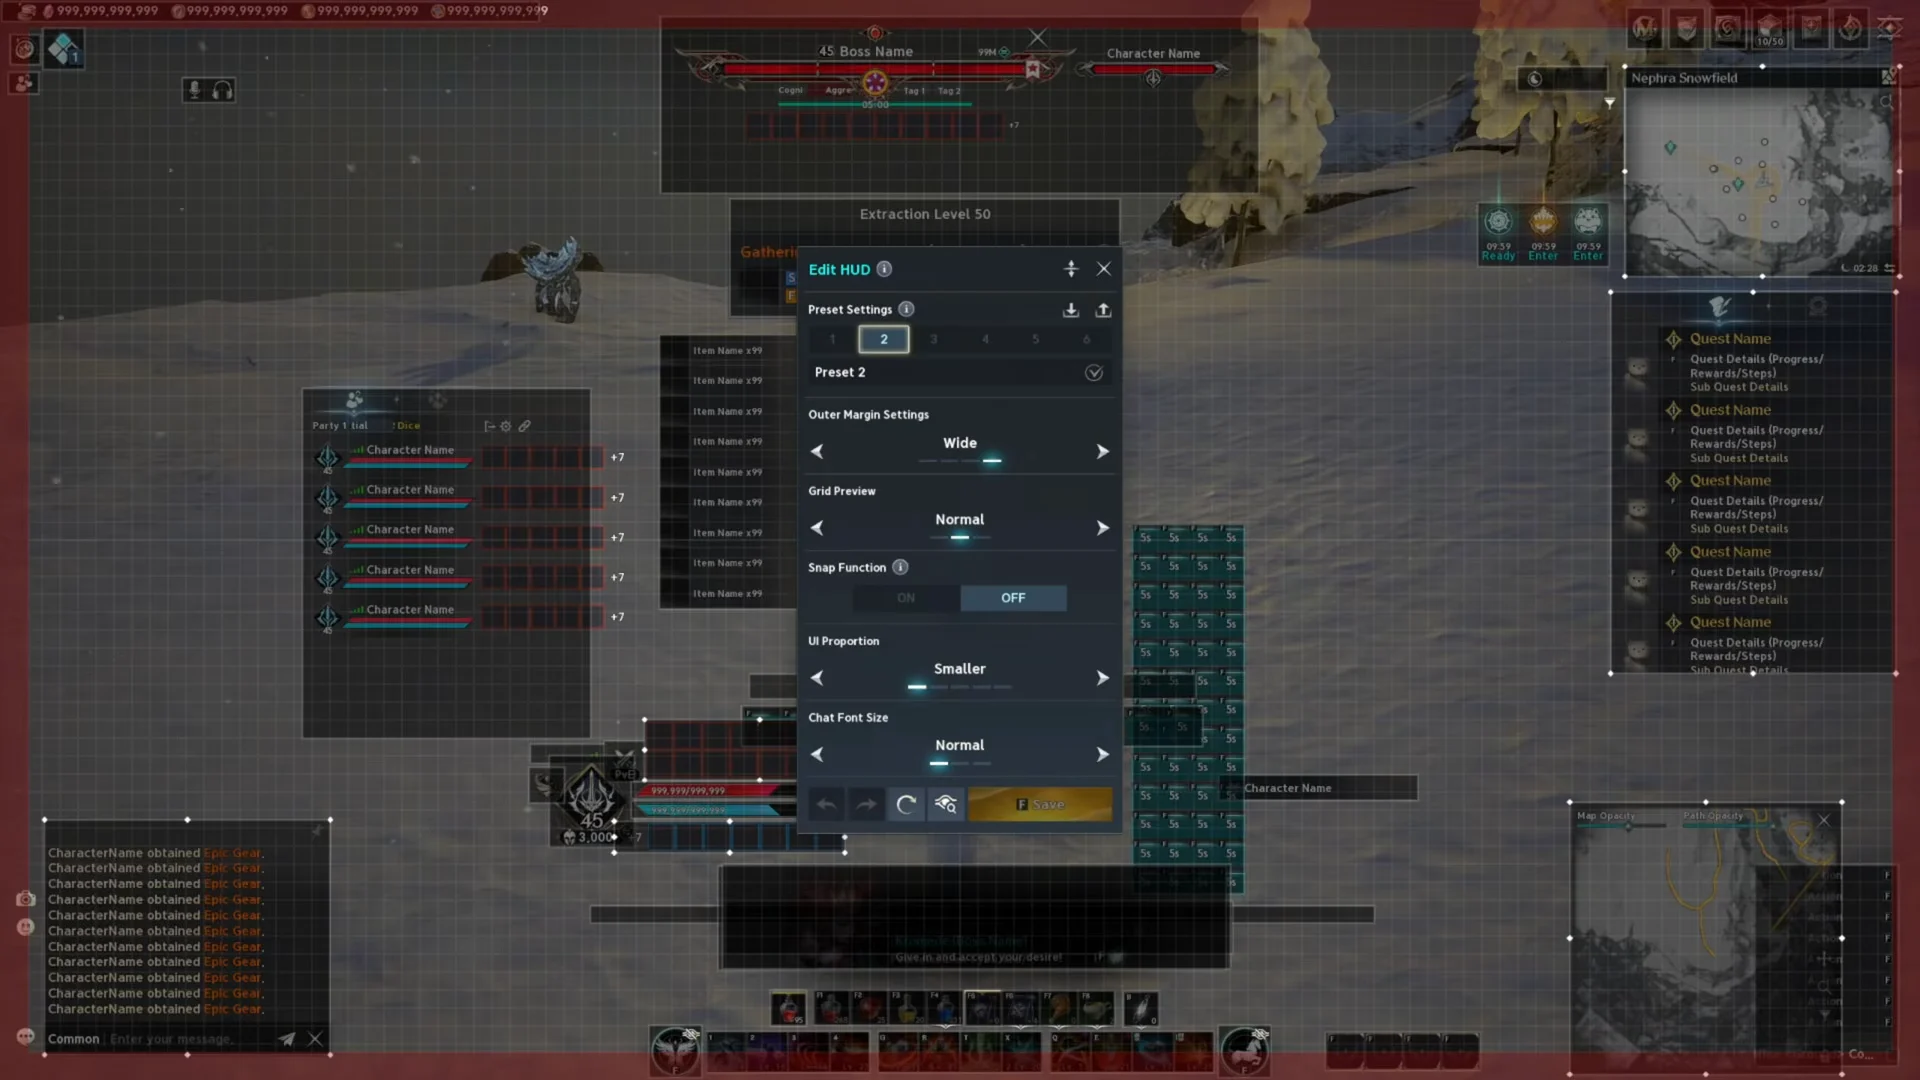
A Dense grid gives the smallest increments and the most precise placement, which helps on ultrawide or high-resolution displays. Leaving the Snap Function ON keeps elements aligned to that grid as you move them. For UI Proportion, a smaller setting frees up screen space, while Medium or Large suits larger displays or anyone who wants bigger elements.
Move HUD elements and build a combat layout
Every module can be clicked and dragged to a new spot. That includes party frames, action hotbars, health and mana bars, the minimap, chat, and target and boss displays. Some elements can also be hidden with an eye icon or resized rather than moved.
The most effective approach is to cluster the information you check constantly close to your character, and push everything secondary to the edges. Combat details like cooldowns and cast bars stay in your line of sight, while non-urgent panels stop crowding the center.
| Element | Recommended placement |
|---|---|
| Quest tracker | Hidden during combat |
| Chat and text boxes | Side edge of the screen |
| Boss attack timer | Near the character |
| Skill casting bar | Near the character |
| Active skill cooldowns | Just below the character’s feet |
| Hit target indicator | Near the character |
| Focus target | Above the hit target indicator |
Setting the Quest and Game Mode Alert window to Hide clears the side of the screen during PvP and boss fights. The minimap reads more clearly in vertical mode, which widens the field of view, and the chat window can now be repositioned freely rather than being locked in place. Boss pattern hints and progress timers, such as the Shugo Festa timer, are worth moving somewhere prominent so you never miss them.
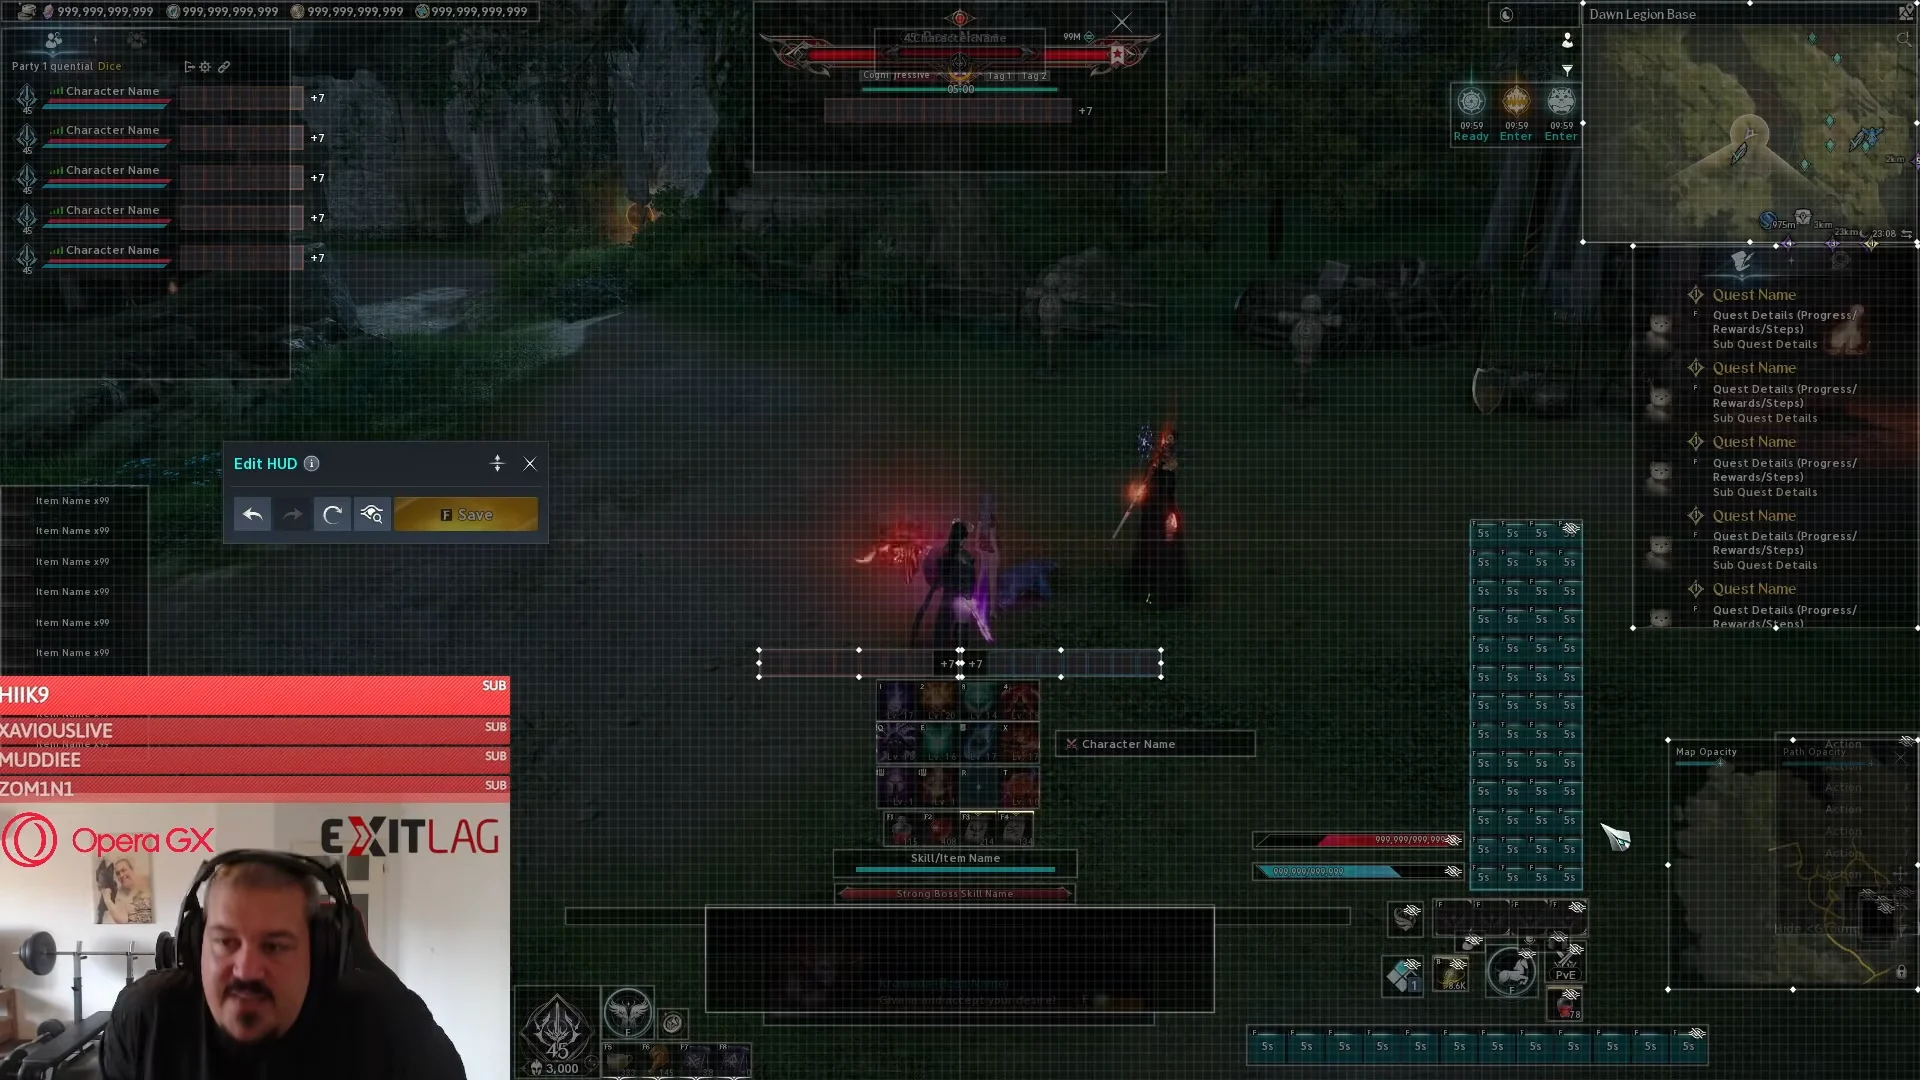
Healers benefit from pulling party member health bars closer to the center, making it easier to spot who is dropping low. Because conditional skills, debuffs, and active cooldowns rarely all fire at once, overlapping a few of them near the character is generally fine.
Save, switch, and share presets
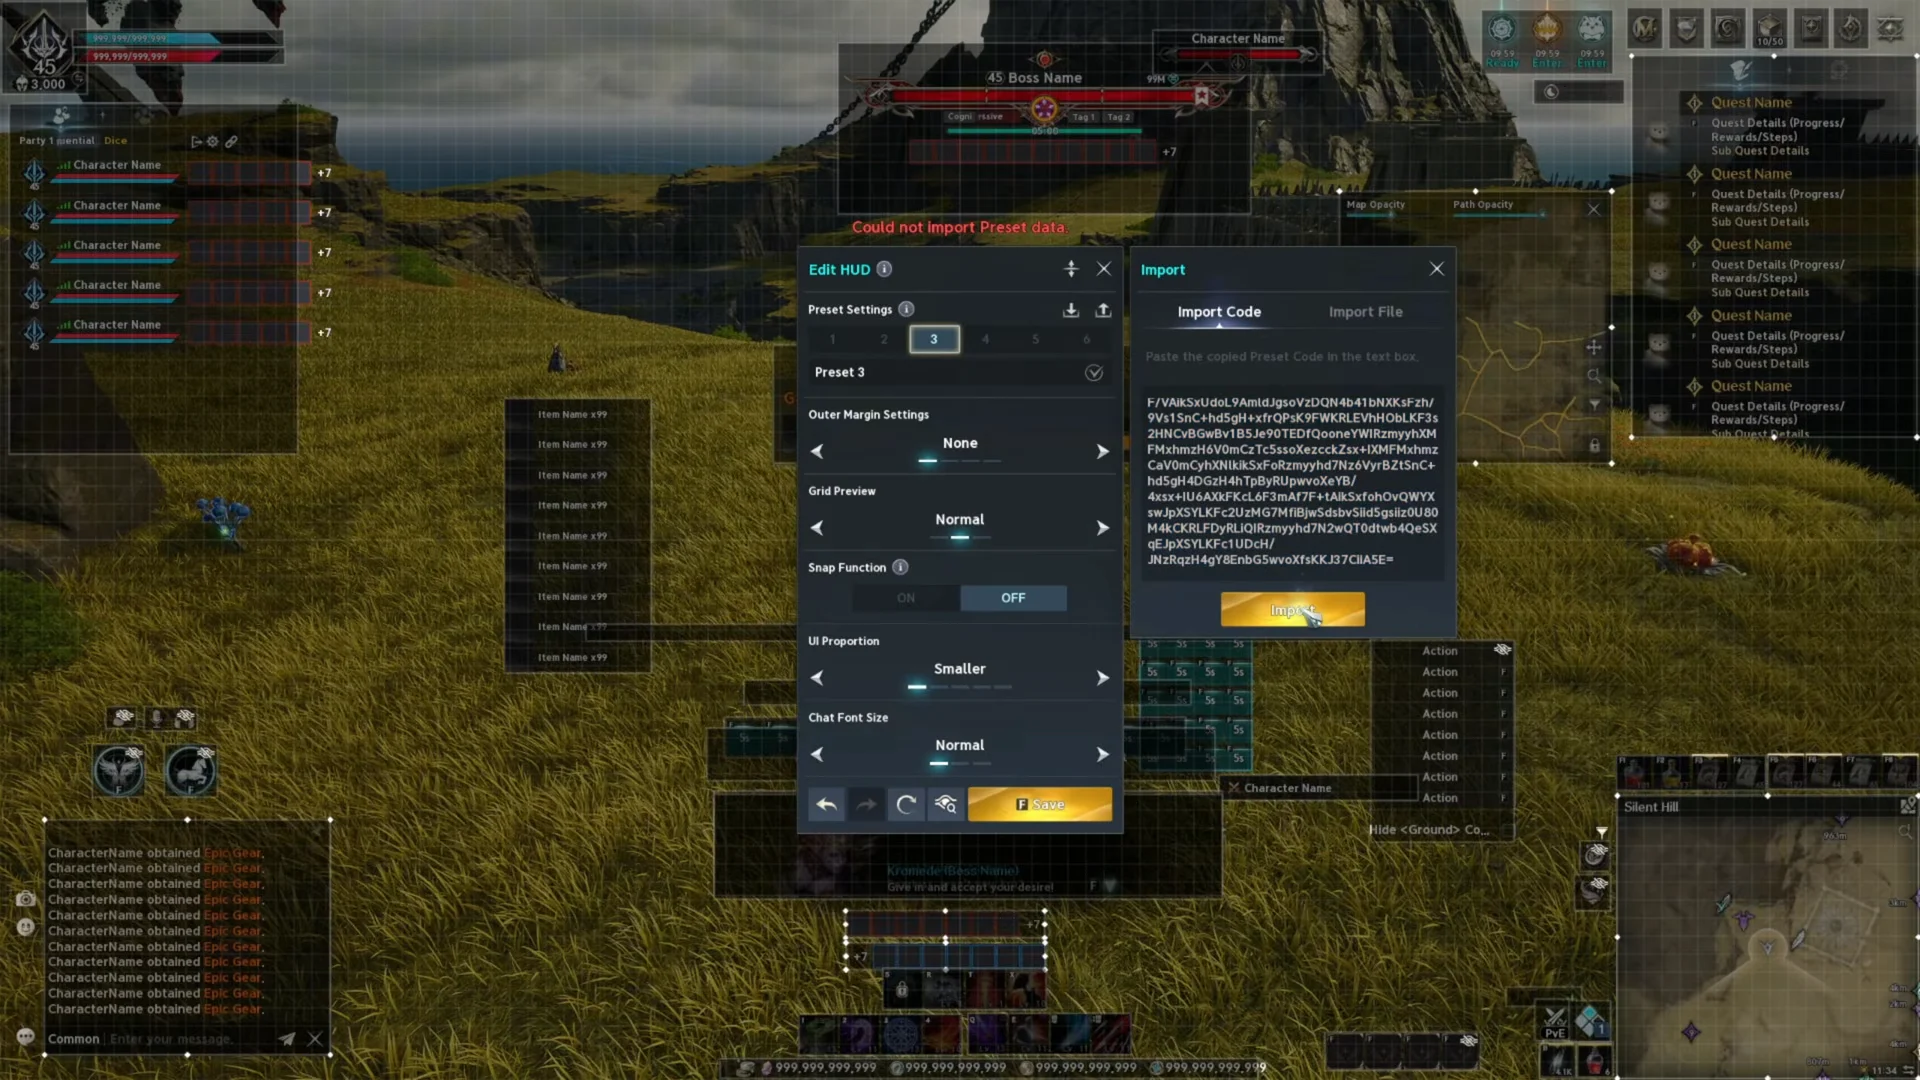
You can keep up to four distinct layouts in the preset slots labeled Preset 1 through Preset 4. This lets you swap between, for example, a PvE layout and a PvP layout without rebuilding anything.
- Save writes the current arrangement to the active preset slot.
- Export shares or backs up a layout as either a text string (Export as Code) or a local file (Export as File).
- Load brings a layout back in through Import Code or Import File.
To use a shared layout, copy the preset string, paste it into the Import Code box under Edit HUD, and confirm the import. The layout replaces what is currently on screen.
Undo mistakes, reset, and confirm the layout saved
If a move goes wrong, Undo reverts the last positional change. To start over completely, Reset restores every element to its default position after you confirm the prompt, which reads “Reset HUD edits” and asks whether to revert to default settings.
When you press Save, the game confirms with a “Saved as current state.” message and stores the layout to the active preset. Once you exit the editor, that layout stays active until you open Edit HUD again. Because layouts are saved per character, each character can carry its own arrangement.