Once your Aion 2 character hits Level 45 and 1,000 gear score, raw armor drops stop being the whole story. Climbing toward 2,200 is a stacking exercise across Expeditions, Transcendence Arcana cards, Abyss activities, weekly solo trials and a long list of enhancement systems. Each bracket has a clear set of things to do and a clear thing to chase next.
Quick answer: Farm Conquest dungeons to +10 gear, fill every Arcana slot from Transcendence, transmute a Gold Chalice of Vigor for roughly +80 gear score, and run weekly Abyss, Nightmare and Shugo content for Stigma Shards and Daevanion points to carry combat power alongside.
Gear score brackets and what to do in each
Your gear score opens access to content, while combat power affects how quickly you finish it. For battles in the 2,100 bracket, aim for about 90,000 combat power or more to avoid being killed in one hit by bosses. As a benchmark, a build at 2,107 gear score has around 96,654 combat power, illustrating the proportion to target.
| Bracket | Main focus | Chase next |
|---|---|---|
| 1,000–1,400 | Regional quests, feathers, belt/amulet to Gold, +10 weapon/guard/bracelet | Manastones, Clash Runes to +1 |
| 1,400–1,700 | Vakron and Urugugu Conquest to +10, first Transcendence runs | +10 Stigmas, 350+ Daevanion points |
| 1,700–1,900 | More Urugugu Conquest, fill jewelry and weapon slots | Key Stigma to +15, 380+ Daevanion points |
| 1,900–2,200 | Rank 2 Transcendence, pet ranks, Ascension at 2,000 | Gold Arcana, 400 Daevanion points |
| 2,200+ | Rank 3 Transcendence, Fire Temple pity, +15 weapon | Min-max rolls with Sync Stones |
Expeditions: Exploration vs Conquest and the pity rule
Expeditions come in two modes that share the same dungeons but behave very differently for loot. Exploration mode hands out a single pity reward box per dungeon after three completions. Conquest mode lets you claim pity boxes repeatedly, once every 21 clears. Both modes spend Odyle Energy, and a membership lets you burn double energy in one clear to count as two runs.
The order matters. Finish your 21 Conquest runs before you open the single Exploration pity box. Because the box fills an empty slot, opening it last guarantees it lands on a slot your Conquest drops did not already cover, avoiding a wasted duplicate.
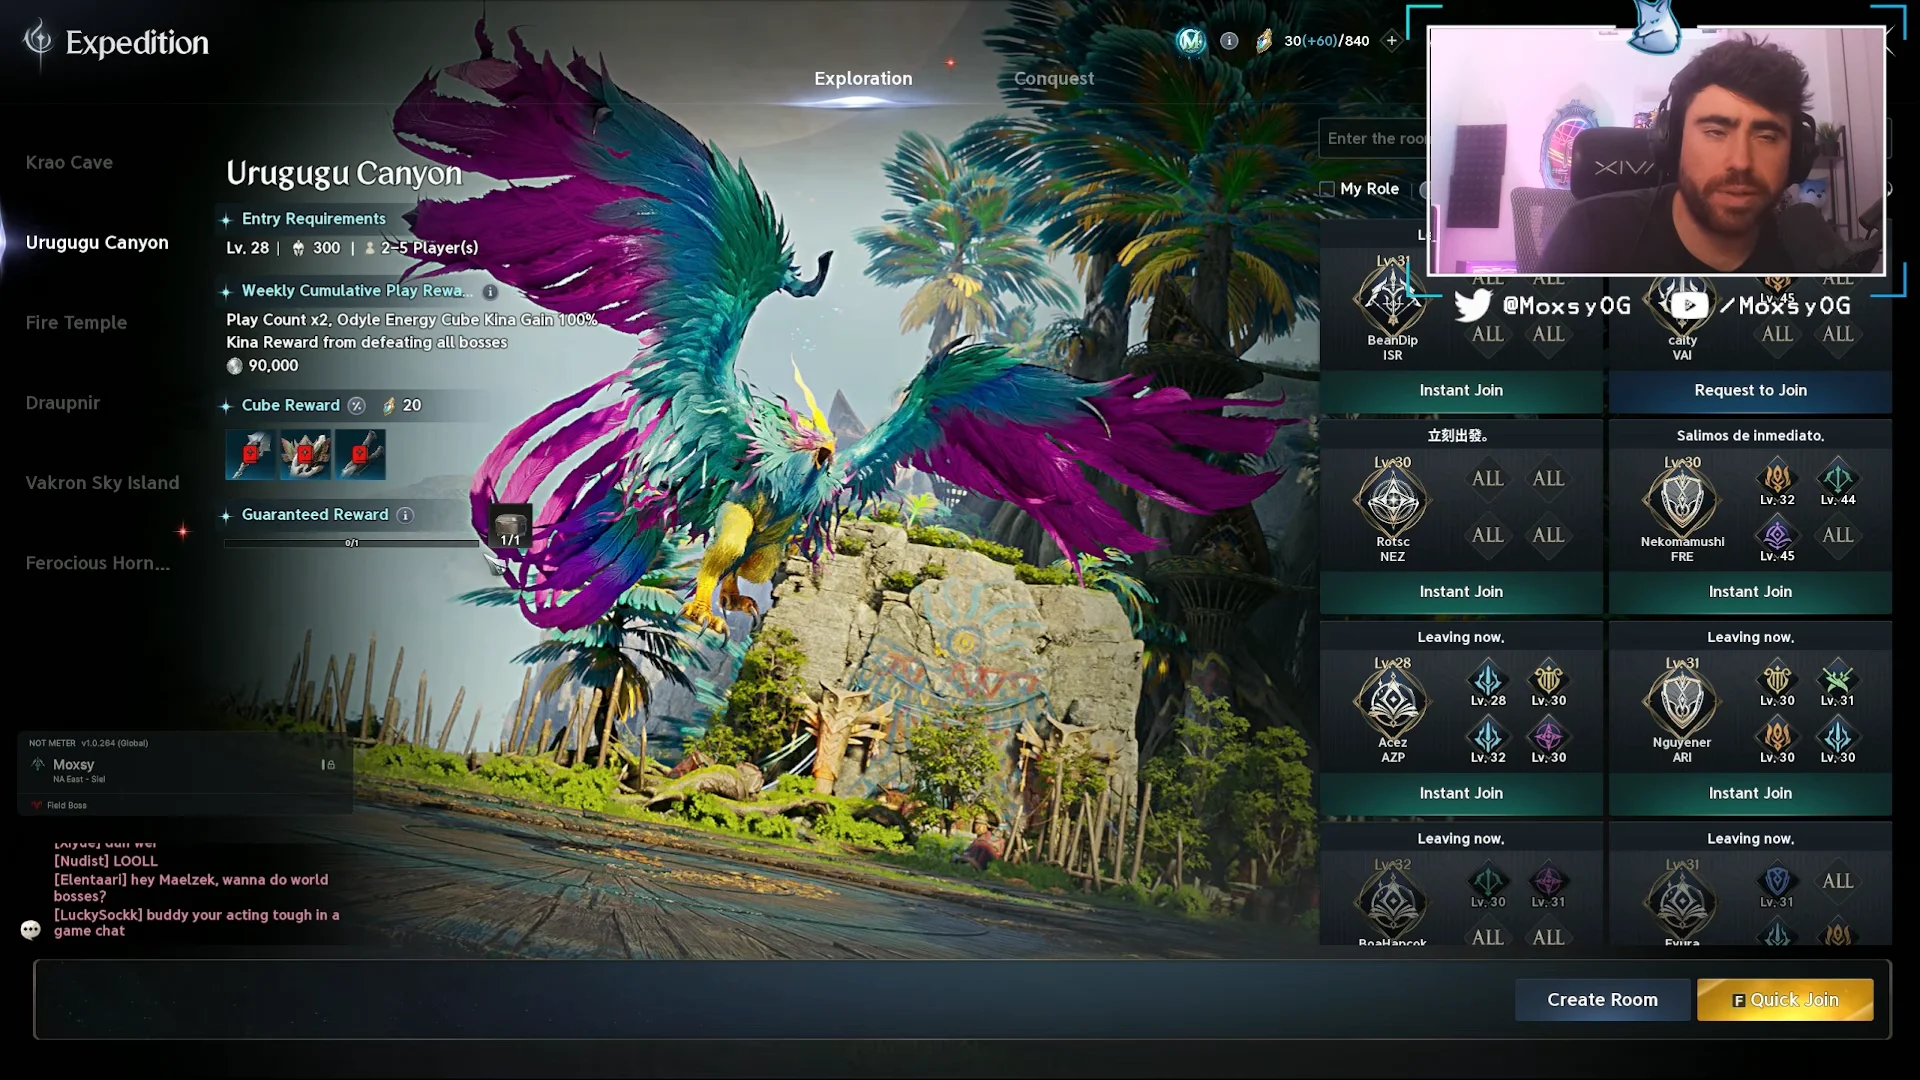
Run Vakron Sky Island for armor and Urugugu Canyon for weapons and accessories. Hitting pity twice on Vakron (42 runs, or 22 with membership) lets you craft the Vakron Guard; one Urugugu pity (21 runs, or 11 with membership) lets you pick an accessory. When a reward screen offers a specific weapon or a Gear Change Voucher, take the vouchers. Two of them craft a weapon or guard, or convert into rings, necklaces and earrings, which is far more flexible than a single fixed drop.
Odyle Energy is the resource that limits these activities. One Odyle Energy item restores 40, and a Small Odyle Energy restores 10. Both are bound, available from level 20, and safe to save through a reset. For the most dependable free supply, check Substance Morph: its Special recipes include a weekly option for bound Odyle Energy. The Breeze Merchant and Subscription Shop offer additional amounts, subject to weekly limits.
Enhancing gear: manastones, belts, amulets and runes
Upgrade your main weapon and armor slots to +10, preferably using gold-quality pieces. Accessories may remain anywhere from +3 through +10 without slowing you down. Several engraving systems also boost your raw stats and gear score.
Engrave a Manastone into every gear piece. Green rolls give a baseline gear score bump, blue rolls give more, and gold rolls give the most, so re-roll toward higher colors where you can afford the stones. Use Lesser Manastones on blue gear and Intermediate Manastones on rare or legendary pieces you plan to keep. Theostones go onto weapons for proc effects.
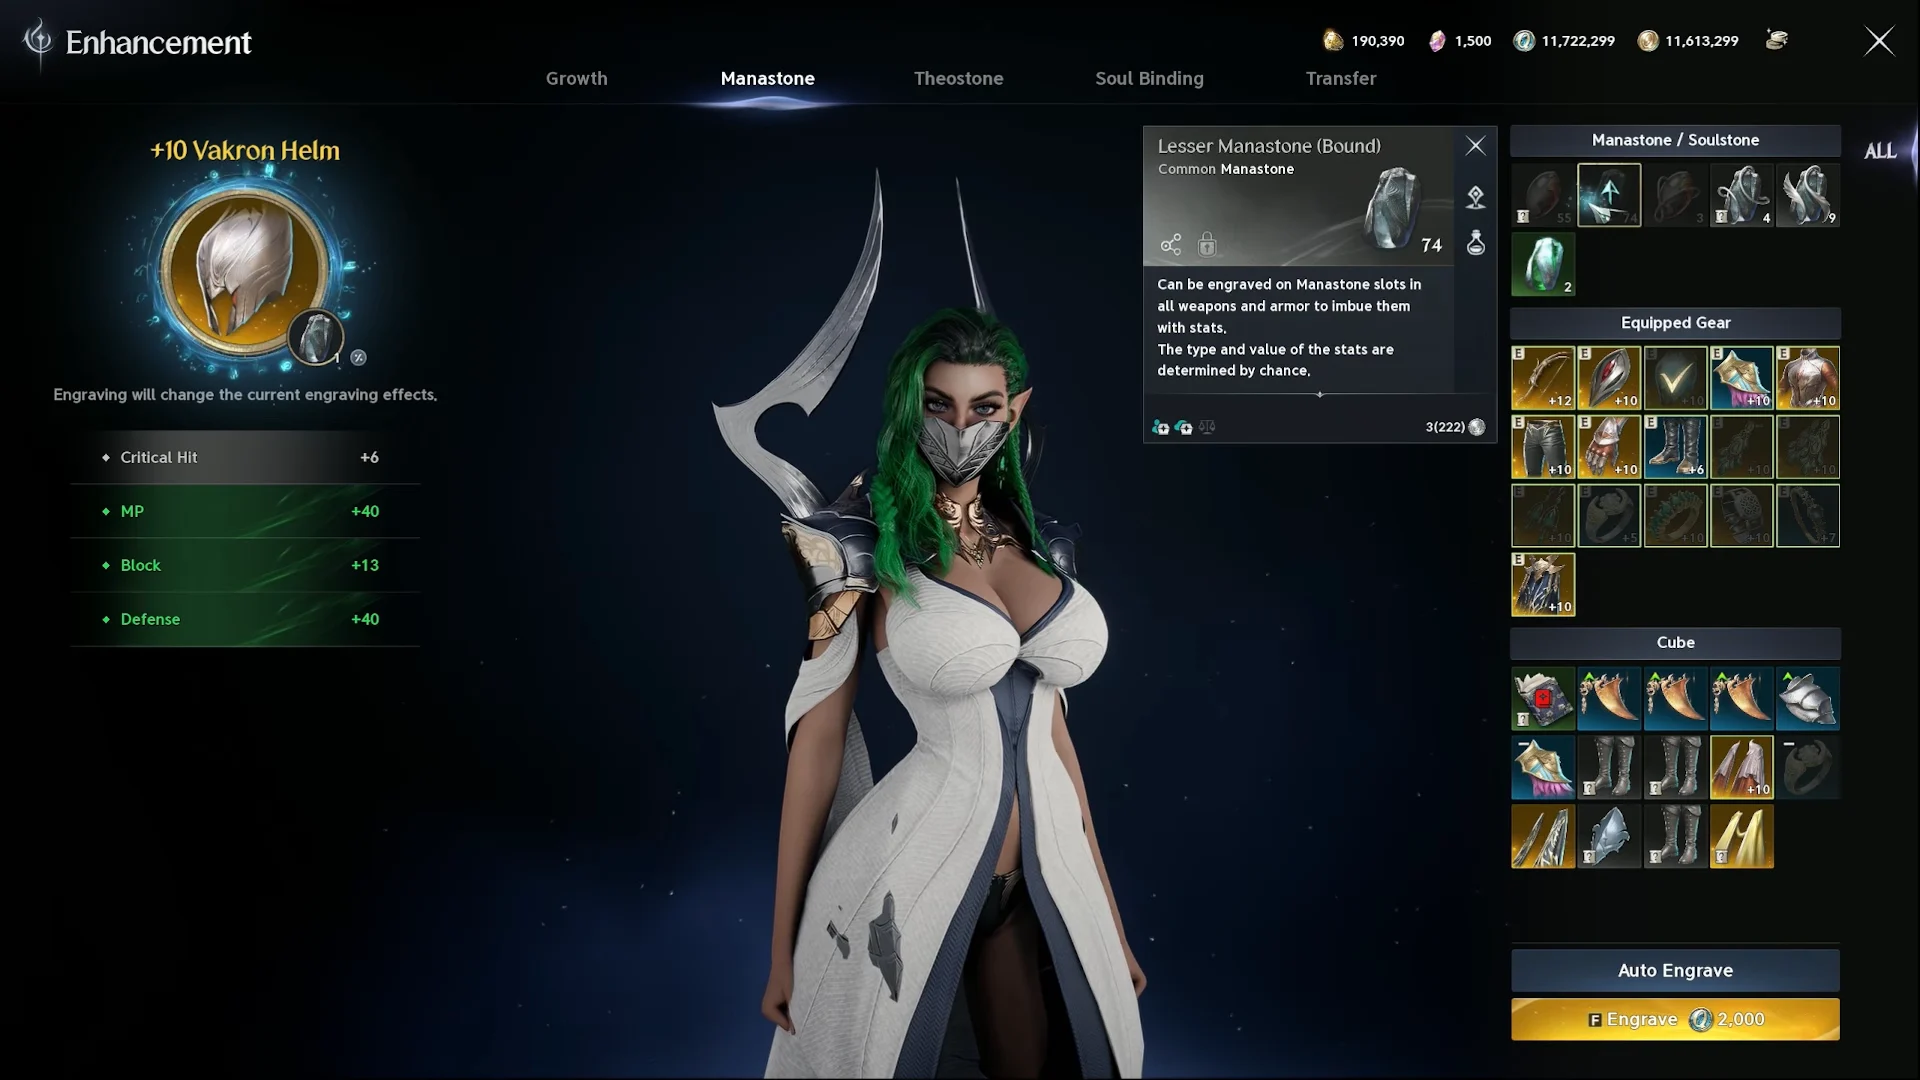
The Noble Belt and Revelation Amulet are the only equipment with their own progression track that you never need to replace, so prioritize them. Strongholds reward Belt Scrolls and the Monolith rewards Amulet Scrolls. Enhance each to Rank 10, then unequip it and use Substance Morph to transform it into the next rarity. Repeat the cycle until both reach Gold.
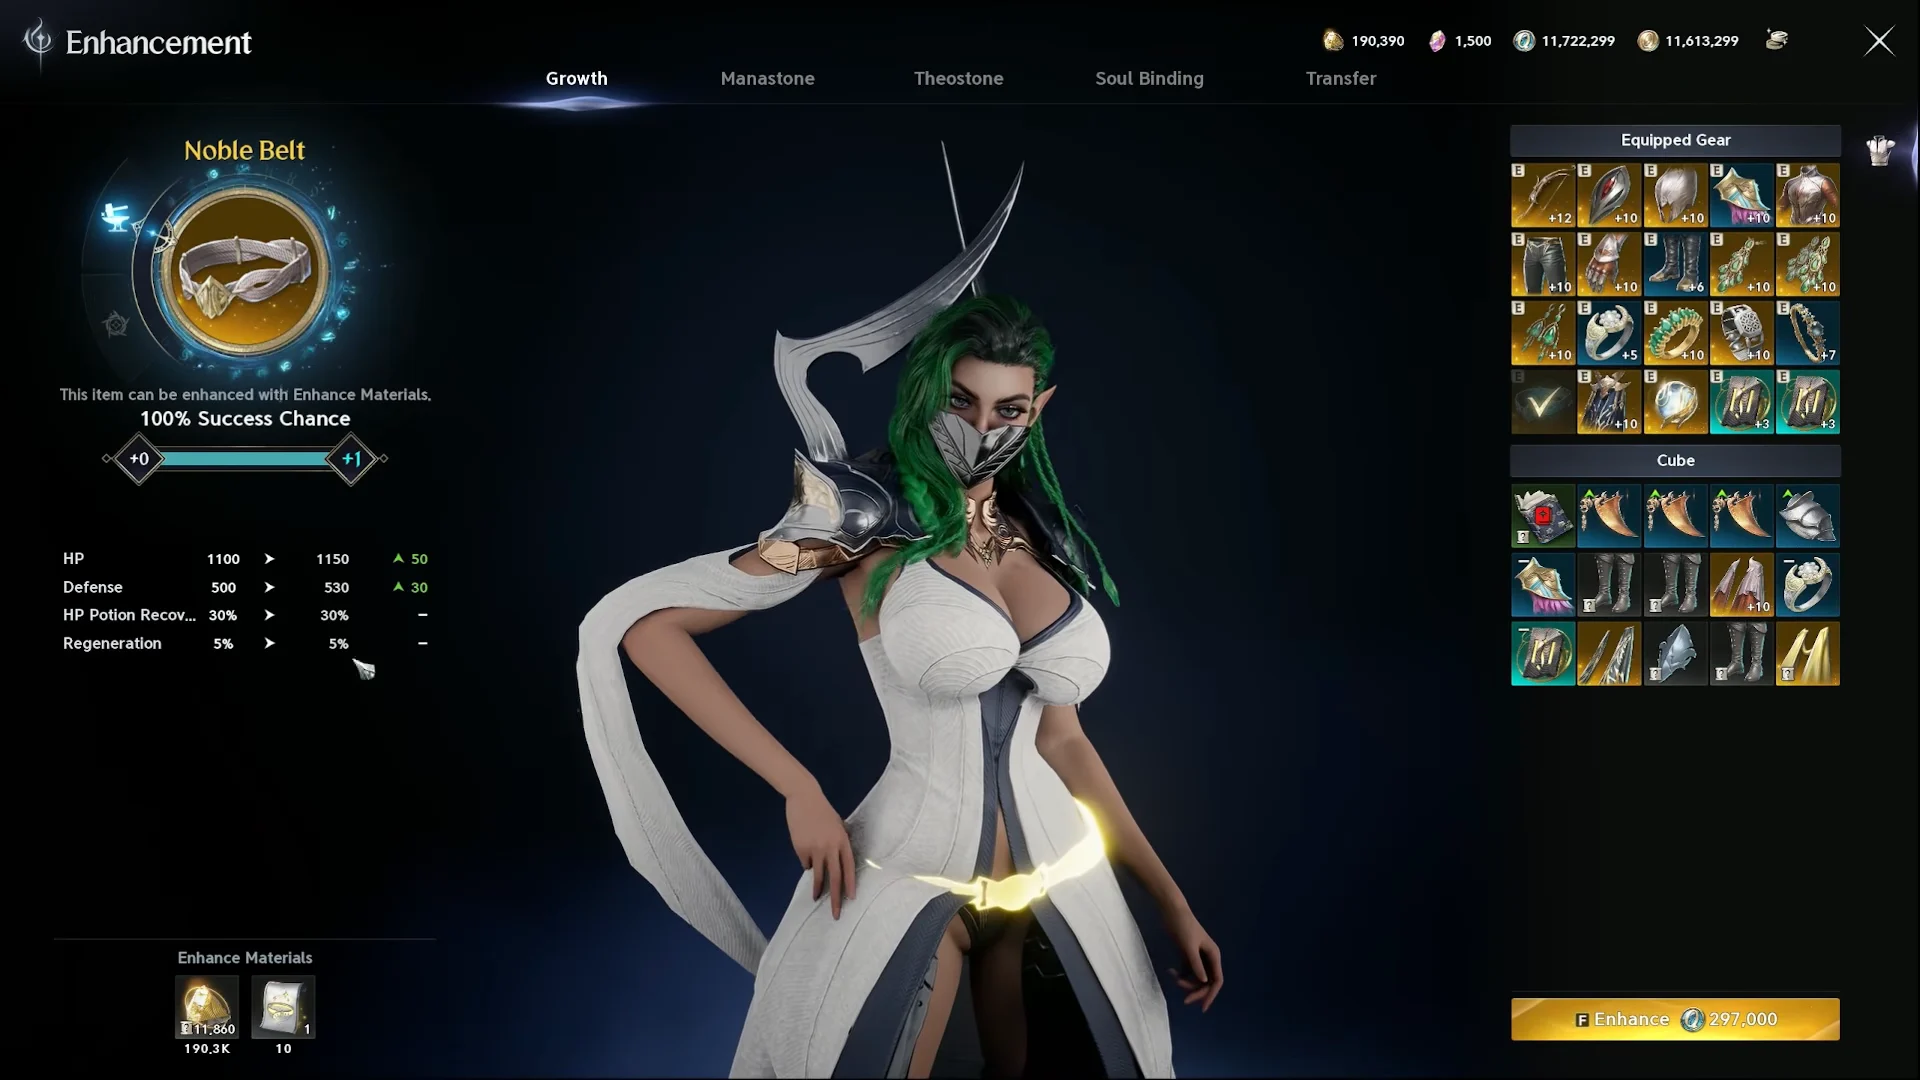
Clash Runes add gear score too, with a 100% success rate up to +1. Past +2 they can break, so keep spare runes equipped before pushing a single rune higher.
Transcendence and Arcana cards
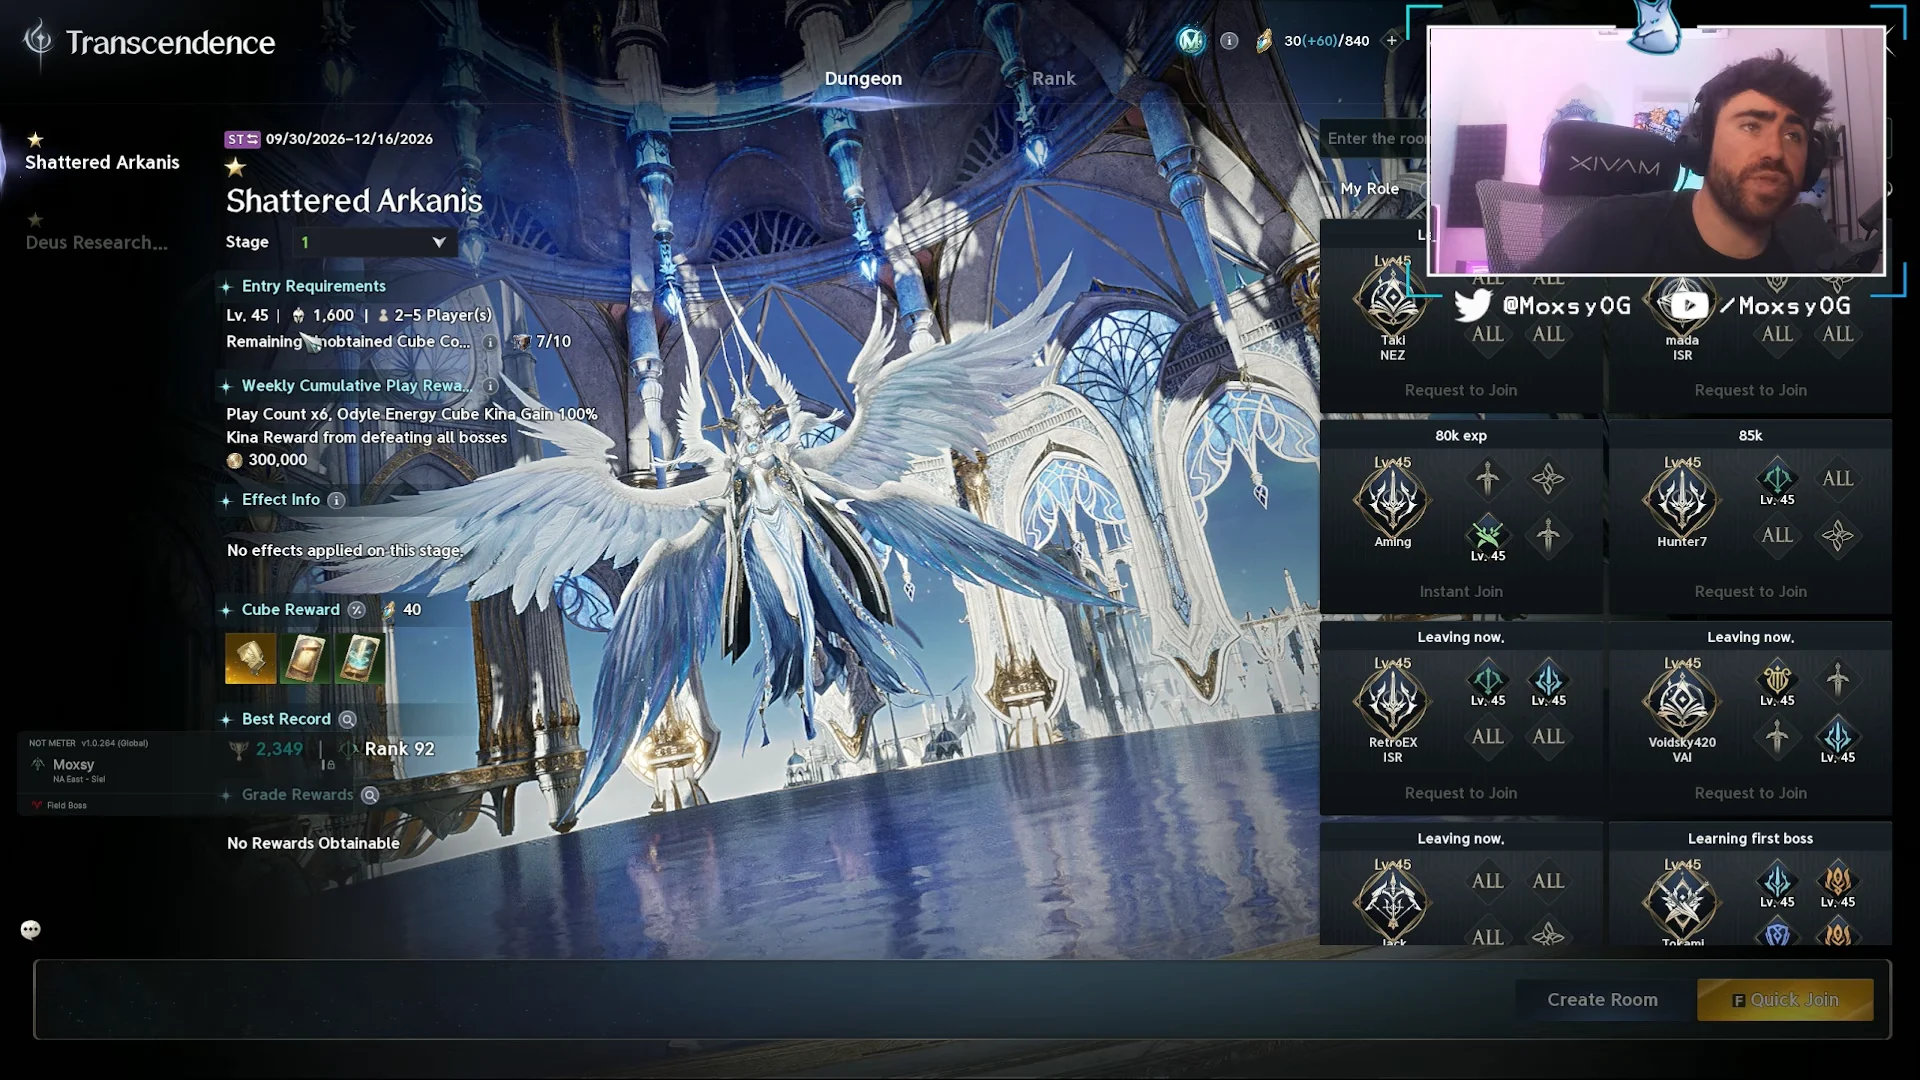
Transcendence dungeons open at 1,600 gear score and drive progression in this bracket. Each Arcana card has its own slot in the menu, and every filled slot adds gear score directly. Equip a card in every slot, even if its rarity is low, before focusing on ideal stats.
At 1,600 gear score, clear Stage 1 in both Shattered Arkanis and Deus Research Base for green cards, covering the Chalice, Mirror, Parchment, Bell, and Compass types across the two dungeons. At 1,900, move to Stage 2 in each dungeon for a chance at blue cards, replacing greens as blues drop. Upgrading a complete green set to a complete blue set adds a meaningful amount of gear score without requiring new armor.
Transmuting the Gold Chalice of Vigor
The Chalice of Vigor is a Unique-grade Arcana at item level 80. Its Primal Vigor effect adds +40 PvE Attack whenever your HP is at least 70 percent. In this bracket, its transmuted gold form provides the largest gear-score increase, at roughly +80 gear score.

Both Shattered Arkanis and Deus Research Base also have a 20 percent chance to drop an Amplify Stone Fragment from their final boss, which you need later to push gear past +15.
Weekly solo and timed content
Several weekly activities feed combat power and board progress rather than raw gear score, but you need that combat power to survive higher-tier fights.
Unknown Fissure
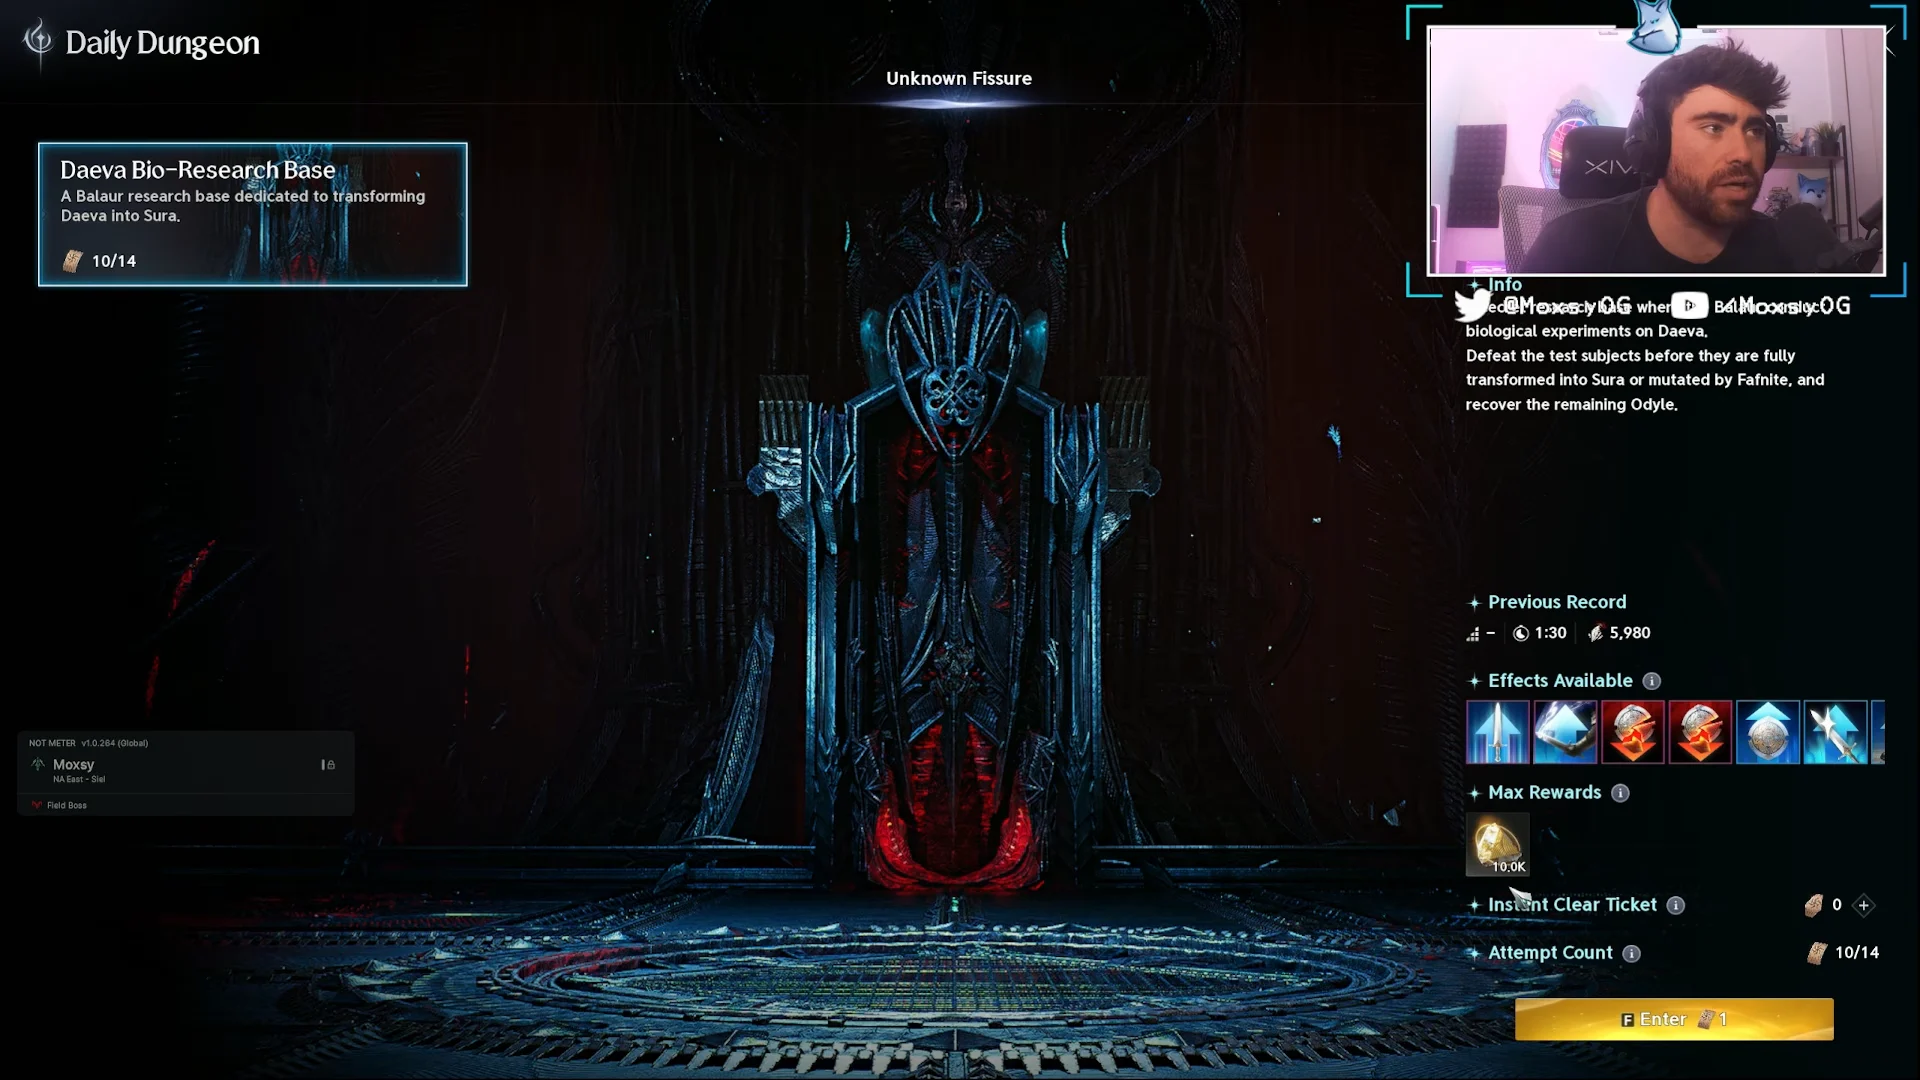
This timed weekly challenge has you clear enemy waves in dungeons such as Daeva Bio-Research Base. For the best Enhance Stone rewards, focus on elite monsters shown by yellow triangle markers on the minimap rather than ordinary mobs.
Shugo Festival and the Daevanion board
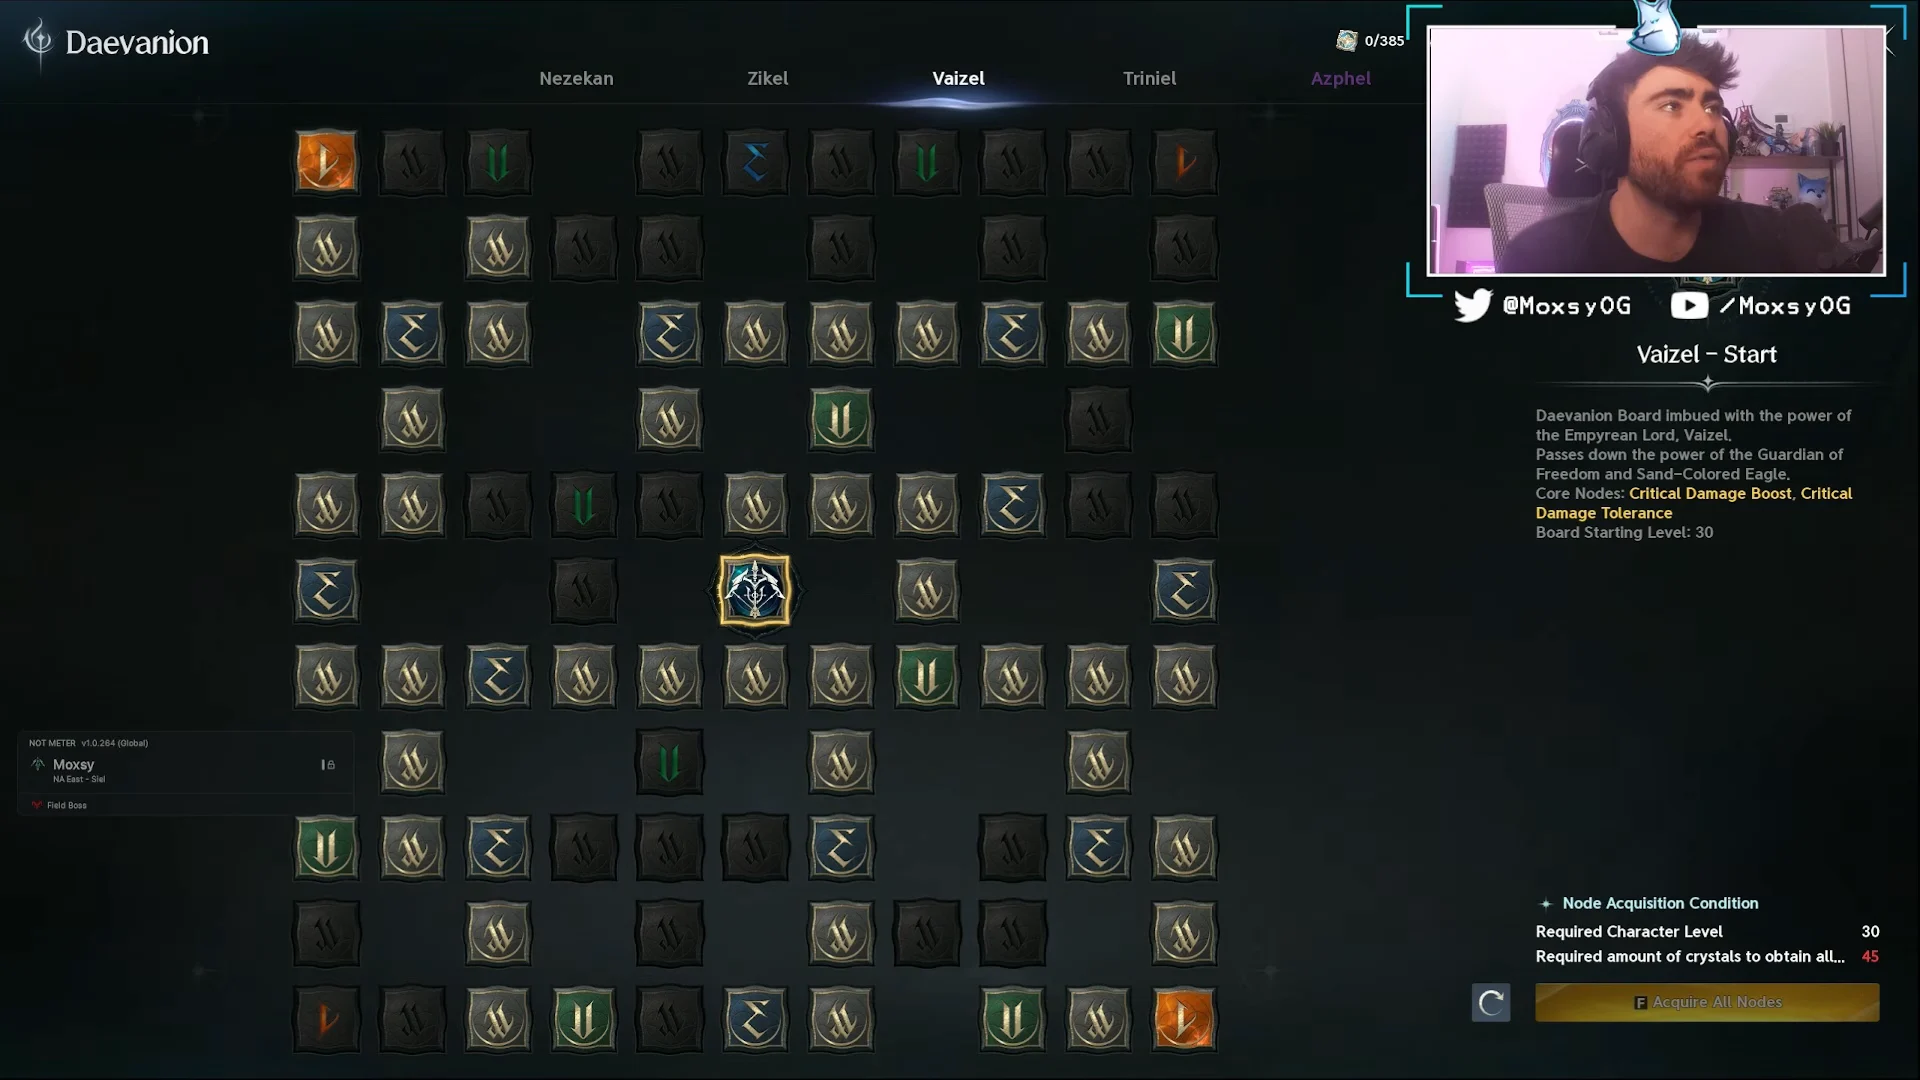
The hourly Shugo Festival runs mini-games such as Jump Jump, Odyle Flight Frenzy and Goldrin’s Treasure, paying out festival points. Spend those points, along with Abyss shop currency, on Daevanion Crystals until the Daevanion board reaches roughly 380 to 400 points. After that, pivot your spending toward Stigma Shards.
Nightmare solo boss trials
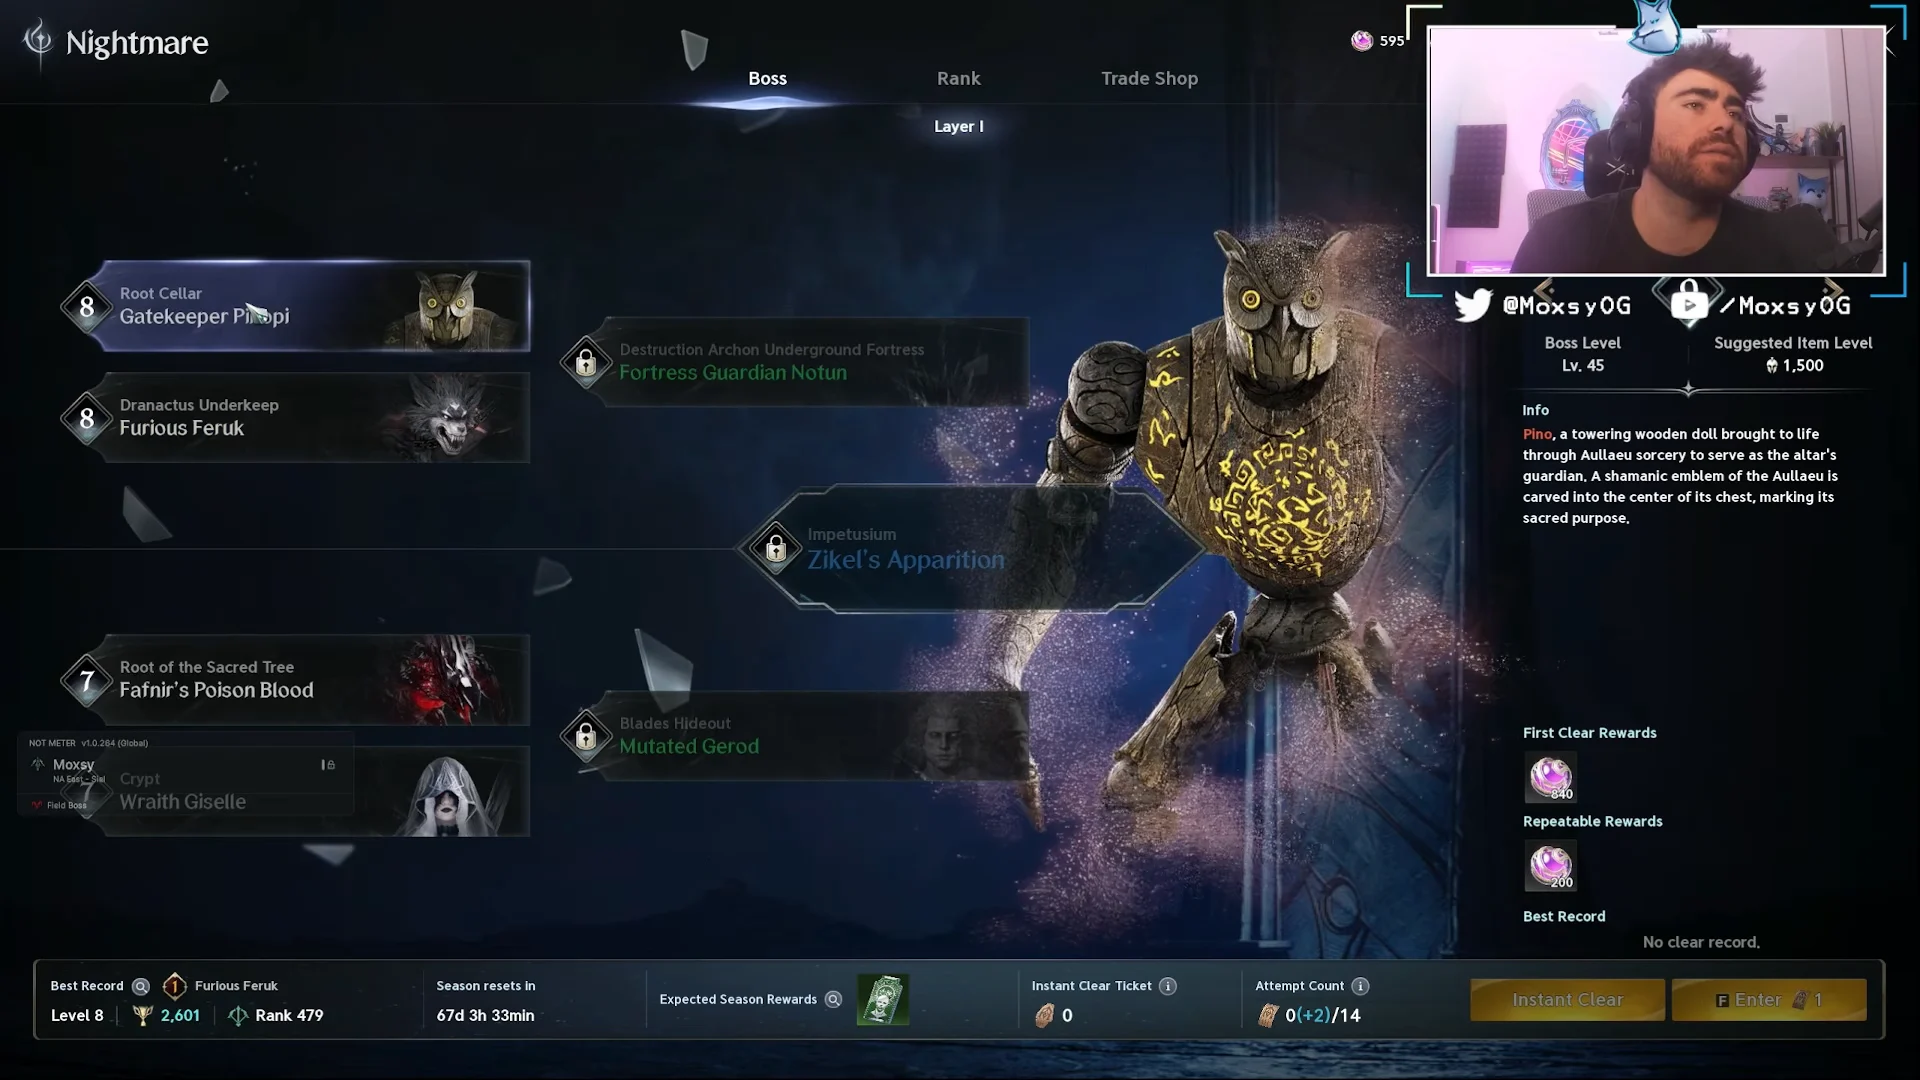
Nightmare dungeons are solo boss floors, running from early bosses like Gatekeeper Pinopi and Furious Feruk up to Zikel’s Apparition, Mutated Gerod and Wrath Giselle. Attempts are weekly, and the fragments they drop are spent in the Nightmare shop. Clearing the first wave of bosses early also hands out Clash Runes.
Ascension Trials
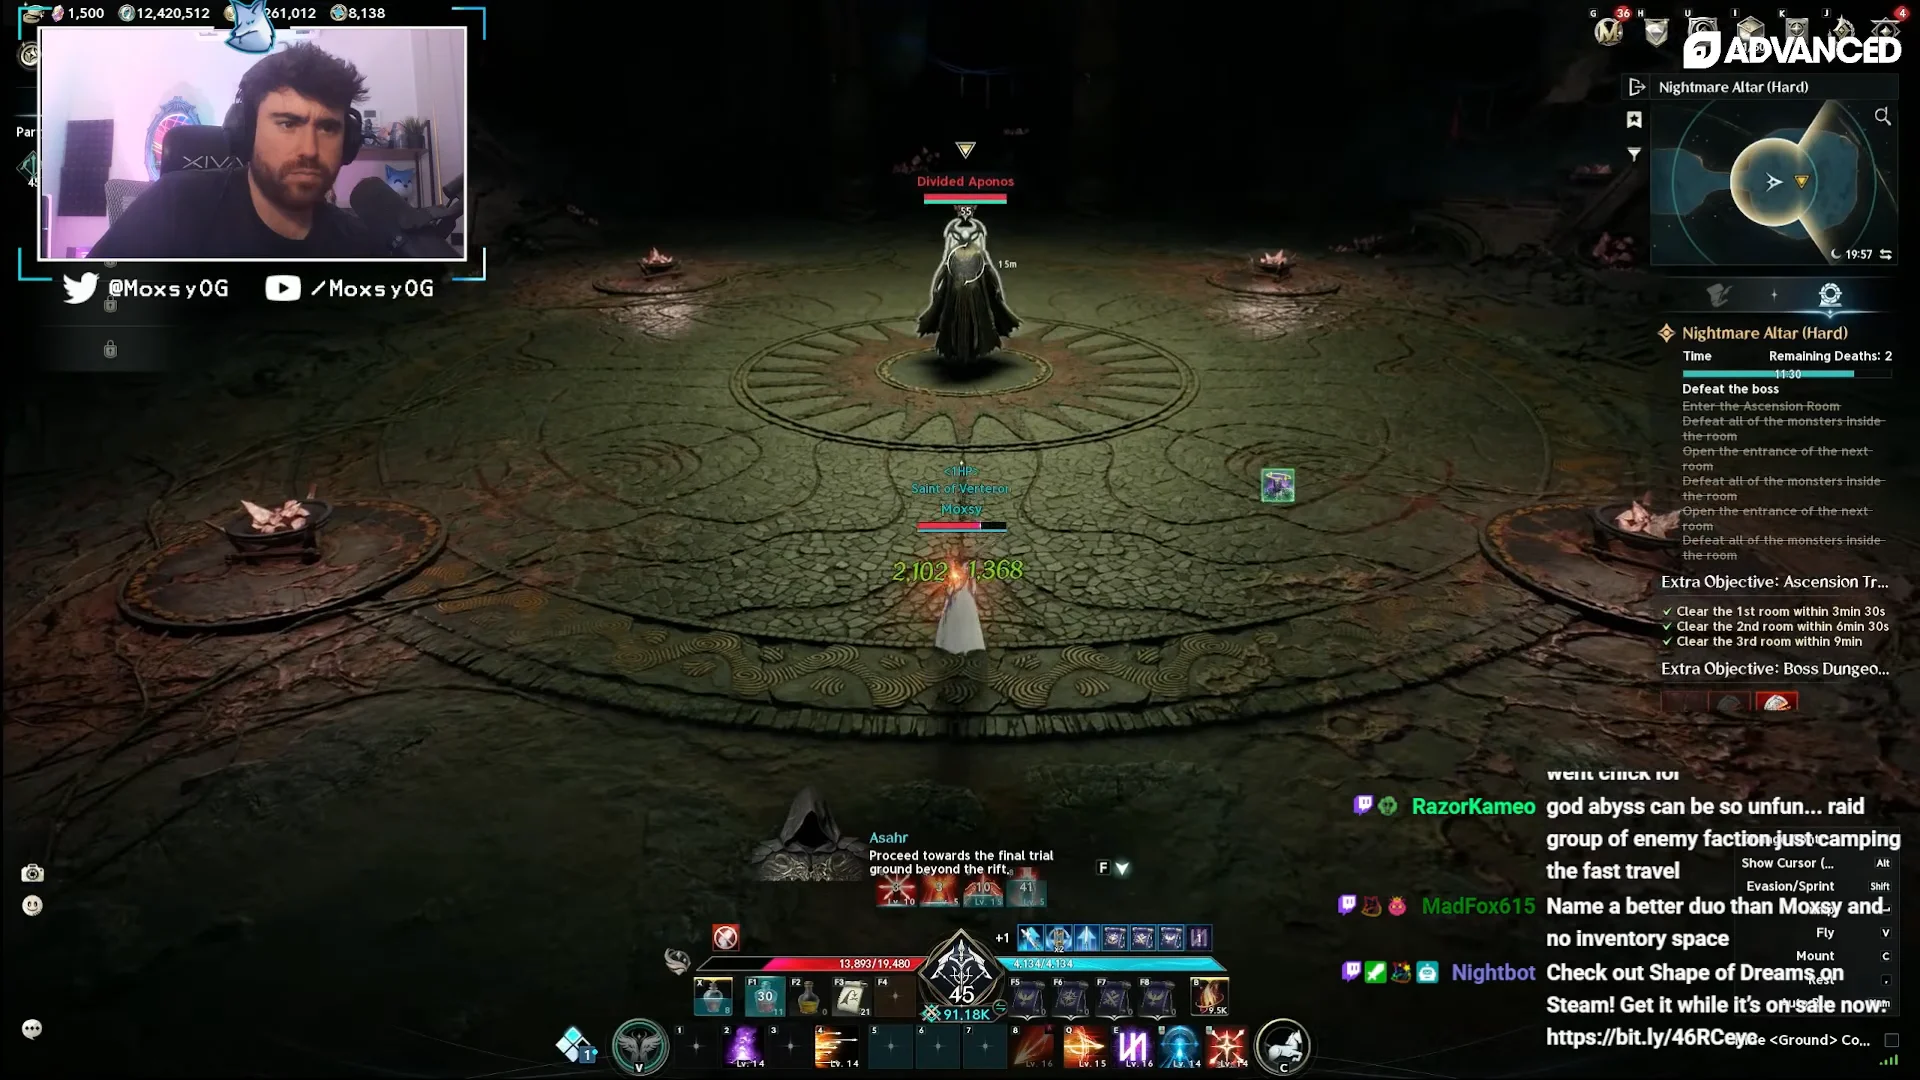
Ascension Trials are timed solo challenges with three runs per week. The relevant one here is Nightmare Altar on Hard difficulty, which requires level 45 and 2,000 item level to enter. Score around 4,000 or higher, which the run allows inside its 3 minute 12 second window, to clear the Season Challenge tiers that award Mysterious Crystals. Five of those crystals craft one guaranteed Unique Arcana card with a selected skill bonus.
Abyss activities
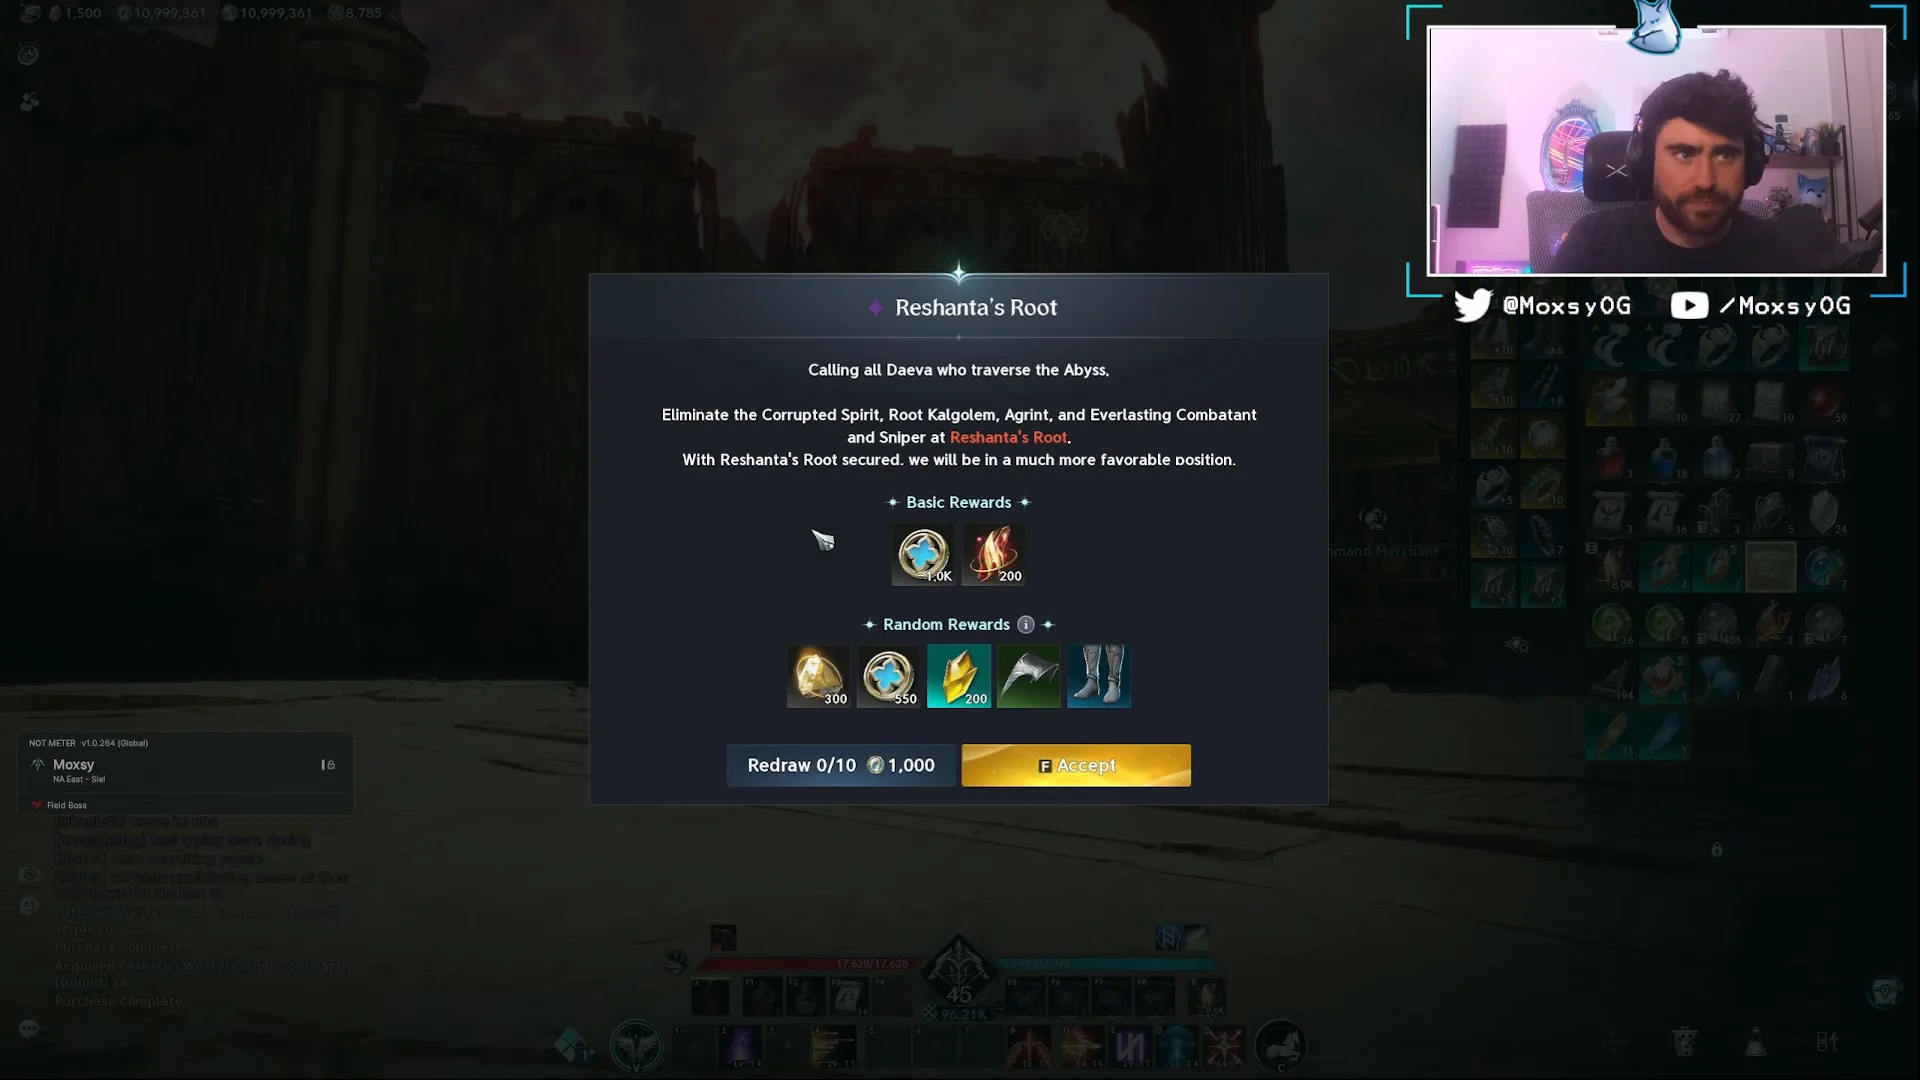
The Abyss (Reshanta) mixes PvP and PvE and is a steady source of Abyss Points, which buy Stigma Shards and Daevanion Crystals. Artifact Sieges run on a timed cycle, with portal defense events and an Abyss trade shop attached.
Supply Requests
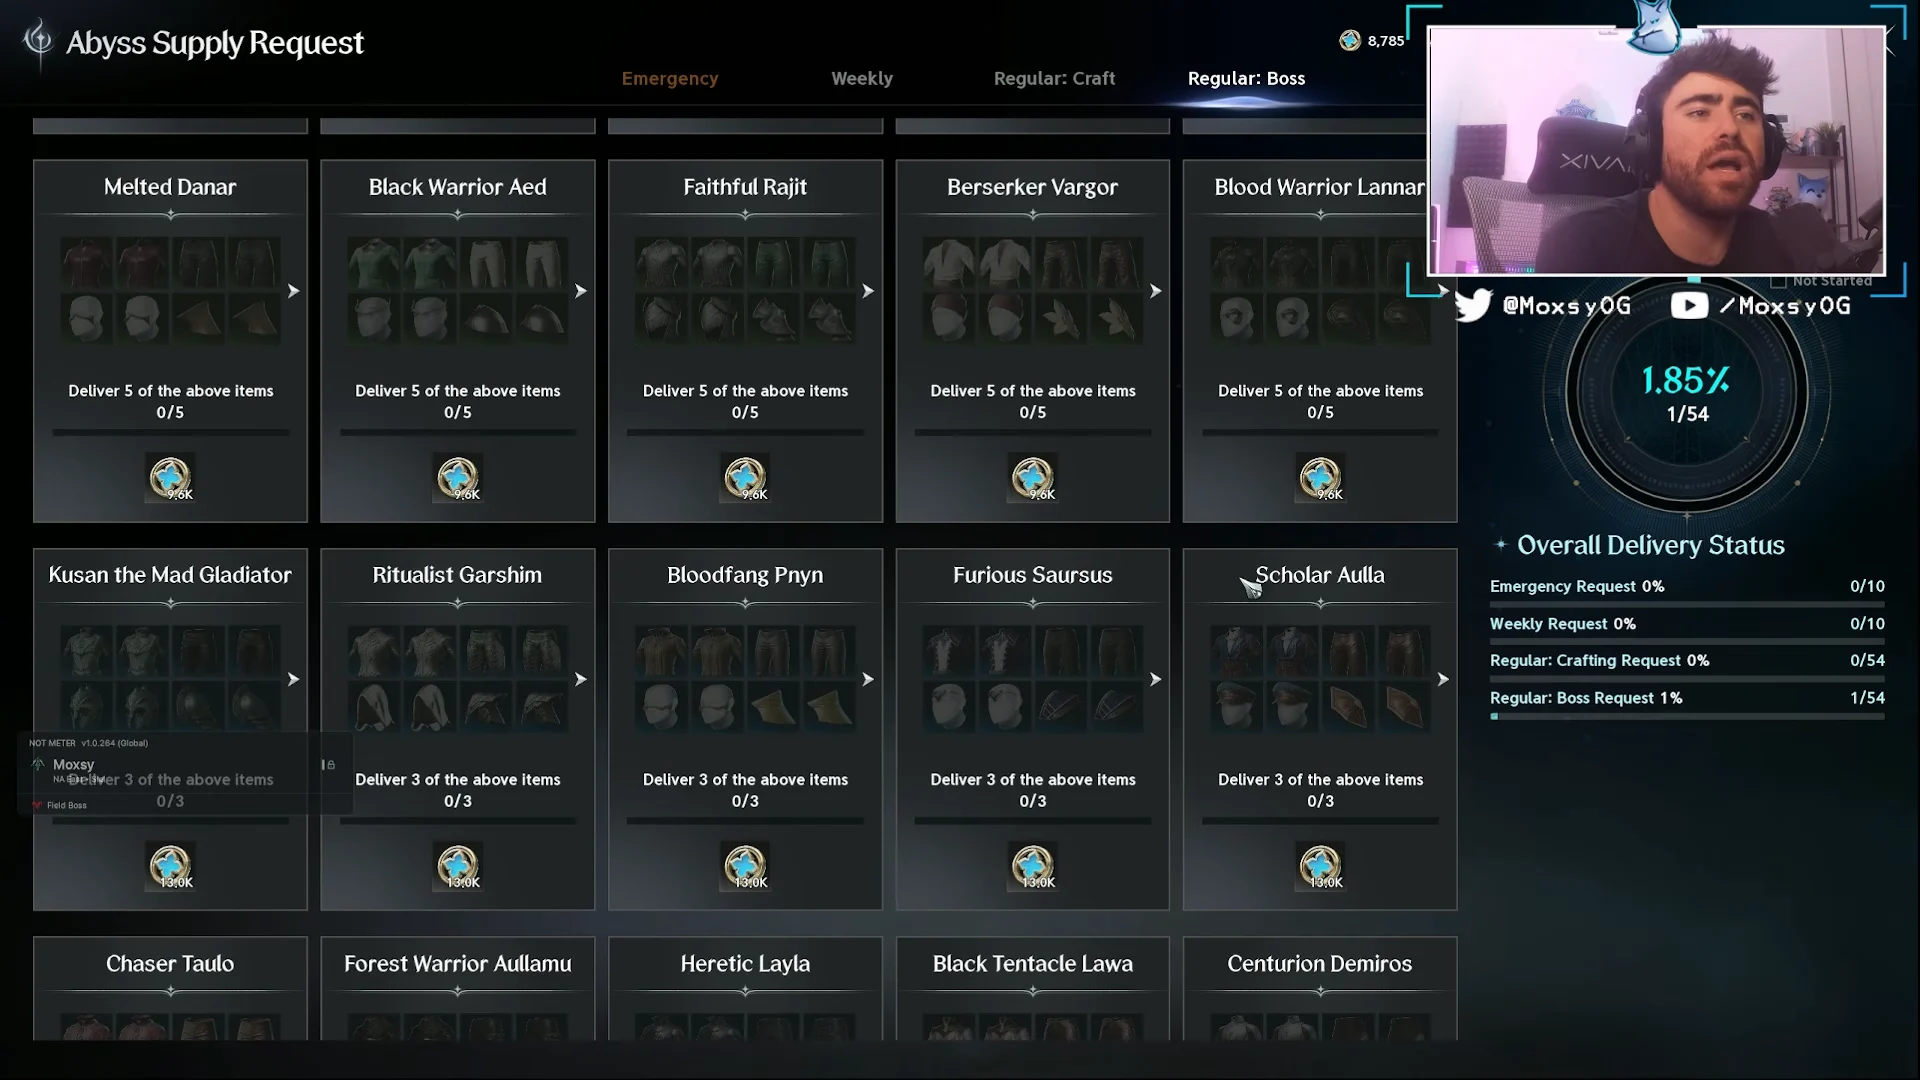
Supply Requests come in regular, emergency and boss variants. Turn in spare crafted gear or world boss gear to collect large amounts of Abyss Points without needing to fight players. Crafting proficiency lets you make the items these requests ask for, so leveling a life skill pays off here.
Command quest stacking
Visit the Command Merchant to buy and re-roll Command scrolls. Roll toward targets you want, such as Abyss Points or Ascension tickets, then activate several scrolls at once. If their kill targets overlap, one monster counts toward multiple quests, which saves a lot of time in the Abyss.
Pets, Genius Insight and titles
An equipped pet mount changes appearance only, but defeating different monster types passively levels your pets. For each type, kills at 5, 25, and 75 raise a pet to Rank 1, Rank 2, and Rank 3, respectively, with each rank granting permanent passive stats. Rolls on the Genius Insight faction wheels—Cogni, Fera, and Natura—then improve endgame stats such as Might and Front Attack.
Titles affect gear score and combat score too. You can display any title for its appearance while separately equipping three passive titles for offensive and defensive stats, so the title on display does not need to be one of the titles providing bonuses.
World bosses
Open-world bosses add both gear and Pantheon artwork, which carries real stats. Eternal Gartua spawns in Verteron and drops Level 70 gear plus high-value paintings that sell for up to 150 million Kinah. Watch chat and coordinate with a legion for these, since they carry huge health pools and need many players.
Dungeon reference: gates, players and limits
These figures let you plan which dungeon opens when and how long each run allows. Both Transcendence dungeons share the same staged gear score gates, so clearing a stage in one tells you the other is ready too.
| Dungeon | Type | Players | Limit / gates |
|---|---|---|---|
| Urugugu Canyon | Party (Exploration, Conquest) | 2–5 | 60 min |
| Krao Cave | Party (Exploration, Conquest) | 1–5 | 60 min |
| Fire Temple | Party (Exploration, Conquest) | 1–5 | 60 min |
| Ferocious Horn Den | Party (Exploration, Conquest) | 1–5 | 60 min |
| Deus Research Base | Transcendence | 2–4 or 2–5 | GS 1,600 / 1,900 / 2,200 / 2,500 |
| Shattered Arkanis | Transcendence | 2–4 or 2–5 | GS 1,600 / 1,900 / 2,200 / 2,500 |
| Abyssal Forge: Ludra | Raid (Conquest) | 10 | 120 min, 2 revives |
Fire Temple and Ferocious Horn Den unlock when you reach 2,100 gear score, confirming the climb has paid off. At 2,100, the recommended loop is three Horn Den Exploration runs with pity left unclaimed, followed by 21 Horn Den runs for the pity box. Above 2,200, farm pity in Fire Temple for 21 to 42 runs, and Abyssal Forge: Ludra becomes available as a 10-player raid at the top end.
Confirming you hit the gate
Open your character sheet and read the gear score at the top. A full set of blue Arcana cards, core gear at +10, a few Vakron-tier replacements and the transmuted Gold Chalice together clear 2,100. The moment the number crosses that line, Ferocious Horn Den and Fire Temple appear in your Expedition and Conquest lists. From there the next targets are Stage 3 Transcendence for yellow Arcana cards and Amplify Stones to push gear past +15 toward +20.