

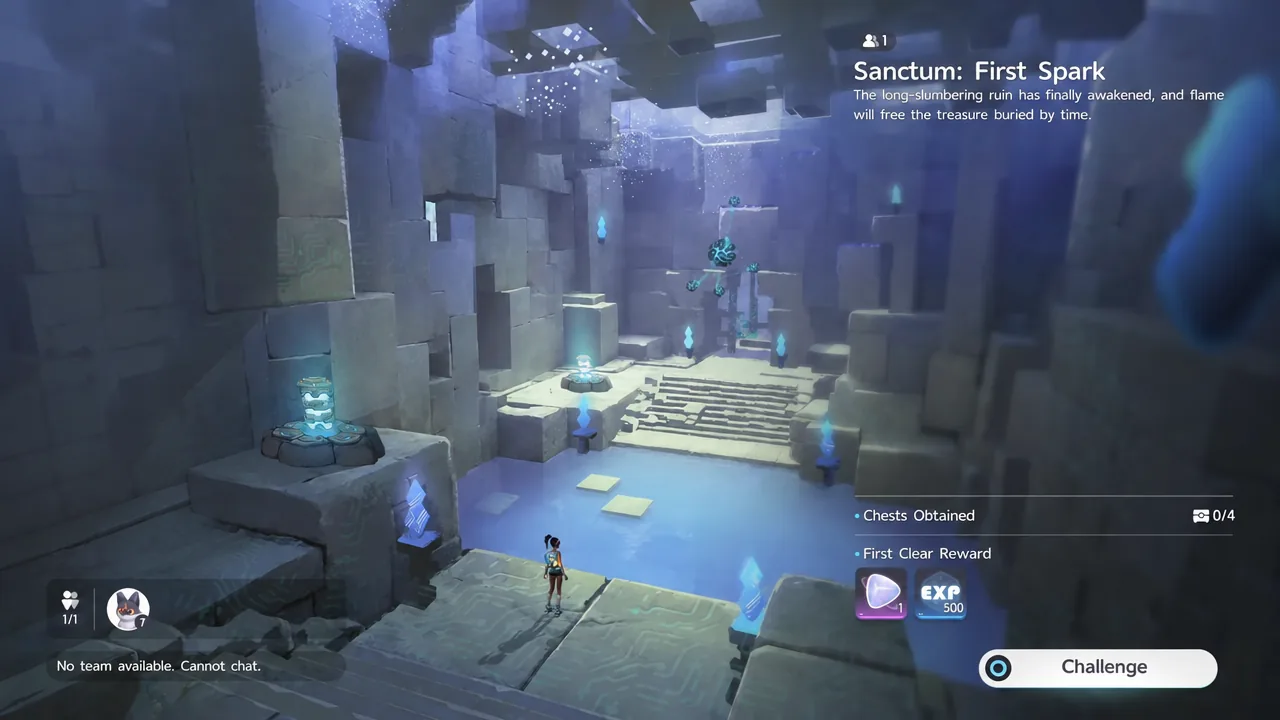
Sanctum: First Spark is the introductory solo dungeon in Aniimo, and it is the first place the game takes your own team away from you. You cannot bring a single Aniimo inside. Everything you do in there runs on one borrowed creature and one ability, and the whole run takes only a few minutes once you know where the four chests are hiding.
Quick answer: Twine with Emberpup at the Aniimo Statue, then use Fire Bolt (Q) to burn vines, detonate explosive barrels, light the chimney bonfire and melt an ice block for all four chests.
Where to find Sanctum: First Spark and how to enter
The entrance sits in Nimbus Fields, part of the Breezy Plains region, marked on the world map as a floating stone structure laced with glowing purple lines. Walk up to it, choose Activate, then select Enter Sanctum to open the challenge menu. Hitting Challenge loads you into a Solo Sanctum instance on your own.
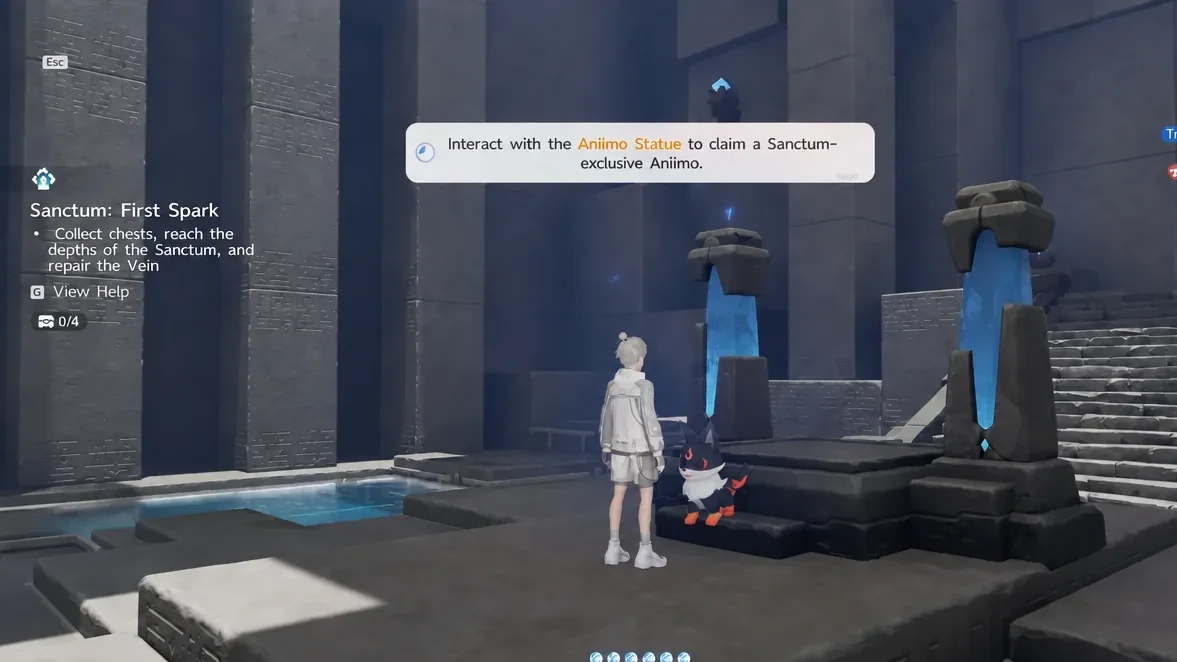
You spawn on a set of stone platforms with a waypoint pointing at a purple Aniimo Statue in the middle of the room. Interacting with it awakens a Sanctum-exclusive Aniimo called Emberpup and triggers the Aniimo Ability Introduction screen. Confirm that, then press C to twine with Emberpup and take its form.
How Emberpup’s Fire Bolt works
Fire Bolt is bound to Q. Tap it to fire straight away, or press and hold to aim first and release to launch the fireball at whatever you are pointing at. Anything flammable in the sanctum reacts the same way: it catches, burns down, and vanishes.

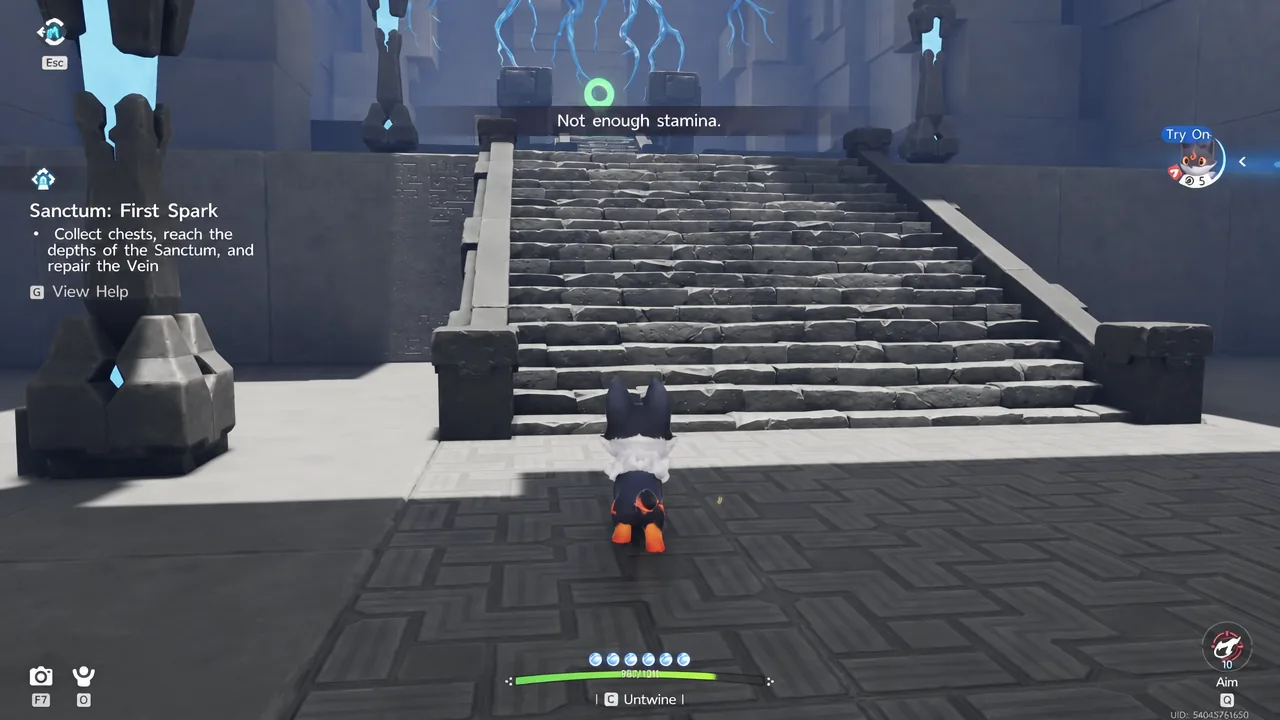
That single ability solves every obstacle here. Wooden barricades, hanging vines, explosive barrels, an unlit bonfire and a block of ice are the only things standing between you and the exit. The first one you meet is a wooden gate at the top of the stairs out of the statue room — burn it to open the route into the sanctum proper.
Firing too quickly in a row throws up an “Actions too frequent” message. Pause a beat between shots rather than spamming the key.
All four chest locations in First Spark
The counter at the top of the screen tracks Chests Obtained 0/4. Side rooms branch off the central chamber and can be cleared in either direction, so the number you see on each chest depends on the route you take. Every one of them pays out Glimmer x10.
| Obstacle | Solution | Reward |
|---|---|---|
| Chest tangled in vines | Burn vines, then hit the barrel above | Glimmer x10 |
| Chest on a high stone ledge | Shoot the explosive barrel below it | Glimmer x10 |
| Chest inside a chimney | Light the bonfire at the chimney base | Glimmer x10 |
| Chest frozen in ice | Melt the ice block with Fire Bolt | Glimmer x10 |
Vine-covered chest
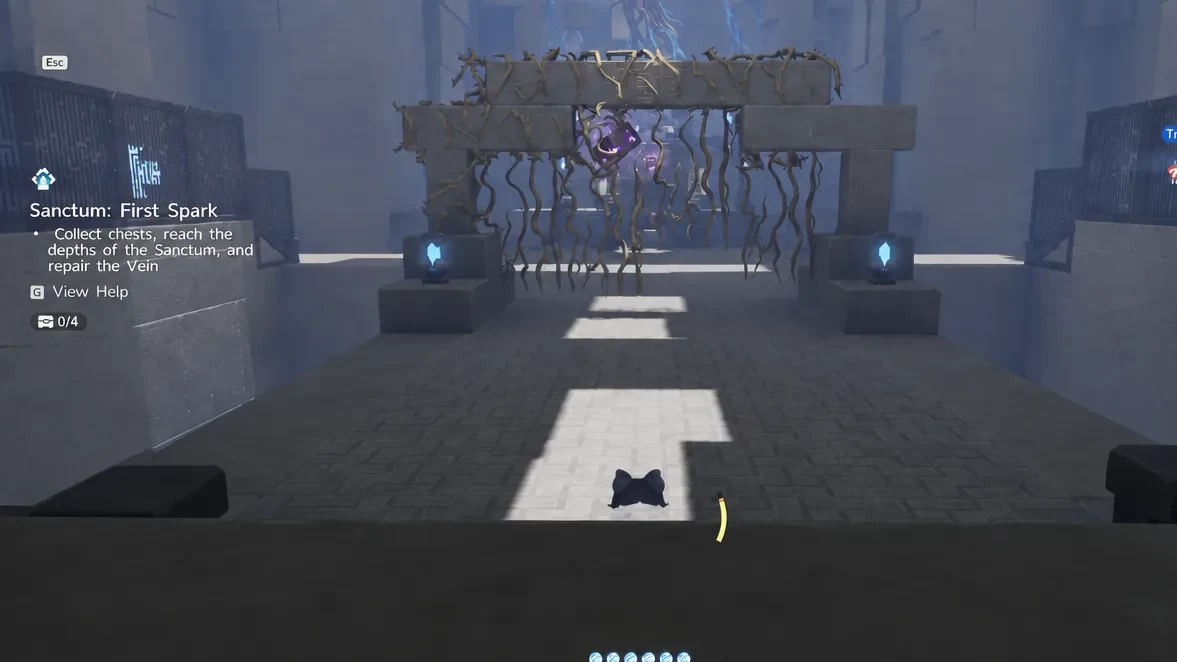
Past the burned gate is a room with vines hanging over an archway. Aim Fire Bolt at the vines to clear them, which exposes the chest sitting above. It still will not drop on its own — there is an explosive barrel on the ledge overhead, and igniting that knocks the chest to the floor so you can open it.
High ledge chest
In the next area the chest is parked on a raised stone ledge with no way up. Look underneath it for the explosive barrel tucked against the pillar and hit that instead. The blast dislodges the chest and drops it to ground level.
Chimney chest
Follow the corridor to a room with a fireplace and a tall chimney. The chest is wedged inside the flue and cannot be reached from below. Hold Q, aim at the bonfire at the base of the chimney and light it — the heat forces the chest down into the hearth.
Ice-encased chest
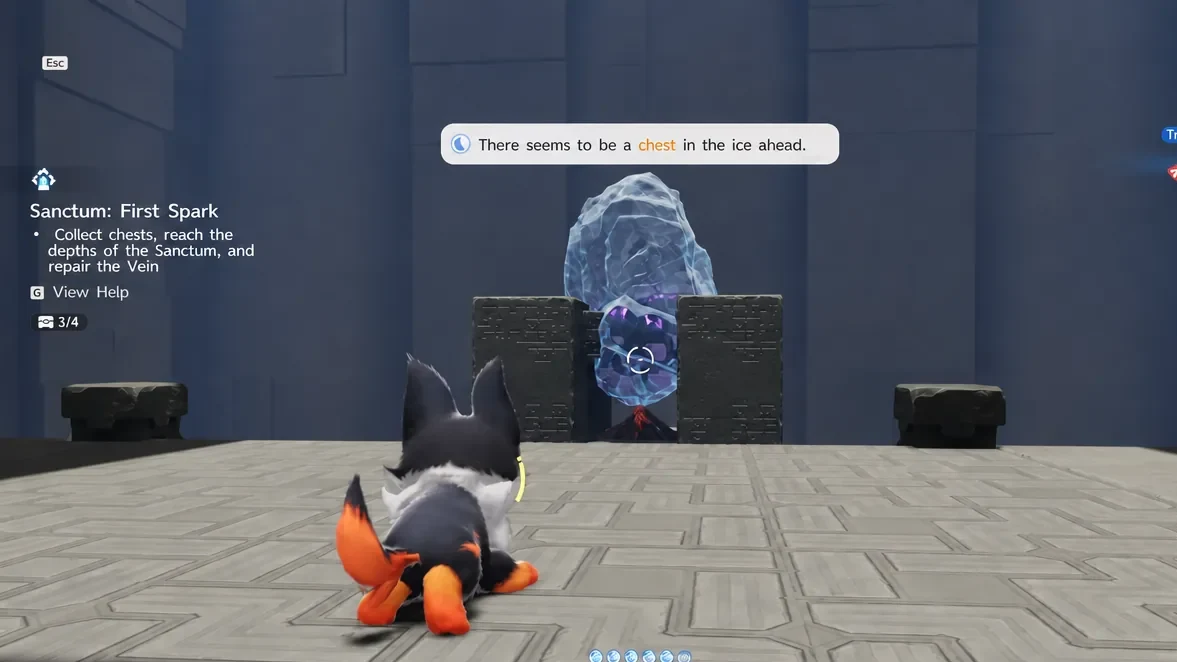
The last puzzle is the most direct. A chest sits sealed inside a solid ice block, and a prompt calls it out as you approach. Put a fireball into the ice to melt it away, then open the chest normally. Clearing this one triggers the message confirming you have collected every chest in the sanctum.
Repair the vein to complete the challenge
First Spark rewards and how to confirm the clear
- First Clear Reward: EXP 500 and Glimmer x10
- Four chests at Glimmer x10 each
- Blue crystal pickups scattered along the corridors
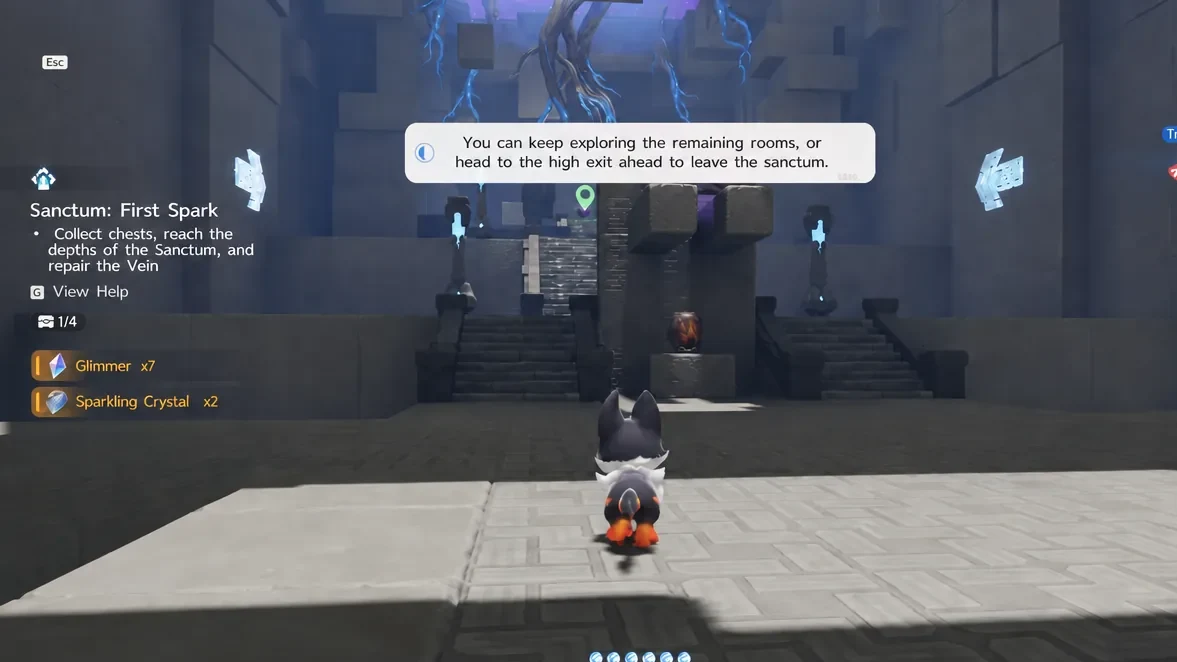
Two on-screen cues tell you the run went cleanly. The chest counter should read 4/4 before you touch the cube, and the vein repair cutscene is what registers the sanctum as cleared — walking out any other way does not count. Emberpup stays behind when you leave, since it belongs to the sanctum rather than your roster.
First Spark is the template for the rest of Aniimo’s sanctums. Each one hands you a different sealed Aniimo at the statue, builds its puzzles around that creature’s single ability, and ends at a vein you have to repair. Some, like Blazing Wings, scale up to duo runs with pressure plates that need two players standing on opposite pedestals at once.





