The Celestis outpost sits inside the Forest of Falling Stars, in the Breezy Plains, and it will not let you walk in as yourself. A barrier keeps out humans and every aniimo that is not a Celestis, so the objective “Explore the Celestis outpost!” from the Journey quest A Fragrant Journey: Forest of Falling Stars stalls immediately unless you change shape first. Once you are inside, the rest is a short collection route built around three Large Starine and one stubborn NPC.
Quick answer: Twine with a Celestis to pass the barrier, collect two Large Starine inside the outpost, trade Dum-Dum 10 ordinary Starines for the third, then place all three in the nests under the tree.

What you need before entering the Celestis outpost
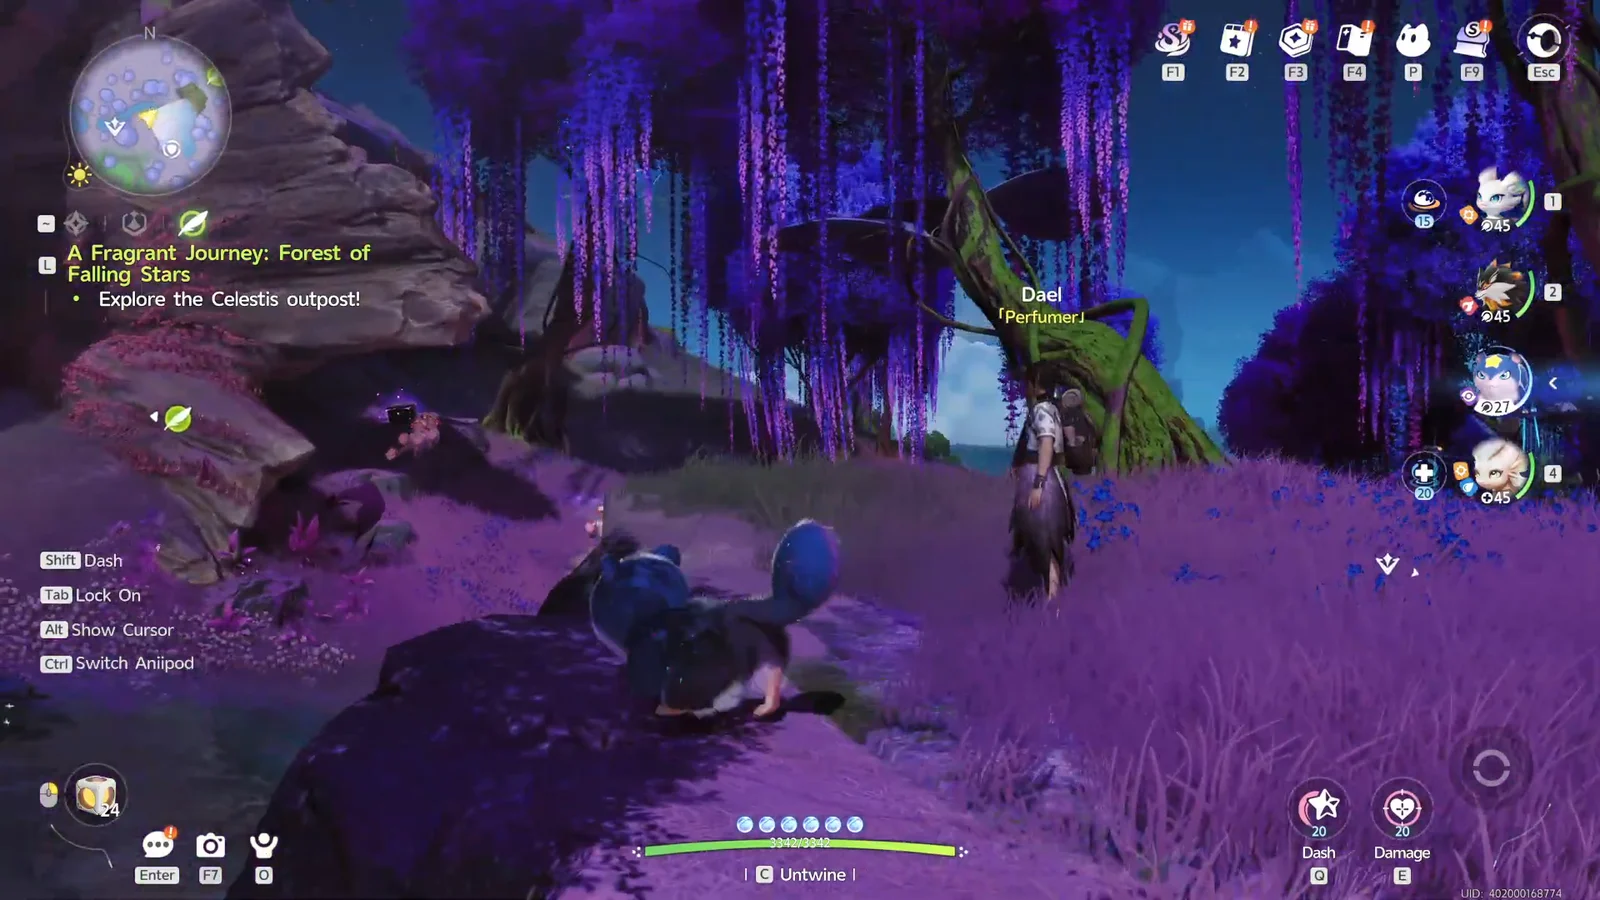
Perfumer Dael gives the quest at the Nest of Stars entrance. Speak with him, select the quest in the Journey tab, then use the green objective guide; the regional map marker identifies only the landmark. Check this brief list before going in.
- A Celestis in your main party, set as your active aniimo.
- One Anipod is required to catch a wild Celestis beside the cave entrance, if necessary.
- Inventory room for three Large Starine plus the quest rewards.
- At least 10 ordinary Starines before you attempt Dum-Dum’s trade.
Most players already own a Celestis from the tutorial. If yours was released, wild ones roam the flower beds outside the outpost. They sit around level 20, which is high for early accounts, but you can still capture one and the game caps its level inside your party.
How to get past the Celestis outpost barrier
There is no hidden way in. Climbing to the roof or squeezing through cracks in the outer wall both end the same way, with the game teleporting you back to the front door. The only key is the form itself. With a Celestis active, twine with it so you become a Celestis, then walk straight through the glowing purple entrance.
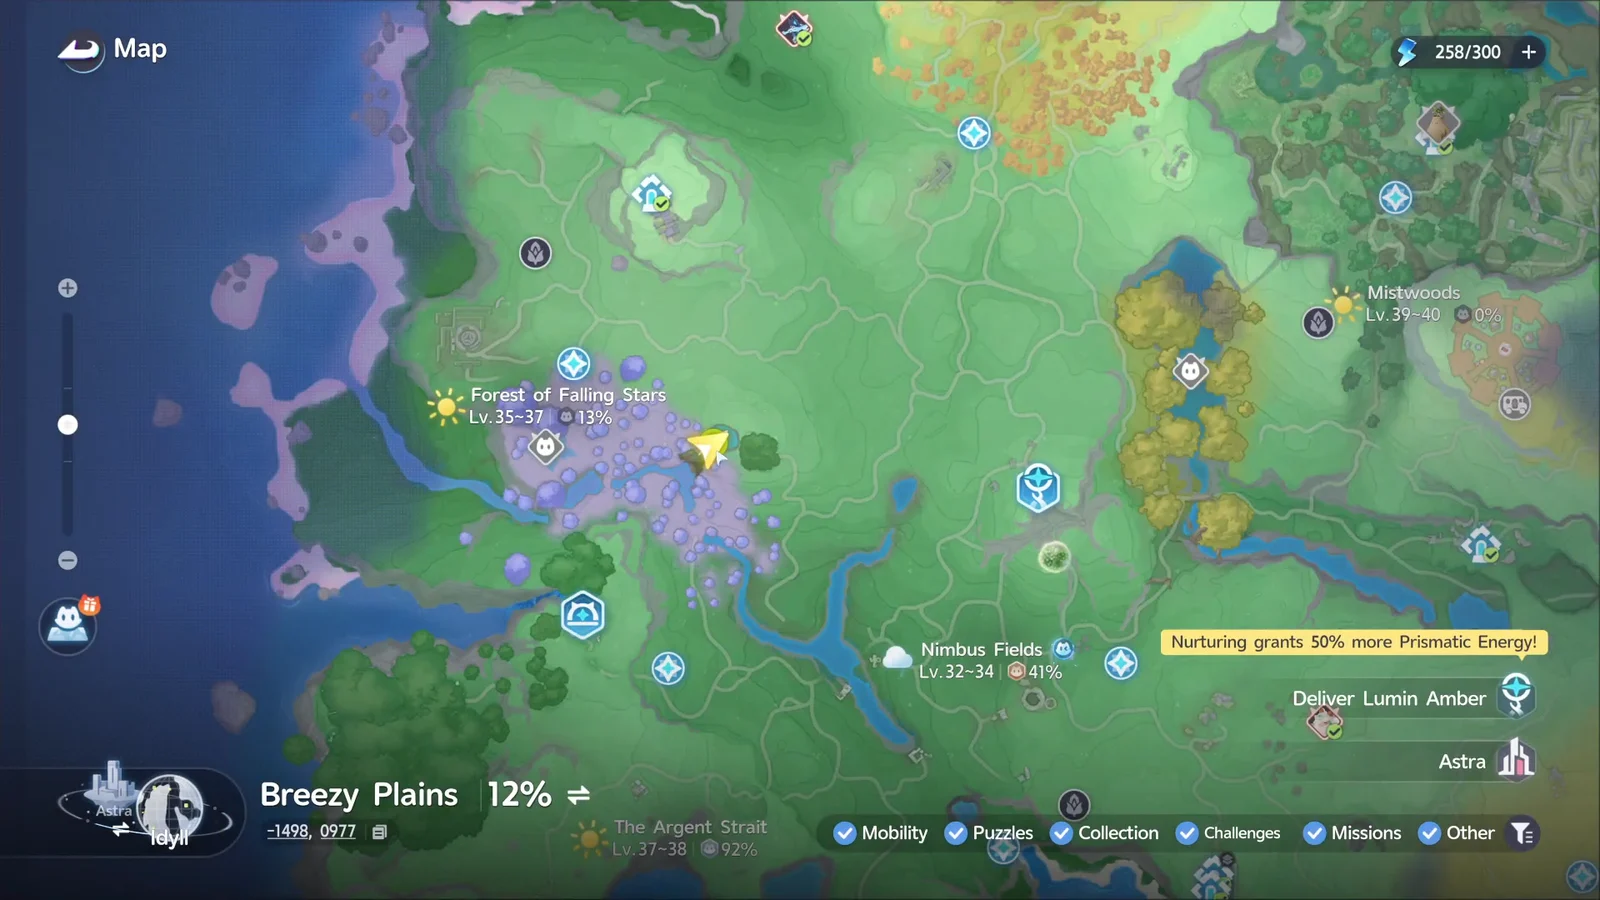
When the marker is unclear, use the world map to verify your location: you should be in the Forest of Falling Stars, within the Breezy Plains. Look for Lumin Marking: Nest of Stars; it lies near Dael, though its pin does not mark Dael himself.
All three Large Starine locations inside the outpost
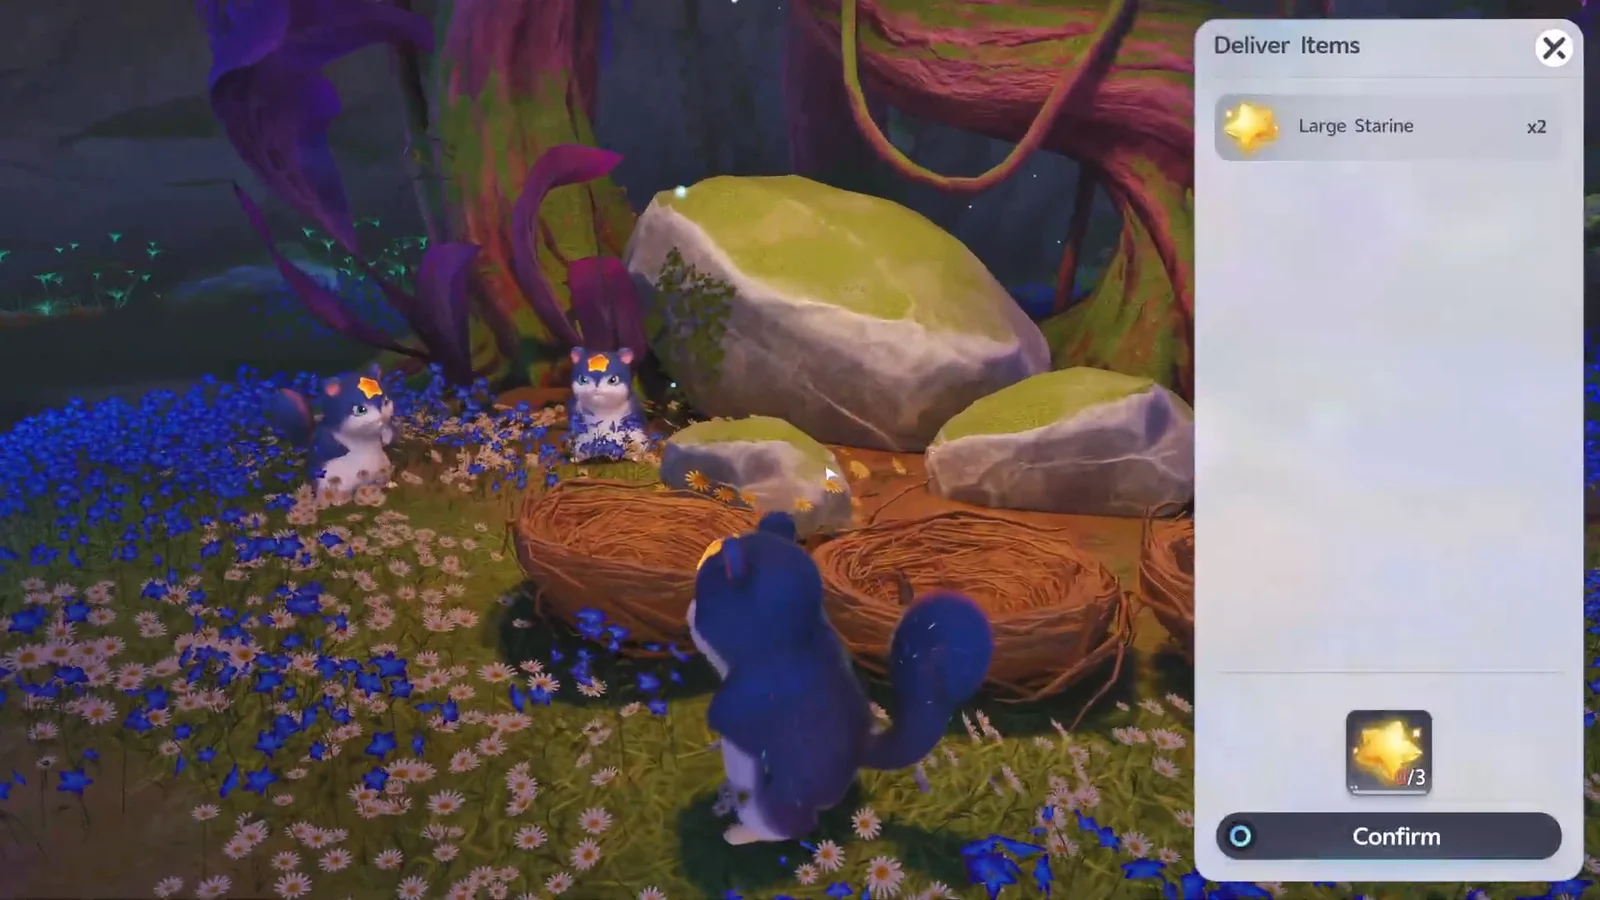
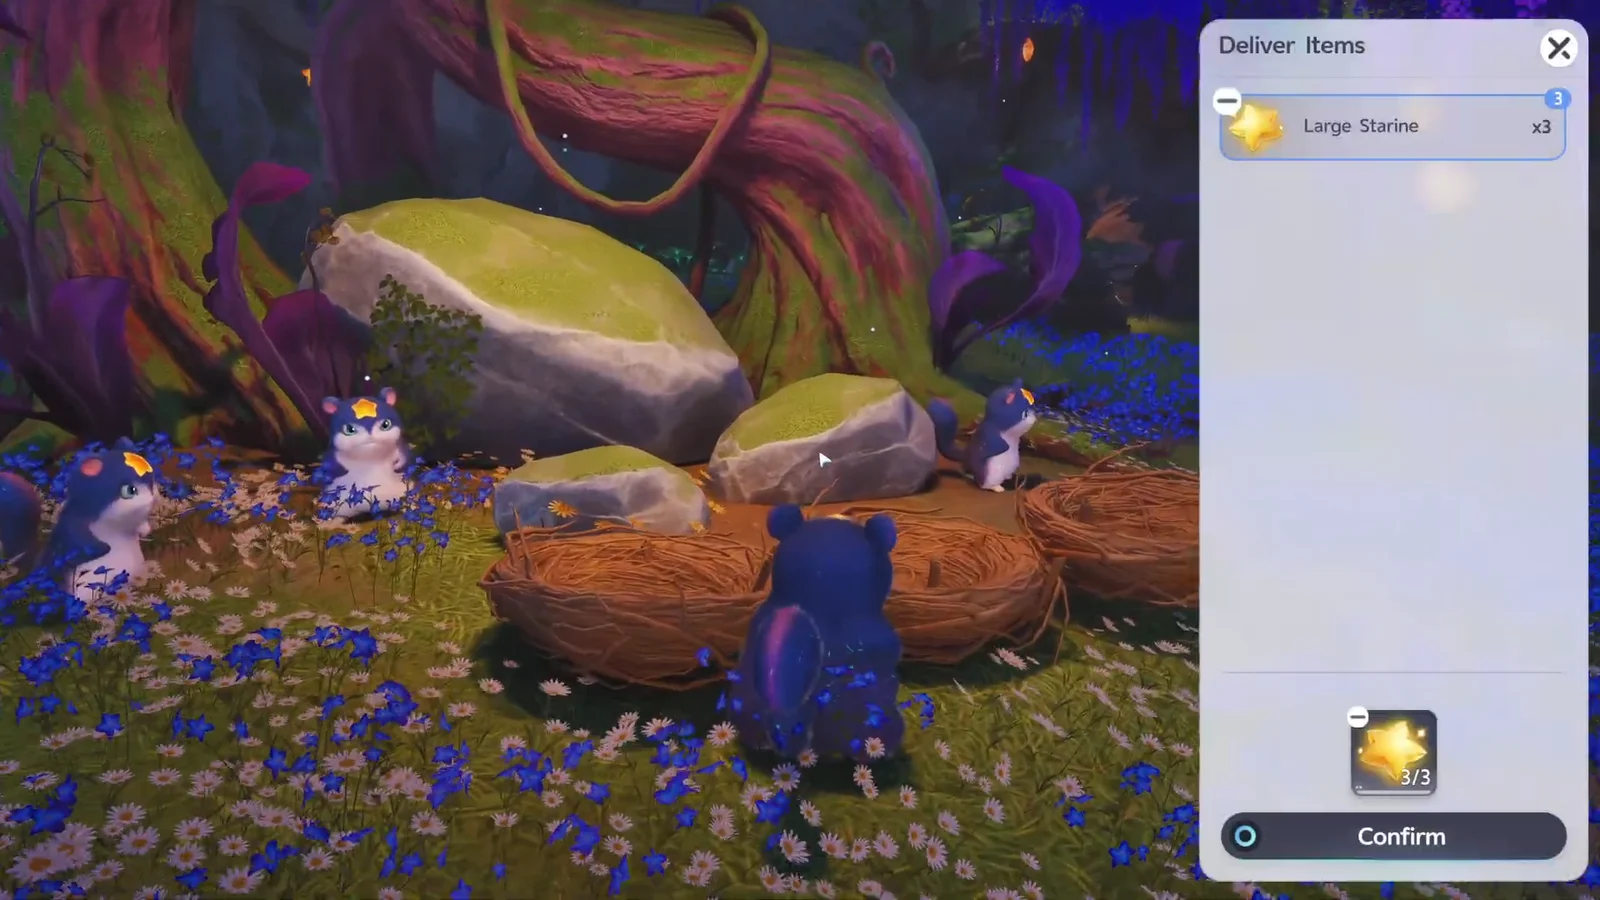
Twinkle waits in front of the big tree and explains that he and his old friend Starry used to share Large Starine. Walk up to the three woven nests under the tree and the delivery menu opens at 0/3. The prompt allows you to submit as few as one, but there is no benefit to doing it in pieces, so gather everything first.
| Large Starine | Source | Cost |
|---|---|---|
| 1 | Hollow log beside the tree | Free pickup |
| 2 | Rocky side passage, in an alcove | Free pickup |
| 3 | Dum-Dum, back left of the outpost | 10 ordinary Starines |
Hollow log pickup
The first Large Starine is in a hollow trunk beside the tree. Because the chest uses that same interaction prompt, you can open it, see the reward popup, and leave without collecting the Large Starine. Keep interacting with the trunk until it no longer offers anything.
Rocky passage alcove
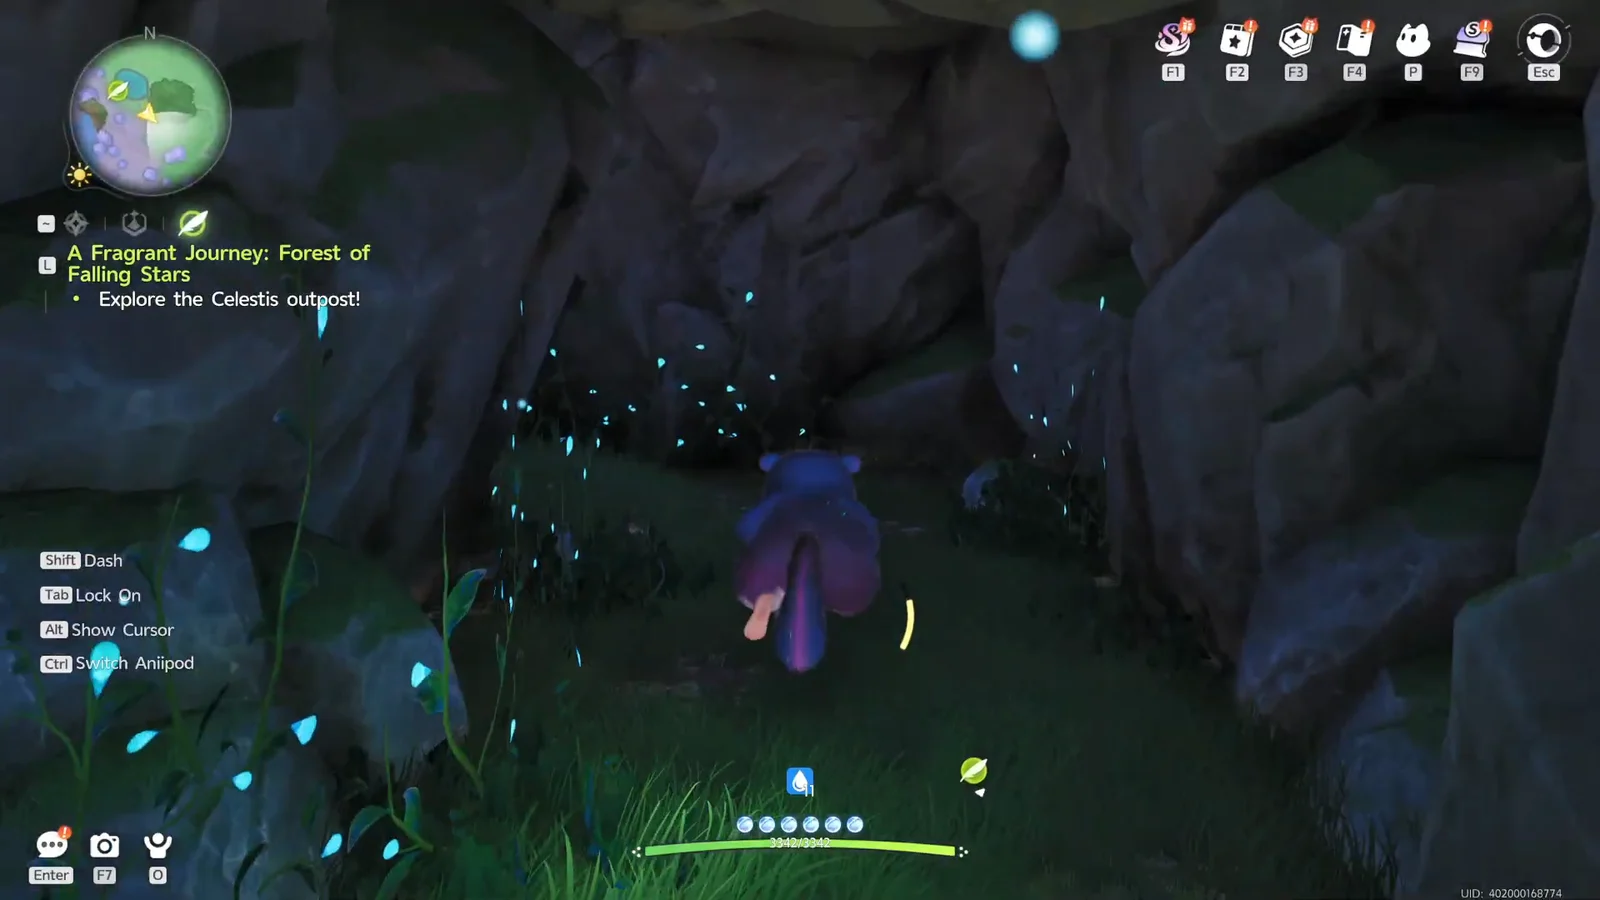
From the trunk, follow the narrow path cut into the rock and loop around it. Small piles of ordinary Starine line the floor along the way, which are worth collecting for the trade but are not what the nests want. The second gold-orange Large Starine is tucked into a crevice at the end, near a sleeping Celestis.
Dum-Dum’s 10 Starine trade
The third one is visible in the back left corner behind the tree, but reaching for it pushes you away while Dum-Dum insists it belongs to him. Repeated attempts change nothing. The trade is the only route.
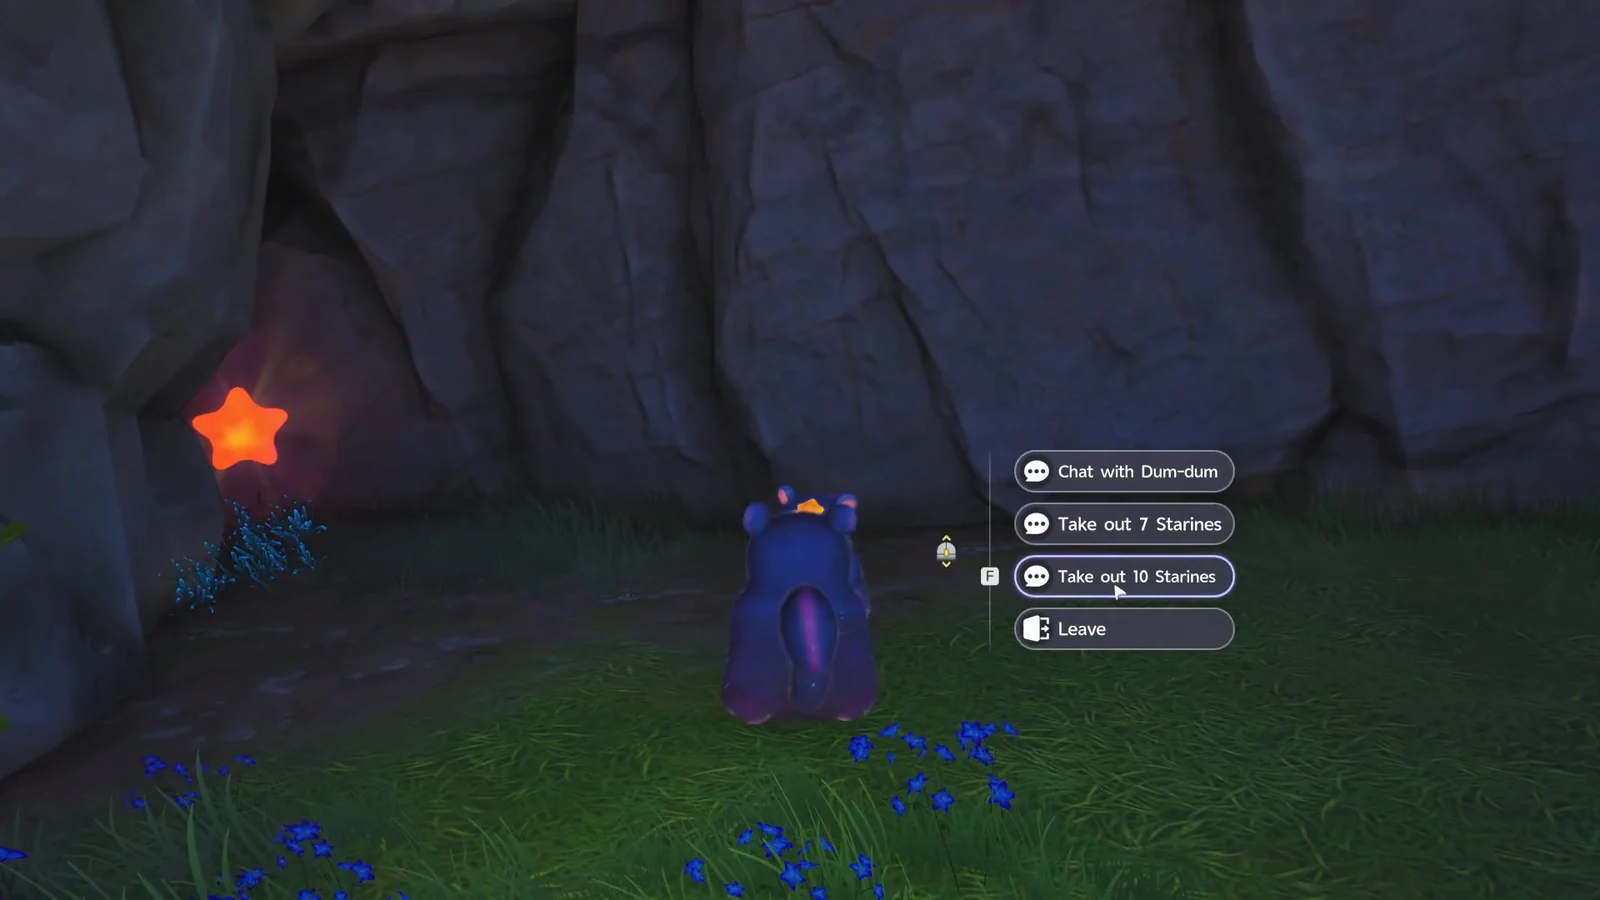
Ordinary Starine and Large Starine are separate items. Dum-Dum only counts the small ones, and the nests only count the large ones.
Deliver the Large Starine and answer Twinkle
Carry all three back to the baskets under the tree, open the delivery menu, select them and confirm. The counter flips to 3/3 and a cutscene plays, with the Starines lifting above the nests and more falling from the cave ceiling. Submitting the items at the nests is what triggers this, not the Dum-Dum trade on its own.

During the event, a Stellarys appears above the nests. Once it ends, locate nearby Twinkle. When he asks if Starry has returned, choose I saw a Stellarys. Selecting ‘It might’ve been him’ leaves the objective unchanged. Twinkle determines that Starry is treating everyone and releases the rewards.
Placing three large Starines under the tree in the Celestis outpost is also one of Stellarys’s traits, so the delivery doubles as research progress.
Rewards from the outpost and Perfumer Dael
Three separate interactions sit around the nests once Twinkle is done: an ordinary Starine, a gold chest, and the Treasured Large Starine. Their notifications overlap on screen, so read the prompt you actually pressed rather than the order the popups arrive. The Treasured Large Starine is a quest pickup, not chest loot, and it is the item Dael wants.
The gold chest holds 200 EXP, Glimmer x50, an Aniipod Ultra Voucher, Credits x500 and a Common Held Item Core. Discovering the Lumin Marking: Nest of Stars pays out on its own as well, with Credits x2,000, Flux Shard x3, Growth Fruit x1, Aniipod x2, a Common Held Item Core and Growth Bud x3.
Leave the outpost, cross back over the short stream and hand the item to Dael to close the quest. That final submission pays:
| Reward | Amount |
|---|---|
| EXP | 600 |
| Lumin Crystals | 30 |
| Credits | 7,500 |
 Eggshell Coin Eggshell Coin | 200 |
| Breezy Plains Dewdrop Crystal | 50 |
| Peace of Mind | Perfume item |
How to confirm the quest is finished
Two checkpoints tell you where you stand. The nest counter must read 3/3 after the delivery, and the tracker must switch to “Go to Perfumer Dael!” After handing over the Treasured Large Starine at 1/1, the Peace of Mind item panel opens alongside the EXP award and the entry clears from the Journey tracker.
If the submission prompt never appears, work through these checks.
- Open the Journey tab, select the quest by name and confirm the active objective is “Explore the Celestis outpost!”
- Retrack the quest and follow its green destination instead of the regional map pin.
- Make sure you entered while in Celestis form.
- Stand at the woven nests under the central tree, not at the Lumin Marking.
- If Dum-Dum’s panel shows fewer than 10, collect more ordinary Starines; Large Starine cannot substitute.
Nothing forces you out once Dael takes the item, and the Nest of Stars is worth a second lap. Chests, ecological points, the local Lumin collection and the Celestis wandering the flower beds all count toward exploration progress in the Forest of Falling Stars, and the ordinary Starines keep respawning along the cave floor for later use.