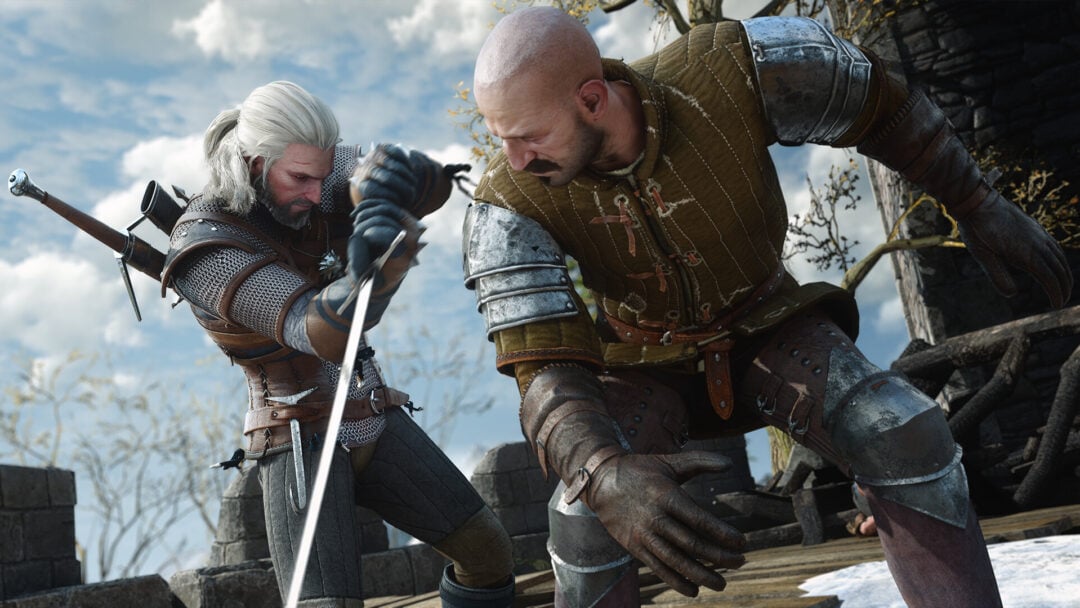
Gear in Anime Expeditions splits into two clean buckets. Standard equipment works on any unit and mostly hands out flat stats. Unit-specific equipment belongs to one character and comes with a passive that changes how that unit actually fights. The fastest way to build a carry is to give it its own exclusive relic and fill the remaining slots with strong standard gear.
Quick answer: Equip each unit’s own exclusive relic first, then fill open slots with the best standard gear you own. The Shinigami Sword is the safest universal filler for crit-capable damage dealers, while Burn and Bleed units skip crit gear entirely.
Best exclusive equipment for every unit
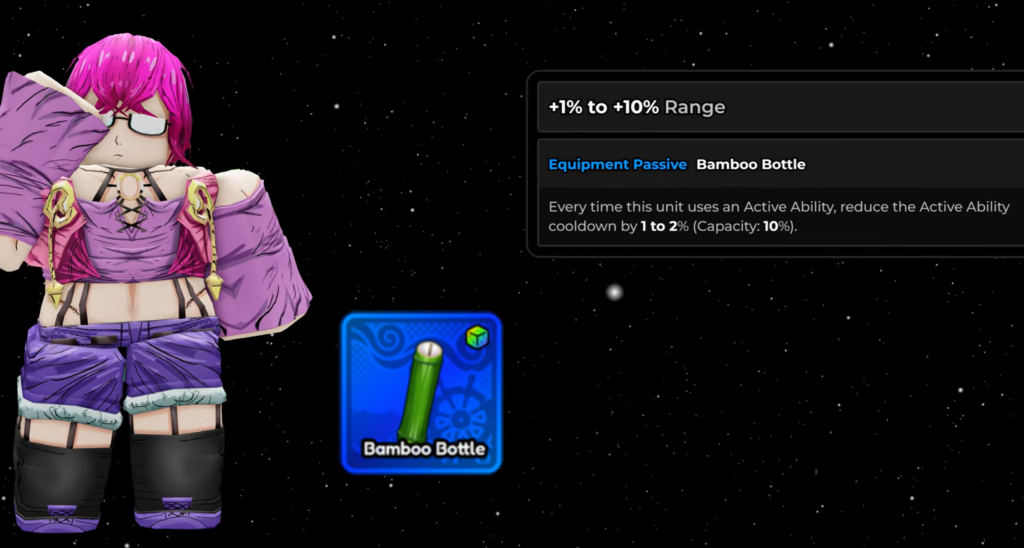
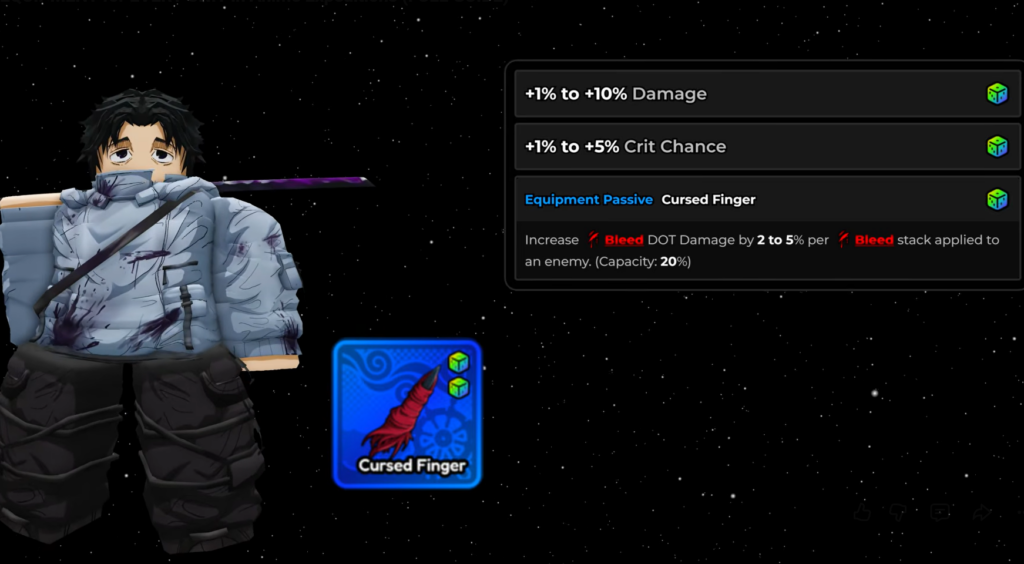
Every listed unit has one exclusive relic built around its kit. These pieces outclass standard gear because the passive does something the stats alone cannot. The table below pairs each evolved unit with its relic, where the relic drops, and what the passive does.
| Unit | Exclusive relic | Passive |
|---|---|---|
| Cursed Student | Promise Ring | Spawns a Bat Spirit at 20 Bleed stacks in range (up to 3), each hitting three times |
| Salmon Sorcerer | Technique Amplifier | Adds upgrade-based Slow: 20% / 35% / 50% / 65% |
| Hollow | Hell’s Flower | Converts one Burn into Austere Flames at 85% current damage |
| Flame Emperor | Emperor’s Attire | Wildfire spreads Burn to the five nearest un-burned enemies |
| String Demon | Webbed Fruit | Cocoons enemies every five attacks for a 125% burst if broken in time |
| Lady Giant | Boulder | Summons a Stone Wall every 12 seconds (capacity 2) |
| Puppet | Calamity’s Eye | Marked enemies spawn a Doll blocker on death |
| Elf Mage | Elven Battle Staff | Turns charge spells into AoE follow-ups at 3 / 5 / 7 charges |
| Reaper | Spirit of the Moonblade | +10% Damage and +10% Crit Chance per new enemy type, permanent |
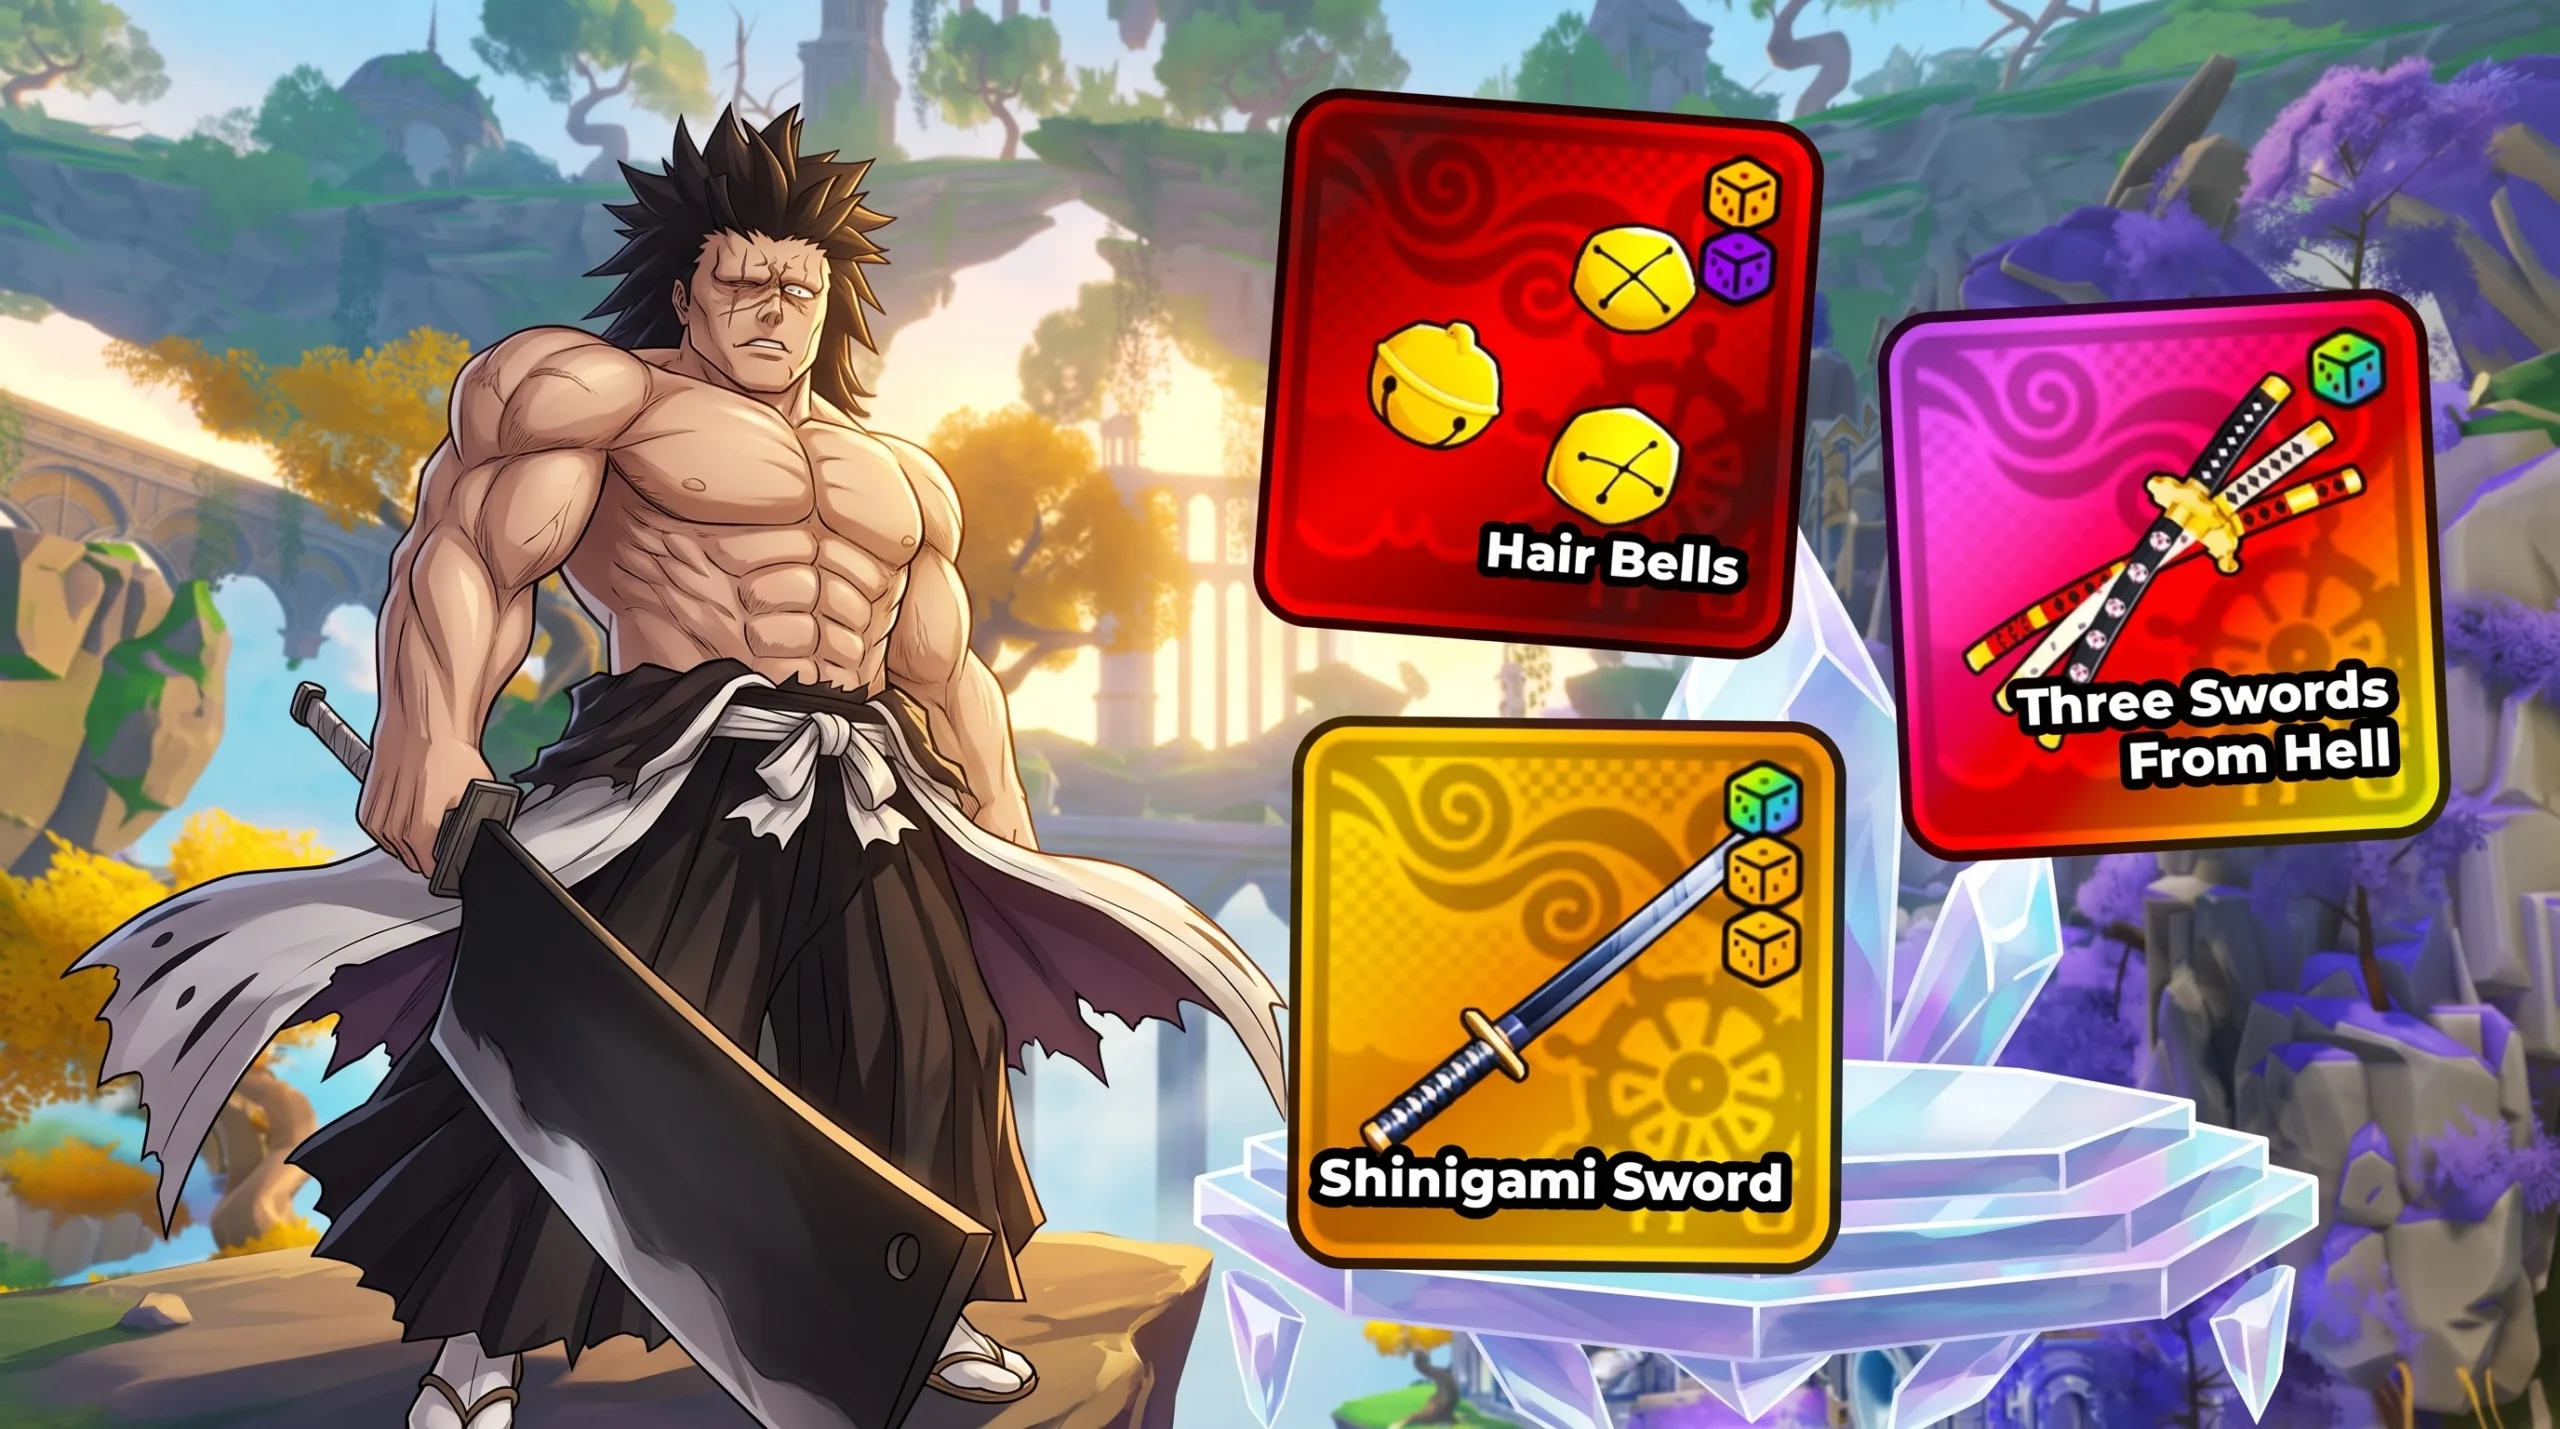
| 8th Sword | Hair Bells | Inner-range damage each second, plus stun cleanse and a 125% follow-up |
| Shadow | Hexed Blade | Summons a circling spirit that deals 75% damage and applies Stun |
A passive only pays off if your team feeds it. Promise Ring wants a lineup that stacks Bleed quickly. Hell’s Flower needs a reliable Burn source, which is exactly why it pairs with Flame Emperor’s Wildfire spread. Spirit of the Moonblade ramps hardest on mixed-enemy stages because it gains power every time Reaper meets a new enemy type. Match the relic to what your roster already produces before you commit rerolls.
Where each relic drops
Most gear comes from Story maps on Mastery, and higher maps drop stronger pieces. Exclusive relics carry a listed 5% chance with a 20 pity counter, and each one can also be crafted at the Armory Forge. Push forward rather than grinding an old stage past its loot pool.
| Map | Standard gear | Exclusive relics |
|---|---|---|
| School Grounds | Kunai | Promise Ring, Technique Amplifier |
| Flower Forest | Katana | Hell’s Flower |
| Rose Kingdom | Magic Orb | Emperor’s Attire, Webbed Fruit |
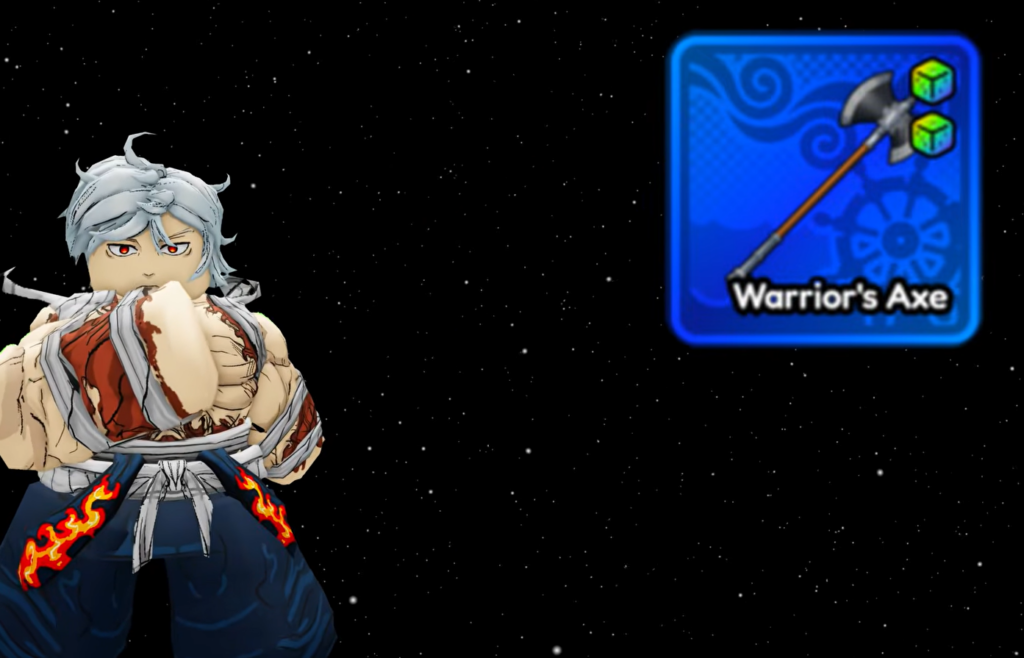
| Fairy King Forest | Warrior’s Axe | Boulder, Calamity’s Eye |
| King’s Tomb | Magic Book | Elven Battle Staff |
| Spirit City Raid Act 1 | Shinigami Sword | Spirit of the Moonblade, Hair Bells |
Hexed Blade for Shadow has no listed map drop and is obtained by crafting at the Armory Forge. Check the live recipe menu before spending, since craft requirements depend on what the current build lists.
Standard gear ranking and best uses
Standard equipment carries you through early Story and fills the slots your exclusives cannot. It has no unique passives beyond the Shinigami Sword, so treat it as reliable stat support. Rank them by the value they add to a damage dealer.
| Gear | Main stats | Best on |
|---|---|---|
| Shinigami Sword | Crit, Damage, scaling per enemy | Crit DPS at choke points and dense waves |
| Magic Book | Magical damage | Magic carries |
| Magic Orb | Range, Damage | Casters and splash units |
| Katana | Physical damage | Physical attackers |
| Warrior’s Axe | Physical damage, SPA penalty | Heavy hitters that can absorb slower attacks |
| Kunai | Damage, SPA penalty | Early DPS, outgrown later |
The Shinigami Sword is the standout because its passive scales damage with the number of enemies in range. Place that unit where waves bunch up and the bonus climbs. For Burn and DoT units like Flame Emperor and Hollow, skip crit-based pieces entirely since their damage does not crit, and lean on raw damage relics such as Three Swords from Hell or Warrior’s Axe instead.

How to spend rerolls without wasting them
Every gear piece rolls stats inside a range, and the gap between a low and high roll is large. Reroll items come from Challenges and the Gold Shop at 2,500 Gold each, and an Equipment Lock can preserve one good stat while you reroll the rest. The rule is simple. Only reroll gear you plan to keep for a long time.
| Item quality | Reroll? | Reason |
|---|---|---|
| Best-in-slot exclusive | Yes | Worth the investment and long-term home |
| Perfect passive, poor stats | Yes | Passive value is still worth saving |
| Low-tier standard gear | Keep for now | Fine until a stronger drop appears |
| Gear for bench units | Skip | Resource efficiency matters more |
Prioritize stats in this order when deciding what a roll should improve. Damage is the best universal boost for carries. SPA reduction often raises total output more than a small damage bump because faster attacks mean more hits and more debuff uptime. Range improves safety and coverage. Crit stats matter only on units that already scale with crit. Lock the strong stat first, then reroll the weak ones, and always fund your main DPS before supports.
If you have Expeditions unlocked around level 20, redeem the code EXPEDITIONS for 30 Equipment Locks and 30 Equipment Rerolls to jump-start your rolls on a top carry.
Gear priority as your account grows
All gear slots open before Expeditions mode at level 20, and a filled slot beats an empty one every time. Newer players slow themselves down by hoarding gear for later, so equip whatever standard piece you have now and upgrade as better drops appear.
| Stage | What to equip | Goal |
|---|---|---|
| Early Story | Best standard gear you own | Keep units efficient |
| Midgame | Standard gear plus first exclusives | Balance stats and utility |
| Late game | Optimized unit-specific relics | Maximize carry output |
| Raids | Exclusives with matching passives | Increase team synergy |
The most important habit is matching gear to a unit’s damage source rather than chasing whatever looks rarest. A cheap, role-matched relic on the right character beats a flashy mismatched one. Evolve your main damage dealers first, fill every slot with current-map gear, then farm exclusives for your top carries and reroll those before touching anything on the bench.