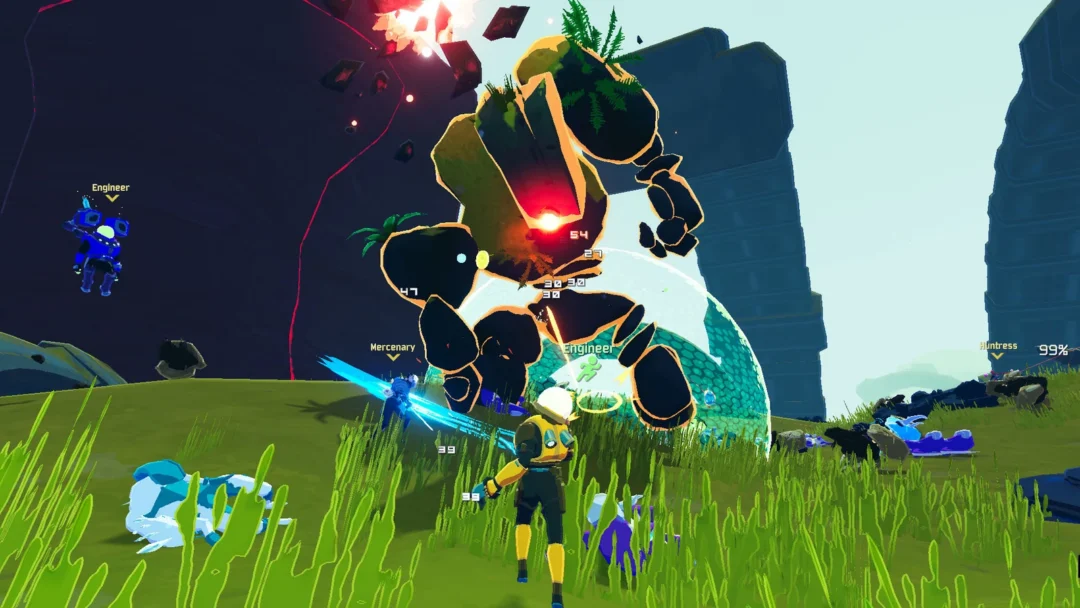
Raids are the harder end of Anime Expeditions, sitting past the Expedition mode and built around tougher enemies, extra stage modifiers, and a reward pool you can’t get from Story stages. Each run sends you through waves before a boss, and clearing acts pays out both stage-specific loot and Raid Tokens for a dedicated shop.
Quick answer: Reach Player Level 25, open Areas → Gamemode → Raids, approach the raid entrance and press E to pick a stage. Spirit City is the only stage right now, with three acts and their own bosses.
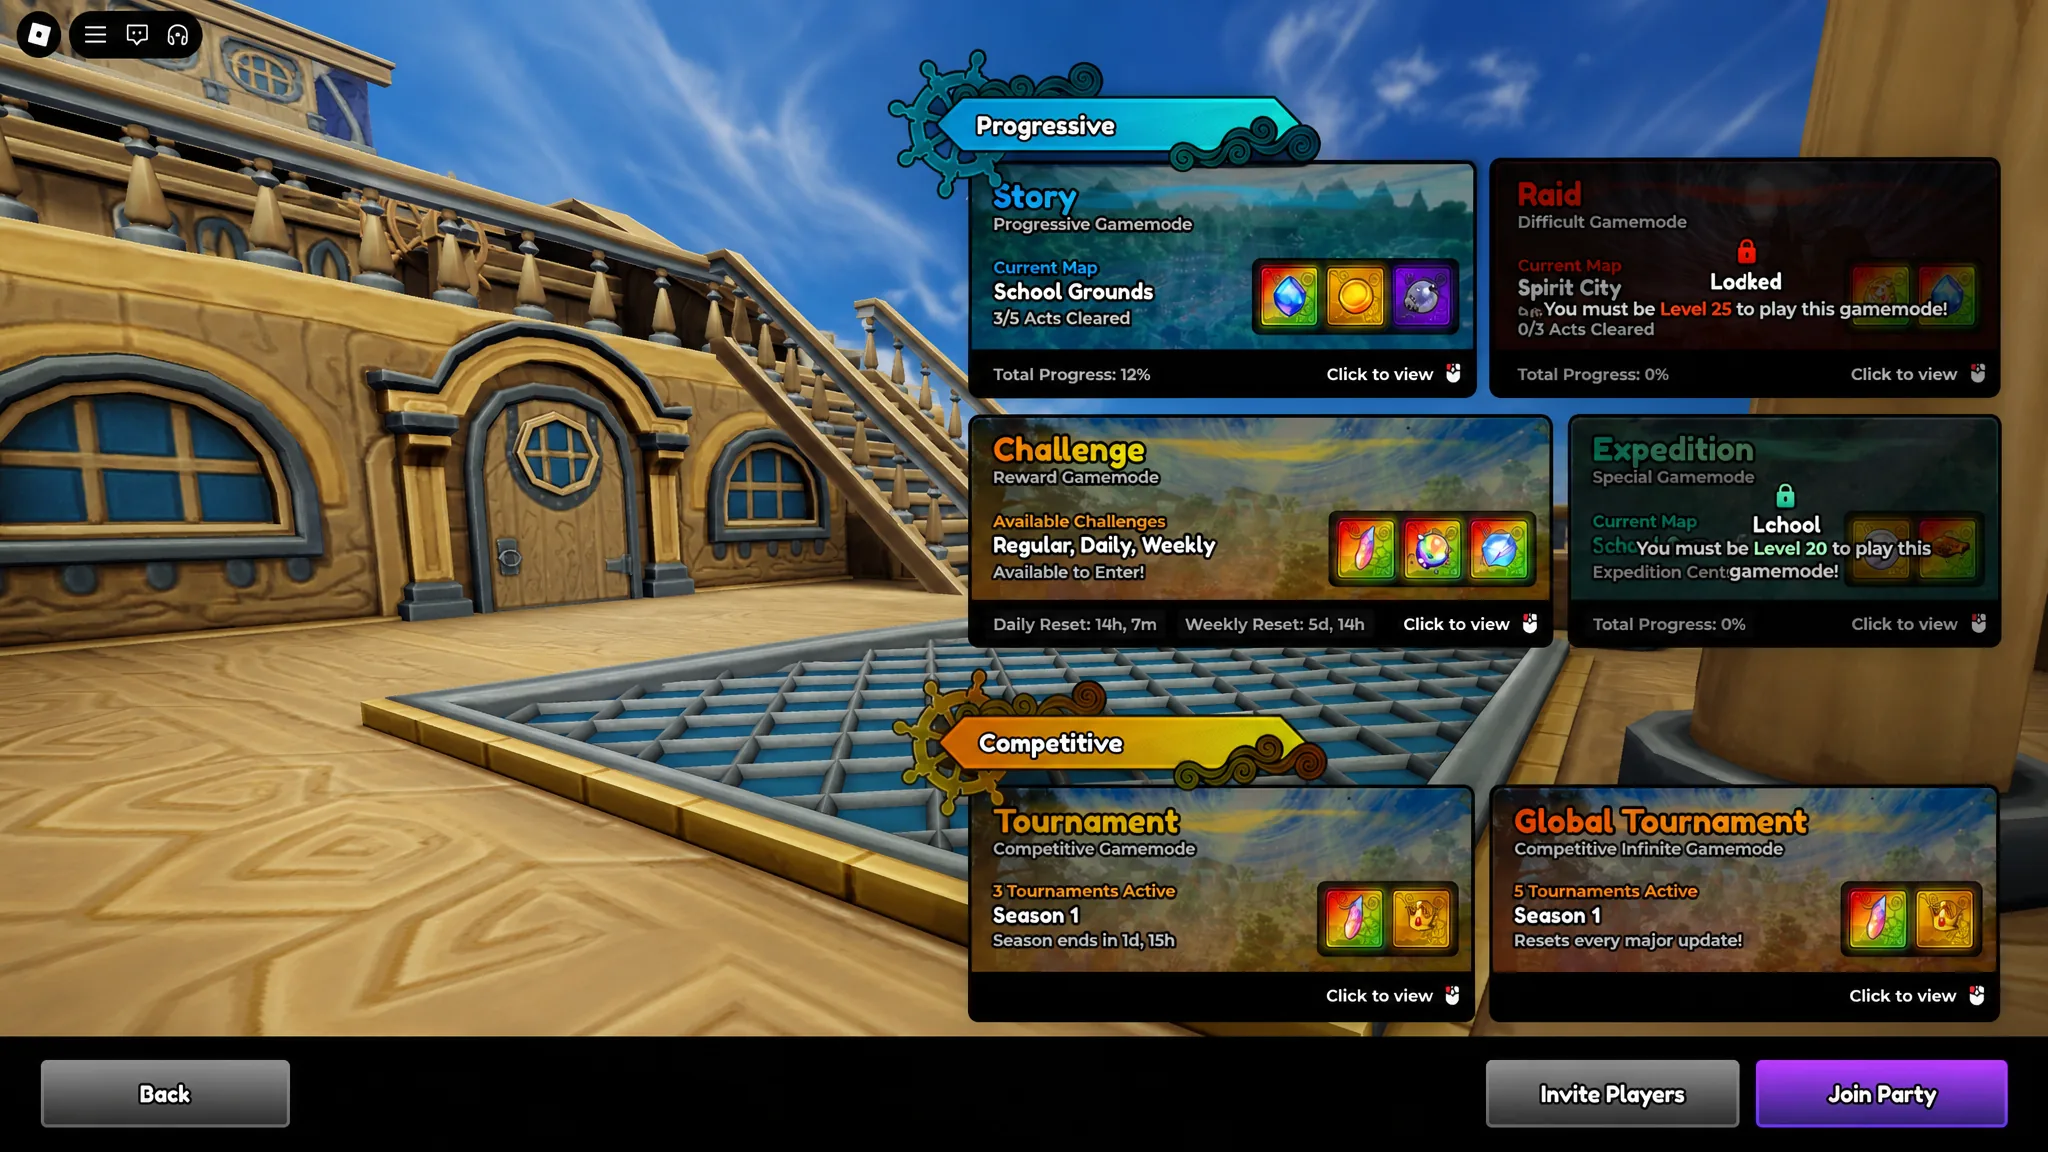
Unlock Raids at Player Level 25
Raids stay locked until your account hits Player Level 25. That level is tied to your account, not a single unit, so you build it up by clearing Story, running Expeditions, summoning units, and finishing quests. Once you cross the mark, the mode becomes available from the game’s area menu.
You reach the correct game through the official Roblox listing rather than any mirror place. Play it here:
Spirit City acts, bosses, and rewards
Spirit City runs across three acts, each ending in its own boss. Act 3 is the hardest fight but also drops the rarest reward and the most tokens. Every act pays out a shared block of common currency alongside its featured loot.
| Act | Boss | Featured drops | Raid / Spirit Tokens |
|---|---|---|---|
| 1 | Glam Reaper | Hair Bells (5%, 20 pity), Spirit of the Moonblade (5%, 20 pity), Shionigami Sword (2.5%) | 10 / 10 |
| 2 | Silver Serpent | Reaper (5%, 20 pity), Shinigami Sword (3%) | 15 / 15 |
| 3 | Berserker | 8th Sword (1%, 35 pity), Shinigami Sword (3.5%) | 20 / 20 |
On top of those drops, every act hands you the same common rewards: 125 Gems, 125 Gold, 1,000 Unit EXP, 145 Player EXP, and 2 Bunny Candy. Because the token payout climbs with each act, clearing the highest act your team can reliably beat is the fastest way to build up Raid Tokens.
How pity works on Raid drops
Several featured items carry a pity counter, which guarantees the drop after that many attempts if it hasn’t already appeared. This is what makes repeated farming worthwhile even when the rare item refuses to show up early. The main boss holds every stage effect, so pushing to the pity number takes a team that can actually finish the fight consistently.
| Reward | Drop rate | Pity |
|---|---|---|
| Hair Bells | 5% | 20 |
| Spirit of the Moonblade | 5% | 20 |
| Reaper | 5% | 20 |
| 8th Sword | 1% | 35 |
Stage effects that change each act
Every act layers on enemy modifiers, and most of the difficulty comes from working around them rather than from raw enemy health. The recurring one to plan against is Immunity, which appears in all three acts and blocks crowd control on enemies. Because slows and stuns often won’t land, raw damage, reliable range, and strong single-target output matter more than control-heavy teams.
| Act | Notable effects |
|---|---|
| 1 | Bulwark (immune to damage for 3s every 10s), Immunity, Sprinter (+45% speed, -20% HP), Tank (-20% speed, +20% HP) |
| 2 | Immunity, Retaliation Counter (every 20 hits stuns your units for 2s), Sprinter, Tank |
| 3 | Greed (boss drains 10% HP from nearby enemies within 5 range every 10s), Immunity, Sprinter, Tank |
Each effect asks for a different adjustment. Bulwark means you should hold heavy abilities until the invulnerability window ends. Retaliation Counter punishes fast multi-hit units because they trigger the stun sooner, so fewer, harder hits are easier to manage. Greed lets the Berserker recover health off nearby mobs, which makes clearing clustered enemies quickly more important than tunneling the boss.
Raid Shop items and costs
Raid Tokens earned from clears feed a dedicated Raid Shop. Each item has a fixed purchase limit, and the reset behavior is worth confirming in your client. Some listings describe the stock as one-time with no refresh, while others report a weekly reset, so treat the limits below as the caps you’ll see before any refresh.
| Item | Cost | Limit | Use |
|---|---|---|---|
| Sprite (Grey) | 5 Raid Tokens | 100 | Base material for other sprites |
| Trait Crystal | 10 Raid Tokens | 50 | Rerolls a unit’s trait |
| Stat Reroll | 10 Raid Tokens for 3 | 10 | Rerolls a unit’s stat potential |
| Stat Lock | 10 Raid Tokens | 10 | Preserves one stat during a reroll |
| Equipment Reroll | 10 Raid Tokens for 3 | 10 | Rerolls equipment stat potential |
| Equipment Lock | 10 Raid Tokens | 10 | Locks an equipment stat from changing |
Because stock is capped, spend deliberately. Trait Crystals are the standout buy when a strong unit is stuck with a weak trait, and Stat Rerolls pair with Stat Locks so you can chase better rolls without losing the good ones you already have. Equipment Rerolls and Equipment Locks serve the same purpose for gear. The Grey Sprite is cheap with a high limit but mostly exists as a crafting base.
Prepare a team before entering
Raid bosses hit far harder than standard enemies, so a party that coasts through Story will still stall here. Get your core units to their level cap and fully evolved before committing to the later acts, and lean into damage and range rather than control since Immunity is always in play.
- Raise stat potential on your main squad and lock the good rolls.
- Equip strong, fitting traits on your primary carry.
- Upgrade unit skills and use your best available equipment.
- Build for fast, high-health enemies rather than crowd control.
Act 1 is the right place to learn the mechanics, since its modifiers are the most forgiving. Once your team clears it cleanly, move up to Act 2 and Act 3 for more Raid and Spirit Tokens plus the rarer featured drops. You’ll know a run succeeded when the act completes and the reward screen delivers the common currency block along with any rolled drop, and pity counters only tick up on completed attempts, so leaks and boss stalls are the usual reasons a farming loop feels slow.