Prison Island in the First Sea hides a wall of colored levers inside its main keep, and pulling them in the wrong order does nothing. The levers are wired to a sealed gate on the floor above, and the colored planks mounted beside them spell out the sequence the game expects. Get it right and the gate swings open, releasing the enemies tied to the island’s secret objective.
Quick answer: Pull the levers in this order — Red (second from the left), Blue (far left), Green (far right), then Blue (third from the left).
Prison Island requirements before attempting the lever puzzle
Prison sits west of Fountain City and is built for players in the Level 190–250 band. The enemies and bosses that live there hit accordingly, so arriving well under that range means you can flip the levers but not survive what comes out of the gate.
| Detail | Value |
|---|---|
| Sea | First Sea |
| Location | Island west of Fountain City |
| Quest level range | 190–250 |
| Quest giver | Jail Keeper |
| Bosses on the island | Warden, Chief Warden, Swan |
The island is a circular fortress with an inner and an outer wall. The dock leads to the main gate, and past it you get a grassy courtyard with the keep at the back. That keep is where the levers are.
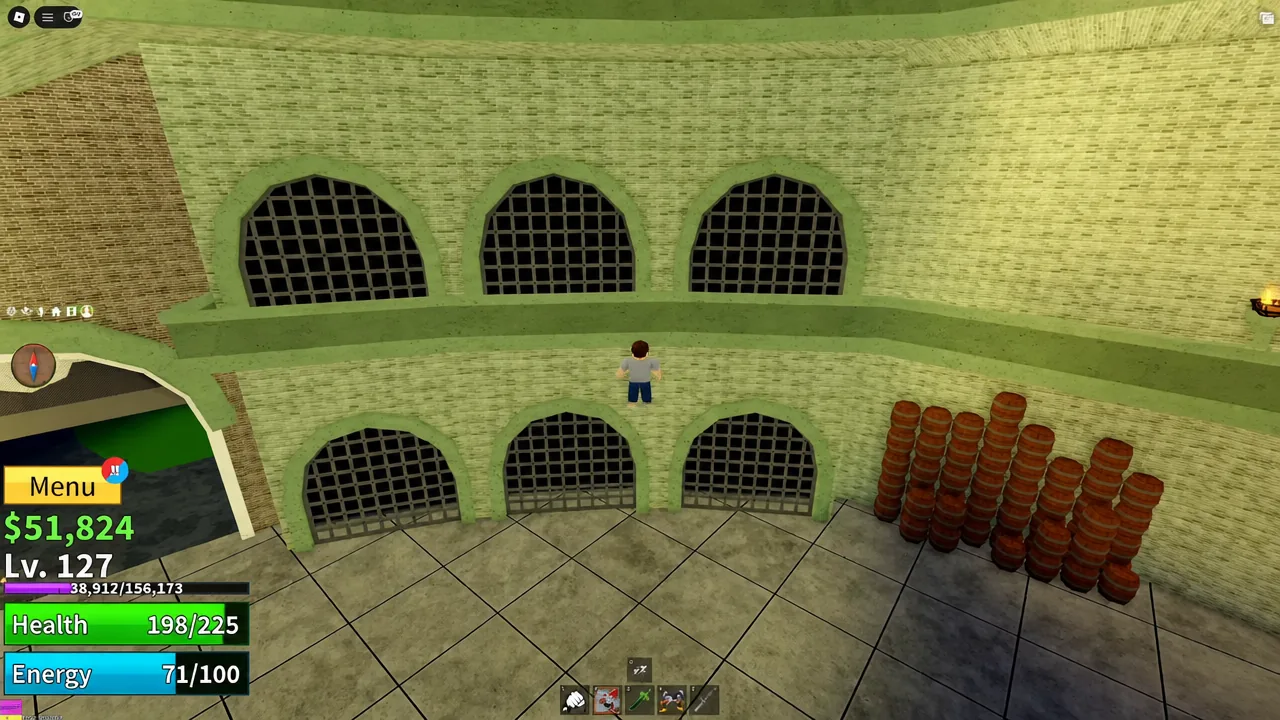
Where the colored levers are inside the keep
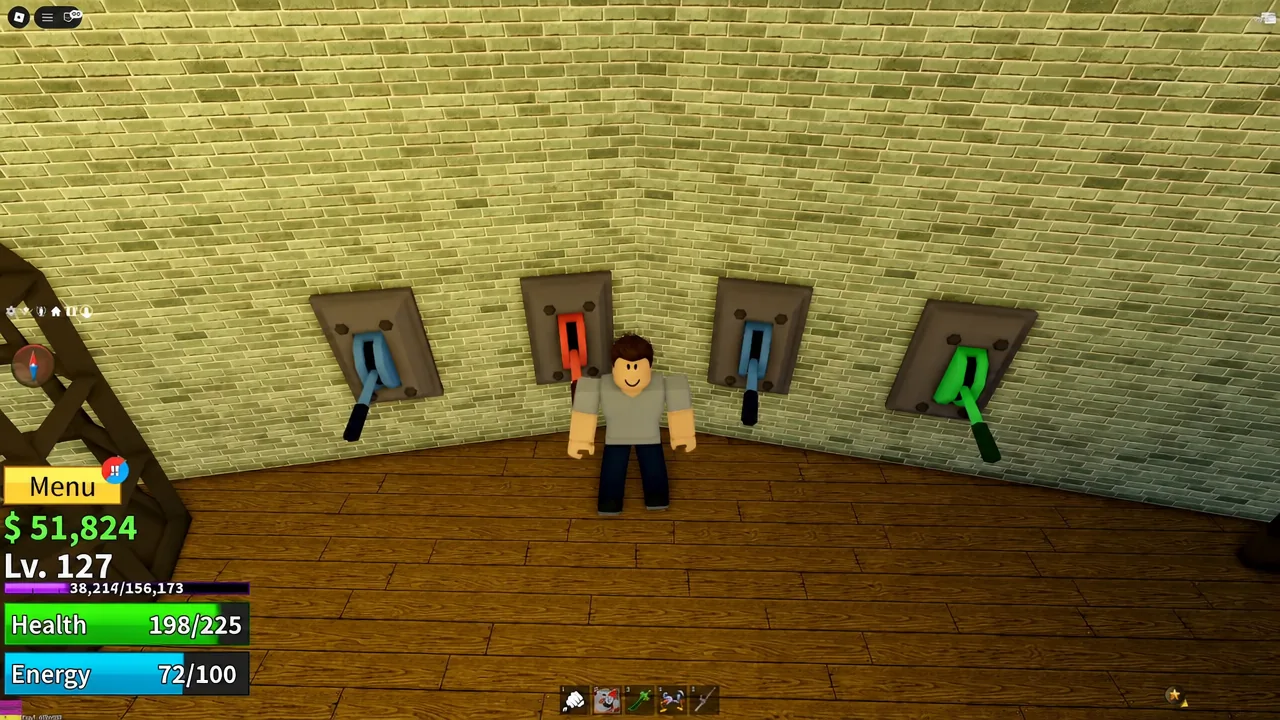
Head into the main keep and look for a stretch of wall carrying four levers side by side. From left to right they read Blue, Red, Blue, Green. Two of them are the same color, which is the whole trick — the sequence treats the two blue levers as separate switches, not as one repeated color.
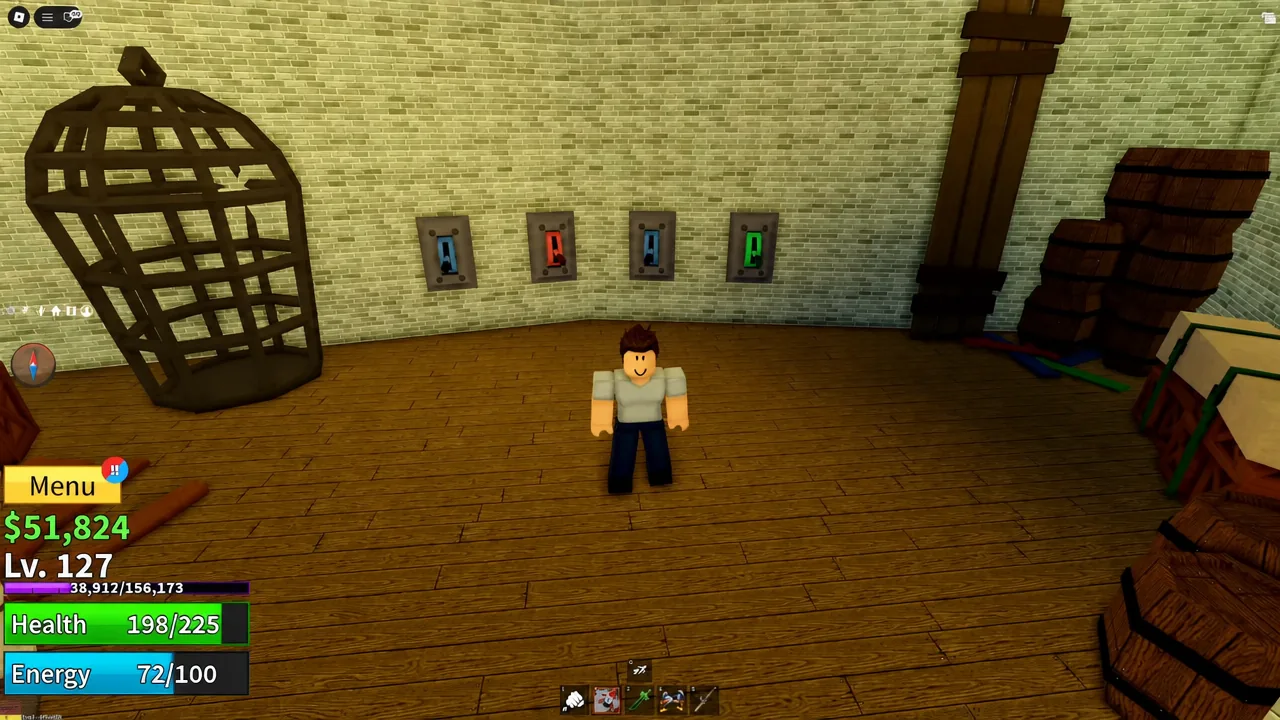
Colored planks are fixed next to the levers. They indicate the order the gate upstairs is expecting, so the puzzle is readable in-game without any outside help — the levers themselves are just the input.
Colored lever order that opens the gate
Four pulls, in one fixed order. Position matters more than color here, because you use the far-left blue lever and the third blue lever at different points in the sequence.
| Pull | Color | Position on the wall |
|---|---|---|
| 1 | Red | Second from the left |
| 2 | Blue | First, far left |
| 3 | Green | Fourth, far right |
| 4 | Blue | Third from the left |
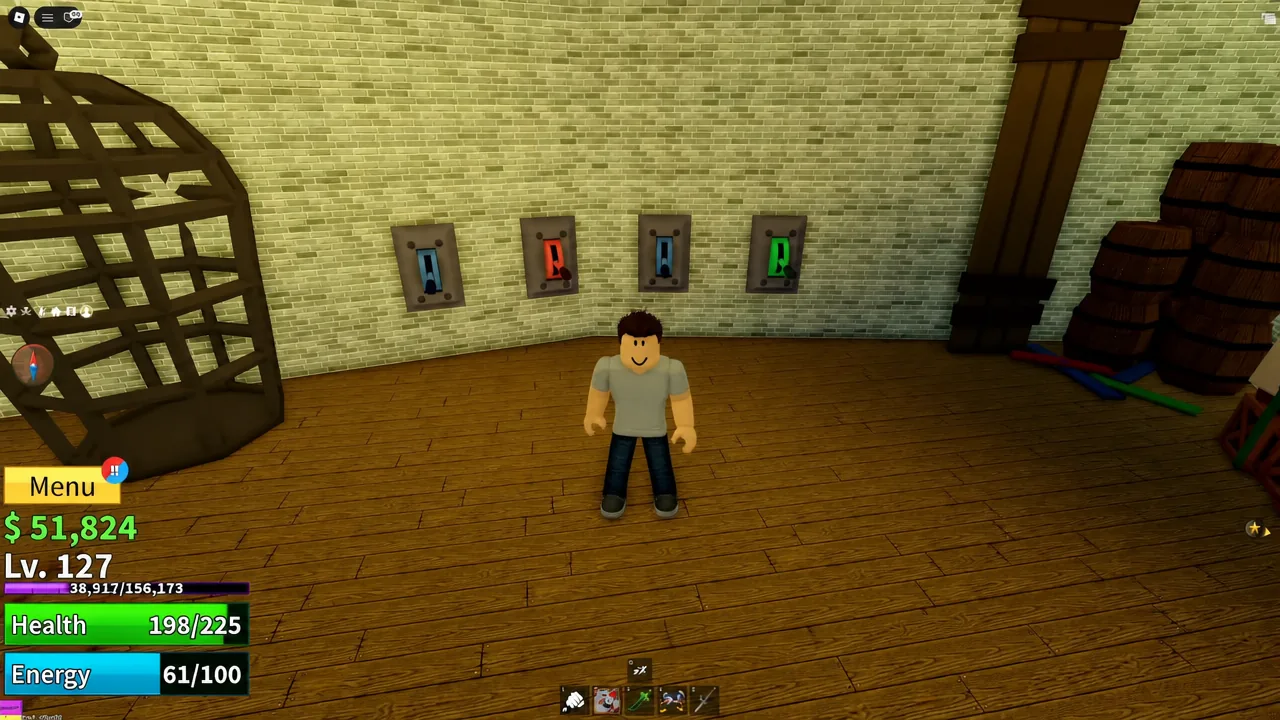
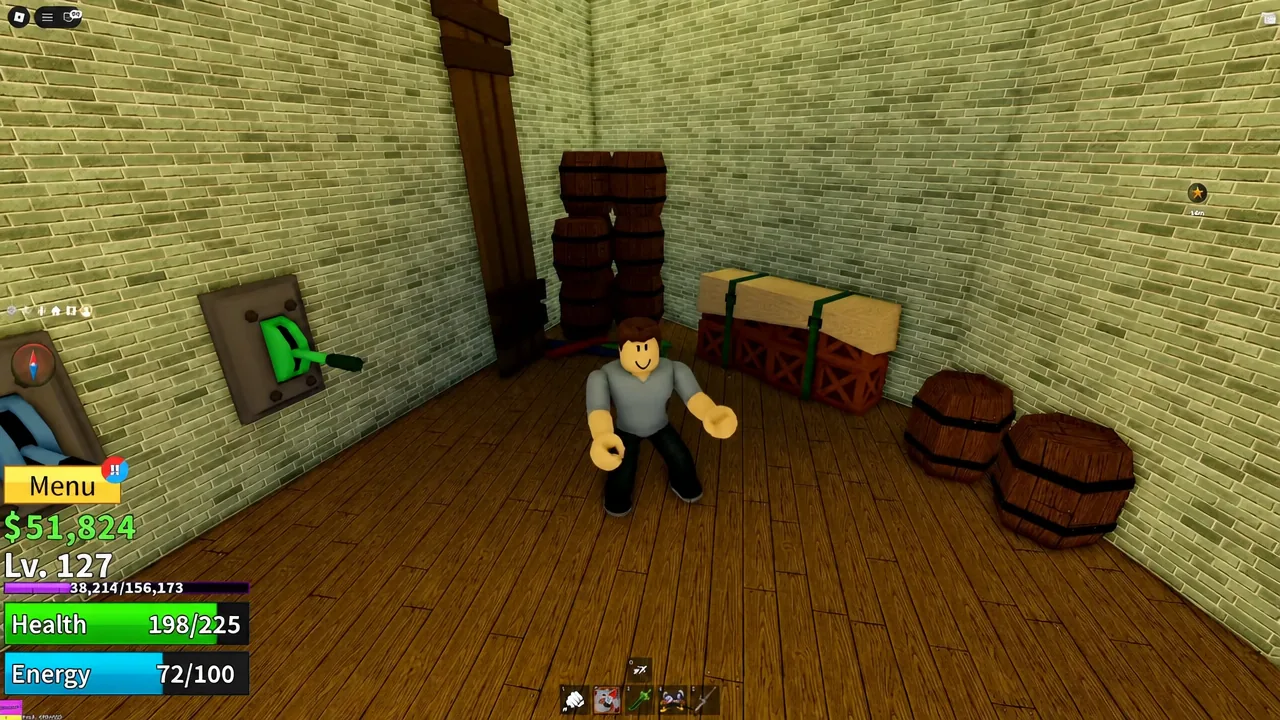
How to tell the sequence worked
The confirmation is physical rather than a popup. The closed prison gates open once the fourth lever is pulled, and enemies come out of the space behind them. Clearing those enemies is what actually completes the secret objective, so the lever wall is only the first half of the job.
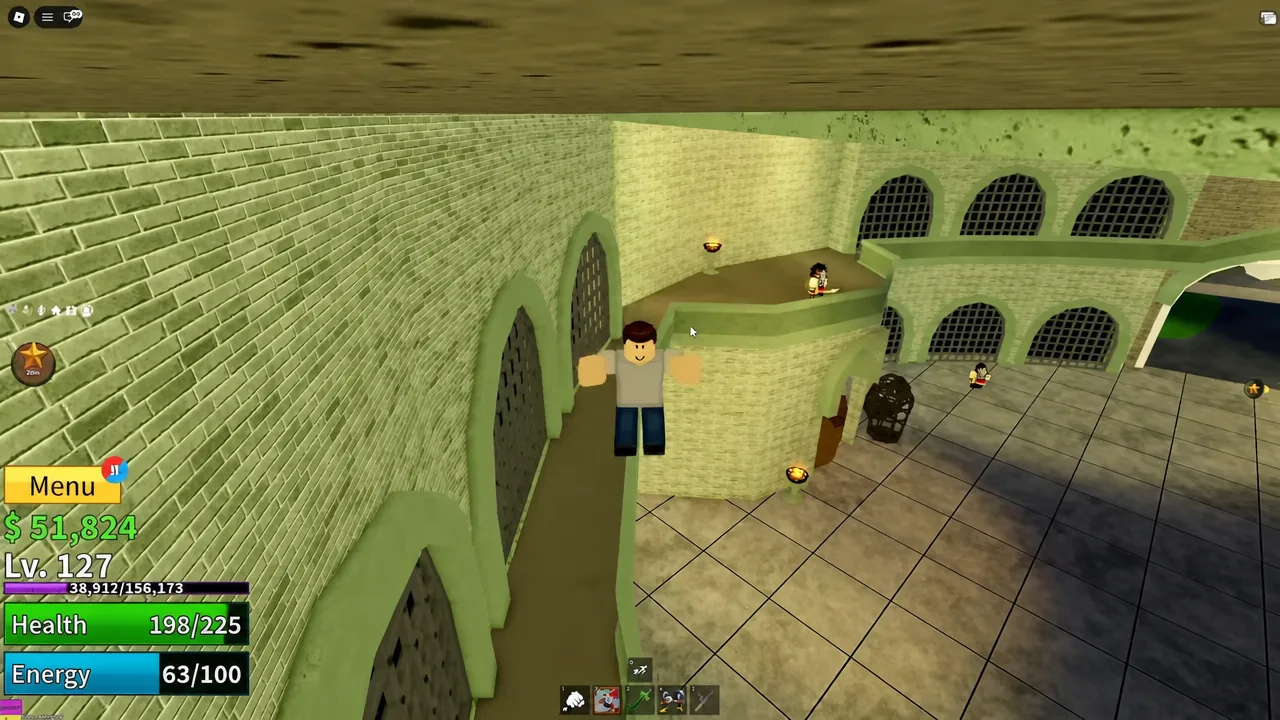
If the gate stays shut, the cause is almost always the blue levers. Swapping the far-left blue with the third blue breaks the sequence even though the colors look identical, and starting on any lever other than the red one invalidates the run of four. Reset by pulling them again from the top in the listed order.
What clearing the Prison secret gets you
Every island in the First Sea carries secret objectives introduced with Update 30, and each completed one awards a star alongside rewards like EXP, Money, Gems and Stat Points. Collecting all 40 stars across the sea unlocks the Teleporter in Middle Town.
Prison has more than the lever wall. The Jail Keeper also wants three escaping prisoners dealt with — one digging a tunnel in the grass, one working on the outer wall, and one building a raft down on the shore. Confront each before attacking.
Note: Awakened versions of First Sea bosses roll for a spawn on the hour. The Secrets Master NPC in Middle Town will tell you which one stirs next if you ask, which saves sailing out to an island that has nothing waiting for you.
Once the gate is open and the enemies behind it are down, return to the quest giver to bank the reward before hopping servers. The lever wall resets with the server, so the sequence is worth memorizing rather than re-reading each run.