Trading in Cameraman Tower Defense lets two players swap units directly from the lobby, with gems available to sweeten any deal. The whole exchange runs through the green Trading button on the left HUD, and both players have to agree before anything moves.
Quick answer: Open the Trading menu on the left HUD, press the green Trade button next to a player’s name (or accept their request), add units and gems to Your Offer, then both players press Accept.
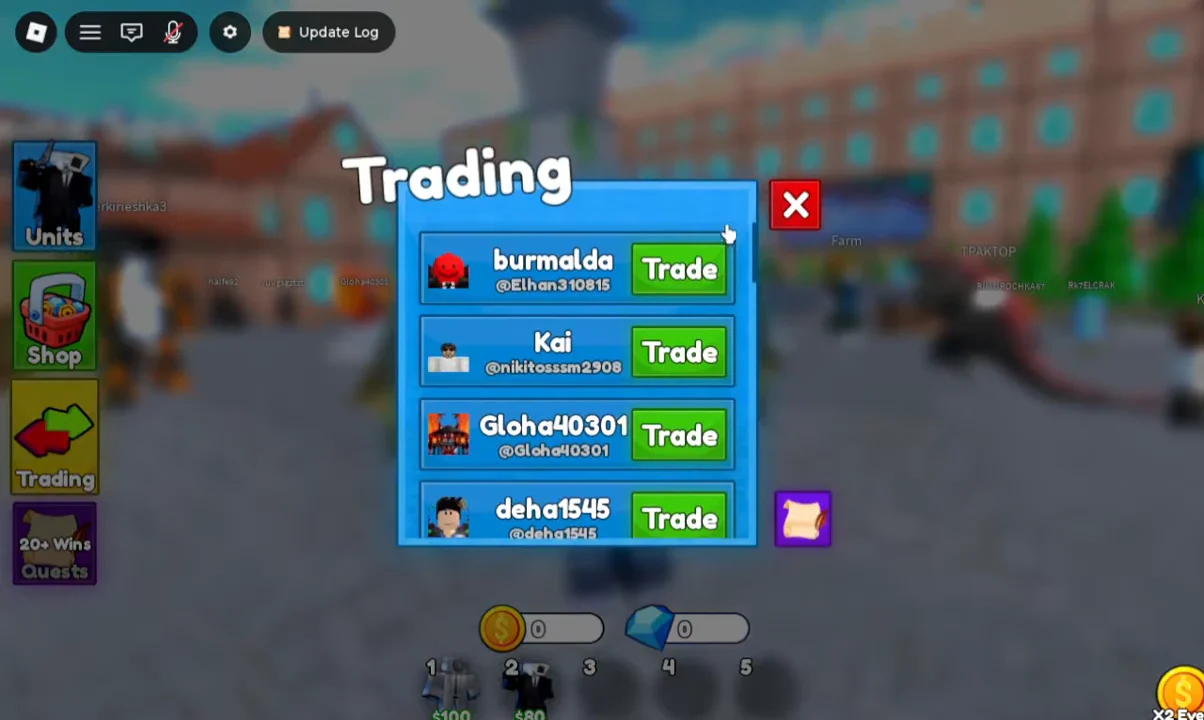
Start a trade from the Trading menu
Every trade begins in the lobby. The left-side HUD holds the Units, Shop, Trading and Quests buttons, and trading only works while you are standing in that lobby area rather than inside a match.
Accept an incoming trade request
When another player invites you, a prompt pops up reading “Hey! [Player] sent you a trade request!” with Yes! and No! buttons. Press Yes! to open the trade window, or No! to dismiss it.
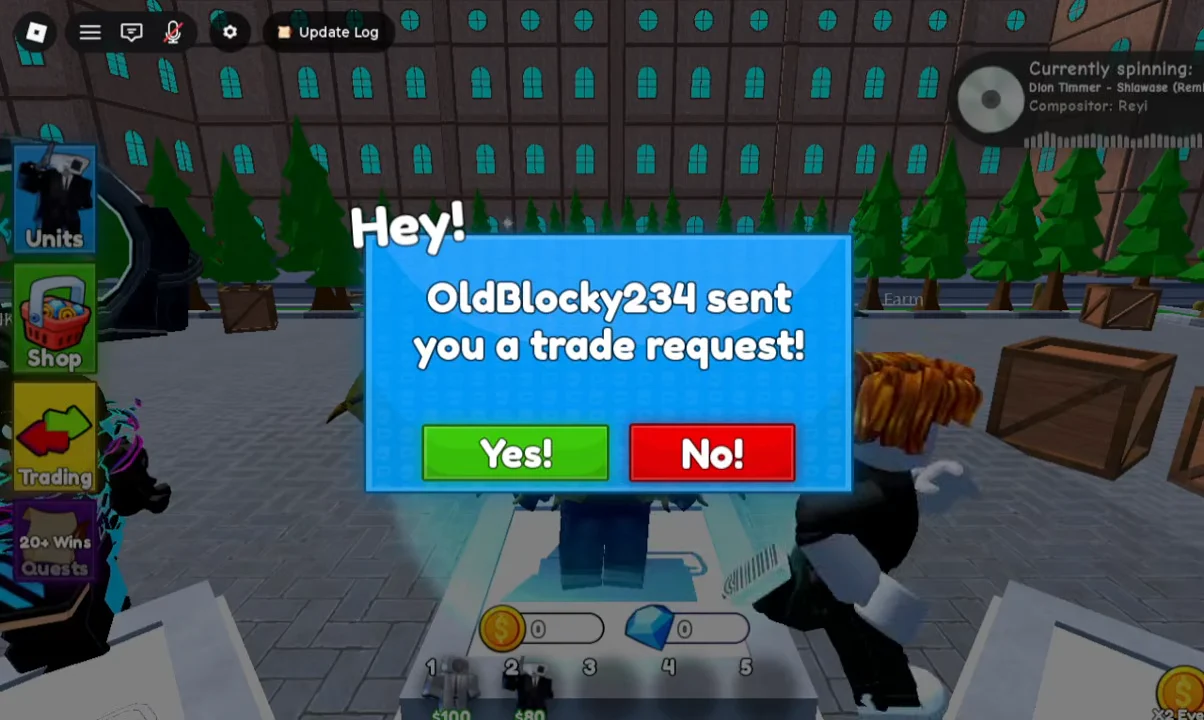
These prompts can arrive at any time while you are in the lobby, even if you were about to send your own request. Declining one does not stop you from inviting that player yourself afterward.
Build your offer and inspect unit stats
Once the trade window is open, it splits into your inventory on the left and the two offers in the middle, with the other player’s name over their side. You fill Your Offer from the tabs available to you.
- Units and Inventory tabs hold your summoned cameramen and allies.
- The Items tab holds anything else you can put up for trade.
- The diamond input box below the offer pane lets you add Gems to the deal.
Select a unit or item from the left to drop it into Your Offer. You can mix units and gems in the same offer, which is useful when one side’s unit is worth more than the other’s.
Before you commit, click a unit to open its inspect card and read the numbers. A card shows Damage, Cooldown, DPS, Range and the Sell value in coins, written as a base-to-upgraded range. A basic Speakerman, for example, reads Damage 10 → 50, Cooldown 1 → 0.5, DPS 10 → 100, Range 6 → 10, and a Sell value of 60 Coins.
Rarity and existence counts matter more than the raw stats on a basic card. Titan Cameraman pulls act as the lobby’s trade benchmark, and offers are often priced in Titans, so check what you are giving against that bar before you accept.
Confirm or cancel the exchange
The trade window carries a green Accept button and a red Decline button. Both players have to press Accept for the units and gems to actually change hands.
If either side presses Decline, or backs out, the trade ends and nothing is exchanged. You will see a confirmation reading “Hey! Your Trade with [Player] has been cancelled.” with an Okay! button to close it. That popup is how you know a trade stopped rather than completed.
Check your Trading History
The Trading menu includes a parchment scroll icon that opens the Trading History window, where past exchanges are logged. If you have never completed a trade, it reads “There’s looks like no history :(” instead of a list.
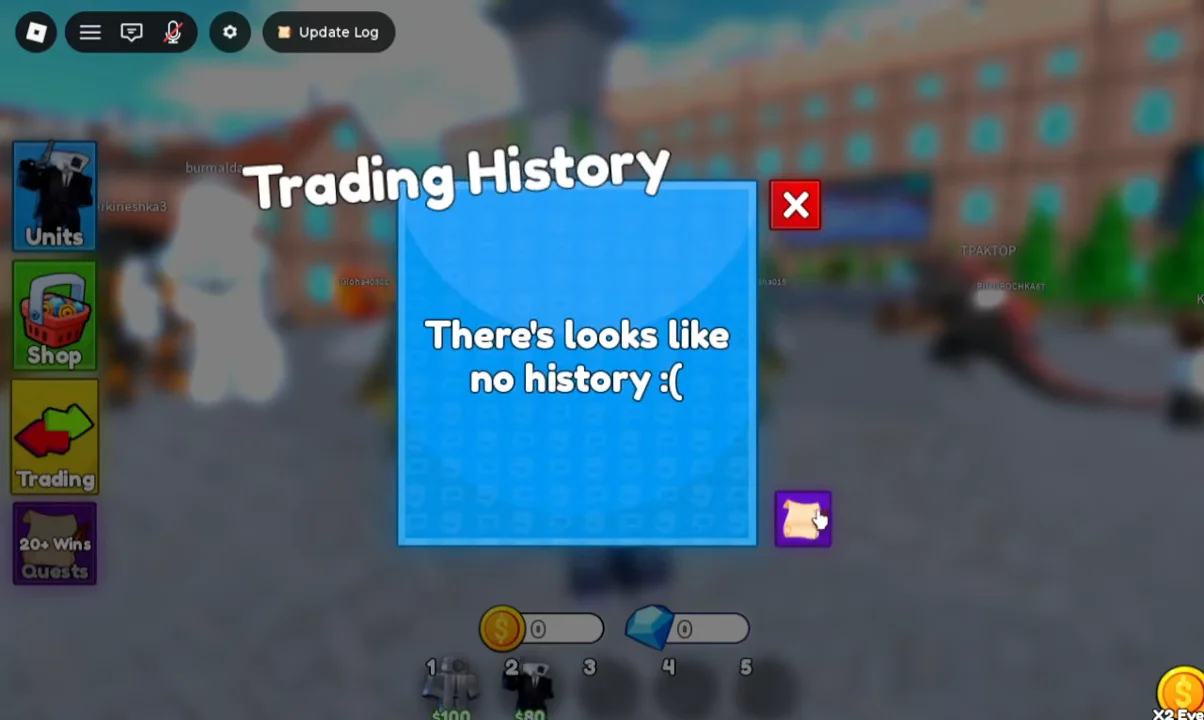
Once a trade goes through, both players keep whatever landed in their side of the deal, and the exchange shows up in this history list. That log is the clearest record that a swap finished, and it is worth a quick look whenever you want to confirm a deal completed the way you expected.