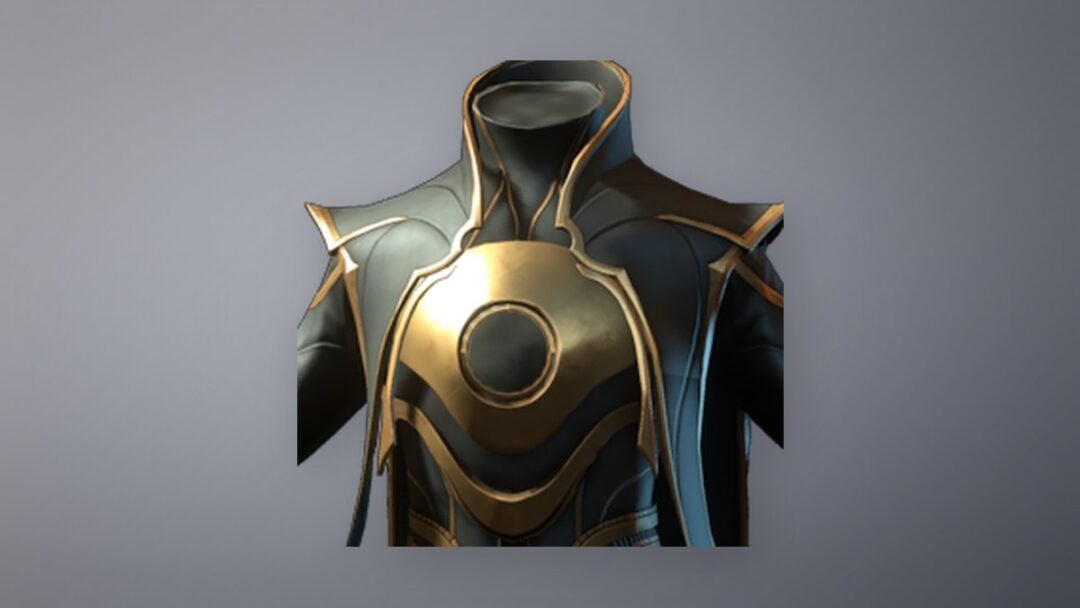
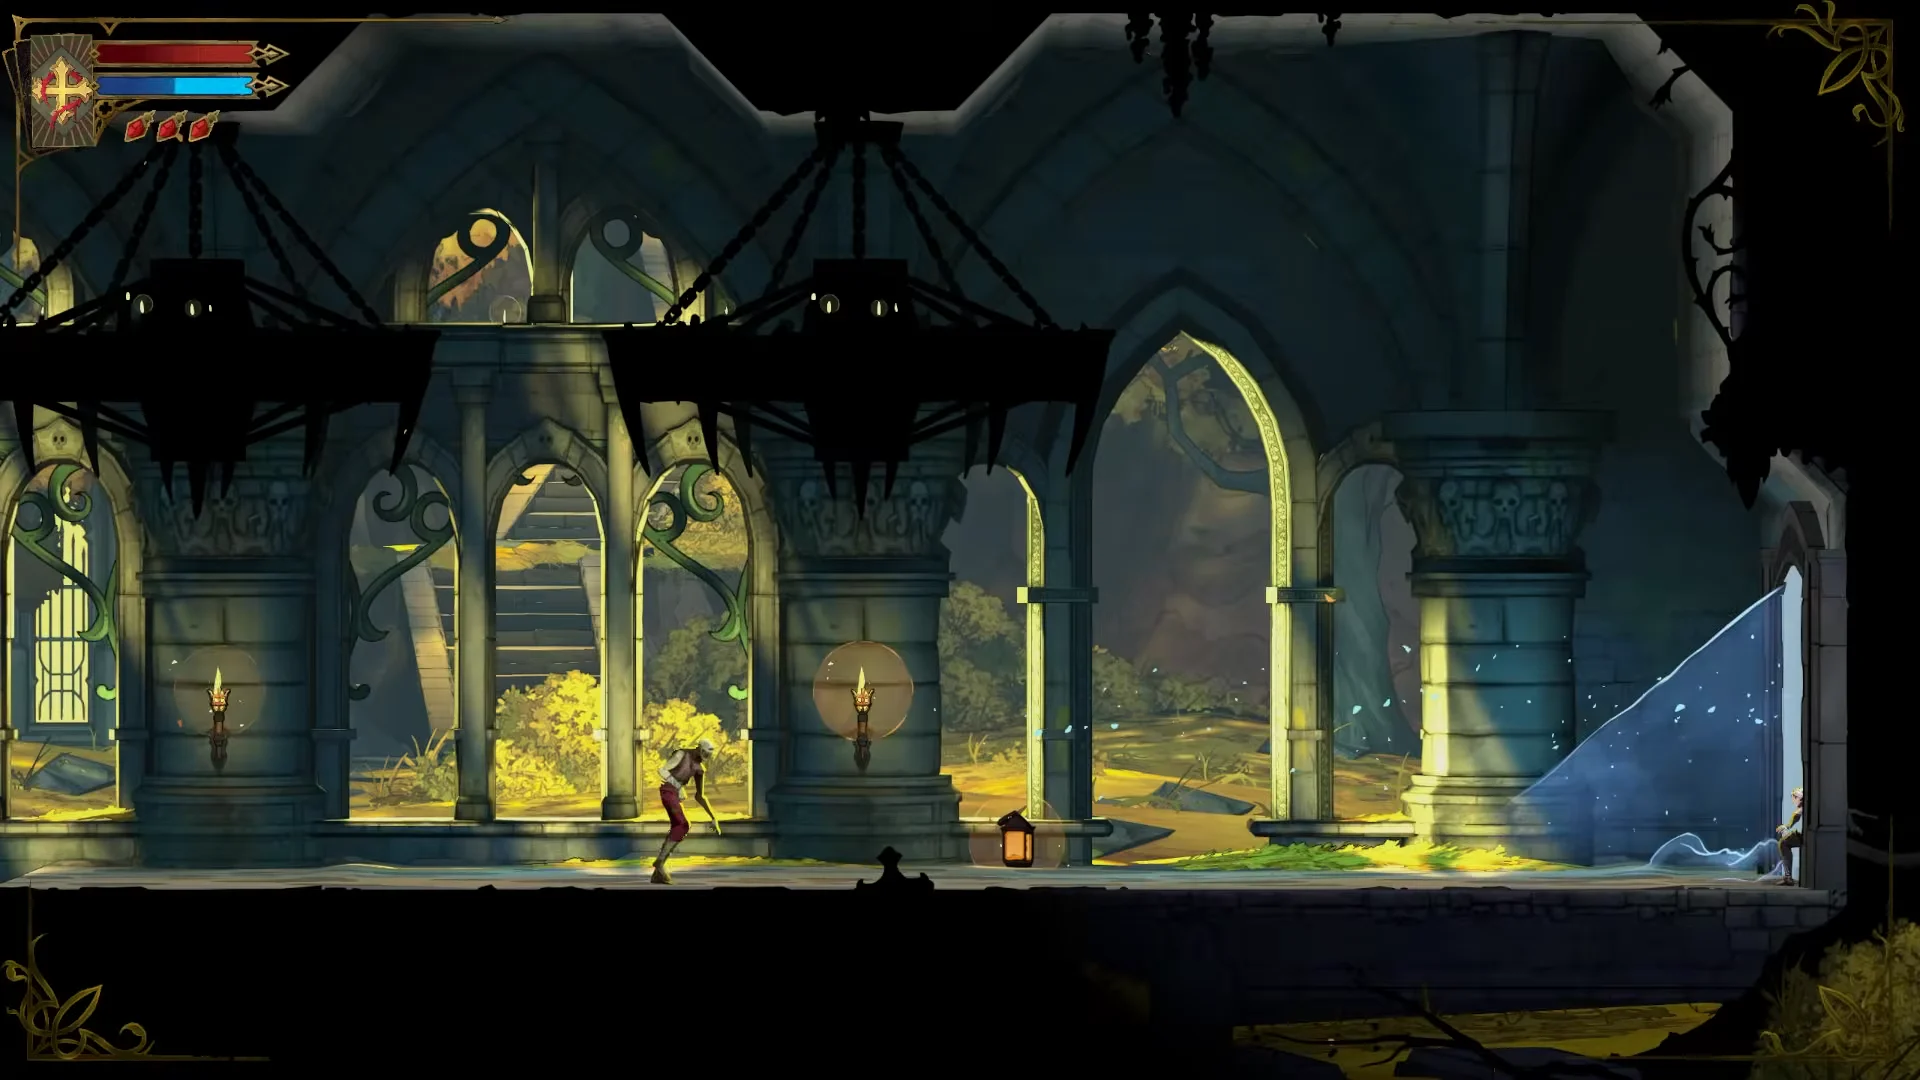
The Abyssal Eye is perched on an isolated shelf beyond the Cemetery Entrance, within Holy Innocents’ Cemetery, with the Paris skyline far below. Most players hurry through the graveyard and miss it. The usual route involves a long circuit through the cemetery, opening a shortcut latch, then timing a whip swing from a cross. Equipping it boosts Rose’s damage against controlled enemies.
Quick answer: Begin at the Cloister Mirror of Life, descend and climb back to the Cemetery Entrance, then drop through the shaft on its left. Open the wall latch and use your whip on the highest cross outside to swing to the relic ledge.
Abyssal Eye effect and relic details
The Abyssal Eye has one effect: each hit Rose deals to a controlled enemy gains 35% more damage while the relic occupies one of her three relic slots. It has no effect in your inventory.
| Field | Value |
|---|---|
| Type | Relic |
| Area | Holy Innocents’ Cemetery |
| District | Cemetery Entrance |
| Exact spot | Exterior cliff ledge, east of the shortcut |
| Effect | +35% damage against enemies under control |
| Slot | Any of Rose’s 3 relic slots |
The flavor text describes a frog’s eye kept in a murky flask, which ancient pagan cults treated as a symbol of rebirth. The lore has no gameplay effect.
How to get the Abyssal Eye from the Cloister Mirror of Life
The route is a loop. It drops deep into the cemetery, then climbs back up through the church to the Cemetery Entrance. Expect a little over five minutes at a steady pace, with flying monsters, crawlers, ghouls, an armored guard, and harpies on the way.
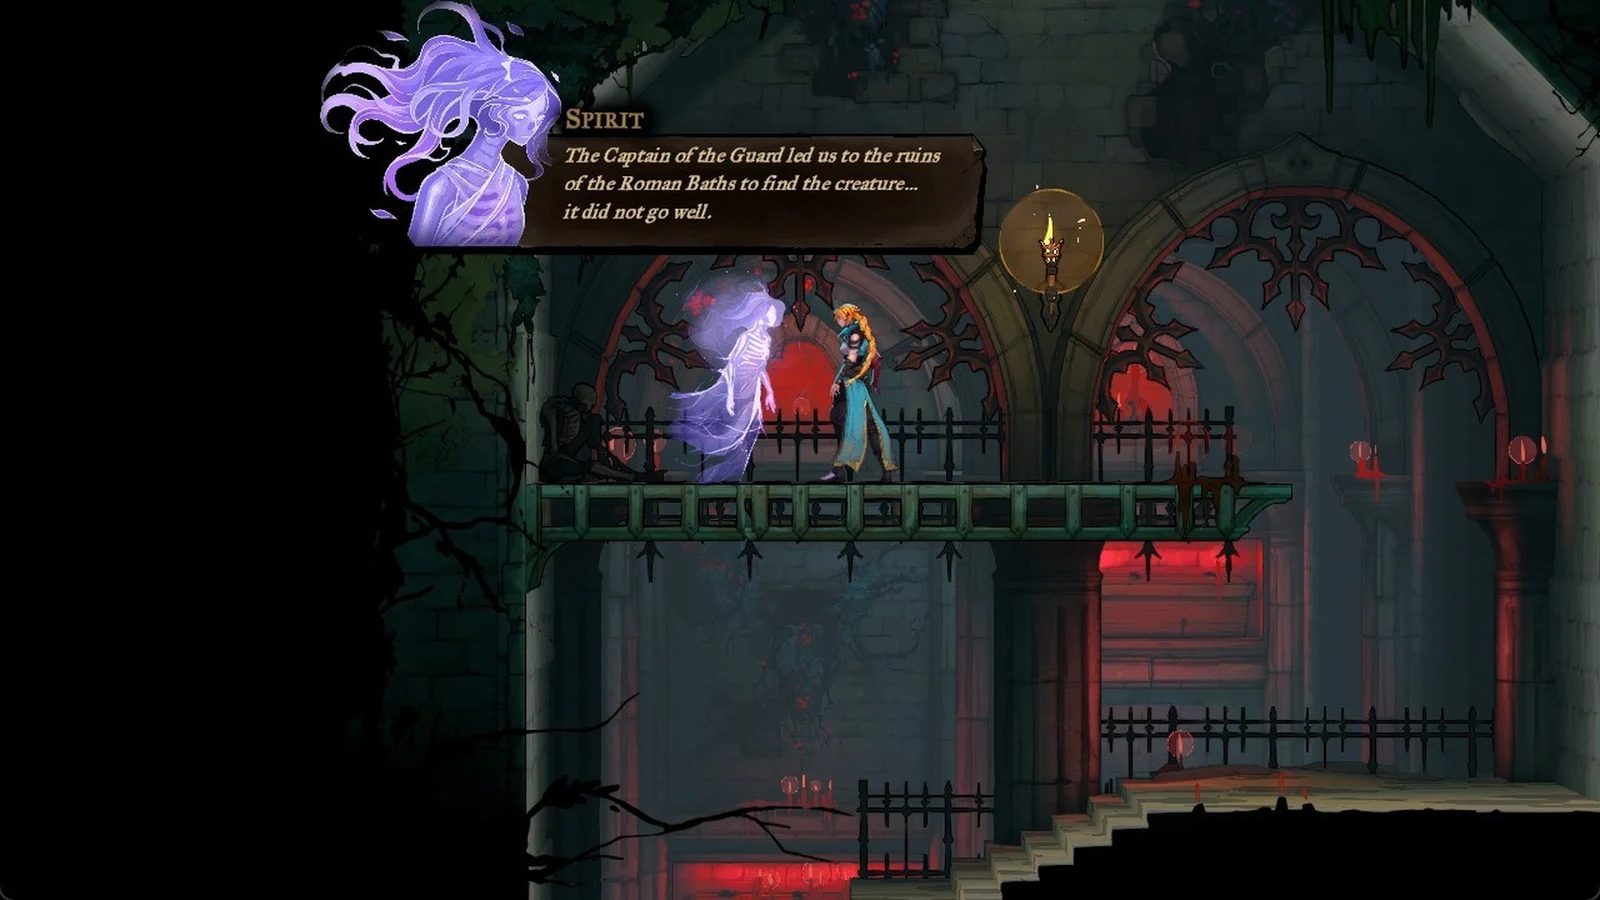
“The Captain of the Guard led us to the ruins of the Roman Baths to find the creature… it did not go well.”
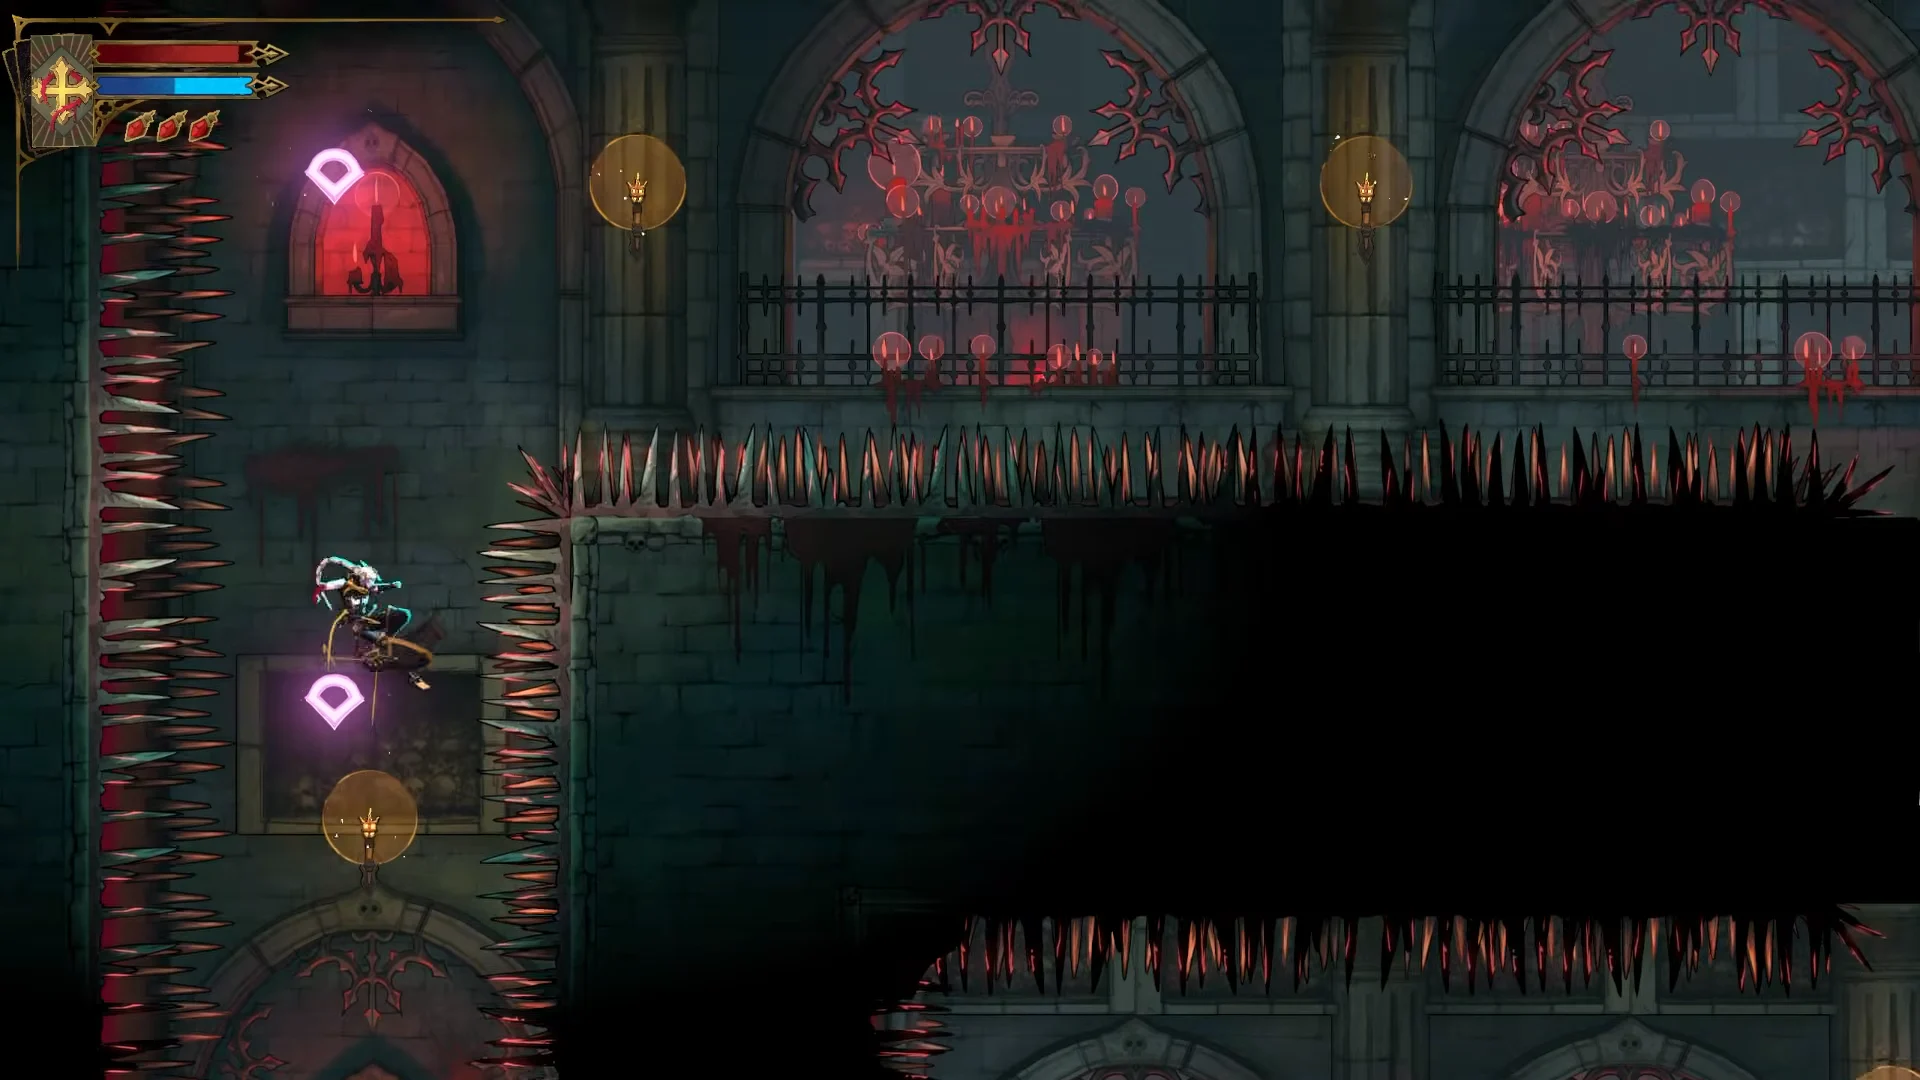
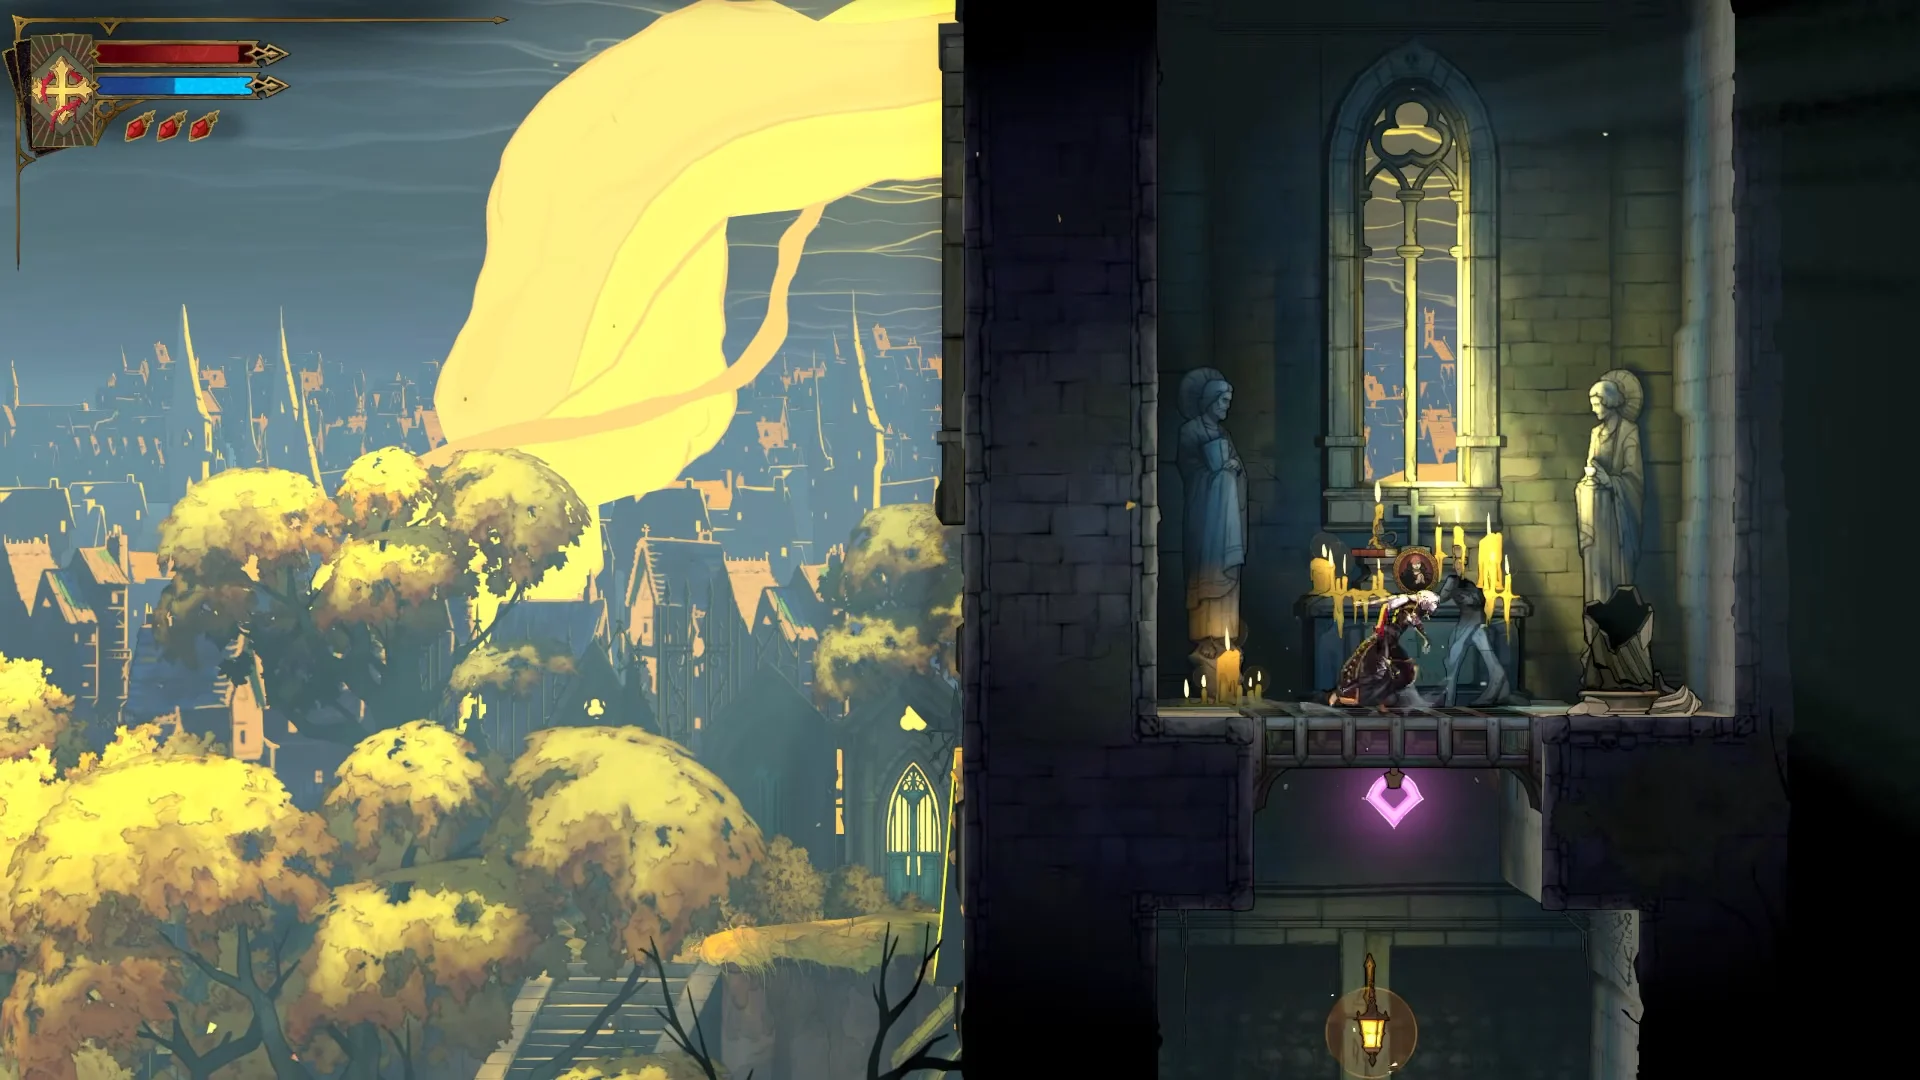
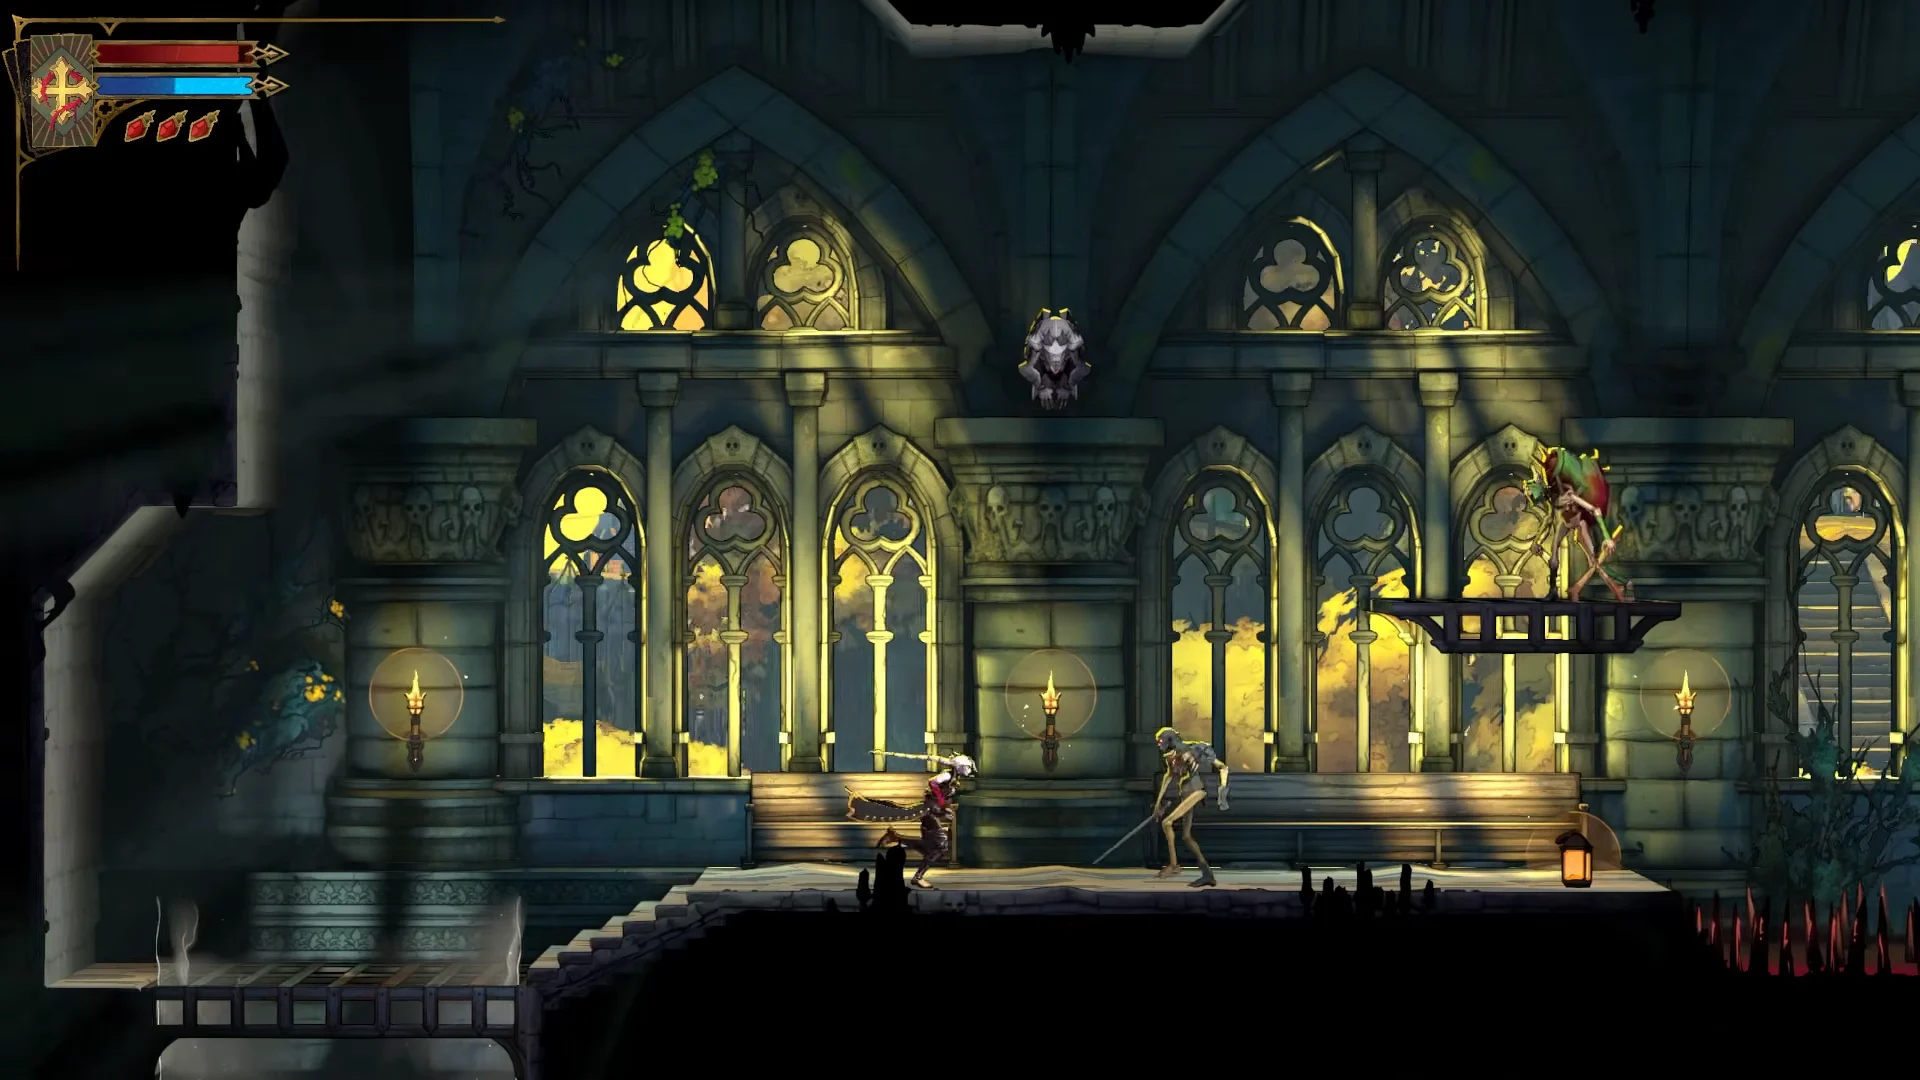
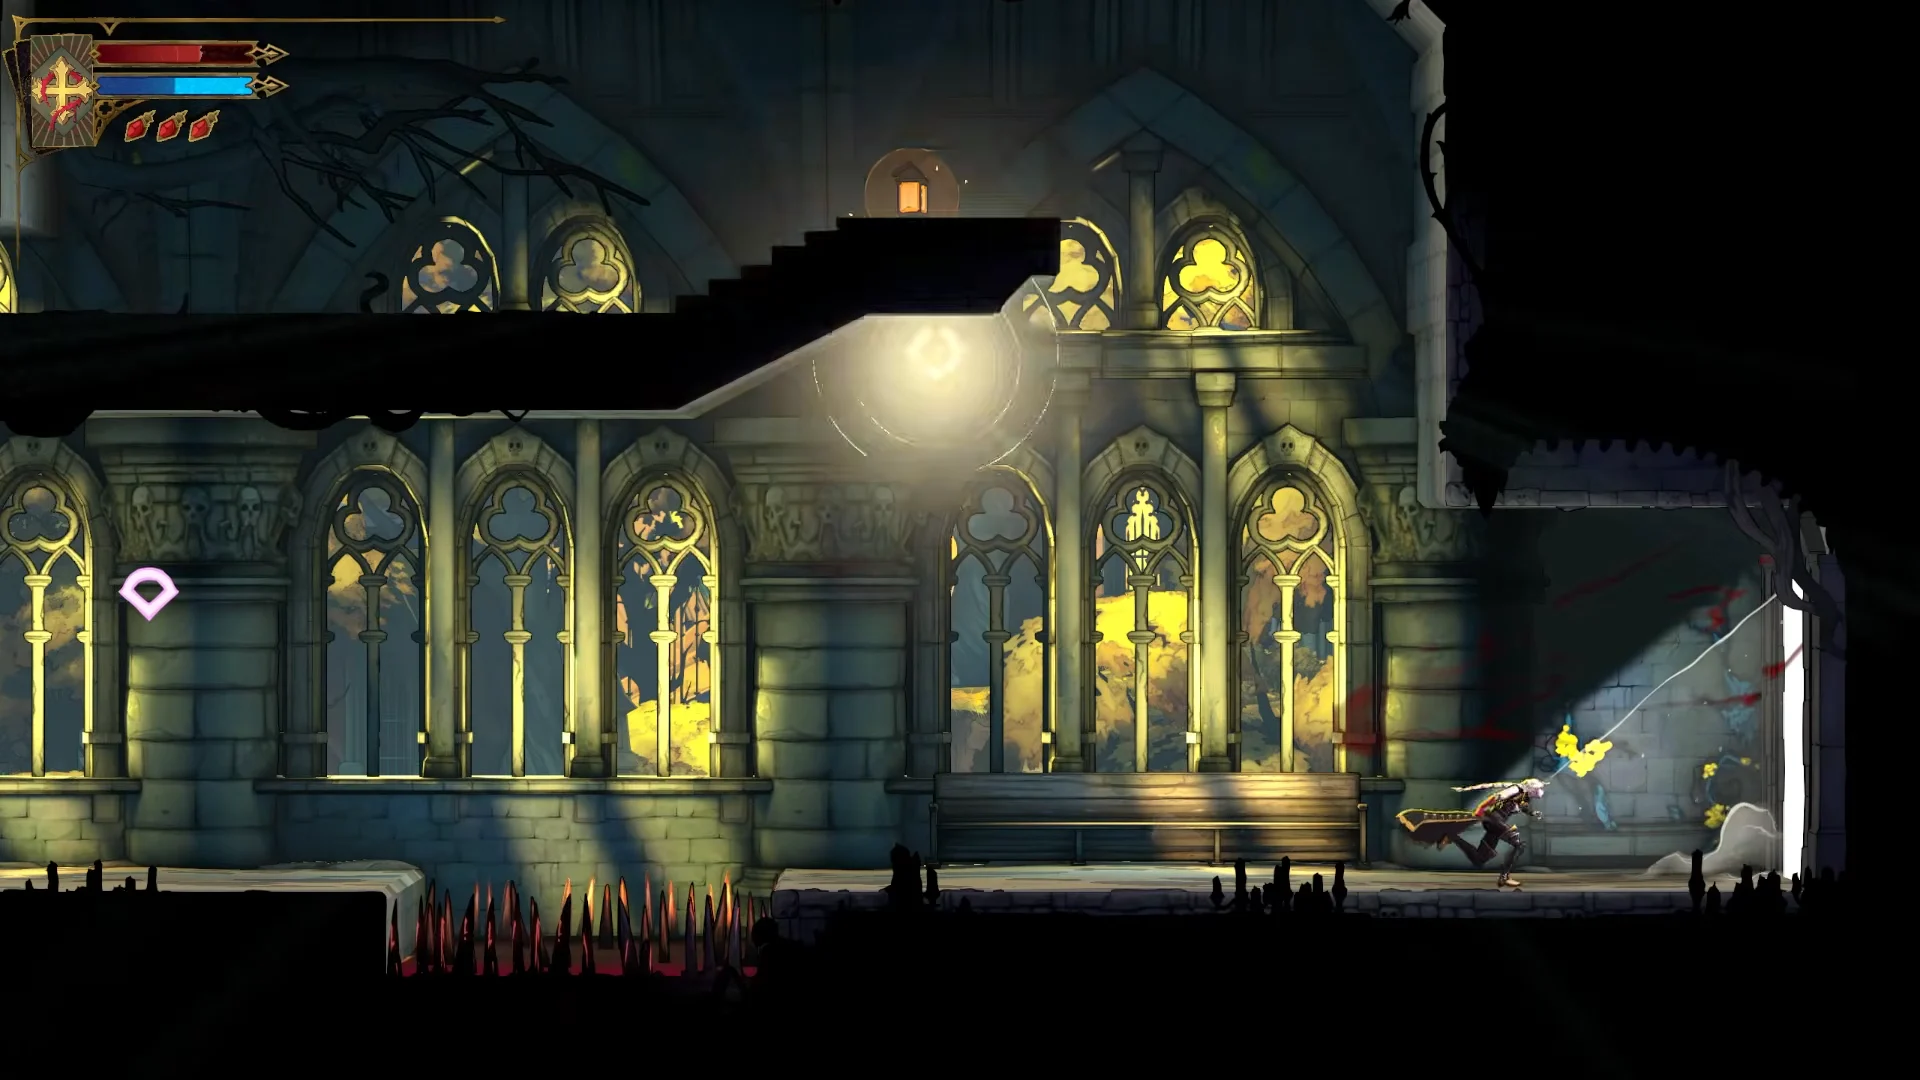
E on keyboard or RB on controller. The Abyssal Eye drops out immediately.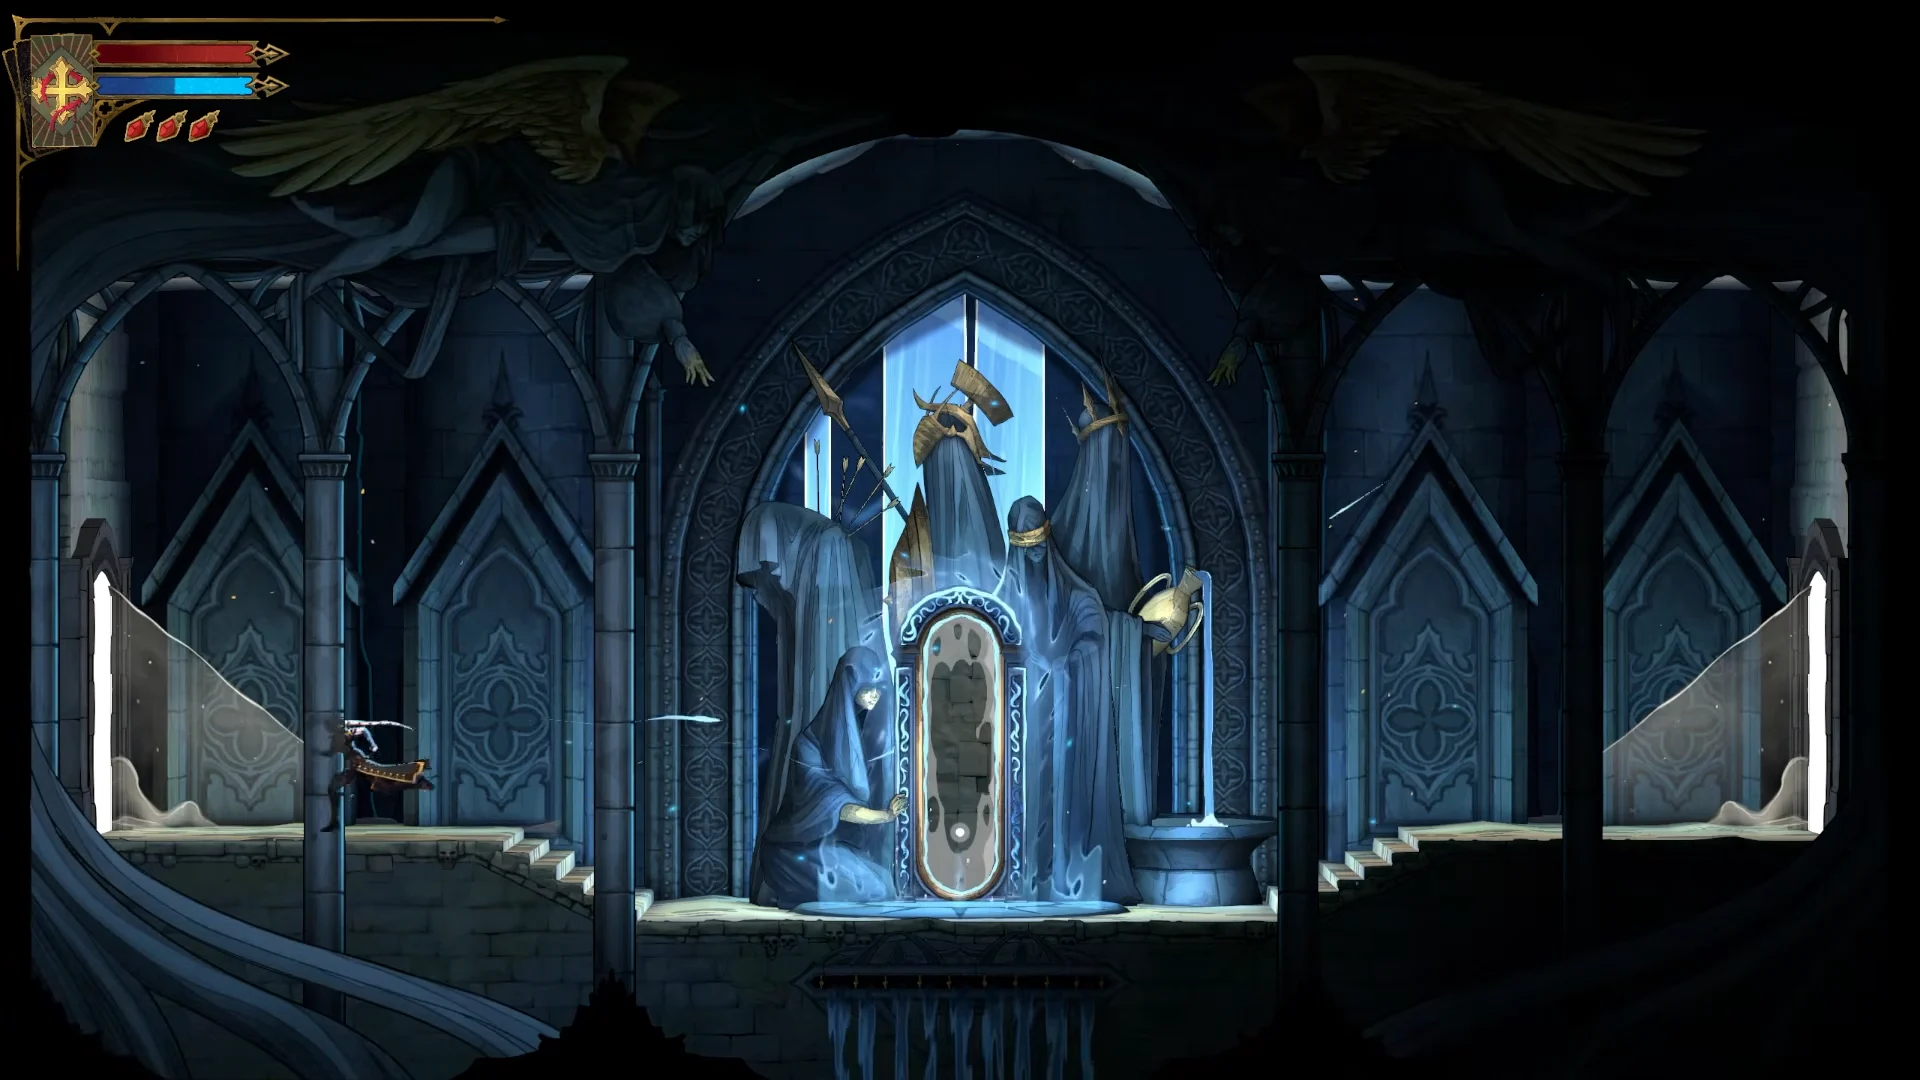
Once Double Jump is unlocked, you can reach the relic with a direct jump. Taking the upper-left entrance from the Cloister into the Cemetery Entrance also makes the journey much shorter.
Equipping the Abyssal Eye and confirming the pickup
Opening the chest brings up an item screen titled ABYSSAL EYE with its effect and two prompts. Pick HOLD TO EQUIP to drop it straight into a free relic slot, or CONTINUE to equip it later.
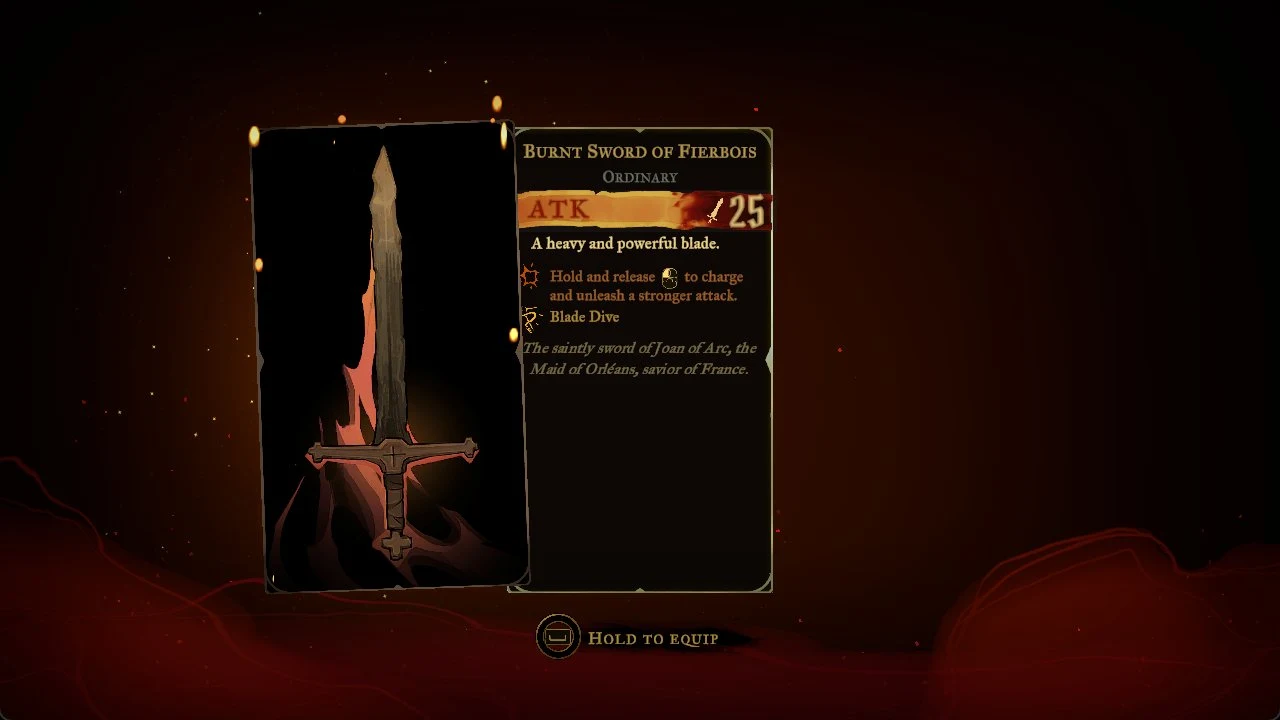
- You’ll find the relic in the RELICS tab under EQUIPMENT, ready for inspection or equipping in a slot.
- On the Holy Innocents’ Cemetery map, Rose’s icon should sit on the cliff ledge east of the Cemetery Entrance shortcut.
- The 35% bonus is only live while the relic occupies one of the three relic slots.
Holy Innocents’ Cemetery records along the route
Two districts bookend the run. Their in-game records are worth checking against your map if you’re trying to clear both in one pass.
| District | Items | Secret areas | Other |
|---|---|---|---|
| Cloister | Wise Heart Fragment | 2 | 1 Mirror of Life |
| Cemetery Entrance |  Abyssal Eye | 2 | 1 breakable wall |
The clue from the Spirit in the Sepulcher of the Knight points toward Medusa, The Prophetess, who is located in the Ossuary of the Innocents. This lead isn’t required to obtain the Abyssal Eye. Her record is included below for reference.
| Field | Medusa |
|---|---|
| Arcana card |  The Prophetess |
| District | Ossuary of the Innocents |
| Health / attack | 1500 / 24 |
| Rewards | Petrifying Gaze, The Prophetess’s Key |
| XP | 500 |
Abyssal Eye compared with other damage relics
With only three relic slots, the Abyssal Eye competes with other conditional damage relics. Each one pays out under a different condition, and two carry a cost.
| Relic | Damage bonus | Condition or cost | Area |
|---|---|---|---|
| Abyssal Eye | +35% | Against controlled enemies | Holy Innocents’ Cemetery |
 Raven’s Feather | +25% | During airborne combat | Holy Innocents’ Cemetery |
 Specter’s Whisper | +30% | Life below 20% | Catacombs of Paris |
 Beelzebub’s Seal | +30% | Max life cut by 50% | Notre-Dame |
Of these four, the Abyssal Eye has the largest percentage, but it only applies while the target is controlled. Raven’s Feather is the other damage relic in the same cemetery, so both can be picked up before Rose leaves Holy Innocents’ Cemetery.