
- World partDracula's Castle
- Mirrors of Life3
- BossesArthur, Death, The Self and Joan
- Relics5
- Weapons5
- Sub-areas33
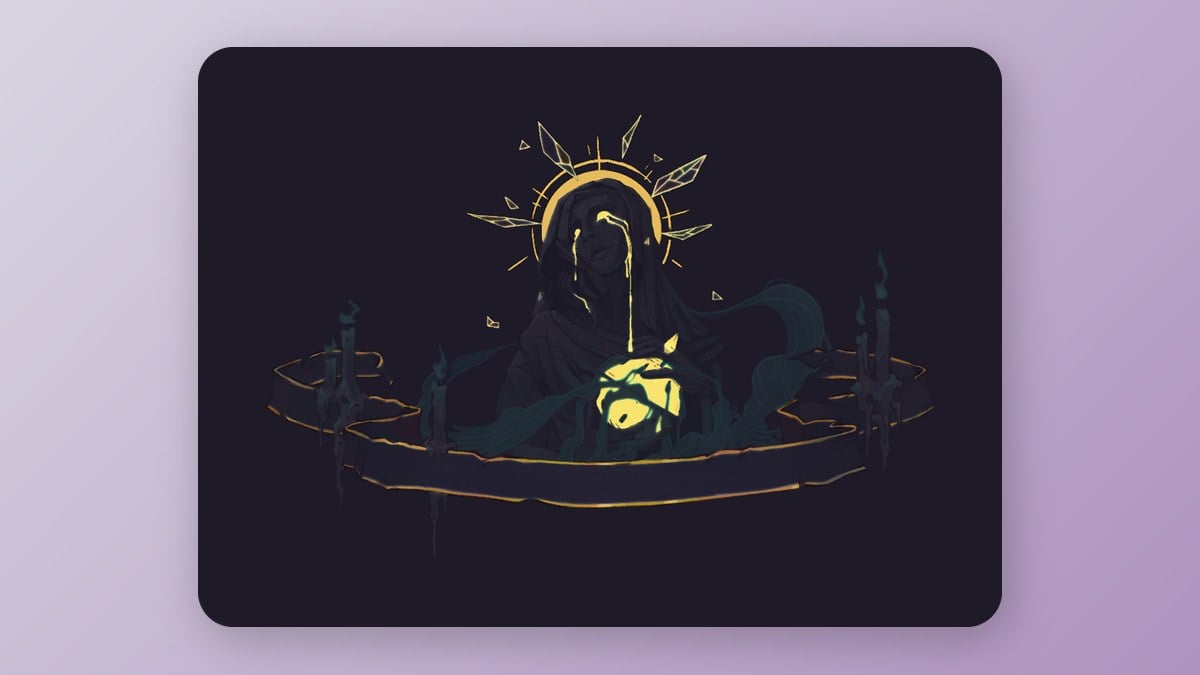
Notre-Dame is an area of Dracula's Castle with its own map. Its 3 Mirrors of Life are in the Notre-Dame Undercroft, the West Triforium and the East Gallery, and the Ferryman's Wharf is in the East Triforium.
Arthur is fought in the Chapel, nearest the East Gallery Mirror of Life, and gives The Brittle King, the Stained-Glass Shield and Excalibur. Death waits in the Choir and gives The Shadow and Soul Harvest. Joan is fought in Courage of Gabriel, and The Self in the Gallery of the Four Virtues, giving The Self and Absolution. The West Triforium is the closest Mirror of Life for those 3. The Self's altar opens once you win the four virtue windows: Justice needs Chains of Justice, Temperance needs Freezing Path, Prudence needs Mirror Walk, and Courage needs Infernal Pyre, which leads to the Joan rematch.
Relics include Witch's Brew in the Transept, Eldritch Talisman in the East Gallery, Beelzebub's Seal in the Chapel of Patience and Infernal Medallion in the Reliquary. For weapons, look for Arondight and Lancelot's Shield in the Tower Entrance, Joyeuse on the Path of the Penitent and Vampire Killer in Trevor's room in the Deacon's Quarter. Pick up 3 Brave and 3 Wise Heart Fragments, 4 ATK books, 3 DEF books and 19 XP statues, and search out 31 Secret Areas. Double Jump comes in the Choir.
The Narthex leads out to the Main Hall. Sypha is in the Gallery of the Four Virtues and Trevor in the Deacon's Quarter. Melody sheets in La Flèche, the Great Organ Room and the Sealed Scriptorium point towards The Shadow. Expect skeleton archers, harpies, gargoyles and minotaurs.
Mirrors of Life in Notre-Dame
| Mirror of Life | Relics | Weapons | Heart Fragments | Bosses |
|---|---|---|---|---|
 Notre-Dame Undercroft | 2 | 2 | 1 | — |
| West Triforium | 2 | 2 | 4 | DeathThe SelfJoan |
| East Gallery | 1 | 1 | 1 | Arthur |
Bosses
| Boss | Sub-area | Nearest Mirror of Life | Gives |
|---|---|---|---|
 Arthur | Chapel | East Gallery |  The Brittle King  Stained-Glass Shield  Excalibur |
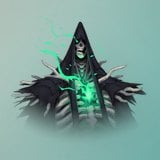 Death | Choir | West Triforium |  The Shadow  Soul Harvest |
 The Self | Gallery of the Four Virtues | West Triforium |  The Self  Absolution |
 Joan | Courage of Gabriel | West Triforium | — |
Chests
| Contents | Kind | Sub-area | Nearest Mirror of Life |
|---|---|---|---|
 Witch's Brew | Relic | Transept | West Triforium |
 Soul Fragment | Relic | Nave | West Triforium |
 Eldritch Talisman | Relic | East Gallery | East Gallery |
 Beelzebub's Seal | Relic | Chapel of Patience | Notre-Dame Undercroft |
 Infernal Medallion | Relic | Reliquary | Notre-Dame Undercroft |
 Arondight and Lancelot's Shield | Weapon | Tower Entrance | West Triforium |
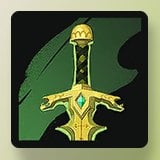 Joyeuse | Weapon | Path of the Penitent | Notre-Dame Undercroft |
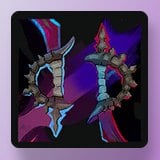 War and Famine | Weapon | Great Organ Room | Notre-Dame Undercroft |
Heart Fragments and stat books
| Kind | Sub-area | Nearest Mirror of Life |
|---|---|---|
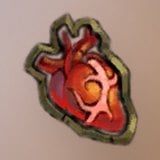 Brave Heart Fragment | Tree of Saints | West Triforium |
| Brave Heart Fragment | La Flèche | West Triforium |
| Brave Heart Fragment | The Forest | West Triforium |
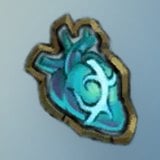 Wise Heart Fragment | Tree of Saints | West Triforium |
| Wise Heart Fragment | Apse | East Gallery |
| Wise Heart Fragment | Chapel of Patience | Notre-Dame Undercroft |
 ATK book | Narthex | West Triforium |
| ATK book | Tree of Saints | West Triforium |
| ATK book | Tomb of the Chevaliers | Notre-Dame Undercroft |
| ATK book | Tomb of the Chevaliers | Notre-Dame Undercroft |
 DEF book | Tree of Saints | West Triforium |
| DEF book | East Triforium | West Triforium |
| DEF book | Great Organ Room | Notre-Dame Undercroft |
Area exits
| Leads to | Sub-area |
|---|---|
| Main Hall | Narthex |
East Gallery Mirror of Life
| Name | Kind | Spots |
|---|---|---|
| Arthur | Arthur | 1 |
| Eldritch Talisman | Relic | 1 |
| Excalibur | Weapon | 1 |
 Feat of Strength | Clue | 1 |
| Stained-Glass Shield | Spell | 1 |
| The Brittle King | Arcana | 1 |
| Wise Heart Fragment | Wise Heart Fragment | 1 |