Final Fantasy Resonance has 99 Tablet Shards, and each one is lying on the ground somewhere in a town, dungeon or other place. Every shard below is listed by region and place, along with the nearest landmark, whether that’s a chest, save point, shop, inn or exit.
Interactive map: FINAL FANTASY RESONANCE map (Tablet Shards layer on every town and dungeon floor)
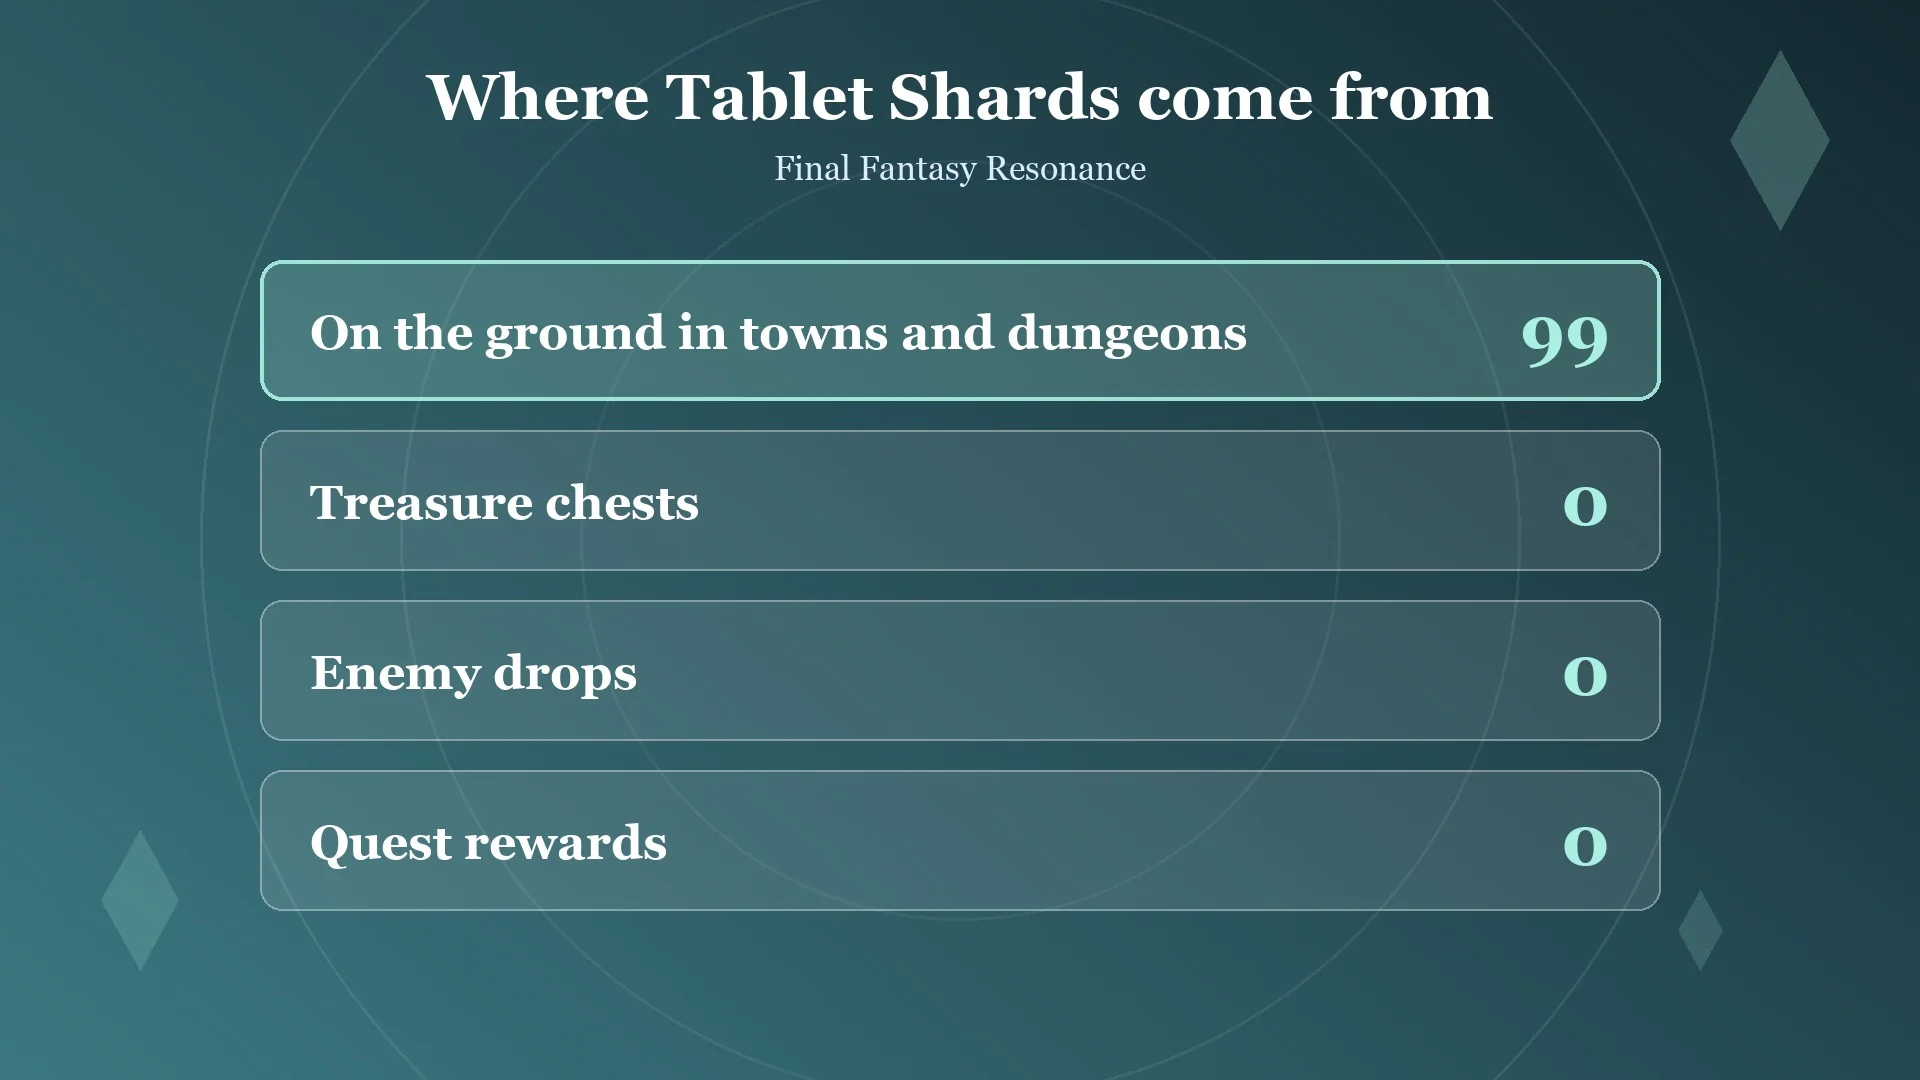
Quick answer: Final Fantasy Resonance contains 99 Tablet Shards, all found as ground pickups in the world. Treasure chests, enemy drops, and quest rewards provide none. The collector’s top reward calls for 99 shards, so picking up all 99 completes the set.
Early-game Tablet Shards you can reach now
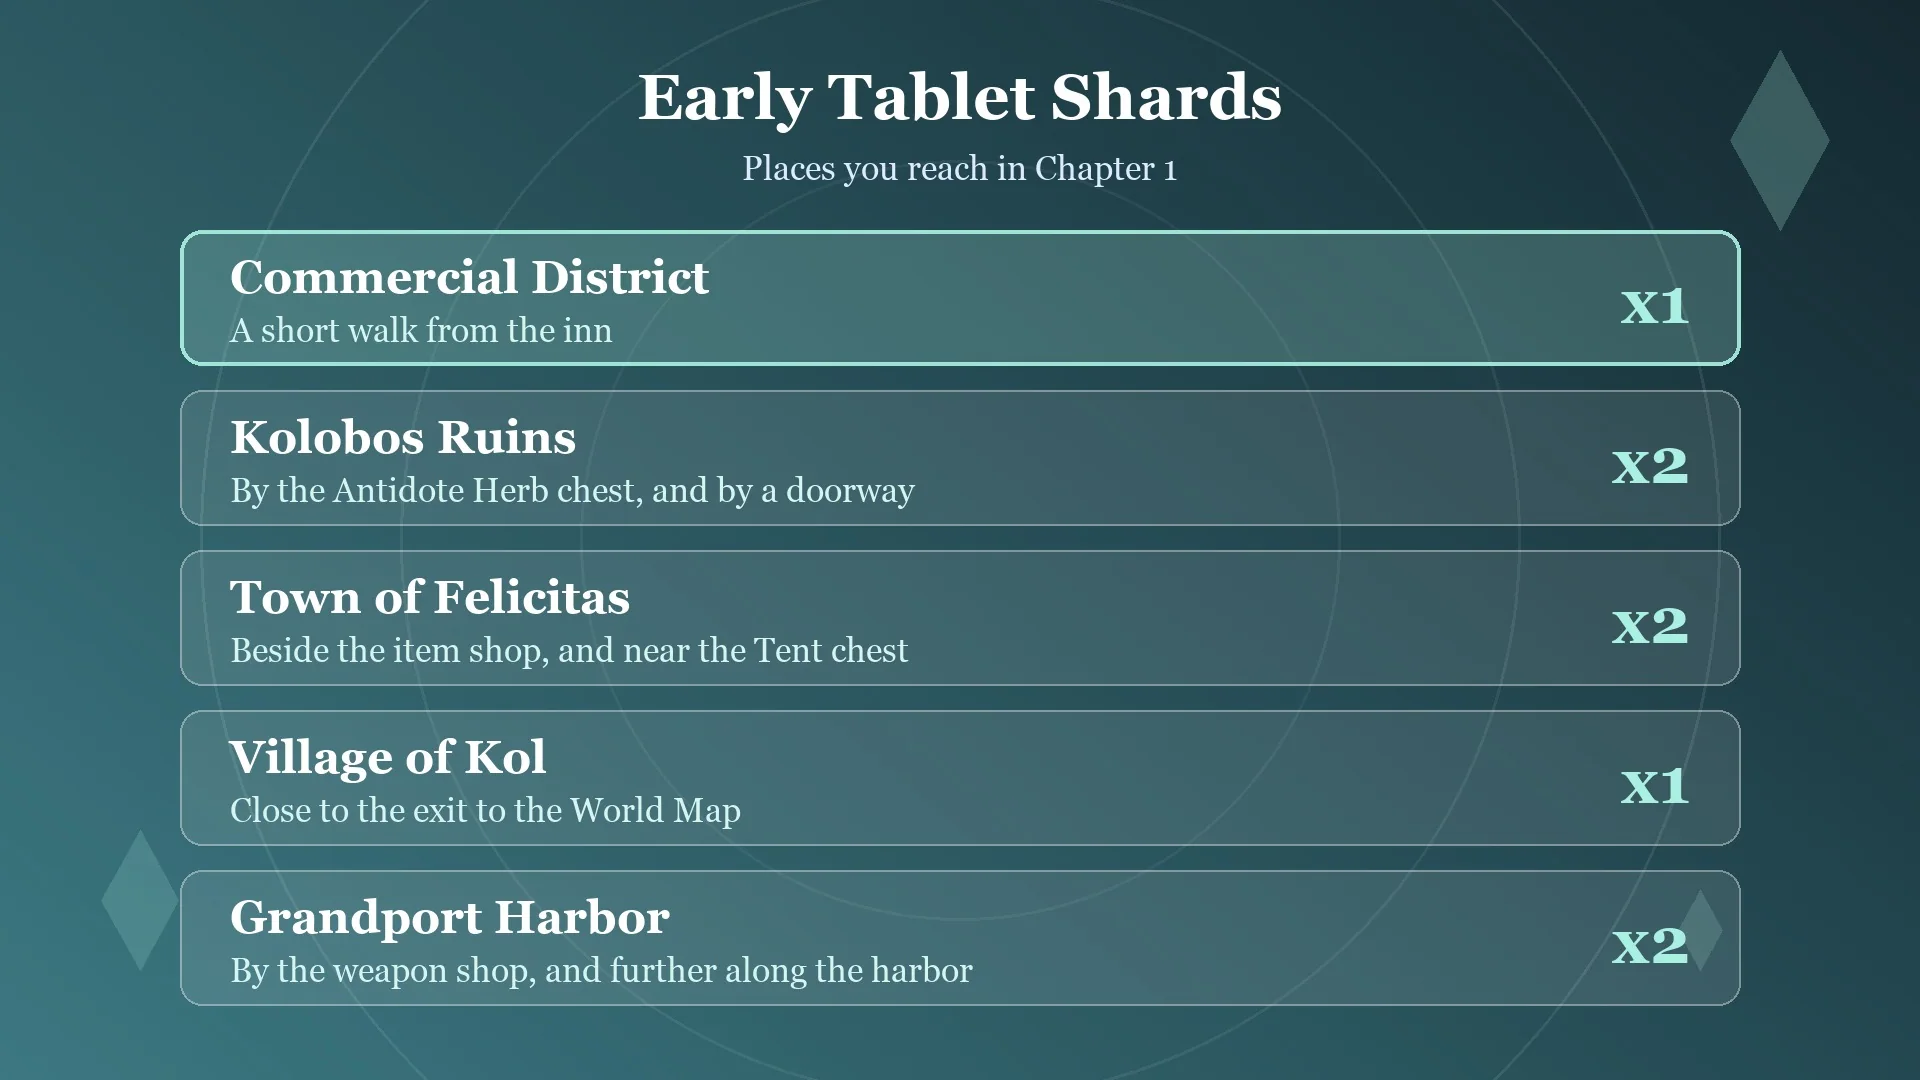
Eight shards sit in places you reach in Chapter 1, “Tailing the Truth”: one in the Commercial District of Grandshelt, the Royal Capital, two in the Kolobos Ruins, two in the Town of Felicitas, one in the Village of Kol, and two in Grandport Harbor. Each one is listed below with its nearest landmark.
| Place | Nearest landmark |
|---|---|
| Commercial District (Grandshelt, the Royal Capital) | A short walk from the inn and the exit to Grandshelt, the Royal Capital |
| Kolobos Ruins | Close to the Antidote Herb x3 chest |
| Kolobos Ruins | Beside a doorway, some way from the Antidote Herb x3 chest |
| Town of Felicitas | Ground floor, right beside the item shop |
| Town of Felicitas | Second floor, close to the Tent chest |
| Village of Kol | North-west oasis pond shore, behind the palm, below the west exit |
| Grandport Harbor | Close to the weapon shop and the armor shop |
| Grandport Harbor | Further along the harbor, a fair walk from the shops and the exit to the World Map |
Tablet Shards by region
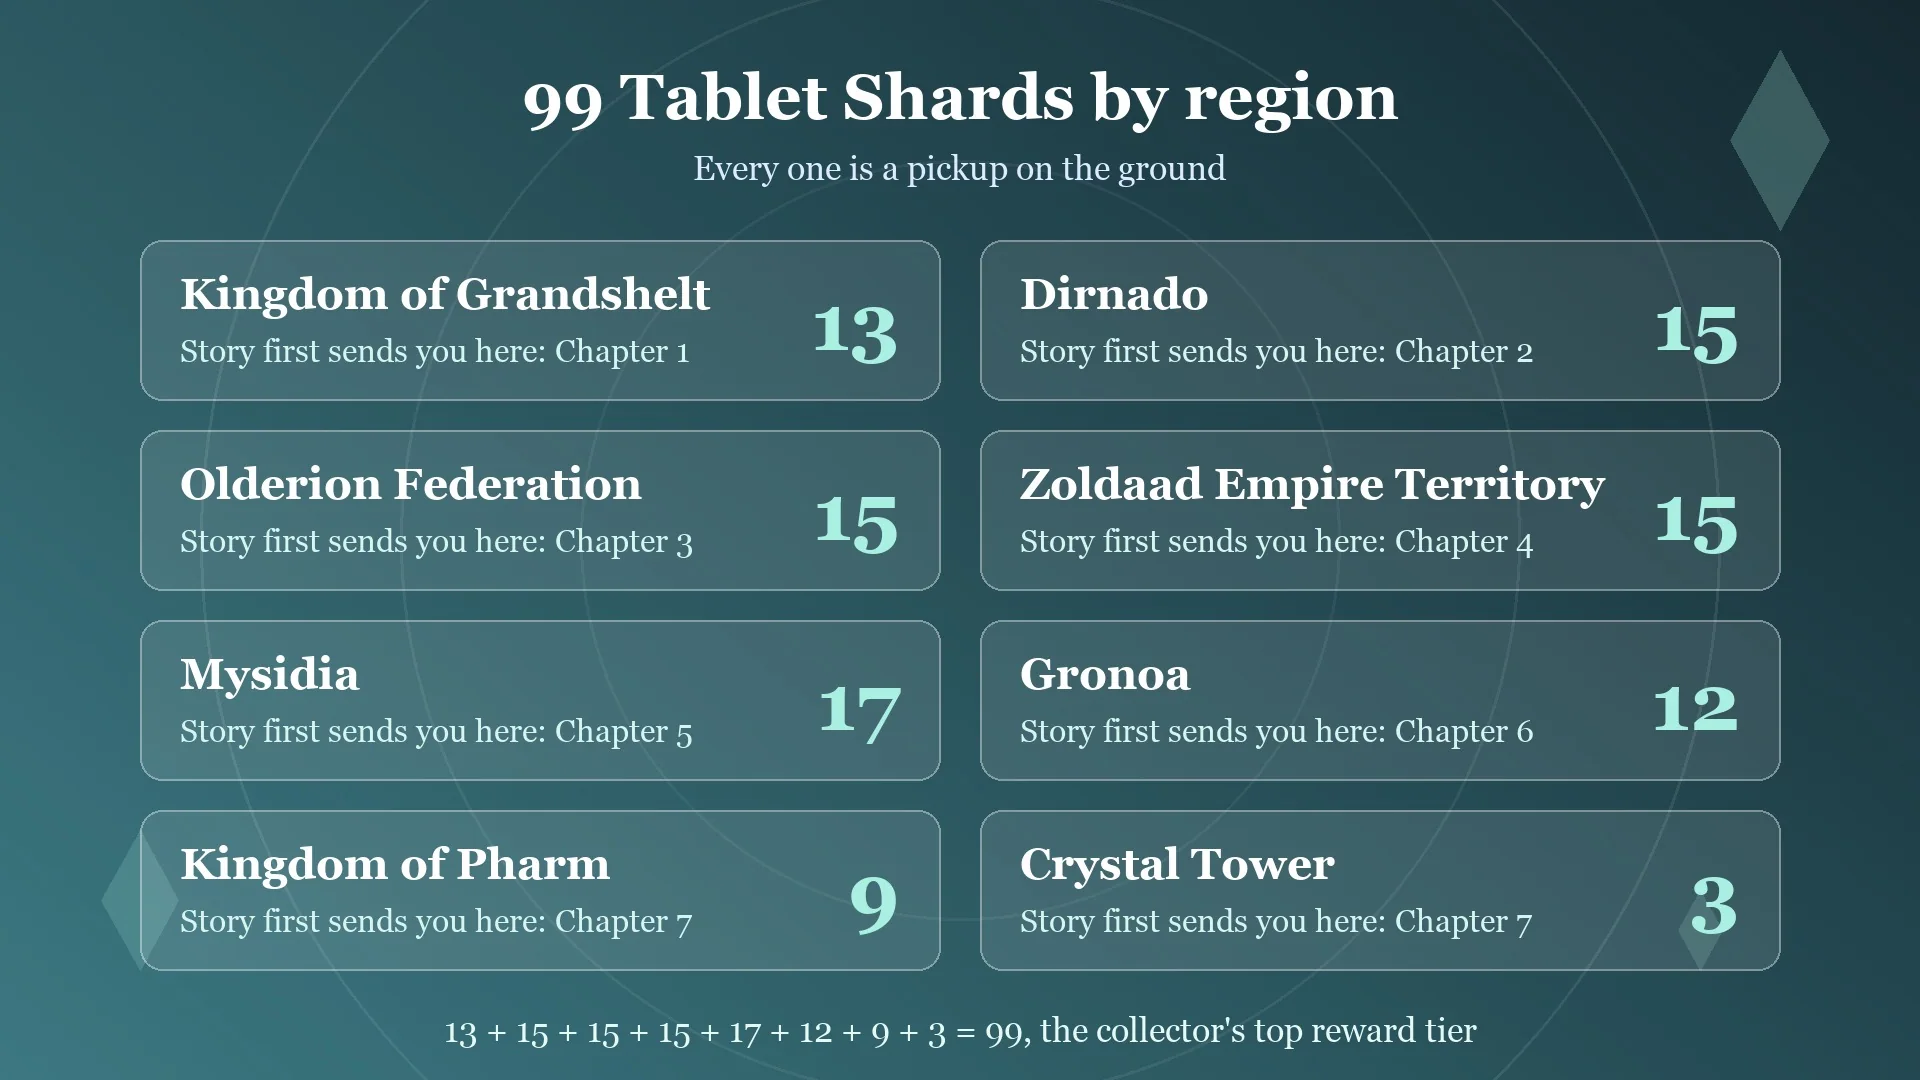
The entries are arranged region by region, and each region is marked with the chapter when the story first takes you there. Each location has a separate table showing every shard on its own row and the nearest landmark, with the floor where a location has more than one.
| Region | Tablet Shards | Story first sends you there |
|---|---|---|
| Kingdom of Grandshelt | 13 | Chapter 1, “Tailing the Truth” |
| Dirnado, the Continent of Wind | 15 | Chapter 2, “Eternal Blue” |
| Olderion Federation | 15 | Chapter 3, “Wardens of the Aquapolis” |
| Zoldaad Empire Territory | 15 | Chapter 4, “Banner Oath” |
| Mysidia, the Uncharted Land | 17 | Chapter 5, “Scars of Time” |
| Gronoa, the Shuttered Land | 12 | Chapter 6, “Tranquility” |
| Kingdom of Pharm | 9 | Chapter 7, “Reckoning” |
| Crystal Tower | 3 | Chapter 7, “Reckoning” |
| Total | 99 |
What Tablet Shards are
A Tablet Shard is a collectible item. In the game, its description reads:
“A stone fragment with curious engravings. No doubt someone out there is collecting these…”
Collected shards appear in the Valuables section of your inventory. You turn them in at the Oblivion Palace, and every reward is listed under Shard collector rewards below. Every shard is a pickup on the ground, so none of them appear in the chest locations list.
How shard pickups look
A Tablet Shard lying on the ground glints as a small gold sparkle.
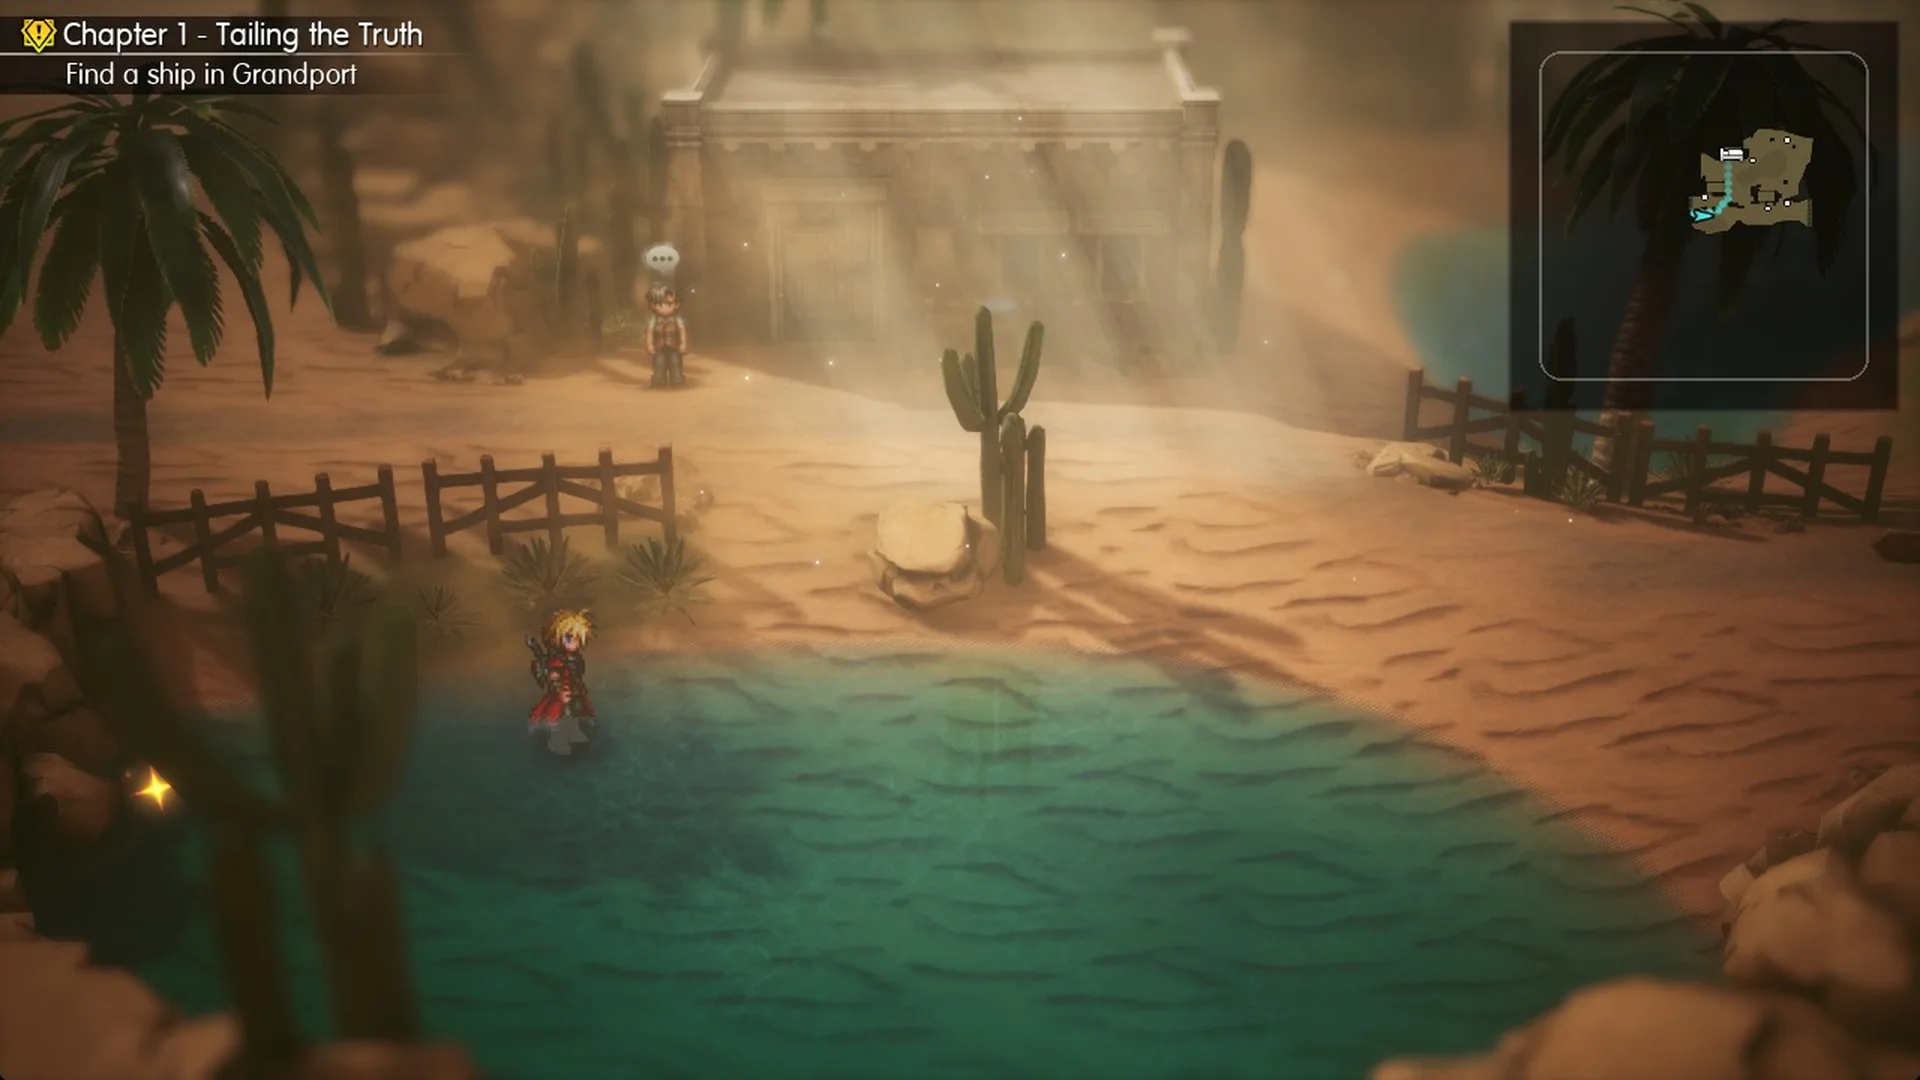
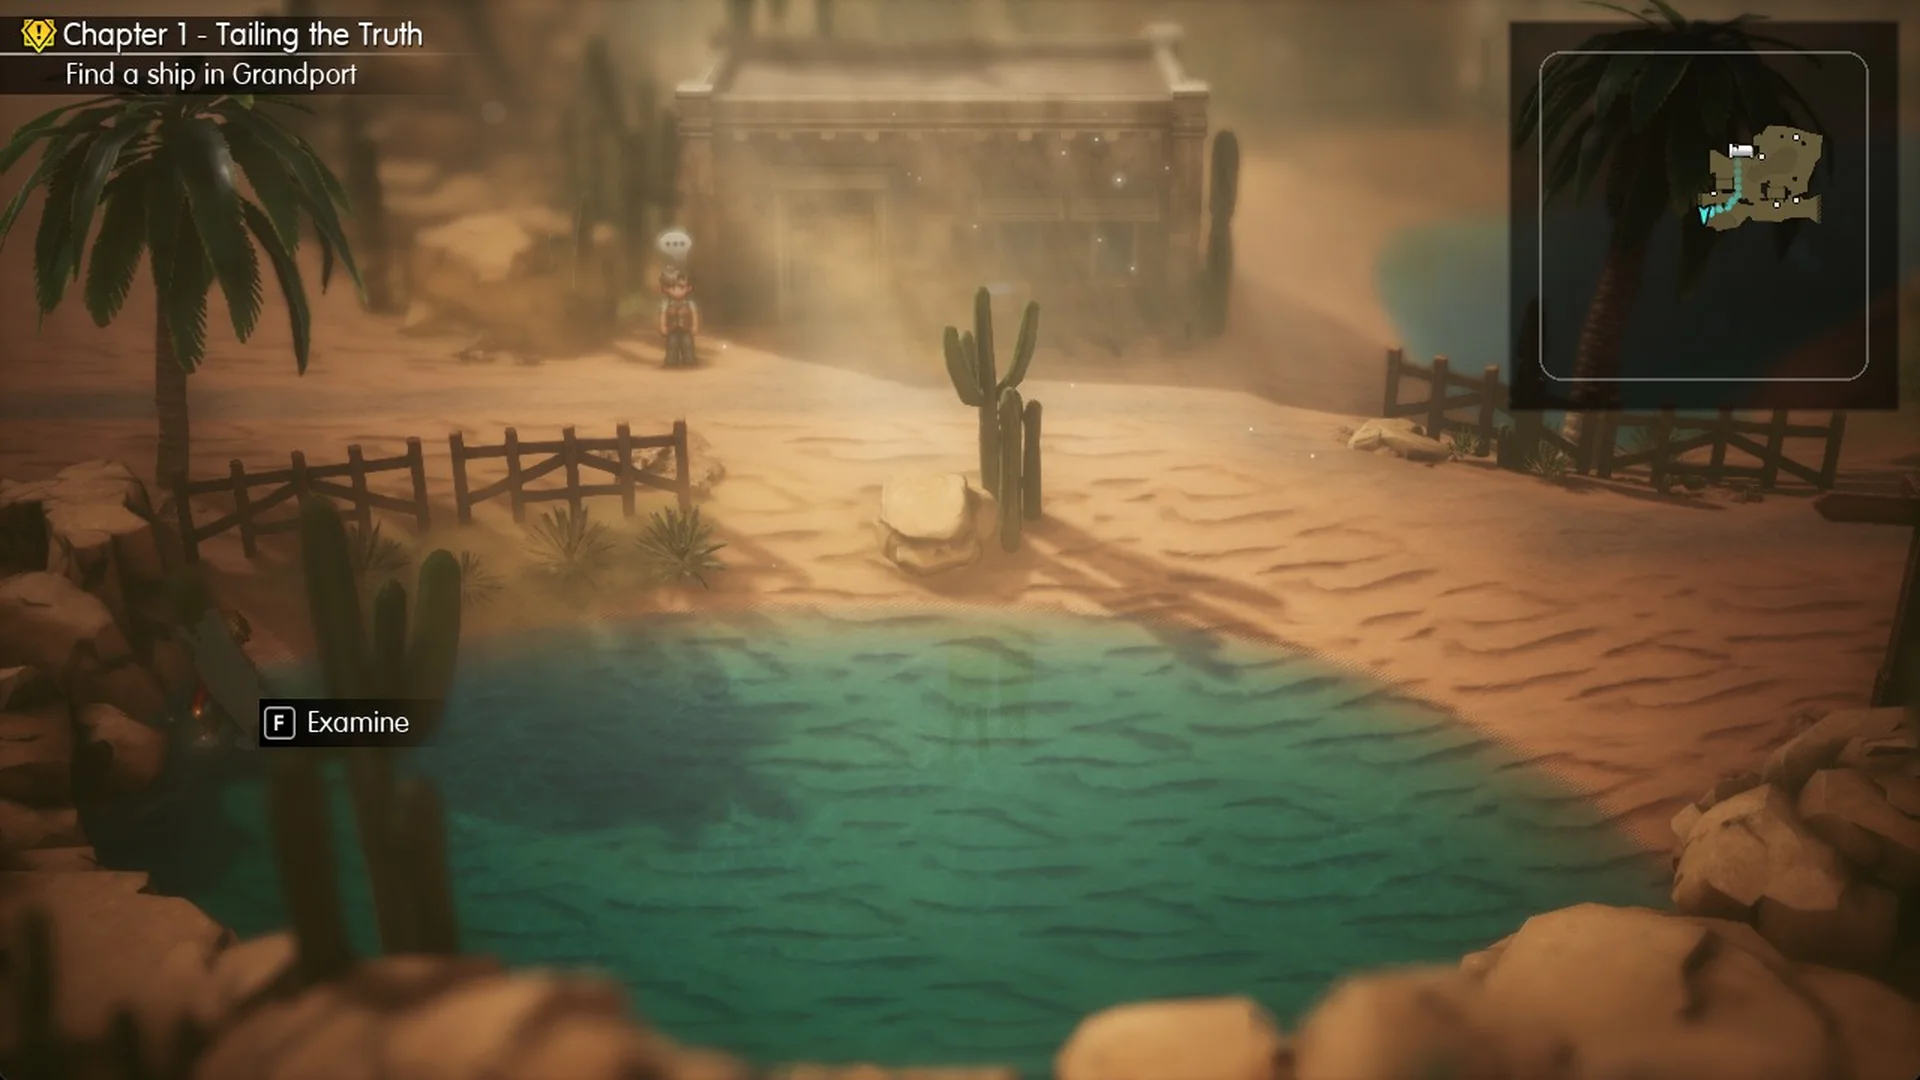
Stand right on the sparkle until the prompt “F Examine” appears.
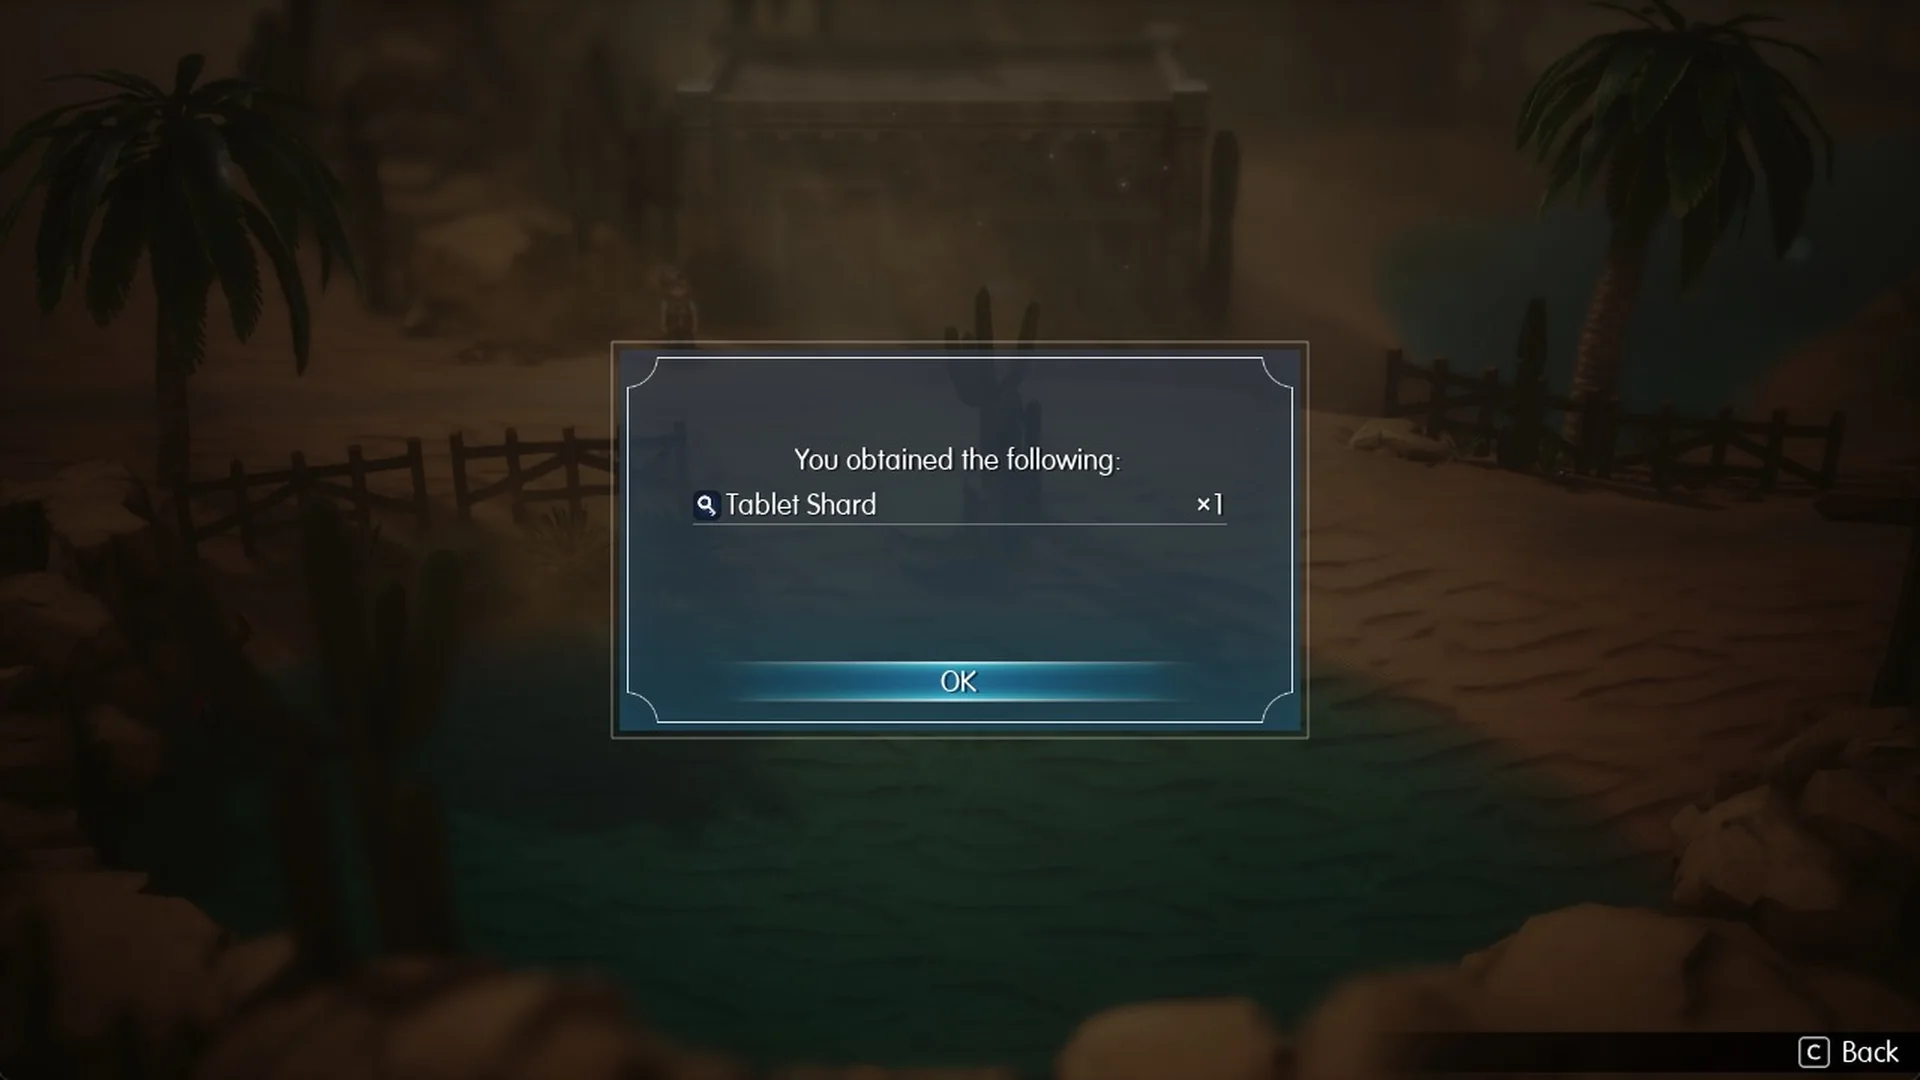
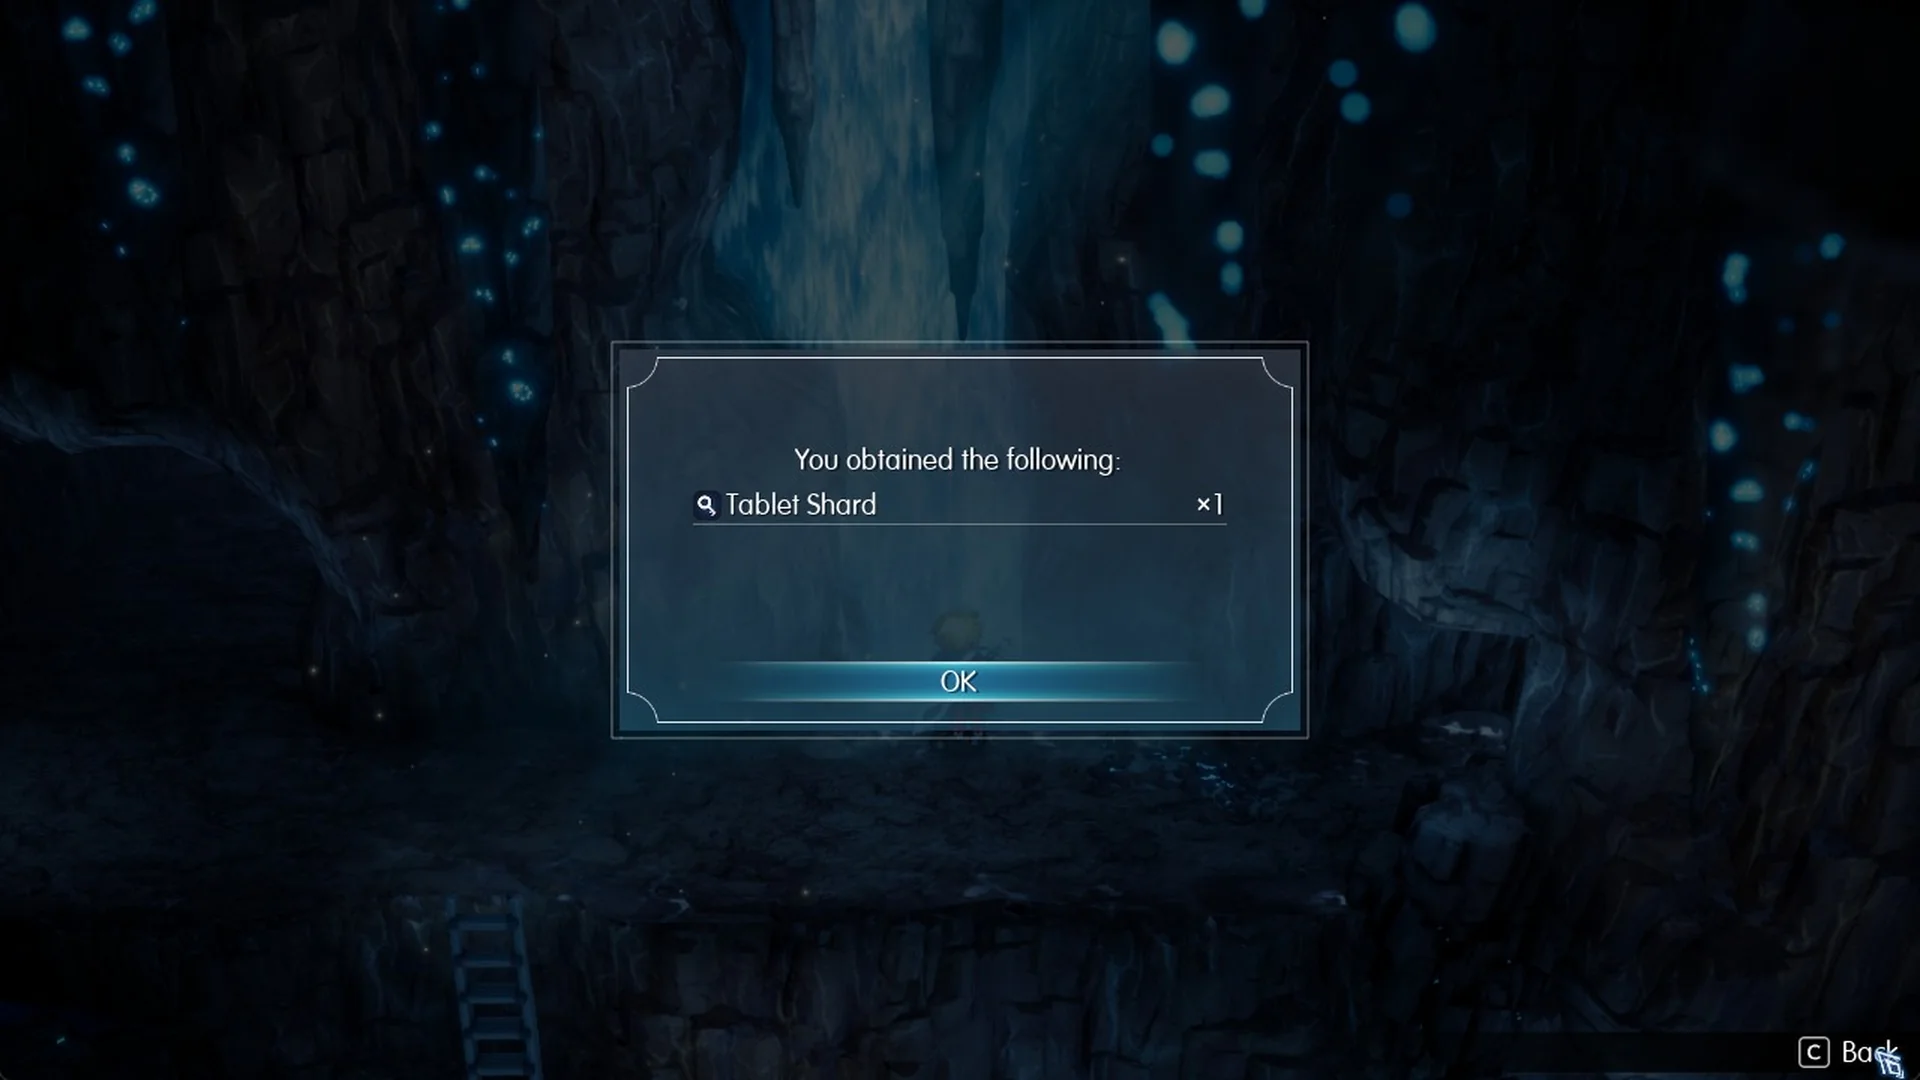
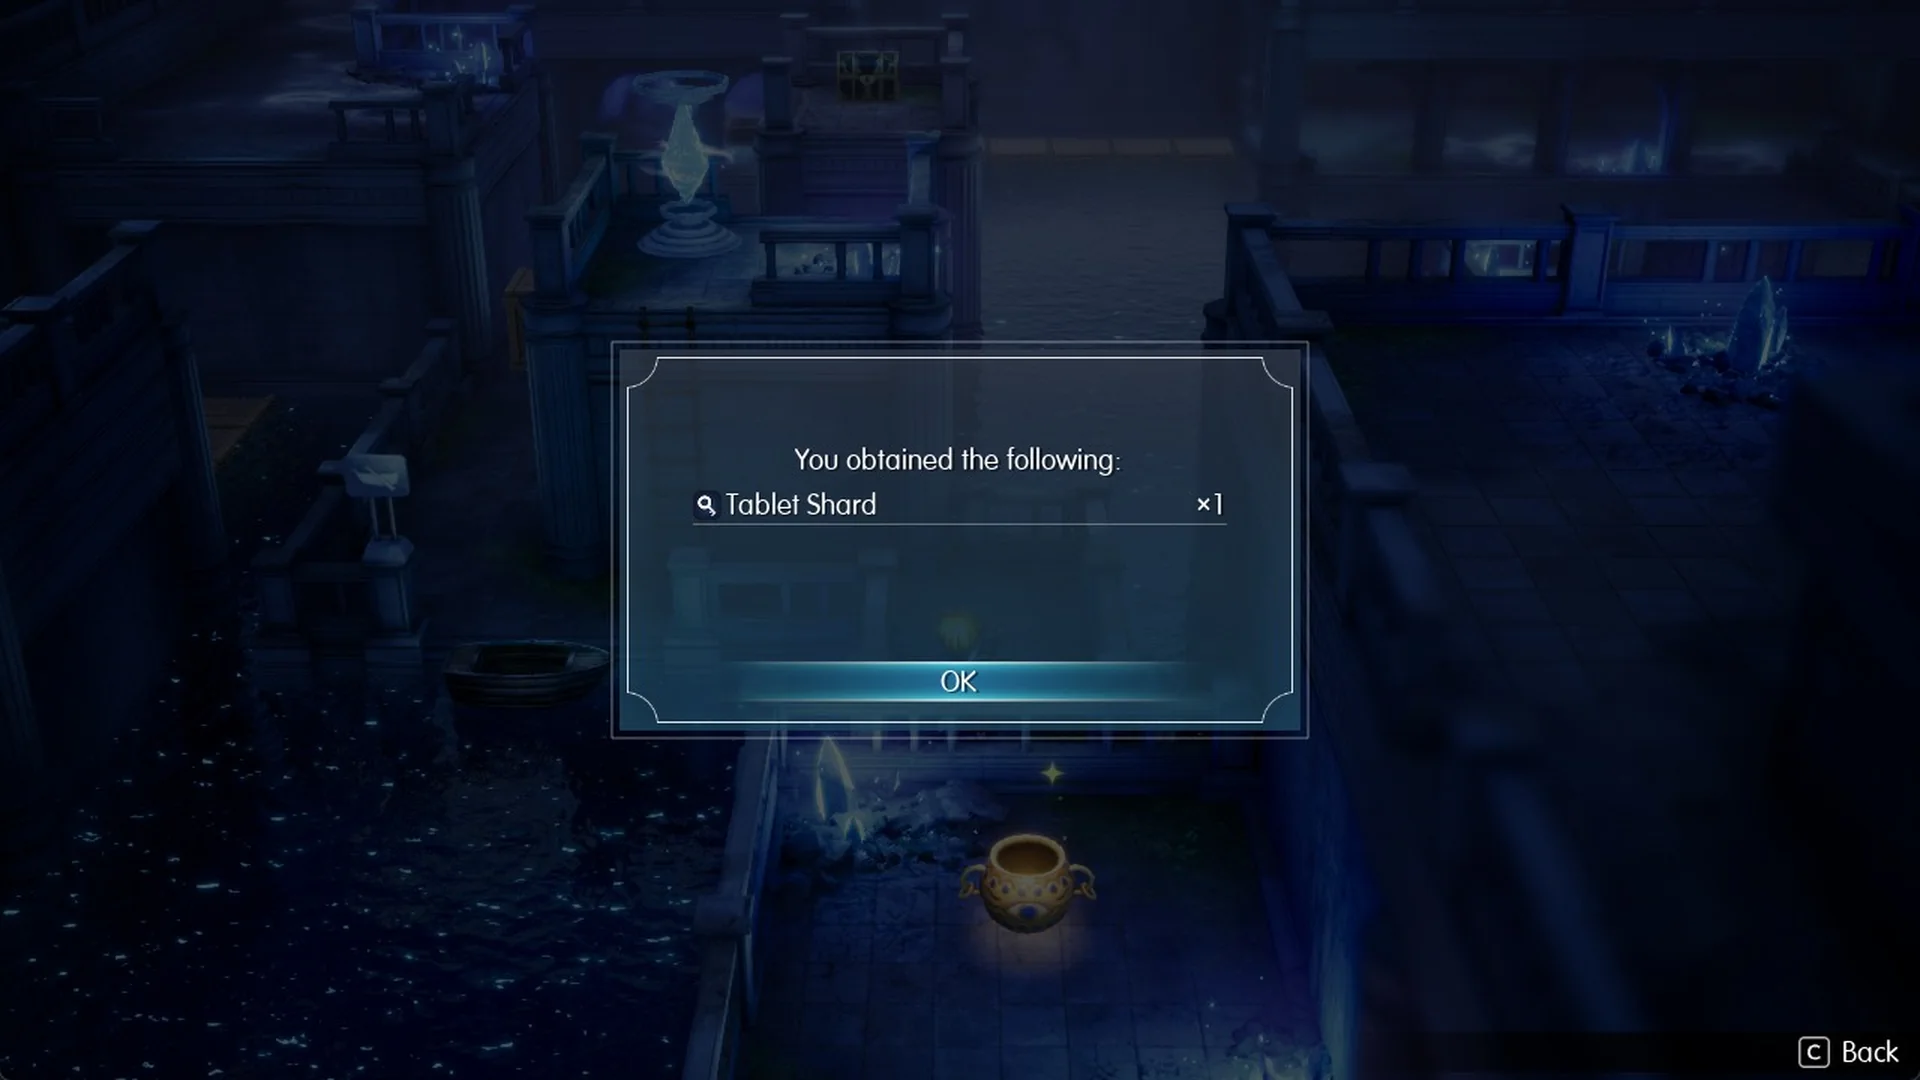
Press F to open the window “You obtained the following:”, which lists “Tablet Shard” x1 with an OK button. That window does not show how many shards you have in total.
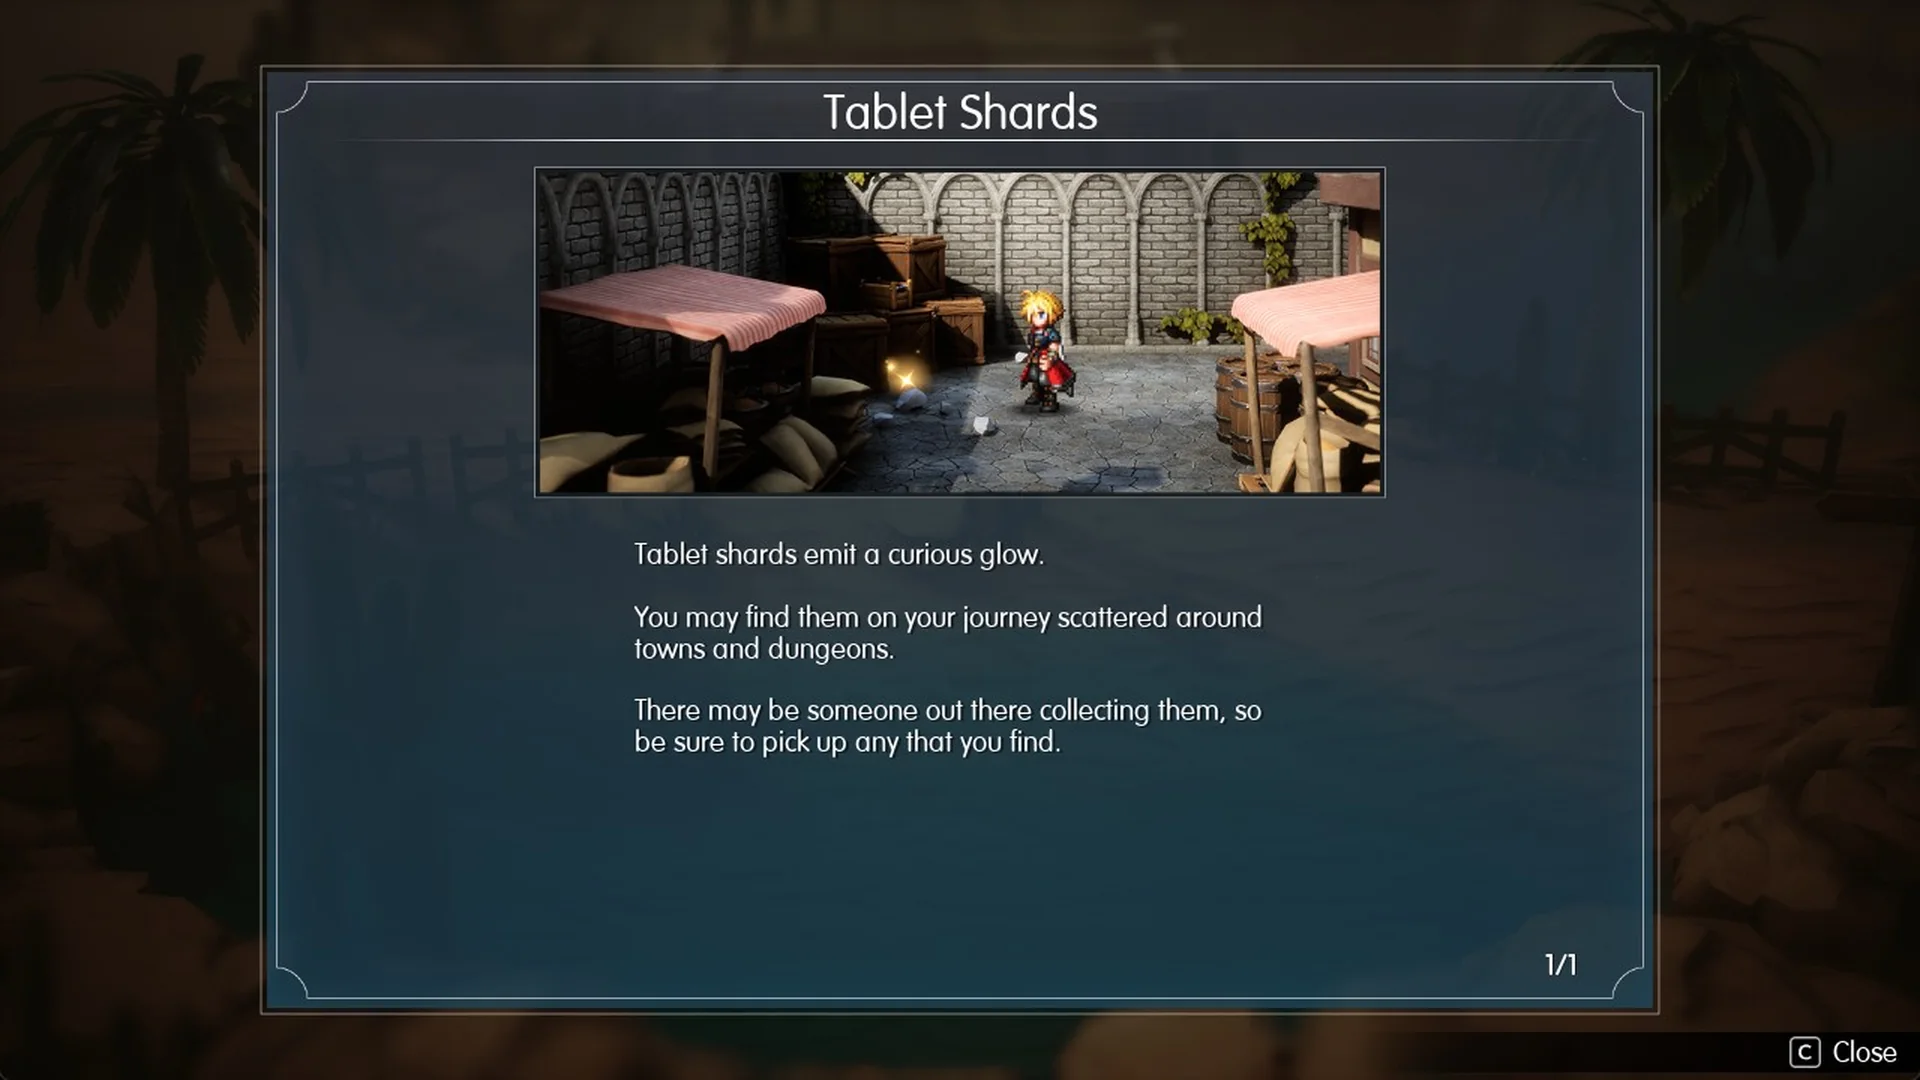
Once you pick up your first shard, the “Tablet Shards” tutorial reads as follows.
“Tablet shards emit a curious glow.
You may find them on your journey scattered around towns and dungeons.
There may be someone out there collecting them, so be sure to pick up any that you find.”
Shard collector rewards
Tablet Shards go to the collector at the Oblivion Palace, in the Kingdom of Grandshelt. Each shard total unlocks one reward, 25 in all, from a Vitality Charm at 3 shards to Lightbringer at 99. Along the way you get two Adamantite (80 and 89 shards), the Ancient Firearm (76) and the Ancient Whip (84), and a Magicite Cryst at 64. How the hand-in works is covered in the Oblivion Palace Tablet Shard vault guide.
| Shards needed | Reward |
|---|---|
| 3 | Vitality Charm |
| 6 | Earrings |
| 9 | Magicite Shard |
| 12 | Stagger Ring |
| 16 | Dreadwing Mallet |
| 20 | Compound Bow |
| 24 | Magicite Shard |
| 28 | Astral Jacket |
| 32 | Cure Drop |
| 36 | Celaeno Fragments |
| 40 | Magicite |
| 44 | Phantom Robe |
| 48 | Repeater Rifle |
| 52 | Protective Gear |
| 56 | Briar Edge |
| 60 | War Pick |
| 64 | Magicite Cryst |
| 68 | Mirage Jacket |
| 72 | Sundering Odachi |
| 76 | Ancient Firearm |
| 80 | Adamantite |
| 84 | Ancient Whip |
| 89 | Adamantite |
| 94 | Arch Drain |
| 99 | Lightbringer |
Kingdom of Grandshelt Tablet Shards (13)
The Kingdom of Grandshelt holds 13 shards in eight places, from the Town of Felicitas to Siren’s Tower, and you can only reach its Colosseum shard once the Colosseum opens in Chapter 4, “Banner Oath”.
Commercial District
1 Tablet Shard · Chapter 1.
| Shard | Nearest landmark |
|---|---|
| 1 | A short walk from the inn and the exit to Grandshelt, the Royal Capital |
Town of Felicitas
2 Tablet Shards · Chapter 1. The town’s stores are listed in Felicitas shops.
| Shard | Nearest landmark |
|---|---|
| 1 | Ground floor, right beside the item shop |
| 2 | Second floor, close to the Tent chest |
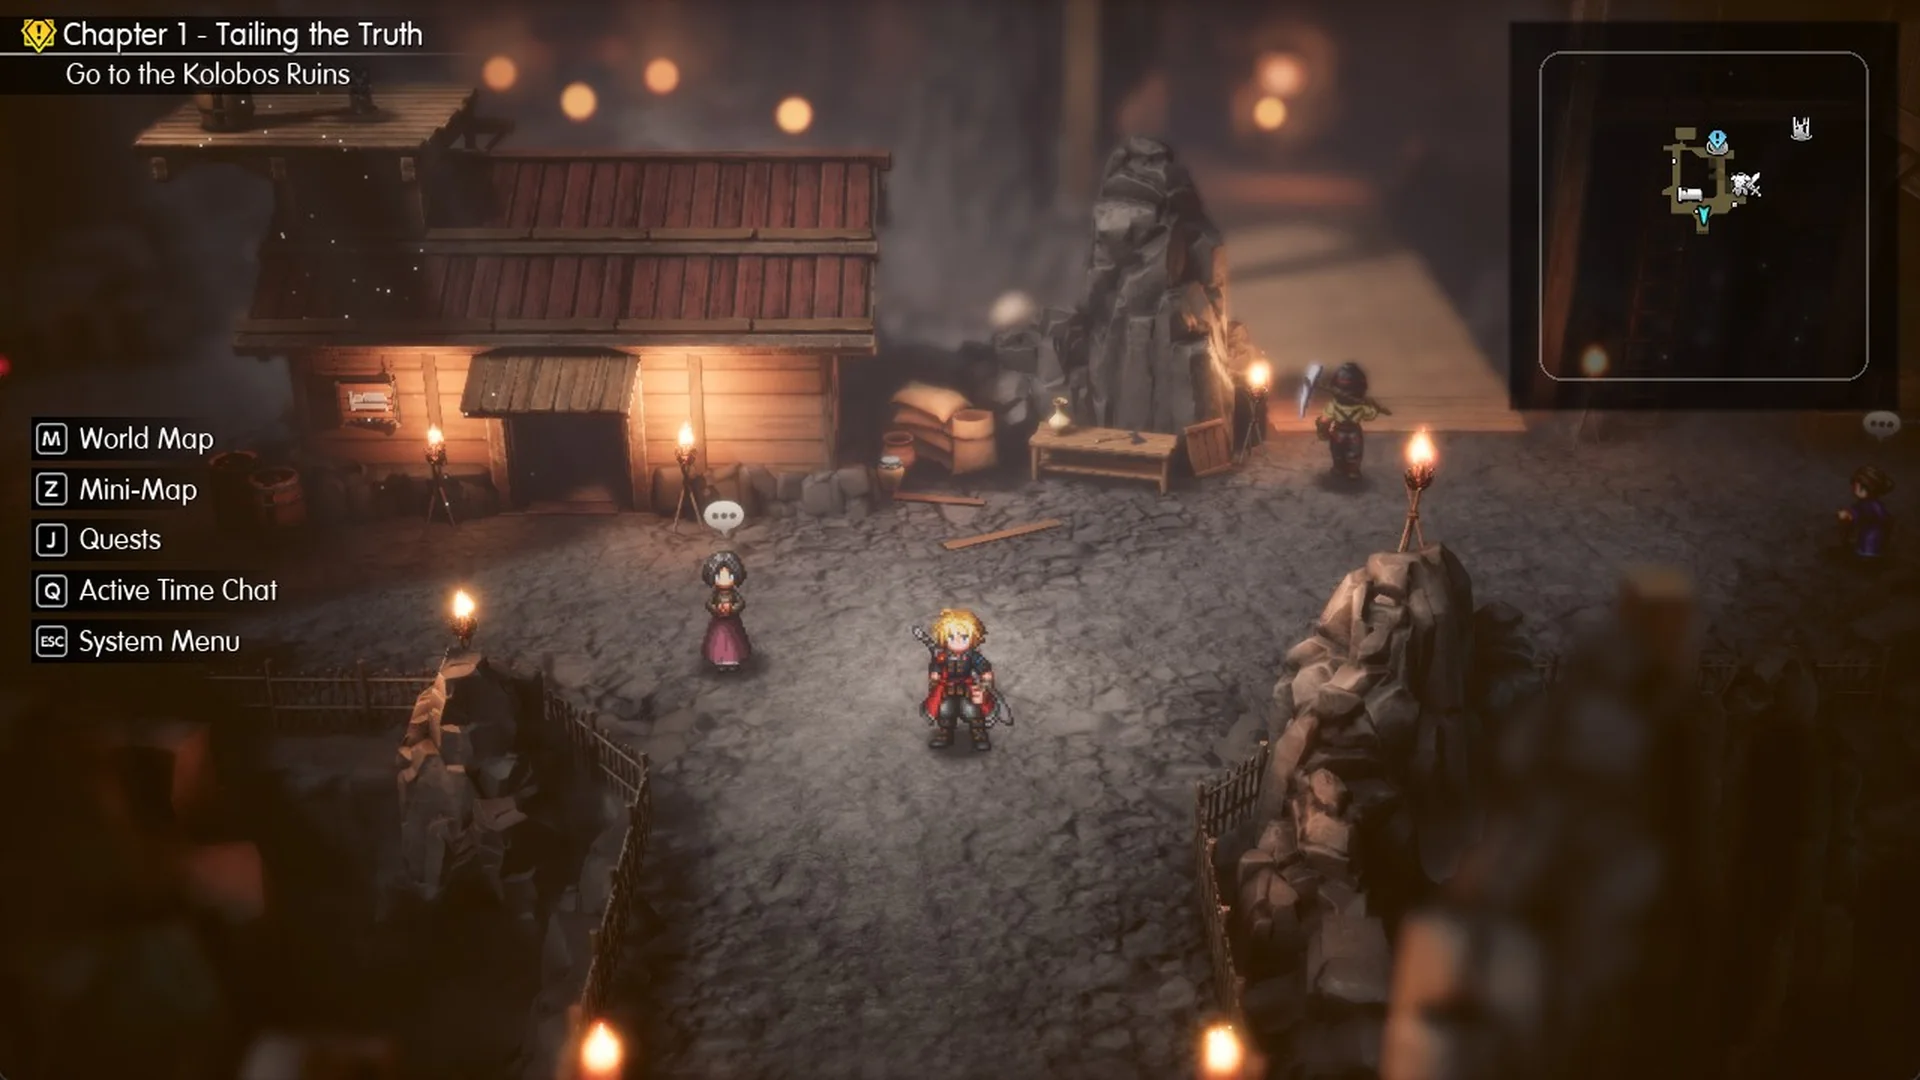
Village of Kol
1 Tablet Shard · Chapter 1.
| Shard | Nearest landmark |
|---|---|
| 1 | North-west oasis pond shore, behind the palm, below the west exit |
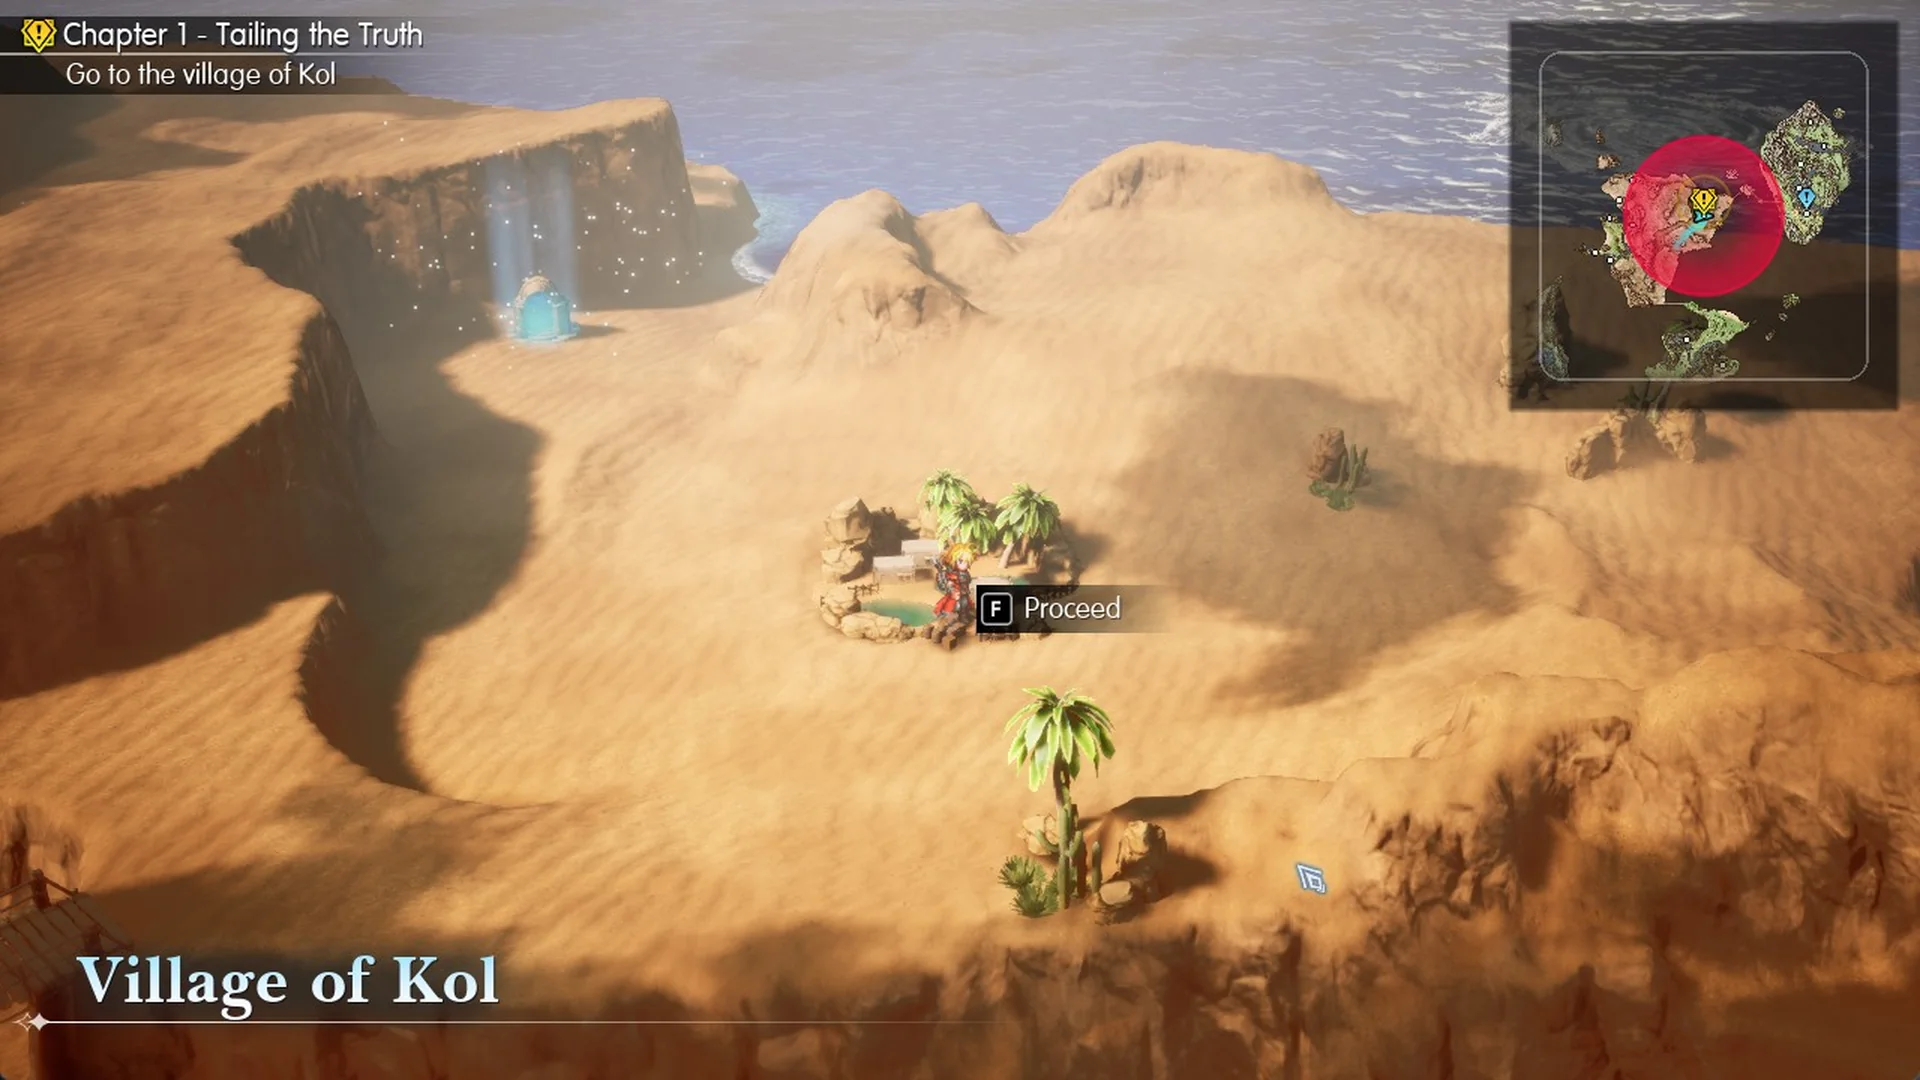
The Tablet Shard in the Village of Kol is in the south-west corner of the village, on the north-west shore of the oasis pond. It is tucked behind the big palm in that corner, just south of the low wooden fence near the west “Exit to World Map”. The fence stands between the shard and the exit lane, so walk west along the front of the houses, pass the west end of the low fence, then step down to the water’s edge and look for a small gold sparkle at the pond’s north-west edge. The shard is already there in Chapter 1, while the main objective reads “Find a ship in Grandport”, and Kol is where the desert route in how to get to Grandport starts.
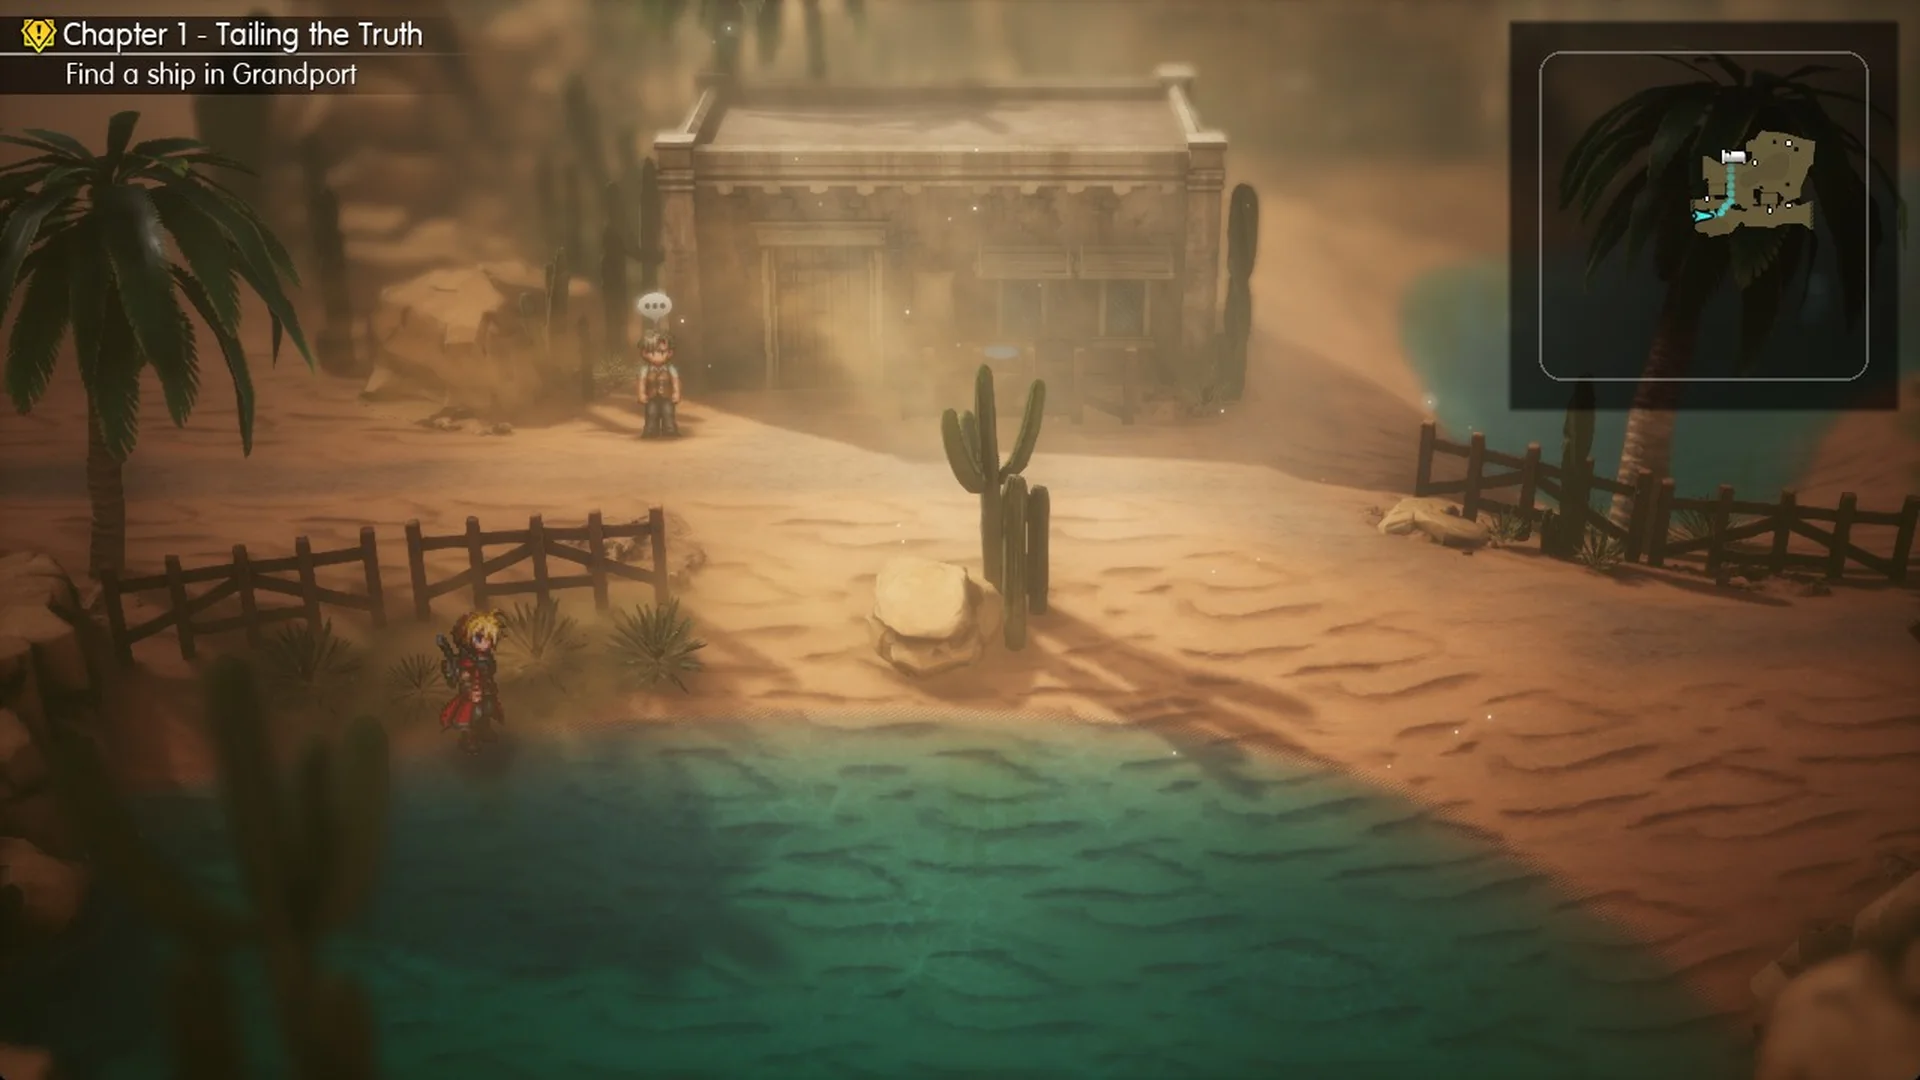
Kolobos Ruins
2 Tablet Shards · Chapter 1 · Recommended Level 7. For the route there, read how to get to the Kolobos Ruins.
| Shard | Nearest landmark |
|---|---|
| 1 | Close to the Antidote Herb x3 chest |
| 2 | Beside a doorway, some way from the Antidote Herb x3 chest |
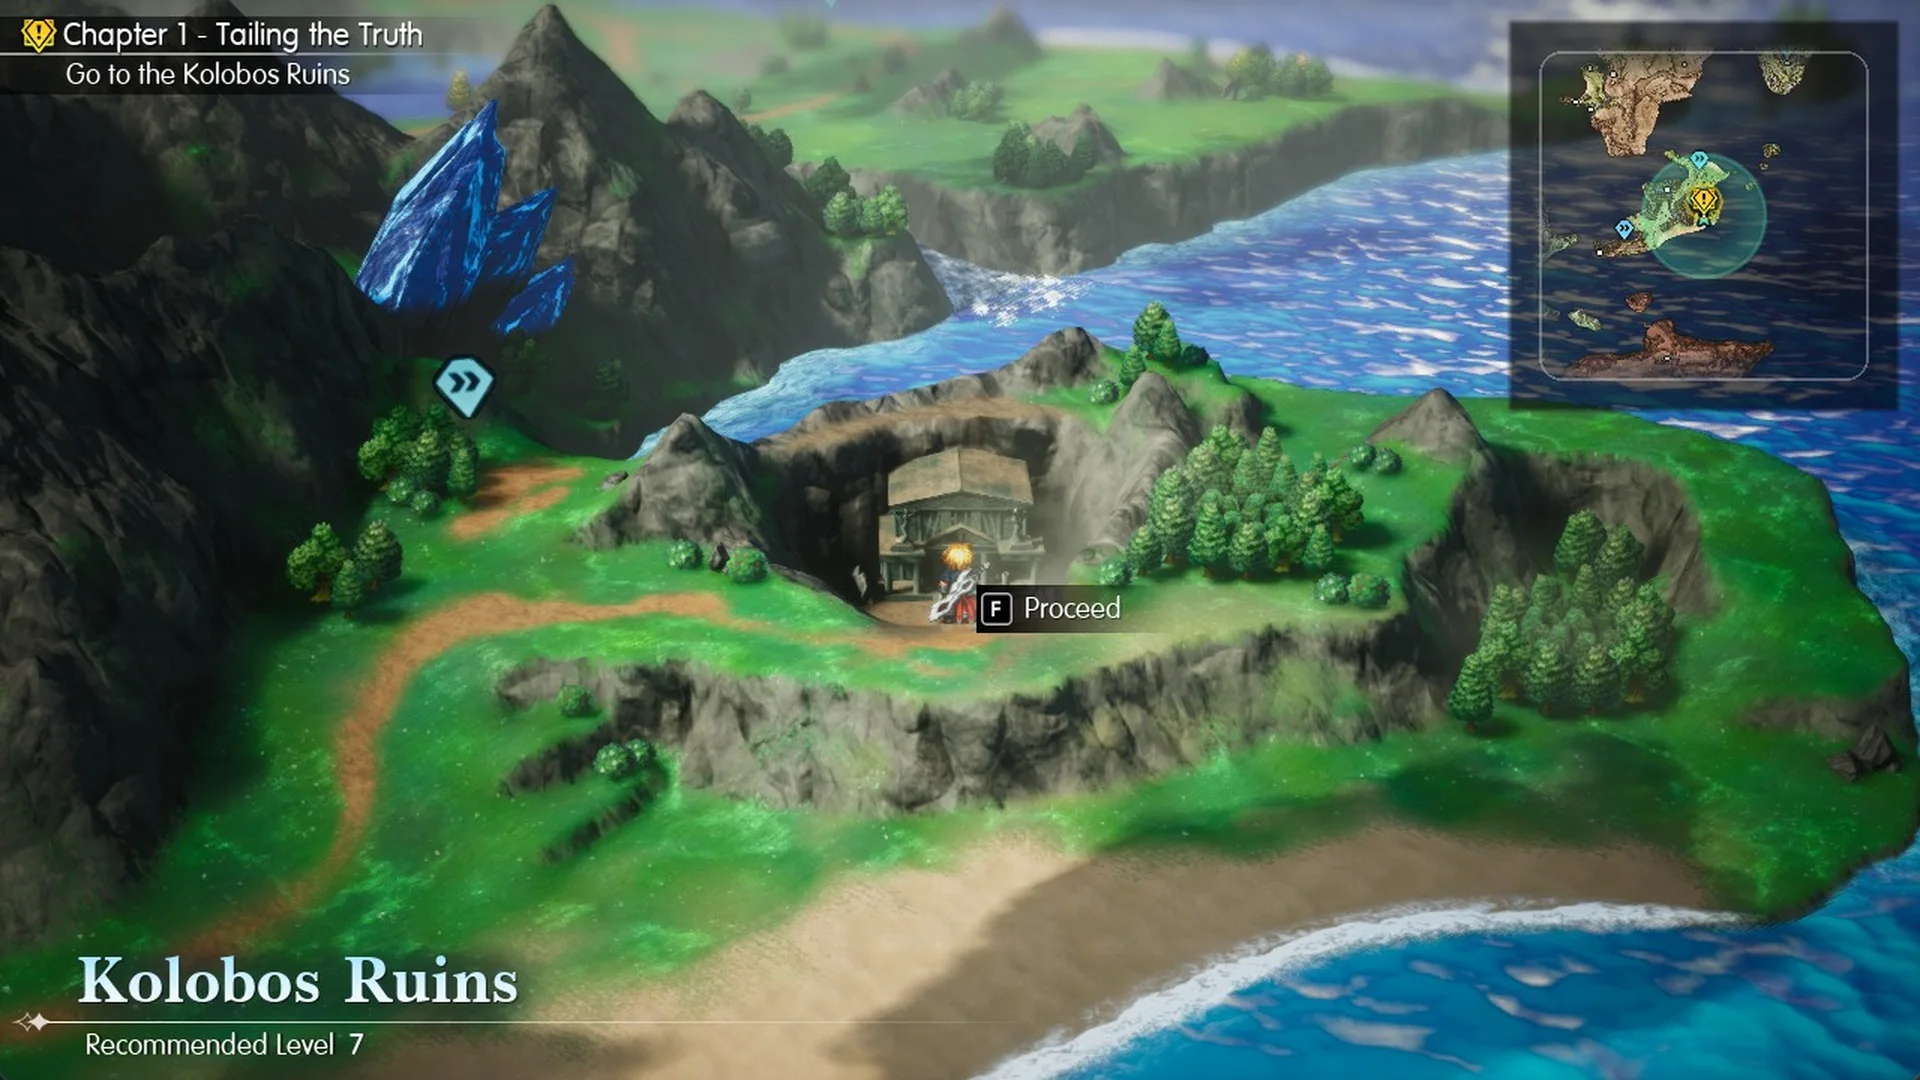
Grandport Harbor
2 Tablet Shards · Chapter 1.
| Shard | Nearest landmark |
|---|---|
| 1 | Close to the weapon shop and the armor shop |
| 2 | Further along the harbor, a fair walk from the shops and the exit to the World Map |
Siren’s Tower
3 Tablet Shards · Chapter 1 · Recommended Level 11. To get in, see how to get inside Siren’s Tower.
| Shard | Nearest landmark |
|---|---|
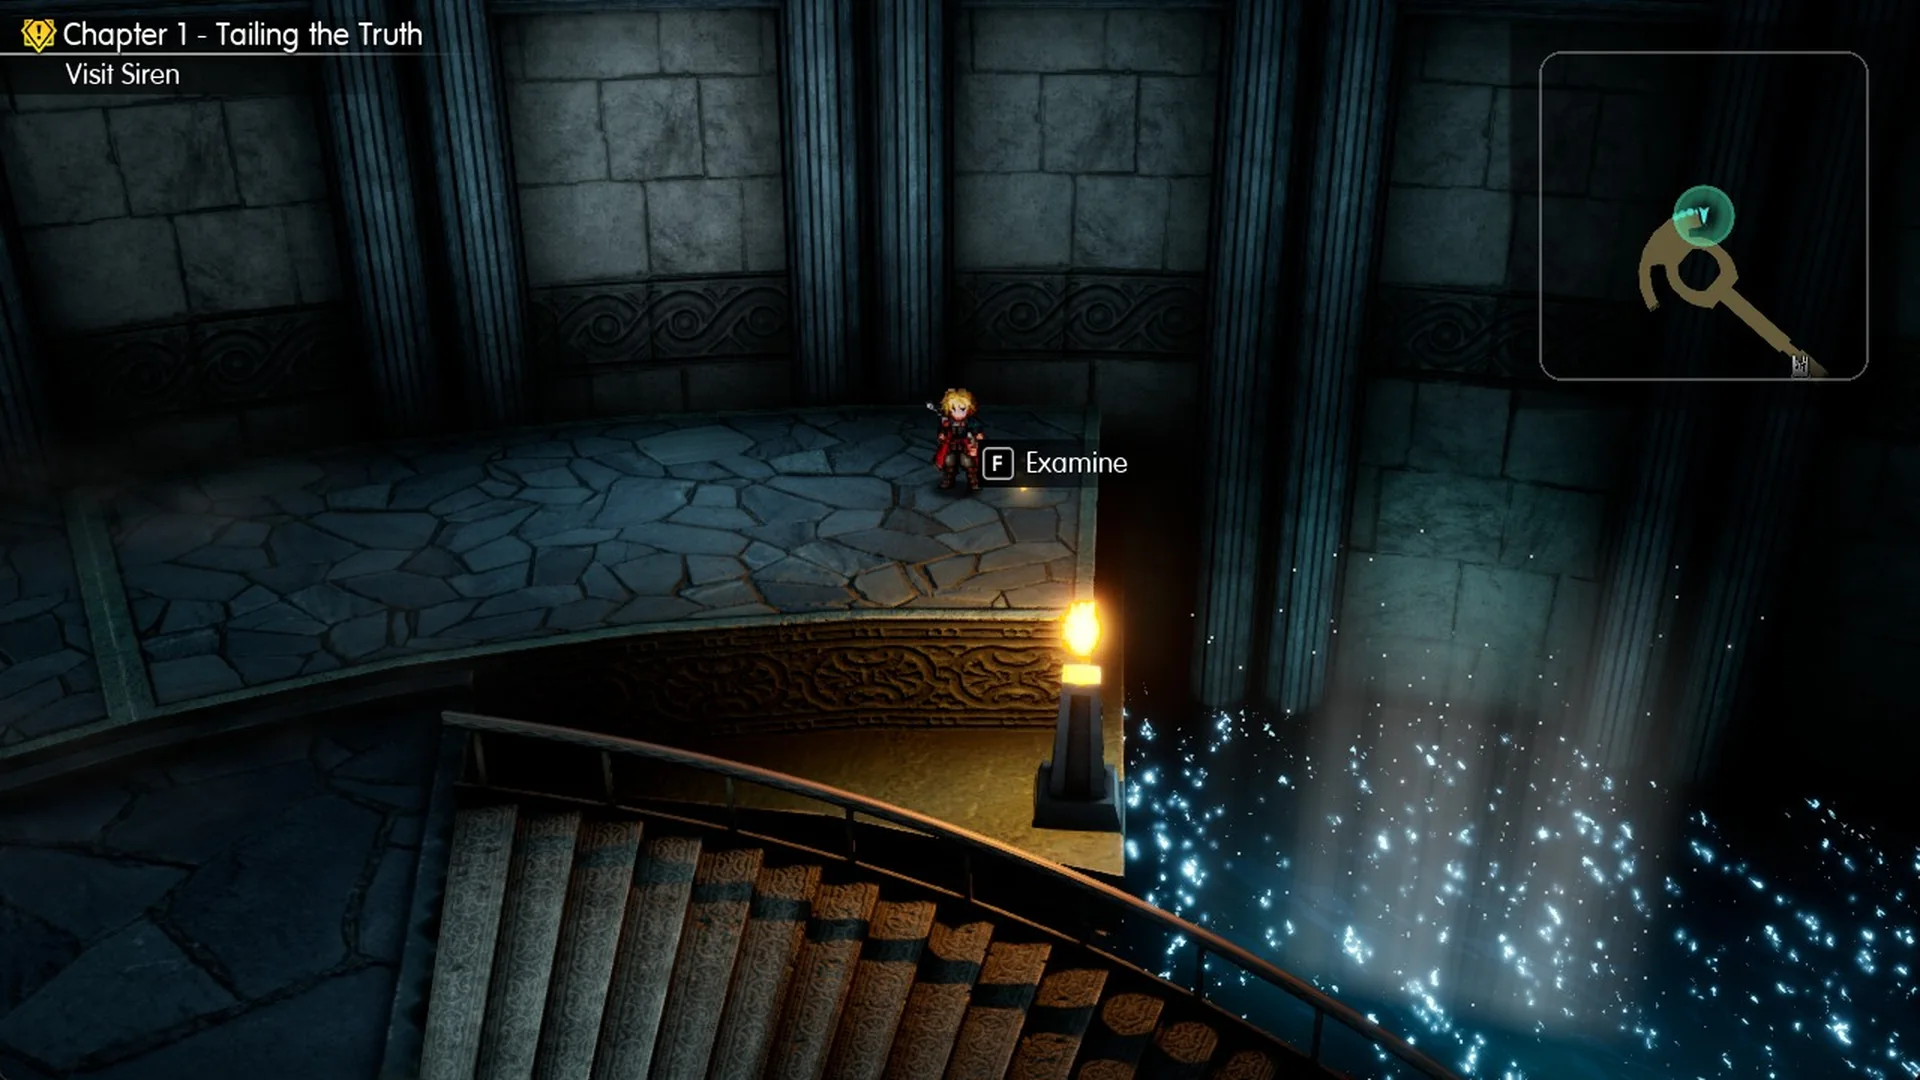
| 1 | Ground floor walkway, by the torch post at the top of the right-hand curved stair, past the Ether chest |
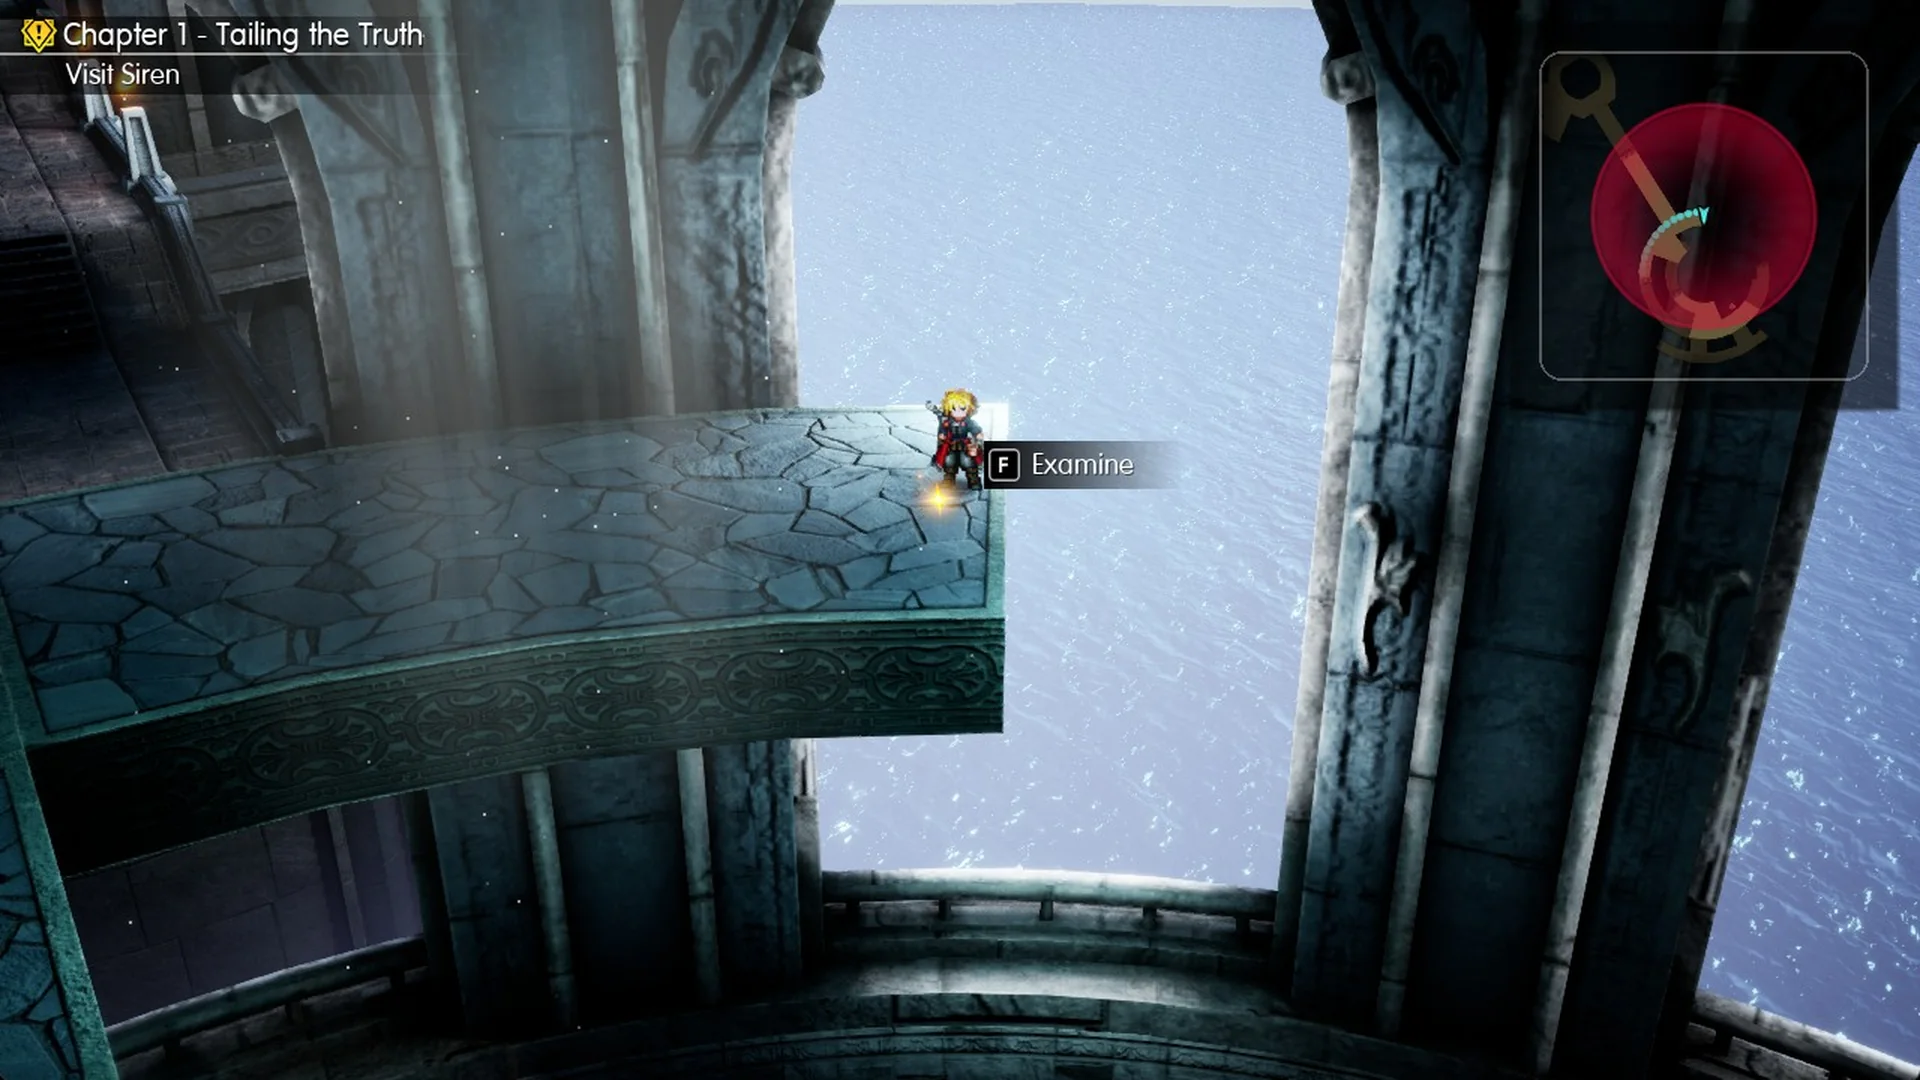
| 2 | Upper floor, at the tip of the short spur to the right where the long corridor starts |
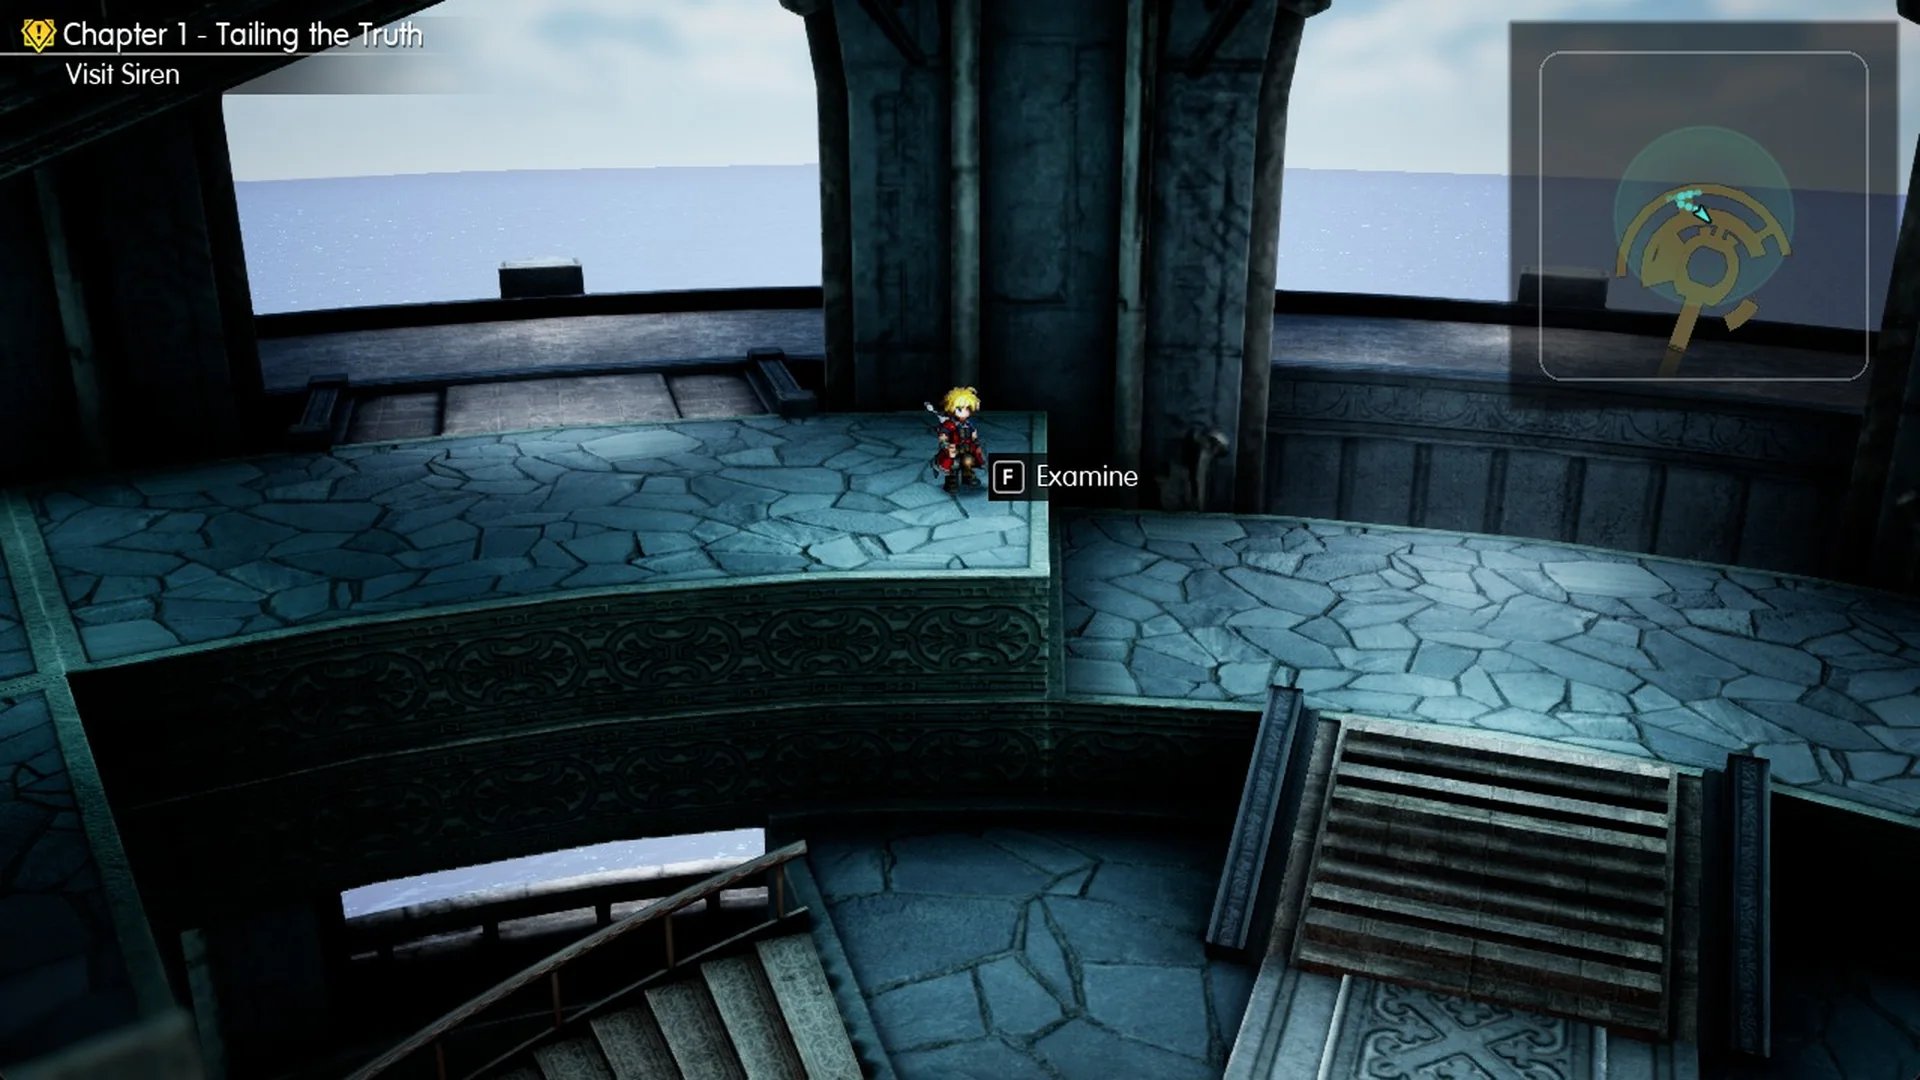
| 3 | Top half of the tower, on the raised stone block below the outer ring walkway |
The first shard is easy: climb the right-hand curved stair from the fountain hall, and the glint sits on the floor by the torch post at the top, a few steps right of the Ether chest on its stone dais.
The second is on the upper floor. Take the stair on the right of the third-floor room with the Ether x2 chest; at the top, before heading north up the long corridor, walk right to the end of the short spur. The glint is at its tip.
The third is in the top half of the tower, past the long corridor. You can see it from the inner band, but the raised block it sits on is walled off from that side. Climb onto the outer ring walkway along the sea-facing wall, walk left until you are above the block, then go down its short steps; the shard is at the block’s inner end. Every step of the climb is in the Siren’s Tower walkthrough.
Cavern of Swords
1 Tablet Shard.
| Shard | Nearest landmark |
|---|---|
| 1 | Deep inside the cavern, well away from the entrance |
Colosseum
1 Tablet Shard · Chapter 4 (once the Colosseum opens). How it opens is covered in our Colosseum guide.
| Shard | Nearest landmark |
|---|---|
| 1 | Some way from the Hi-Potion lying on the ground |
Dirnado, the Continent of Wind Tablet Shards (15)
Dirnado, where the Chapter 2 story (“Eternal Blue”) takes you, holds 15 shards across six places, with three each in Mt. Thunderclap, Mobliz Shipyard and the Wind Shrine.
Dilmagia, the Machinopolis
2 Tablet Shards · Chapter 2.
| Shard | Nearest landmark |
|---|---|
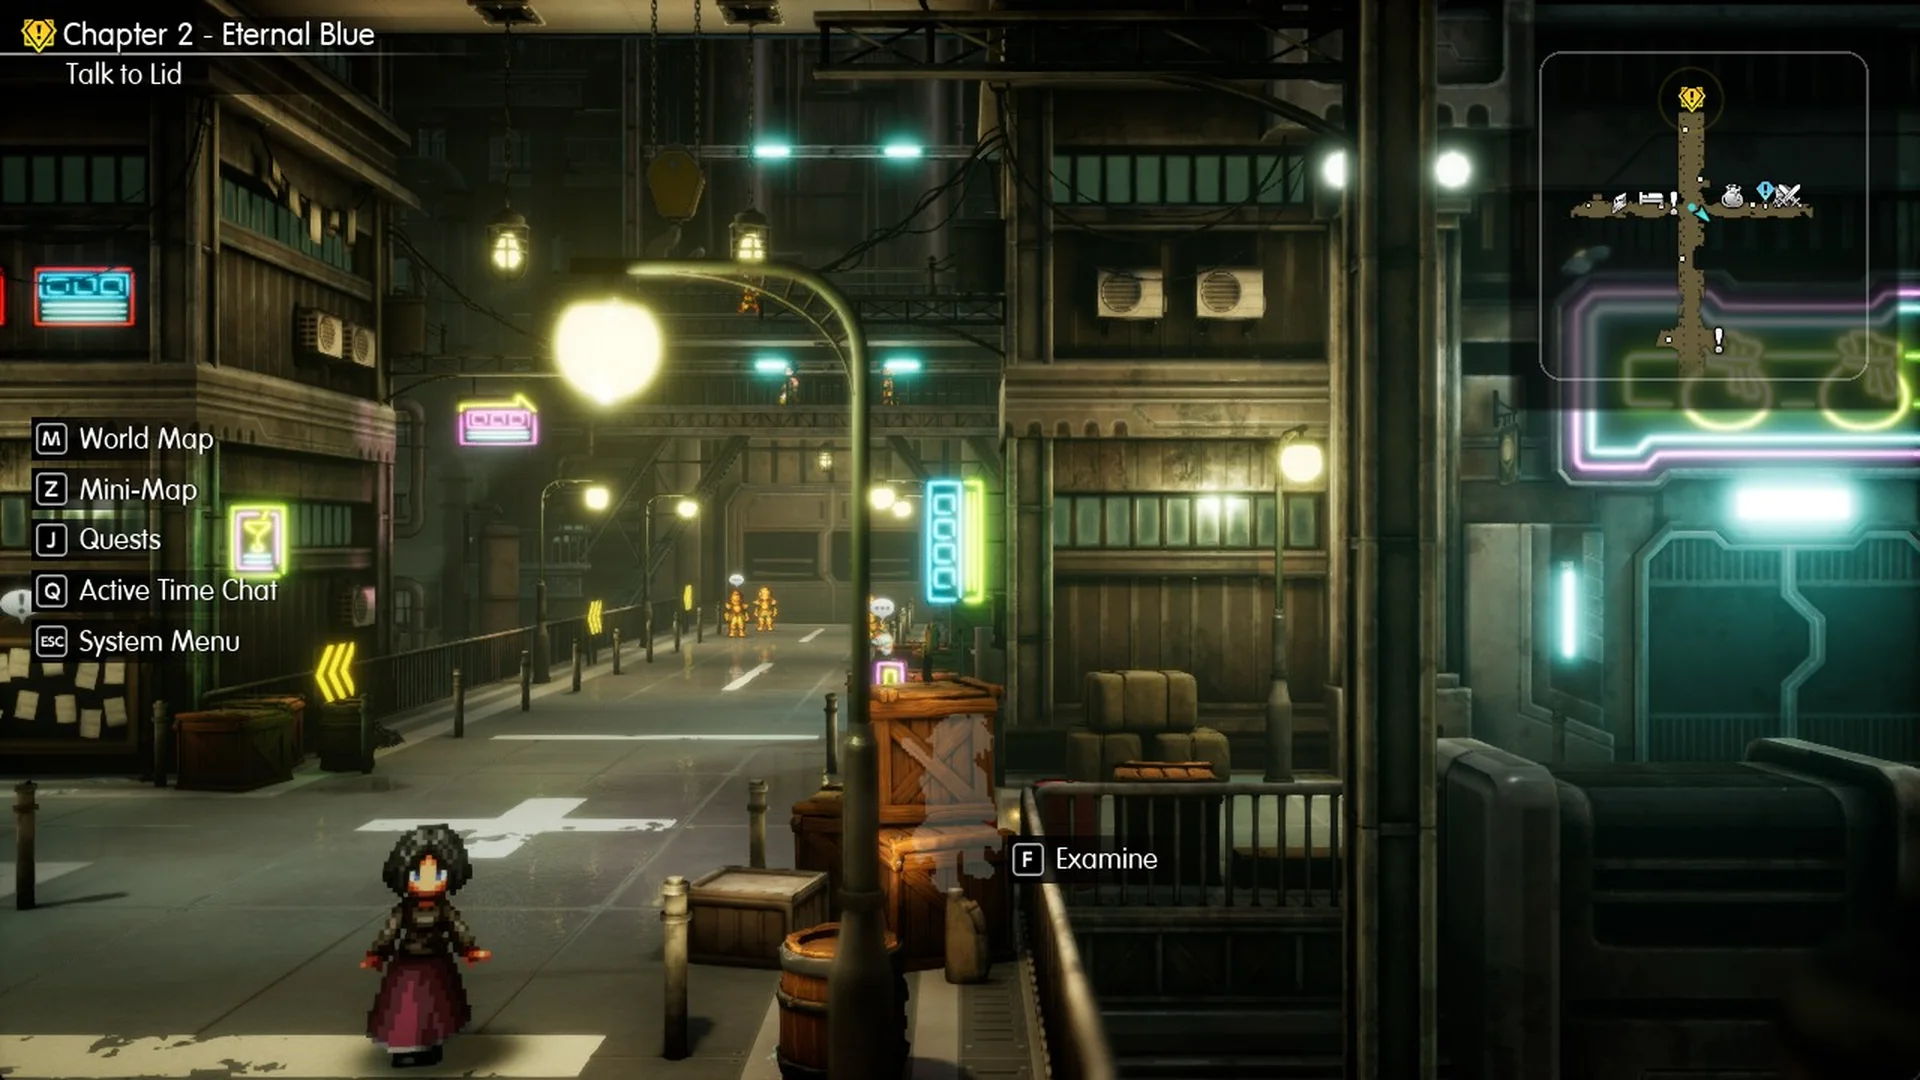
| 1 | Behind the crates just east of the south gate, where you come in from the World Map (press F to Examine) |
| 2 | Close to the item shop, a short walk from the inn |
Shipyard
2 Tablet Shards · Chapter 2.
| Shard | Nearest landmark |
|---|---|
| 1 | Ground floor (no chest or shop on this floor to go by) |
| 2 | Second floor (no chest or shop on this floor to go by) |
Mt. Thunderclap
3 Tablet Shards · Chapter 2 · Recommended Level 13. For the route, read the Mt. Thunderclap walkthrough.
| Shard | Nearest landmark |
|---|---|
| 1 | Lower down the mountain, a long way from the save points |
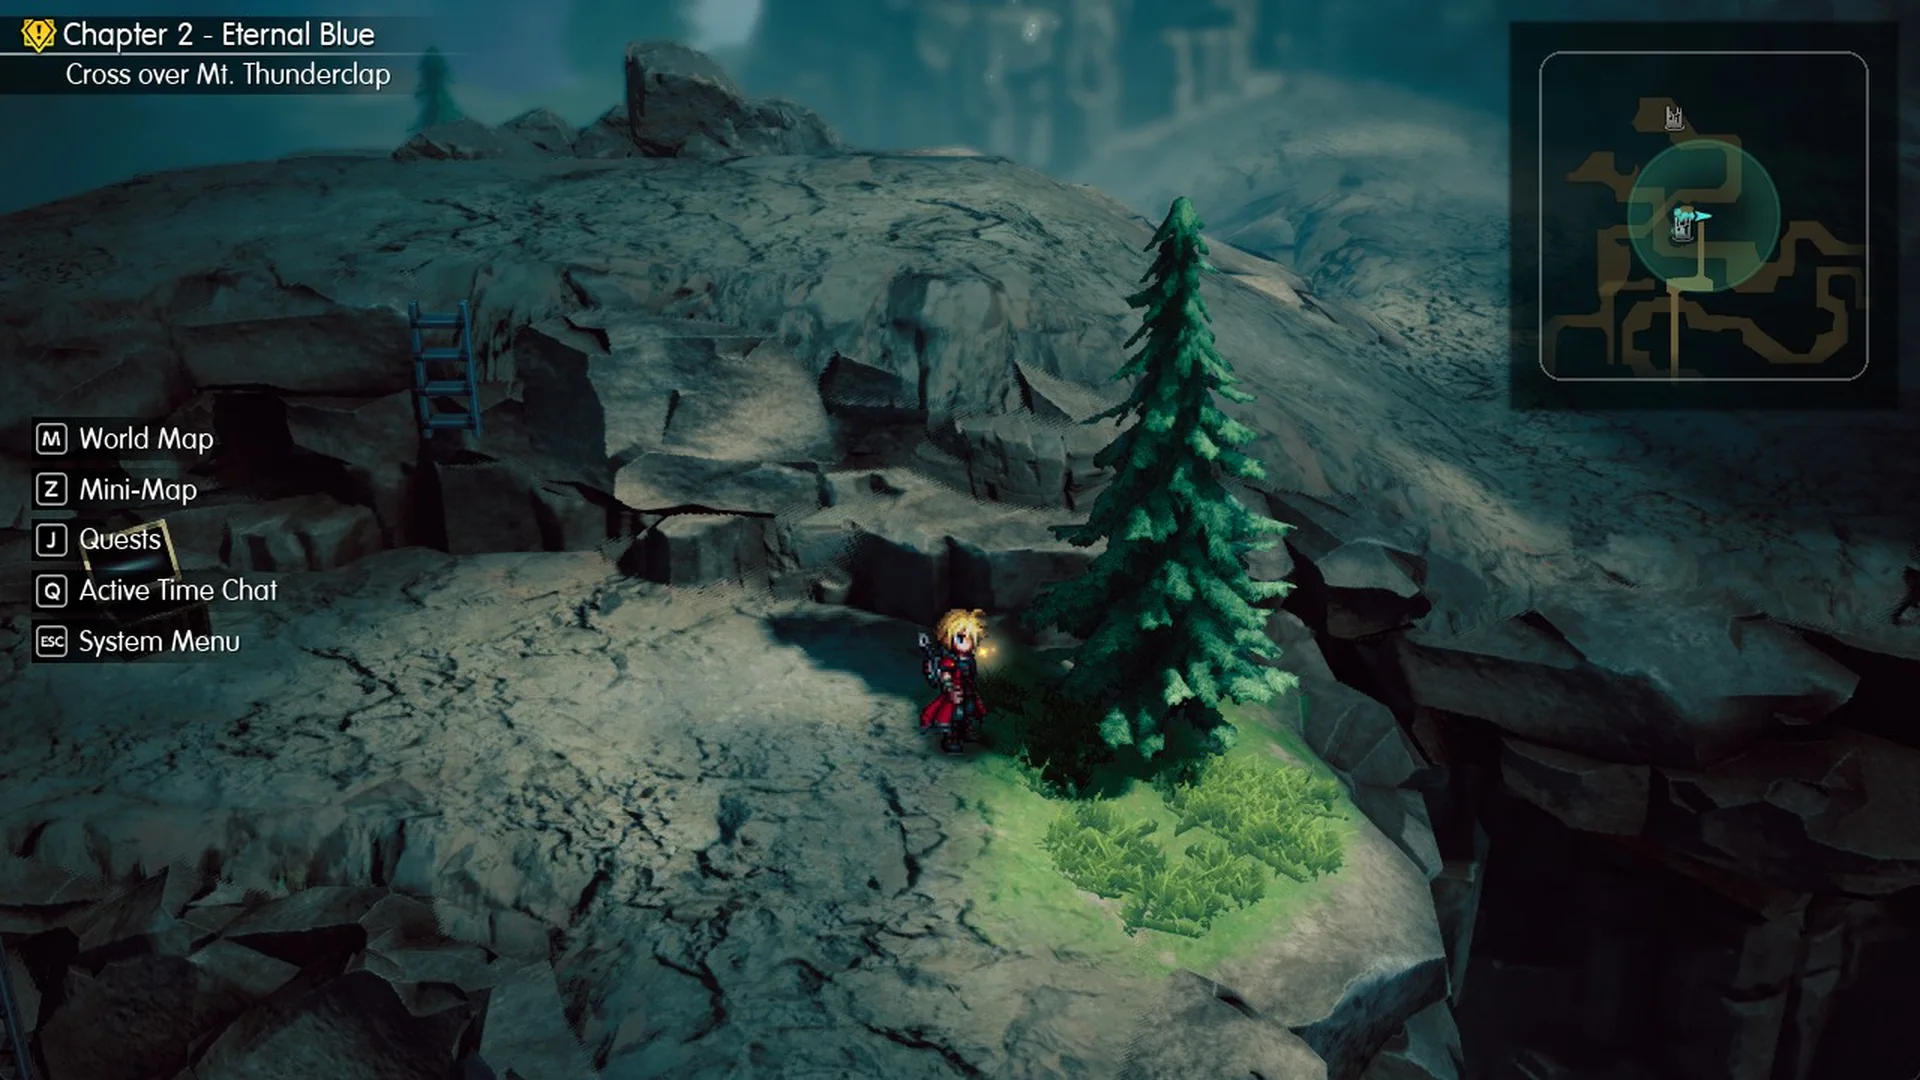
| 2 | On the Cape of the Raiju ledge (Lid’s paid route), at the west foot of the pine east of the chest |
| 3 | Higher up, a short walk from the Cape of the Raiju chest and the exit to the World Map |
The ledge shard is easy to miss. Lid’s 1,000-gil easy-peasy route takes you up to the ledge; from there, walk east past the Cape of the Raiju chest to the pine. The shard glints at the pine’s west foot. Pressing F beside the glint does nothing: step right onto it, then press F to pick up the Tablet Shard.
Dwarven Forge
2 Tablet Shards · Chapter 2. One is on the main forge floor and one on the lower floor; the route through every floor is in the Dwarven Forge walkthrough.
| Shard | Nearest landmark |
|---|---|
| 1 | Main forge floor: from the hall statue, cross the railed iron walkway west, then go south to the end of the west arm |
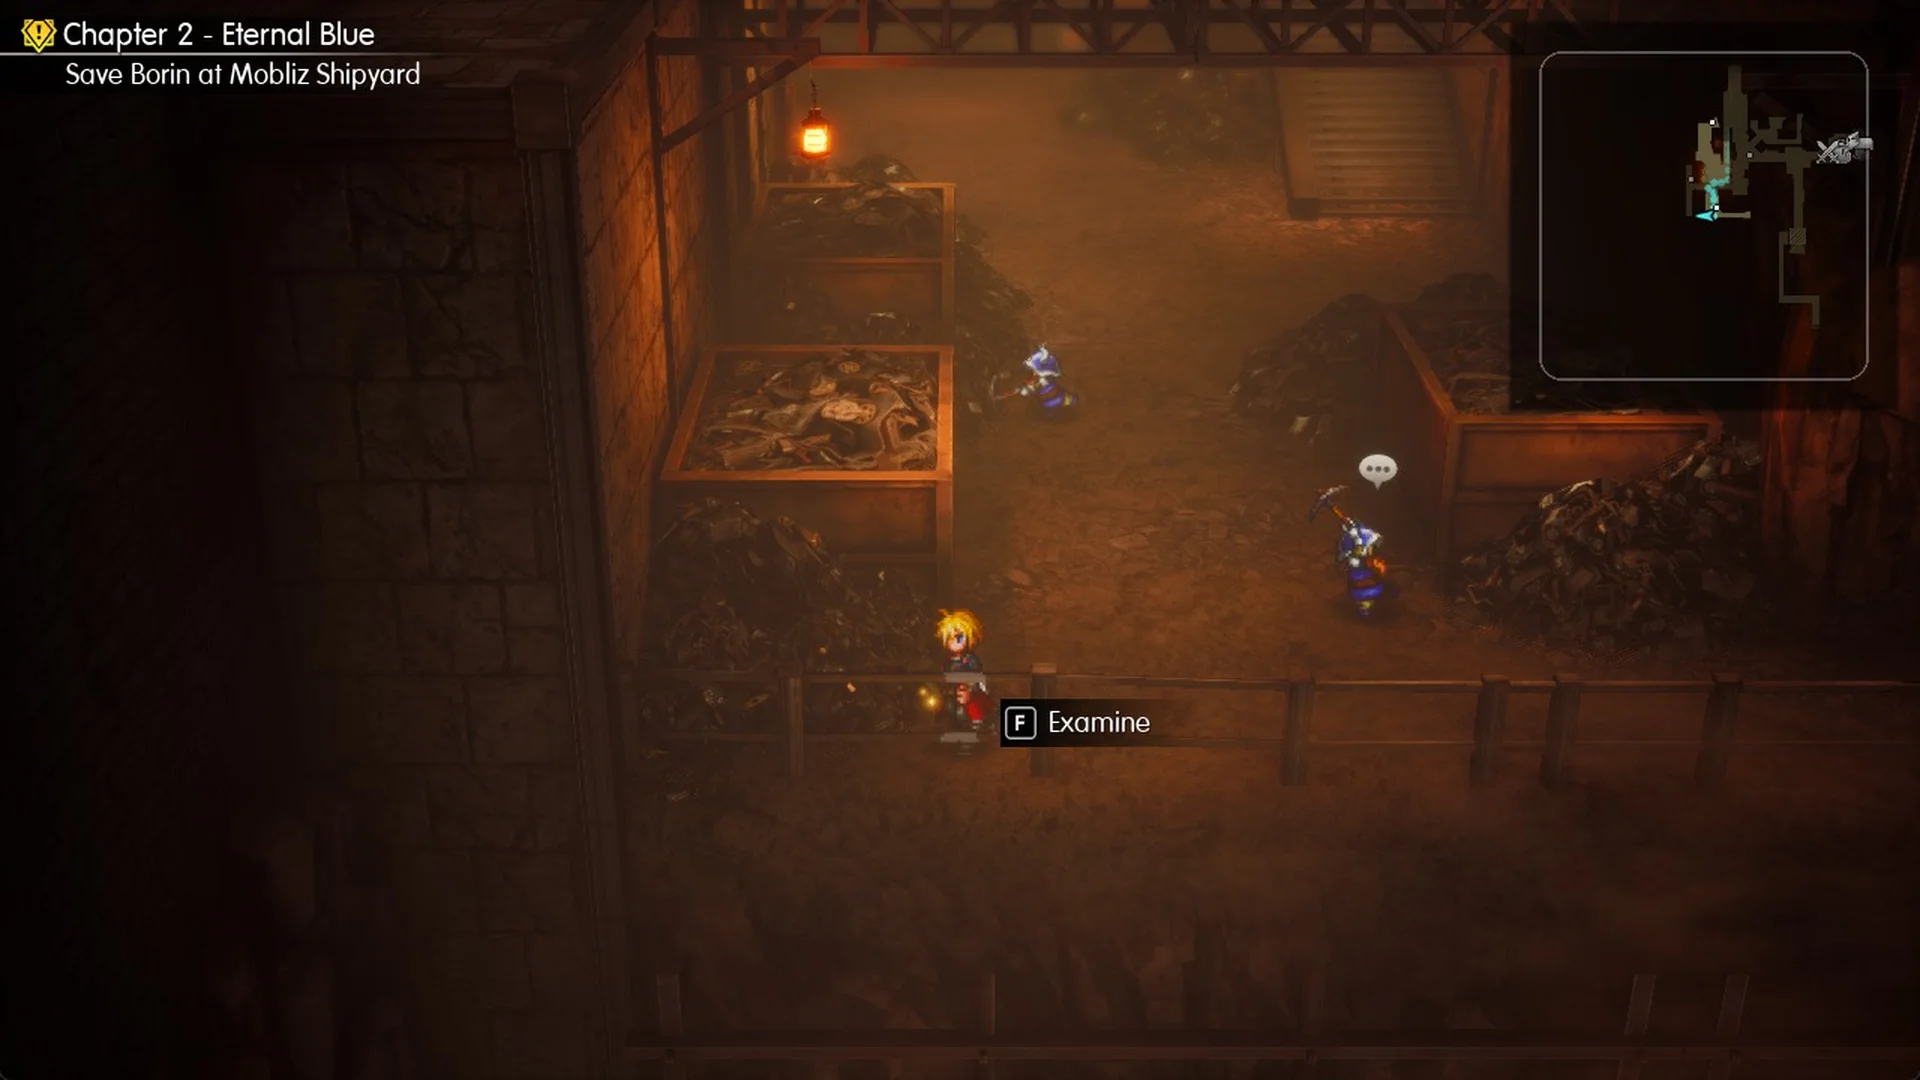
| 2 | Lower floor (where Mom Bomb waits): down the long stairs, west into the scrap-bin room, south-west corner by the railing |
The main floor shard is at the end of the west arm, reached over the iron walkway west of the hall statue.
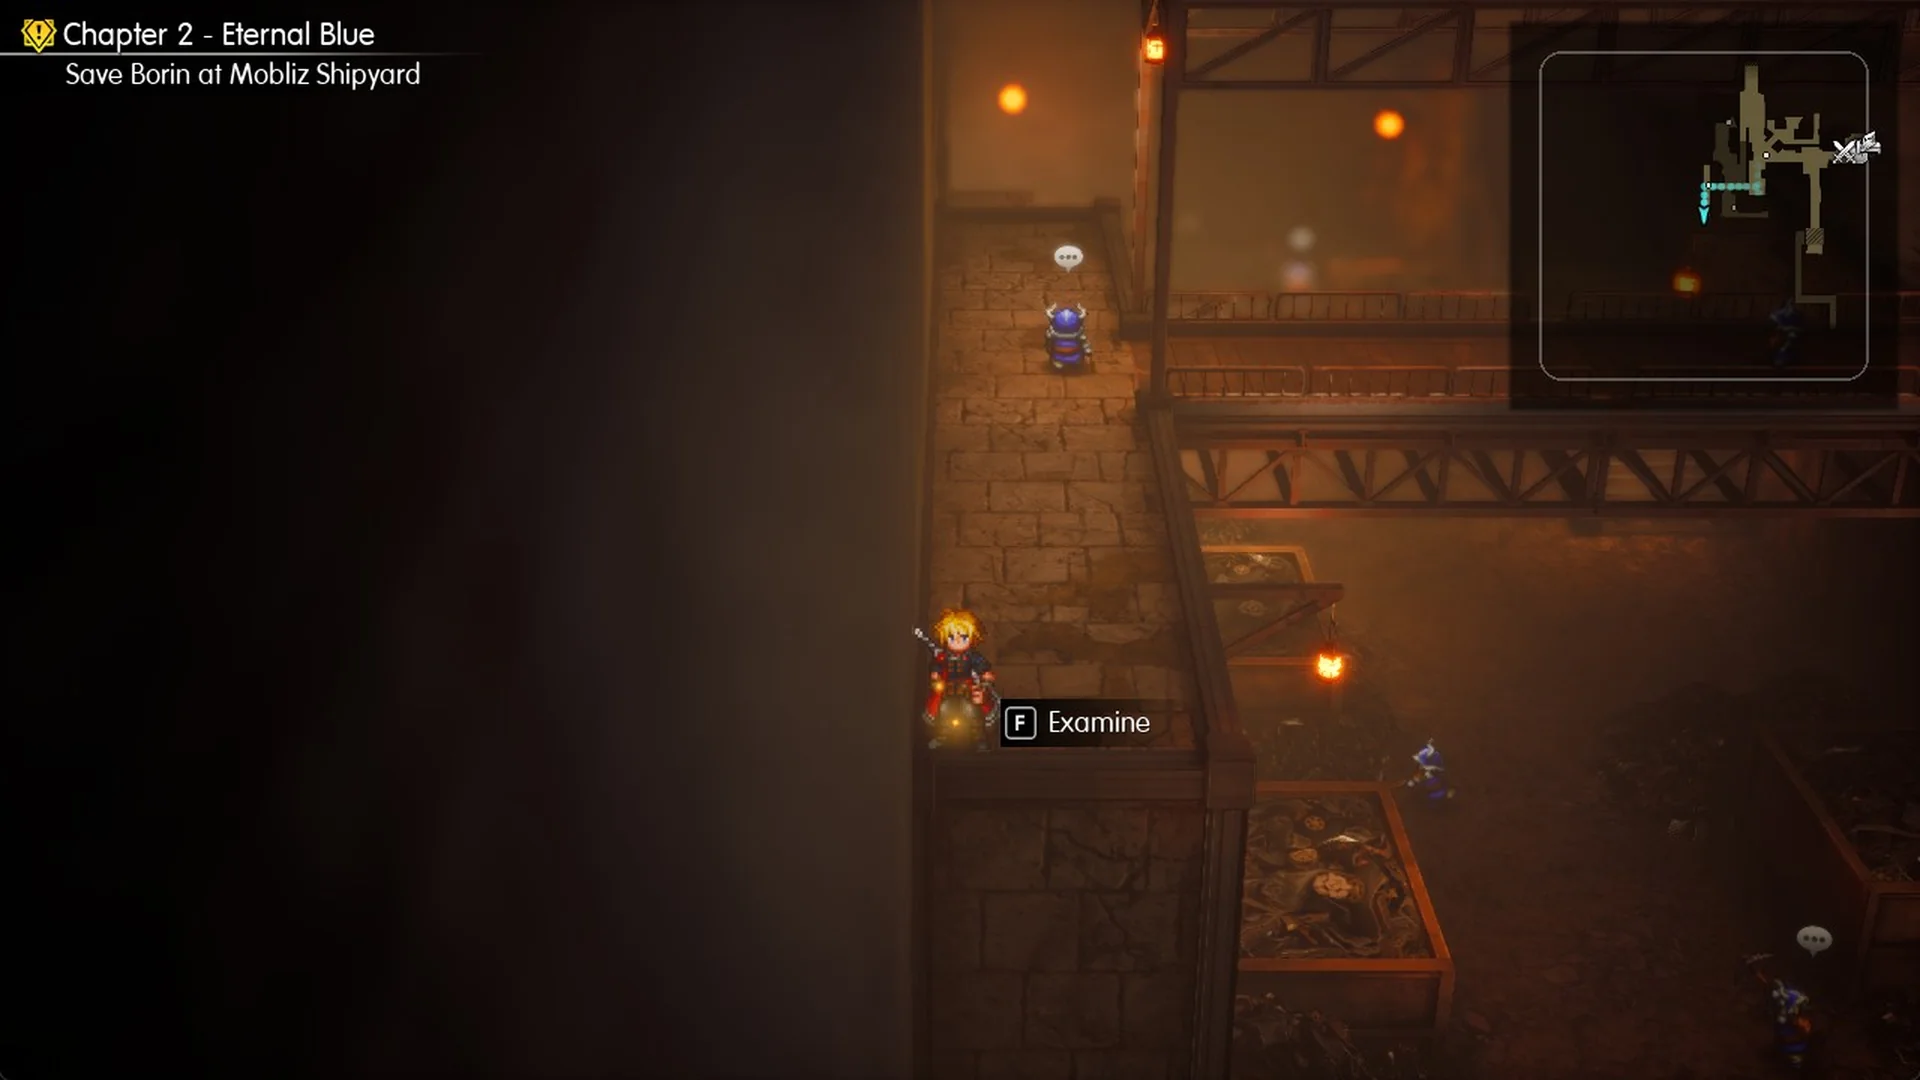
The lower floor shard is in the south-west corner of the scrap-bin room, at the bottom of the long stairs.
Mobliz Shipyard
3 Tablet Shards · Chapter 2 · Recommended Level 16. All three are on the way through the shipyard during “Save Borin at Mobliz Shipyard”, before the lift up to the roof. The full route through the shipyard is in the Mobliz Shipyard walkthrough.
| Shard | Nearest landmark |
|---|---|
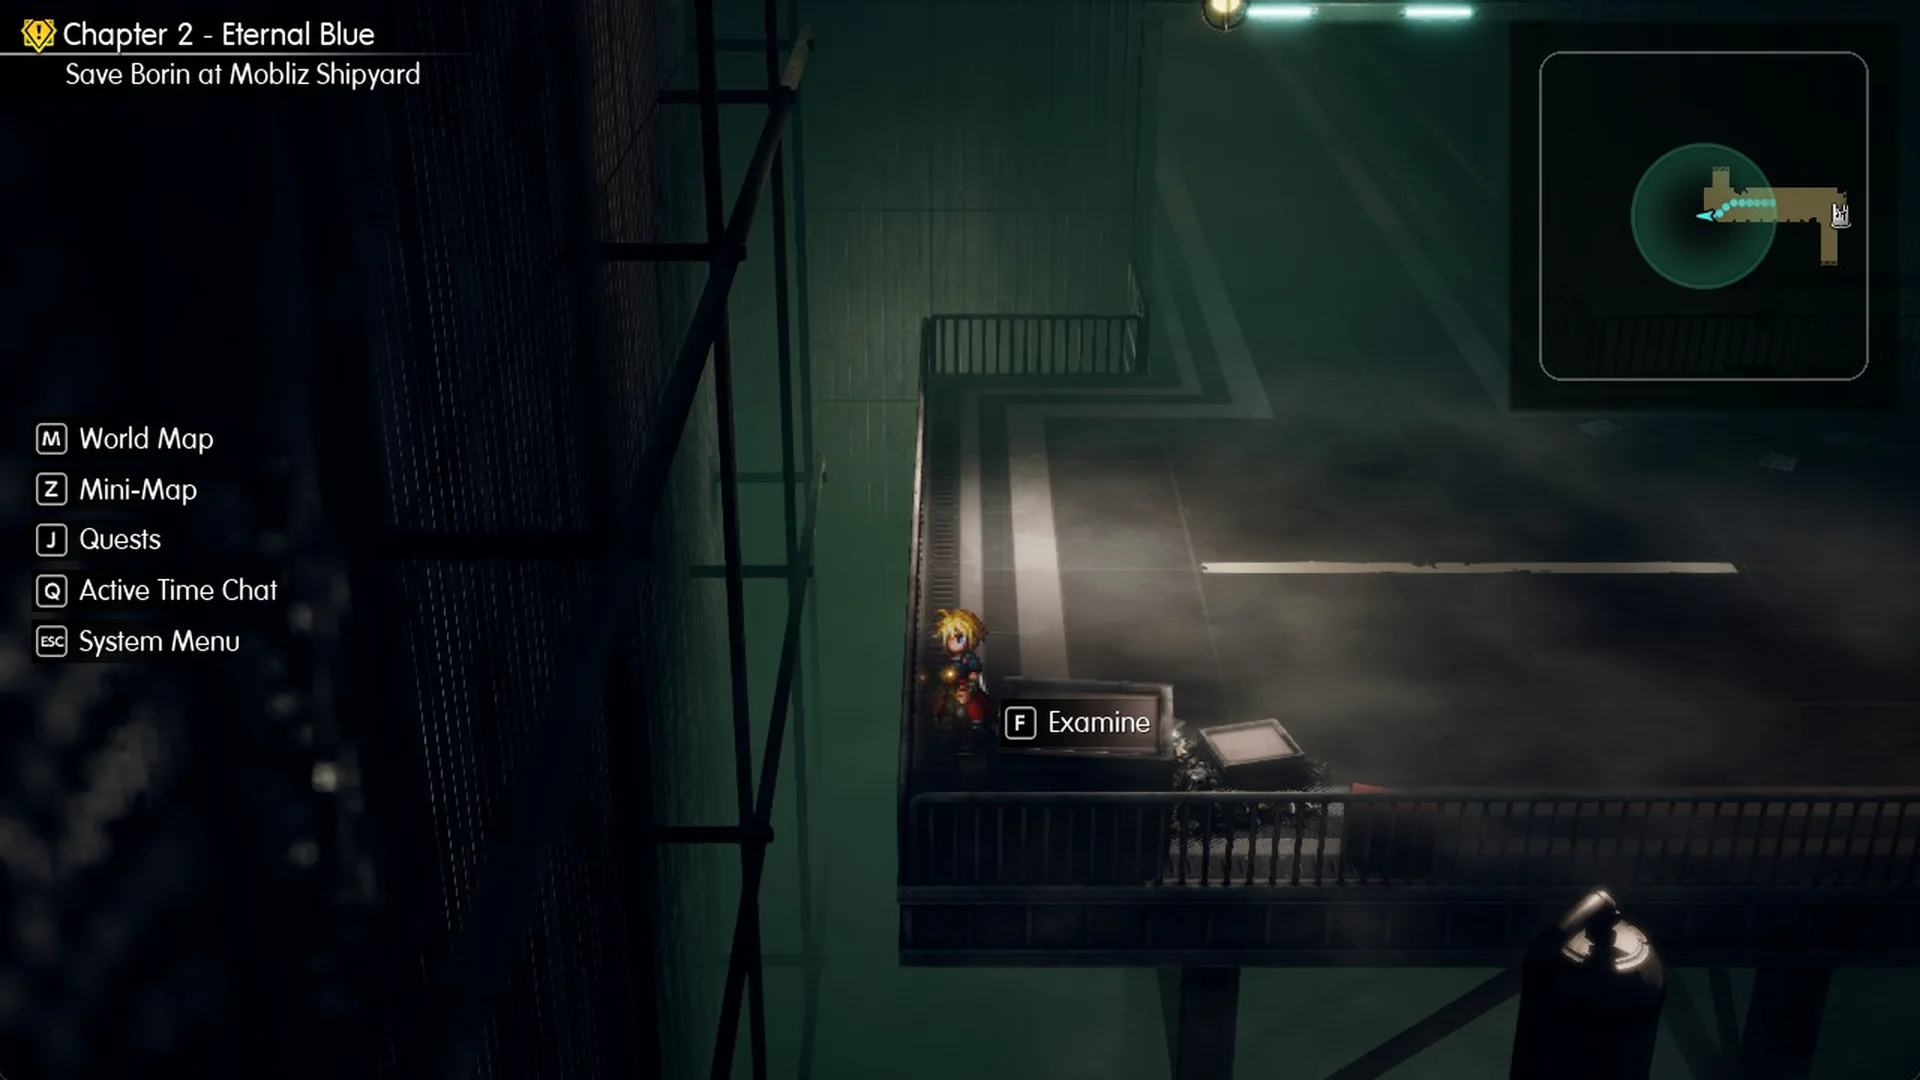
| 1 | Entrance hall, at the railed platform at its west end |
| 2 | West strip below the upper west block, at its south end (ladder down from the upper floor) |
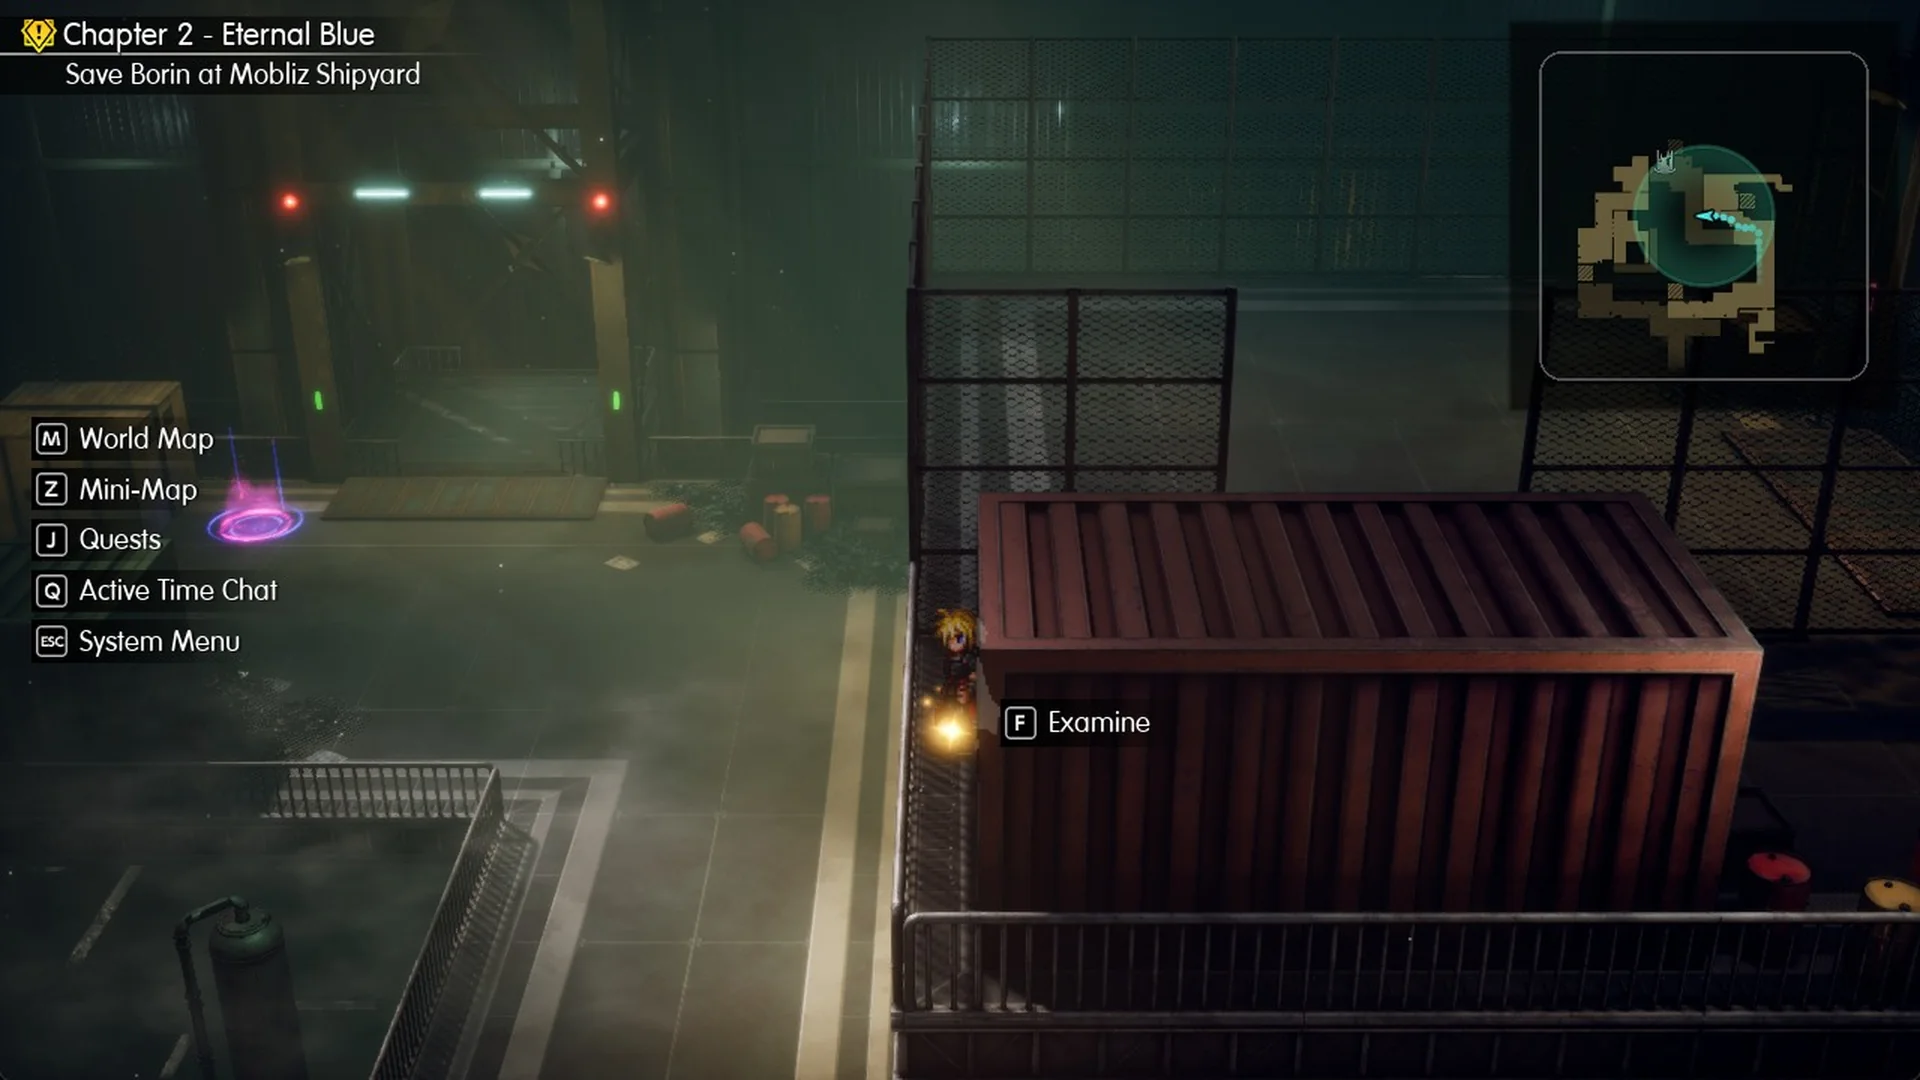
| 3 | Upper east block, in the north-east room beside a red cargo container (east lift) |
Shard 1 (entrance hall): from the entrance save point, walk west along the entrance hall to the railed platform at its far west end. Press F (Examine) at the glint to pick up the Tablet Shard.
Shard 2 (west strip): go north from the entrance hall into the ground-floor hall, take the west lift in its north-west room up to the upper floor (press F at the panel on the platform’s east side), and walk north and east through the west block. A ladder there leads down to a narrow railed strip below.
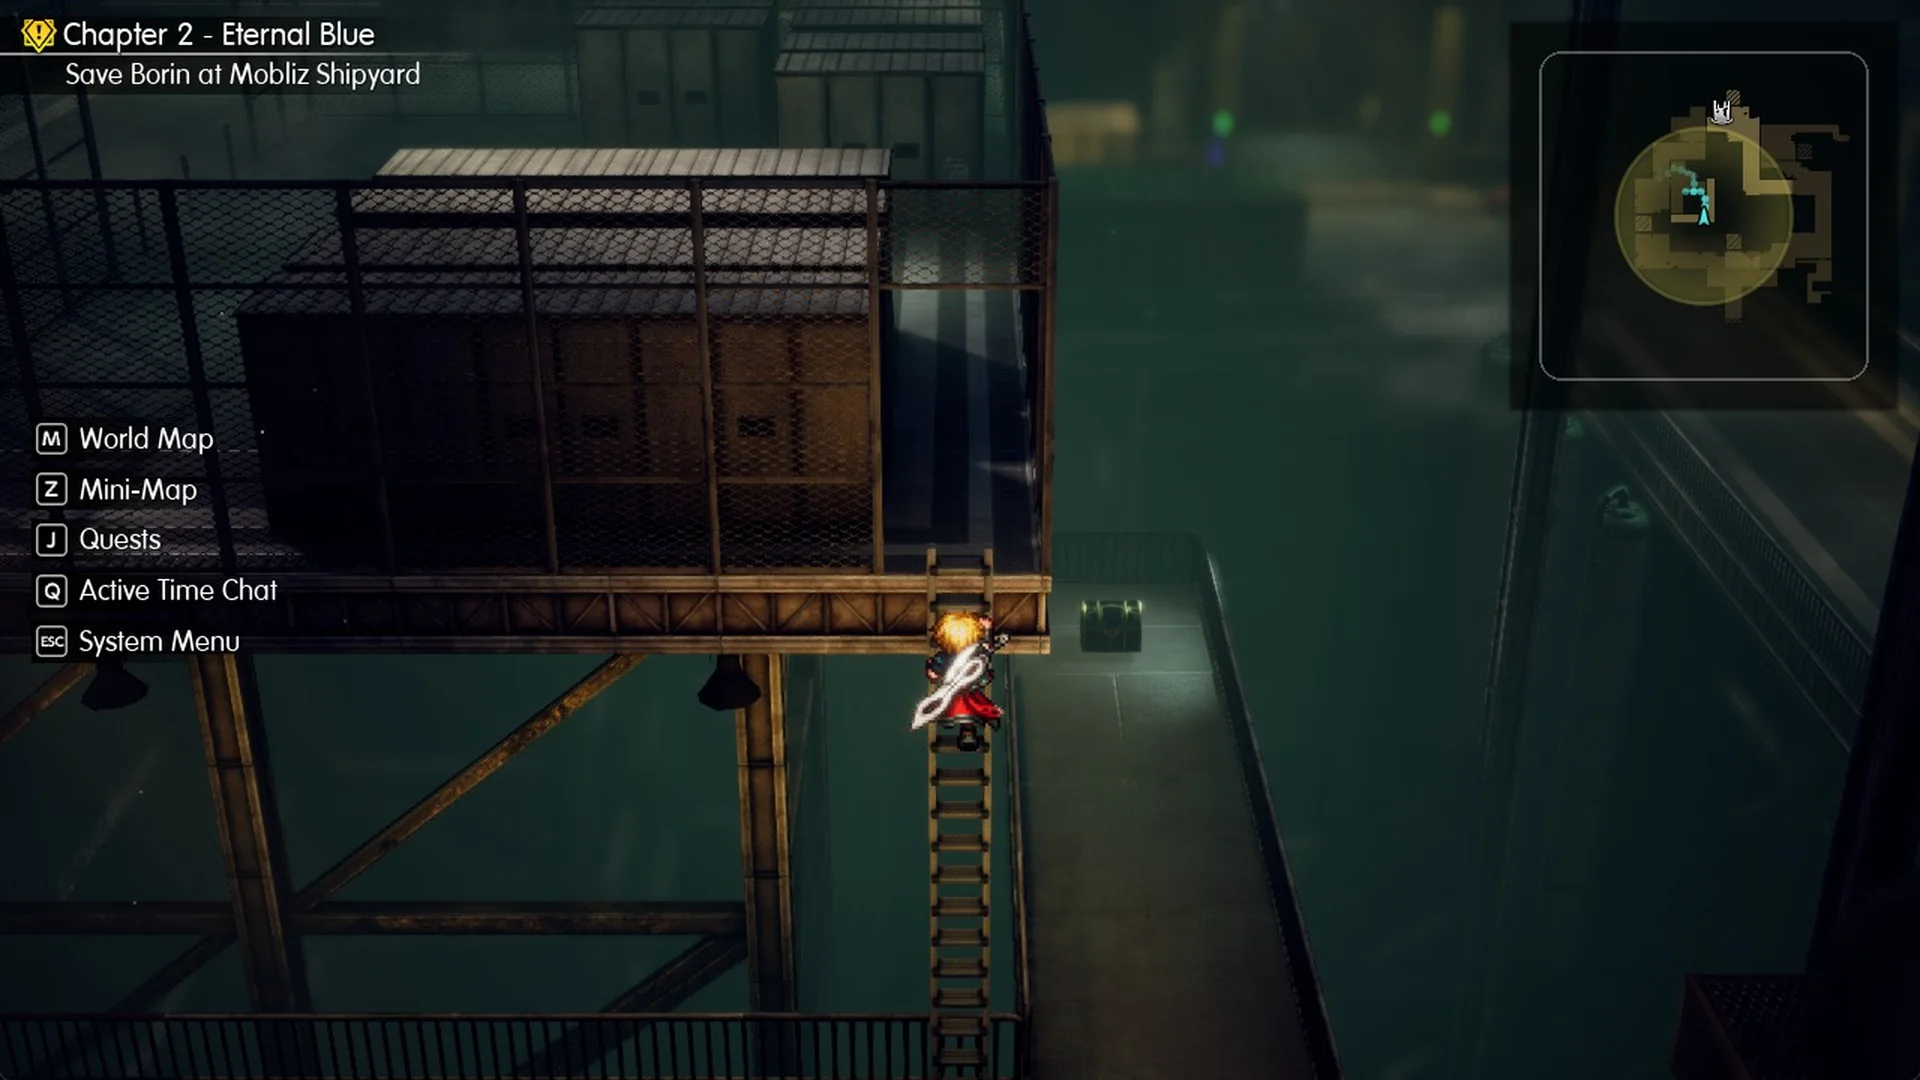
The shard is at the strip’s south end. The strip’s north end has a chest with a Protective Overcoat; the strip is a dead end, so climb the ladder back up afterwards.
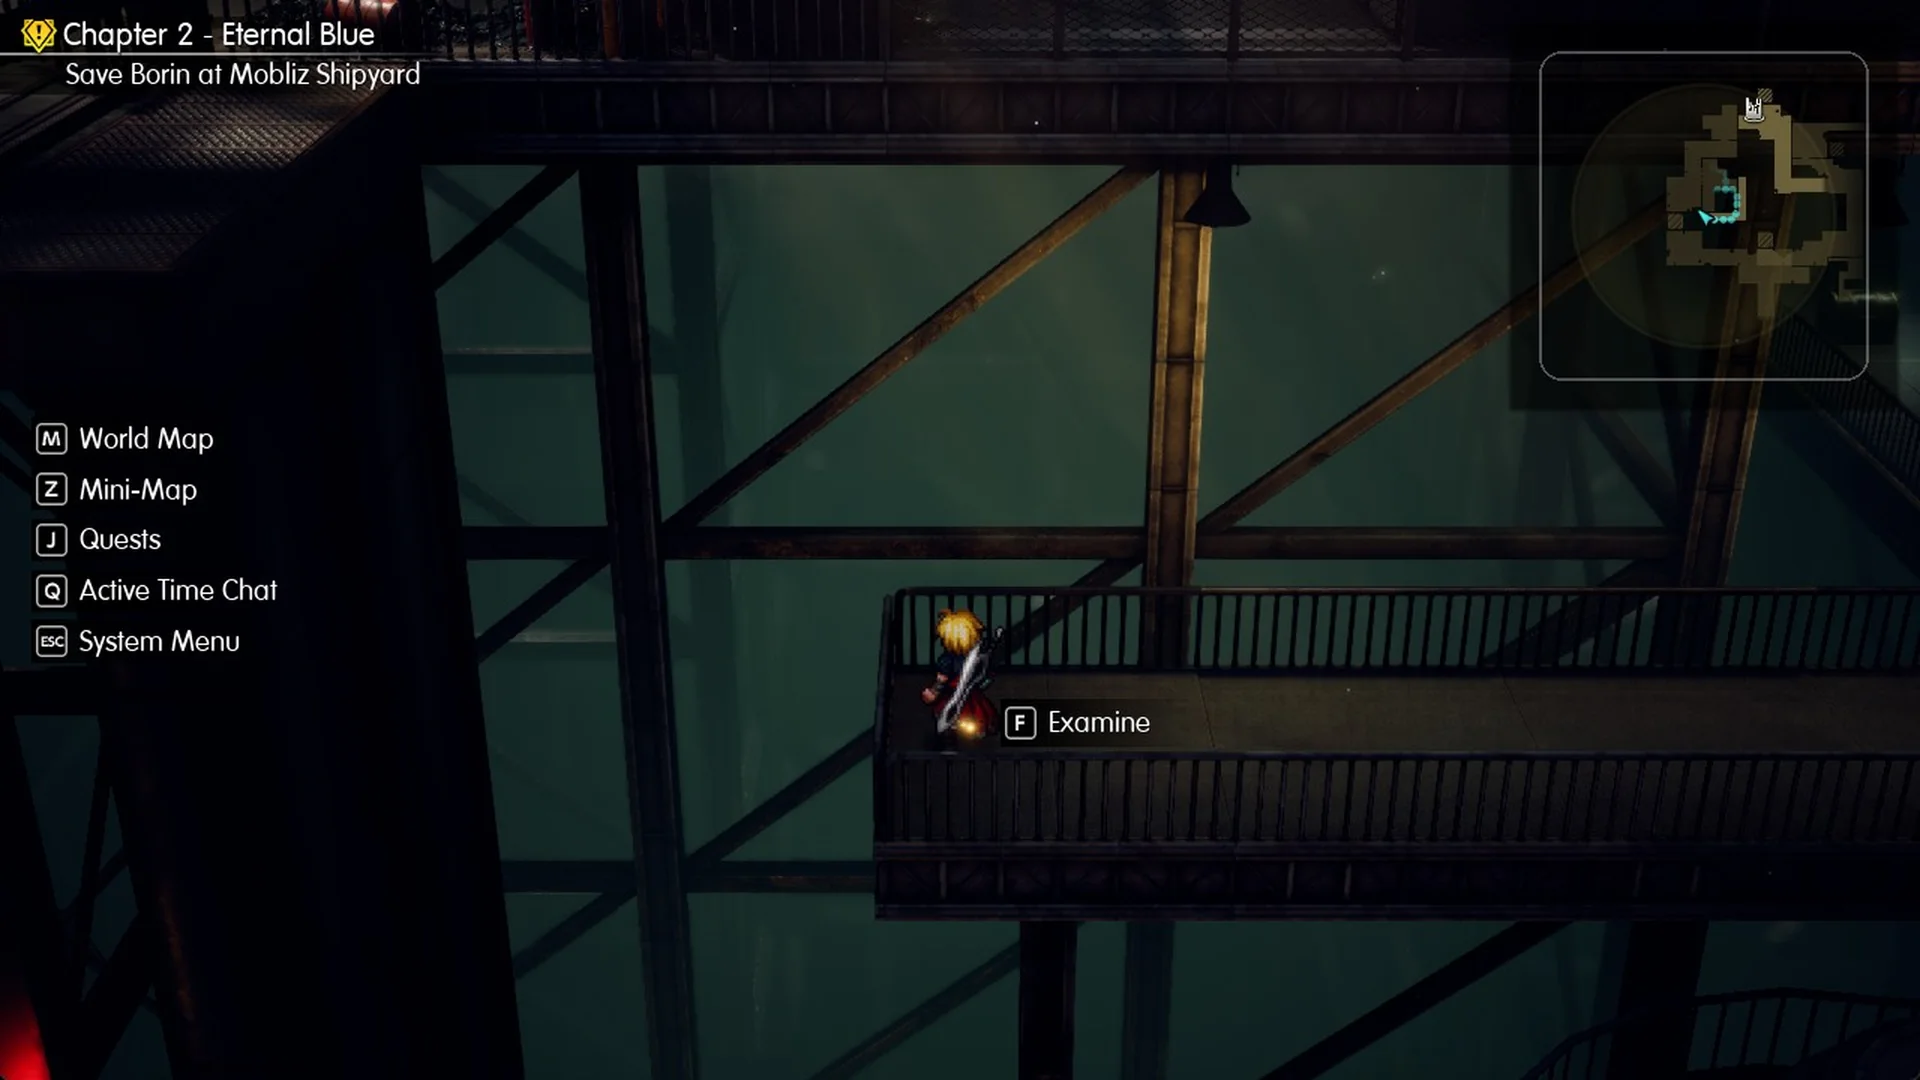
Shard 3 (upper east block): the east lift in the ground-floor hall stays dark until you press the switch in the upper west block, which turns it green. The same block holds the Citrine Pot and a Chocobo Down Charm chest. Ride the west lift down, walk east to the east lift and press F at its panel to go up.
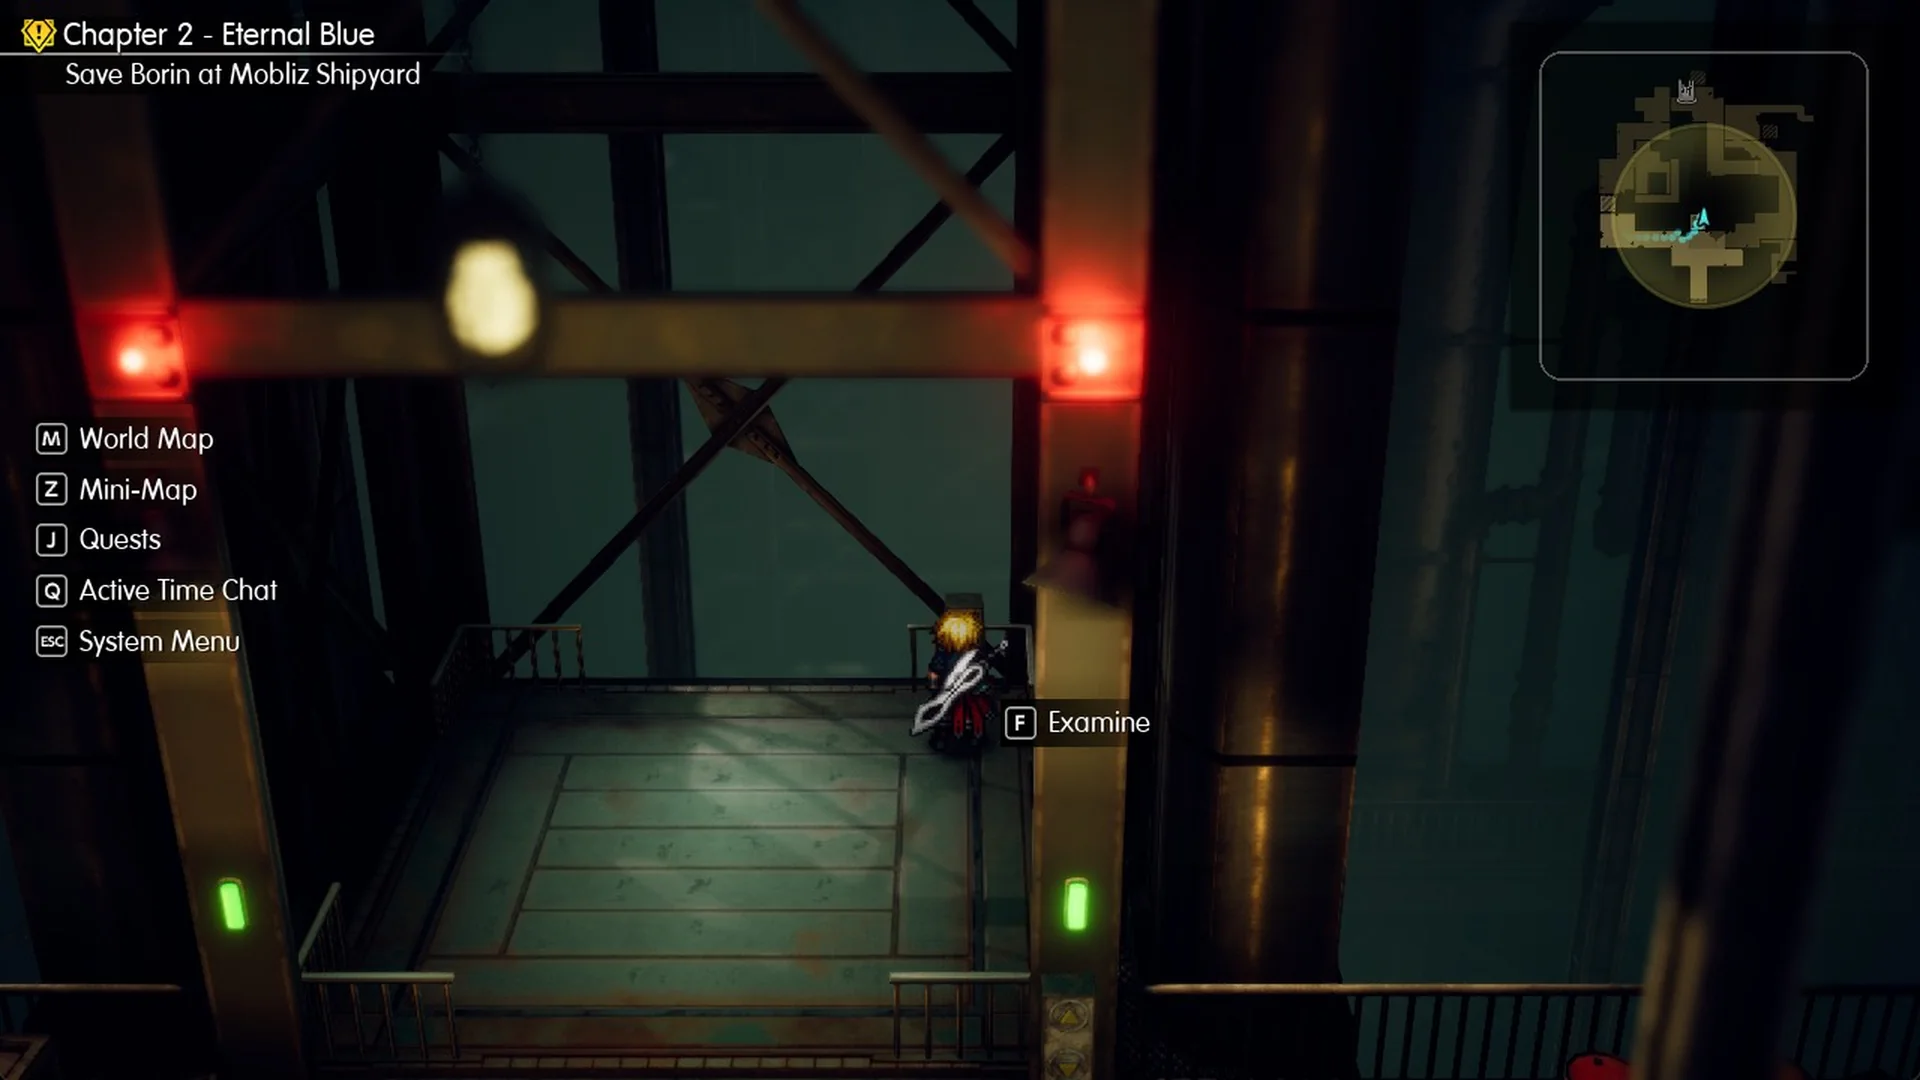
From the top of the east lift, follow the south corridor east, then the long corridor north into the north-east room. The shard is beside the red cargo container there.
Wind Shrine
3 Tablet Shards · Chapter 2 · Recommended Level 18.
| Shard | Nearest landmark |
|---|---|
| 1 | Entrance hall, behind the north-east pillar at the north end; bring Lift A down with the switch on the pedestal first |
| 2 | East walkway, near Lift G (the Tsukiyo no Tachi chest is on the island at the top of Lift G) |
| 3 | Lift ring, a few steps from where the moving platform from the east walkway stops, on the way to Lift D |
The first shard only becomes reachable once Lift A is down, so press the call switch on the pedestal by the pit before you look behind the pillar.
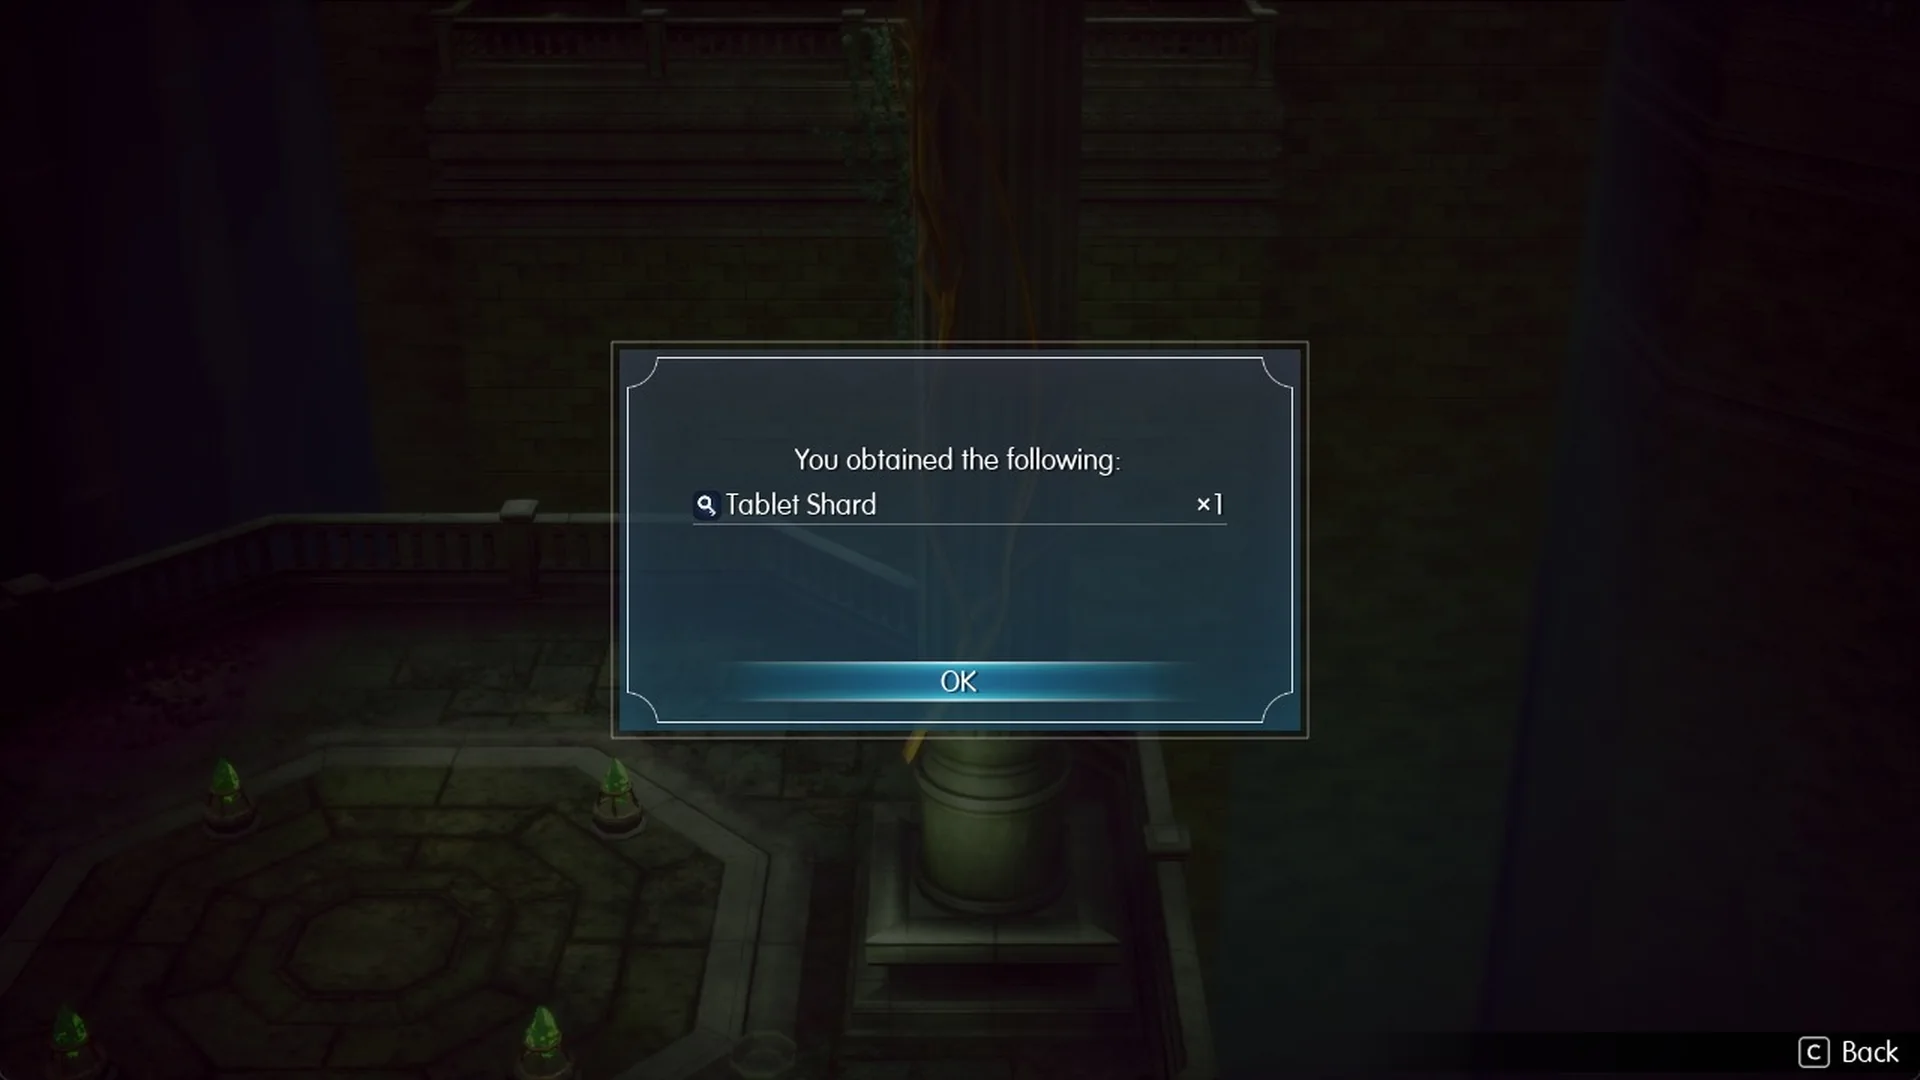
The third shard sits in the lift ring that the moving platform from the east walkway drops you into. Pick it up before you ride Lift D to the top floor. The full route is in the Wind Shrine walkthrough.
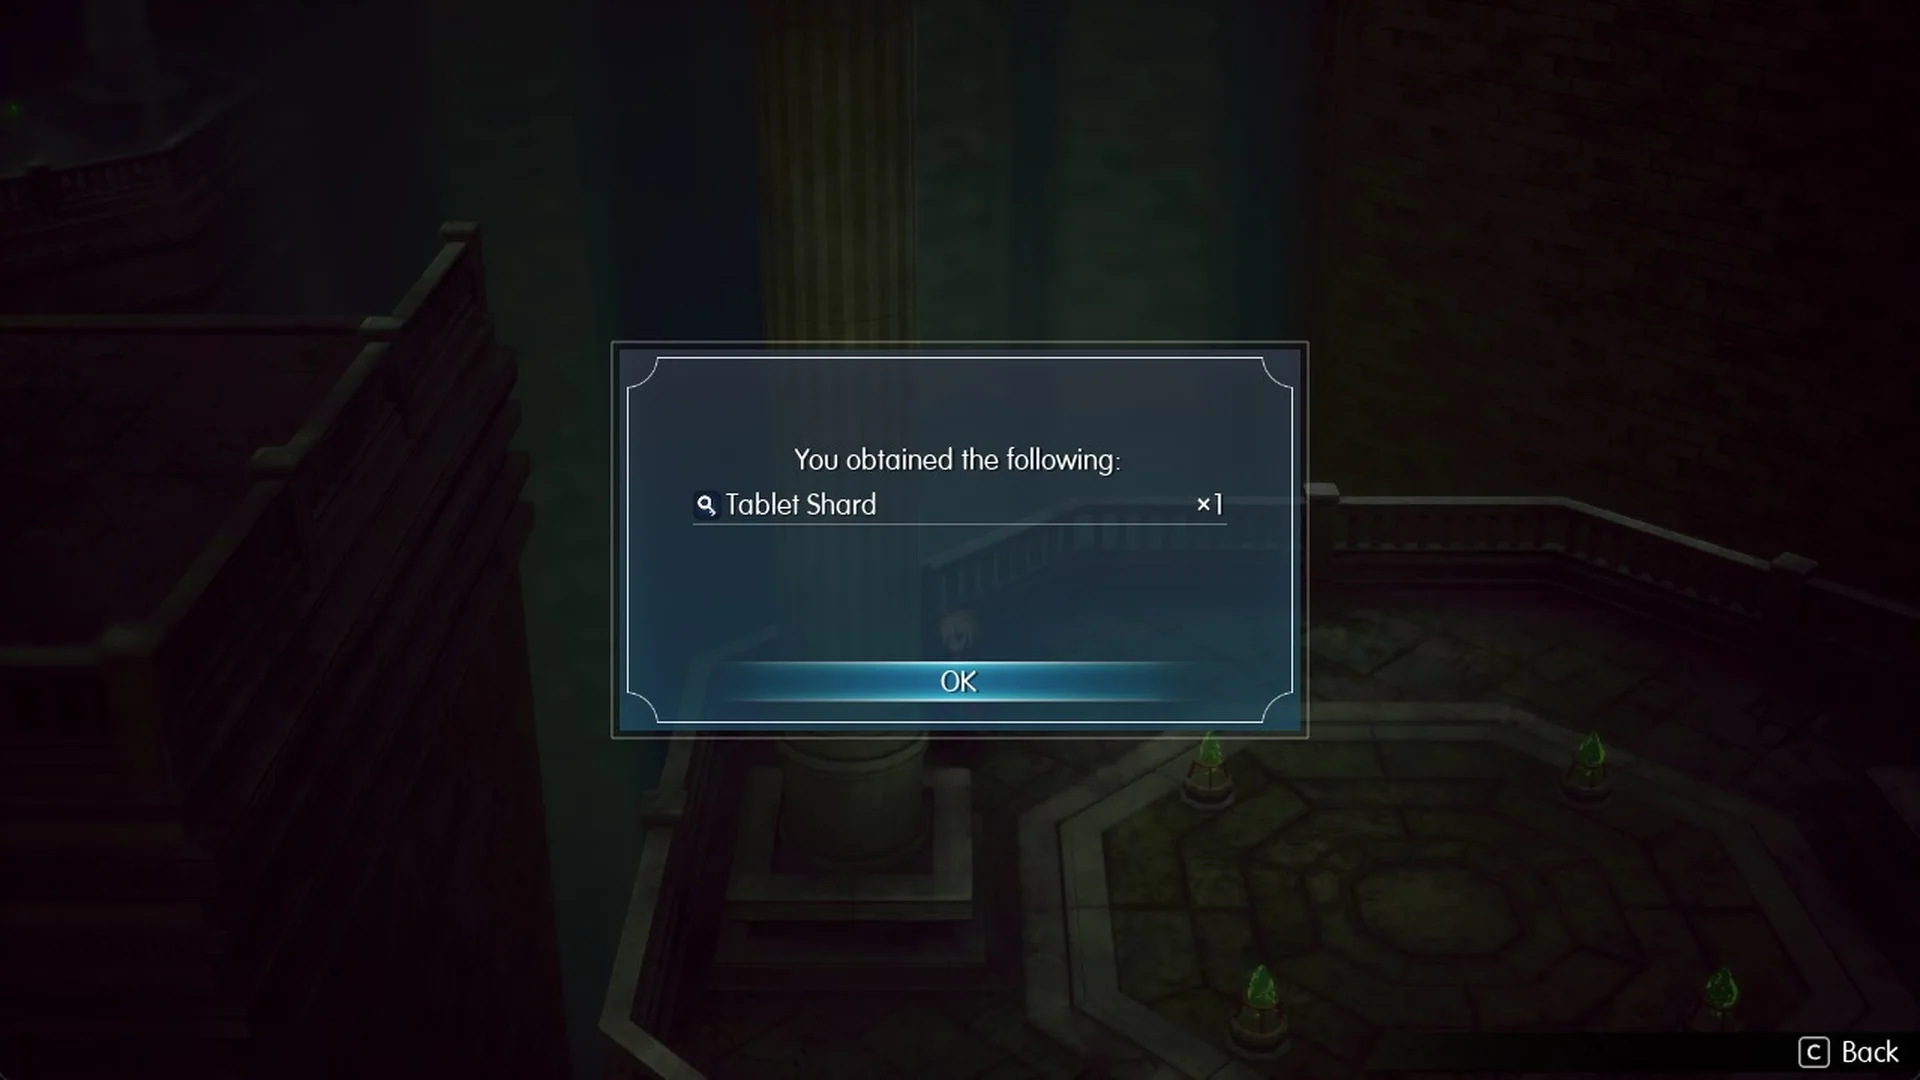
Olderion Federation Tablet Shards (15)
The Olderion Federation (Chapter 3, “Wardens of the Aquapolis”) holds 15 shards, with four in Olderion, the Aquapolis, three each in the Cave of Waters, Waterfall Way and the Water Shrine, and two in the Town of Amore.
Olderion, the Aquapolis
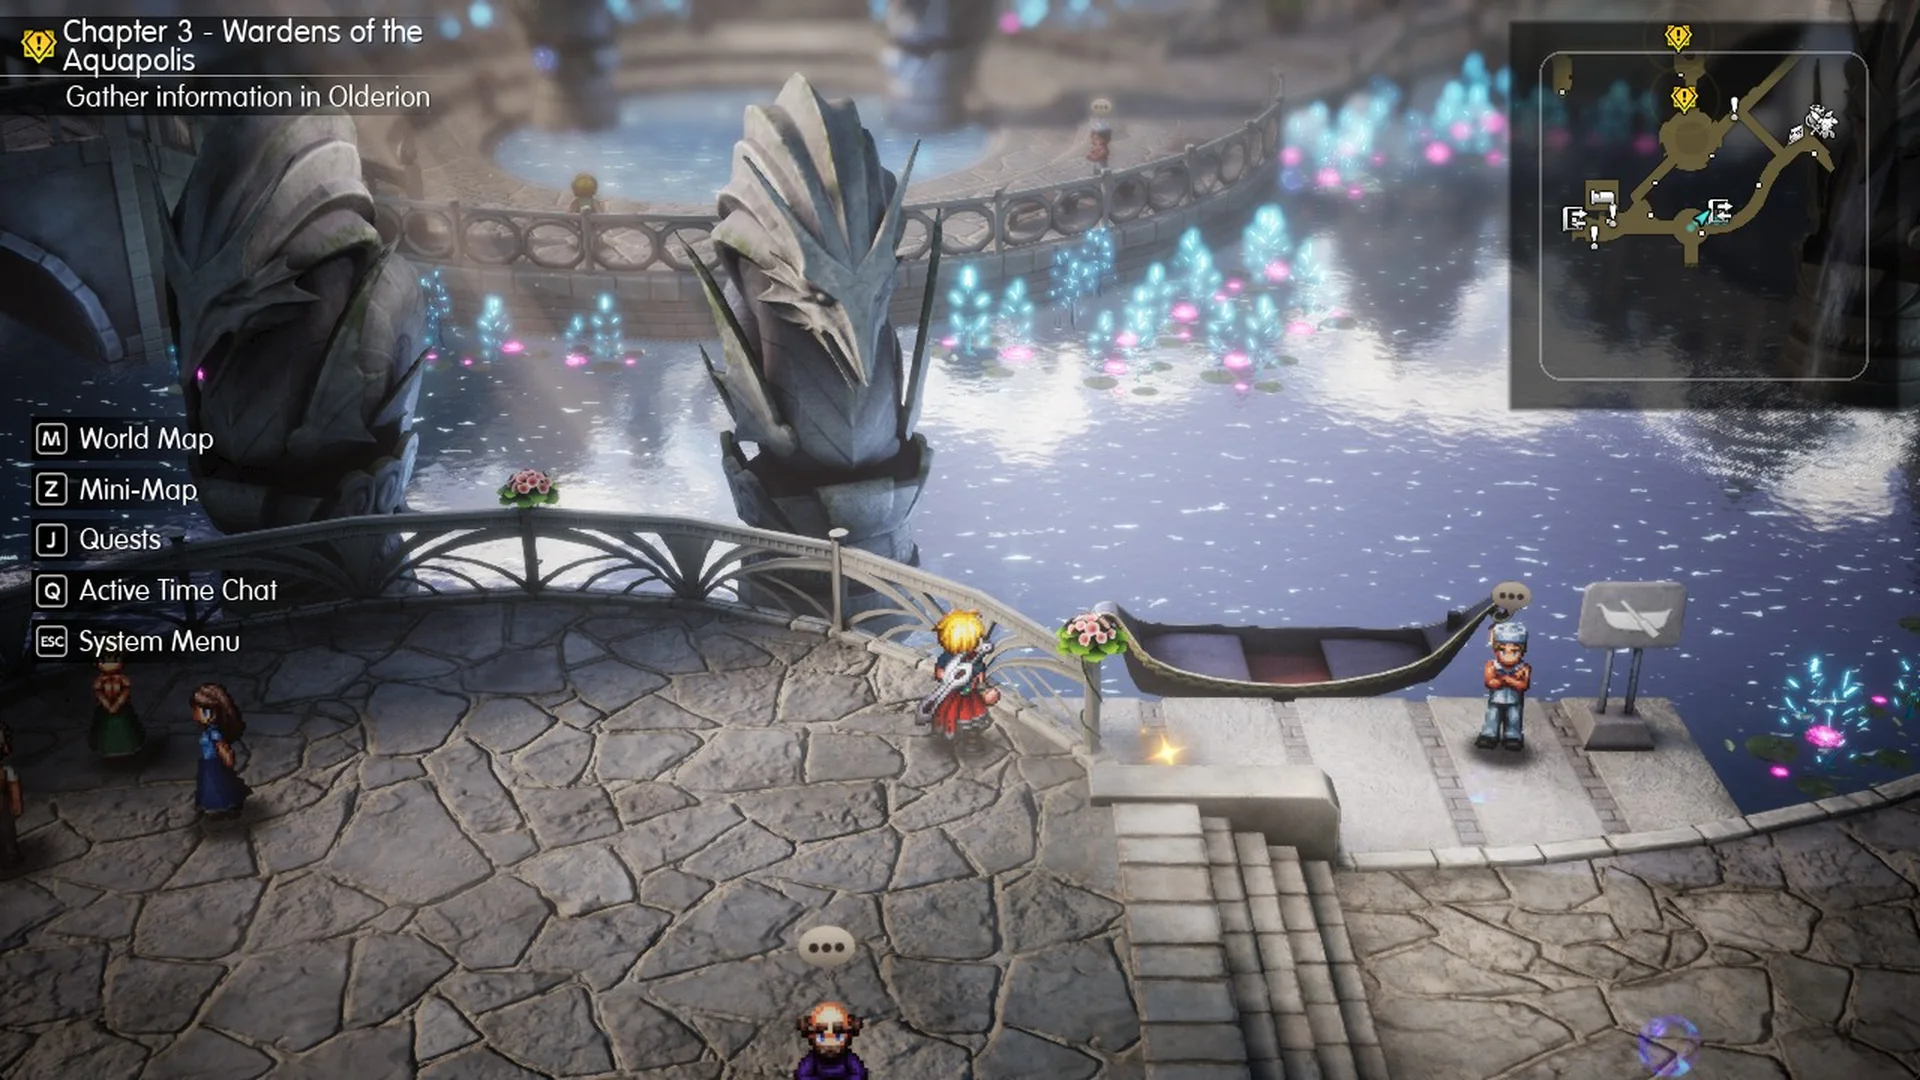
4 Tablet Shards · Chapter 3. For the route, read the Olderion walkthrough.
| Shard | Nearest landmark |
|---|---|
| 1 | On the gondola pier on the east side of the arrival plaza |
| 2 | North-west side of the round central plaza |
| 3 | Under the tree in the middle of the north plaza, near the Rock Piercer chest |
| 4 | Up on a higher level, some way from the item and weapon shops |
Cave of Waters
3 Tablet Shards · Chapter 3 · Recommended Level 20.
Two of the Cave of Waters shards come on the way to the boss, one in the Area 2 raft hall just north of the north-east raft dock (reached the long way round by raft) and one on 2F right next to where you arrive from Area 3, about 20 m from the boss save point. The third is near the cave’s north exit to the World Map, which you reach later in Chapter 3. The full route is in the Cave of Waters walkthrough.
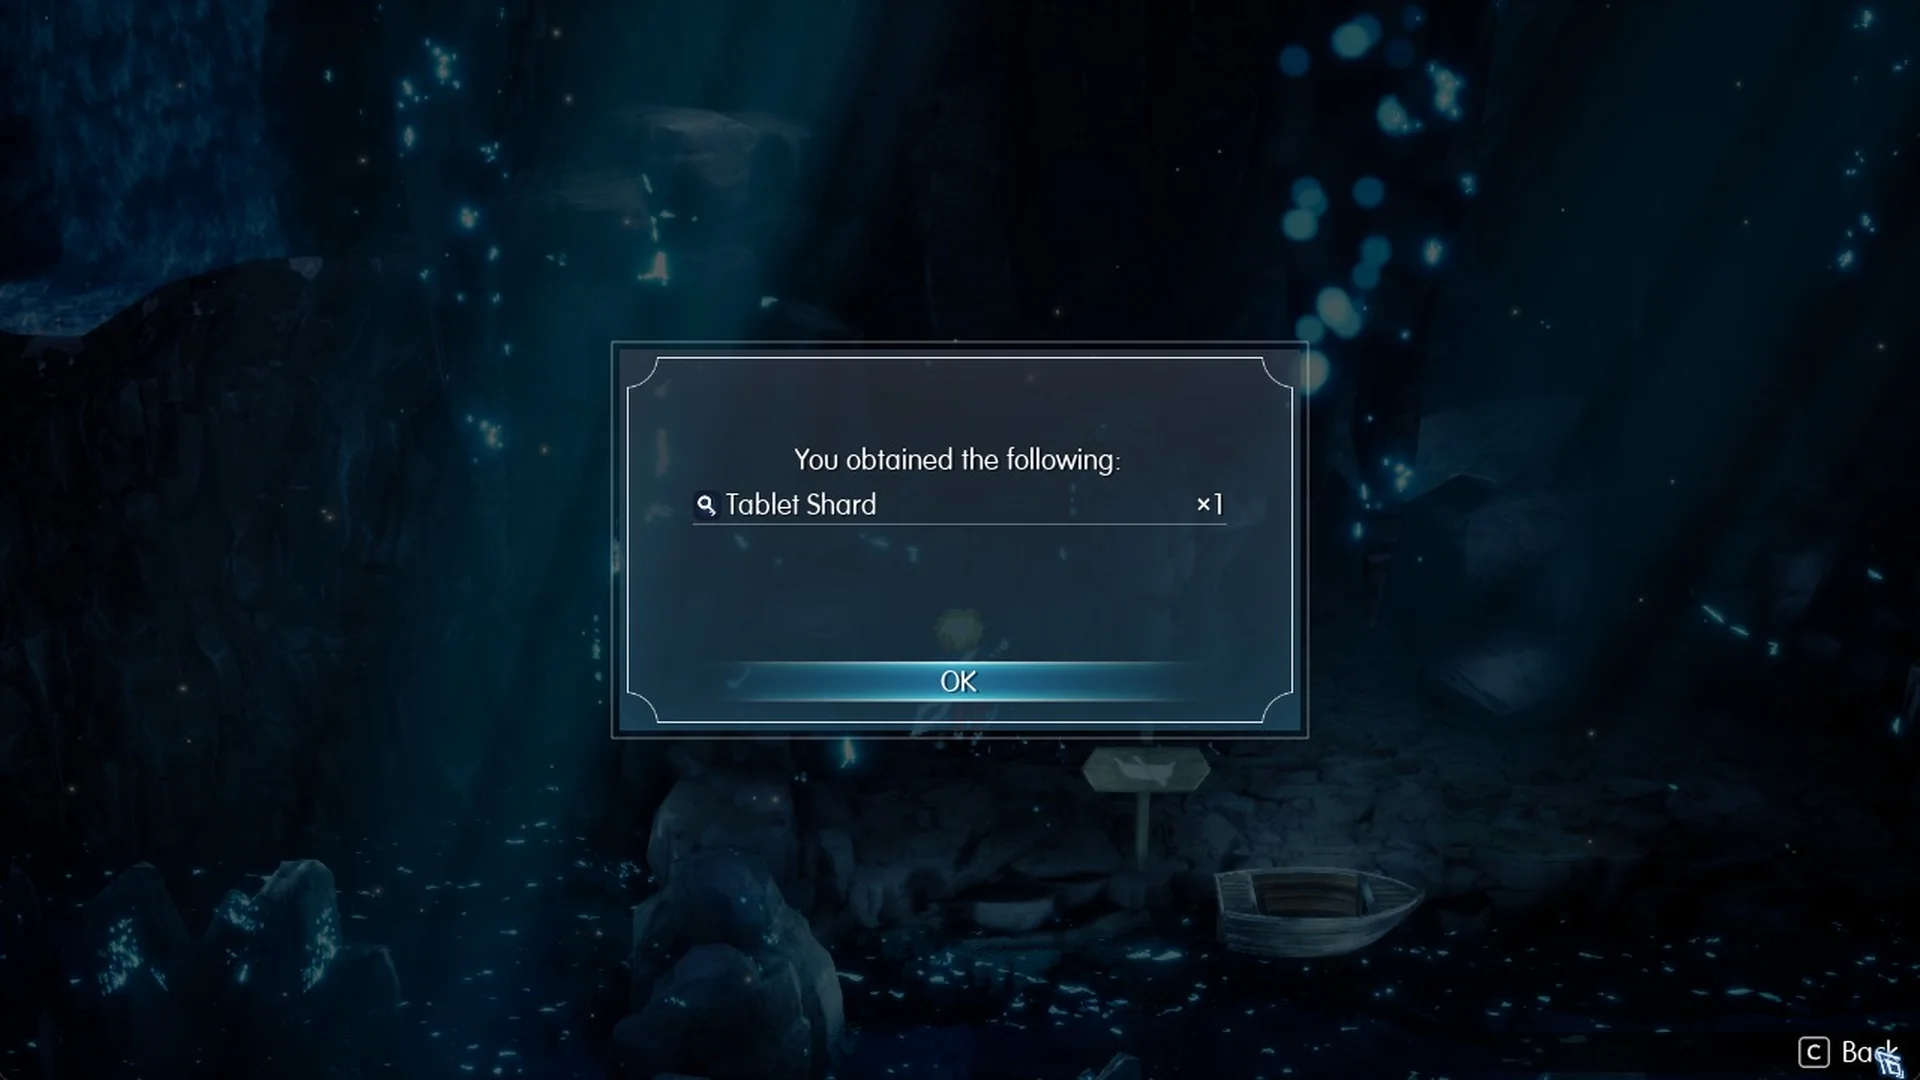
The 2F shard sparkles a few steps north-west of the arrival from Area 3.
| Shard | Nearest landmark |
|---|---|
| 1 | Area 2 raft hall, just north of the north-east raft dock |
| 2 | 2F, right next to where you arrive from Area 3 (about 20 m from the boss save point) |
| 3 | Close to the exit to the World Map |
Waterfall Way
3 Tablet Shards · Chapter 3 · Recommended Level 24.
| Shard | Nearest landmark |
|---|---|
| 1 | Area 1 2F, east pocket beside the ladder to 3F |
| 2 | Area 2 1F, rock in a south notch by a waterfall |
| 3 | Area 2 2F, north corridor |
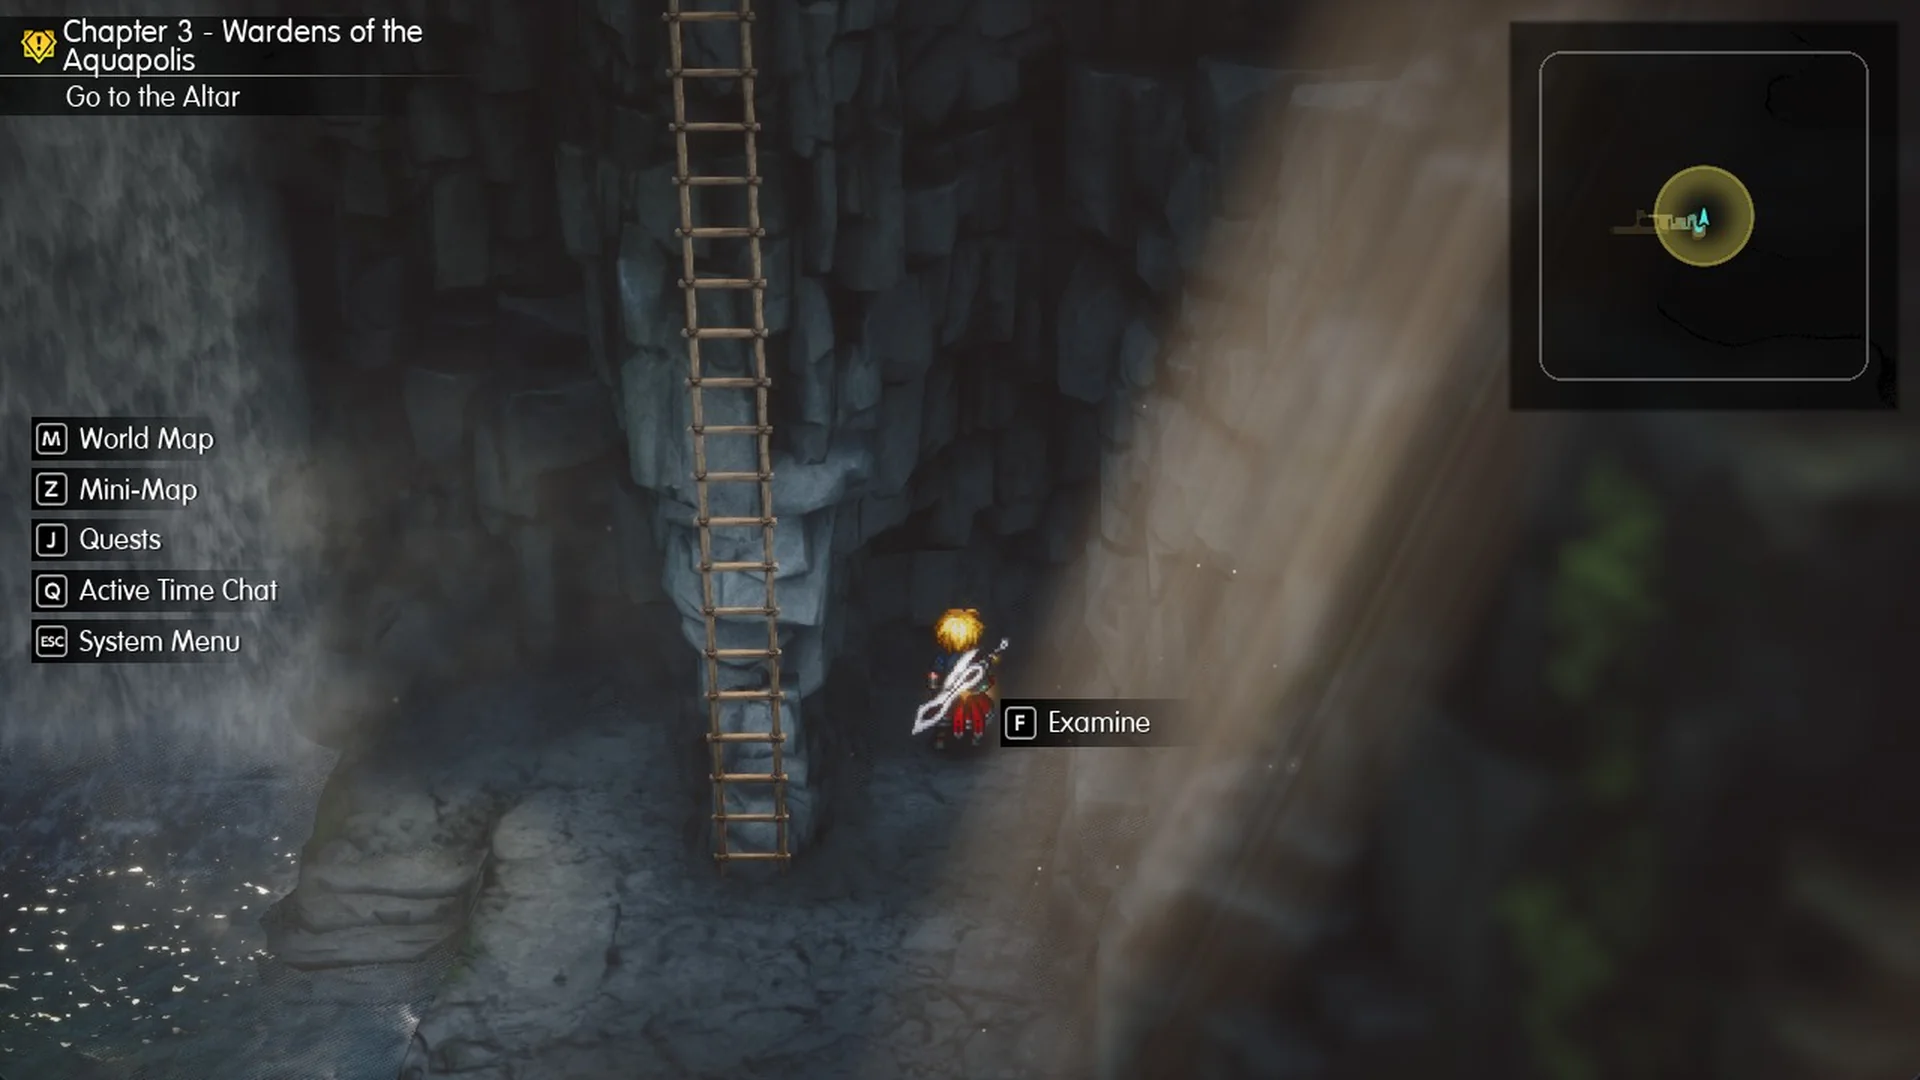
For directions to every shard, use the Waterfall Way walkthrough.
Water Shrine
3 Tablet Shards · Chapter 3 · Recommended Level 26.
| Shard | Nearest landmark |
|---|---|
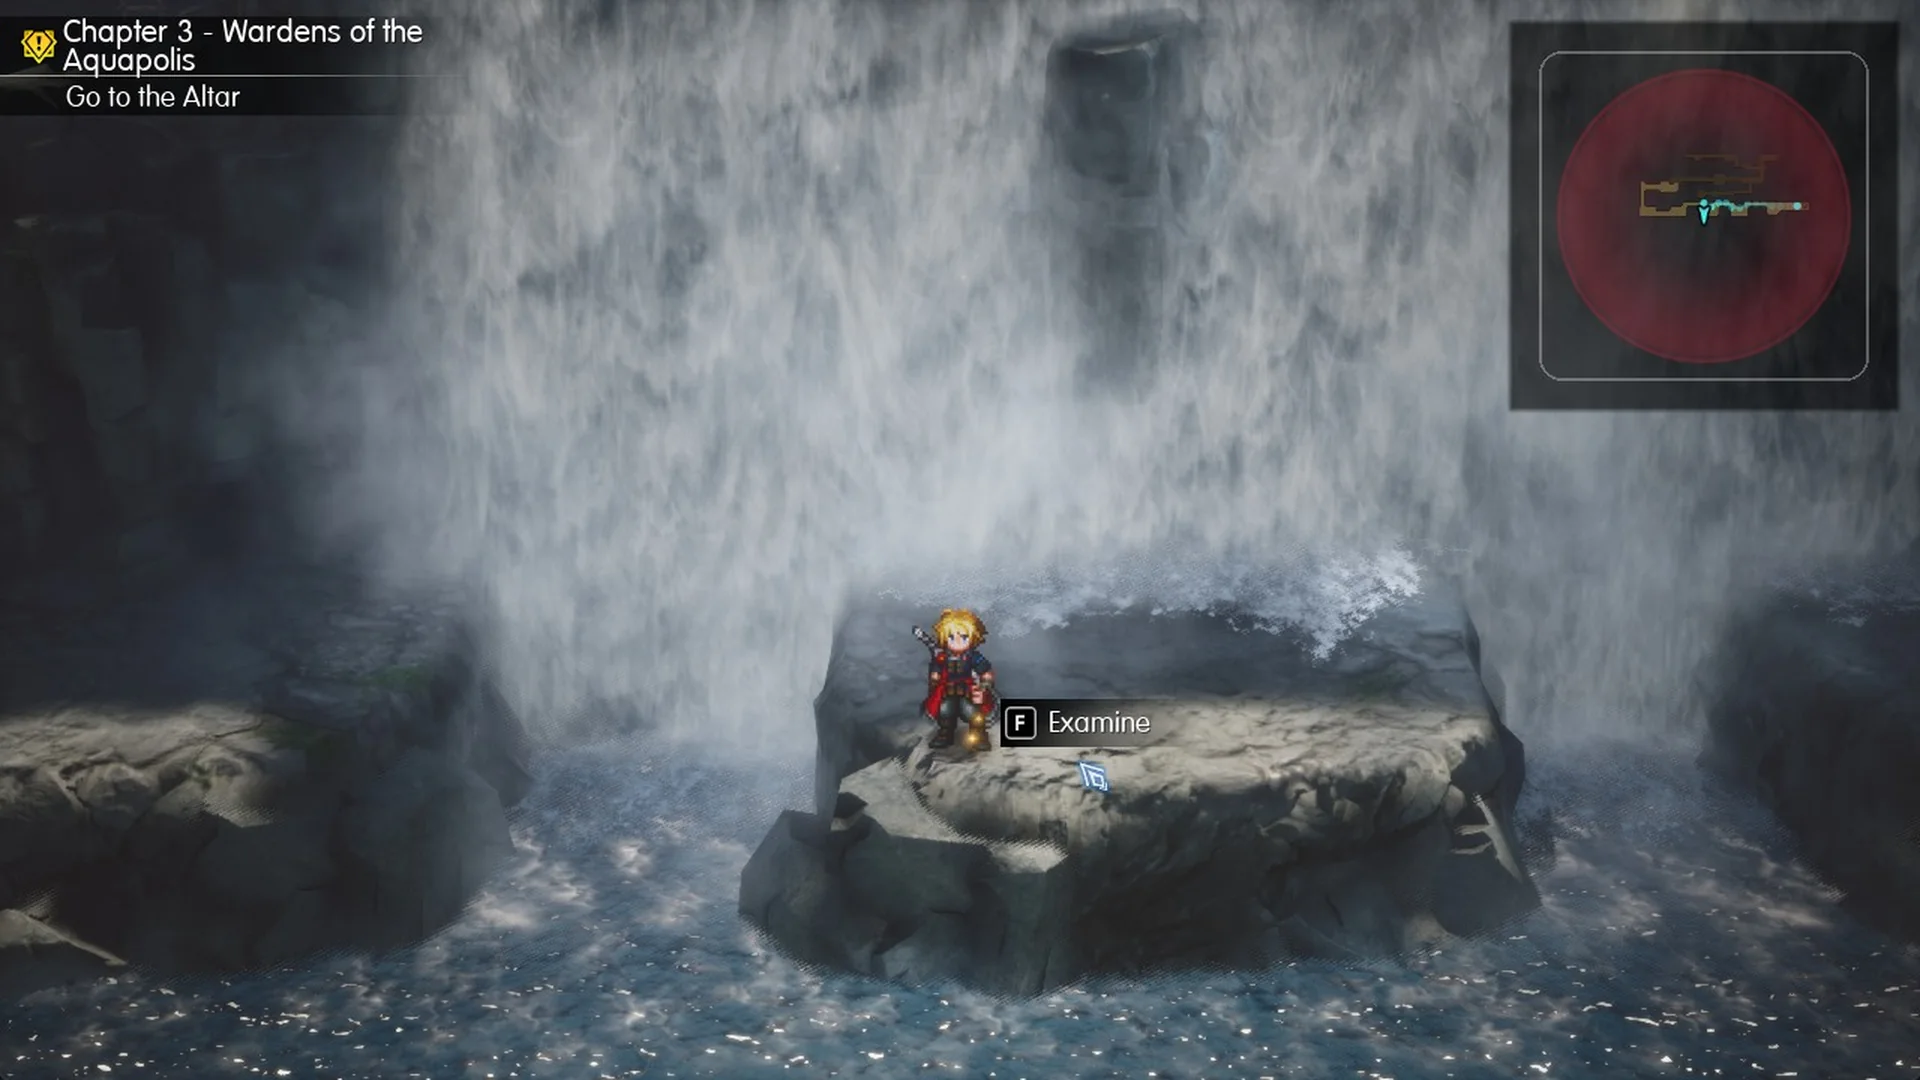
| 1 | Area 1 basement (B1), right by the north arch (dry after the Area 4 seal) |
| 2 | Area 1 lower level, at the foot of the ladder by the four-lamp lift |
| 3 | Area 2, at the foot of the seal tower beside the Viridian Pot platform (reached by raft) |
The first Water Shrine Tablet Shard sits on Area 1’s basement level (B1), right next to the north arch. Water fills that arch until you press the seal pedestal in Area 4. Once the water is gone, walk up to the shard and press F to Examine, and the game shows “Tablet Shard x1”.
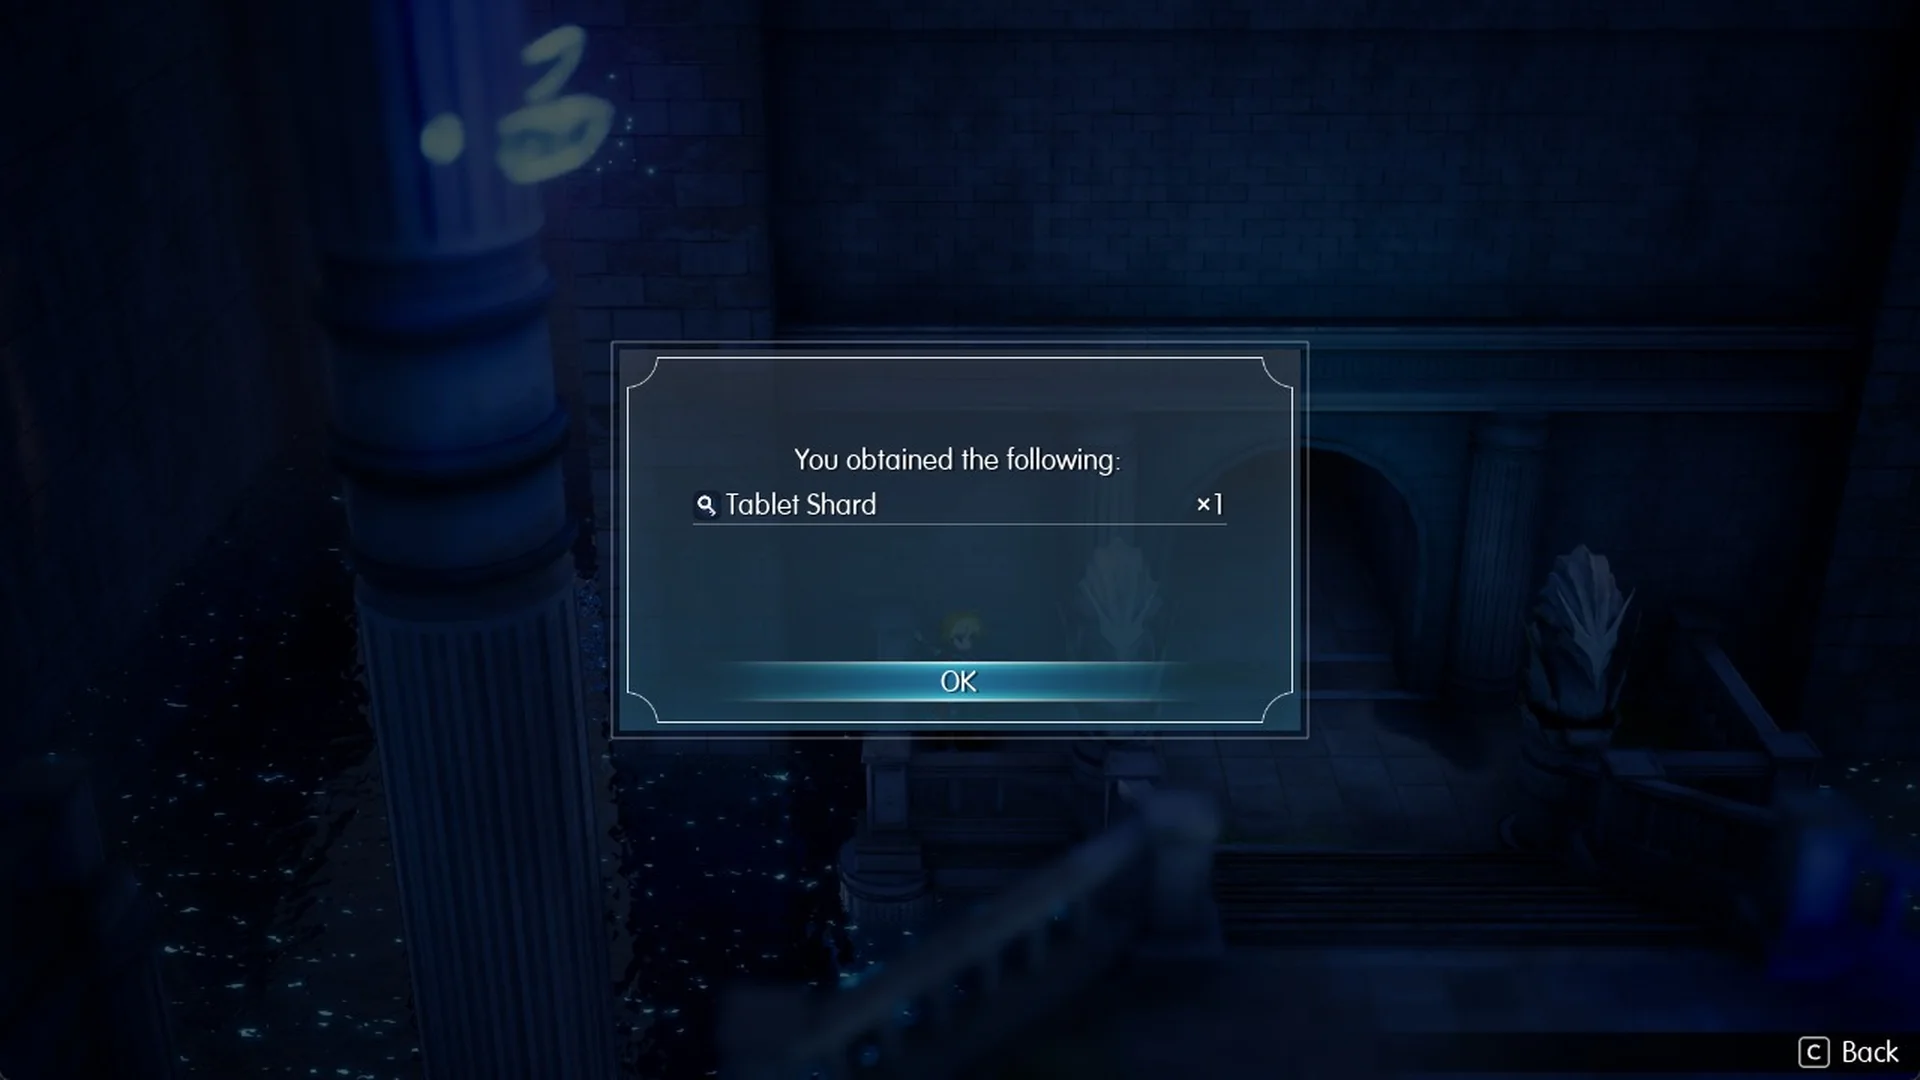
The second Water Shrine Tablet Shard is on the lower level of Area 1, below B1. From B1, take the west stairs down and climb down the ladder. The shard is at the foot of the ladder, near the octagonal lift with four lamps.
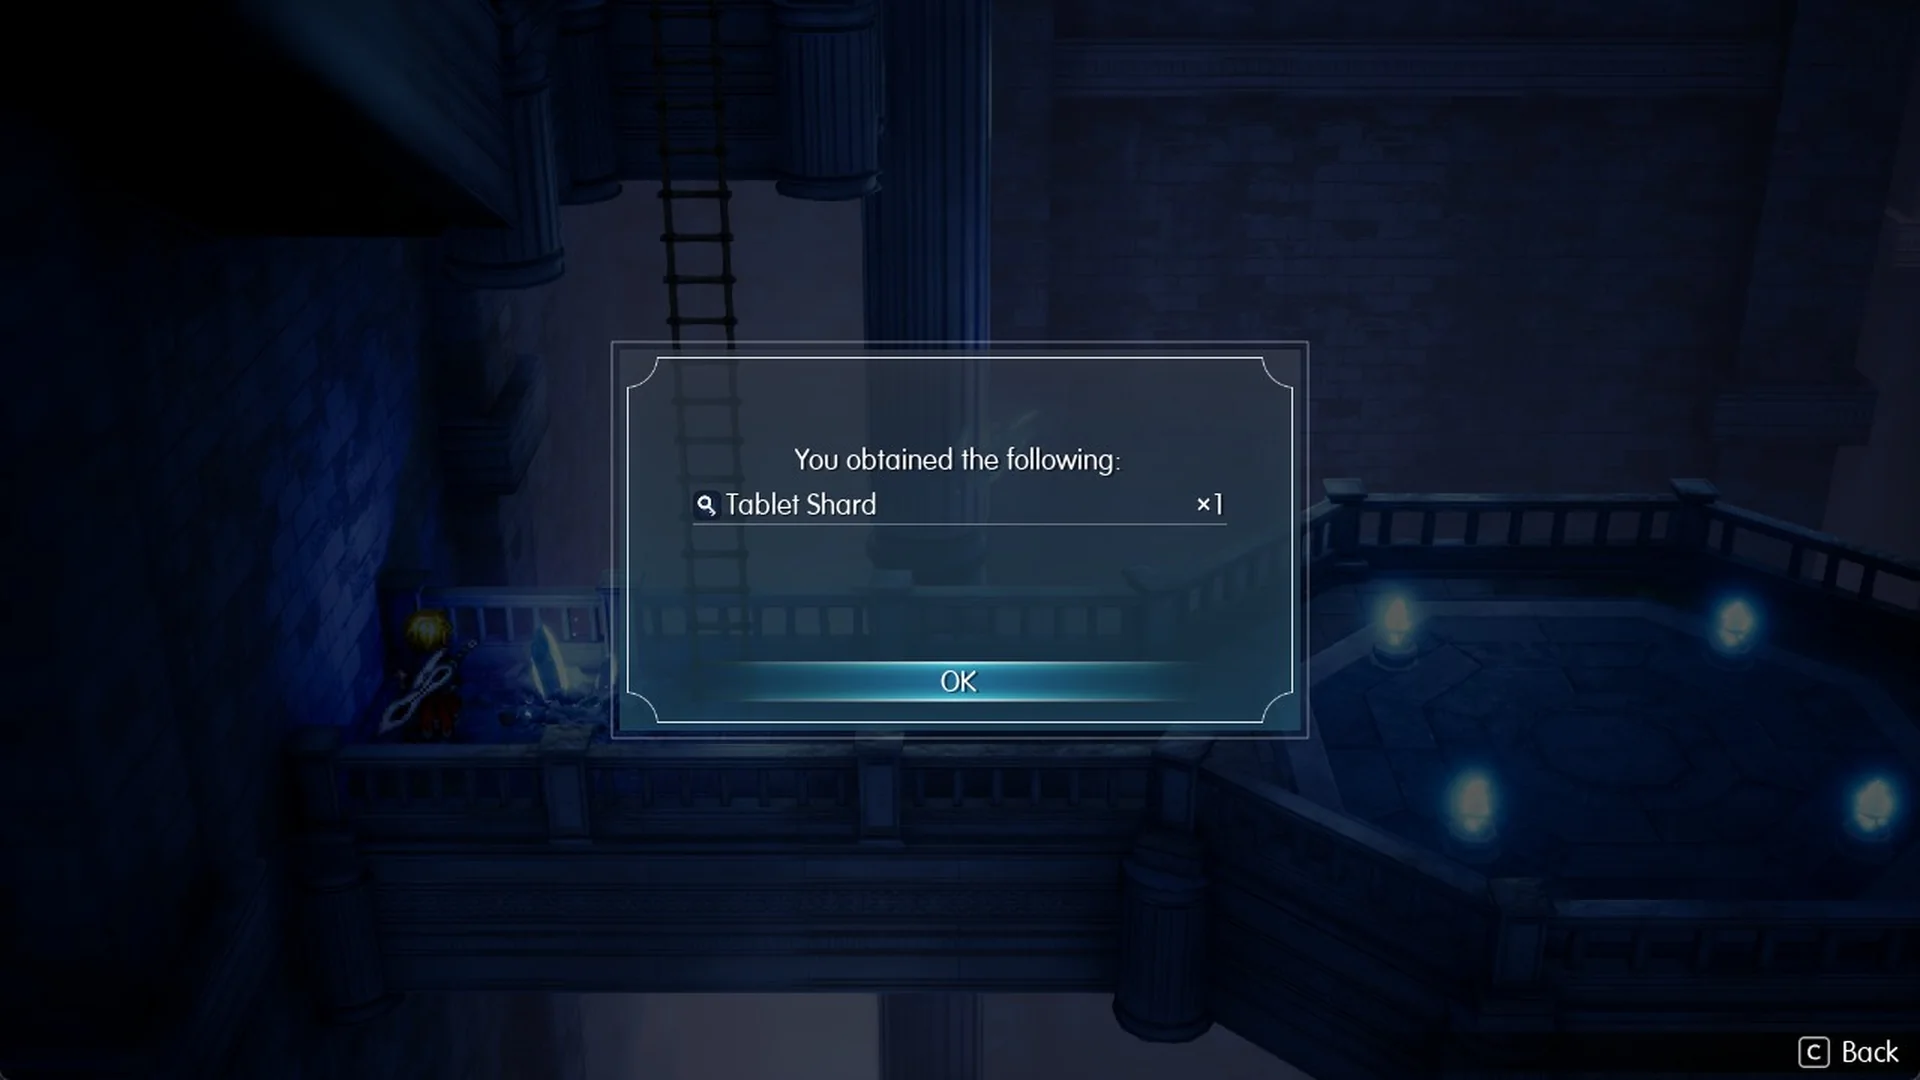
In Area 2, the third shard lies on the floor at the seal tower’s base, next to the railed platform holding the Viridian Pot. You can’t get to the shard from the platform because its railing is in the way. Instead, take the raft with the water low, get off beside the tower, and circle around its southern side. Follow the full route in the Water Shrine walkthrough.
Town of Amore
2 Tablet Shards.
| Shard | Nearest landmark |
|---|---|
| 1 | A short walk from the Water Scroll I x2 chest and the weapon shop |
| 2 | North-east of town, on the way from the shops to the north gate |
Find one Amore Tablet Shard in town’s north-east, on the route between the shops and the north gate. Examine the ground sparkle by walking up to it and pressing F to receive “Tablet Shard x1”. For the shops along this route, see Town of Amore shops.
Zoldaad Empire Territory Tablet Shards (15)
Zoldaad Empire Territory, where Chapter 4 (“Banner Oath”) takes you, has 15 shards spread across ten locations; most locations contain one or two.
Mozul Station
1 Tablet Shard · Chapter 4.
| Shard | Nearest landmark |
|---|---|
| 1 | Close to the exit to the World Map, a short walk from the save point |
Capital Station
1 Tablet Shard.
| Shard | Nearest landmark |
|---|---|
| 1 | Right beside the exit to the World Map |
Zoldaad Castle Plaza
1 Tablet Shard.
| Shard | Nearest landmark |
|---|---|
| 1 | In the plaza itself (no chest or shop nearby to go by) |
Imperial Residences
1 Tablet Shard.
| Shard | Nearest landmark |
|---|---|
| 1 | Beside a doorway |
Slums
1 Tablet Shard.
| Shard | Nearest landmark |
|---|---|
| 1 | In the Slums themselves (no chest or shop nearby to go by) |
Underground Tunnel
2 Tablet Shards · Recommended Level 26.
| Shard | Nearest landmark |
|---|---|
| 1 | Basement, a fair way from the Ether x2 chest |
| 2 | Ground floor, a fair way from the exit to the Rebel Hideout |
Rebel Hideout
2 Tablet Shards · Chapter 4.
| Shard | Nearest landmark |
|---|---|
| 1 | Second floor, close to the Robe of Roses chest and the exit to the World Map |
| 2 | Second floor, a short walk from the Robe of Roses chest |
Weapons Factory
2 Tablet Shards · Chapter 4 · Recommended Level 27.
| Shard | Nearest landmark |
|---|---|
| 1 | Ground floor, right beside the Knife of Blind x3 chest |
| 2 | Third floor, close to the Magicite chest |
Zoldaad Castle
2 Tablet Shards · Chapter 4.
| Shard | Nearest landmark |
|---|---|
| 1 | Ground floor, a short walk from the exit to Zoldaad Castle Plaza |
| 2 | Second floor, a short walk from the Kikokusenga chest |
Dungeon
2 Tablet Shards · Chapter 4 · Recommended Level 29.
| Shard | Nearest landmark |
|---|---|
| 1 | Close to the Pulse Cannon chest |
| 2 | Beside a doorway, far from the save point |
Mysidia, the Uncharted Land Tablet Shards (17)
Mysidia, where Chapter 5 (“Scars of Time”) takes you, leads all regions with 17 shards. The Tower of Mysidia and Fina’s Psyche each hold four.
Mysidia, the Magiapolis
3 Tablet Shards · Chapter 5. For how to reach the town, see where Mysidia is.
| Shard | Nearest landmark |
|---|---|
| 1 | Some way from the save point |
| 2 | Close to the save point, a short walk from the Seraphim Bow chest |
| 3 | High up, above the Seraphim Bow chest |
Village of Sunioo
2 Tablet Shards · Chapter 5.
| Shard | Nearest landmark |
|---|---|
| 1 | Right beside the exit to the World Map, close to the weapon shop |
| 2 | Close to the Resonate Staff chest |
Nameless Ruins
2 Tablet Shards · Chapter 5 · Recommended Level 34.
| Shard | Nearest landmark |
|---|---|
| 1 | Close to the Magi-Blaster chest |
| 2 | Close to the Magicite chest, near the save point |
Arcane Library
2 Tablet Shards · Chapter 5 · Recommended Level 36.
| Shard | Nearest landmark |
|---|---|
| 1 | Ground floor, close to the exit to Mysidia, the Magiapolis |
| 2 | Fourth floor, a short walk from the save point and the Azure Pot battle |
Fina’s Psyche
4 Tablet Shards · Chapter 5 · Recommended Level 38.
| Shard | Nearest landmark |
|---|---|
| 1 | Beside a doorway, some way from the Barrel Blazer chest |
| 2 | A short walk from the exit to the Battlefield and the save point |
| 3 | Beside a doorway |
| 4 | On its own, with no chest or save point nearby |
Tower of Mysidia
4 Tablet Shards · Chapter 5 · Recommended Level 39.
| Shard | Nearest landmark |
|---|---|
| 1 | Lowest of the four on the climb, well below the save point and the Guarding Gown chest |
| 2 | Second of the four on the way up, still below the save point |
| 3 | Third of the four, a short climb above the Smelling Salts x3 chest |
| 4 | Highest of the four, a little below the save point and the Guarding Gown chest |
Gronoa, the Shuttered Land Tablet Shards (12)
Gronoa, the Chapter 6 (“Tranquility”) region, has 12 shards spread among six locations.
Gaberada, the Undertown
1 Tablet Shard.
| Shard | Nearest landmark |
|---|---|
| 1 | Ground floor, a short walk from the inn |
Town of Duggle
1 Tablet Shard.
| Shard | Nearest landmark |
|---|---|
| 1 | Close to the item shop and the weapon shop |
Gronoa Shrine
3 Tablet Shards · Chapter 6 · Recommended Level 42.
| Shard | Nearest landmark |
|---|---|
| 1 | Lower basement, some way from the Rod of Focus chest |
| 2 | Lower basement, a short walk from the Rod of Focus chest |
| 3 | Ground floor, above the Mist X-Ether chest on the floor below |
Sanctissimus Shrine
2 Tablet Shards · Chapter 6 · Recommended Level 43.
| Shard | Nearest landmark |
|---|---|
| 1 | Close to the Hero’s Blade chest |
| 2 | Right by the Violet Pot battle, close to the Whip of Affliction chest |
Research Center Ruins
3 Tablet Shards · Recommended Level 40.
| Shard | Nearest landmark |
|---|---|
| 1 | Second floor, close to the Magicite chest |
| 2 | Third floor, a short walk from the Mist Turbo Ether x2 chest |
| 3 | Beside a doorway, a short way from where the Level 2 Lab Key Card lies |
Rugged Mountain Path
2 Tablet Shards · Recommended Level 41.
| Shard | Nearest landmark |
|---|---|
| 1 | A short walk from the Adamantite chest |
| 2 | Second floor, close to the save point |
Kingdom of Pharm Tablet Shards (9)
The Kingdom of Pharm holds 9 shards in six places, and the Chapter 7 story (“Reckoning”) sends you to the Town of Sian, Mt. Reizan and the Wandering Lands.
Town of Sian
1 Tablet Shard · Chapter 7.
| Shard | Nearest landmark |
|---|---|
| 1 | Close to the Phoenix Pinion x3 chest |
Mt. Reizan
2 Tablet Shards · Chapter 7 · Recommended Level 46.
| Shard | Nearest landmark |
|---|---|
| 1 | Second floor, a short walk from the Resonance Stone chest |
| 2 | Close to the X-Ether x2 chest |
Wandering Lands
2 Tablet Shards · Chapter 7 · Recommended Level 50.
| Shard | Nearest landmark |
|---|---|
| 1 | Some way from the Silver Key chest |
| 2 | Far from the save point and the Silver Key chest |
Lake Ryusei
1 Tablet Shard.
| Shard | Nearest landmark |
|---|---|
| 1 | A short walk from the exit to the World Map |
Forest Path
2 Tablet Shards · Recommended Level 48.
| Shard | Nearest landmark |
|---|---|
| 1 | Some way from the Megalixir chest |
| 2 | Some way from the save point and the Chef’s Knife x2 chest |
Dragon’s Maw
1 Tablet Shard · Recommended Level 55.
| Shard | Nearest landmark |
|---|---|
| 1 | Second floor, a short walk from the Excalibur chest |
Crystal Tower Tablet Shards (3)
The Crystal Tower, where Chapter 7 takes you, holds the last 3 shards.
Chapter 7, Recommended Level 55.
| Shard | Nearest landmark |
|---|---|
| 1 | A short walk from the Chef’s Knife x2 chest |
| 2 | A short walk from the Pilebunker chest |
| 3 | Elsewhere in the tower, apart from the first two |