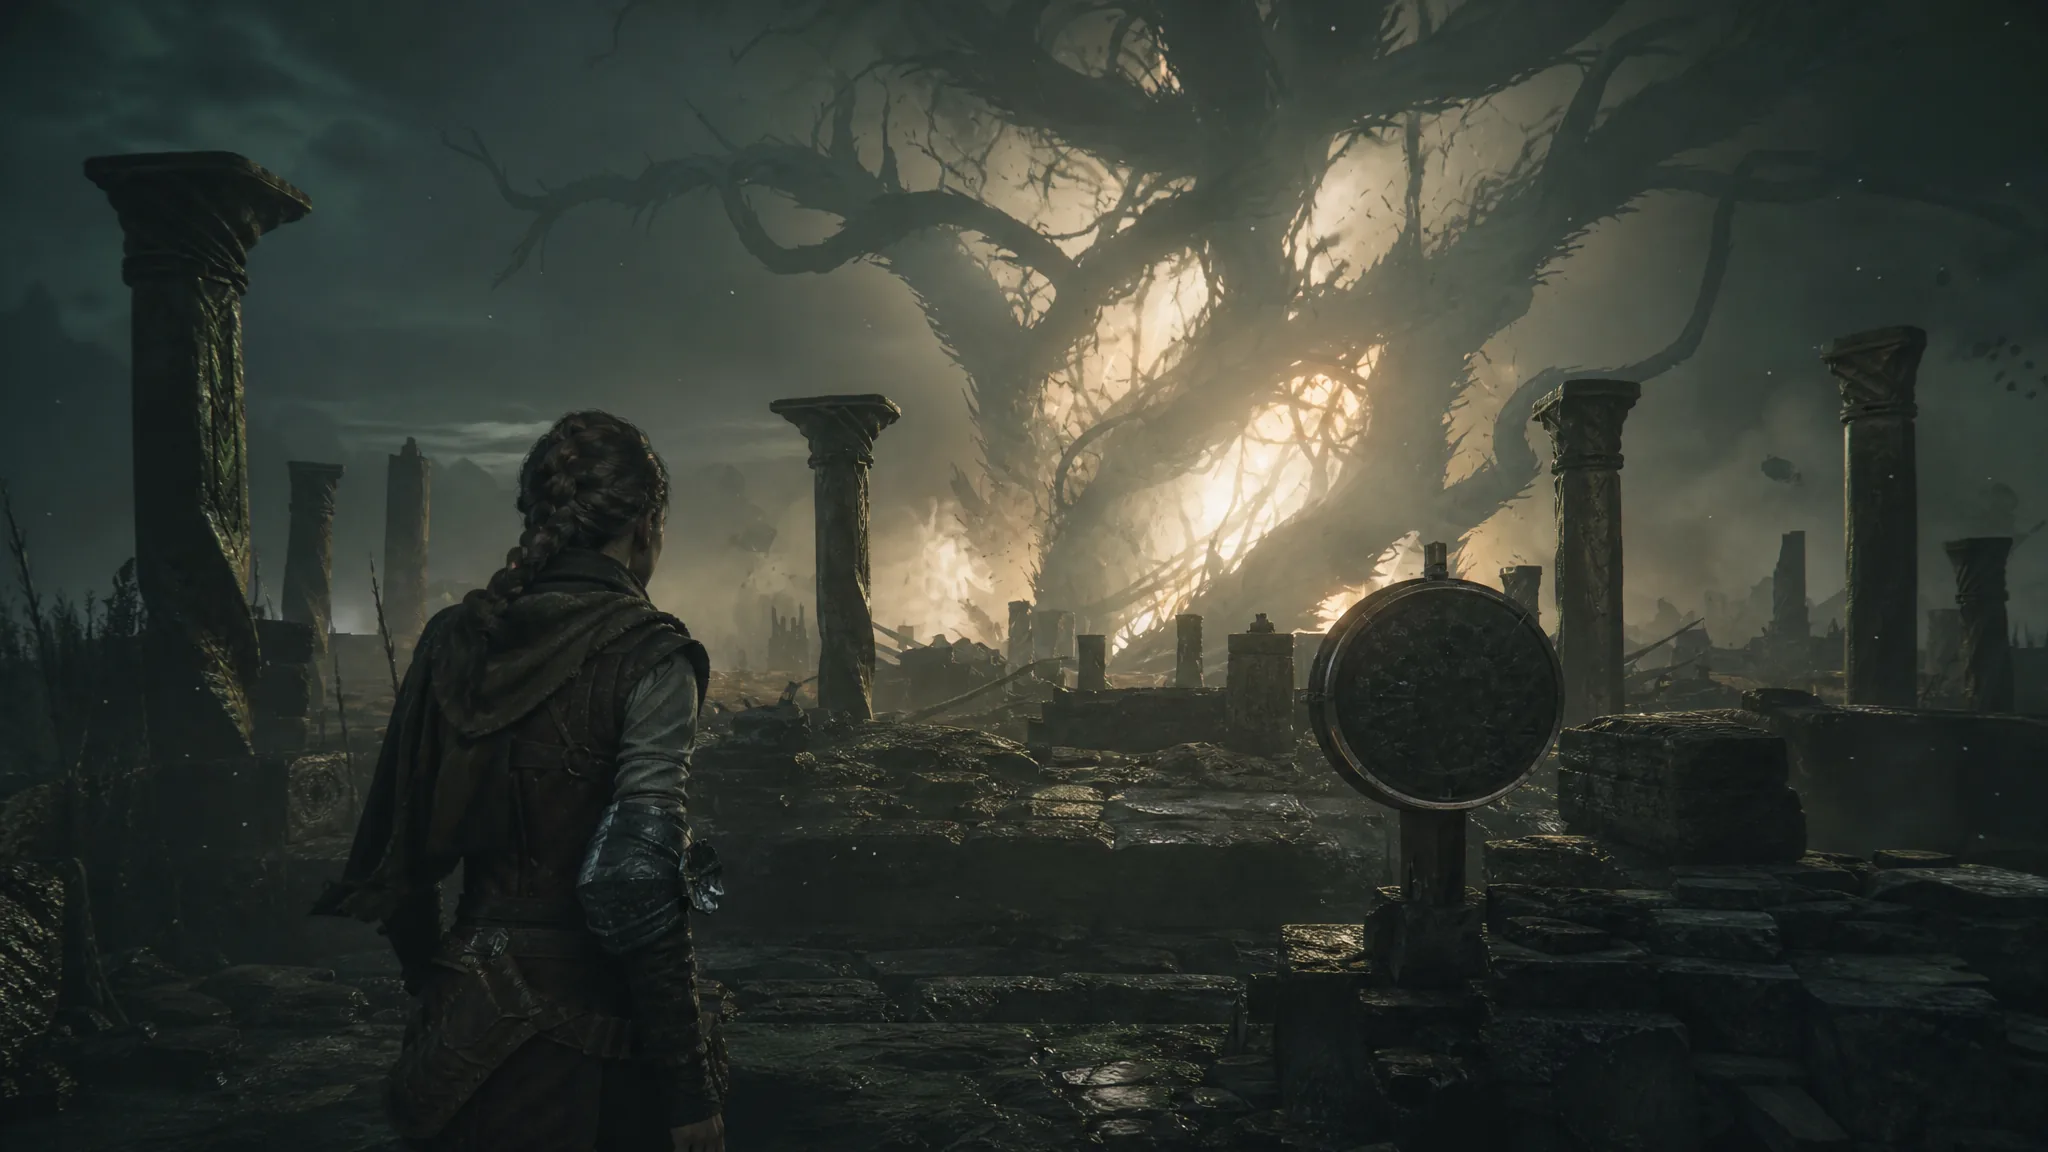
Chapter XIII, “As One,” takes Sophia into the heart of the Labyrinth, a dark maze filled with petrified figures and light-beam mechanisms. The chapter holds nine collectibles in total. You pick them up in a fixed order as you push forward, so following the route below lets you clear the whole set in a single run.
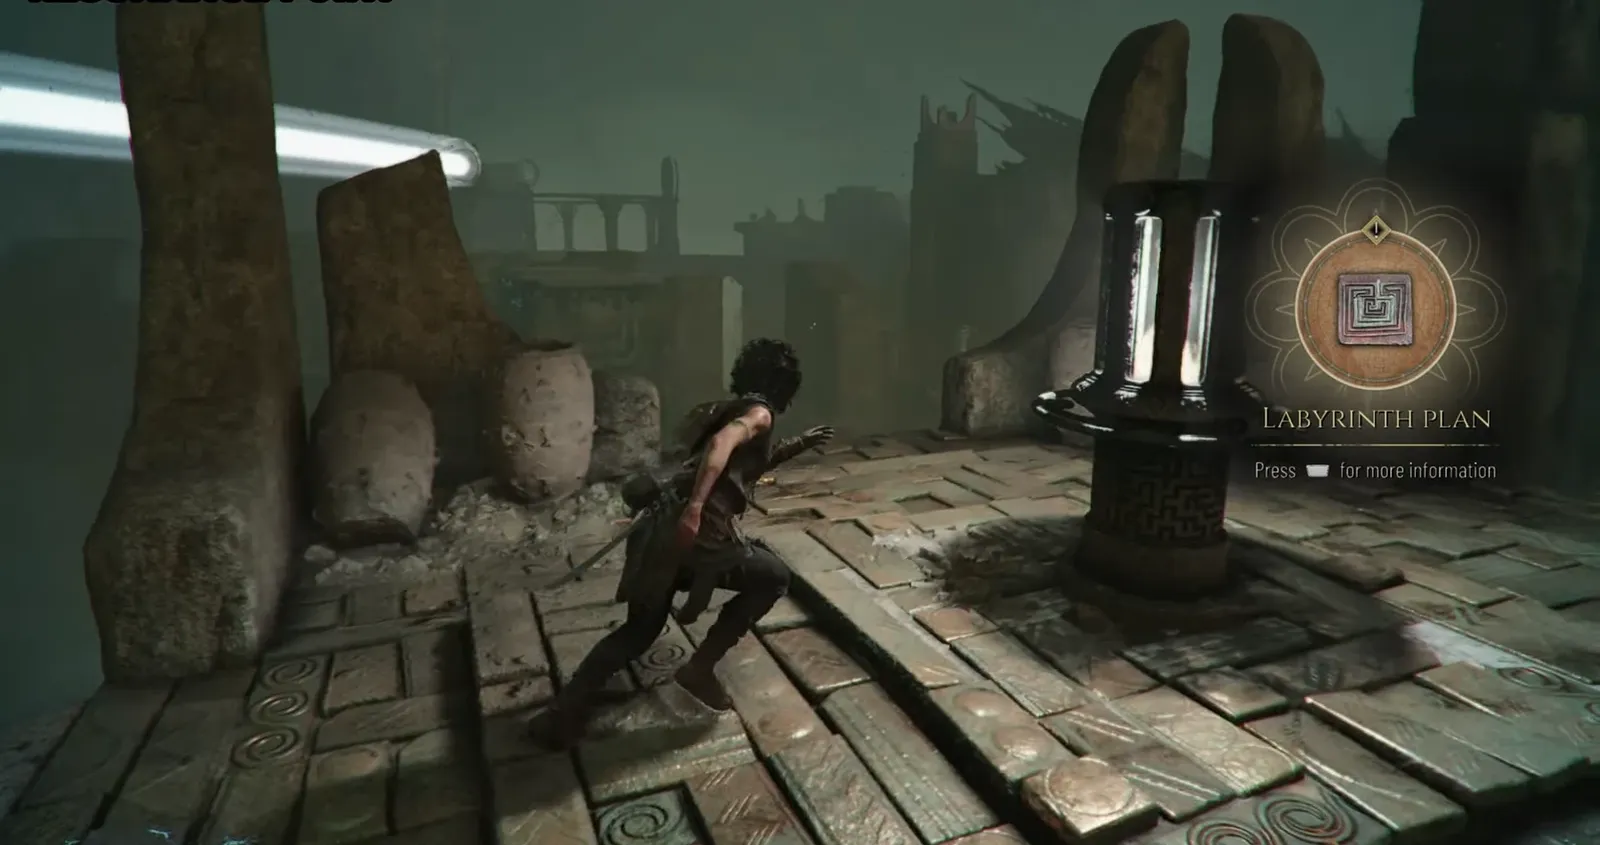
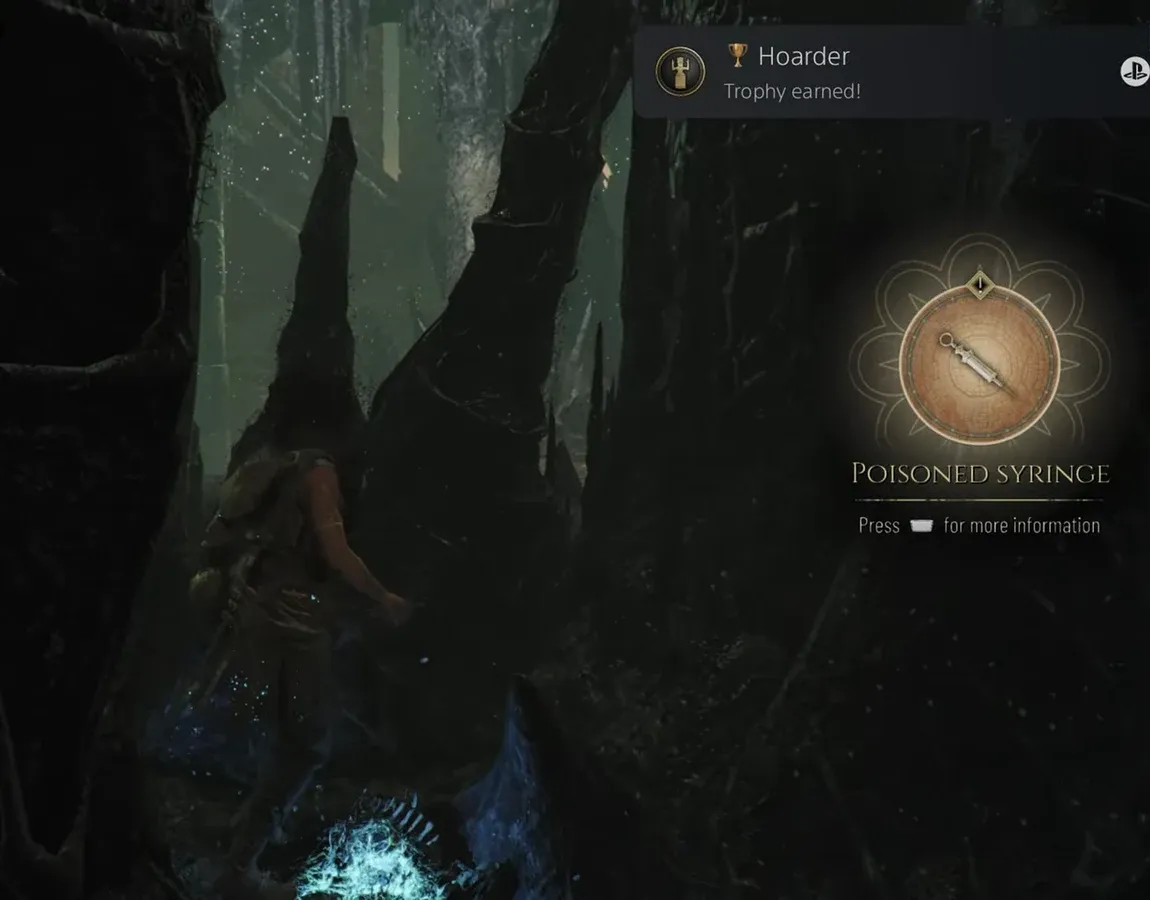
Quick answer: Collect all six Resonance Points as you move toward the exit, grab the Labyrinth Plan artefact on the high stone platform after the second point, take the Poisoned Syringe artefact at the fourth point, and open the chest near the top of the final staircase for the Trinket #5 charm.
Chapter 13 collectible checklist
Here is everything you can miss in “As One,” in the order you reach it. Resonance Points are marked by a glimmering white light and each pickup gives one point. The two artefacts count toward the Hoarder trophy, and the charm counts toward Superstitious.
| Collectible | Type | Where |
|---|---|---|
| Resonance Point 1 | Skill point | After the first light beam, across the ruined stone pillars |
| Resonance Point 2 | Skill point | Near the high stone platform before the artefact |
| Labyrinth Plan | Artefact | On the high stone platform |
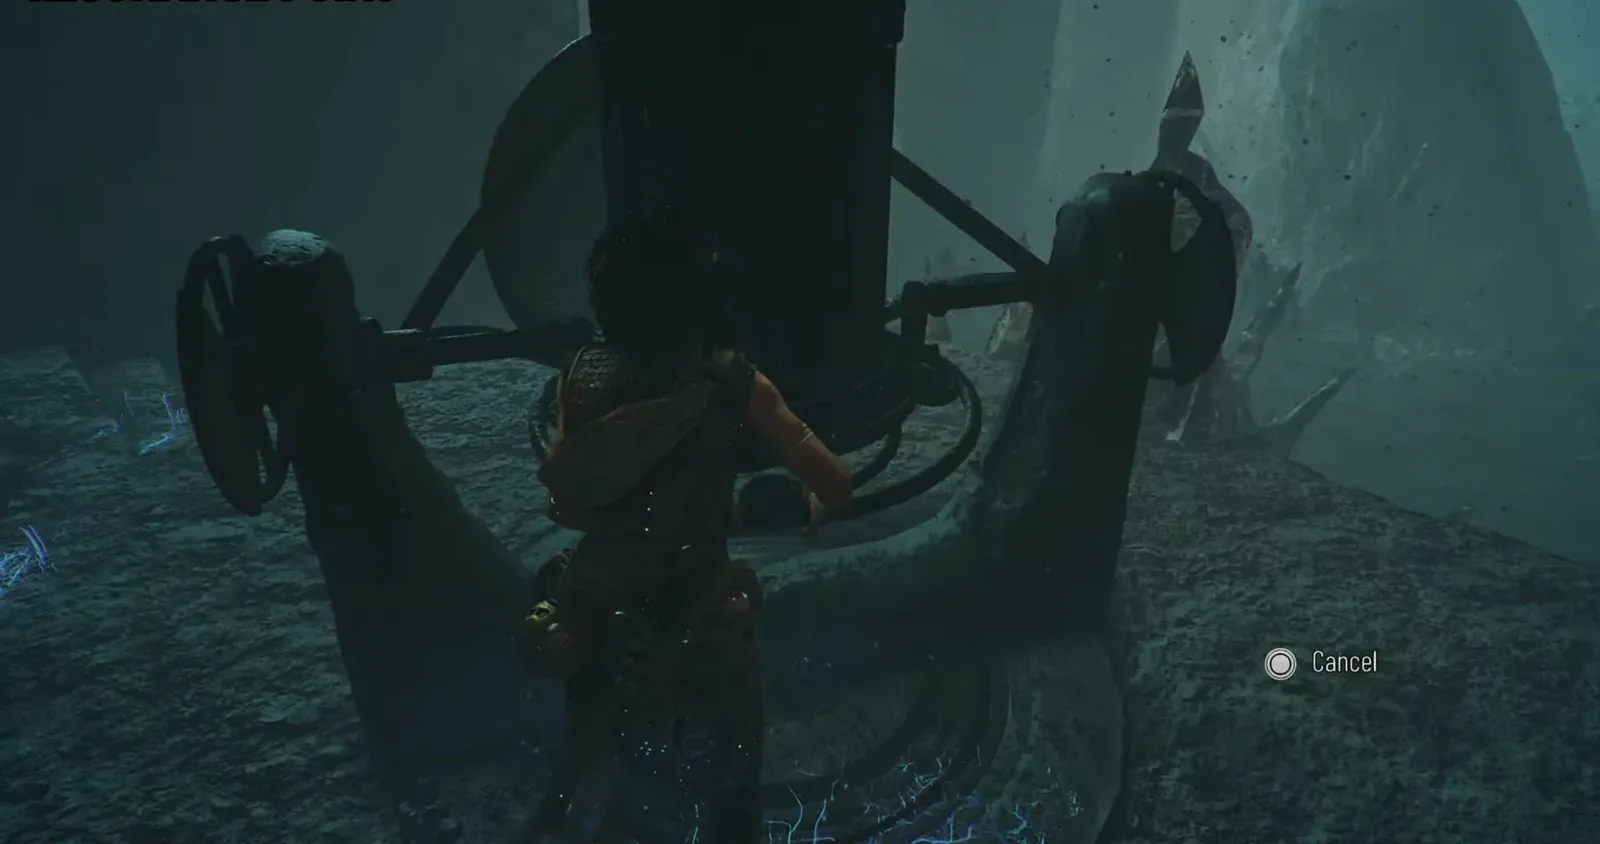
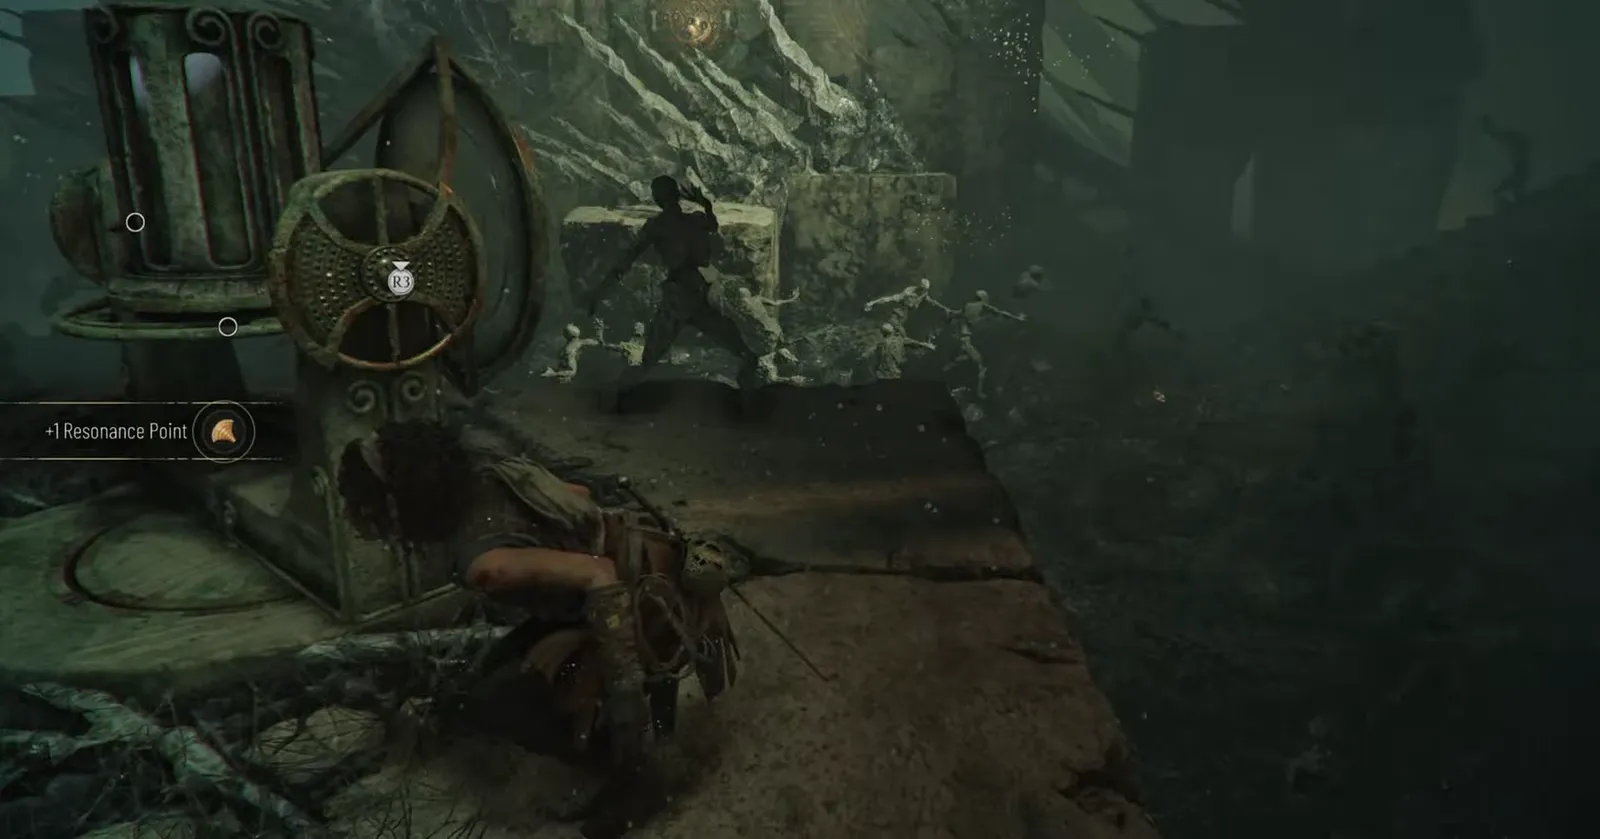
| Resonance Point 3 | Skill point | Past the petrified enemies, by the light-focusing mechanism |
| Resonance Point 4 | Skill point | Beside the Poisoned Syringe, before the doorway |
| Poisoned Syringe | Artefact | Next to the fourth point, at the doorway mechanism |
| Resonance Point 5 | Skill point | Before the dark, thorny corridor |
| Resonance Point 6 | Skill point | At the base of the stone staircase |
| Trinket #5 | Charm | In a chest at the top of the staircase |
Route through the Labyrinth
How to confirm you got everything
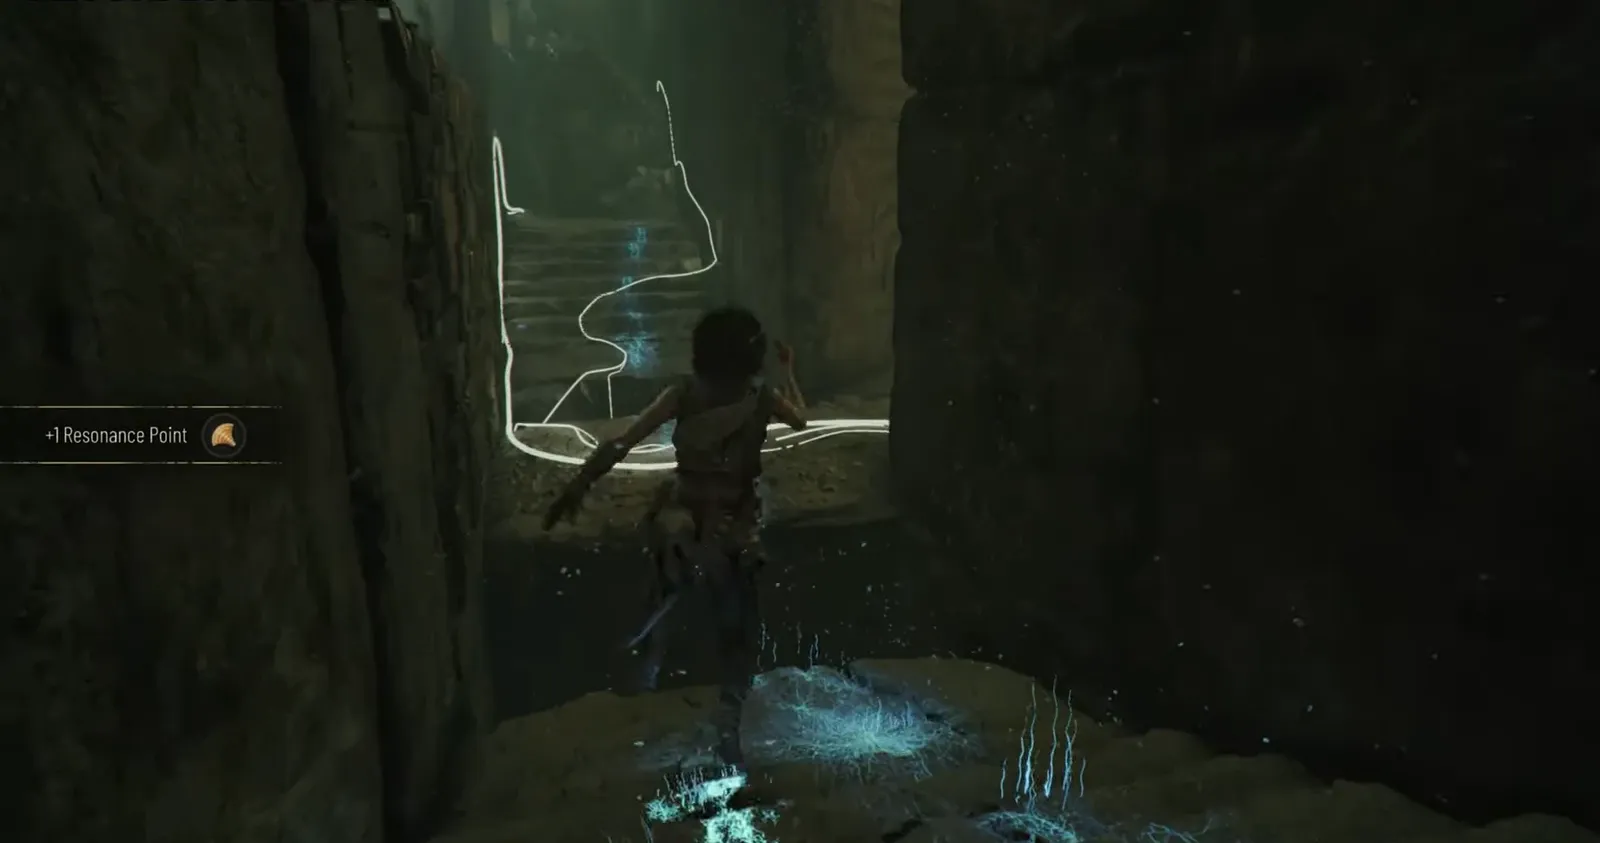
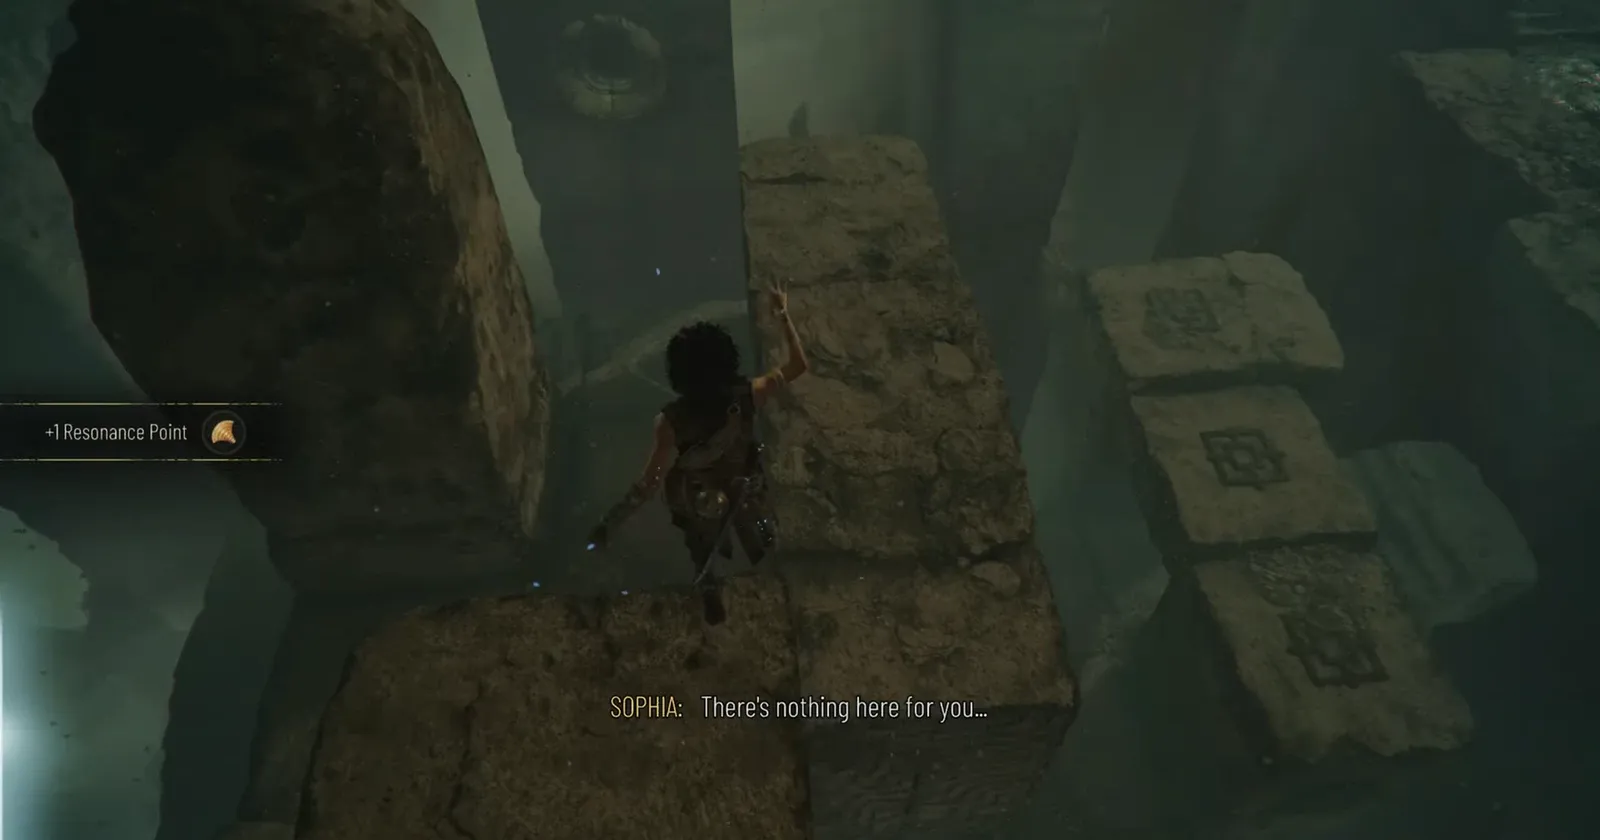
Each Resonance Point flashes a “+1 Resonance Point” message when picked up, and both artefacts show an “ARTEFACT” banner naming the item. The charm displays a “NEW CHARM” prompt when the chest opens. You can also check your running totals through the menus, where the artefact and charm counters climb as you collect.
Note: Resonance Points do not carry over through Chapter Select and only save when you reach the next checkpoint. If you die before a checkpoint, you have to grab them again. The Labyrinth Plan, Poisoned Syringe, and Trinket #5 still count if you return via Chapter Select, so those three are safe to clean up later. The points are the only collectibles here you must secure in a live run.
Trophies tied to “As One”
Working through this chapter can trigger several trophies alongside the automatic “As One” completion reward. The combat and light-based ones depend on how you play, while Hoarder and Superstitious depend on collecting every artefact and charm across the full game.
| Trophy | Requirement |
|---|---|
| As One | Complete Chapter 13 (automatic) |
| They were people | Destroy 100 Petrified with light |
| Hoarder | Collect all 37 artefacts, including both in this chapter |
| Superstitious | Collect all 30 charms, including Trinket #5 |
| Close call | Survive the creature by a hair’s breadth 5 times |
With all six Resonance Points banked and both artefacts plus the charm in hand, you leave “As One” fully cleared and ready to head into the final chapter, “What Remains,” which holds no collectibles of its own.