Badges are the whole point of the Rainbow Friends roleplay maps. Each one is tied to a single hidden object somewhere in the world, and touching or clicking that object adds a character morph you can wear for the rest of the session. There is no crafting, no grinding, and no random chance involved — you either find the trigger or you don’t.
Quick answer: Walk to the object listed for each badge and touch or click it once. The badge notification appears immediately, and the matching morph is added to your Morphs menu with no extra step.
How badge morphs work
Every badge trigger is a physical prop placed in the map — a piece of goo on the floor, an arcade cabinet, a gem, a set of eyes staring out of a vent. Some are touch-activated, meaning you only have to walk into them, and some need a click. If walking through an object does nothing, click it before you assume you are in the wrong spot.
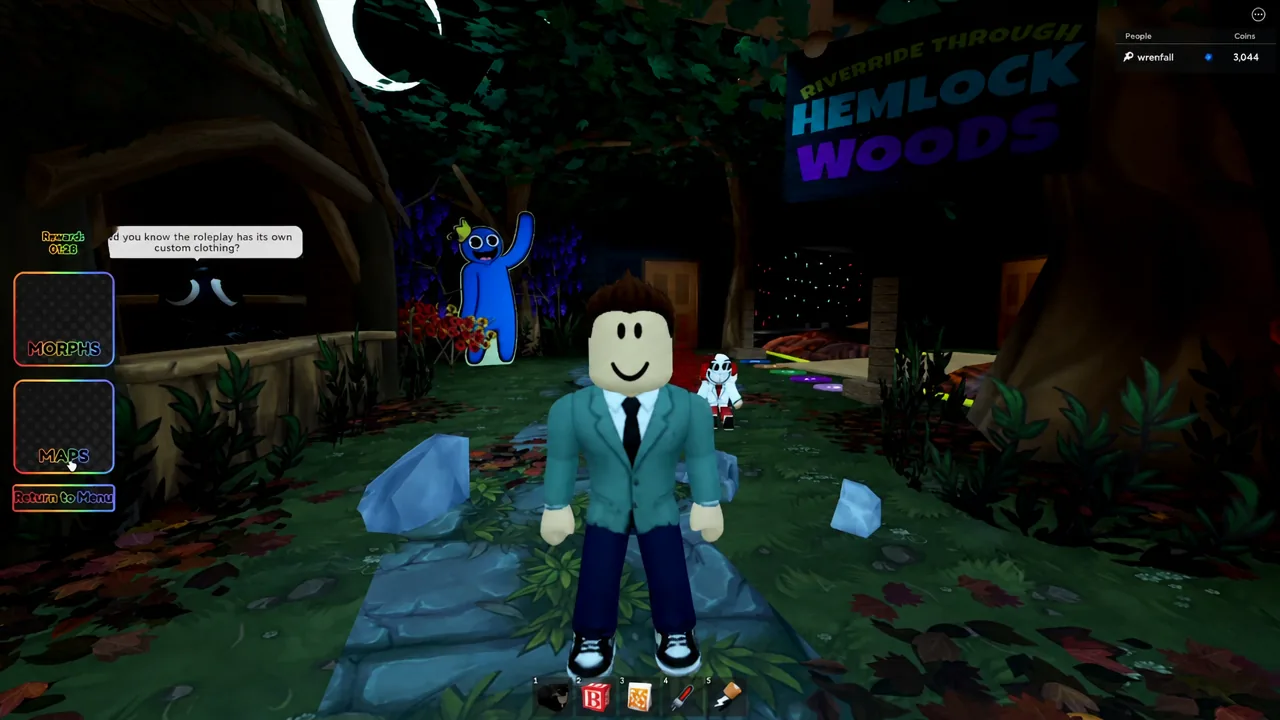
Once a badge is awarded, the morph unlocks permanently on your account. You pick it up from the Morphs button on the left side of the screen, and the easiest place to test your new characters is the lobby, where you can swap between them freely.
The Maps button next to it is the other tool you need. Long walks across the map are usually unnecessary because you can teleport straight to hub areas like the Party Room or the School Lobby and start from there.
Badge locations in Customized Rainbow Friends Roleplay
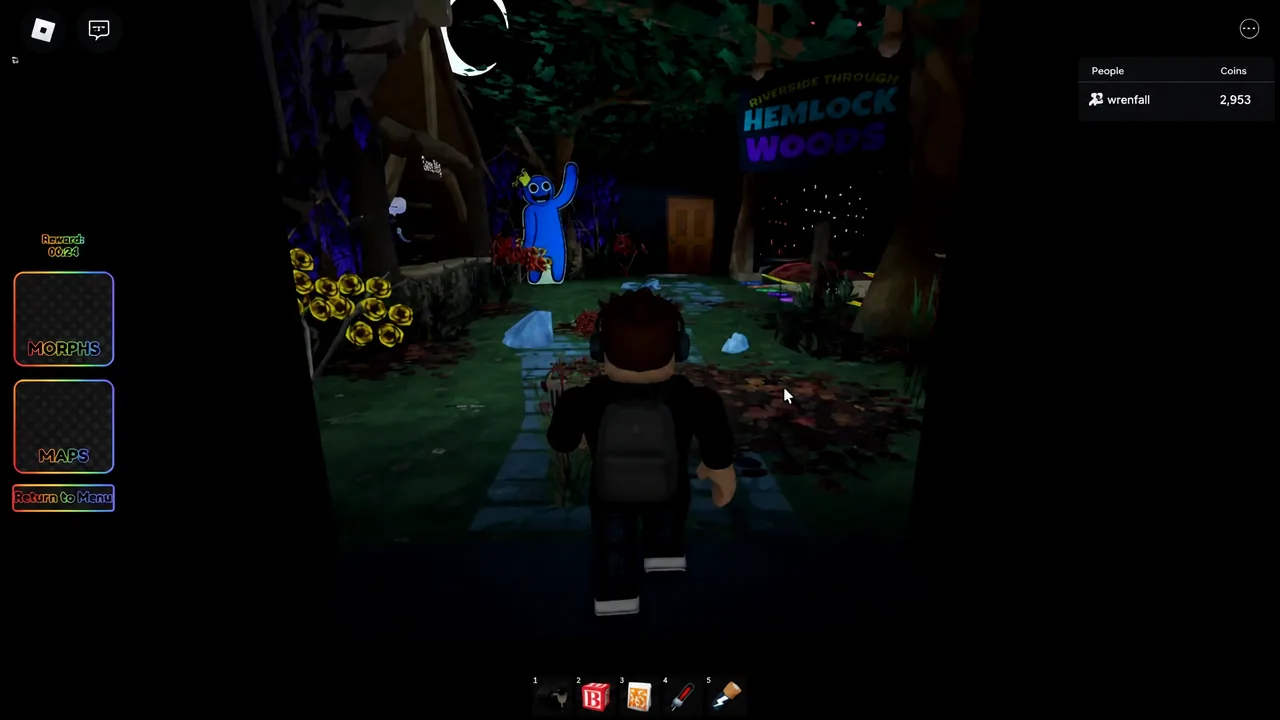
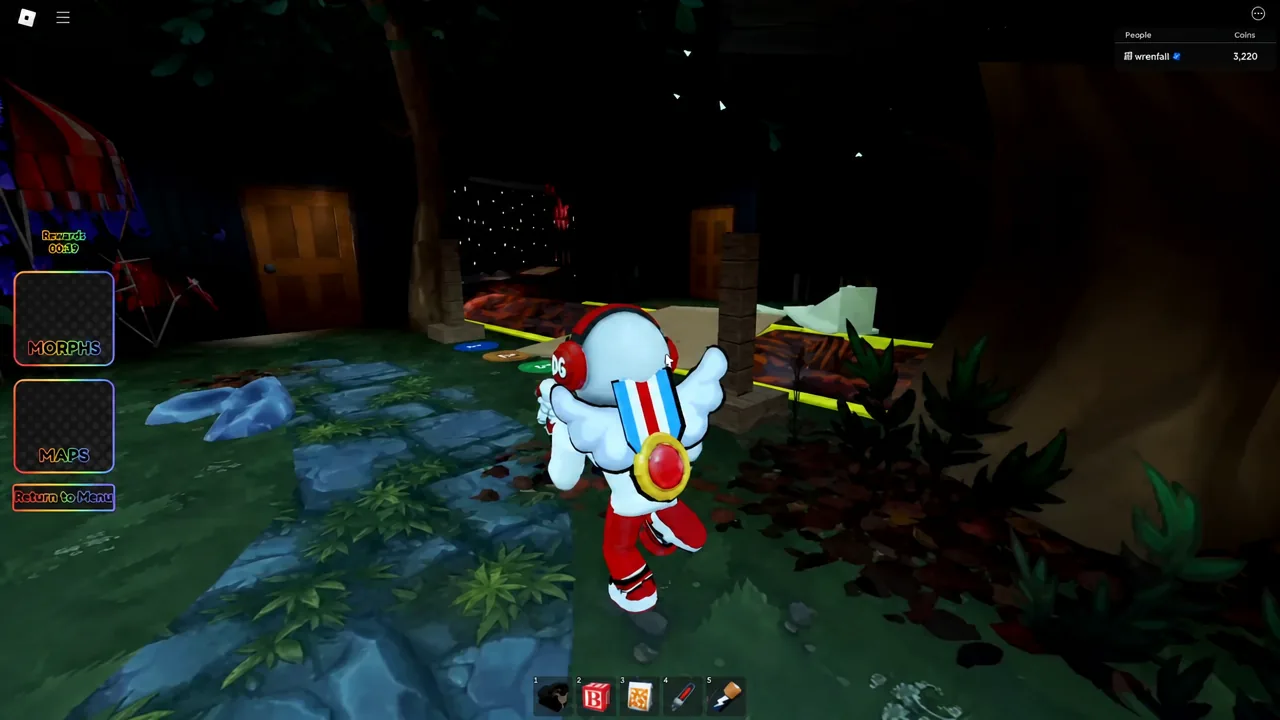
Four badges in Customized Rainbow Friends Roleplay sit close together near the spawn area, which makes them the fastest starting run for a fresh account. All four begin from the Hemlock Woods entrance.
Full badge list in Customized Rainbow Friends Roleplay
The badge roster is far larger than the starter run and keeps growing with updates. These are the badges currently in rotation, including multi-part chains that have to be completed in order.
- GIVE ME THE CHEESE!
- Hired Killer
- Hot Chocolate
- Voodoo Curse
- Theory Time
- Reject Blue, Embrace Greatness
- Shooting Star
- 1x1x1x1 Classic Domain
- The Ink See’s All
- Crystalized Trinity
- Crystalized
- Pumpkin Panic
- Data Breach
- Shark Rainbow Friend
- Rejected Rainbow Friends
- Splitting Headache
- Scrapped Concept
- Explosive Rainbow Friend
- Banana Pranks Unleashed
- Betrayal Sealed
- The Crawler Below
- Krampus Rainbow Friend
- Gametoons Cartoons
- Controlled Freak
- Duality
- All in One!
- Experiment Gone Wrong
- Rainbow Friend Hybrid Body Part 1, 2, 3 and 5
- Red is Calling
- Eternal Soul
- Boxes of Gray
- [THE HUNT] Customized Rainbow Friends RP
- Heartfelt
- Decaying Corruption!
- Beary Scary Rainbow Friend!
- Cold Rainbow Friend
- Pirate Blue!
- Black’s Revenge
- Blue Chad
- Arcade Time
Note: the Hybrid Body badges are a chain. Later parts will not register if you skip an earlier one, so work through them in numerical order.
Badge triggers in Accurate Rainbow Friends Roleplay
The sister map, Accurate Rainbow Friends Roleplay, uses the same touch-and-click system and hides 20 badges across Chapter One and Chapter Two. Cyan and Yellow are available in Chapter One alongside additional badge morphs and the Chapter Two items.
| Badge | Where to trigger it |
|---|---|
| The Unused Friend (Pink) | Hemlock Woods entrance, through the door, drop down the hole, enter the grate, touch the pink eyes |
| Withered Blue | Wooden hallway, drop down, through the broken wall, down the ladder, touch the seated figure in the basement corner |
| Blue 64 | Same ladder route, arcade alcove on the left, click the cabinet |
| The Farmer Friend | Museum hallway into the main stage farm area, click the carrot beside the hay bale |
| The Broodmother | Party Room, dark hallway around the left corner, click the spiderweb on the purple wall |
| Daycare Attendant | Party Room, door on the red wall into the block room, click the gold star on the pink block |
| The Gray Friend | Past the balloon field, up the ramp into the vent, follow the ductwork outside, step on the puddle |
| The Teal Friend | Along the log water ride into the locker and shower room, click the floating eyeball in the corner |
| The Vent Friend | Past the log ride into the back room with the large fan, click the purple character inside the vent grate |
| The Ruby Friend | Mine shaft just before Orange’s hideout, turn left, click the glowing red crystal |
| The Brown Friend | Mine shaft hallway, small vent room on the left, click the eyeball on the floor |
| The Unused Friend (Yellow) | Orange’s hideout cave, back cavern, climb the transparent ladder, approach the yellow bird |
| The Scientist | Museum into Blue’s castle zone, Red’s laboratory, click the head on the green mattress |
| The Rainbow Friend | Blue’s castle, up the ramp to the top room, press the red button, click the gold crown |
| The Scrapped Friend | Museum to the workshop room door, click the blue blueprint on the workbench |
| Violet Friend | School Lobby, along the exterior brick wall, click the violet orb behind the last bush |
| Sapphire Friend | School Lobby, follow the road to the dark end, click the sapphire gem on the grass |
| Cyan Master | Party Room vent to the exit, jump the fence by the “Do Not Enter” sign, click Cyan’s eyeball |
| A Candle | Chapter Two, through the portal toward the windmill into Purple’s Lair, click the candle on the red table |
| Maxwell | Party Room vent exit, jump the fence, fall into the void, enter the Backrooms red door, click the cat on the desk |
The mine shaft area is the densest cluster on the map. The Ruby Friend crystal and the Brown Friend eyeball are only a short detour apart, so clear both before you push into Orange’s hideout for the yellow bird.
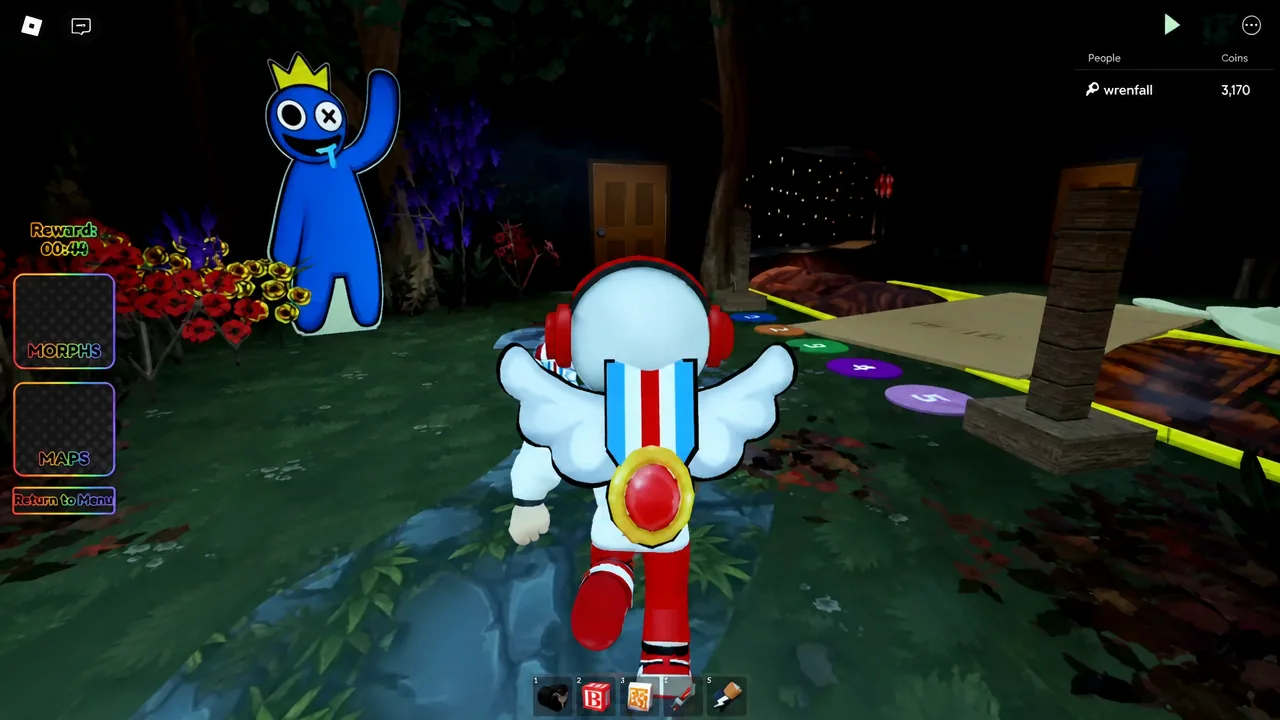
Blue’s castle zone holds two more. Red’s laboratory has the head sitting on the green mattress, and the top room of the castle hides a secret chamber behind a red wall button, with the gold crown inside.
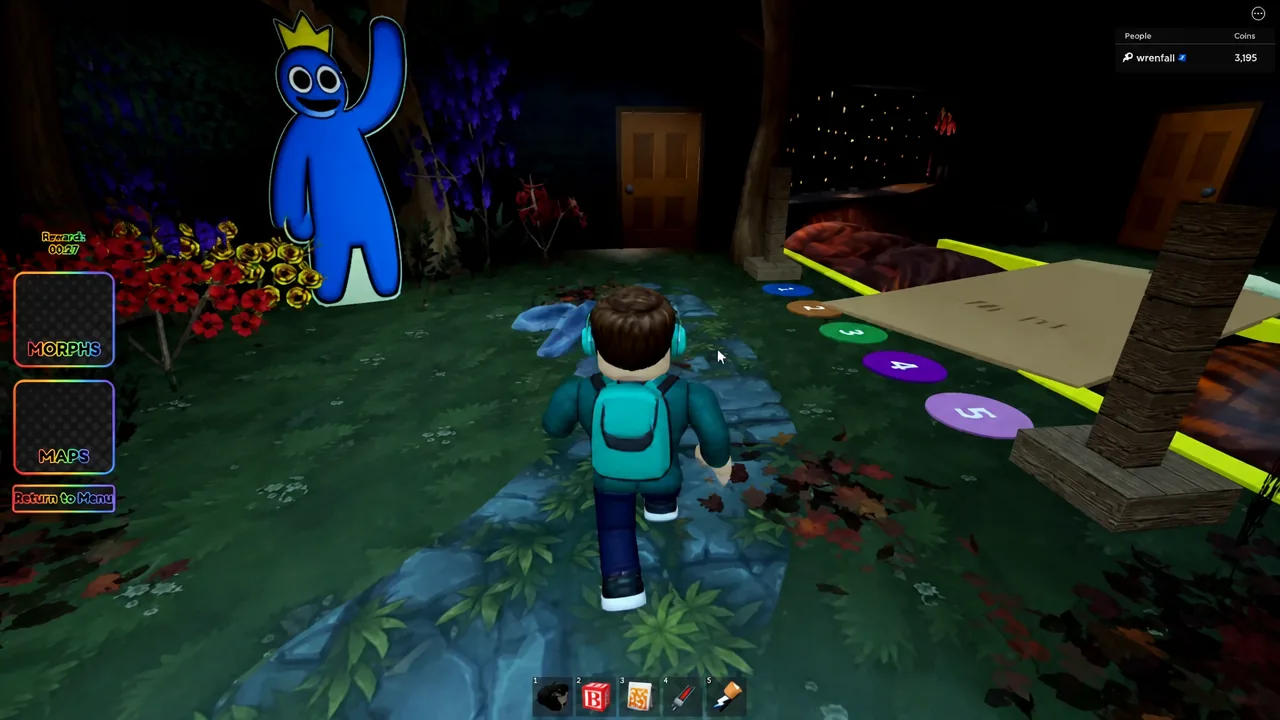
A Candle is the one badge you cannot reach from the Chapter One map. Return to the main menu, switch to Chapter Two, then take the portal toward the windmill and head into Purple’s Lair.
How to confirm a badge unlocked
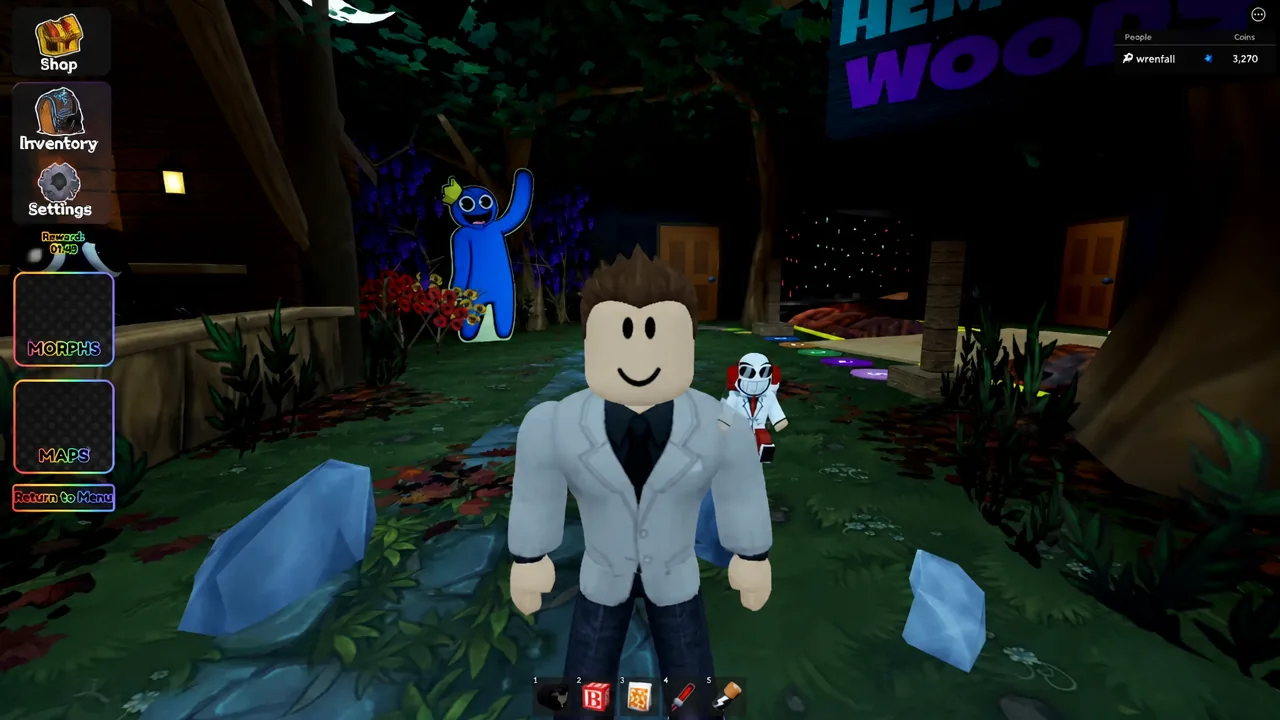
A successful trigger produces an on-screen badge award notification straight away. If you want to double-check, open the Morphs menu — the new character appears in the list, and you can equip it on the spot.
When nothing happens, the cause is almost always one of three things. You touched the object when it needs a click, you are standing next to a lookalike prop rather than the real trigger, or you are on the wrong chapter for that badge. Switching chapters requires a trip back to the main menu, not the in-game Maps teleporter.
Badges you already own will not fire a second time, so if you are running the route again for a friend, the lack of a notification is expected. Check your Roblox badge inventory rather than replaying the route to confirm.
Once you have a handful of morphs, the practical approach is to clear one zone at a time instead of chasing single badges across the map. The clusters around the capsule room, the mine shaft, and the Party Room vents each hold several triggers within a minute of walking, and finishing a zone in one pass saves far more time than teleporting back and forth.