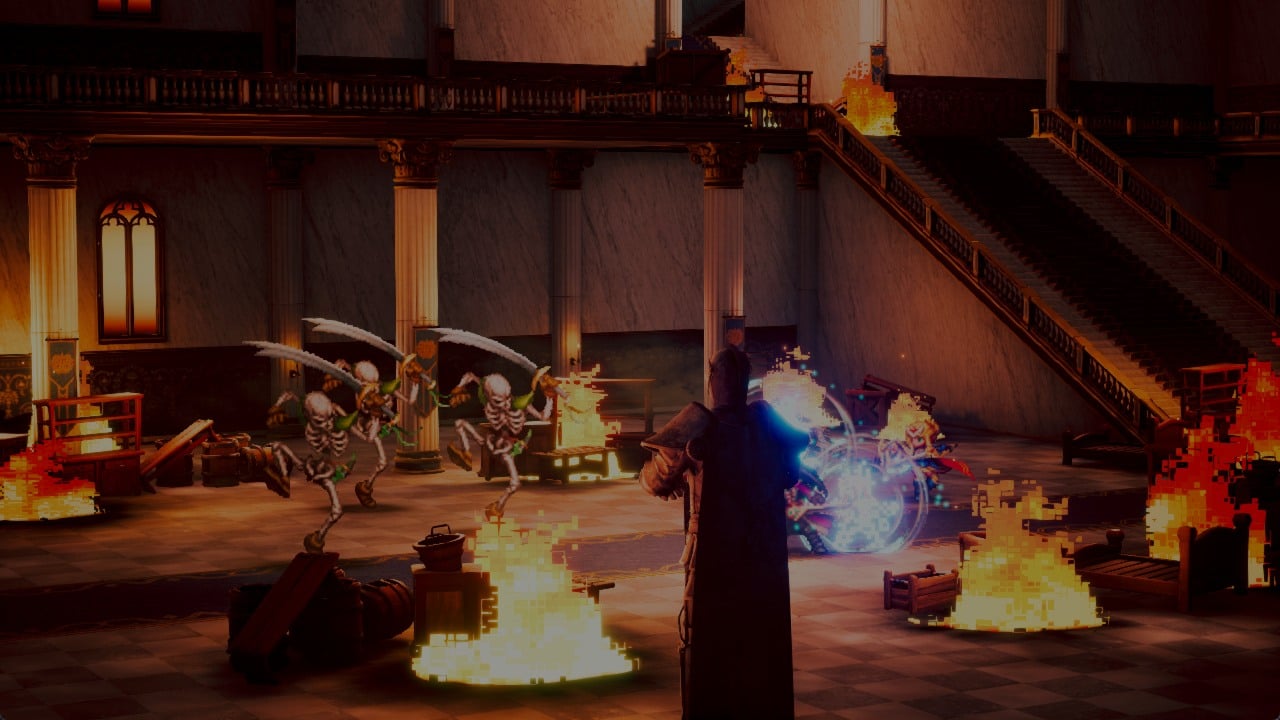
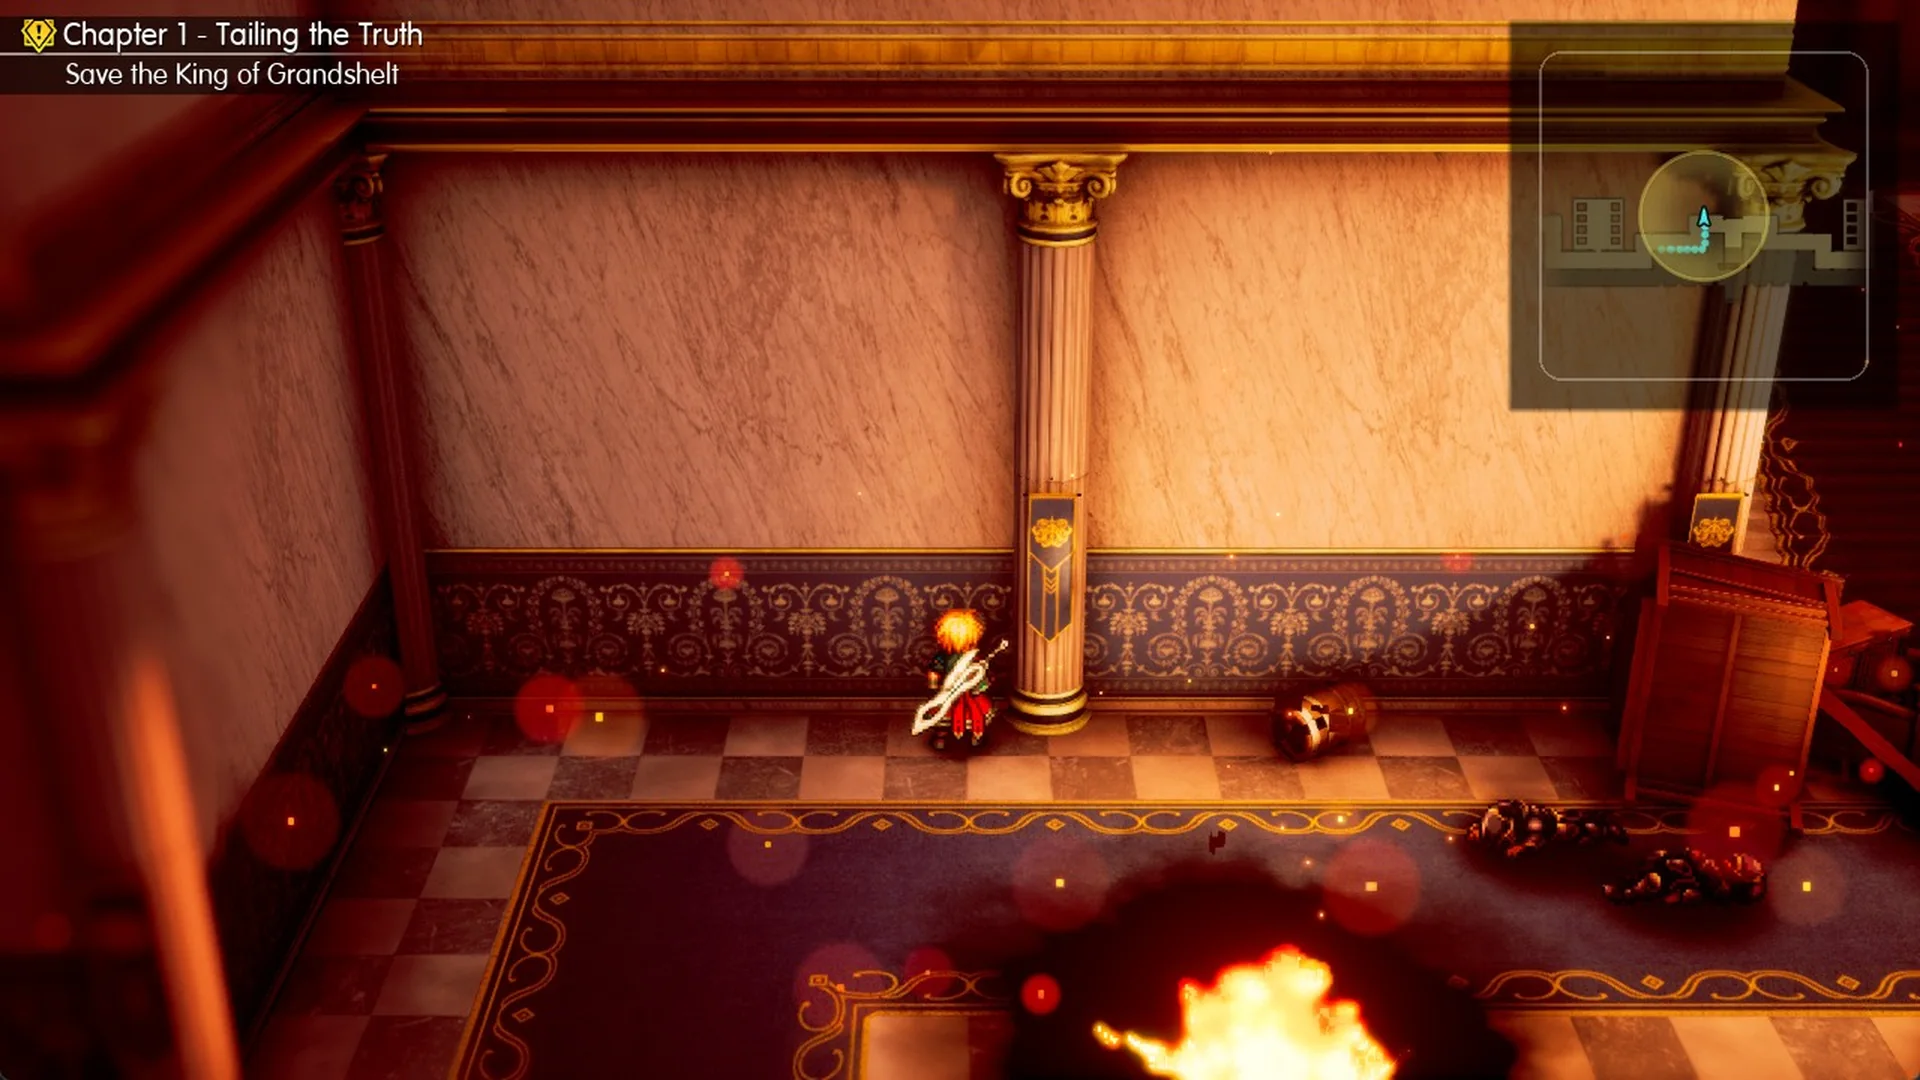
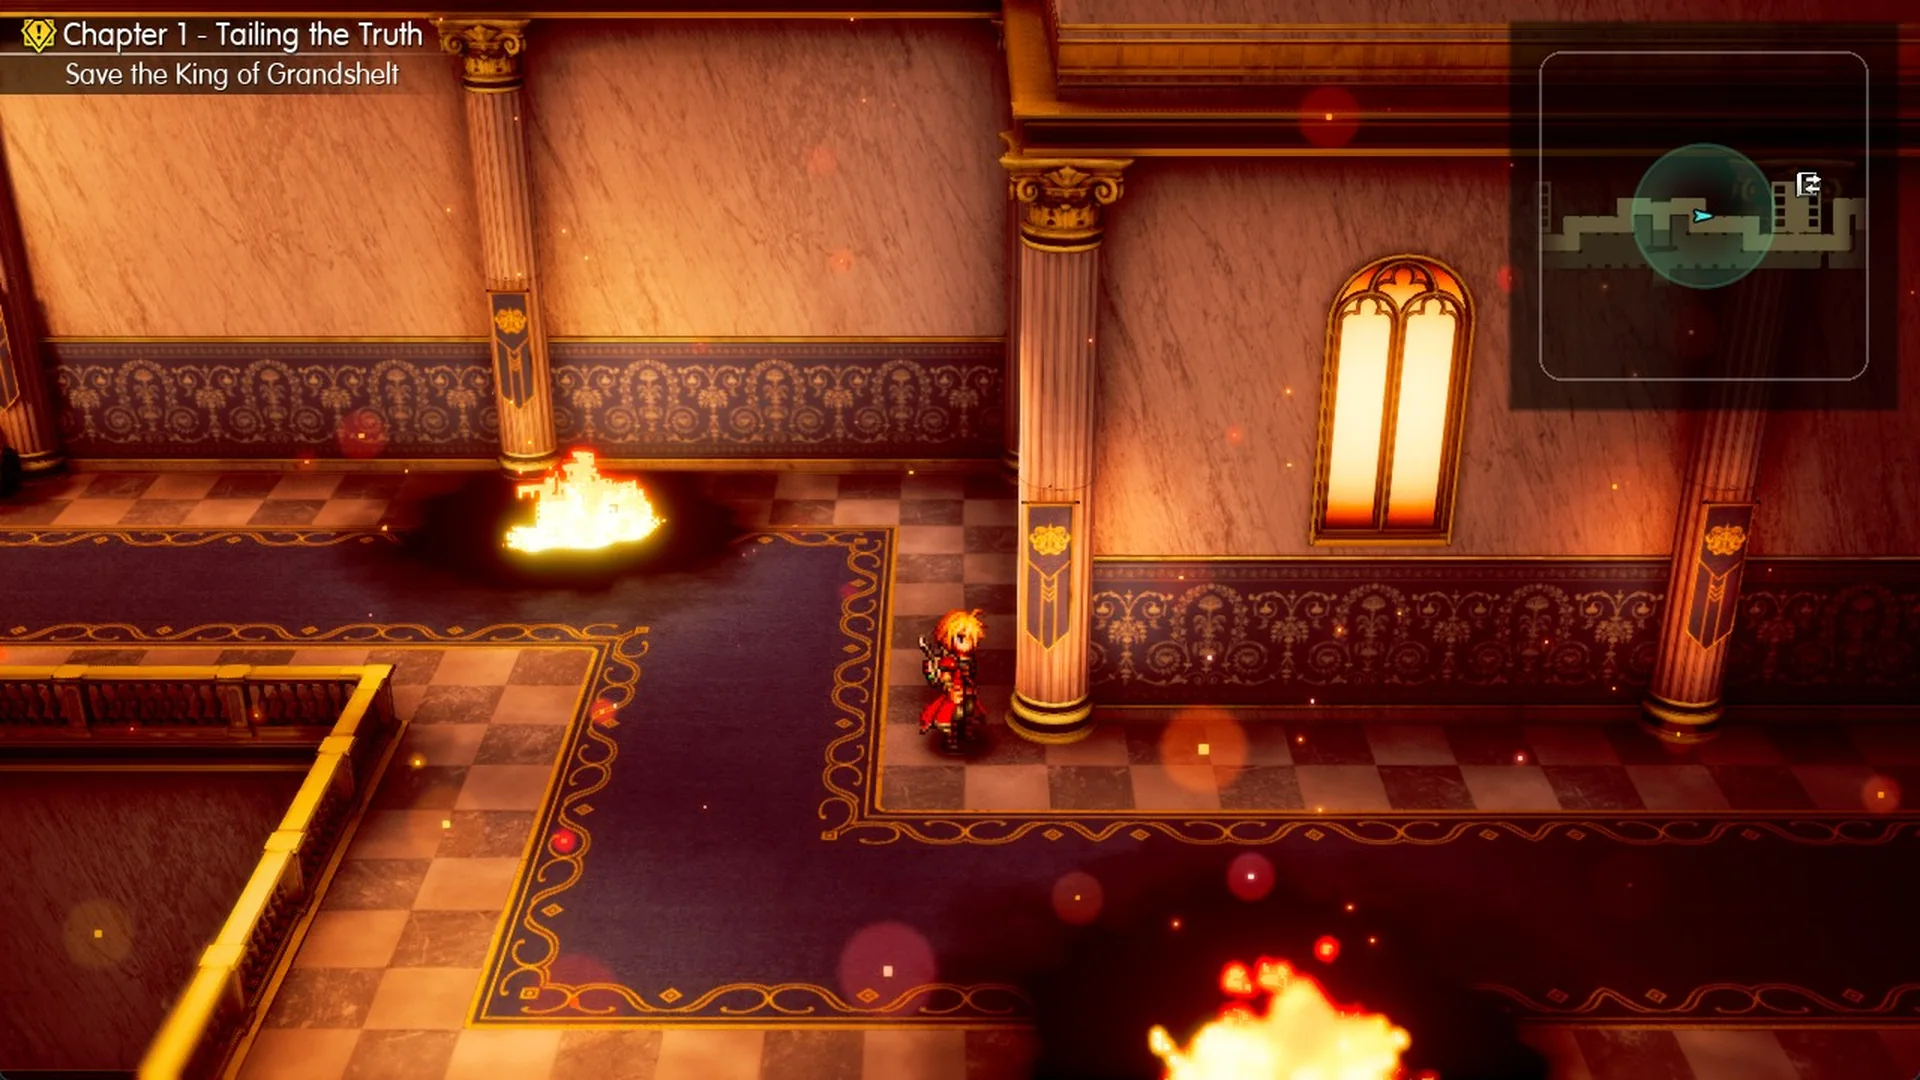
Burning Grandshelt Castle in Chapter 1 begins with the fire at the foot of the grand staircase, which you get past by taking the carpeted stairs at the west end of the main corridor and the hidden path onto the gallery. From there you reach the save point in the second lounge and the wooden ladder in that lounge that leads on. Beyond the ladder are a Mist Potion from a soldier in a side room, the boss Hell’s Rider at the grand staircase, and the Black Garb chest in the banquet hall after the boss. The castle chapter ends with the throne room, the scripted battle against Umbra outside and the new objective, the town of Felicitas.
Interactive map: Grandshelt Castle map
Quick answer: Take the ladder in the gallery’s second lounge to the upper walkway and follow it west to Hell’s Rider at the grand staircase. Then get the Black Garb from the banquet hall and go east to the throne room.
From the west end of the corridor, go up the carpeted stairs and along the gallery to the second lounge; the ladder is right of the lounge’s right-hand pillar. After the fight, take the left upper flight west to the banquet hall for the Black Garb. Then head back to the grand staircase landing, go up the left flight and follow the upper walkway east to the throne room’s gilded doors. The battle with Umbra outside is an automatic story encounter that ends by itself, after which the chapter continues with the objective “Go to the town of Felicitas”.
Before you go in
The Earth Shrine walkthrough covers the journey to the capital and finishes at the starting point of this guide. On arrival, the screen displays “Grandshelt, the Royal Capital” and “Recommended Level 5”.
Fire spreads across the castle courtyard. Find the pink-glowing save point at the bottom of the castle steps on their west (left) side. Stand in the middle of it, press F, then select Save progress. There is no Save row in the capital’s System Menu, so use this save point before you go up the steps. For more detail, read how saving works.
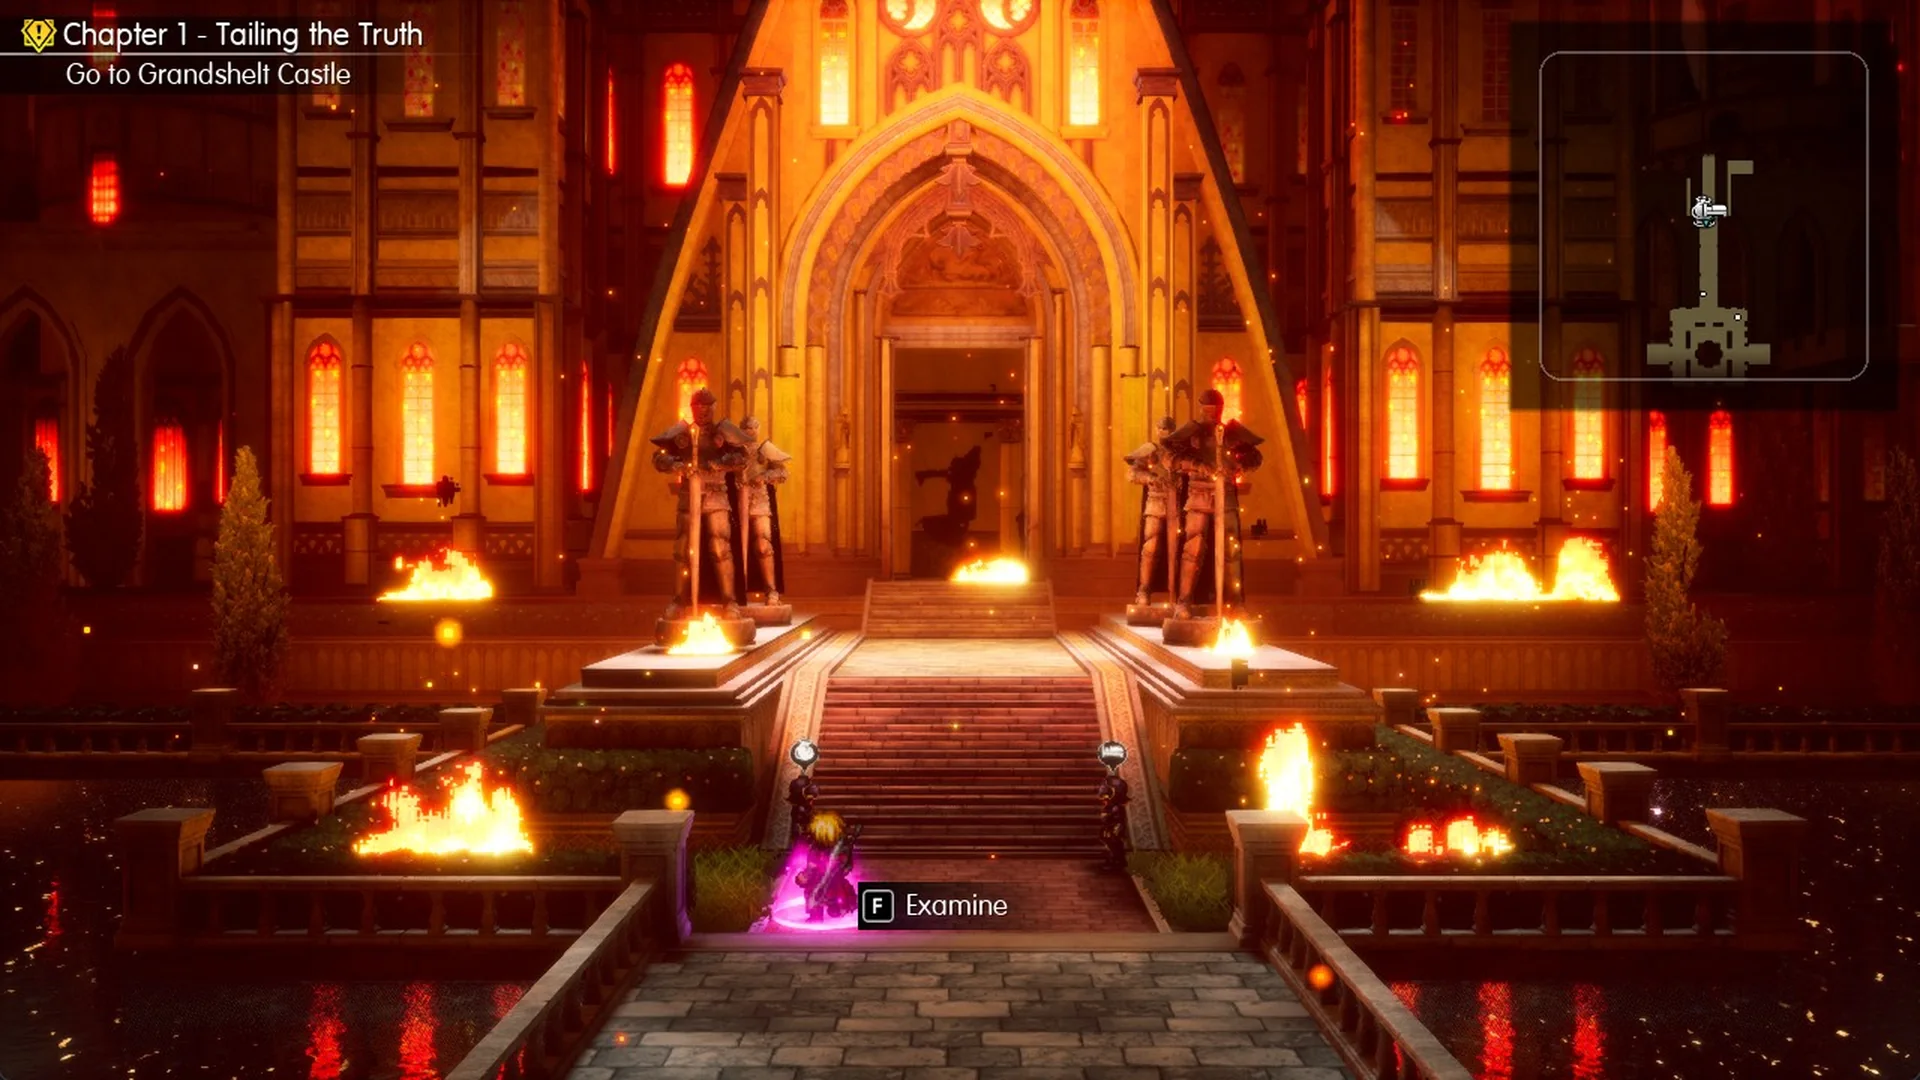
The castle door closes behind you once you’re inside, so you can’t walk back out to this save point.
Inside the castle: Charlotte joins
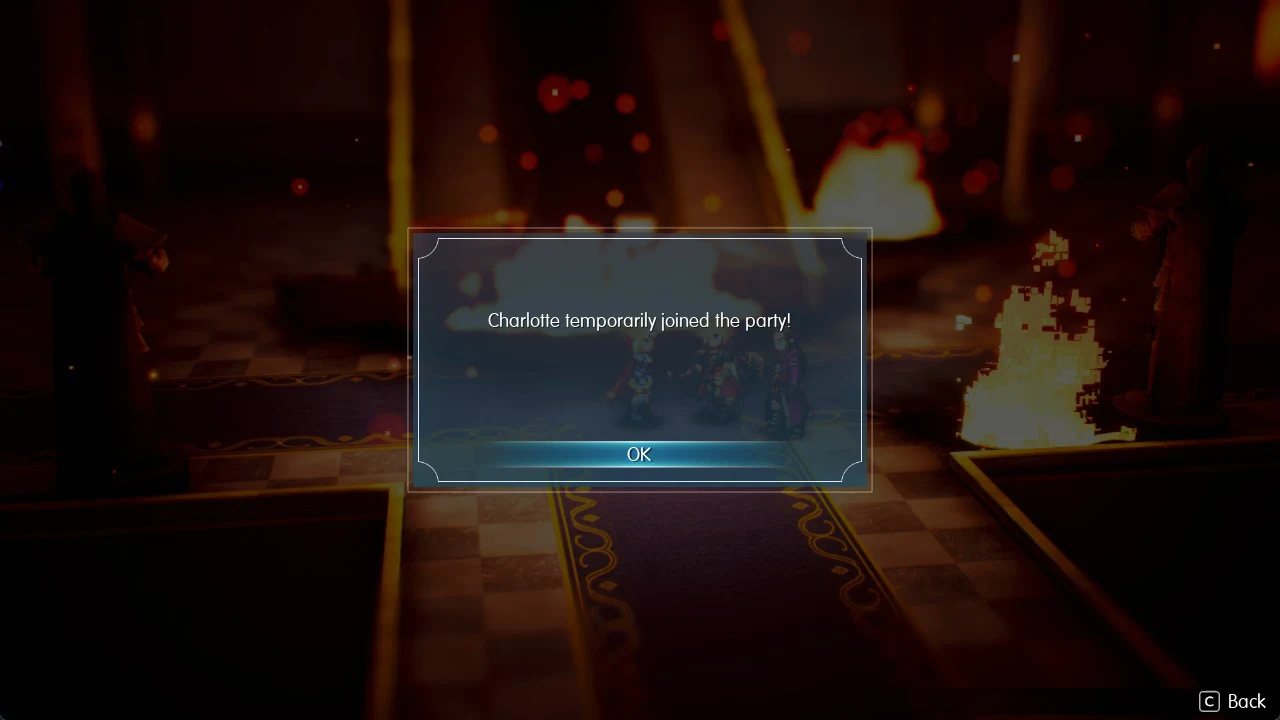
Head north up the castle steps into the entrance hall, the room with the big chandelier, and press F at the far door. In the scene that follows, an Injured Soldier says “Then there was this man in black armor…”, and Rain answers “It’s him… The one responsible for shattering the Earth Crystal.” Then Charlotte joins you, and the popup reads “Charlotte temporarily joined the party!”
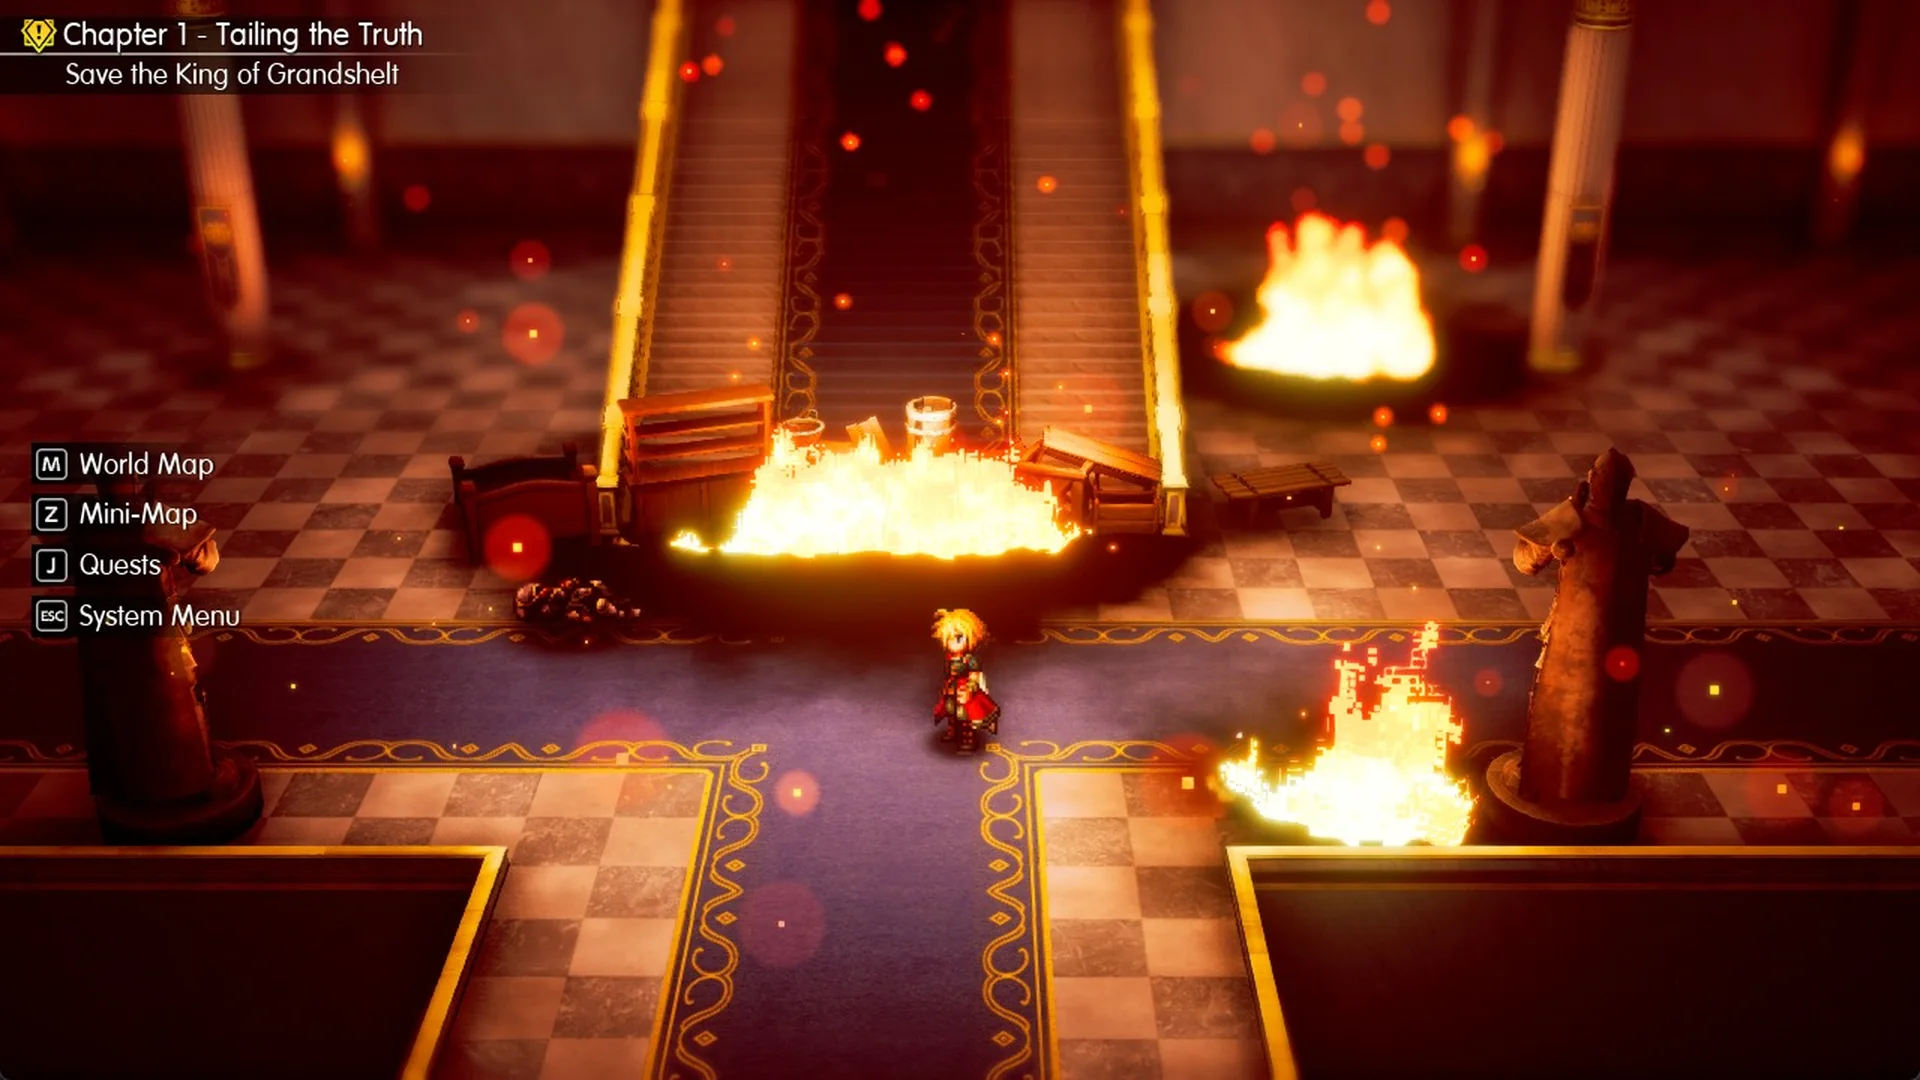
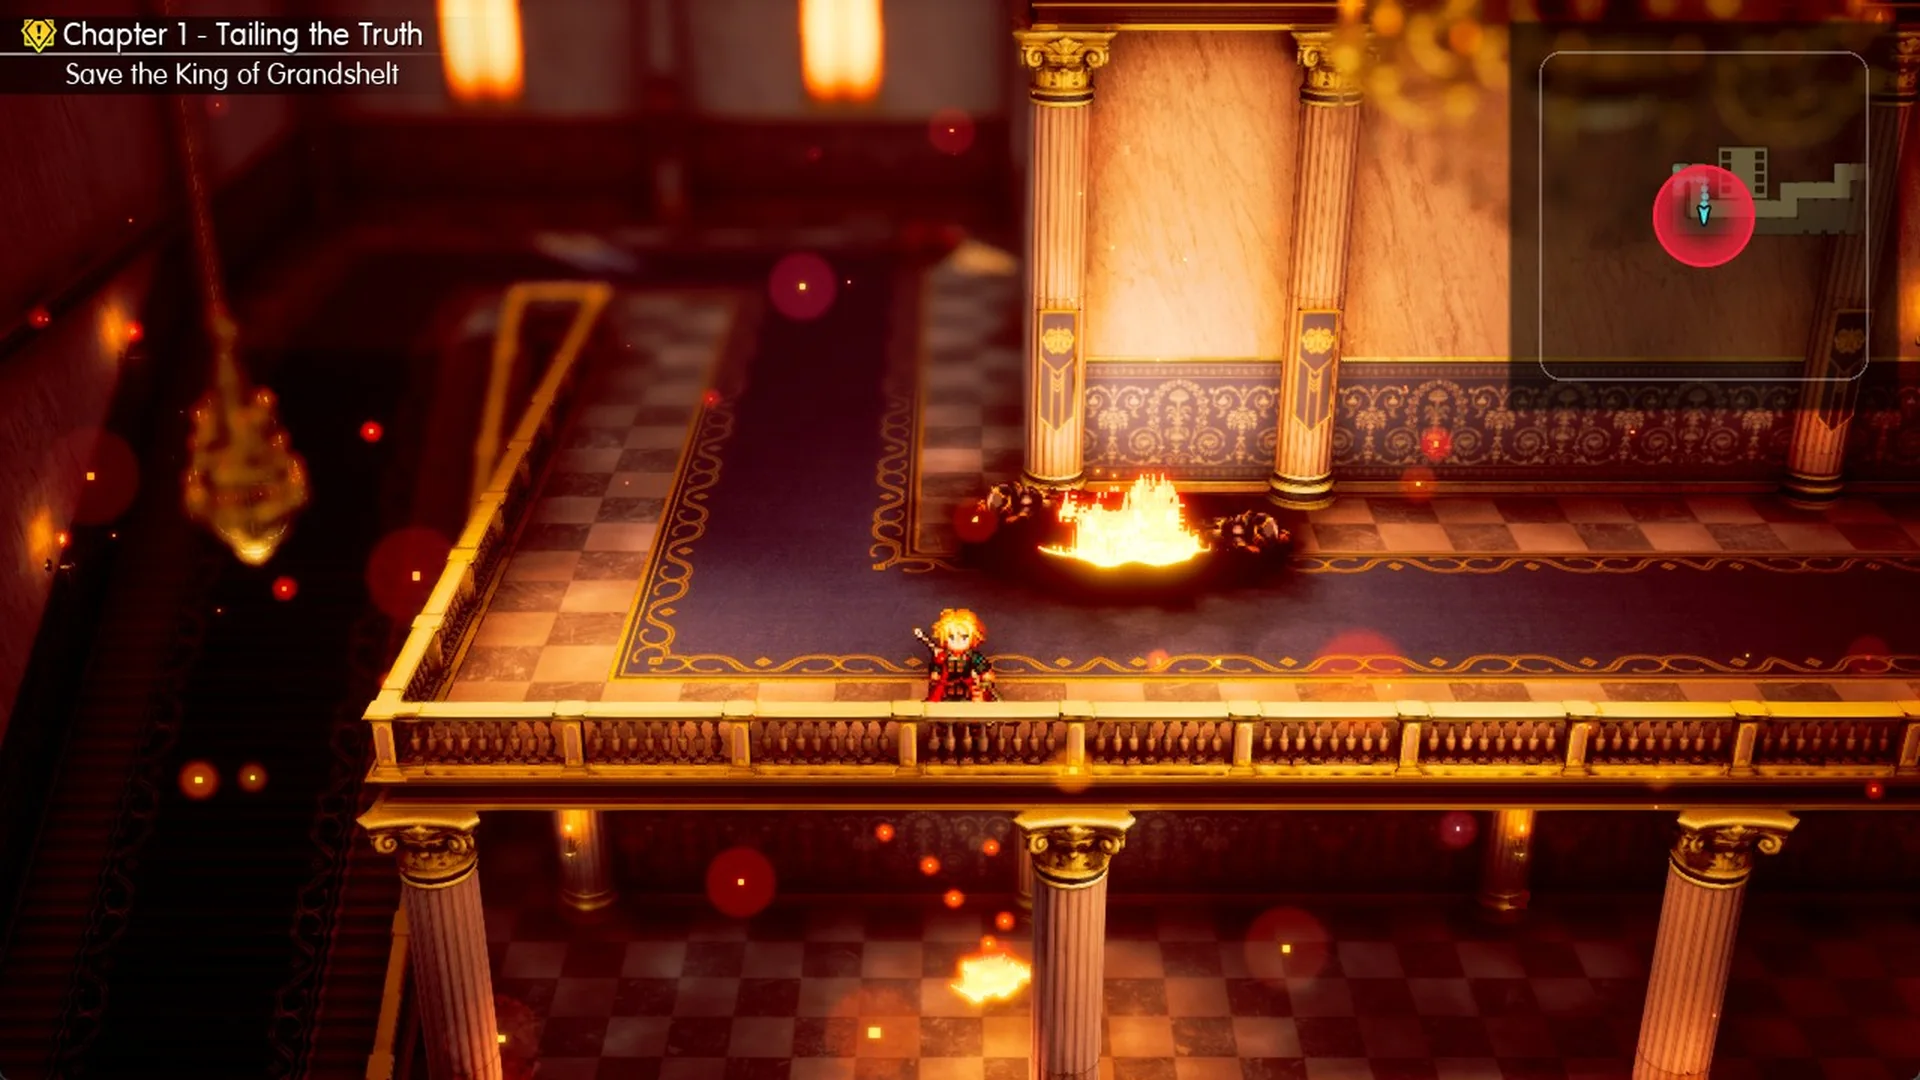
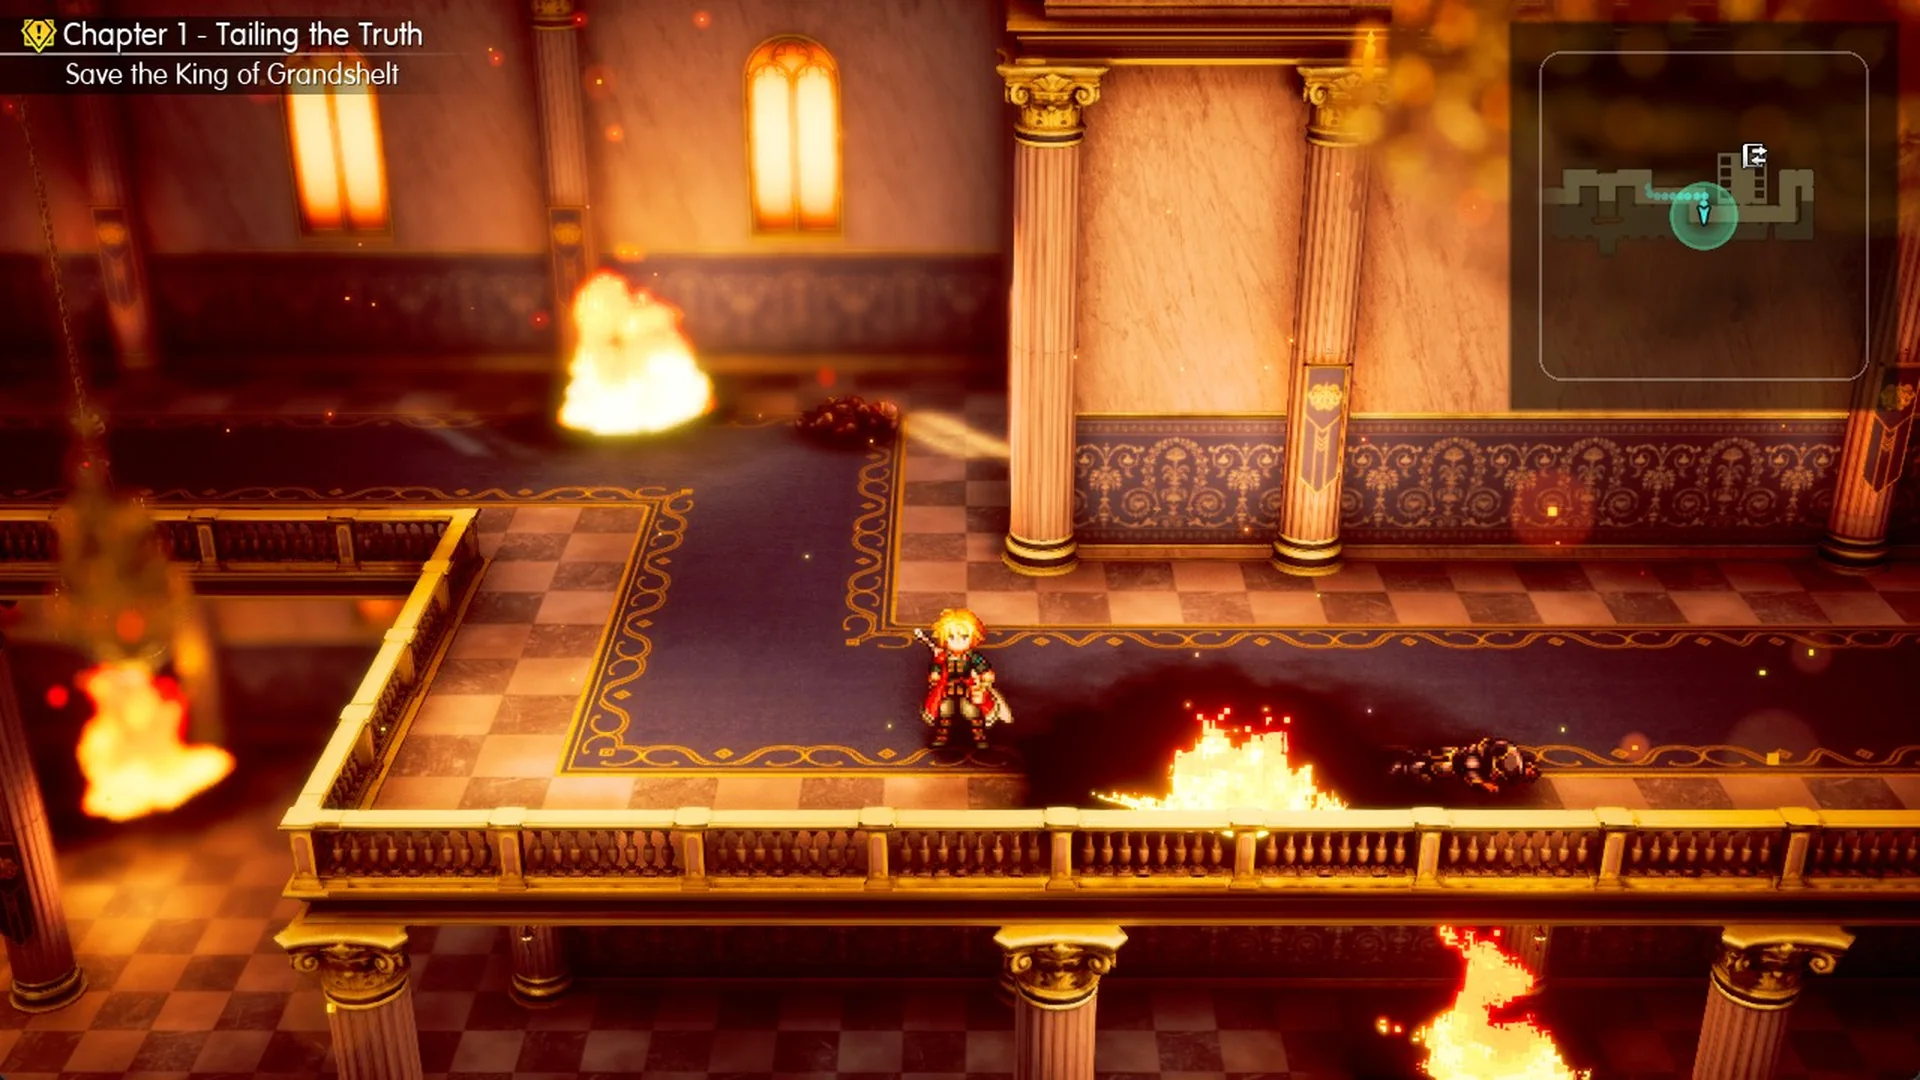
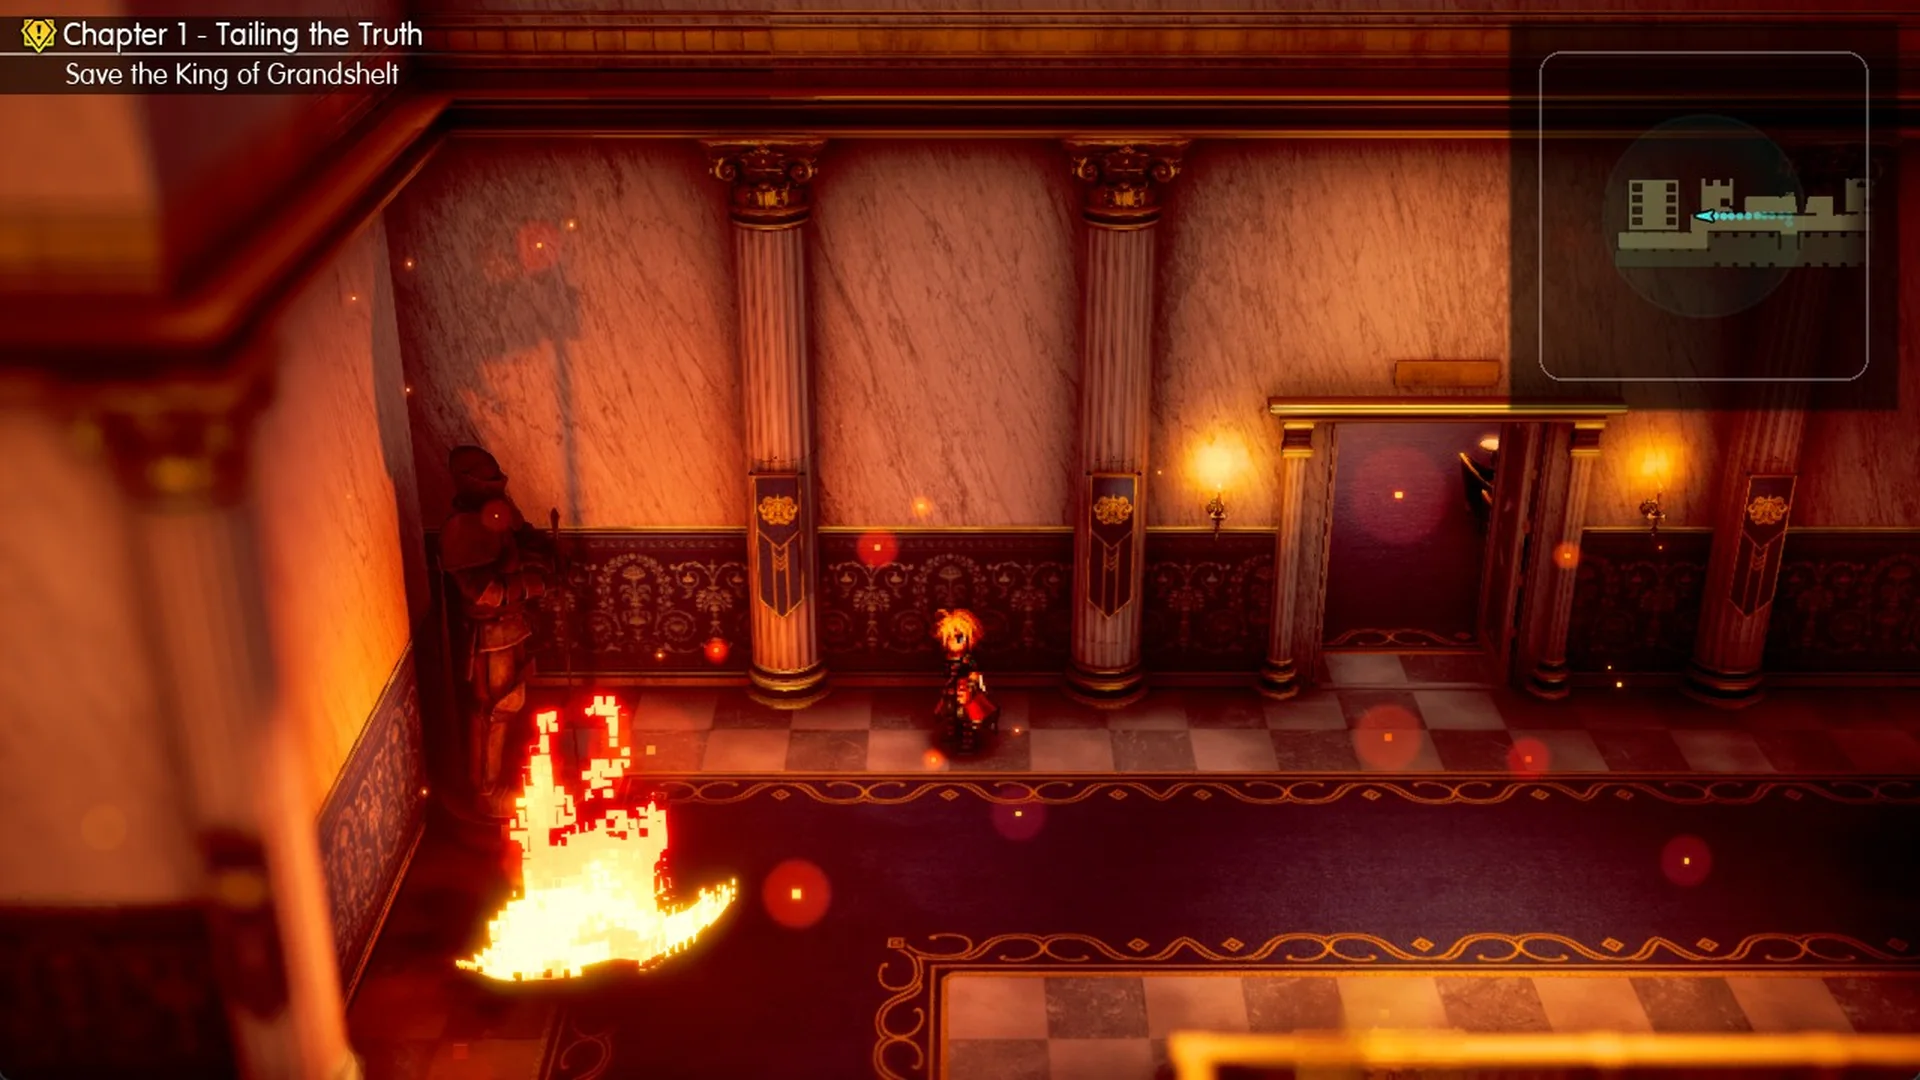
Your new objective is “Save the King of Grandshelt”. The castle’s main corridor runs east to west, with the grand staircase branching north from its midpoint. Flames block the staircase’s base, but that isn’t your way forward; don’t spend time trying to get past them.
West corridor: Skeletons and Phoenix Downs
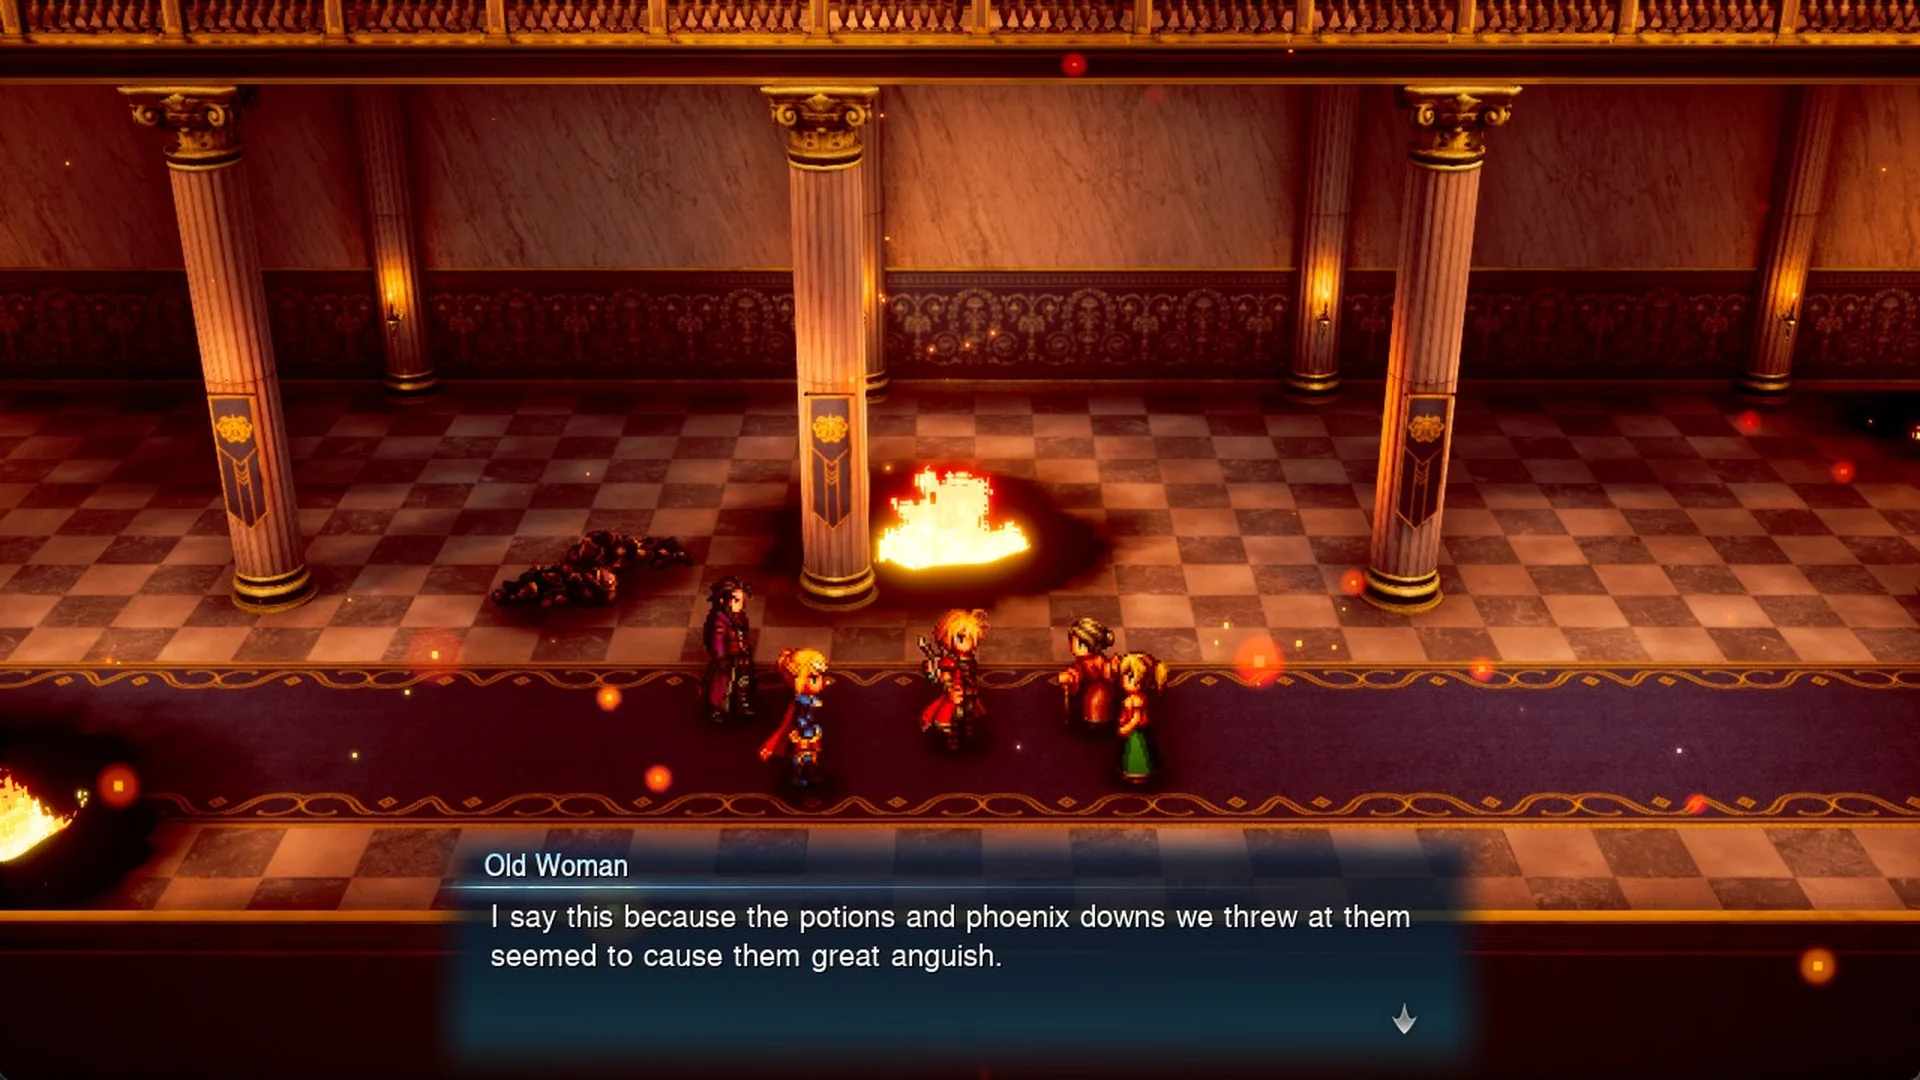
Walk west along the corridor. A woman screams “AHHHHHH!” and Skeletons attack. Once you win, an Old Woman tells Rain that the attackers are undead, adding “I say this because the potions and phoenix downs we threw at them seemed to cause them great anguish.” Lasswell then talks about wraiths and undead.
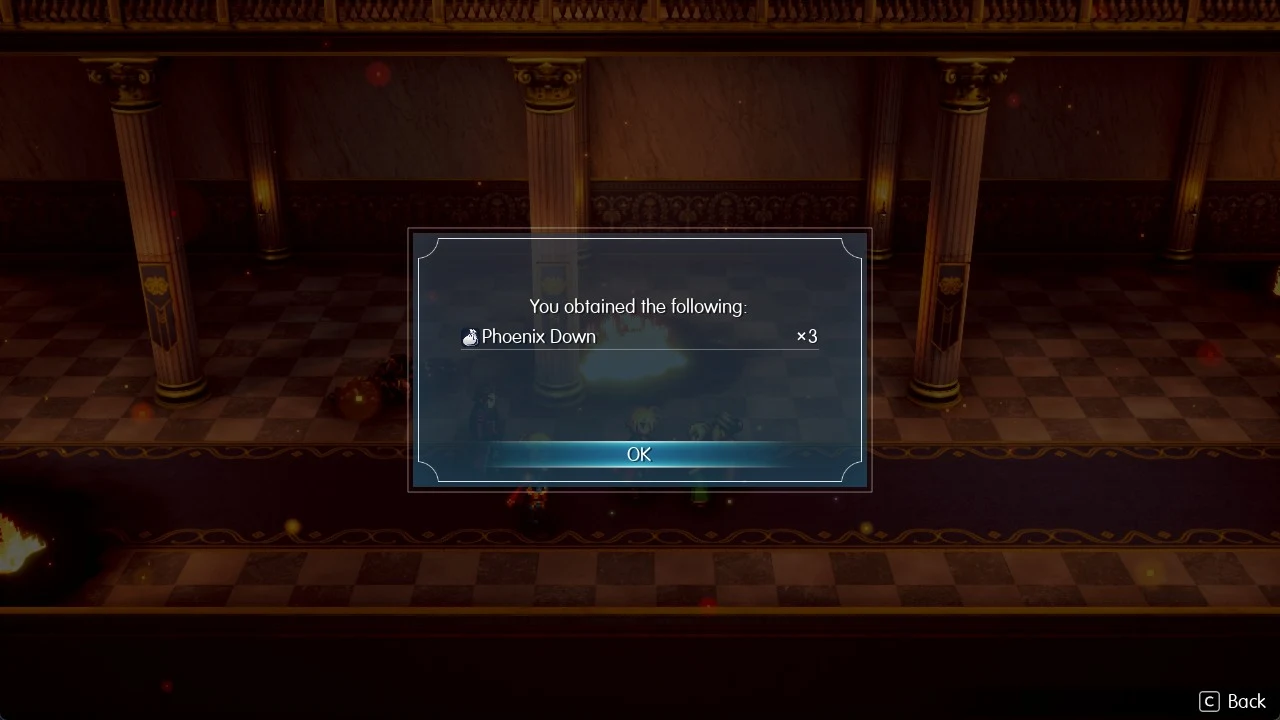
You obtain Phoenix Down x3. The game autosaves after Charlotte instructs the people to evacuate.
Using Potions on Skeletons
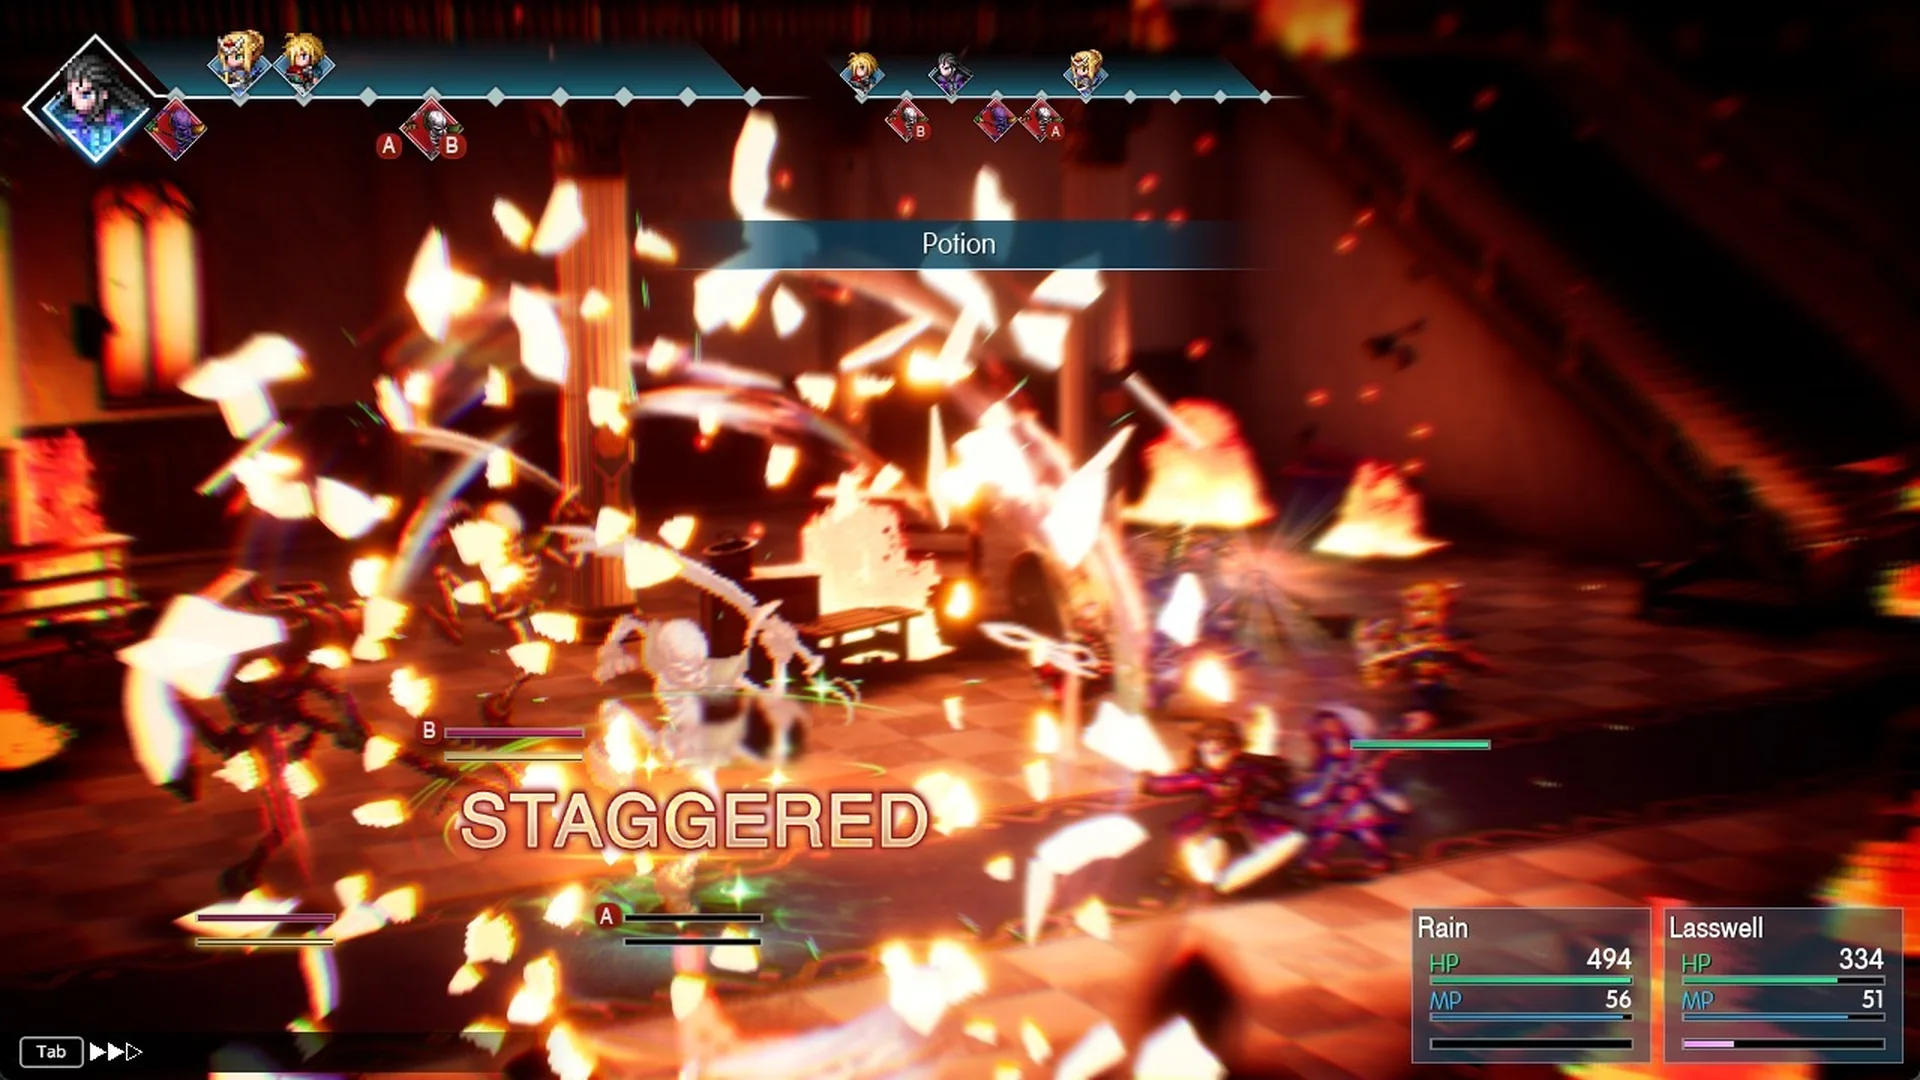
The Old Woman’s advice about Potions is correct. During a fight against Skeletons, choose Items, then select Potion.
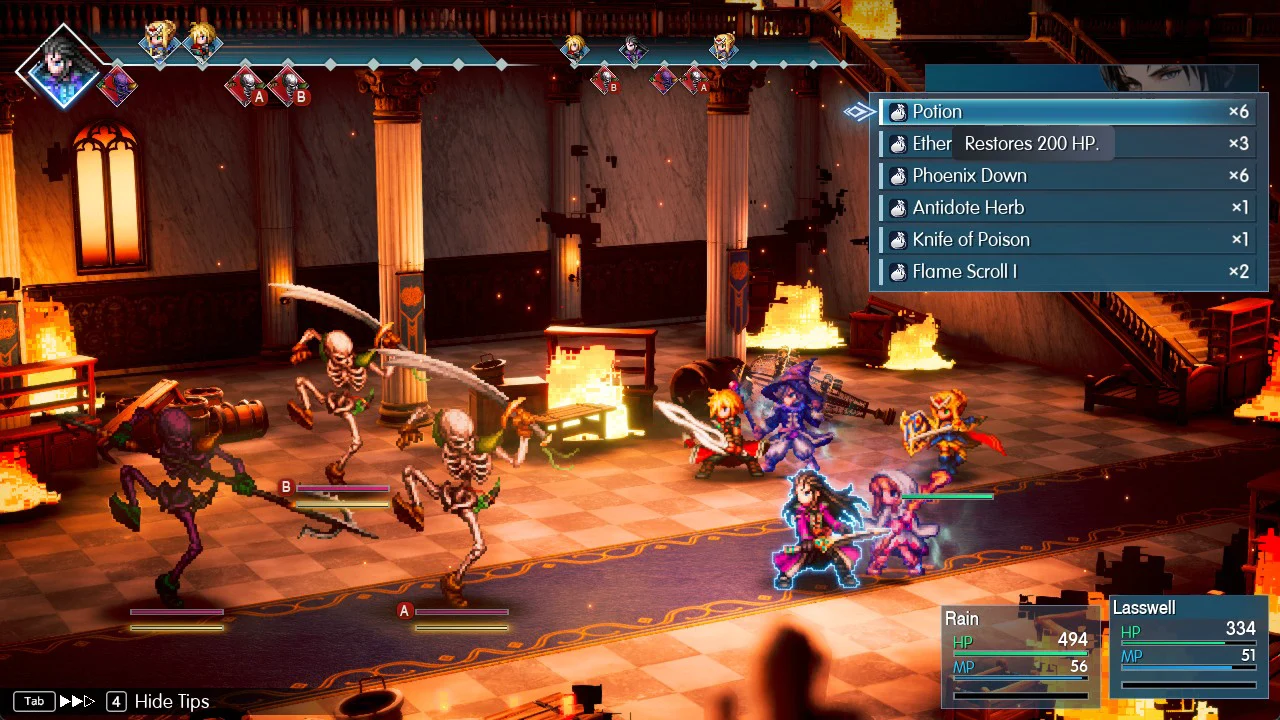
You can aim a Potion at an enemy as well as at your party, so move the target arrow onto a Skeleton.
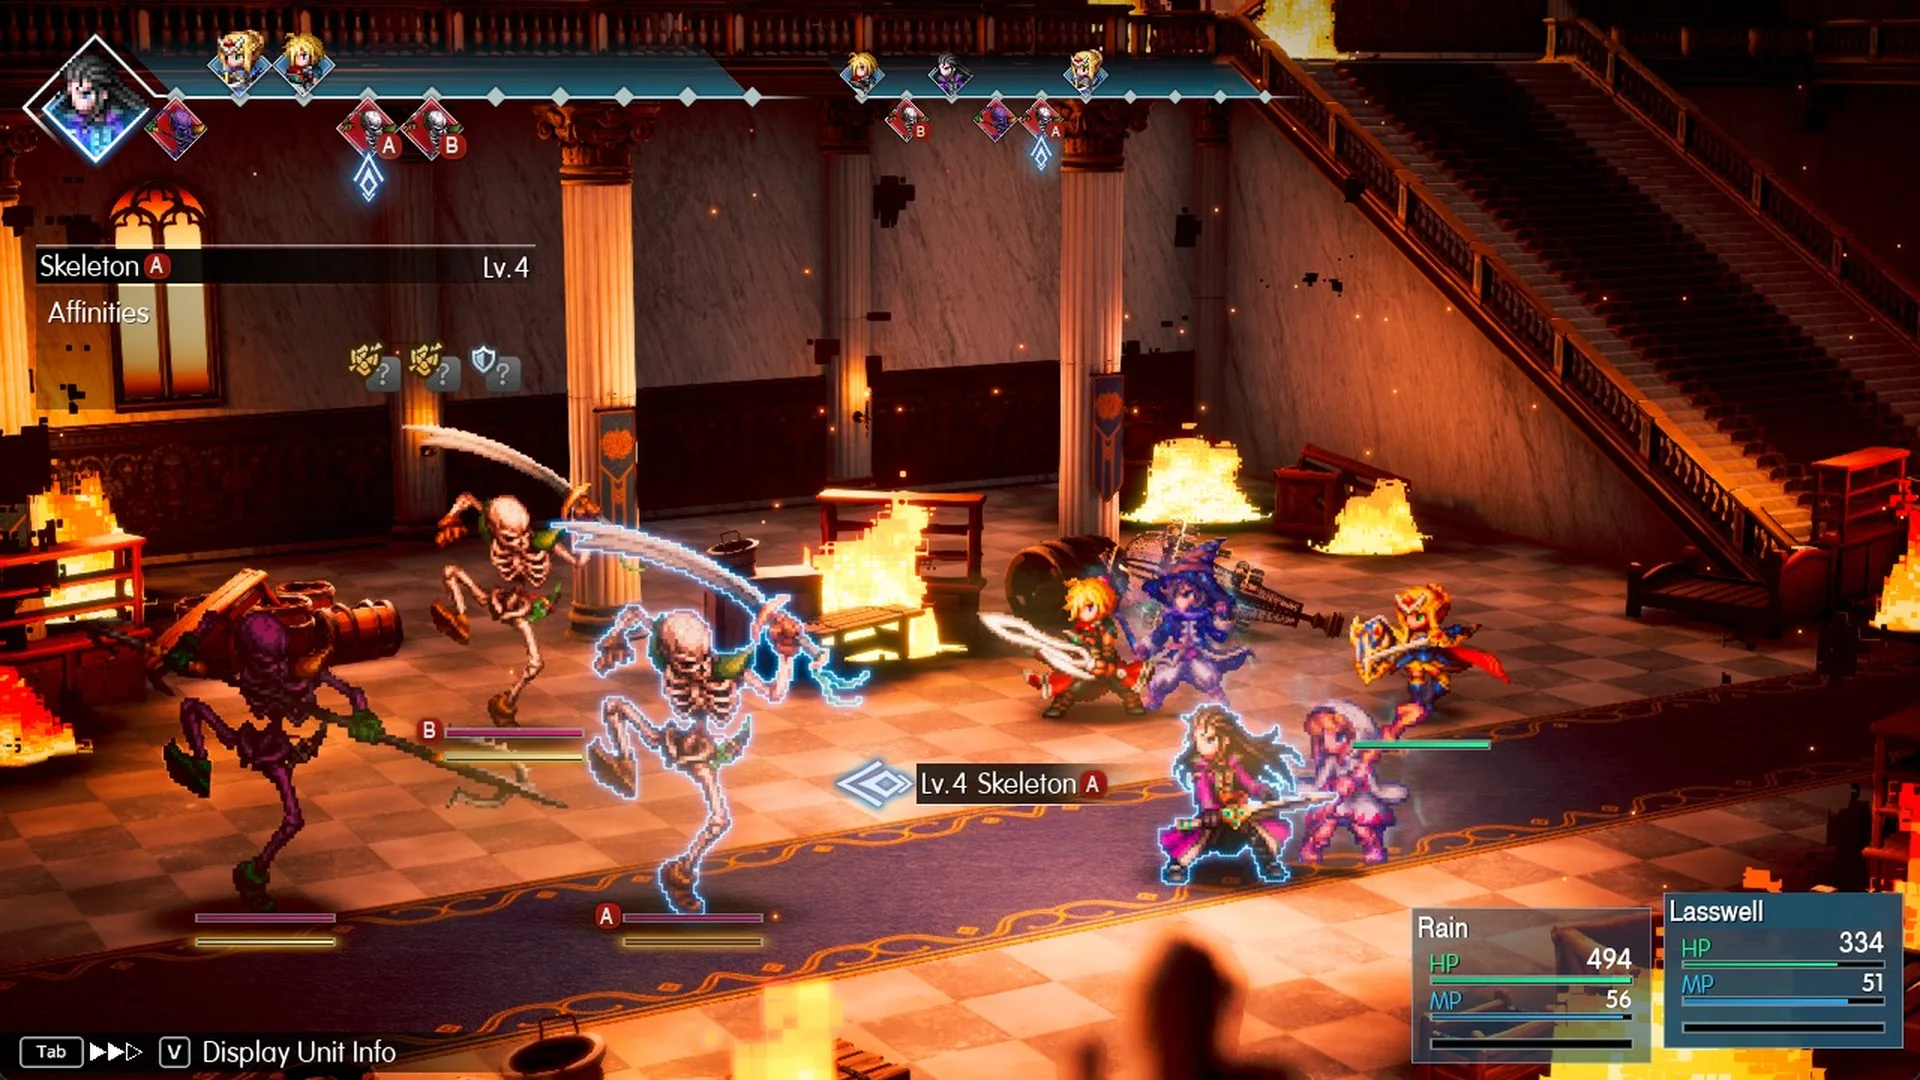
A Potion hurts a Skeleton, which then displays “STAGGERED”. This makes Potions a cheap way to break the castle’s undead foes; see how stagger works. The Old Woman’s hint also mentions Phoenix Downs.
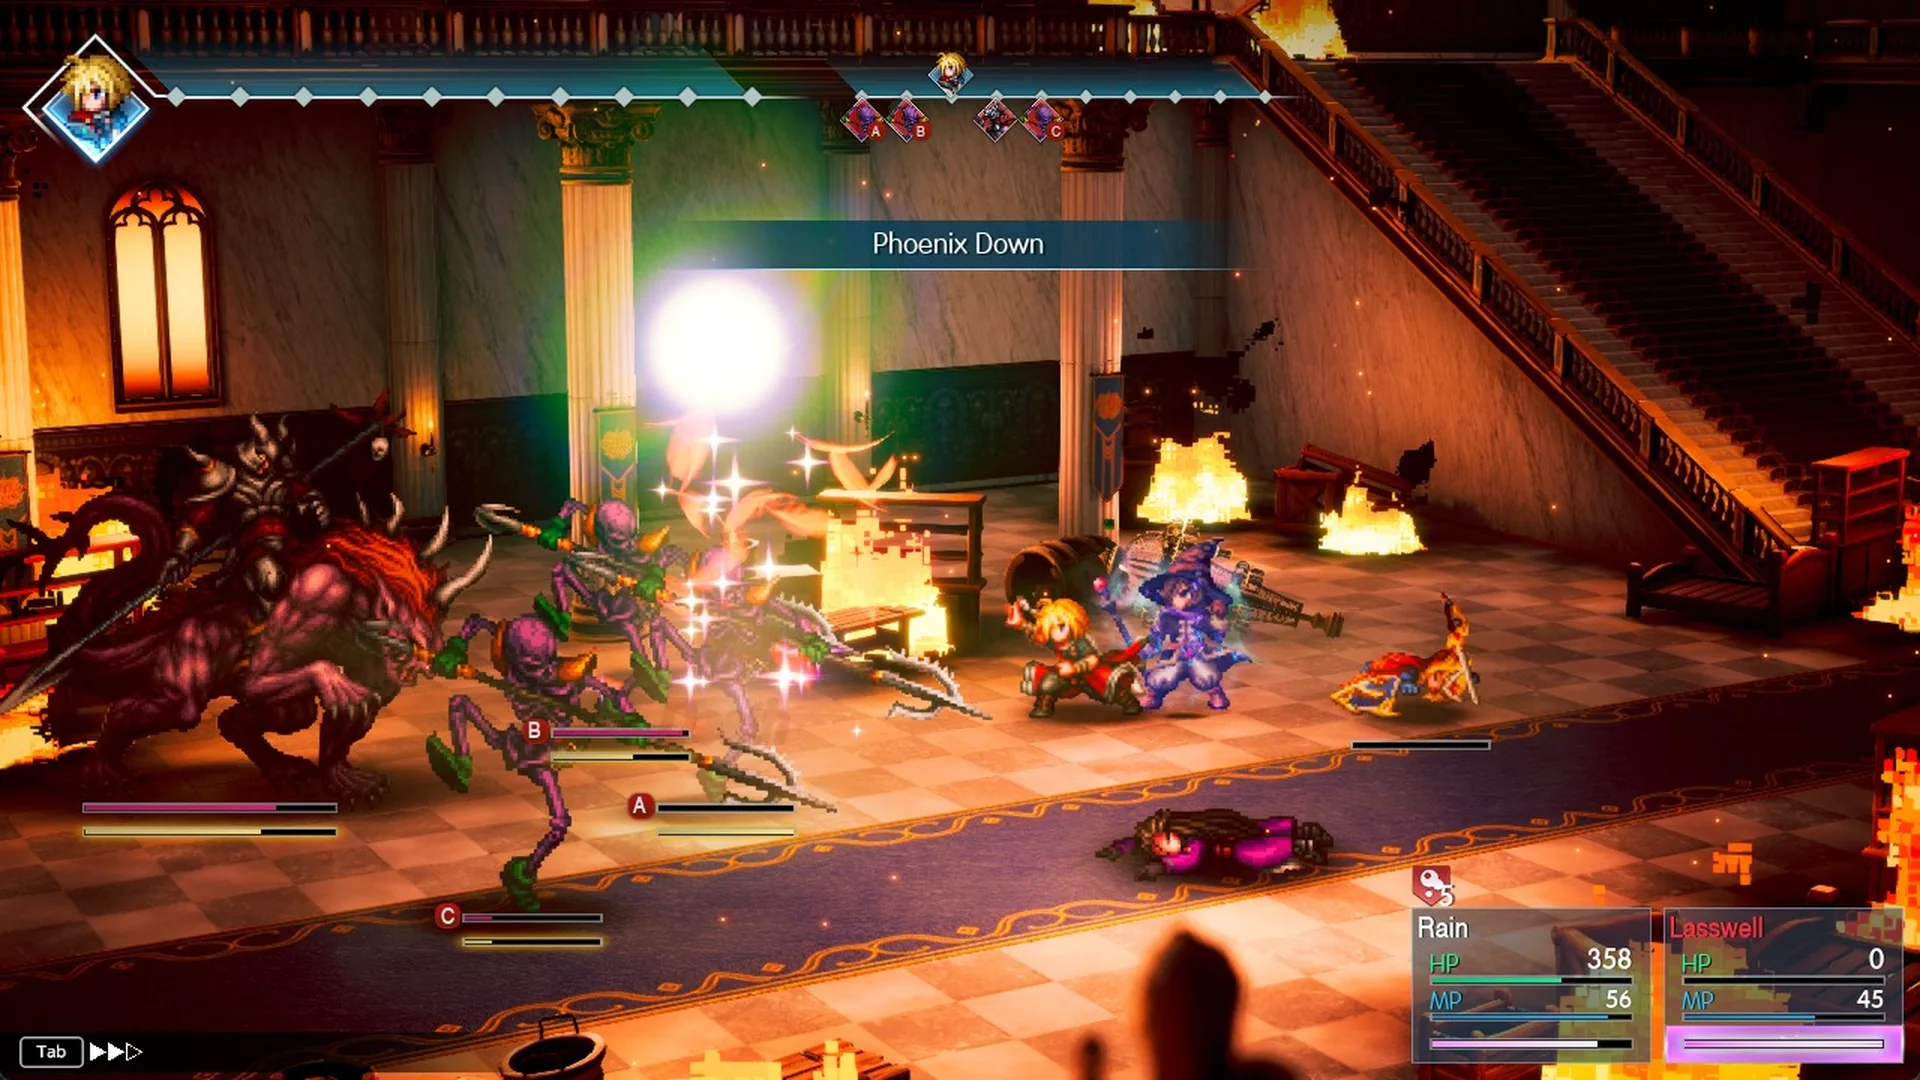
The Old Woman’s hint about Phoenix Downs is right too. In the Hell’s Rider fight, using a Phoenix Down from Items on a Dark Skeleton defeats it outright, and the Dark Skeleton either vanishes or shows a “Death” popup over it.
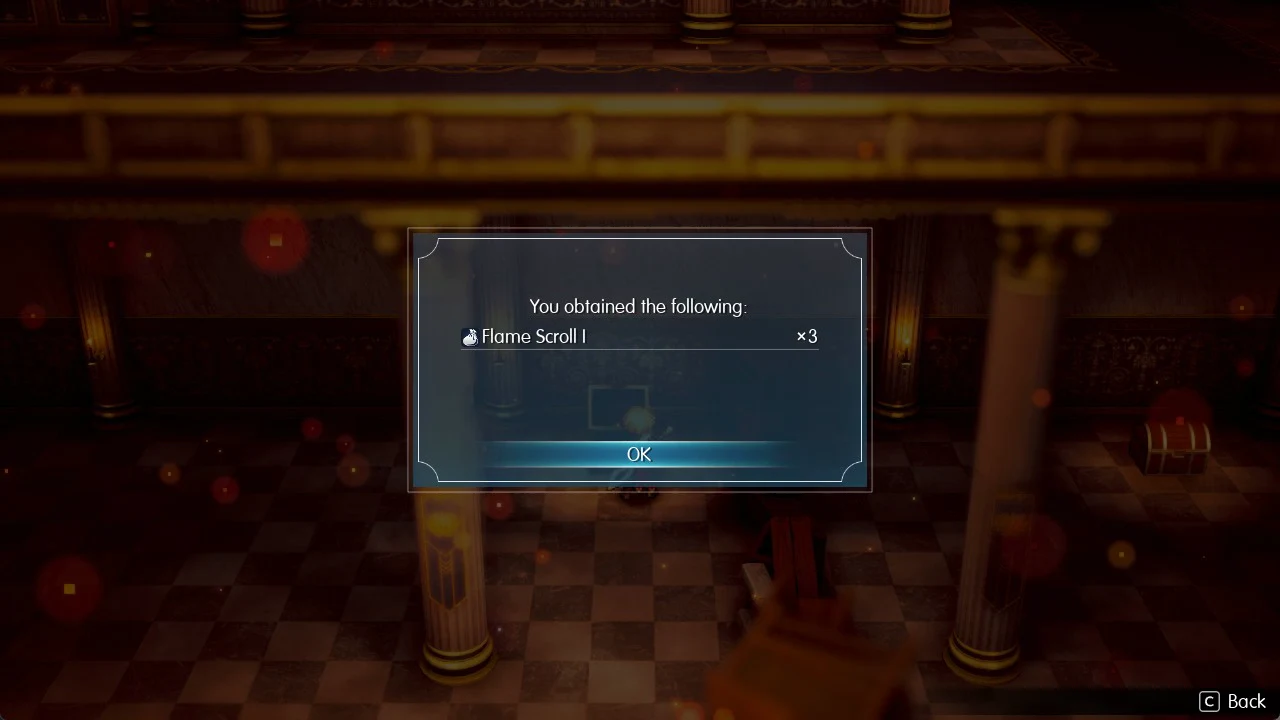
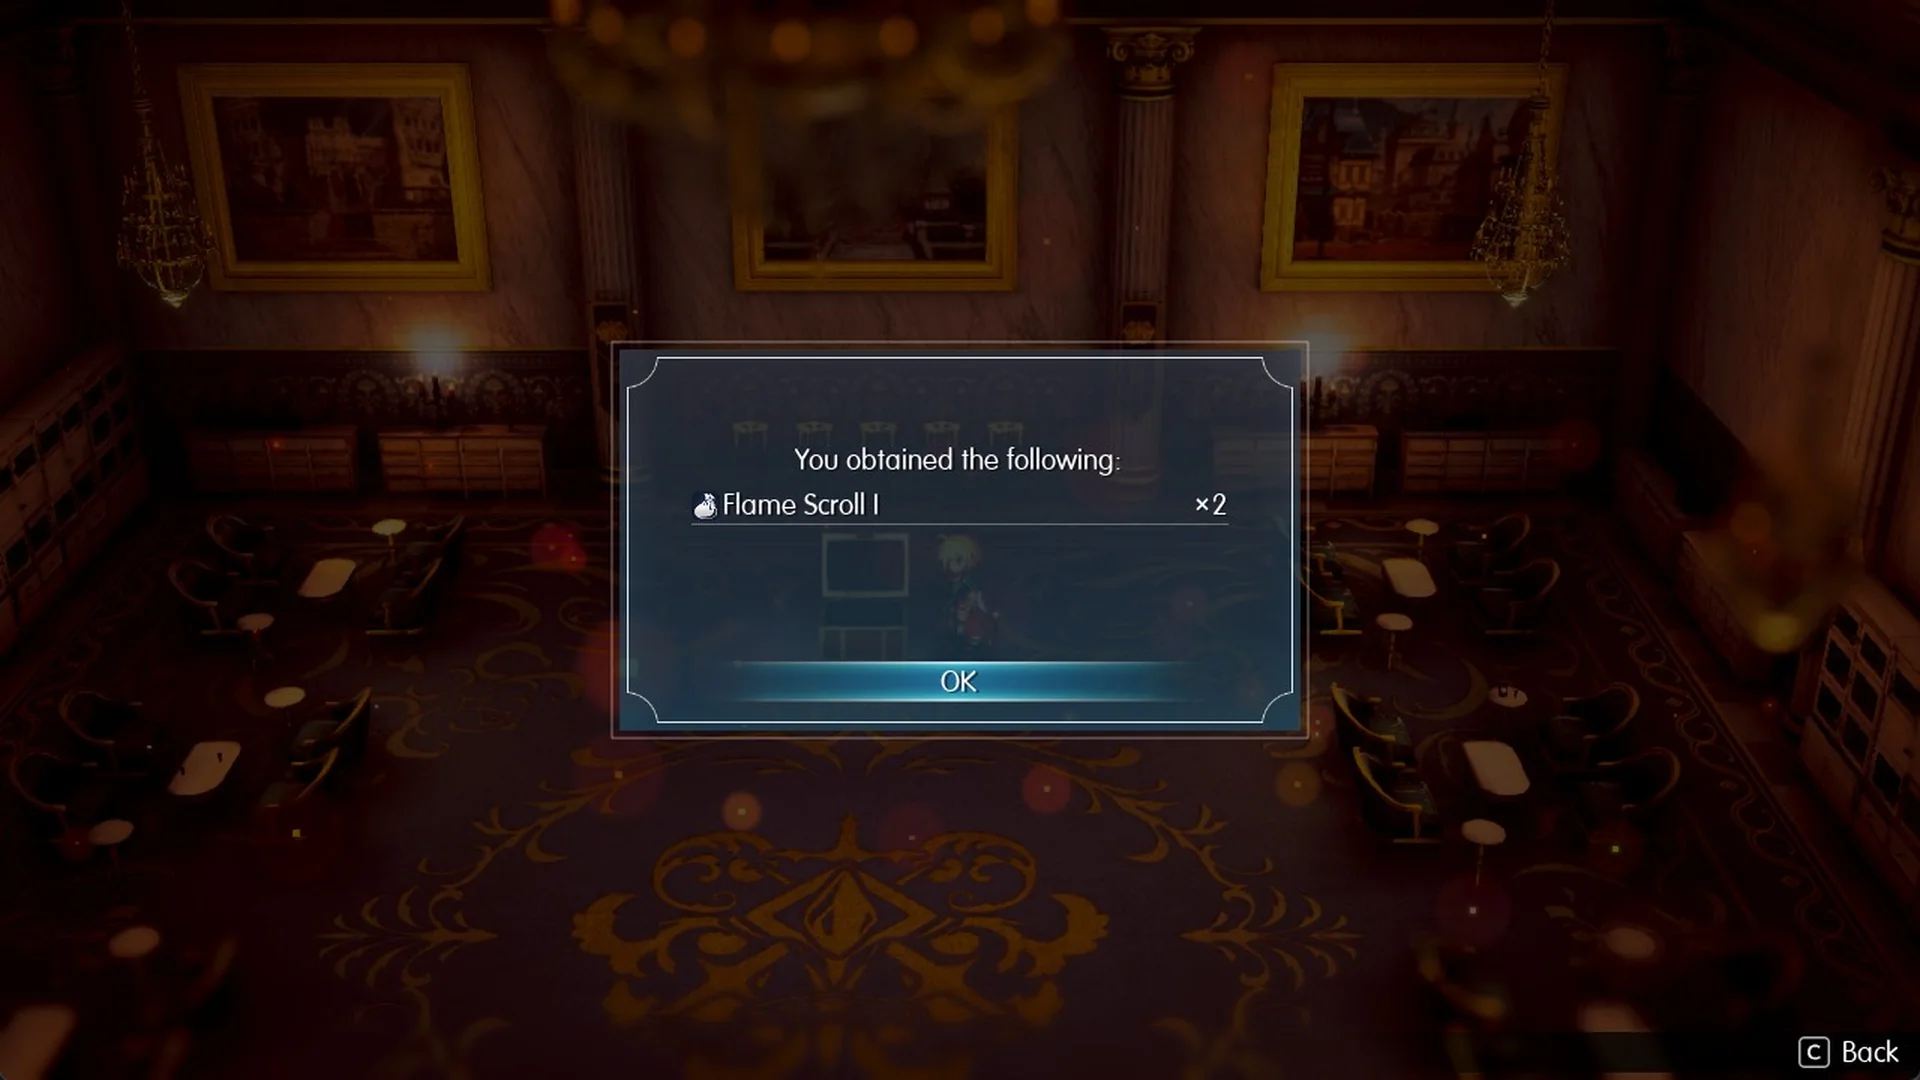
East wing chest: Flame Scroll I
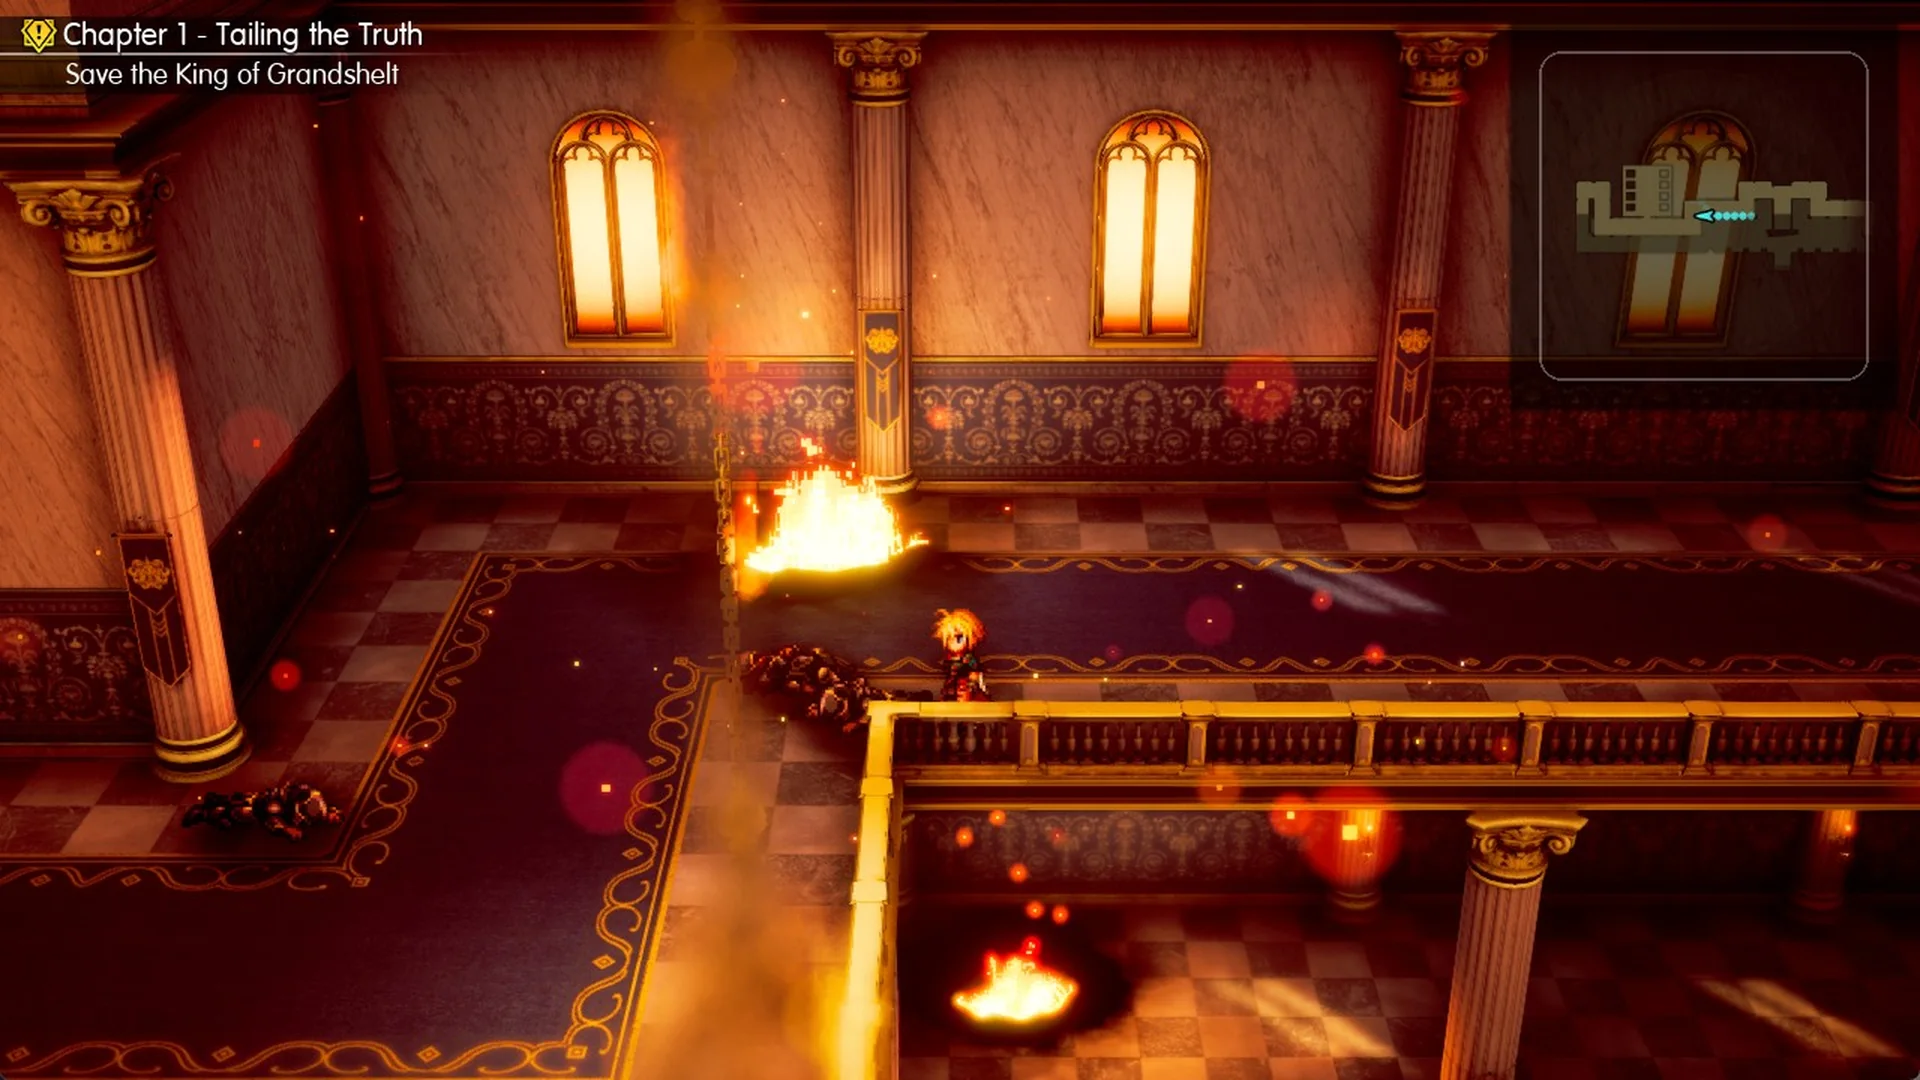
Before you take the route past the fire, grab the chest in the east wing. From the corridor, head east around the fire at the foot of the staircase, passing on its south side, and go between the statues. The room in the east wing sits north of the corridor.
A second chest sits further east in the same room, but a fallen, burning bookcase cuts it off. Leave it.
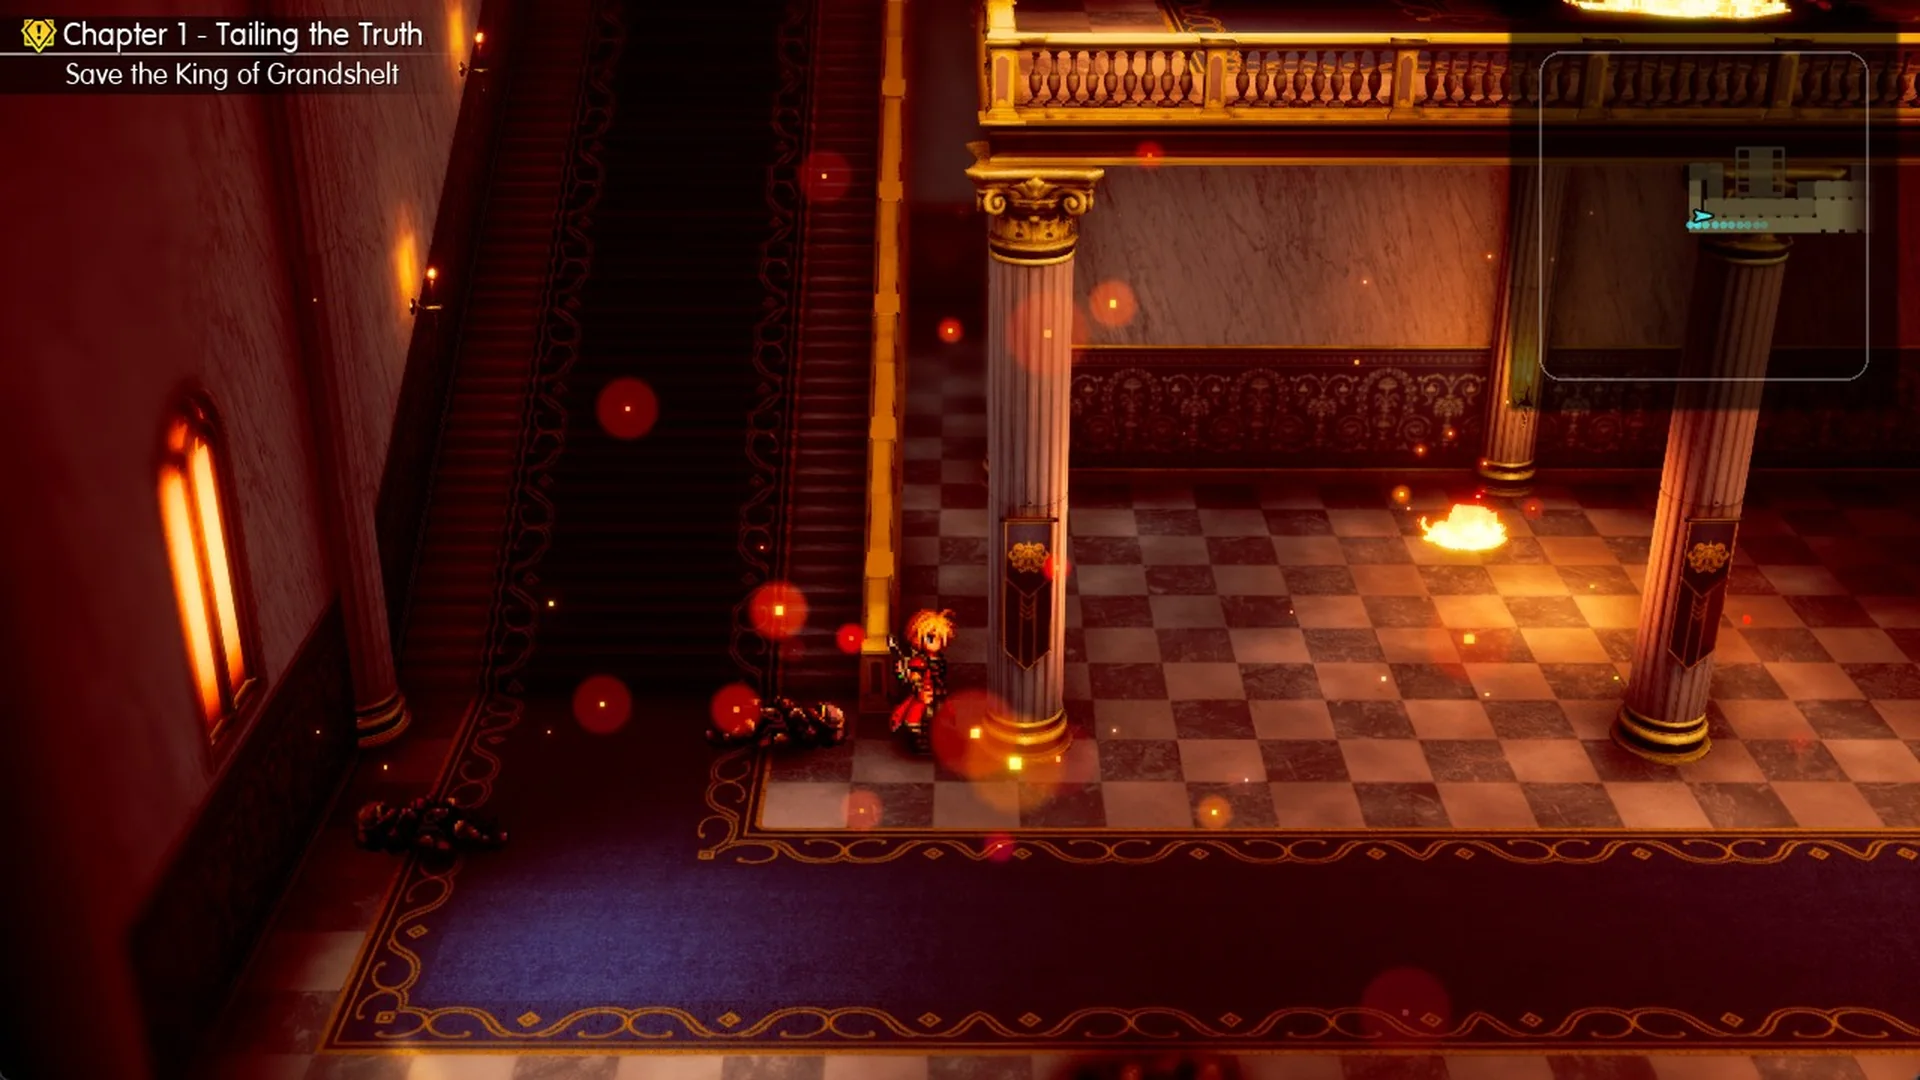
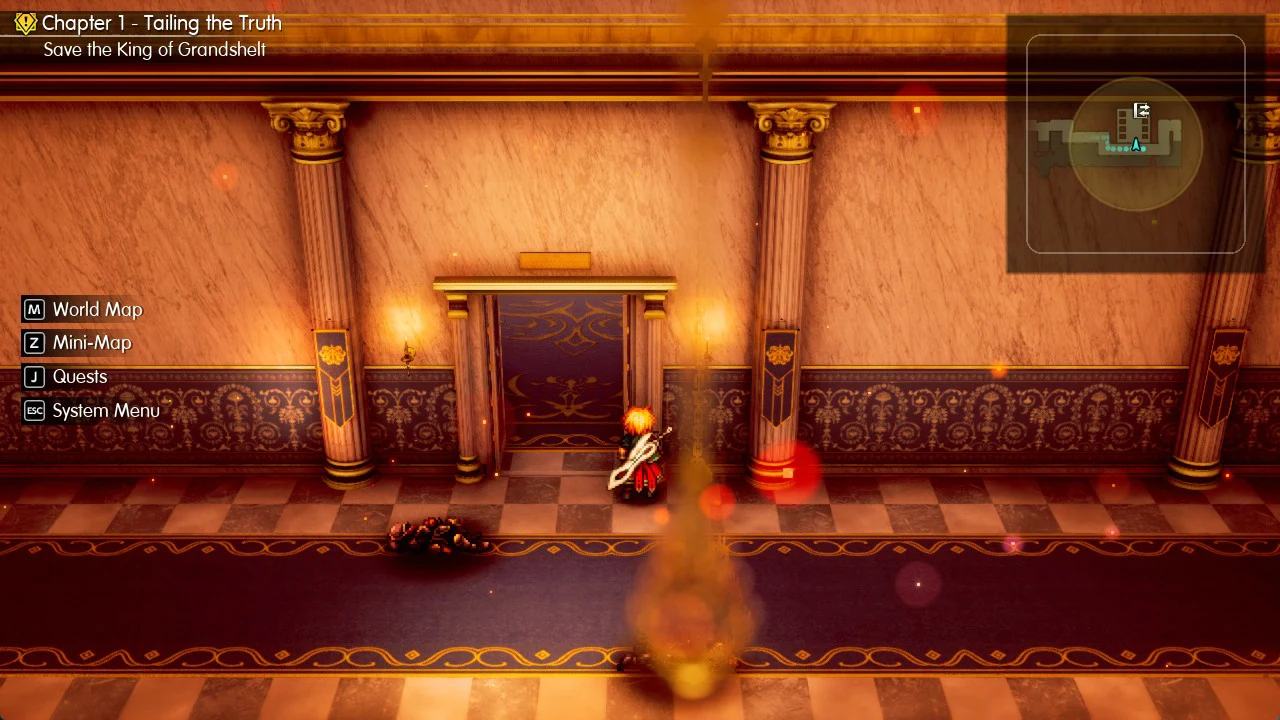
How to get past the fire in Grandshelt Castle
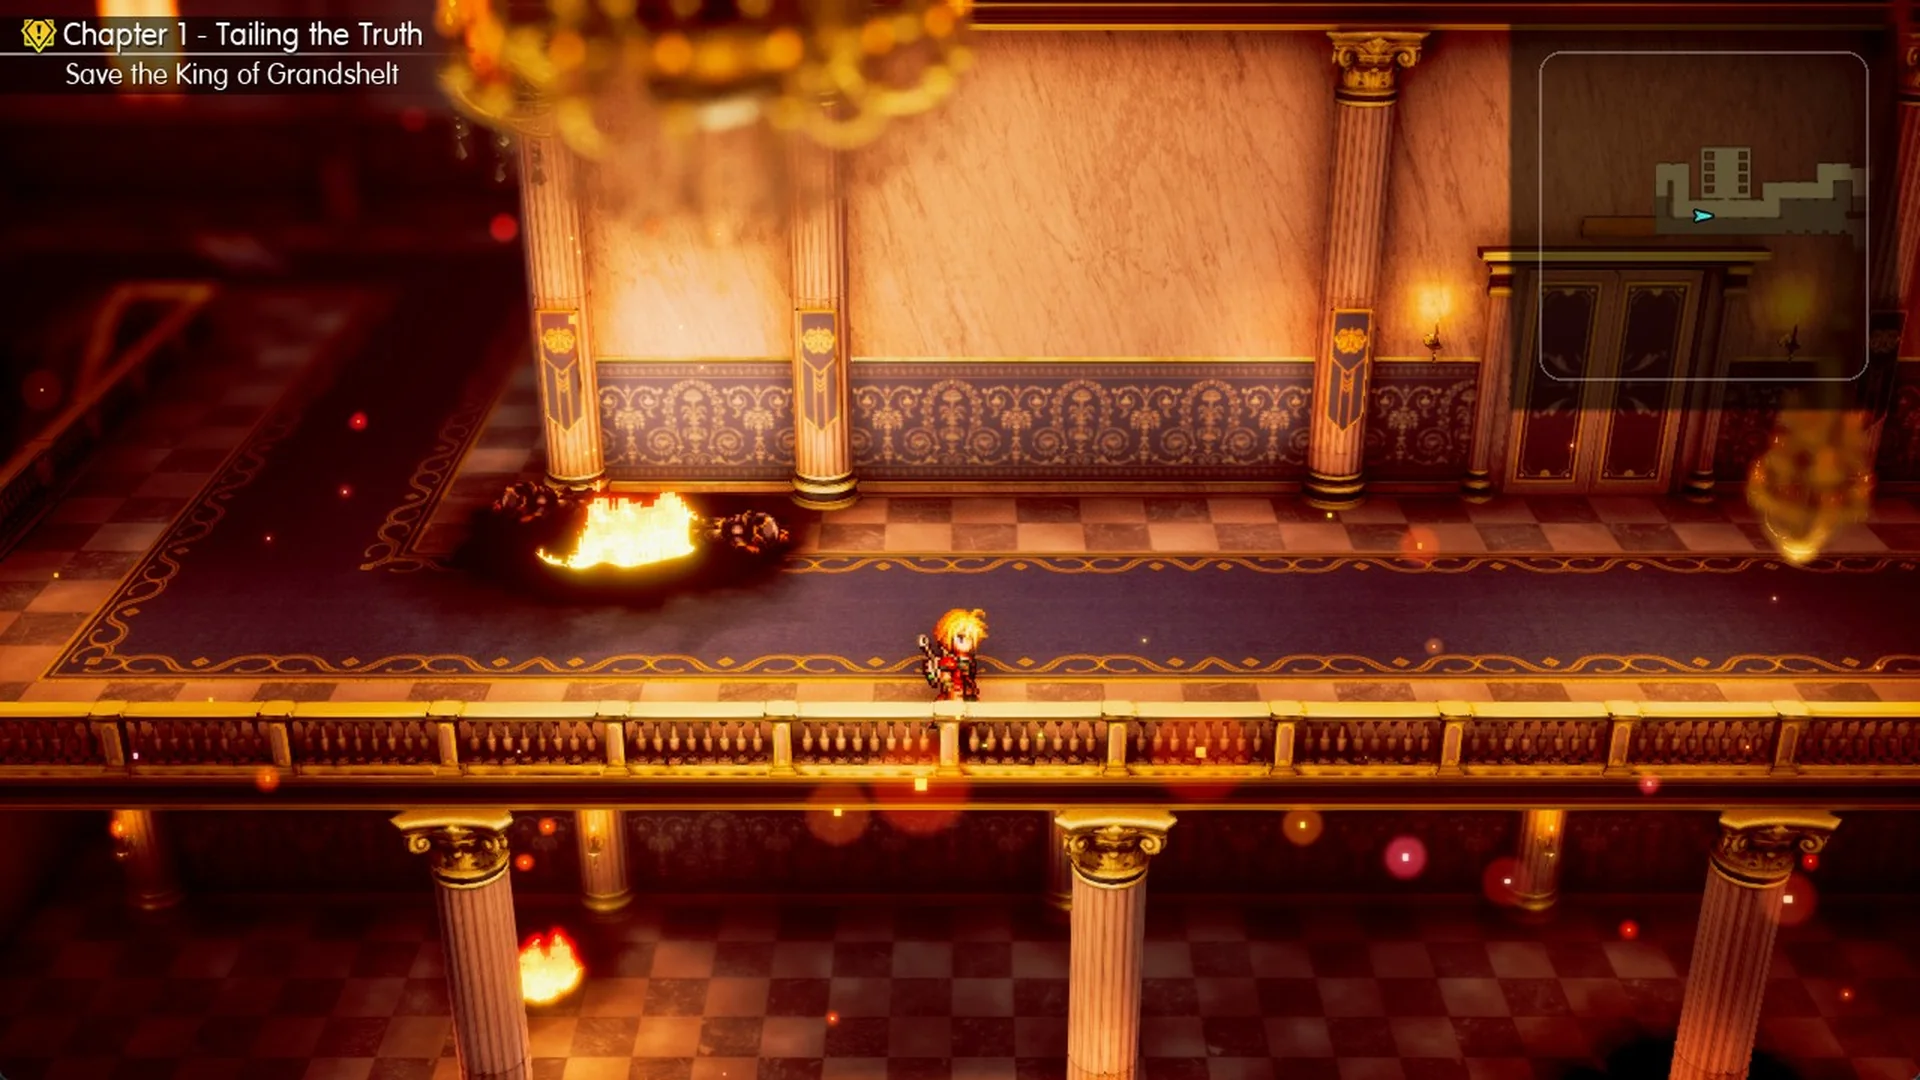
The camera looks down from the south, so “north” means up the screen and “west” means left, which matches the mini-map in the top-right corner.
Second lounge: the save point before the boss
Inside, a soldier is backing away from Skeletons, crying “S-stay away, stay away!” Rain steps in with “Stand back, I’ll deal with them!” Win the fight. The soldier then tells you “Yes, he broke through to the throne room. A whole company of soldiers tried to hold him back there…”
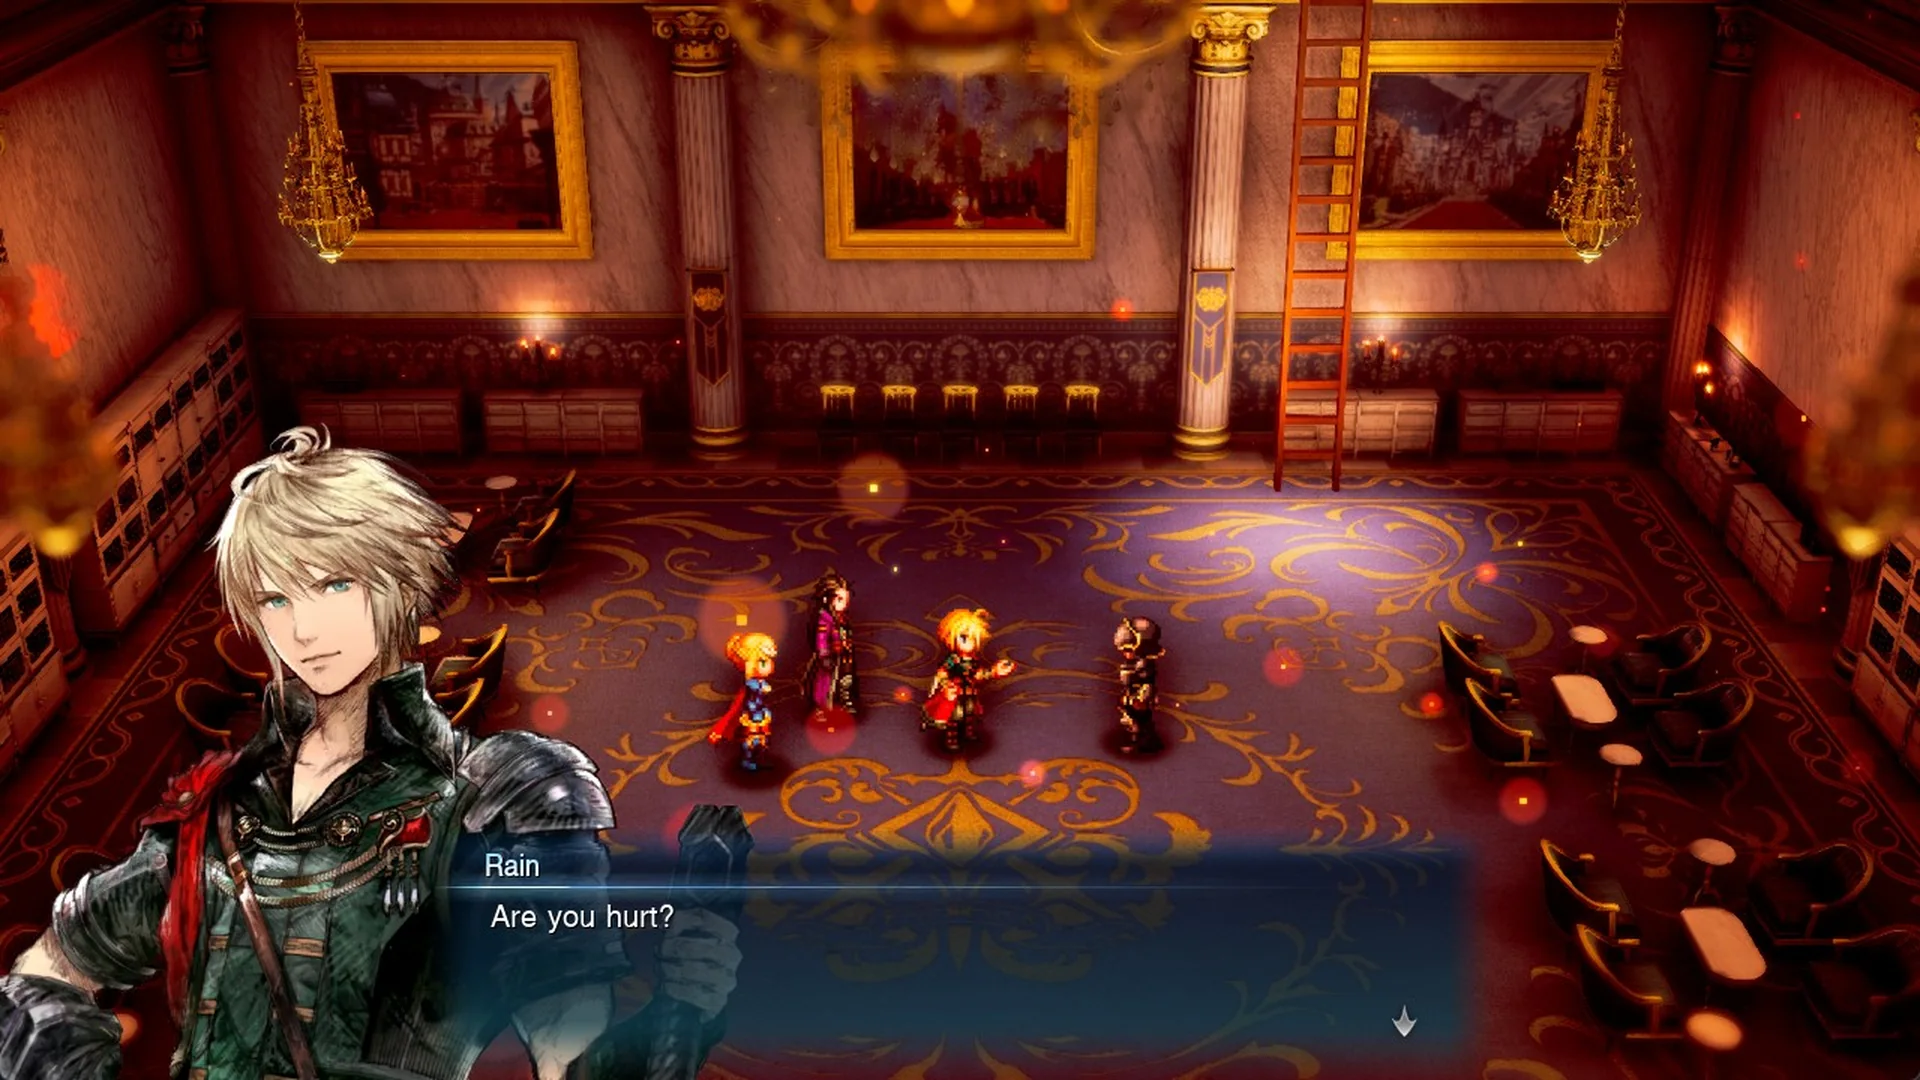
Lasswell suggests tending to injuries first, and Charlotte replies “But we shall move immediately once we are battle-ready.” A save point appears with a pink glow, left of the room’s centre, and the game autosaves.
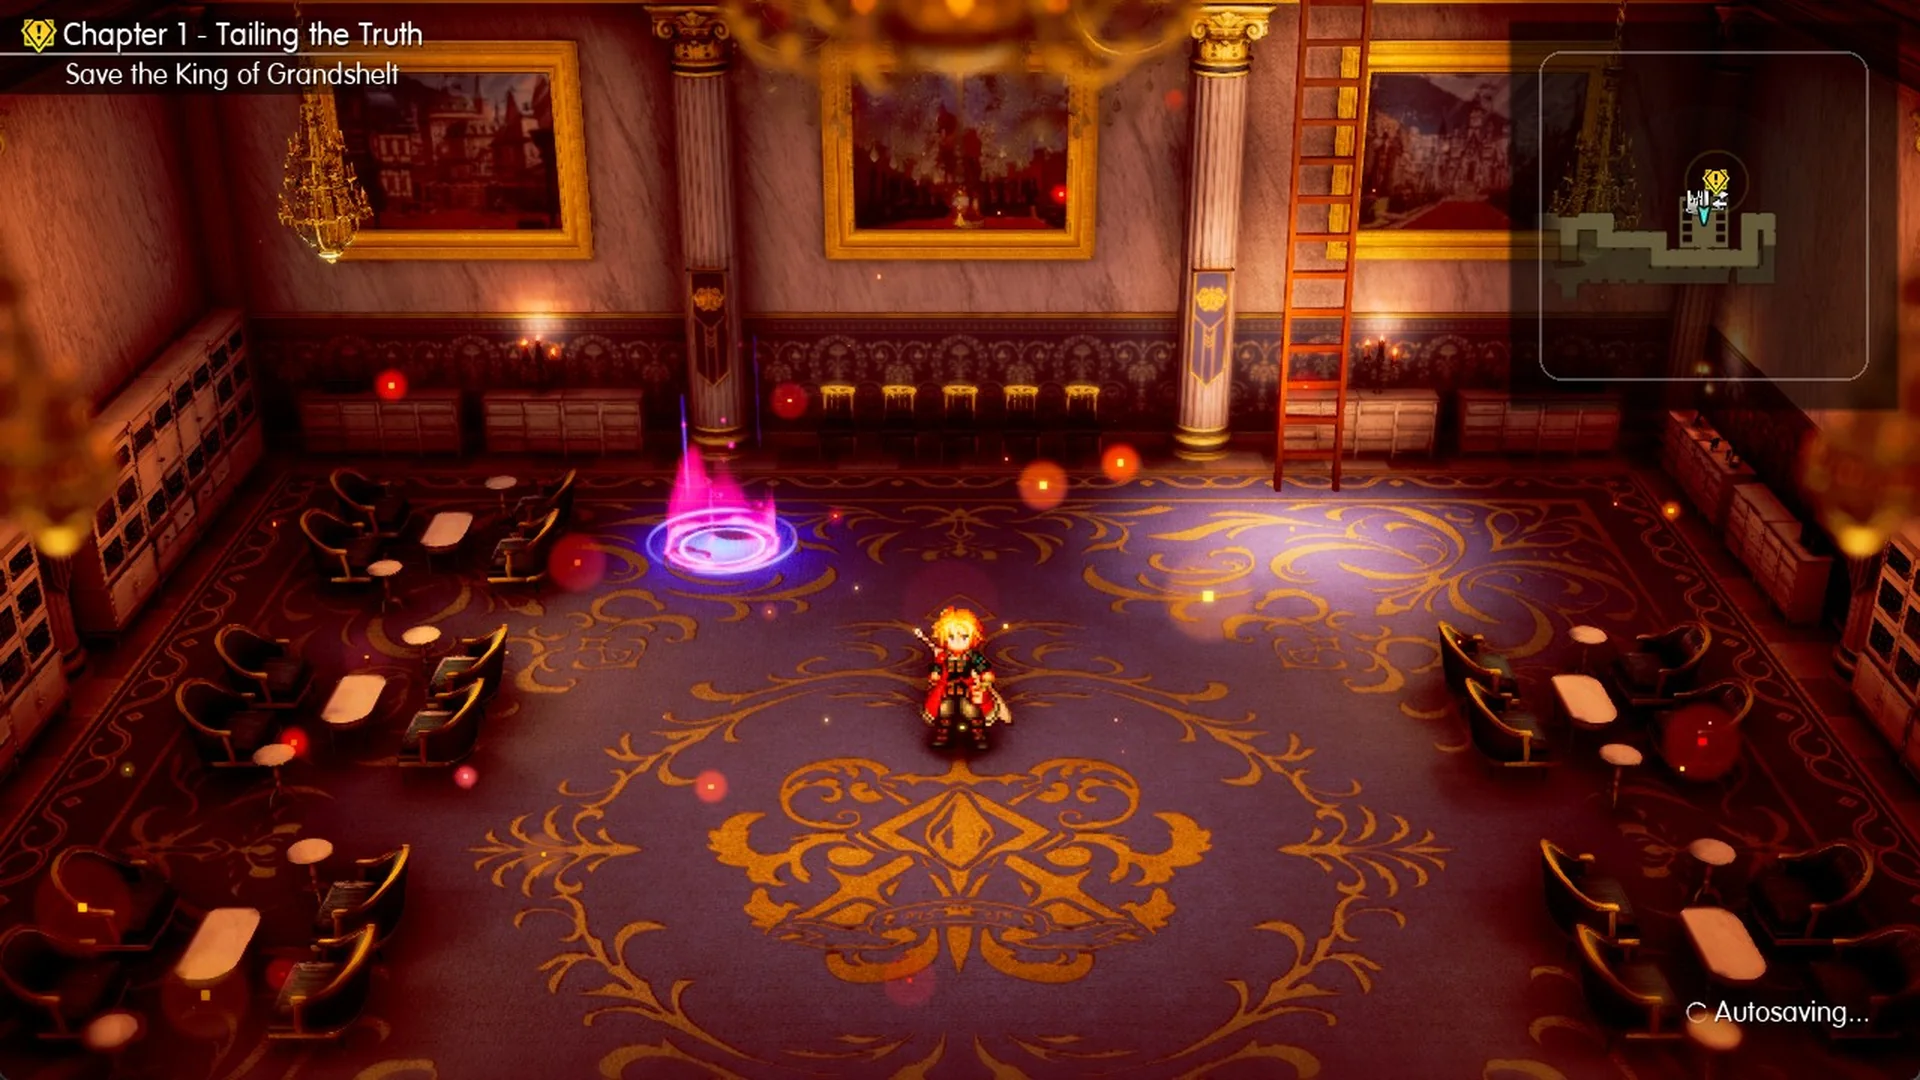
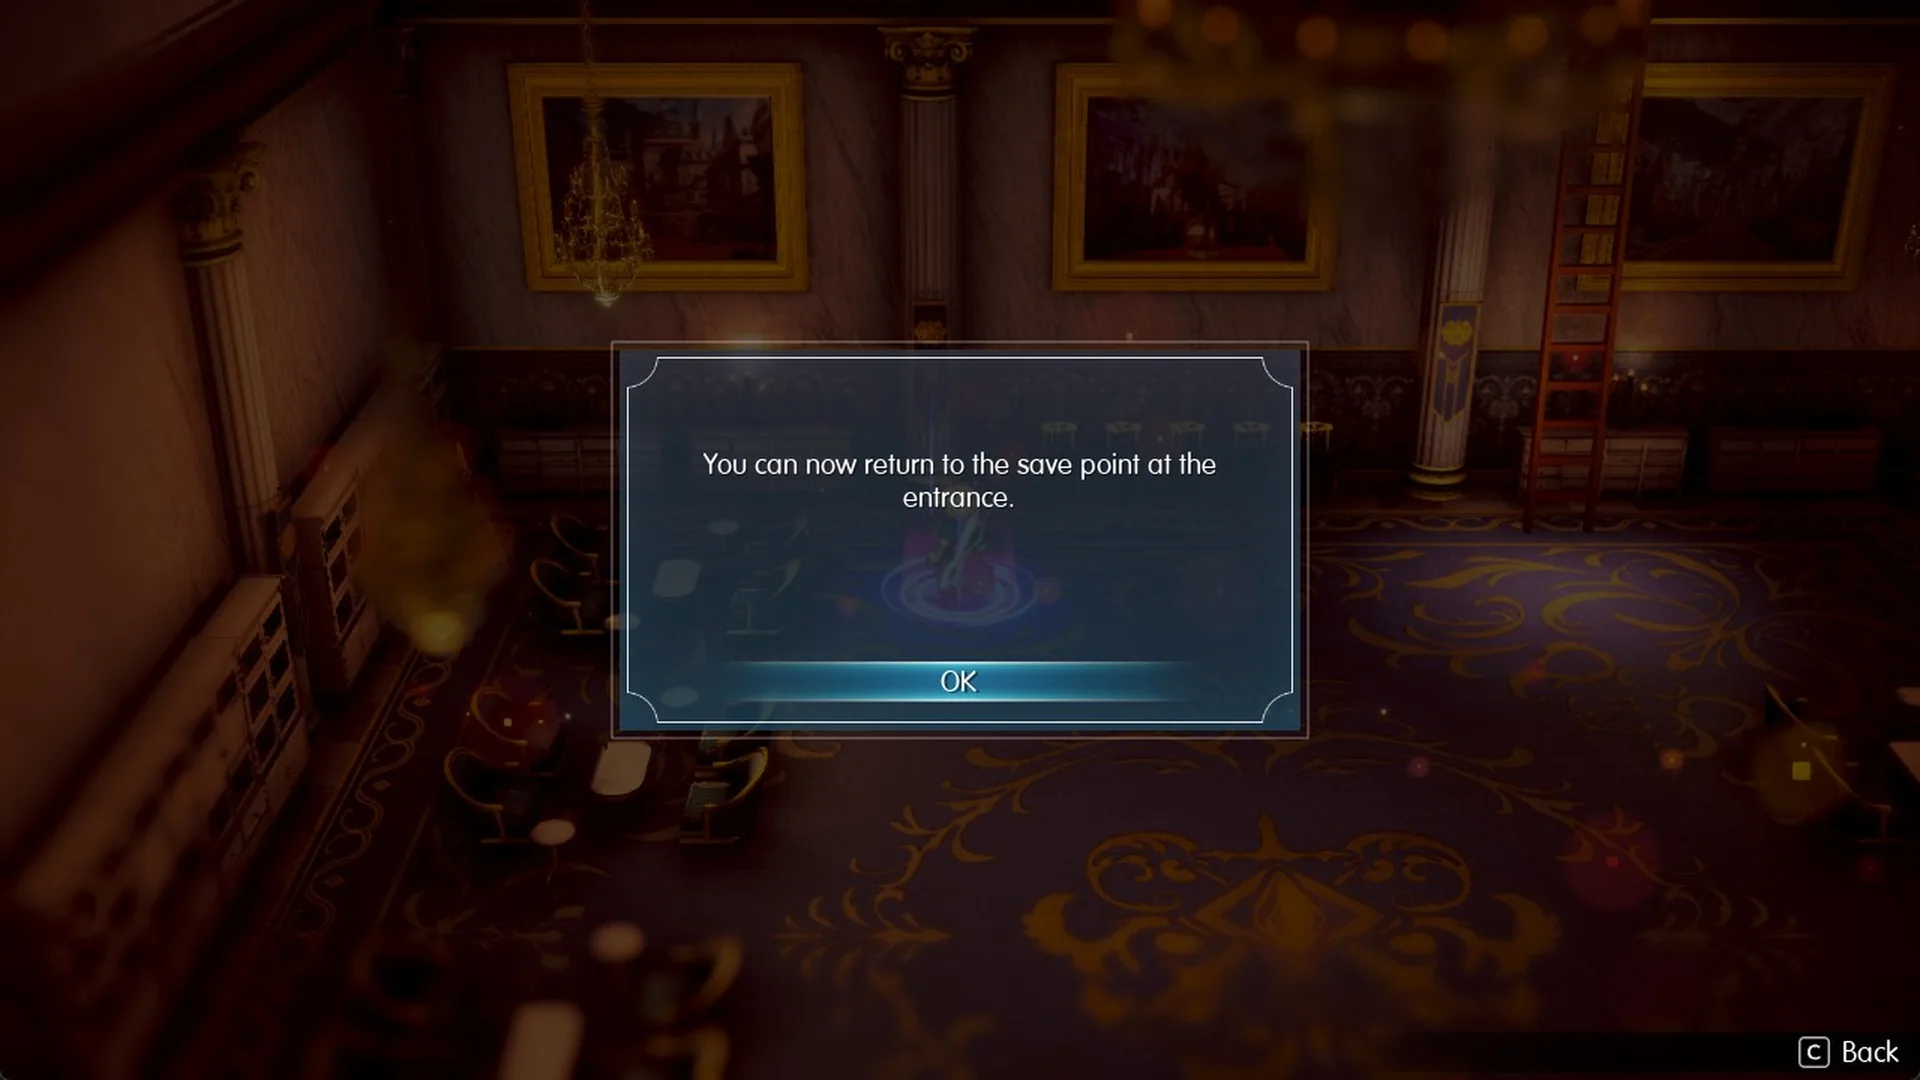
Touch the save point and you’ll see “You can now return to the save point at the entrance.” That message confirms the two save points are linked, so you can travel between this one and the one at the castle steps. While you stand on it, the System Menu also has a Save row.
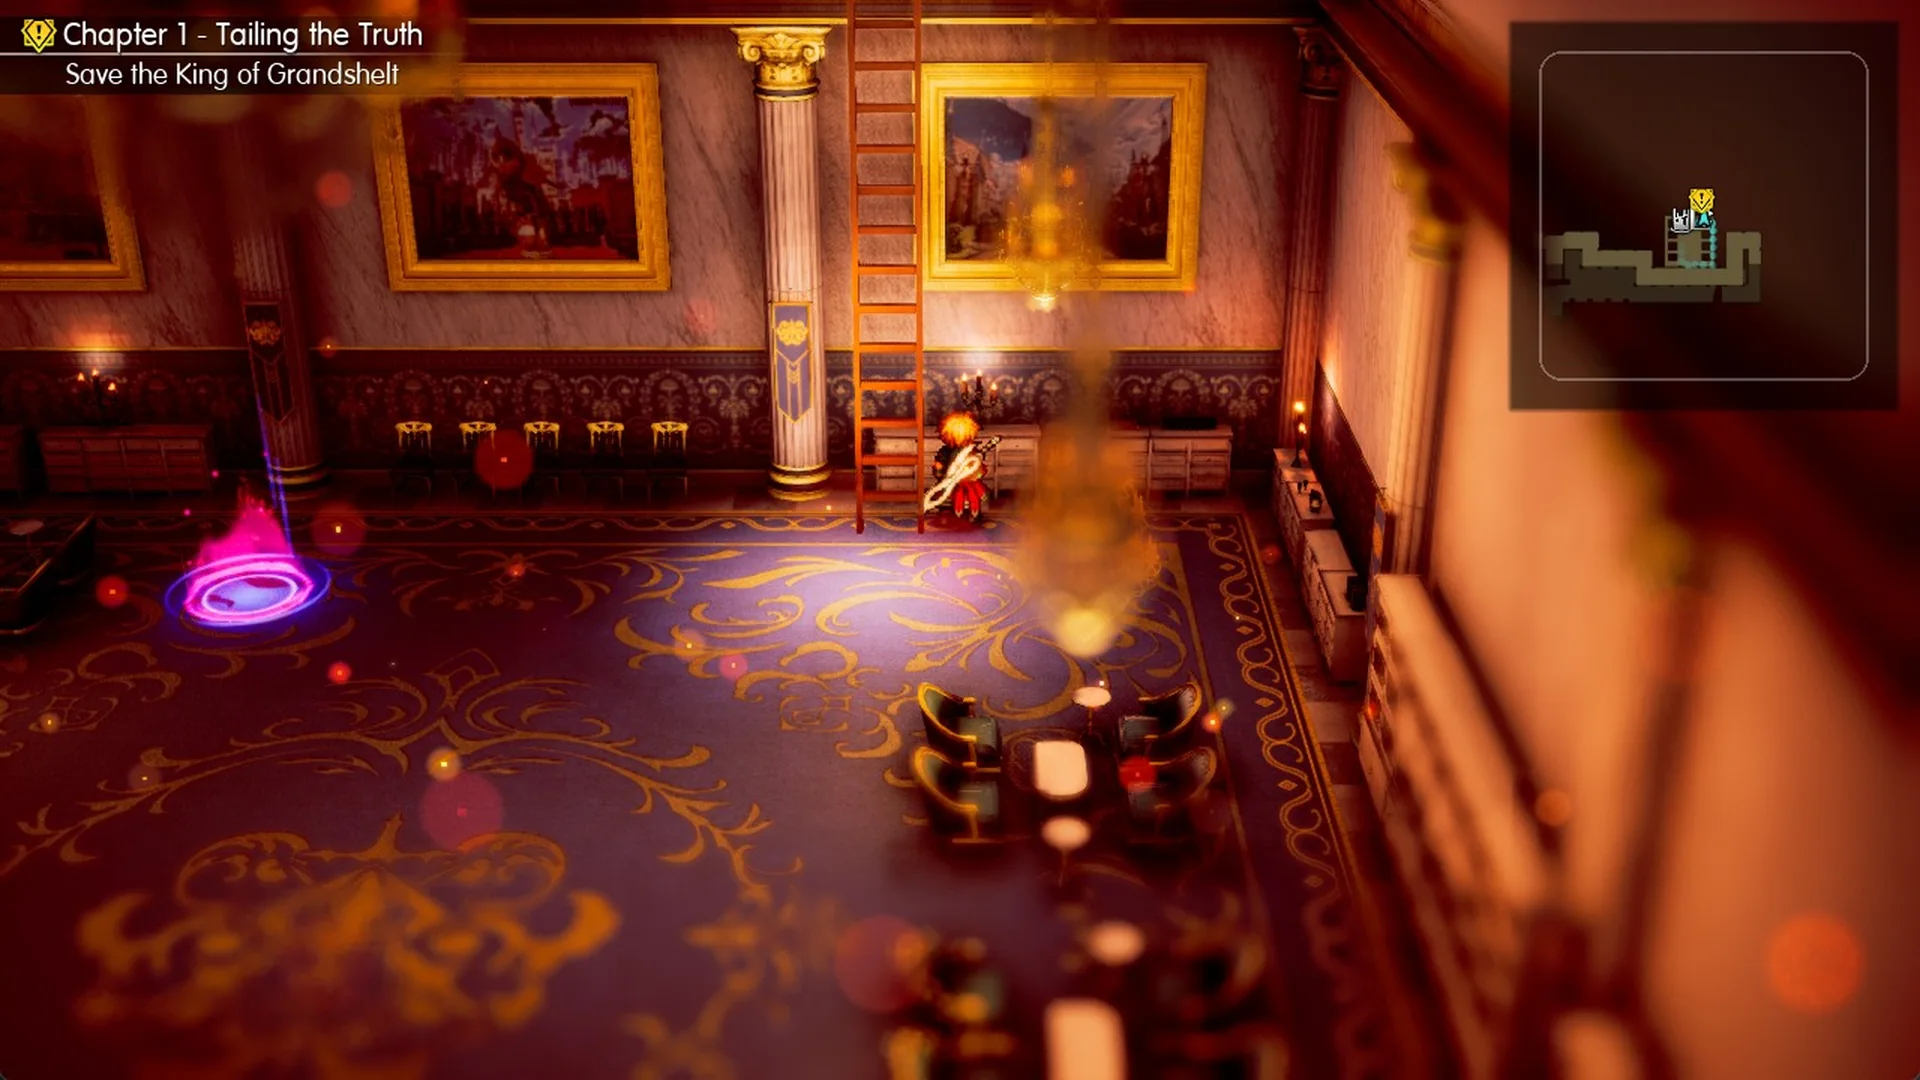
Save your progress at the save point in the second lounge. The way forward is not a door but the tall wooden ladder on the lounge’s back (north) wall, which climbs to the floor above and on toward the boss.
Climb the ladder in the second lounge
The second lounge’s back (north) wall has two pillars with paintings beside them, and the wooden ladder sits just right of the right-hand pillar, between that pillar and the right painting. Stand exactly under the ladder and hold up (W on a keyboard) to climb. Even half a step off to the side, your character just walks into the wall and the ladder appears not to work, so tap left or right in small nudges until you are lined up, then hold up again.
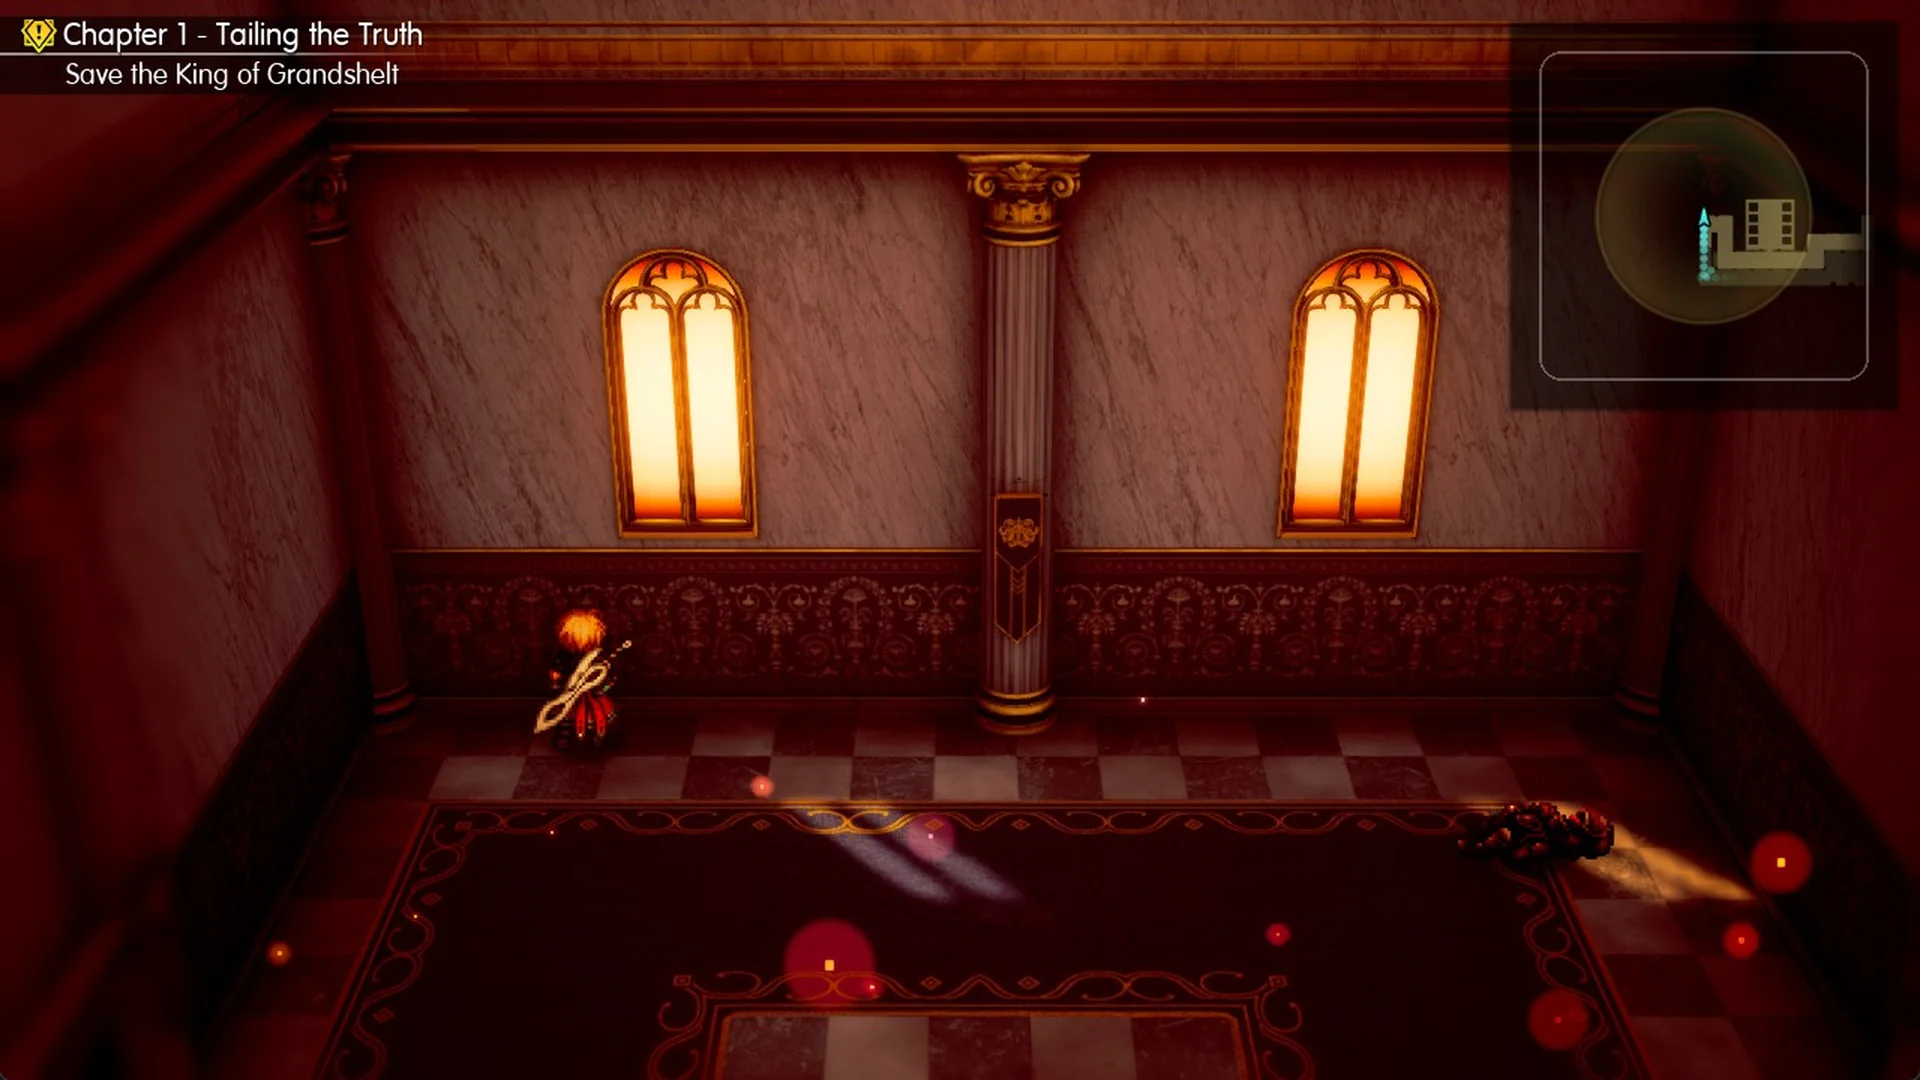
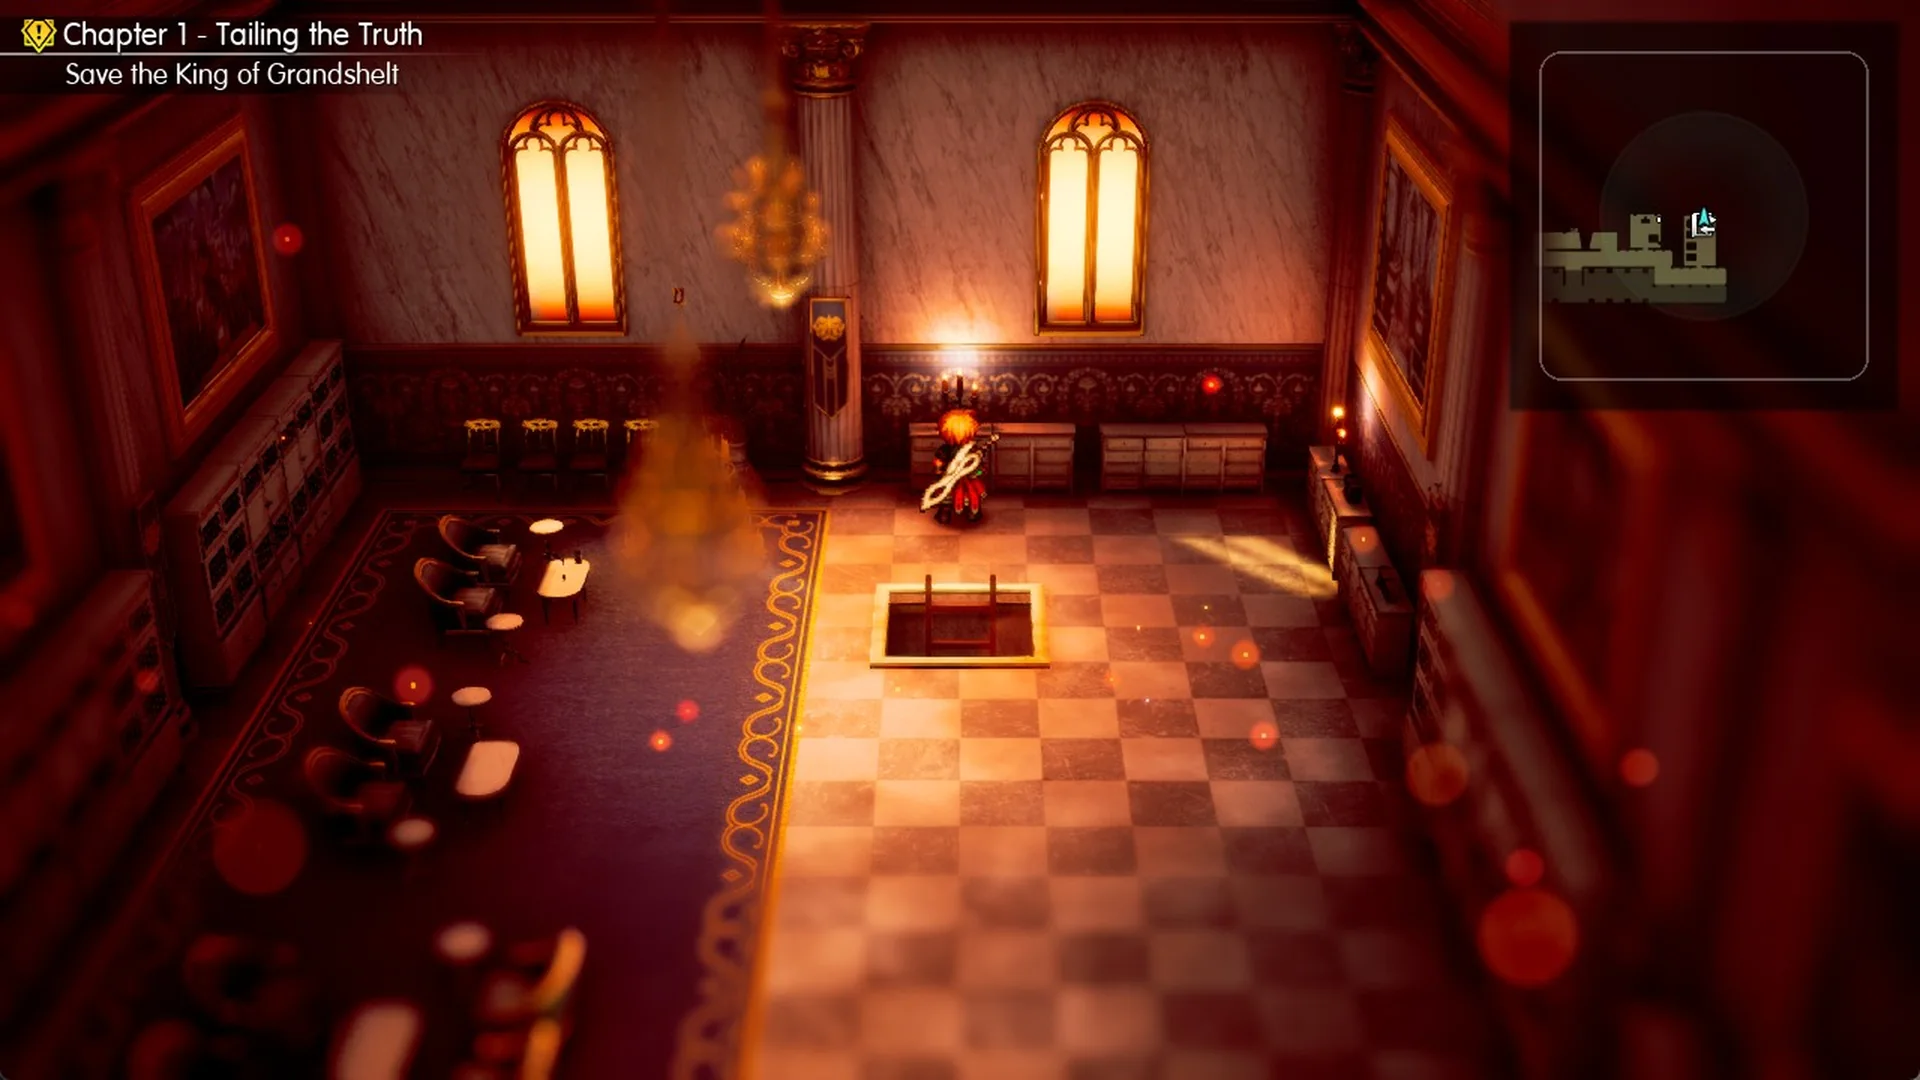
At the top, you come out in a small upper room above the lounge, with two tall arched windows and a trapdoor set into its checkered floor.
Side room: Mist Potion from a soldier
Exit the upper room through its south doorway. It opens onto the upper railed balcony overlooking the castle.
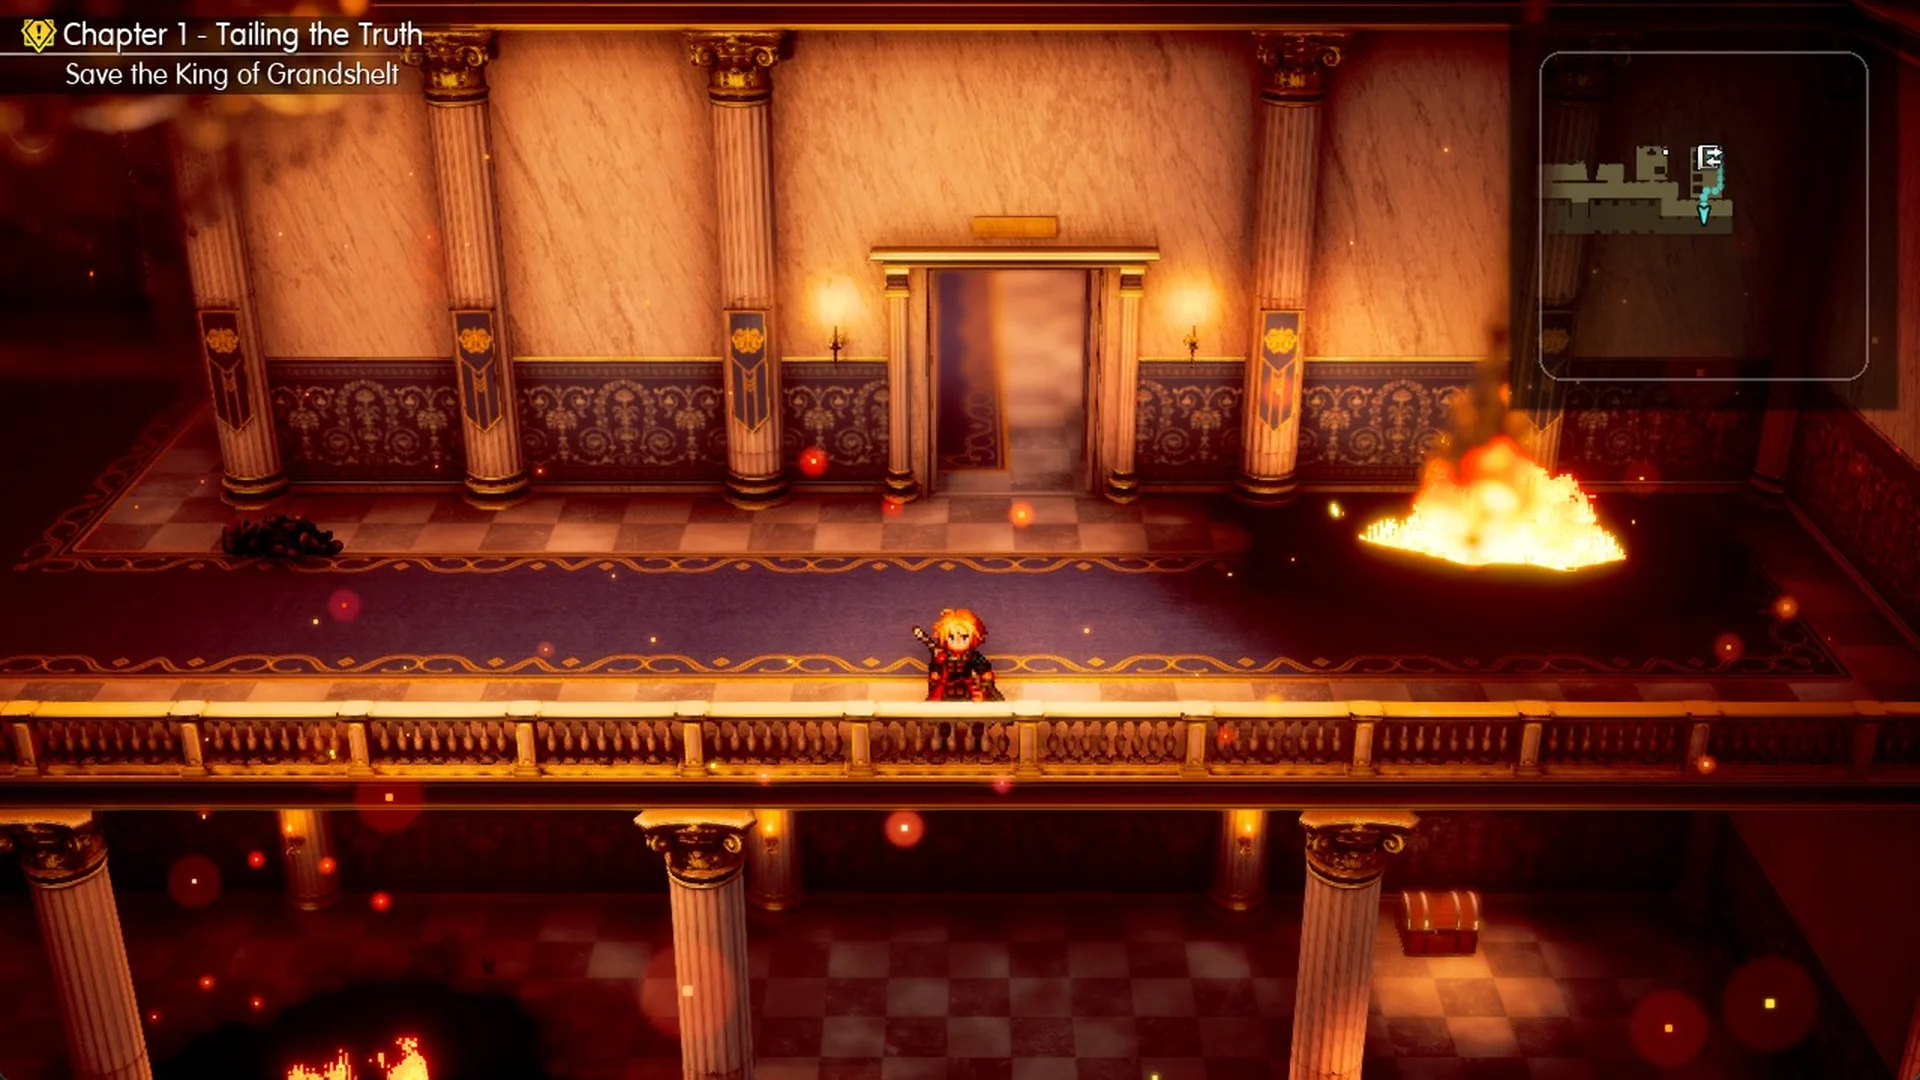
Follow the balcony west, then head north across the inner walkway to an ornate double door. Press F to pass through into a side room with a desk and two arched windows.
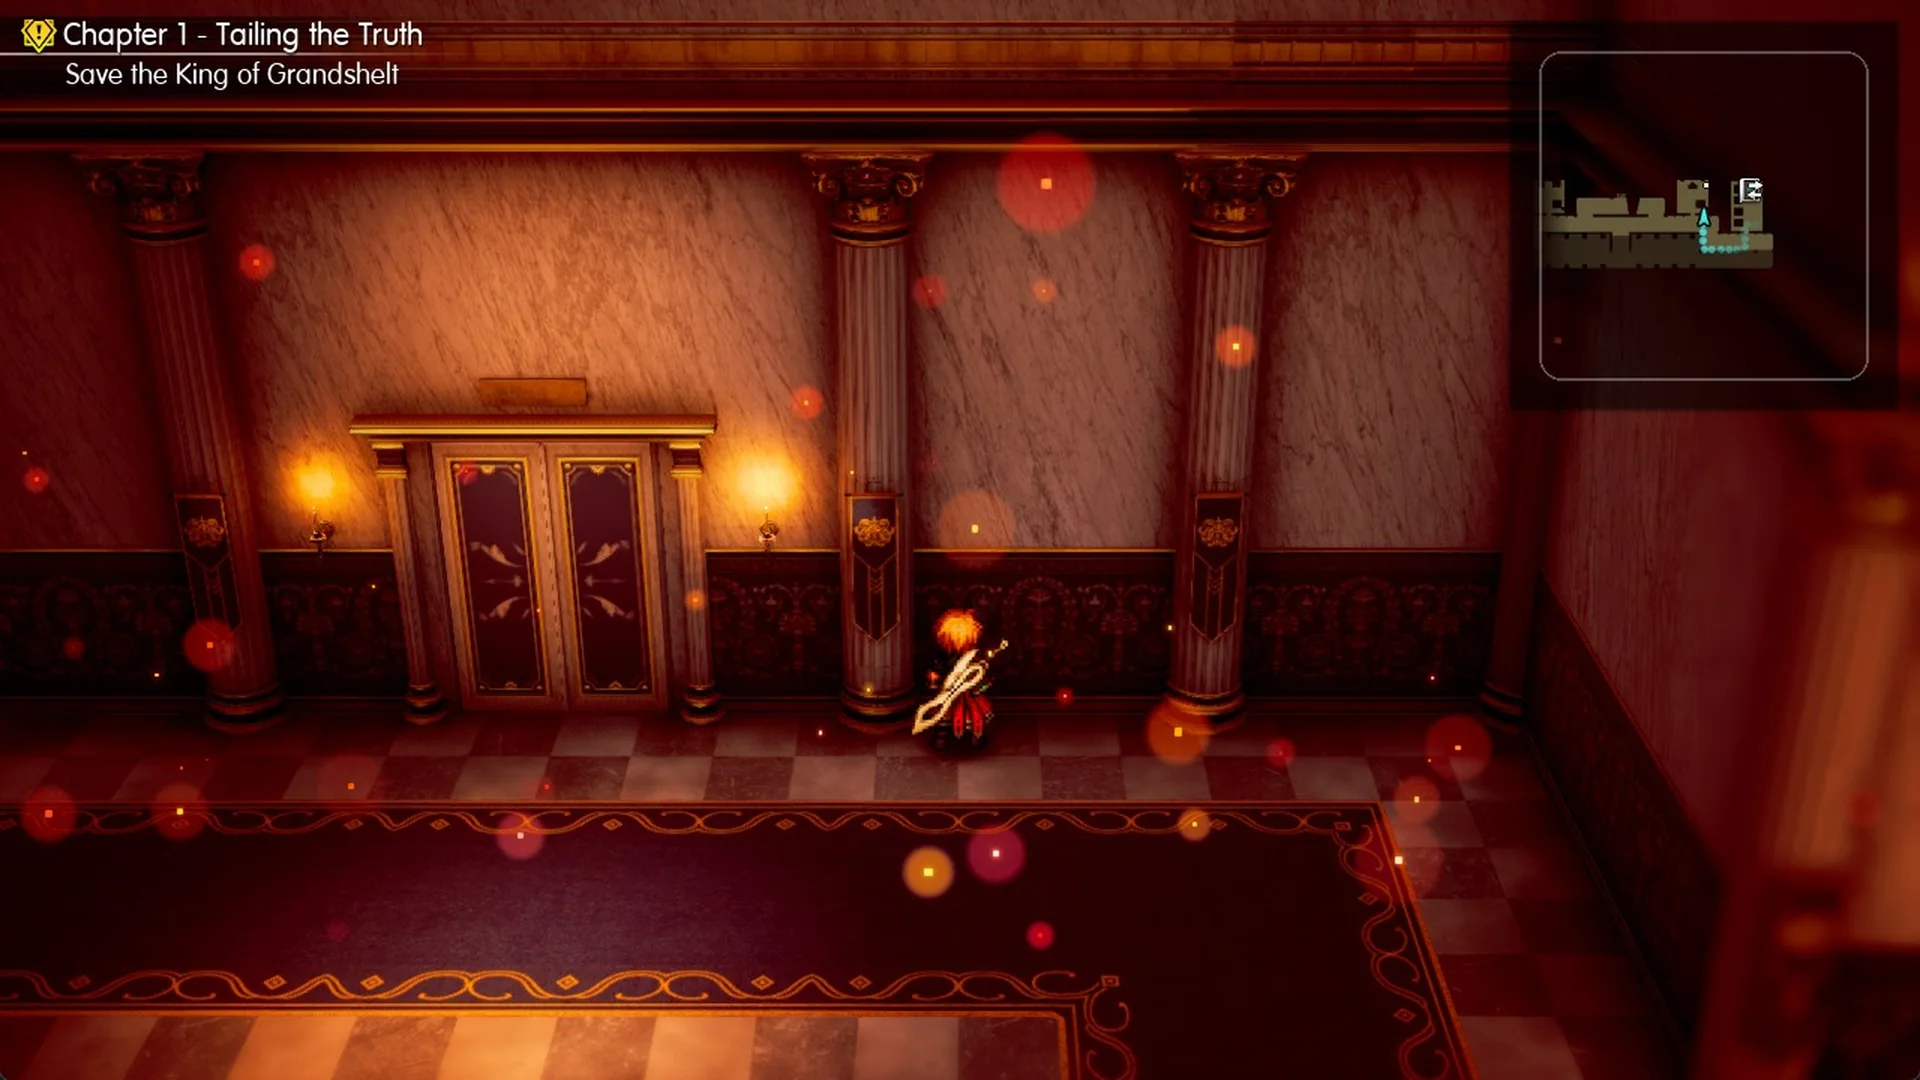
A soldier waits in the side room. Rain asks “You all right?”, and the soldier answers “I am, sir. I was just looking for medical supplies for our wounded.” and then “I managed to scrounge up a bunch. Here, let me give you some.”
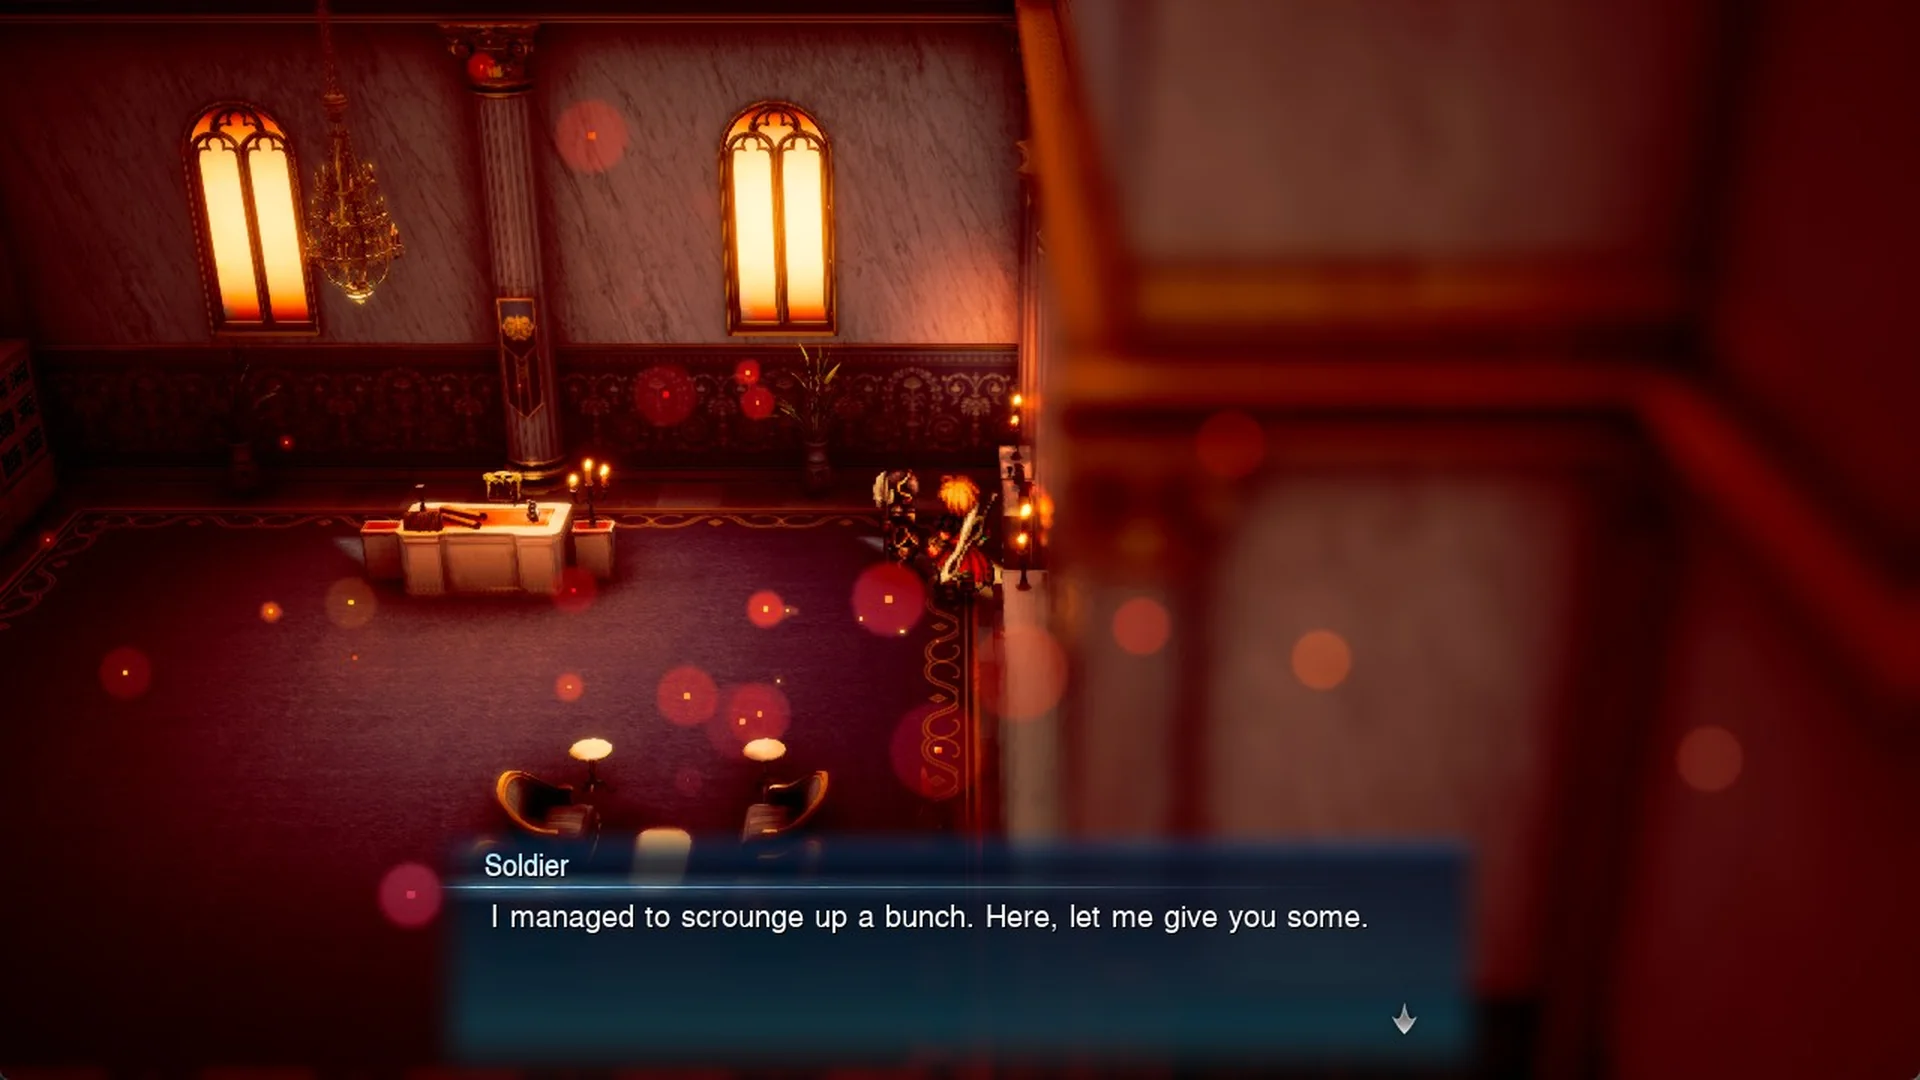
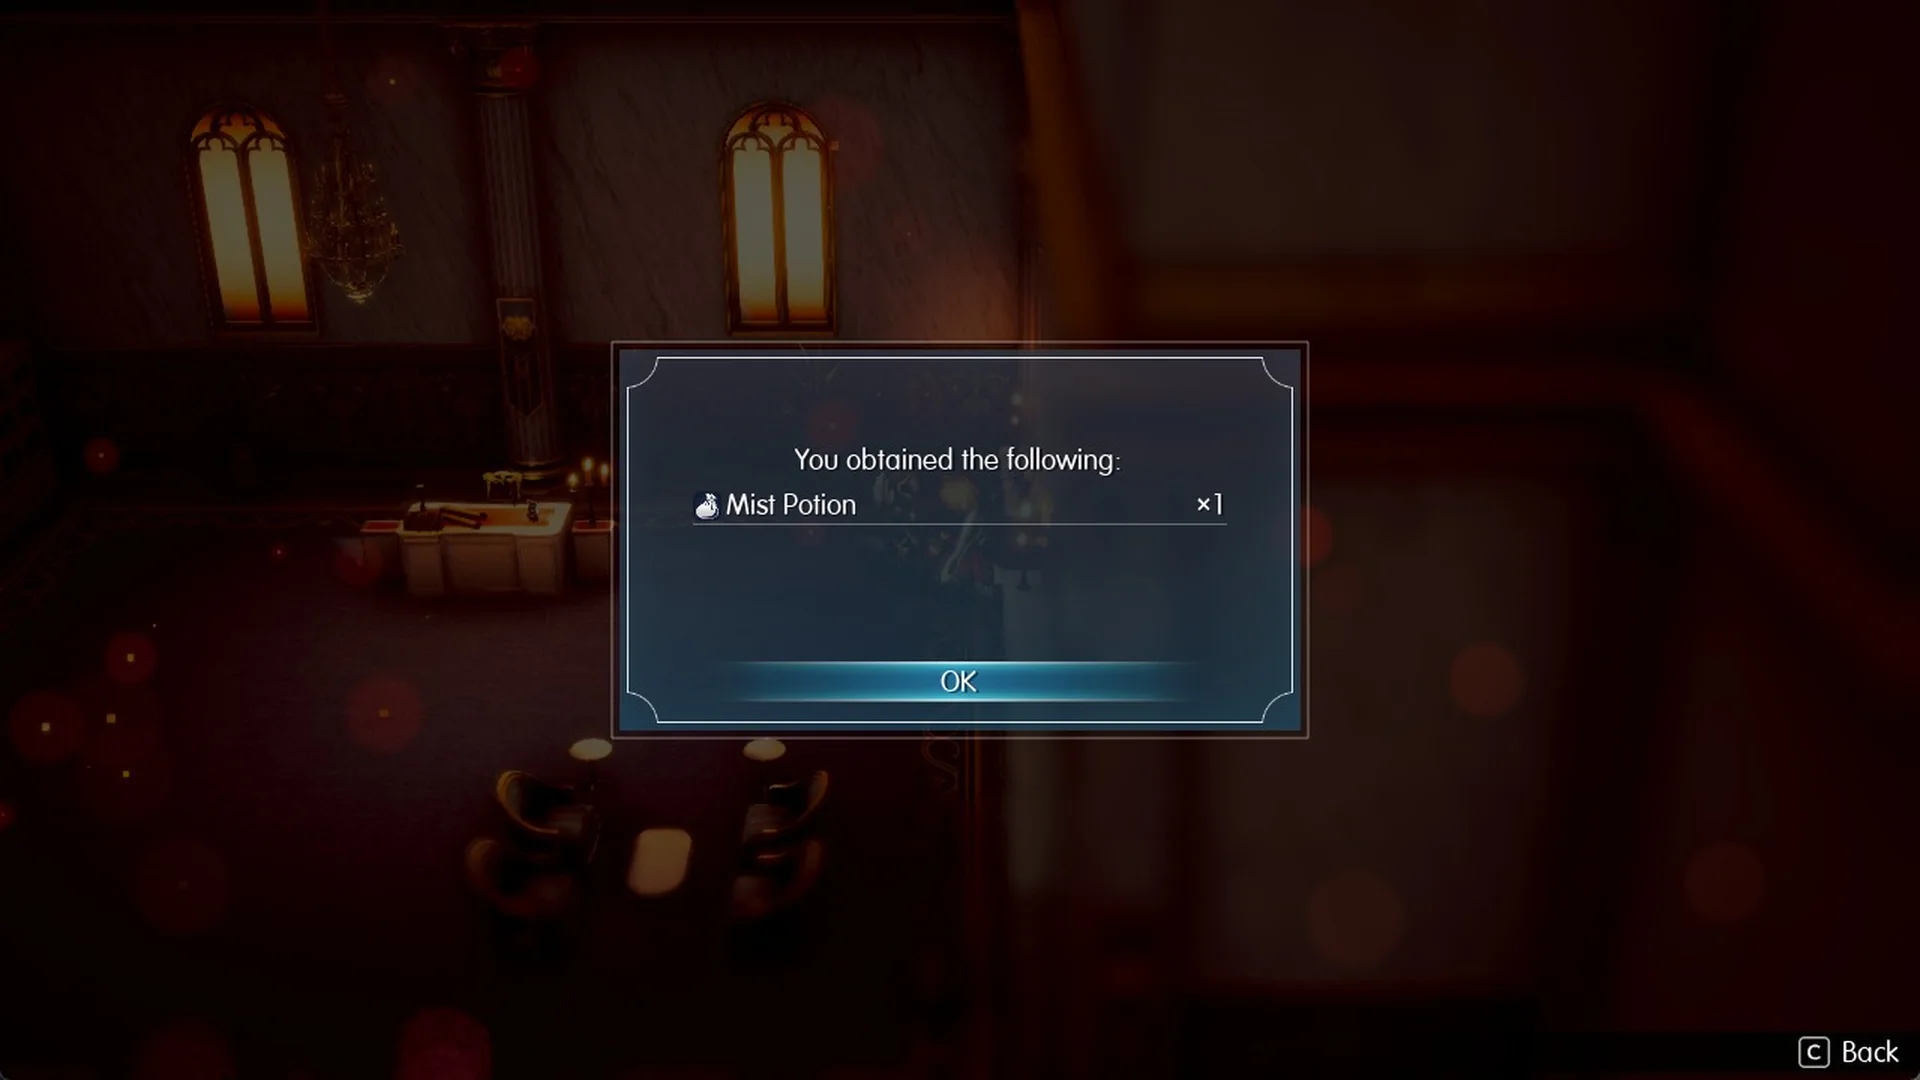
A popup confirms “You obtained the following: Mist Potion x1”. Before you leave, the soldier adds “I saw a huge monster heading towards the throne room. Please, Commander, get His Majesty out safely!”
West along the walkway to the grand staircase
Step back out through the side-room door, turn west (left on the screen), and follow the railed walkway past a fallen soldier. Skip the east end of the balcony, which is a dead-end corner.
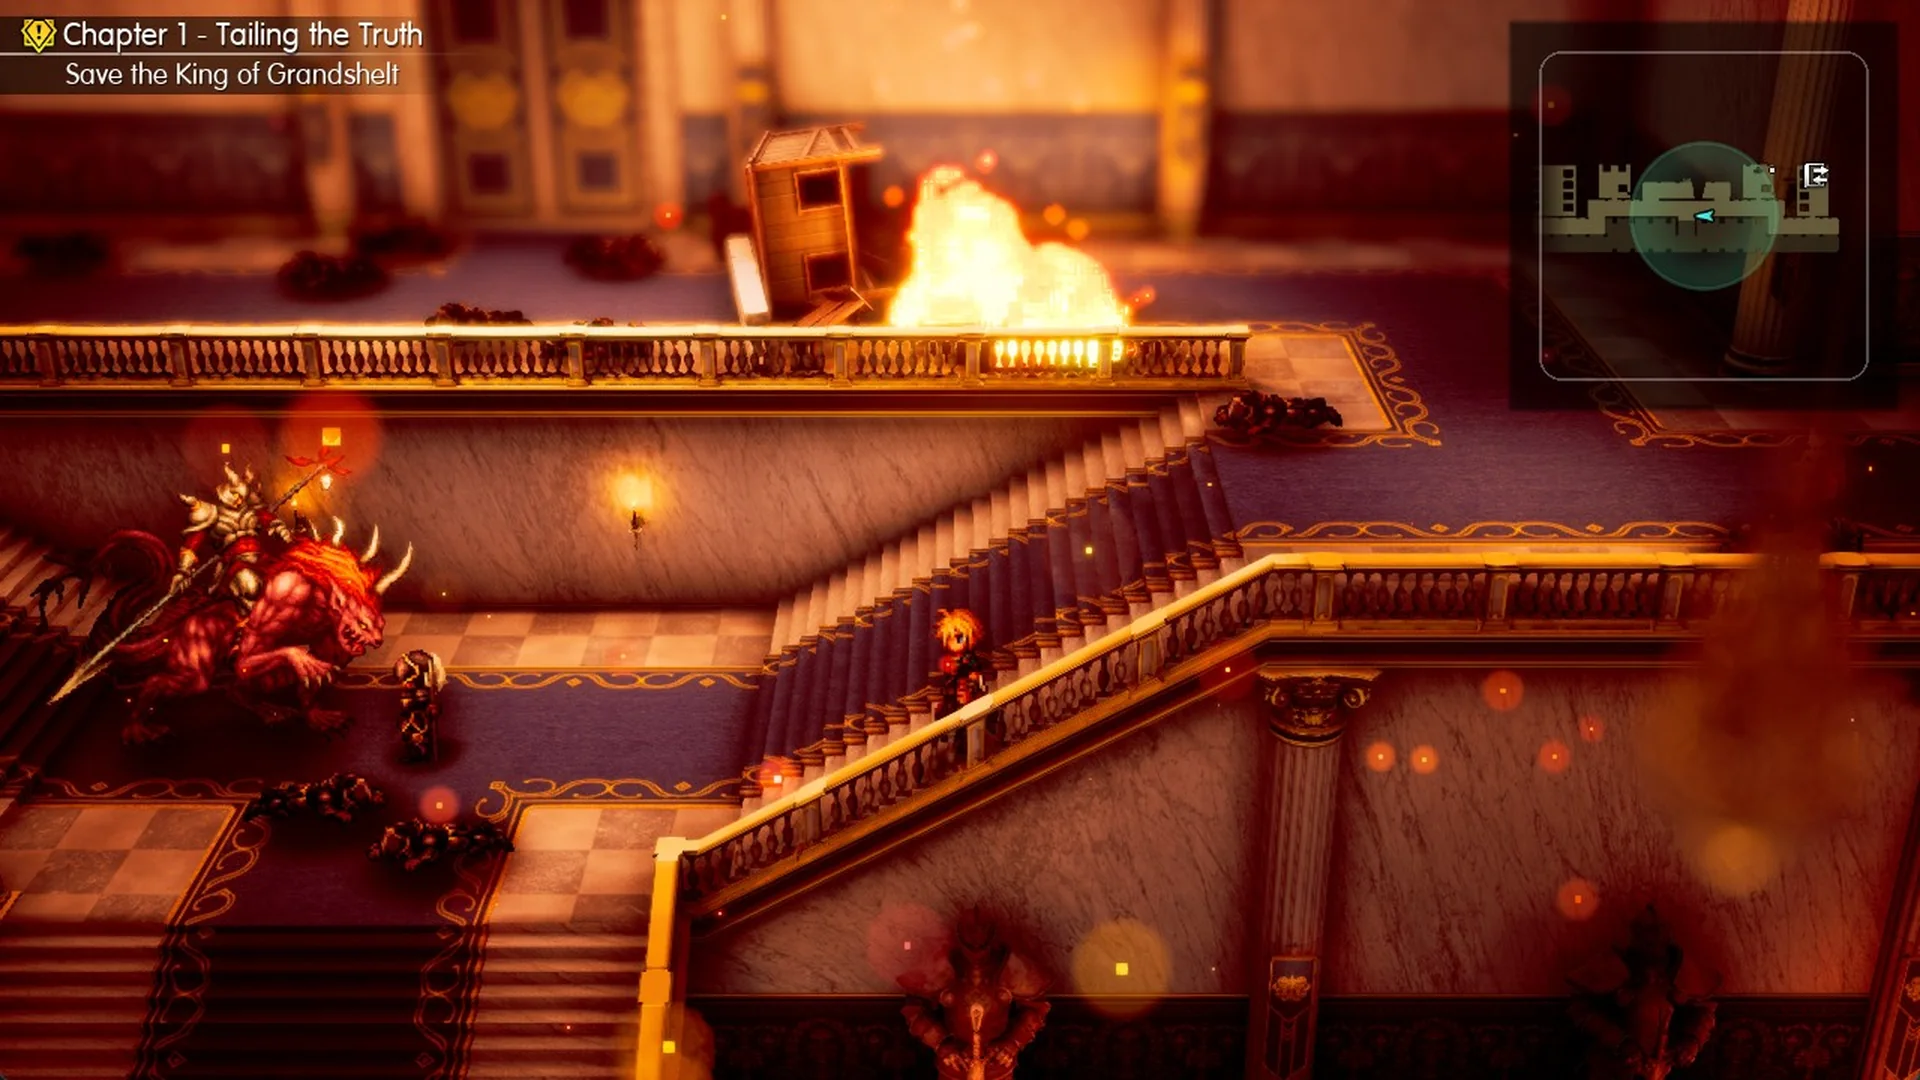
Just before a burning, overturned bookcase blocks the walkway, the grand staircase leads down to the left. Stepping onto it starts the boss scene, so save first if you can. The last save point is the one in the second lounge, and the castle’s save points are linked.
Boss: Hell’s Rider at the grand staircase
A huge mounted monster stands at the foot of the grand staircase, blocking the way to the throne room. A wounded soldier groans, Rain says “Dammit, we’re so close to the throne room!”, and Lasswell replies “It appears there’s no other way but through that monster.” The “Status Ailments” tutorial appears, and then the battle opens against “Lv.6 Hell’s Rider” and three “Lv.5 Dark Skeleton” enemies, with Charlotte fighting alongside the party as a guest.
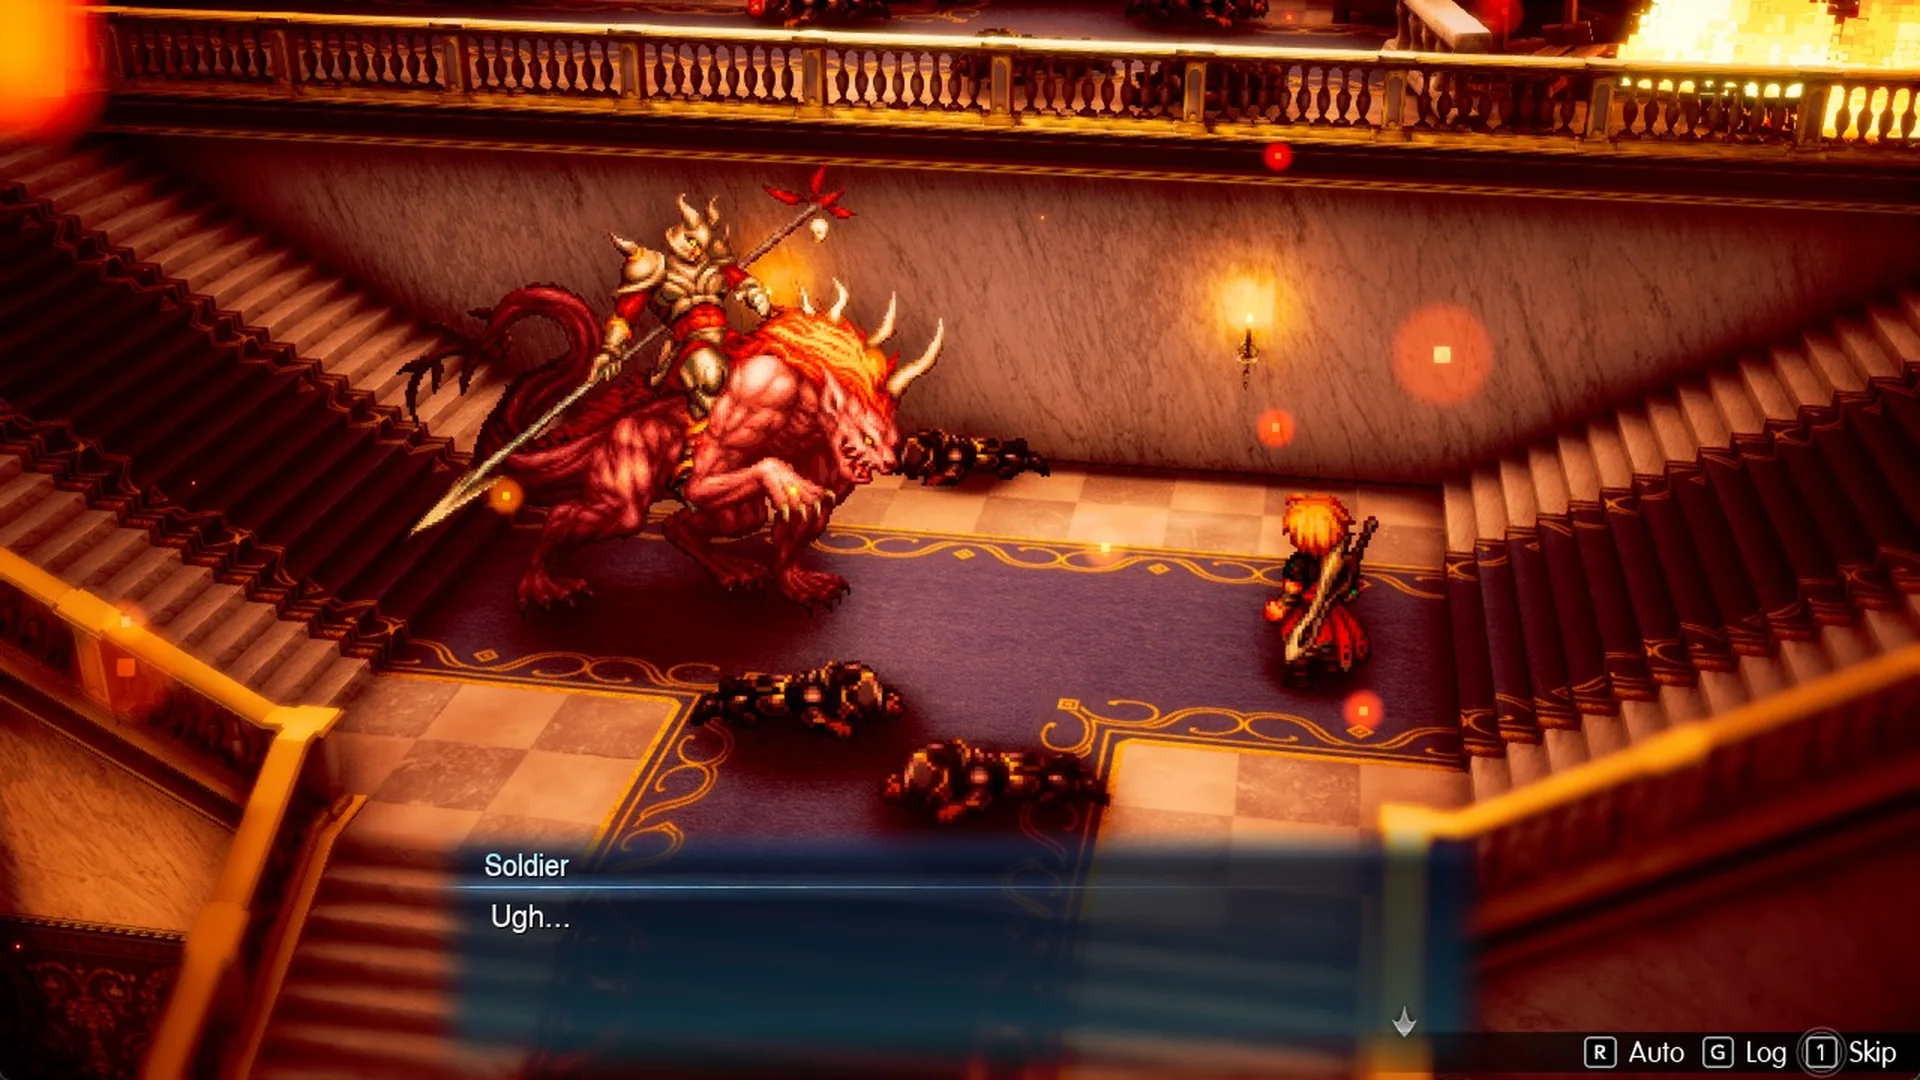
In short: , use a Phoenix Down from Items on each Dark Skeleton first, since one Phoenix Down defeats a Dark Skeleton outright. Do not throw Potions at Hell’s Rider, because a Potion heals it, and hit it with ice and light attacks, its weaknesses, to stagger it. The full strategy, its attacks and the rewards are in the Hell’s Rider boss guide.
After the boss: Black Garb in the banquet hall
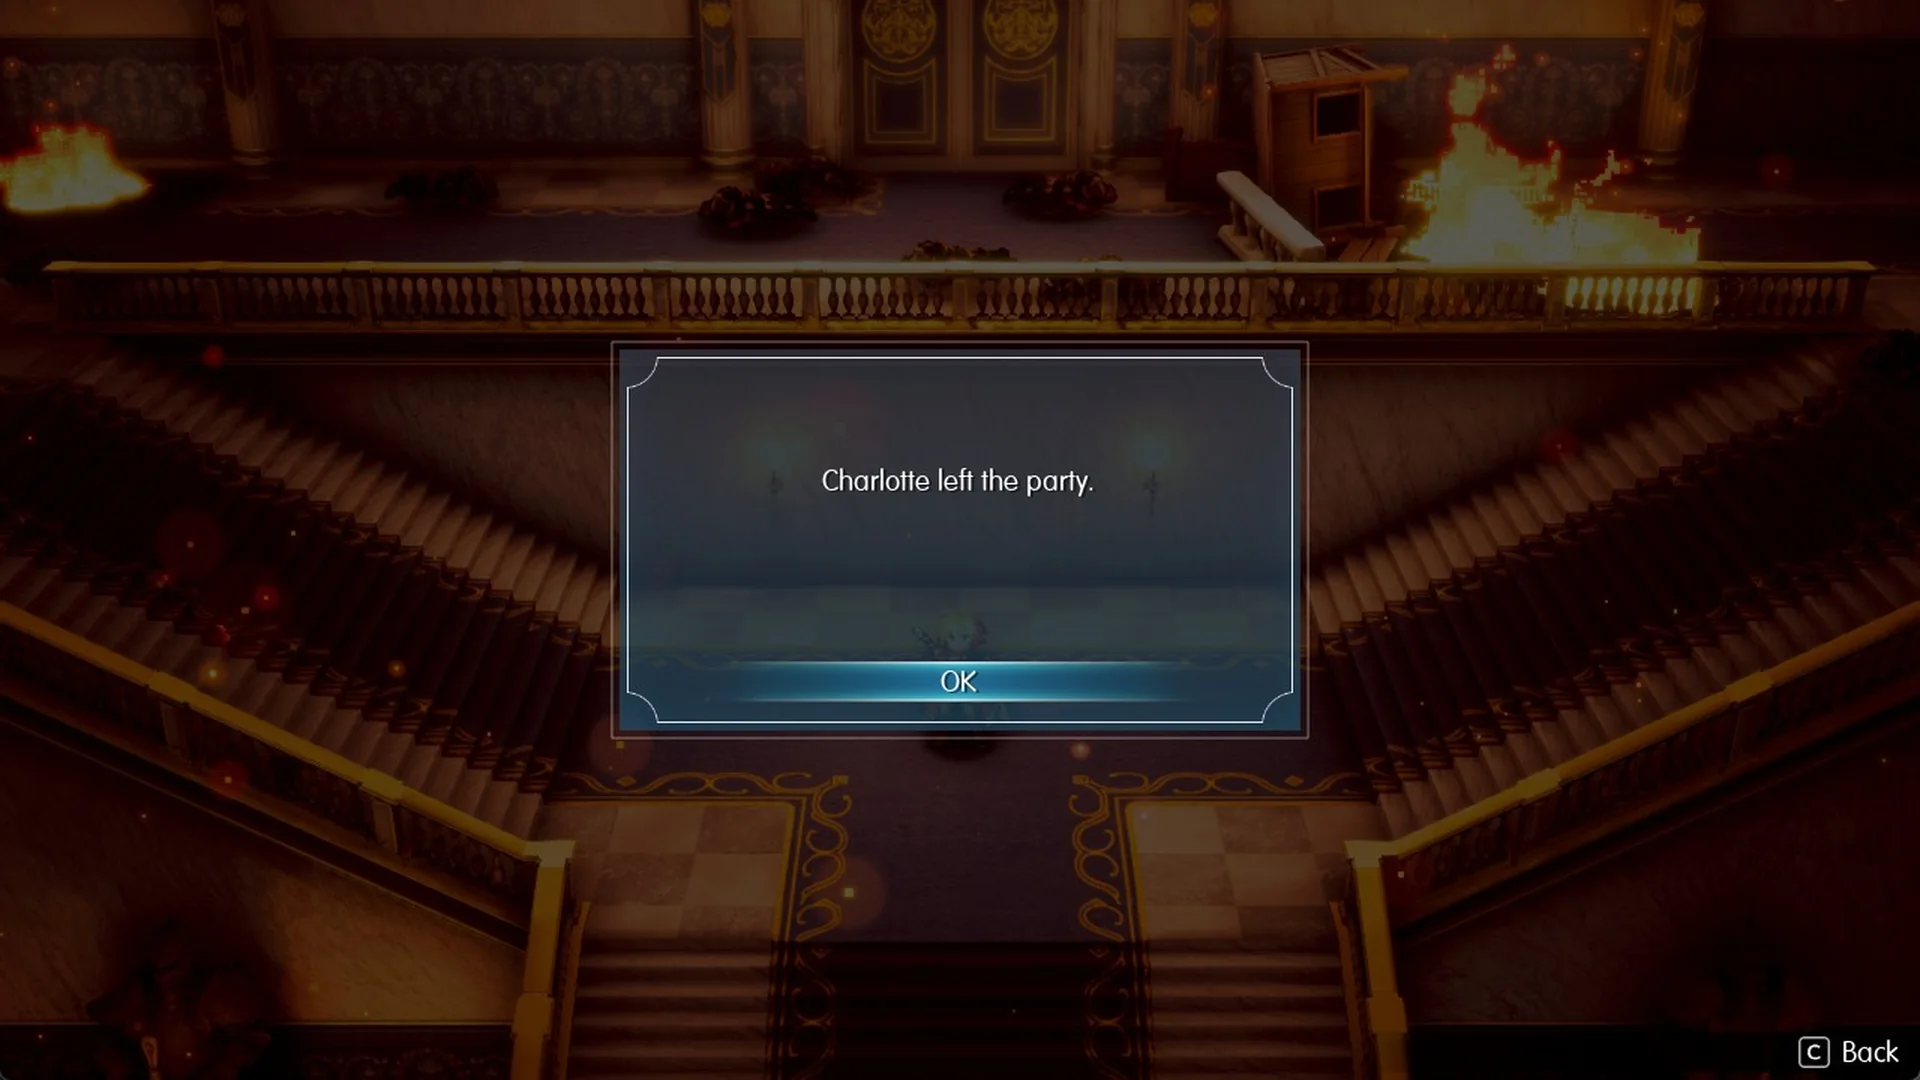
Once the fight ends, Rain tells Charlotte: “Charlotte, you help the surviving soldiers out of the castle. We’ll continue looking for His Majesty.” The popup “Charlotte left the party.” appears, and the game autosaves on the stair landing.
From the stair landing, climb the left upper flight of the grand staircase.
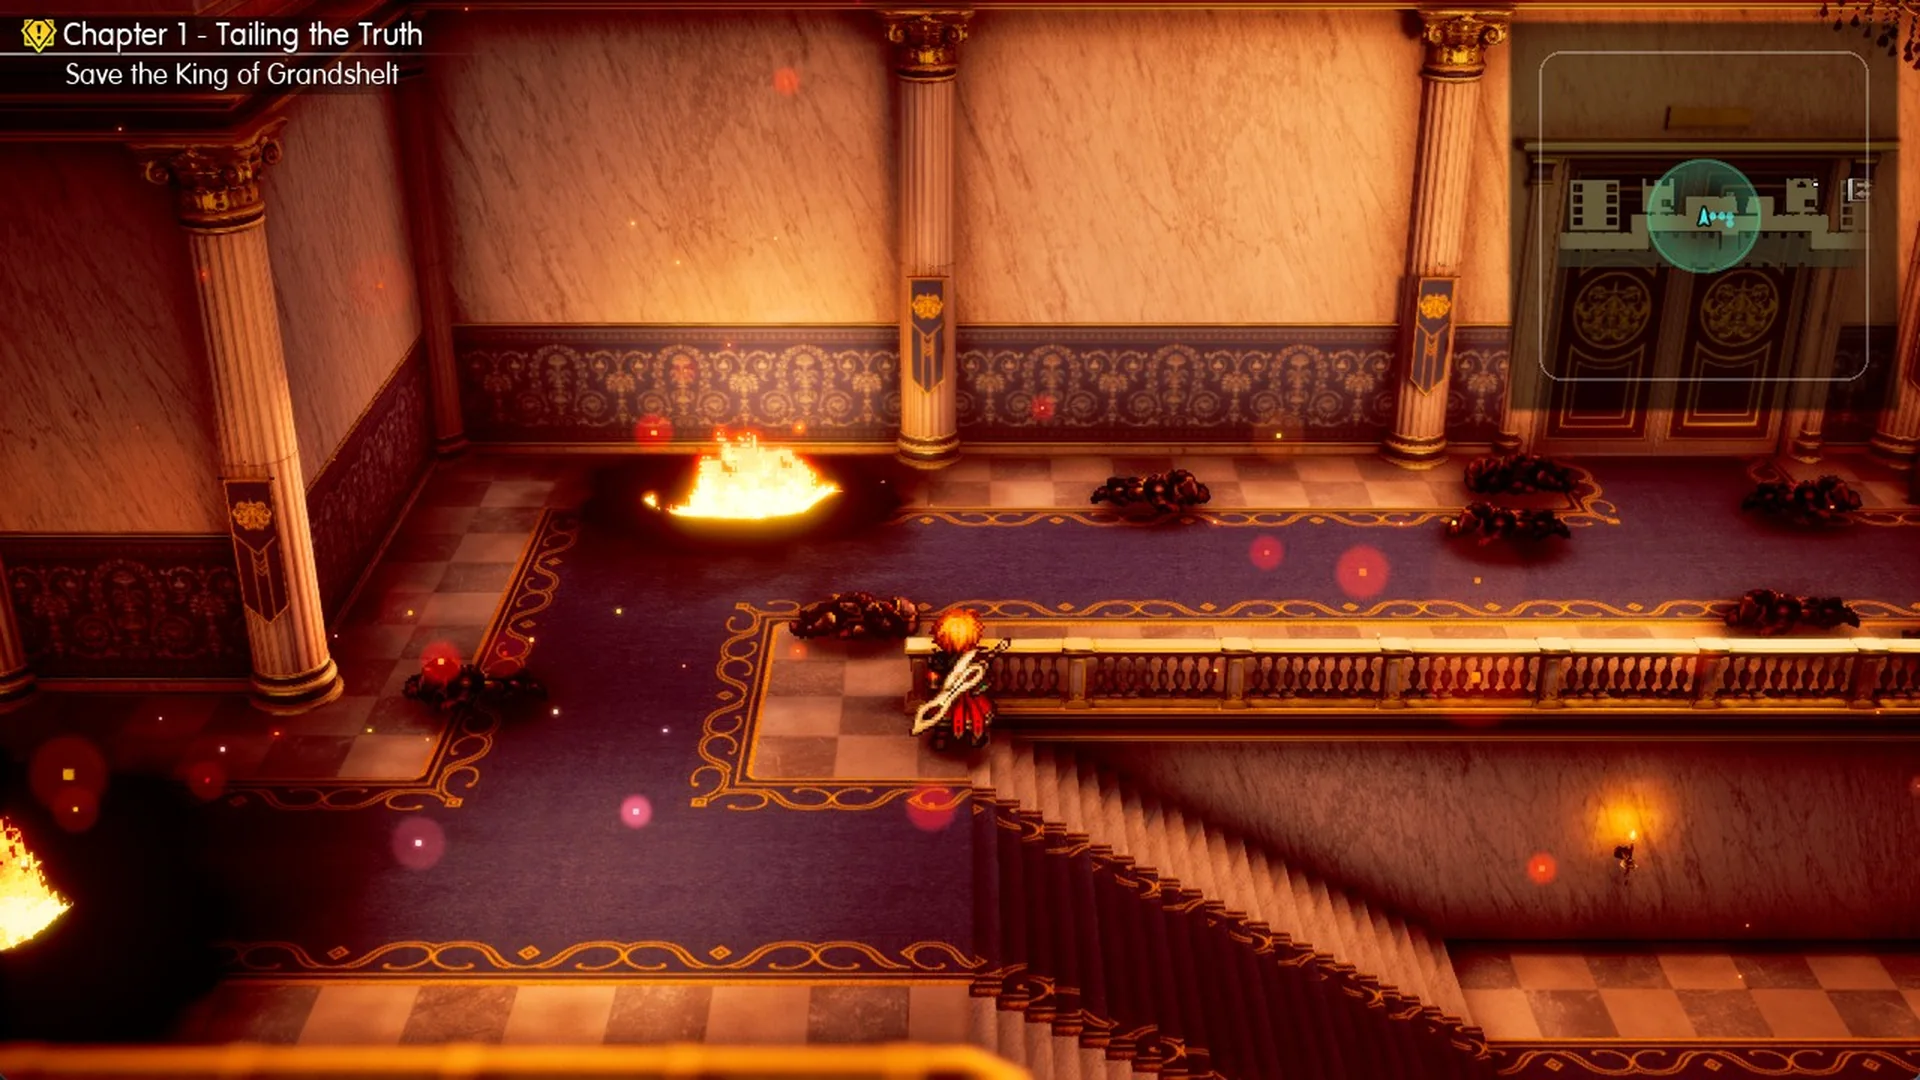
At the top, follow the upper walkway west, past a double door on the north wall and a fire, to the archway at the walkway’s west end.
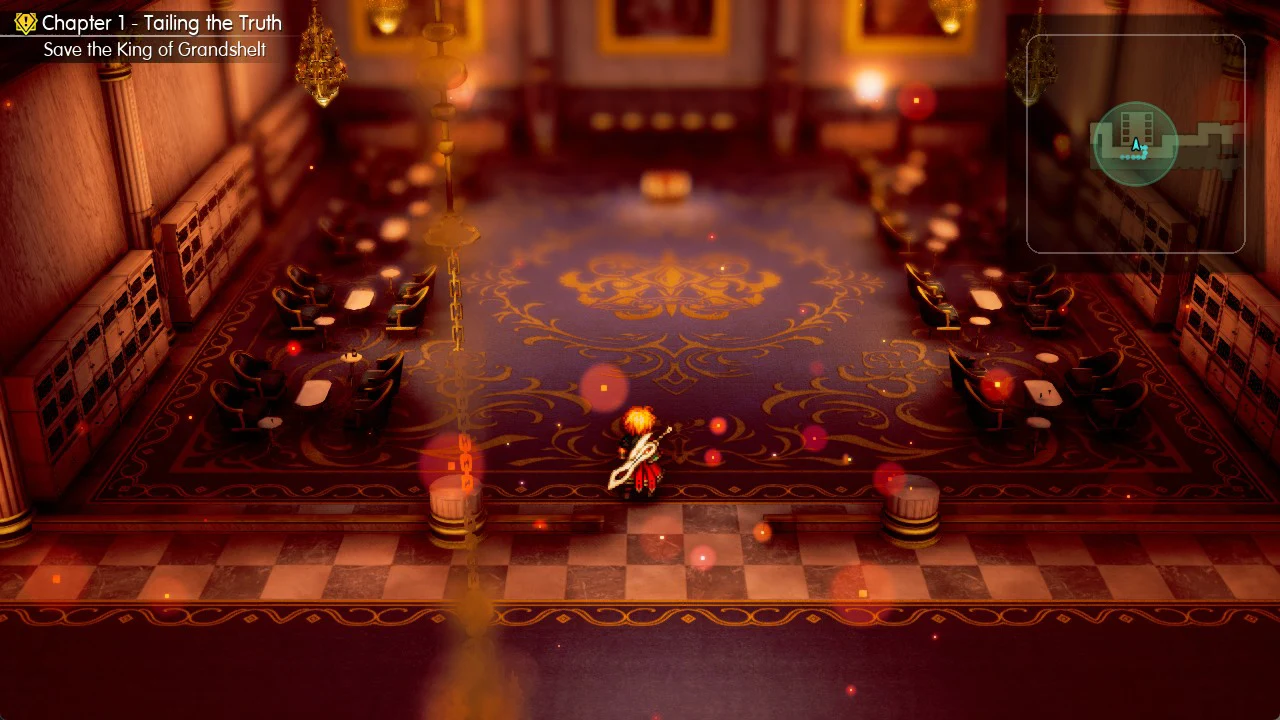
The archway leads into the banquet hall, with long tables, chandeliers and a large patterned carpet.
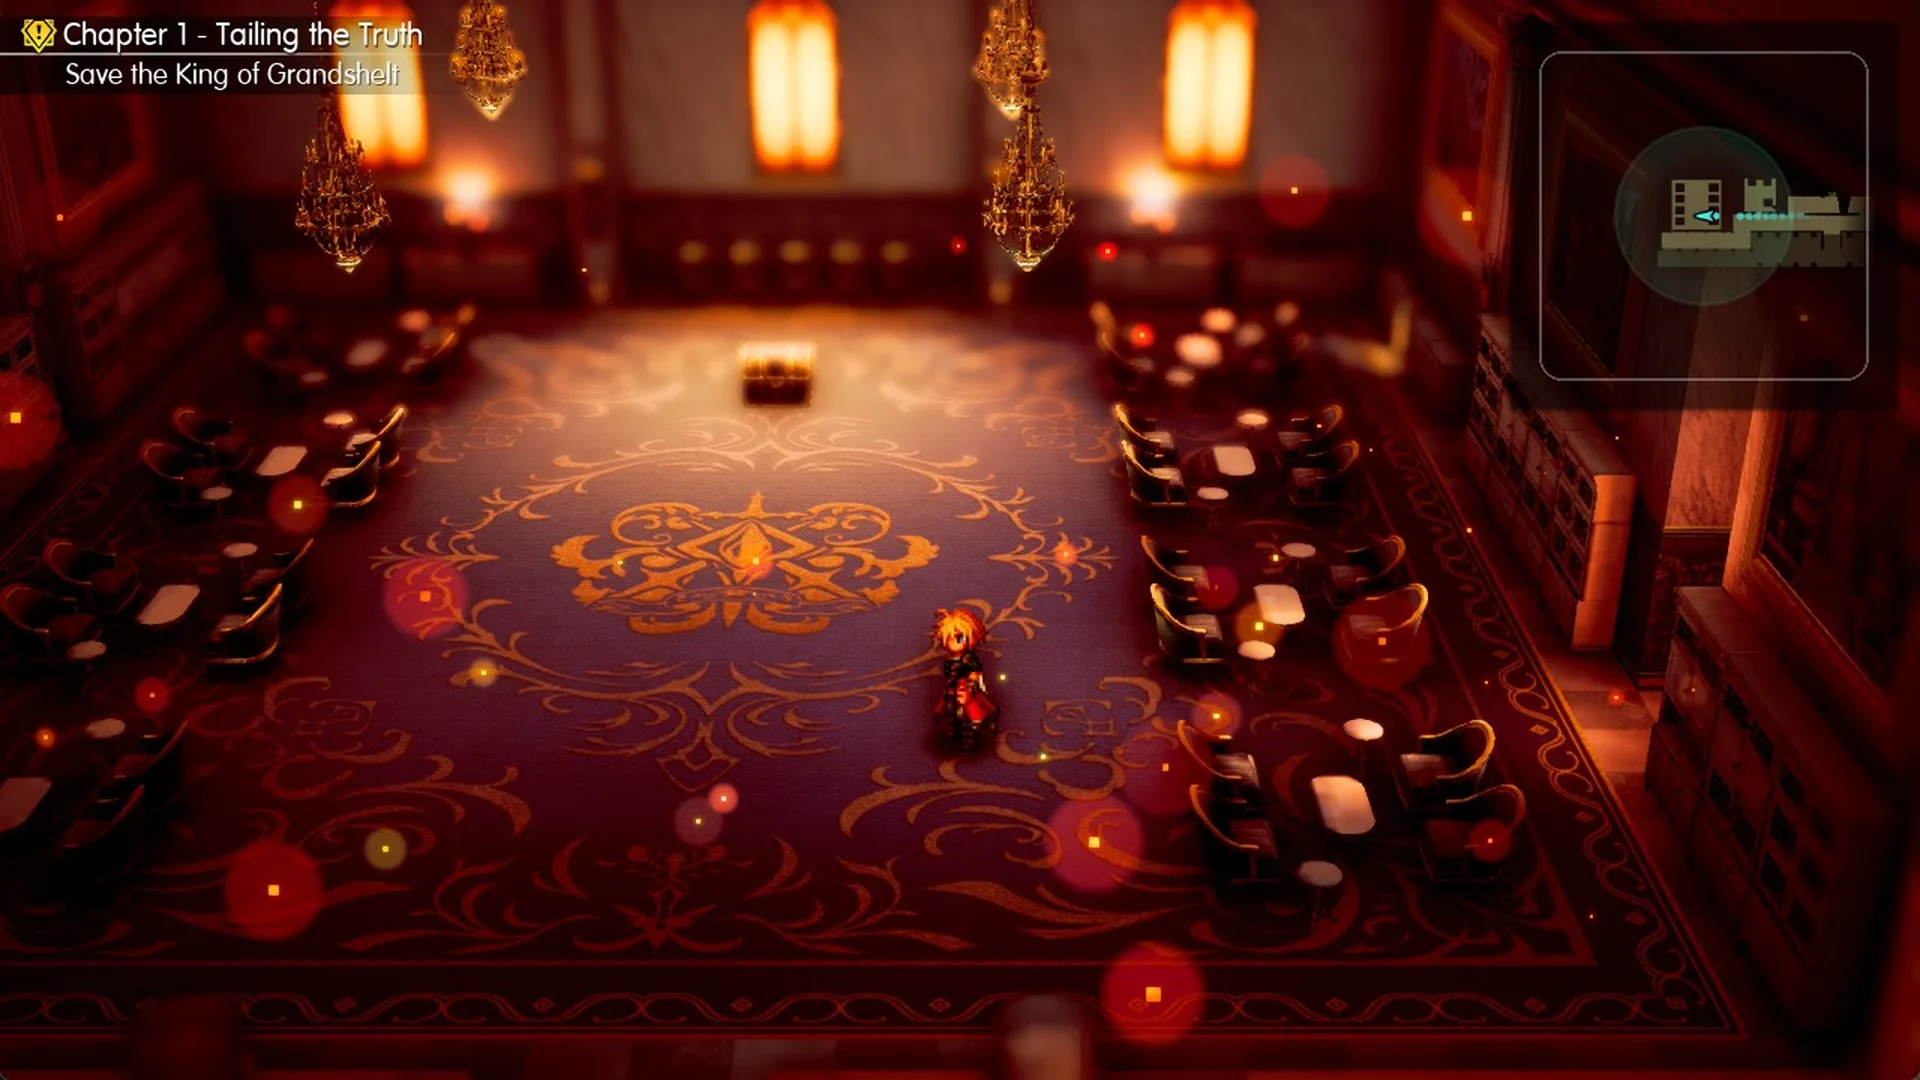
The chest sits at the far north end of the hall, in the centre.
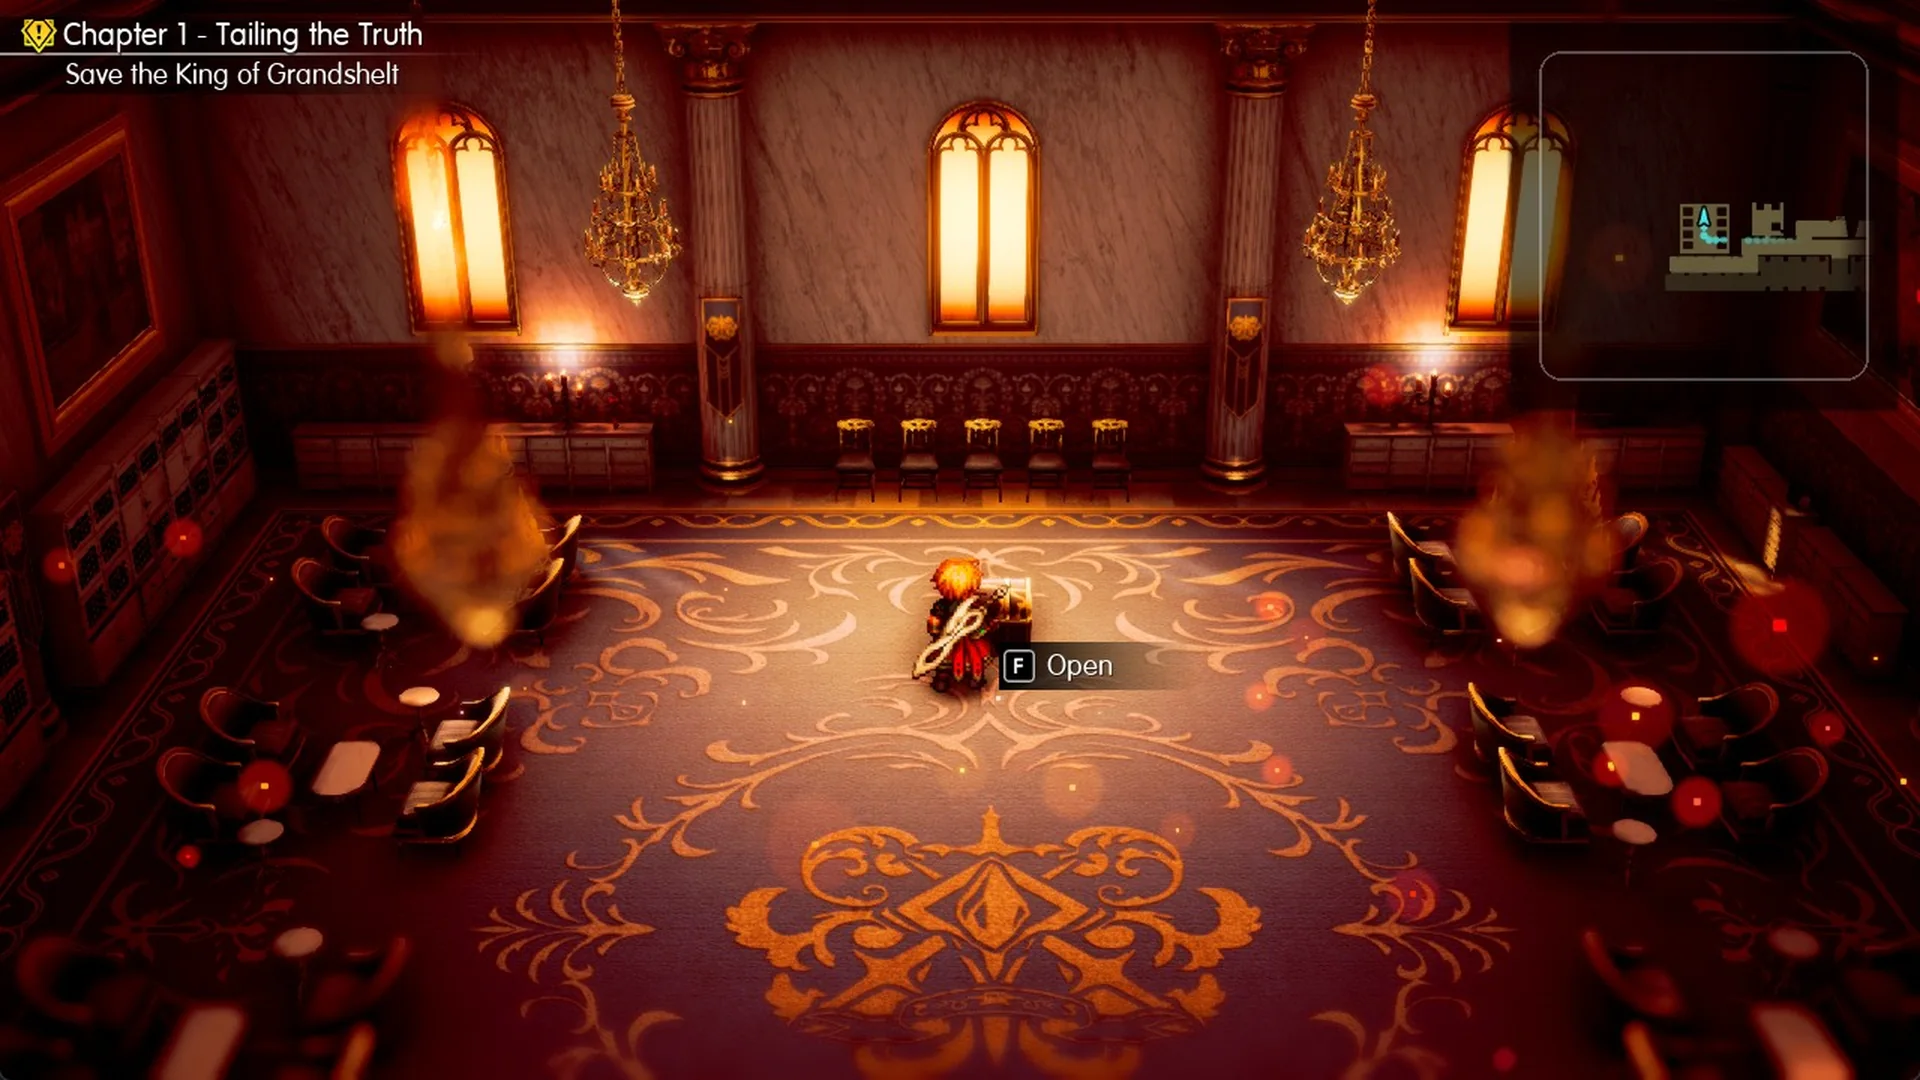
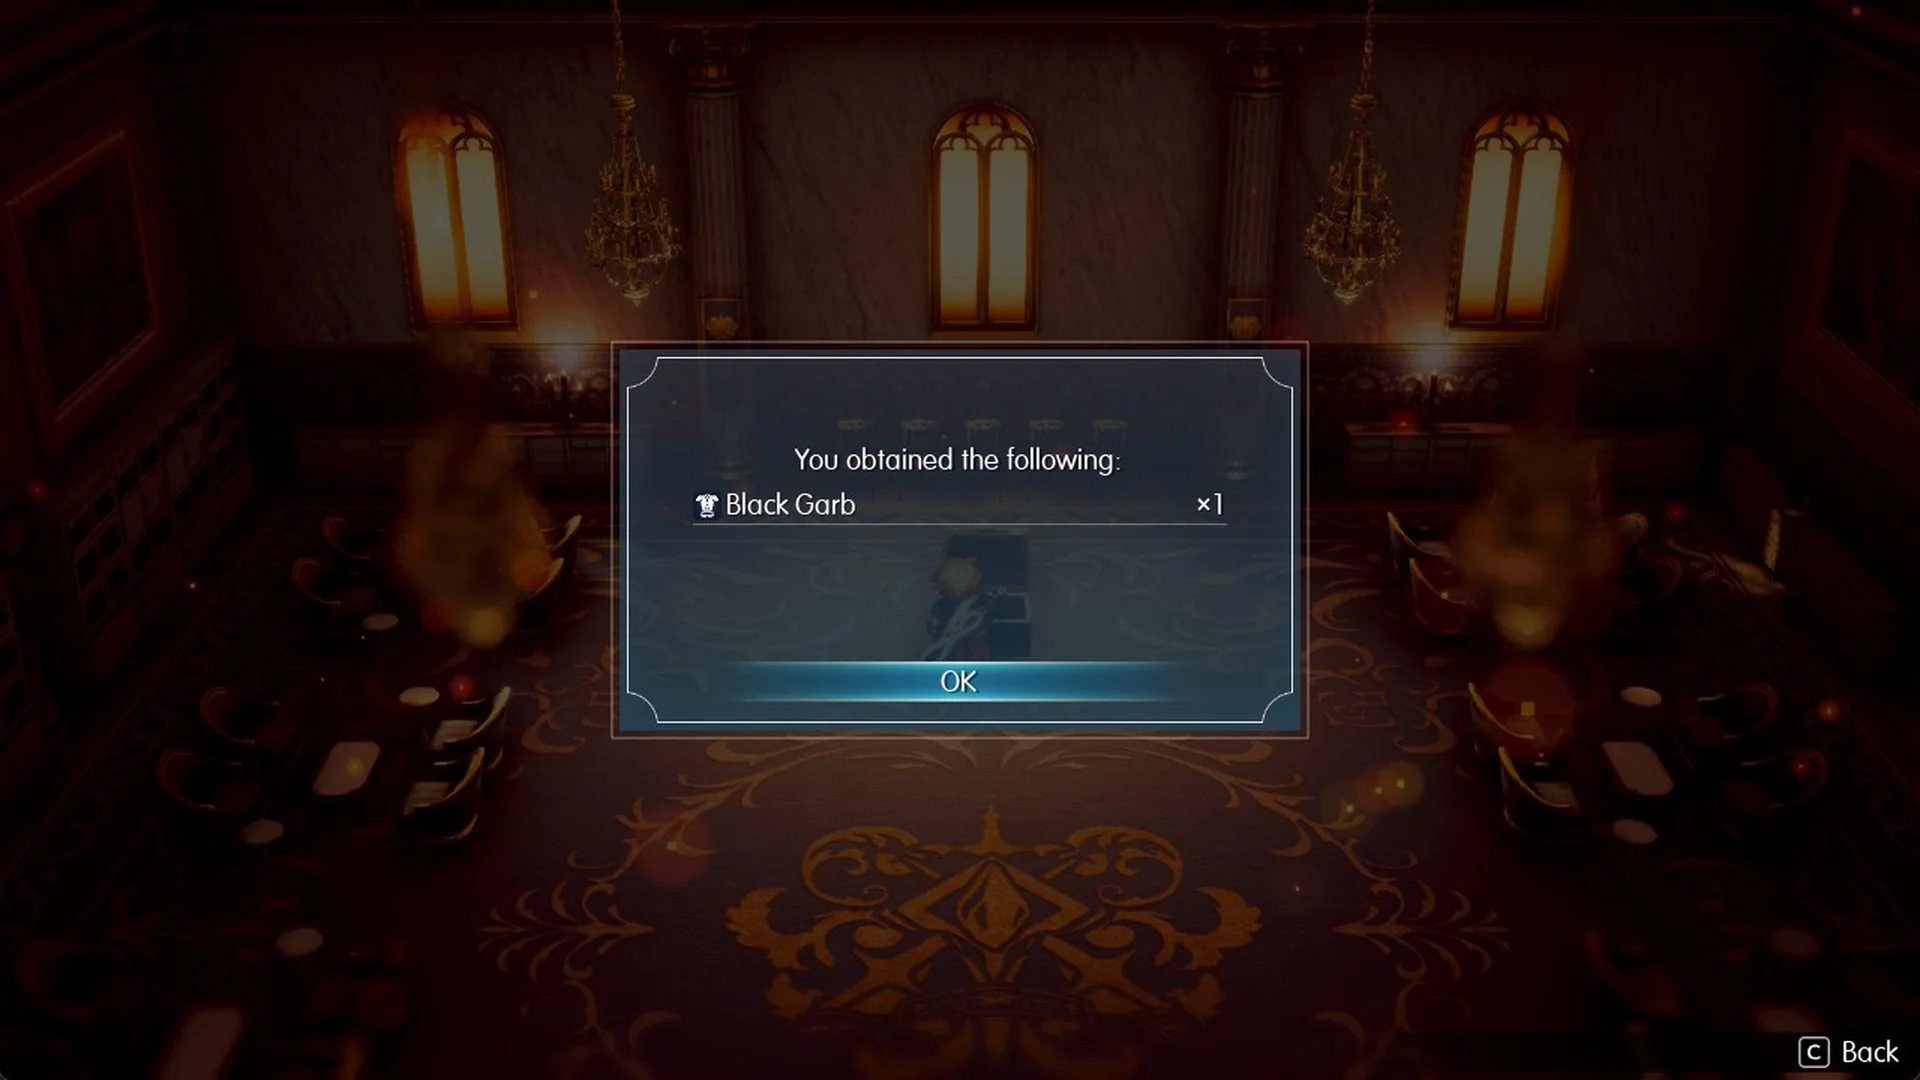
Press F to open it, and the popup reads “You obtained the following: Black Garb x1”.
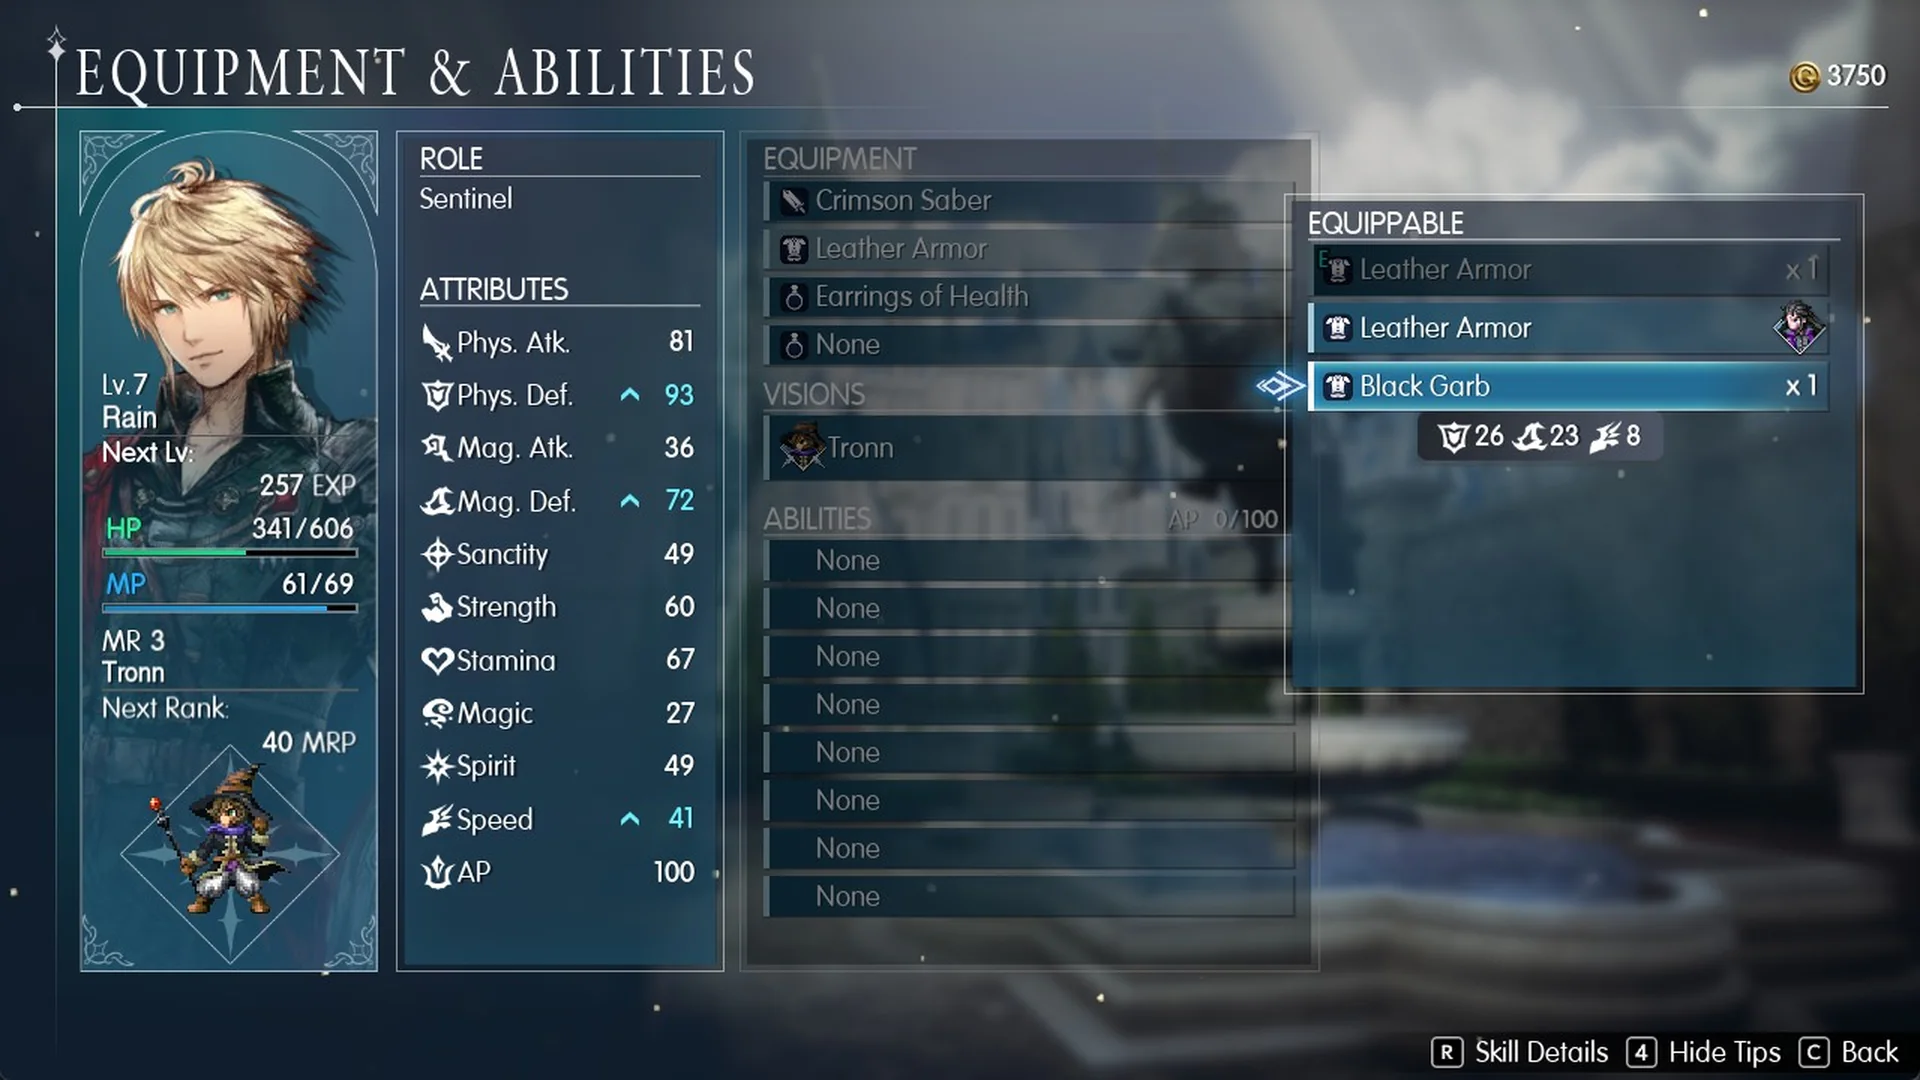
Black Garb occupies the body-armor slot. On the Equipment & Abilities screen, its bonuses are Phys. Def. +26, Mag. Def. +23 and Speed +8. Rain begins with Leather Armor; at Lv.7, Black Garb takes his Phys. Def. from 72 to 93, his Mag. Def. from 52 to 72 and his Speed from 33 to 41. Open Main Menu > Equipment & Abilities, choose a character, enter the armor slot and select Black Garb.
Two more chests after the boss: Phoenix Downs
Return to the upper walkway and use the double door in the north wall, just east of the banquet hall archway. It leads to a bedroom furnished with four beds and armchairs.
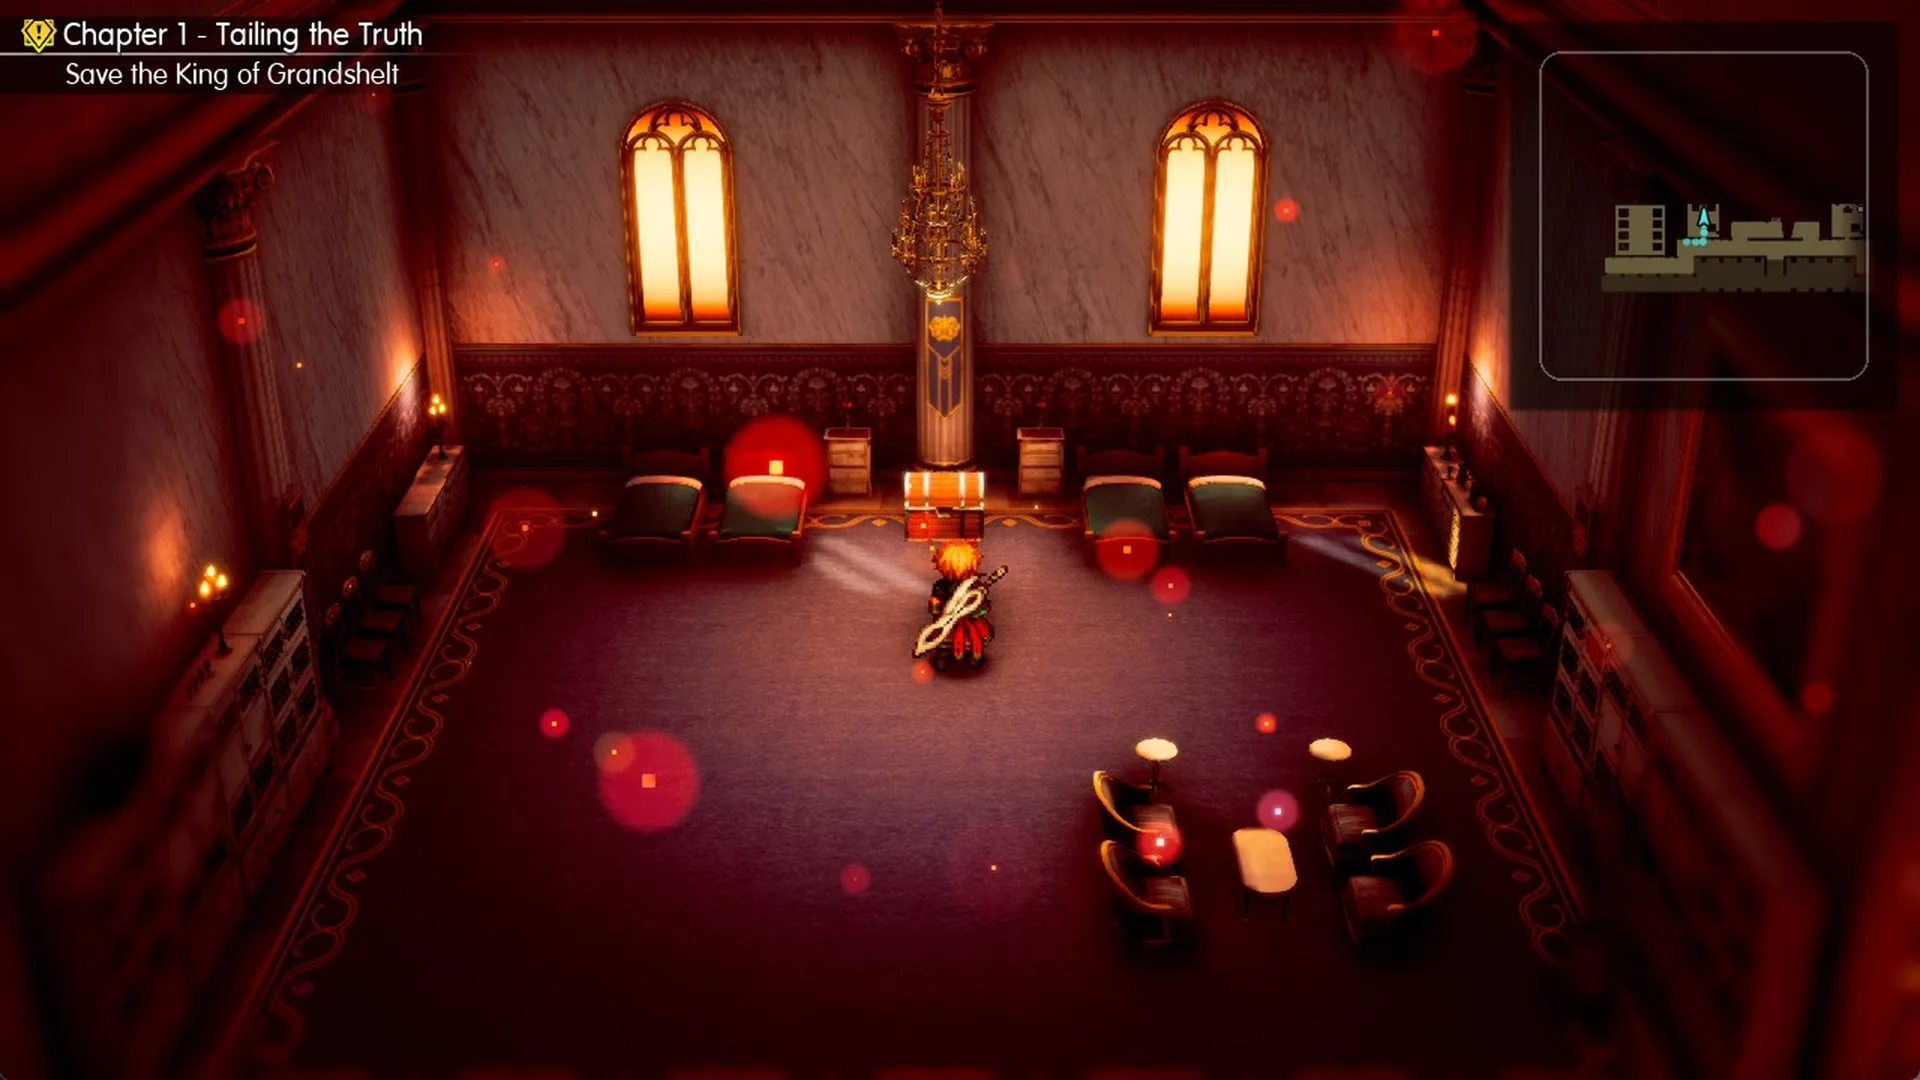
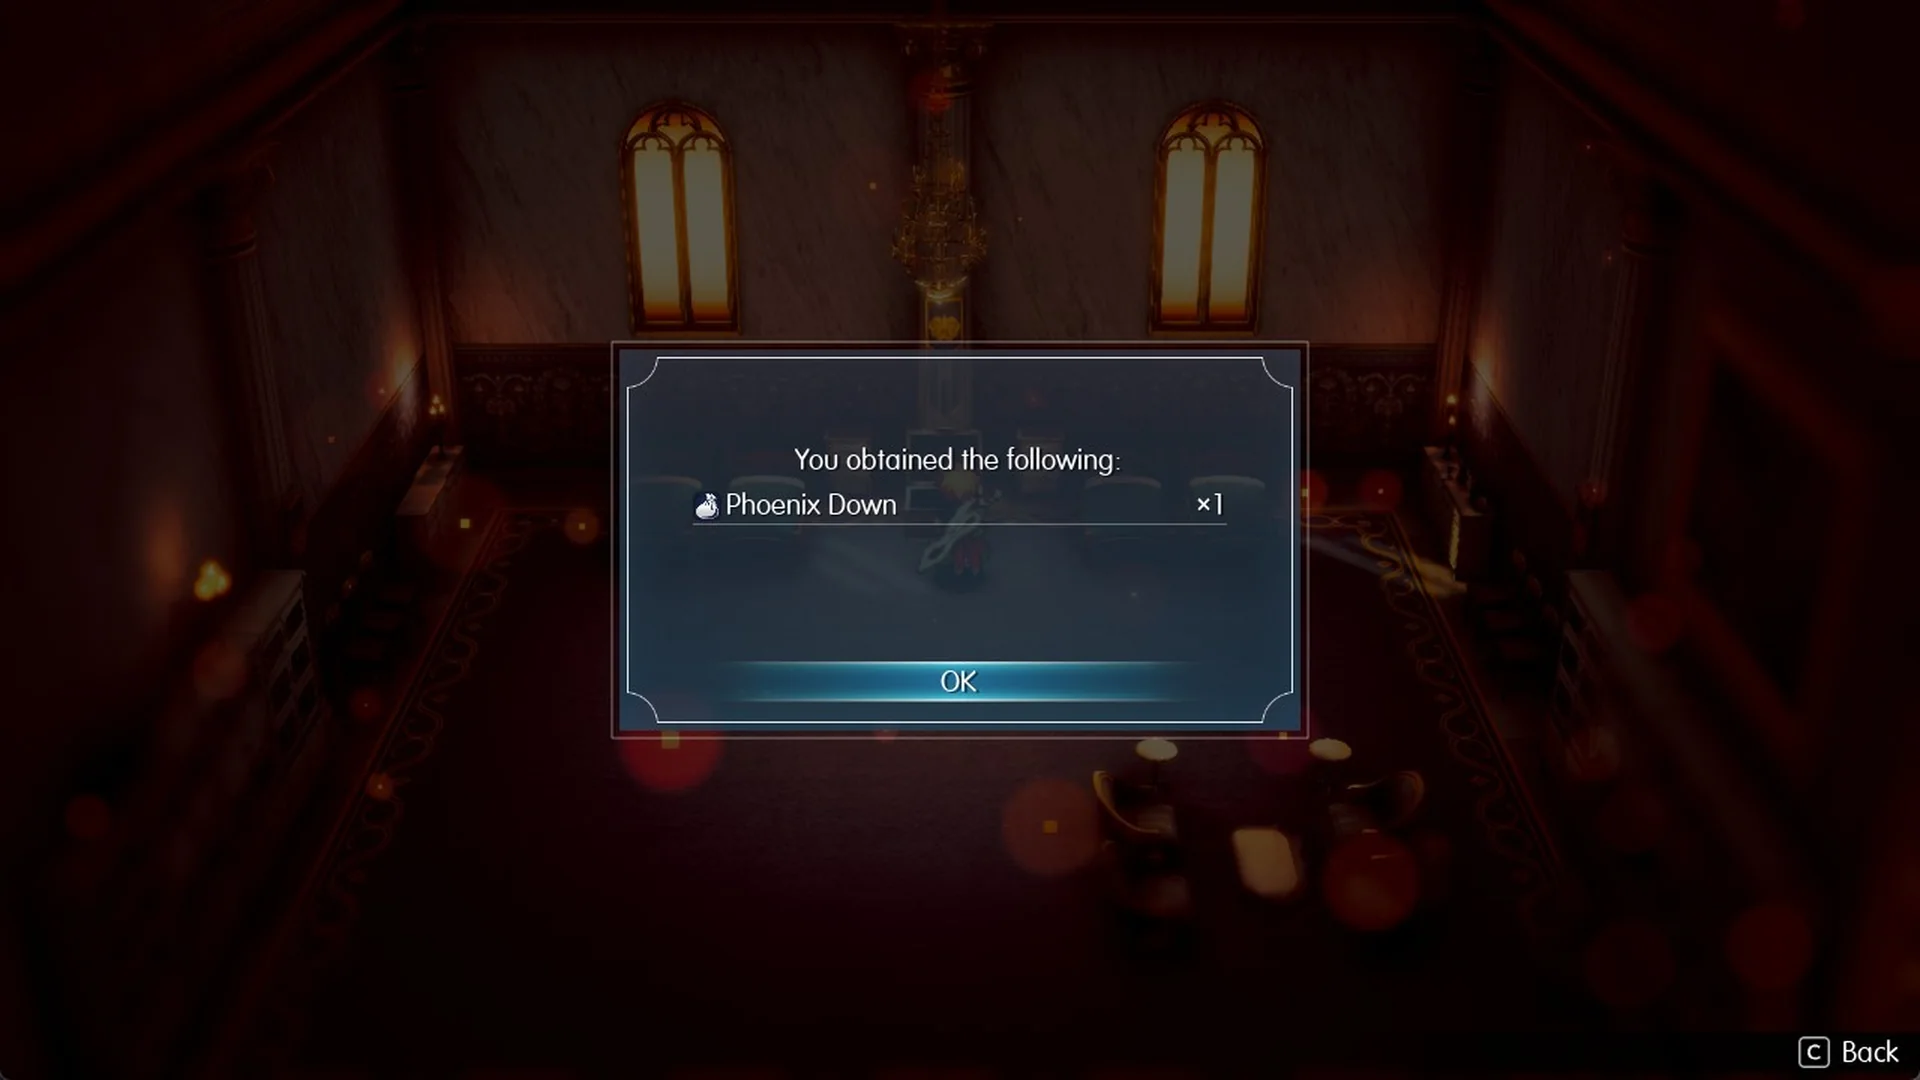
Between the beds, at the centre of the north wall, is a chest containing “Phoenix Down x1”.
Descend to the ground floor by the central stairs, then pass the statues heading east until you reach the far end.
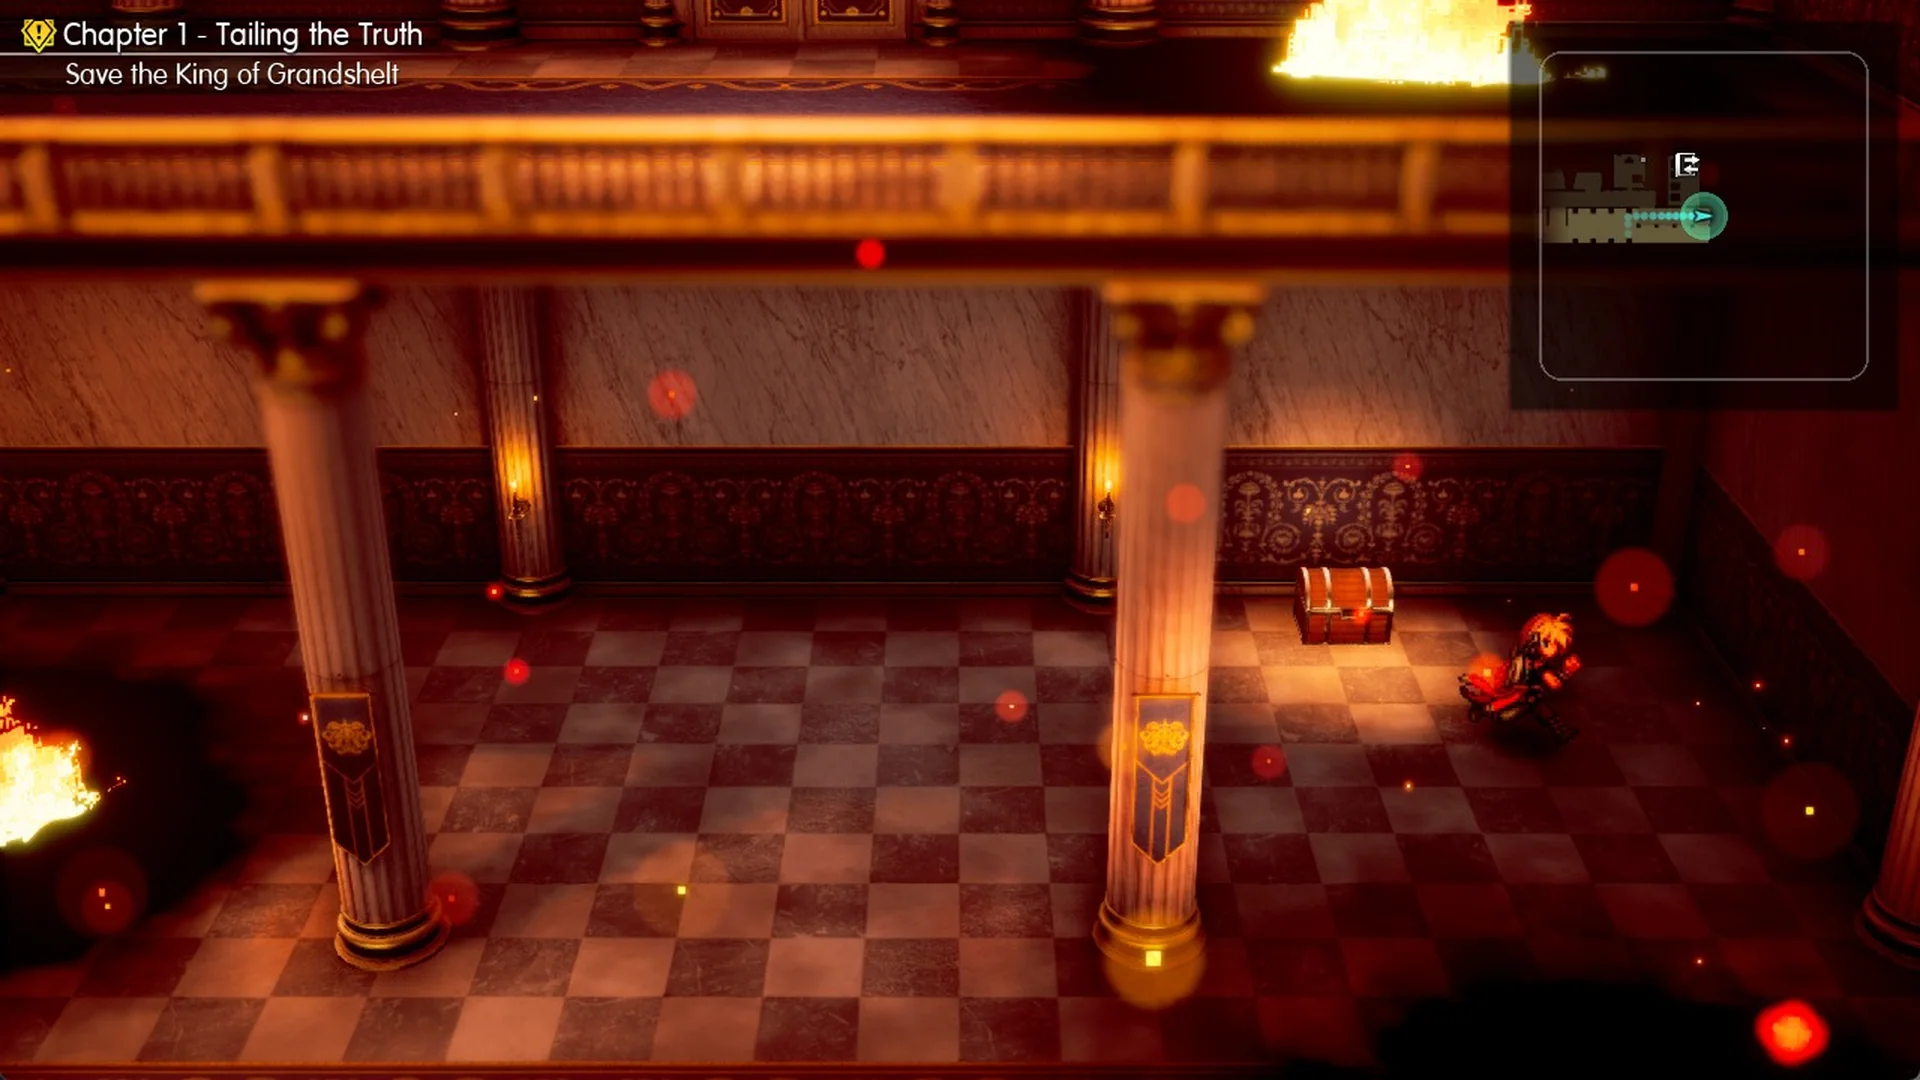
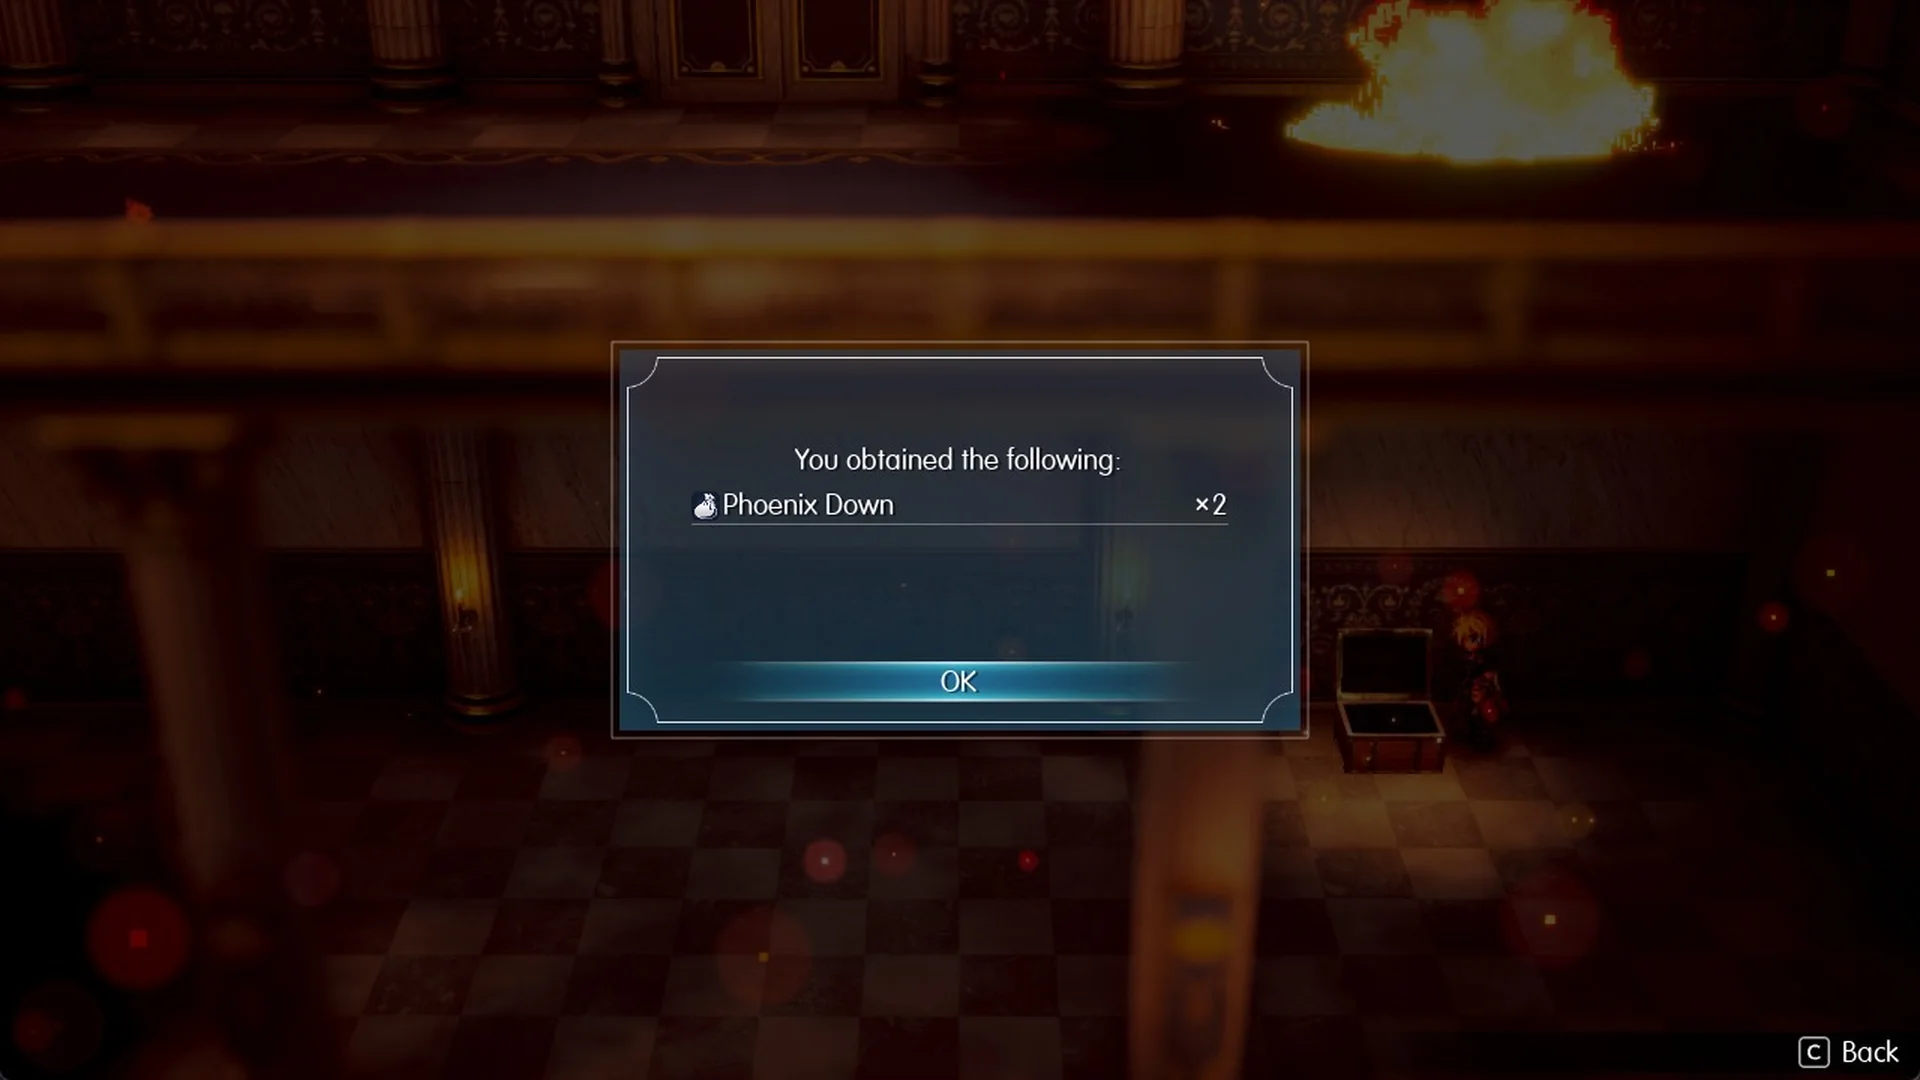
Behind the last pillar, beside the east wall, a chest contains “Phoenix Down x2”.
Antidote Herb x4: side trip from the second lounge
After defeating Hell’s Rider, return to the second lounge (the room with the save point) by using the trapdoor in the mezzanine overhead. Pressing down while Rain stands on the trapdoor only moves him off it; circle around to its north edge, between the hatch and the rear wall, then hold down (S) to descend the ladder into the lounge.
From the second lounge, pass through the south exit between the pots and continue east along the balcony.
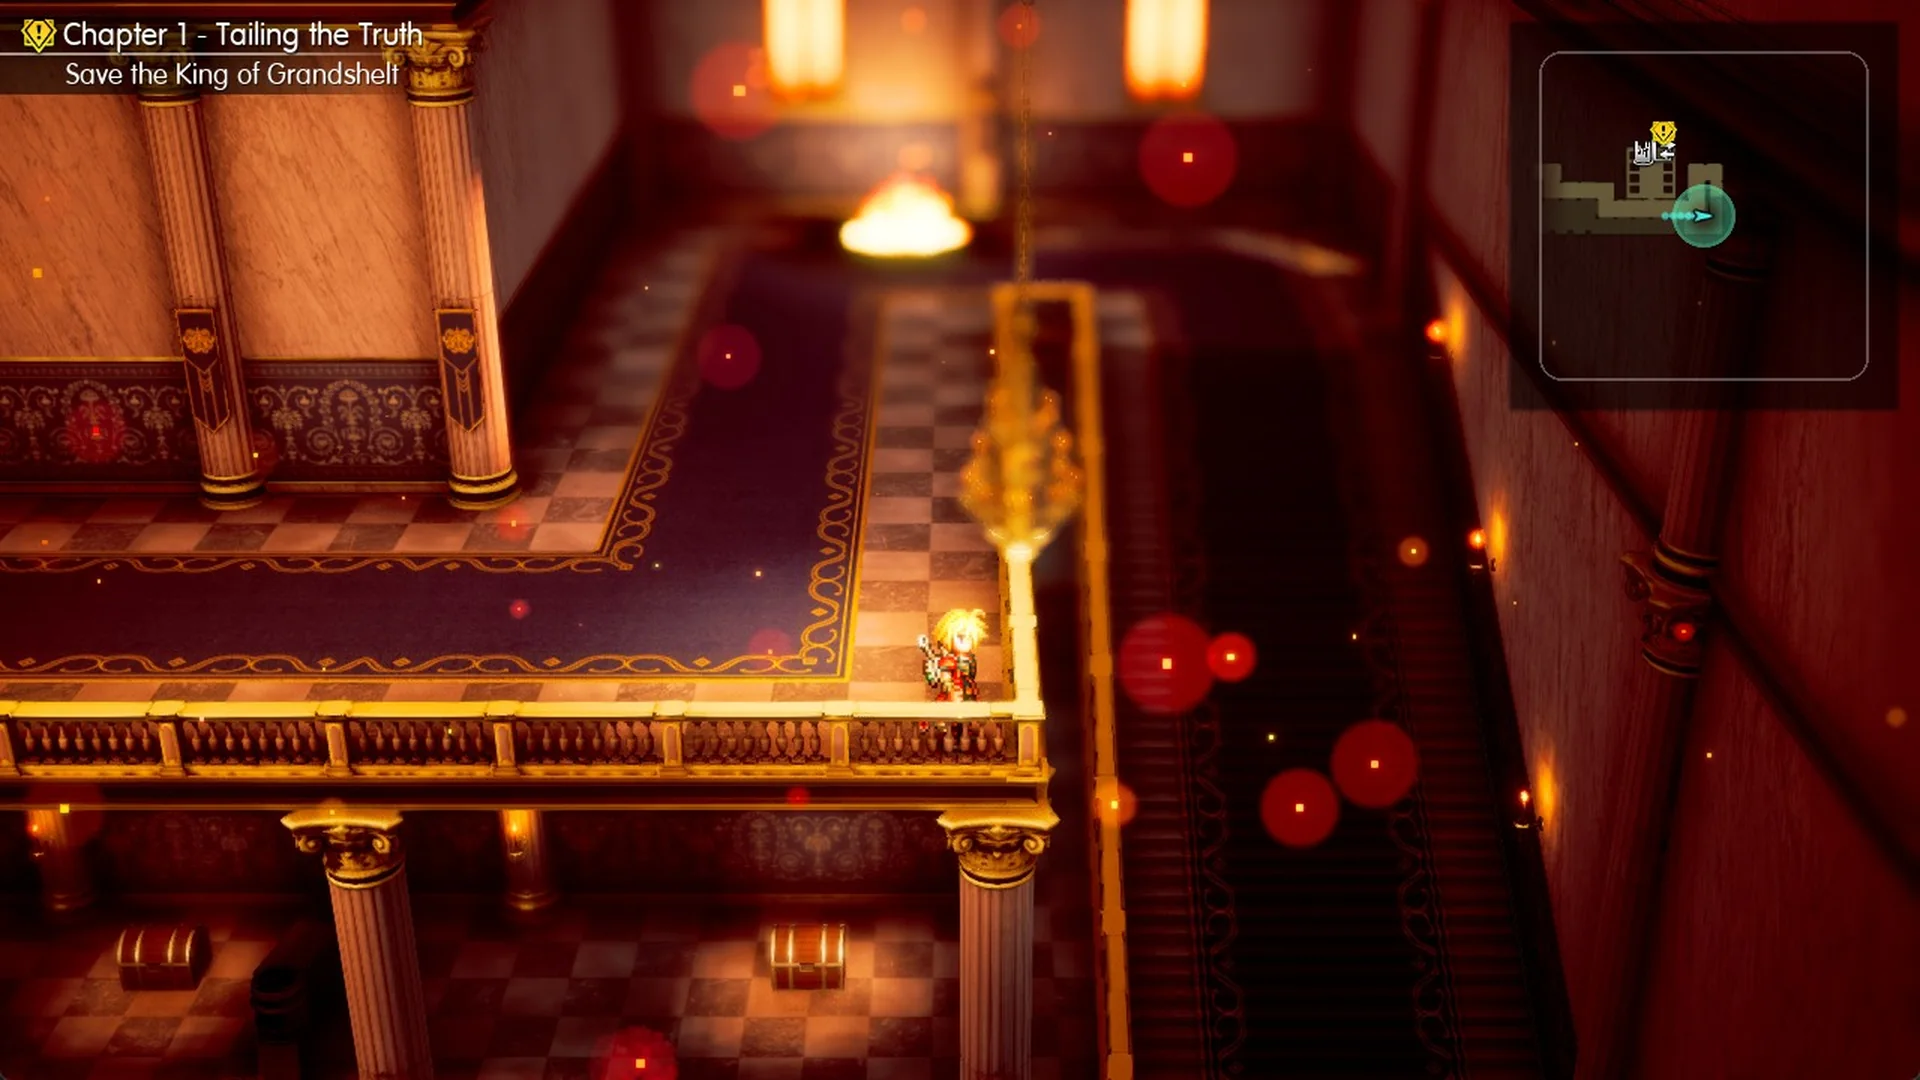
When you reach the corner, travel north by the fire, follow the railing around its upper end, then descend the stairs on the right.
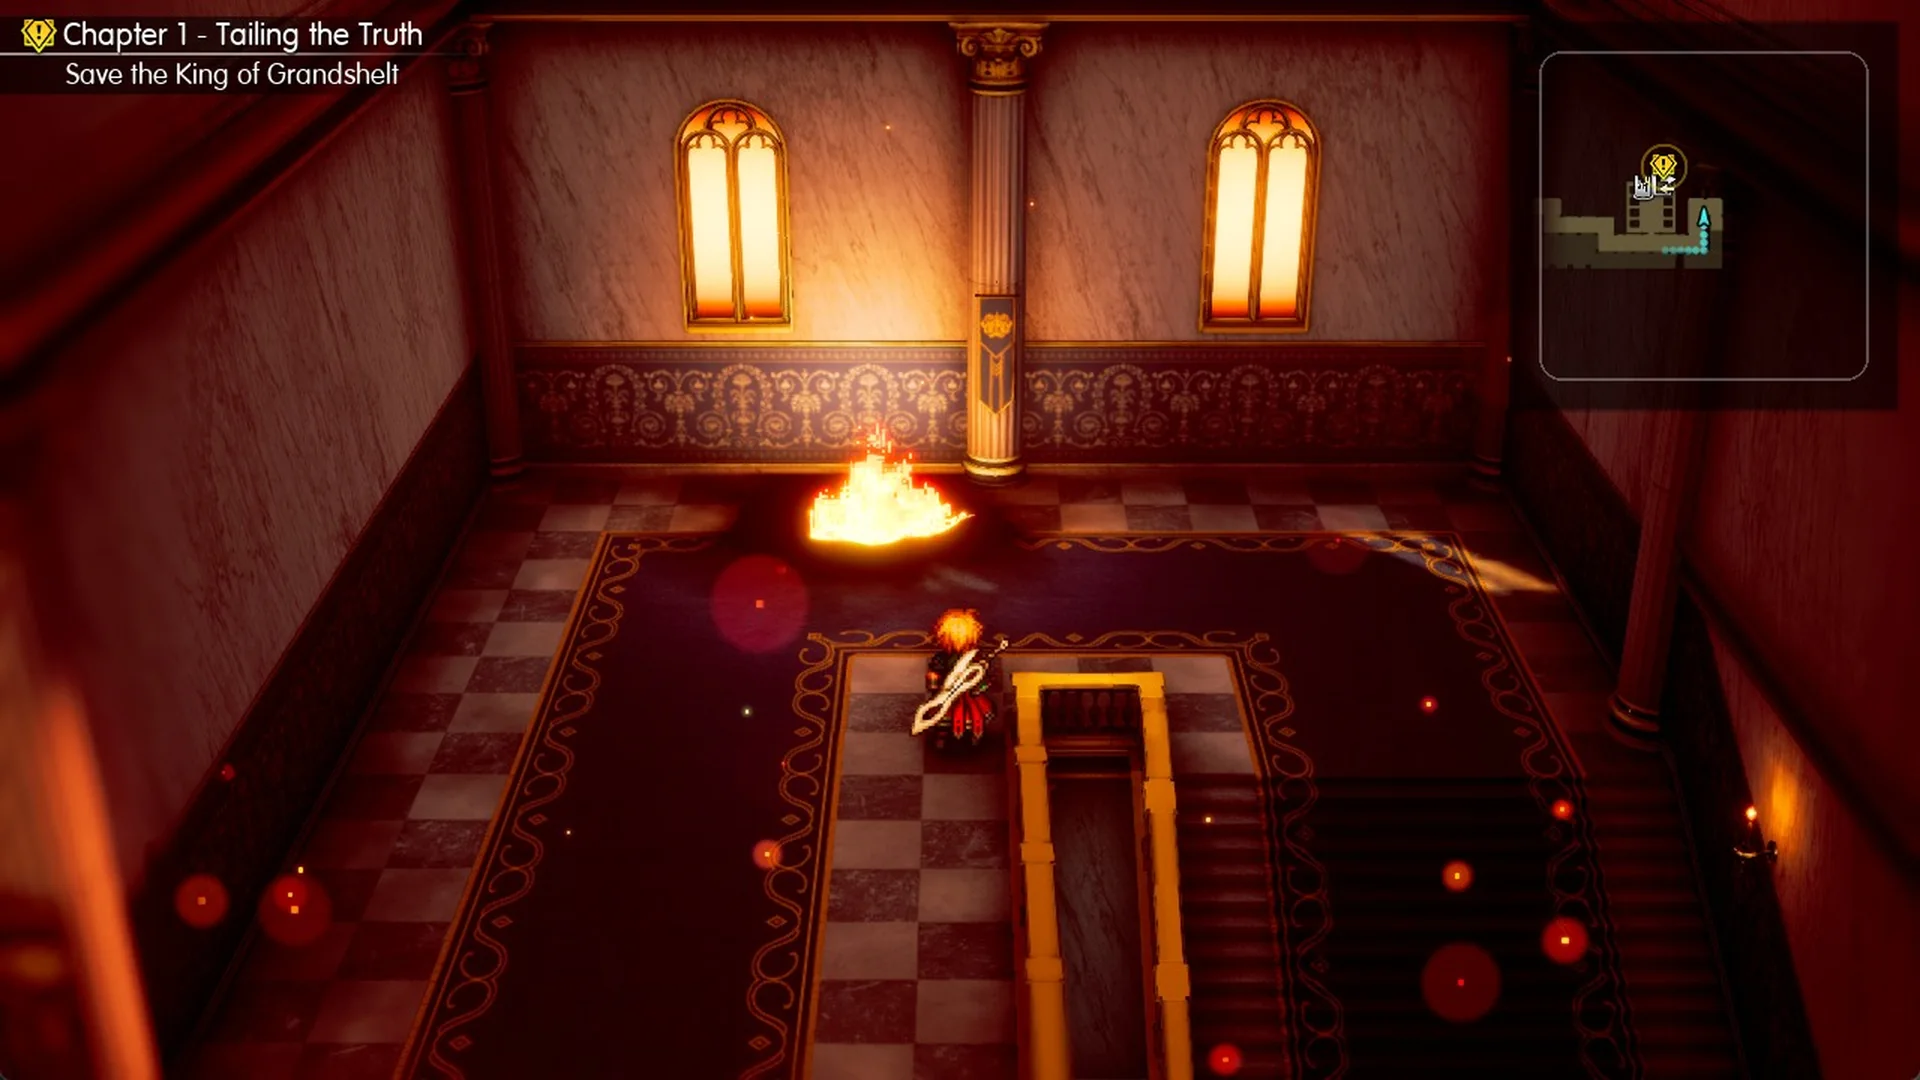
On the ground level, go into the room north of the stair foot; two pillars stand in front of a pair of chests.
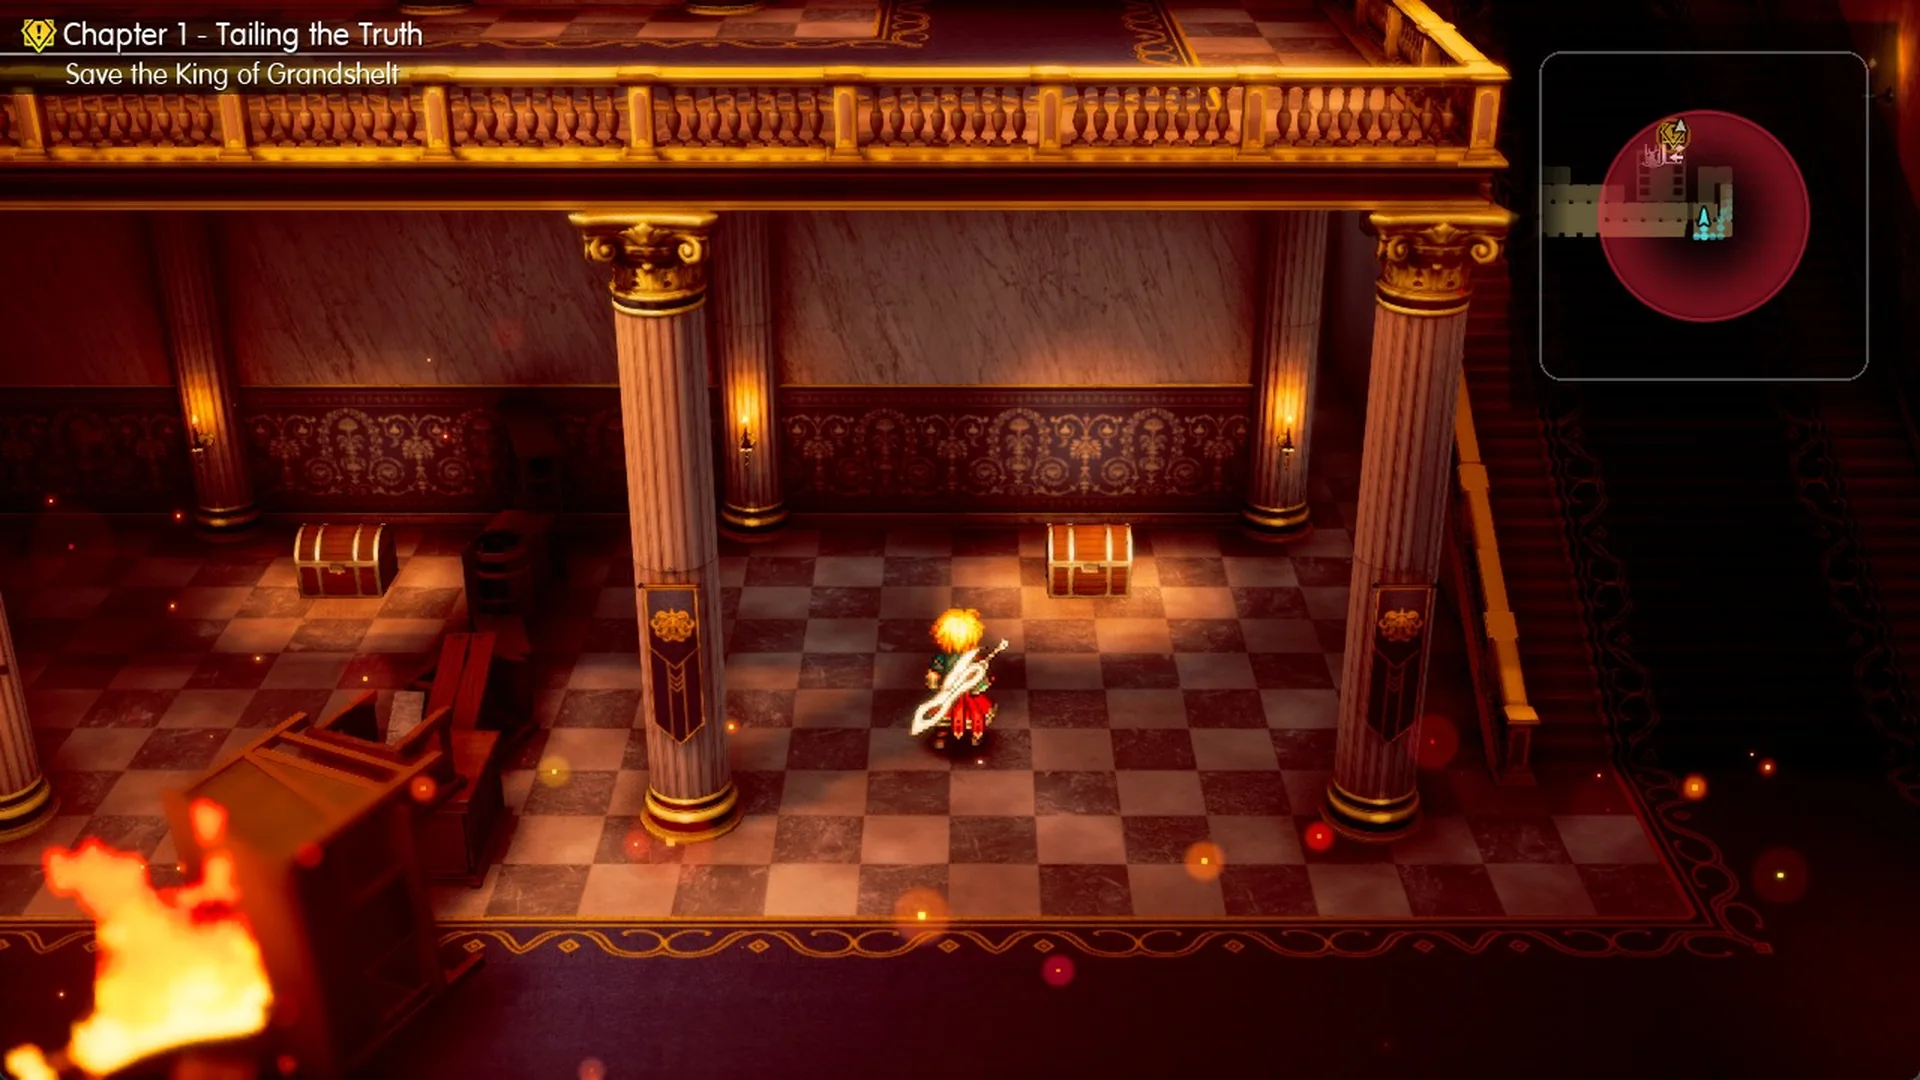
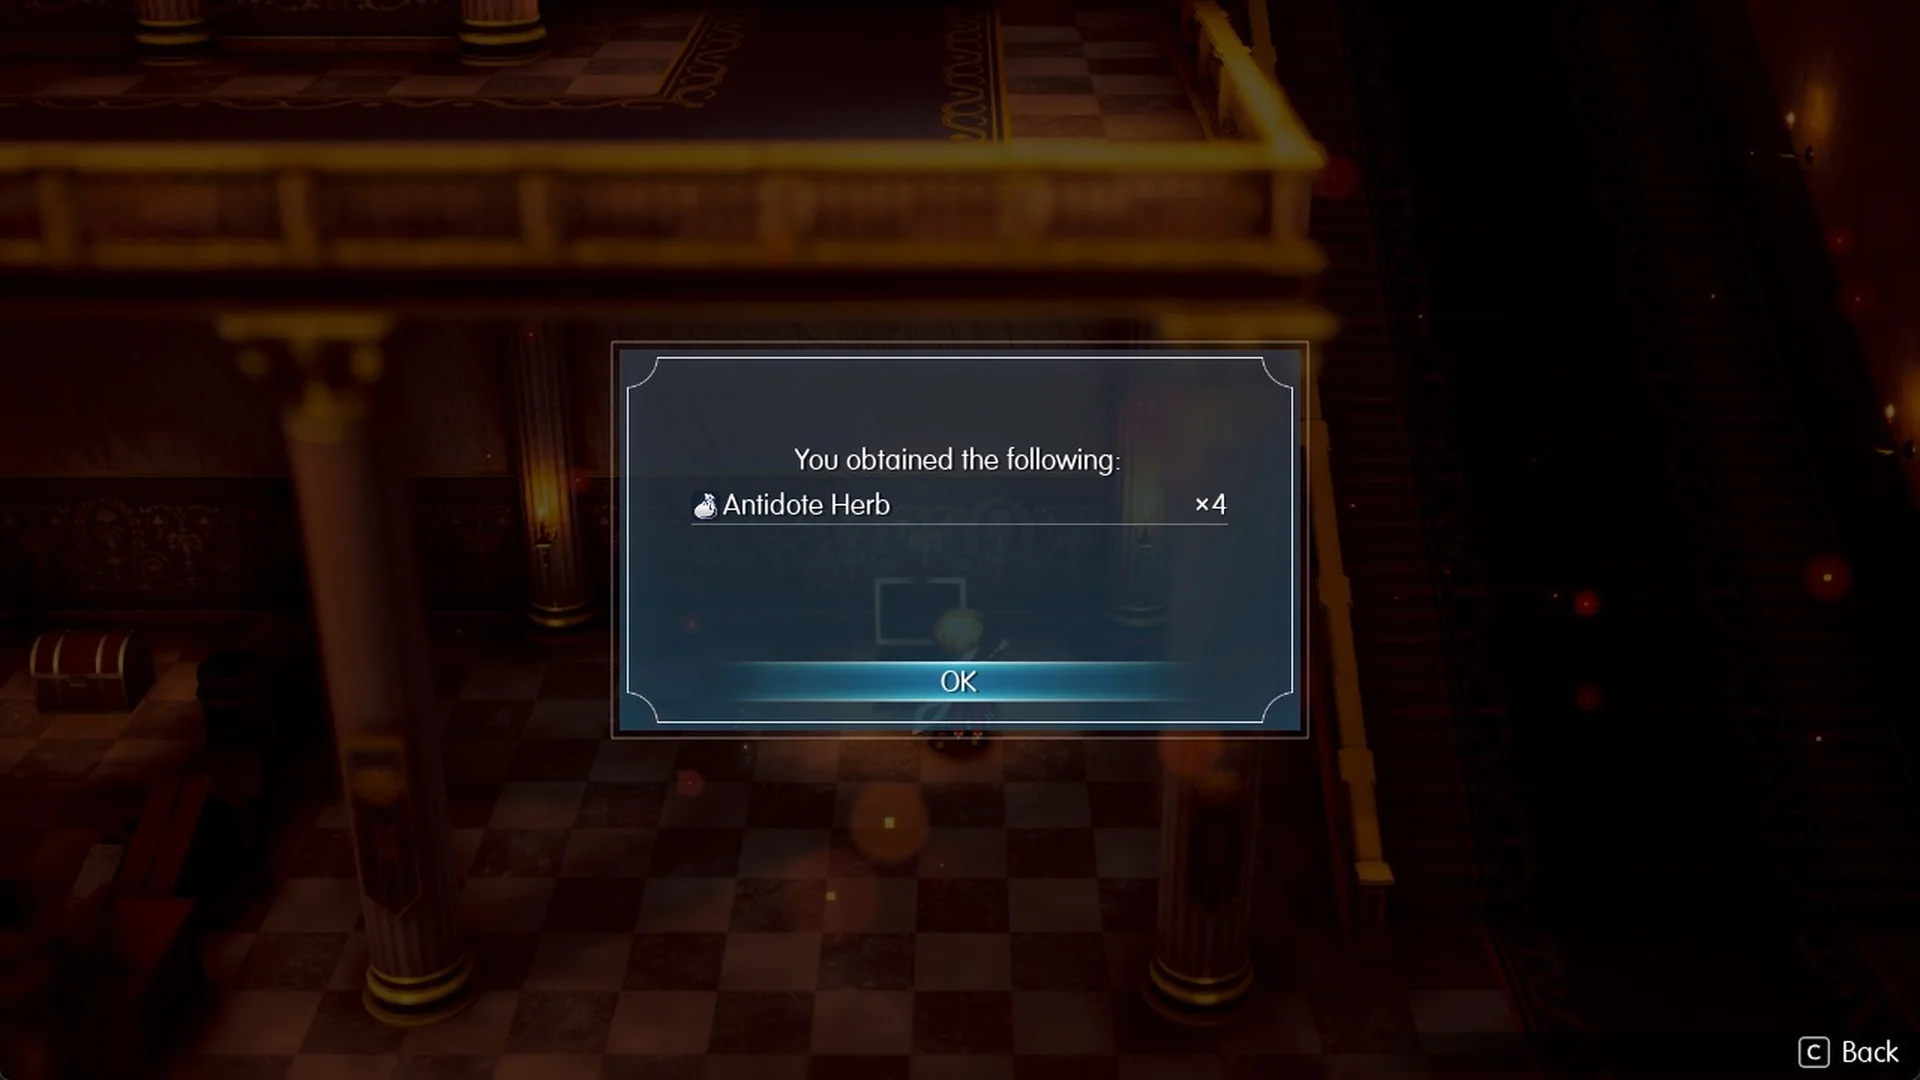
Open the chest on the right to receive “You obtained the following: Antidote Herb x4”. Debris prevents access to the room’s other chest, farther west, from this side.
Grandshelt Castle chests at a glance
Follow the Chapter 1 path through Grandshelt Castle to find the chests and the single gift listed below. Two more chests (the east wing chest behind the burning bookcase and the second chest in the Antidote Herb room) are blocked on this route.
| Item | Where in the castle |
|---|---|
 Flame Scroll I x3 | Left chest in the east wing room, before the route past the fire |
| Flame Scroll I x2 | Chest just right of the entrance of the first lounge off the gallery |
| Mist Potion x1 | Gift from a soldier in the side room past the ornate double doors (not a chest) |
 Black Garb | Banquet hall chest, far north centre (after Hell’s Rider) |
| Phoenix Down x1 | Room with four beds, doors on the north wall of the upper walkway just east of the banquet hall arch (after Hell’s Rider) |
| Phoenix Down x2 | Ground floor, east end, by the east wall behind the last pillar (after Hell’s Rider) |
| Antidote Herb x4 | Right-hand chest in the ground-floor room north of the stair foot, reached from the second lounge (after Hell’s Rider) |
Black Garb is the only piece of equipment in that list (Phys. Def +26, Mag. Def +23, Speed +8). The sections above give the route to each pickup.
Enemies in Grandshelt Castle
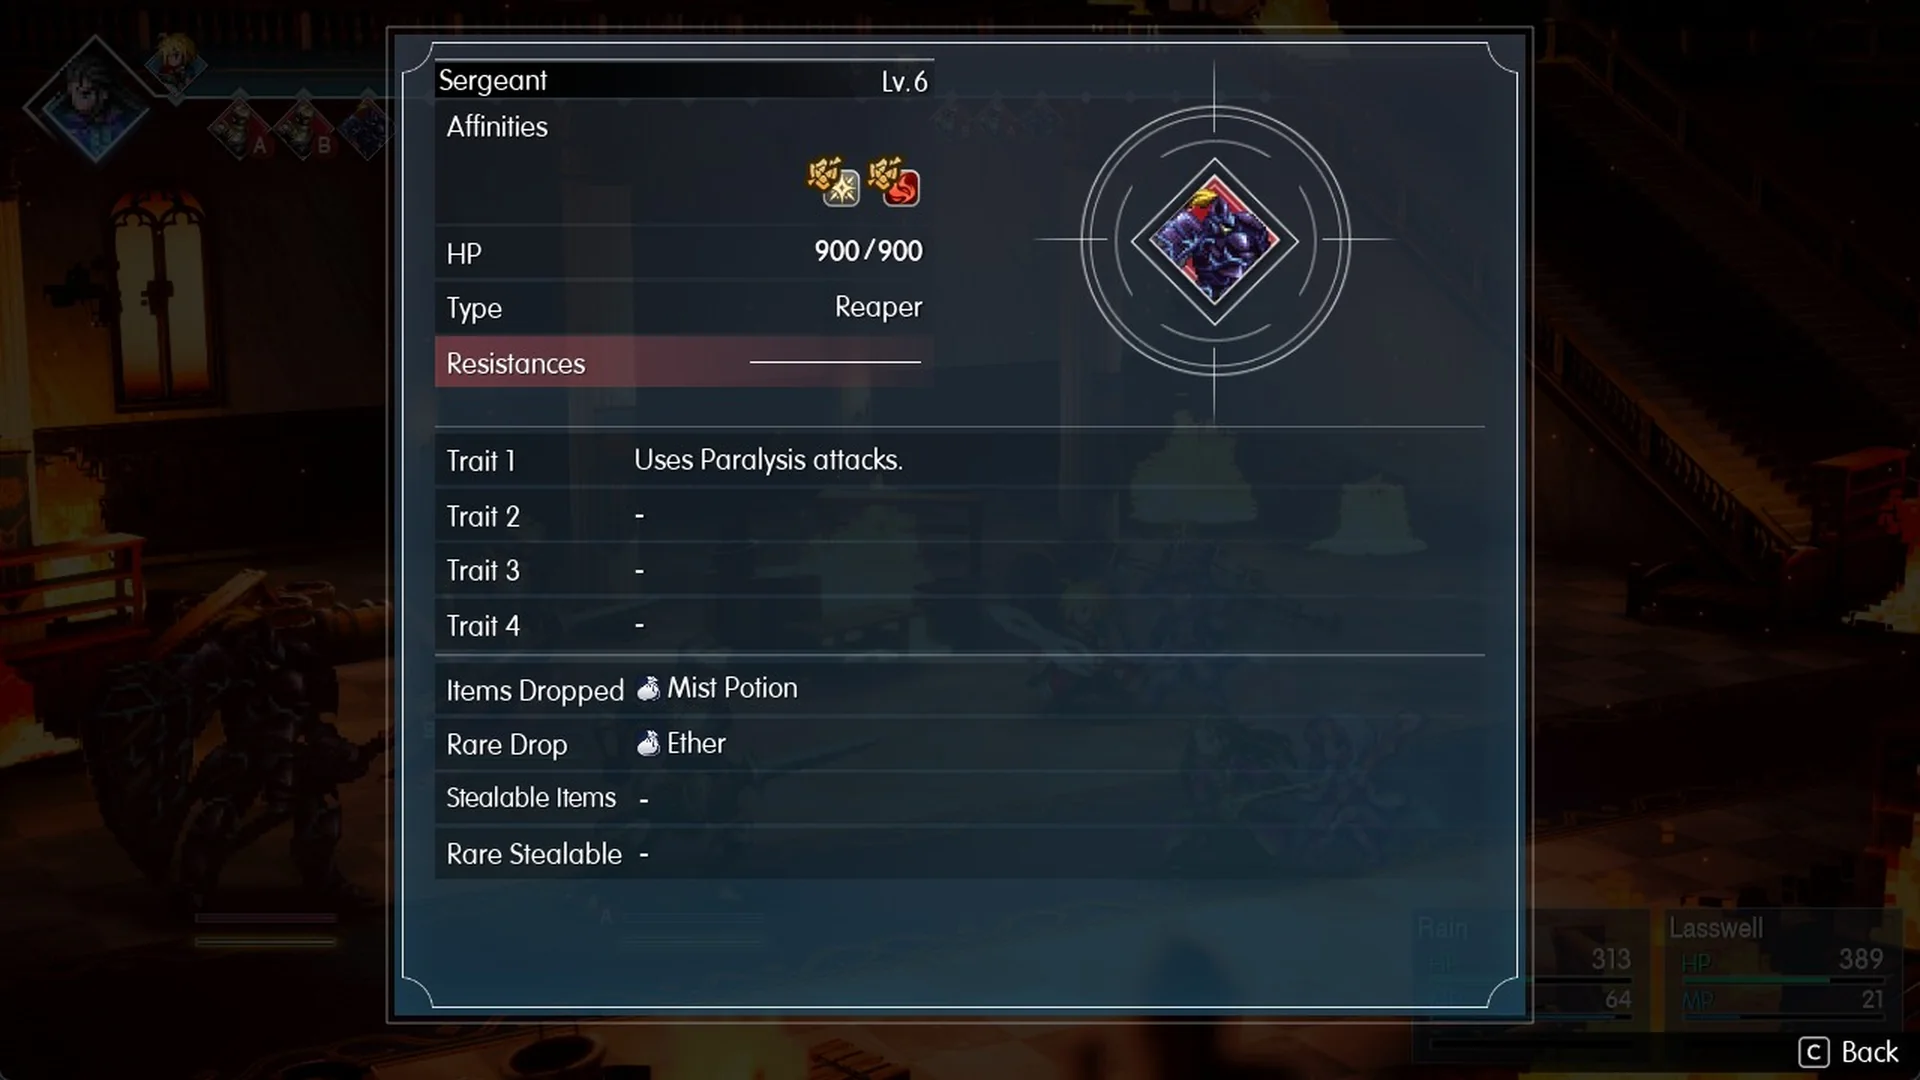
Random battles keep happening in the castle after the boss as well as before it. The table below lists what Leah’s Libra skill (MP 1, “[White Magic] Analyze an enemy for information.”) shows for each enemy type you meet in the castle on NORMAL, covering level, HP, type, weaknesses, resistances, trait and dropped items. The Wraith Soldier, Soul, Skeleton and Sergeant are all weak to Fire, while the Fire Wisp resists Fire and is weak to Ice and Water instead.
| Enemy | Lv. | HP | Type | Weak to | Resists | Trait | Drops |
|---|---|---|---|---|---|---|---|
| Wraith Soldier | 5 | 240 | Reaper | Light, Fire | Dark | Easily staggered. | Knife of Poison |
| Soul | 5 | 200 | Reaper | Fire | Ice | Easily staggered. | Knife of Blind (rare: Ether) |
 Fire Wisp | 4 | 200 | Fairy | Ice, Water | Fire | Easily staggered. | Ether |
 Skeleton | 4 | 200 | Reaper | Light, Fire | Dark | Easily staggered. | Knife of Poison |
 Sergeant | 6 | 900 | Reaper | Light, Fire | – | Uses Paralysis attacks. | Mist Potion (rare: Ether) |
 Hell’s Rider (boss) | 6 | 4000 | Demon | Light, Ice | 5 status effects | Uses a special skill when alone in battle. | Mist Potion |
Throne room: the King of Grandshelt
The objective remains “Save the King of Grandshelt”. At the grand staircase landing where Hell’s Rider fell, take the left-hand flight upward, step off its top to the left, then head east on the upper walkway until you reach the central gilded double doors. Since rubble and a broken cabinet occupy the area left of the doors, approach from the south and press F.
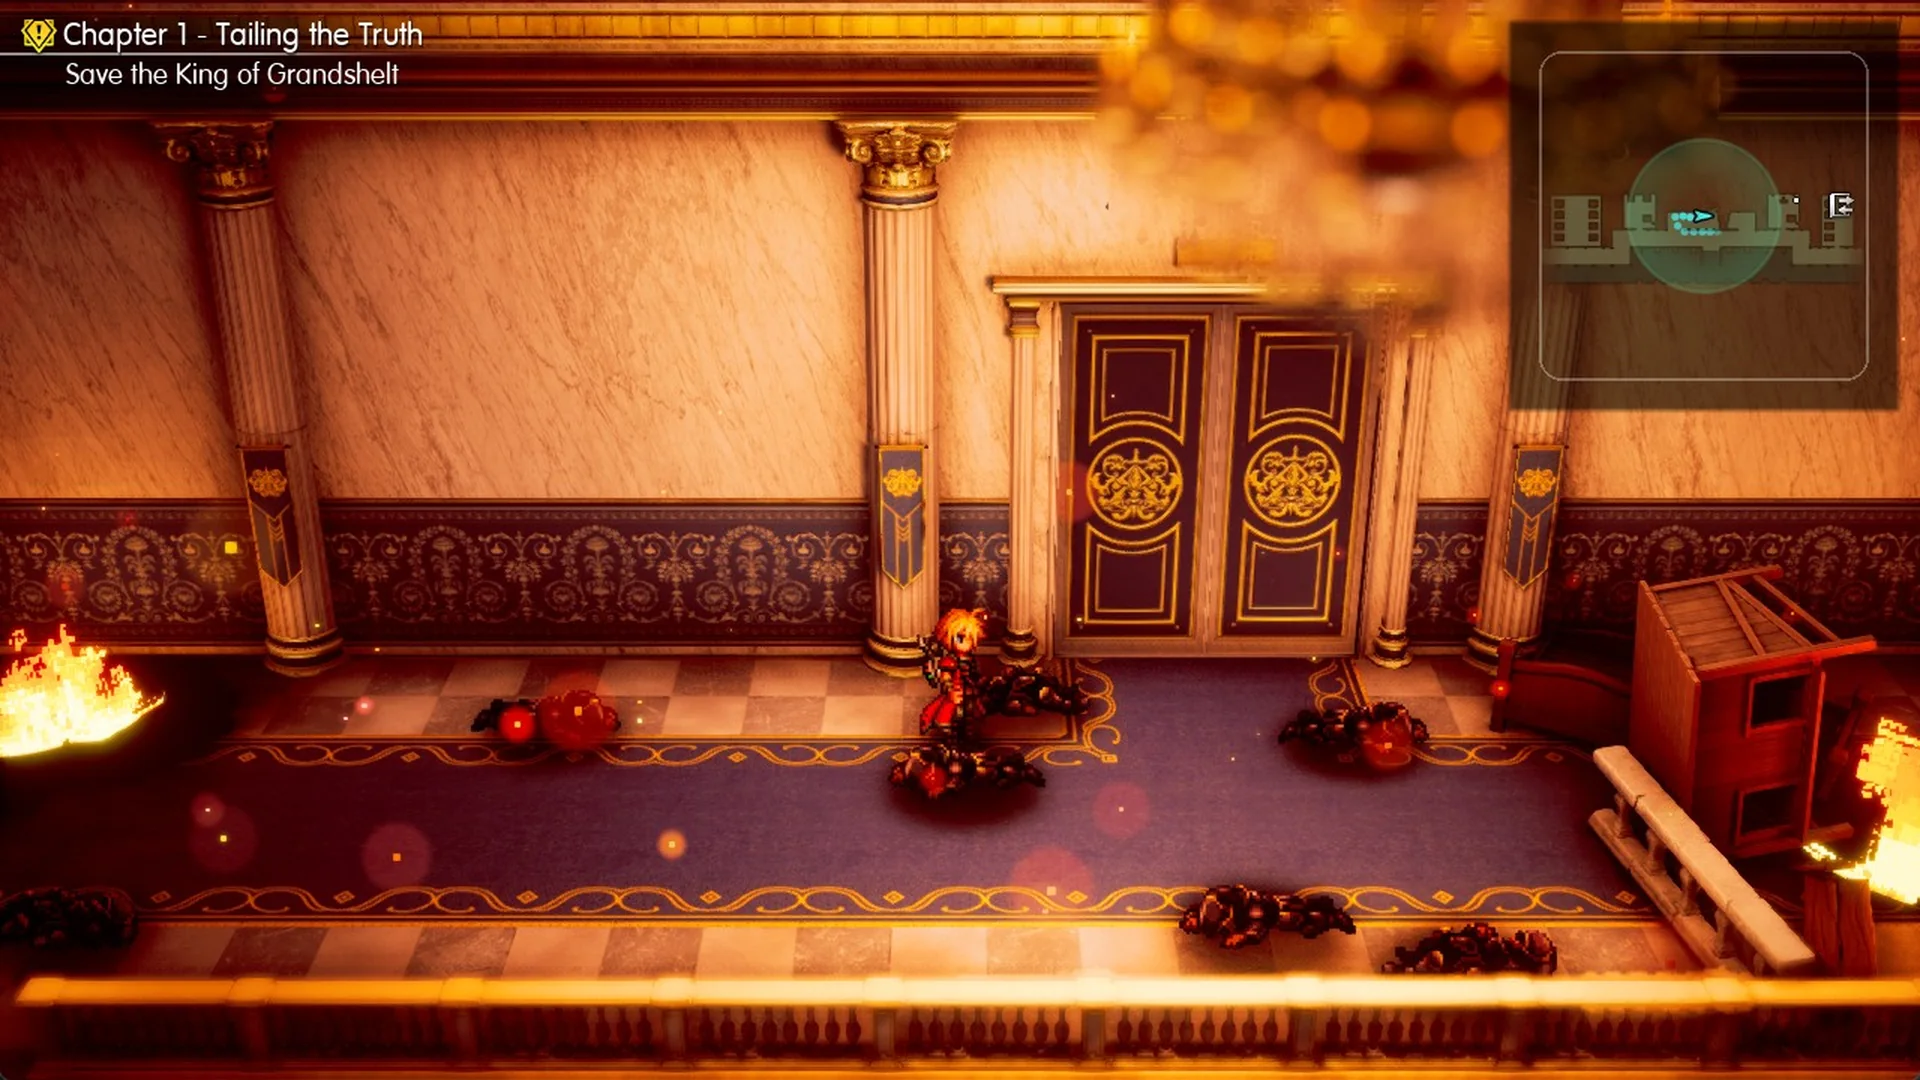
Inside the throne room, the wounded King of Grandshelt says “The enemy made for the Royal Vault… They must be here to steal our national treasure, the Divine Signet…” and describes it as “a powerful relic that augments magic”. Lasswell warns that the King’s wounds may prove fatal, and Rain answers “Come, Your Majesty. We shall escort you outside.” The scene then moves outside the castle.
Umbra outside the castle (scripted battle)
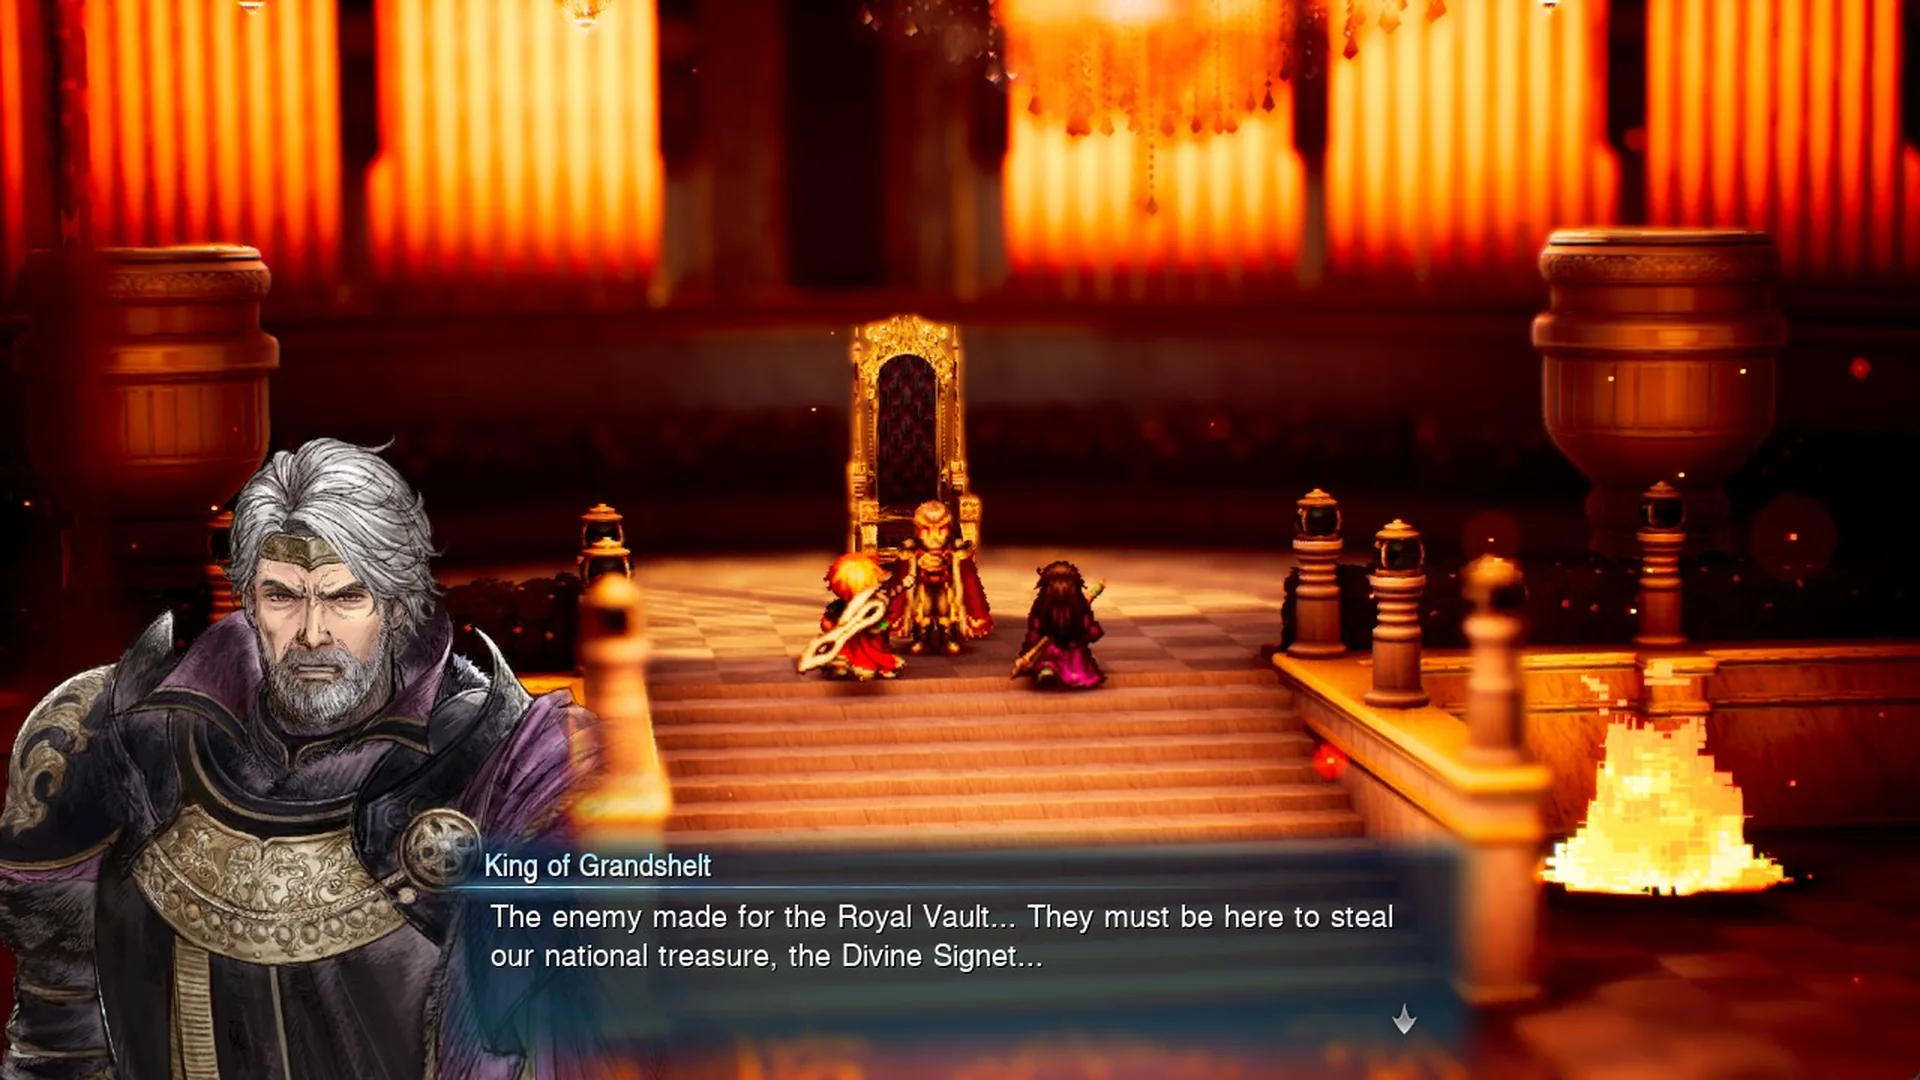
Outside the castle, a group of armored warriors waits on the steps, and one of them says “So, you have acquired the power of visions.” before introducing himself: “I am one of the Sworn Six of Paladia…Umbra, Veritas of the Dark.”
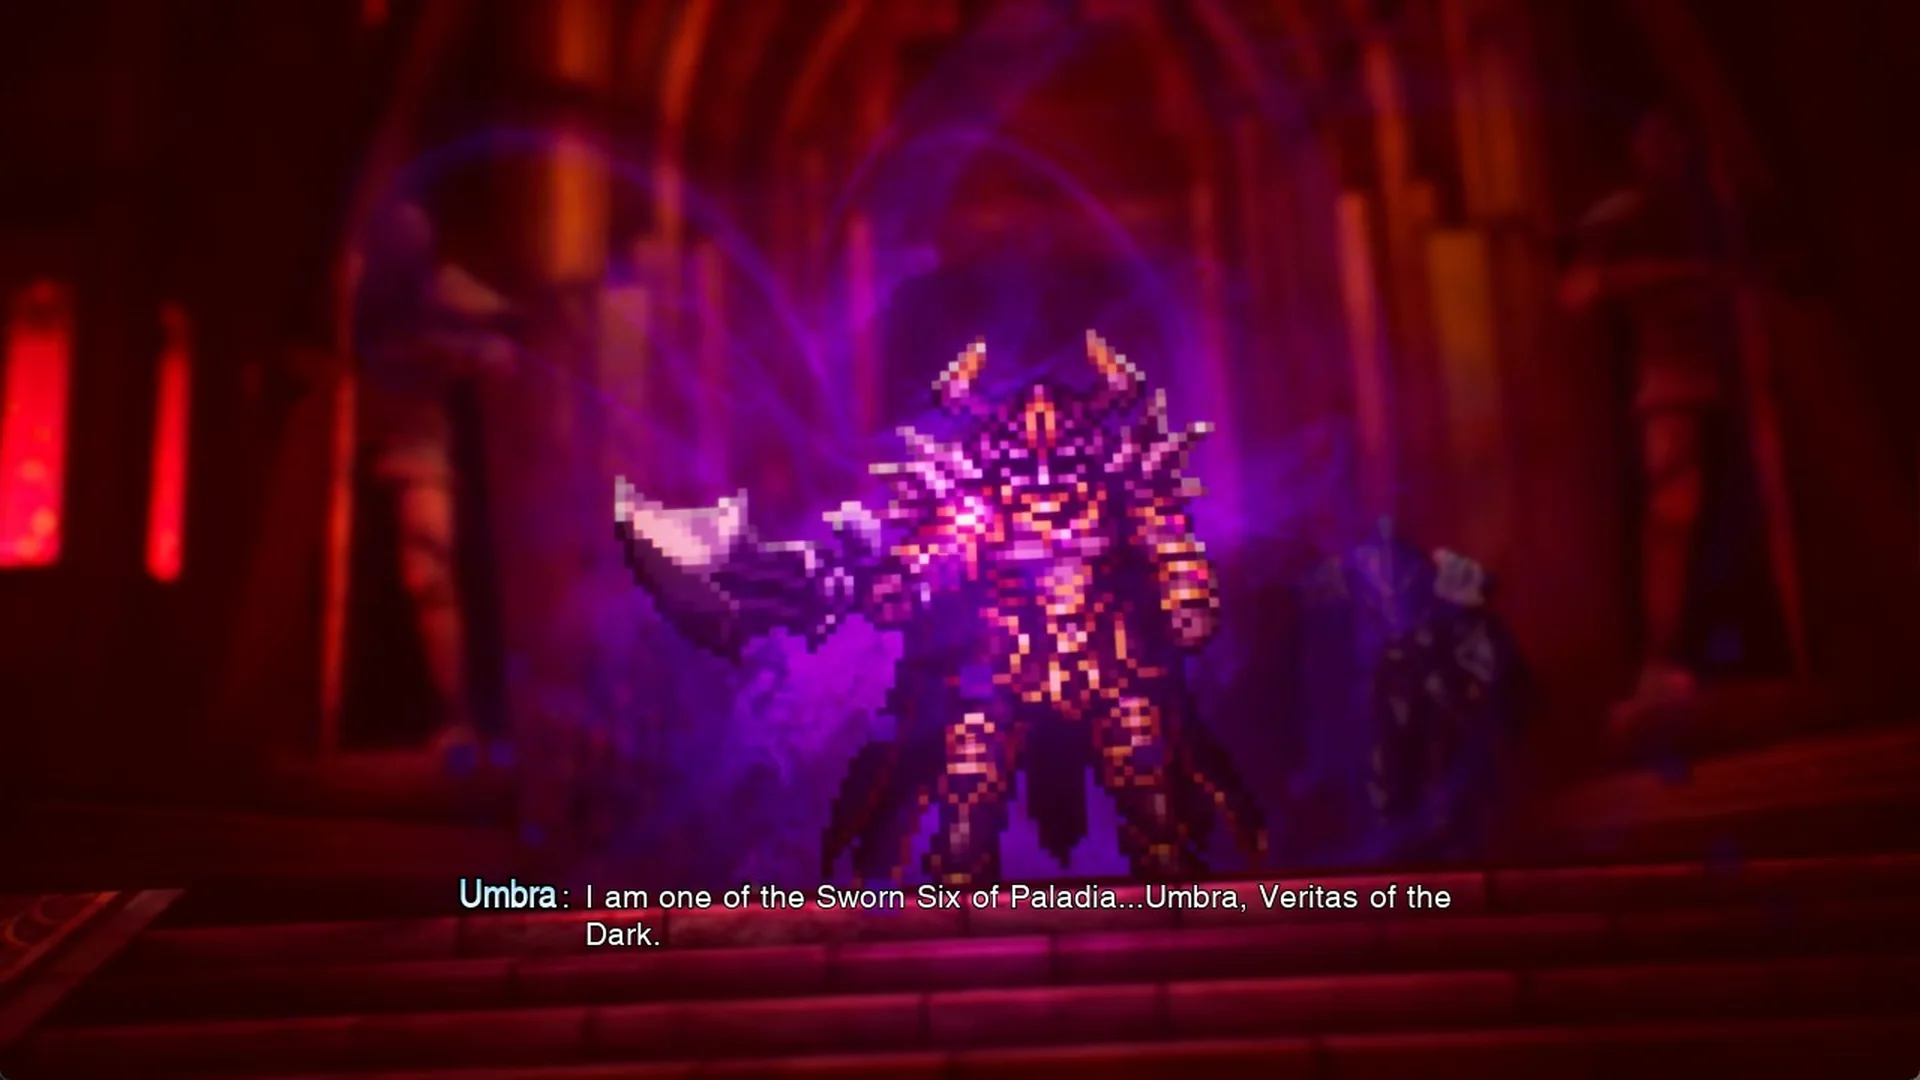
A battle against Umbra follows, and it is a scripted story fight: Libra shows Umbra at Lv.17 with 99999/99999 HP, and Escape is greyed out in the command menu.
After about two rounds the battle ends on its own and a cutscene takes over, so you do not need to win it and you do not get a game over. The full breakdown of the fight is in Can you beat Umbra?
Fina and the King’s bedroom
In the cutscene, a Mysterious Girl appears in a burst of light and says “You’ll not harm Rain!”. Umbra answers “It matters not. The Divine Signet is in my possession. I shall not tarry here any longer.” and leaves with the other warriors (“Let us depart.”). The girl is Fina, and she tells Rain “I can’t remember… anything.”
In the King’s bedroom afterwards, the King says “So it was by their hand the Earth Crystal was shattered.”, Charlotte reports that the wraith soldiers that laid siege to the castle were also spotted “the other day at Kolobos Ruins”, Rain offers himself and Lasswell for the task, and Charlotte recommends heading to Felicitas first because “It’s the closest town from the ruins.”
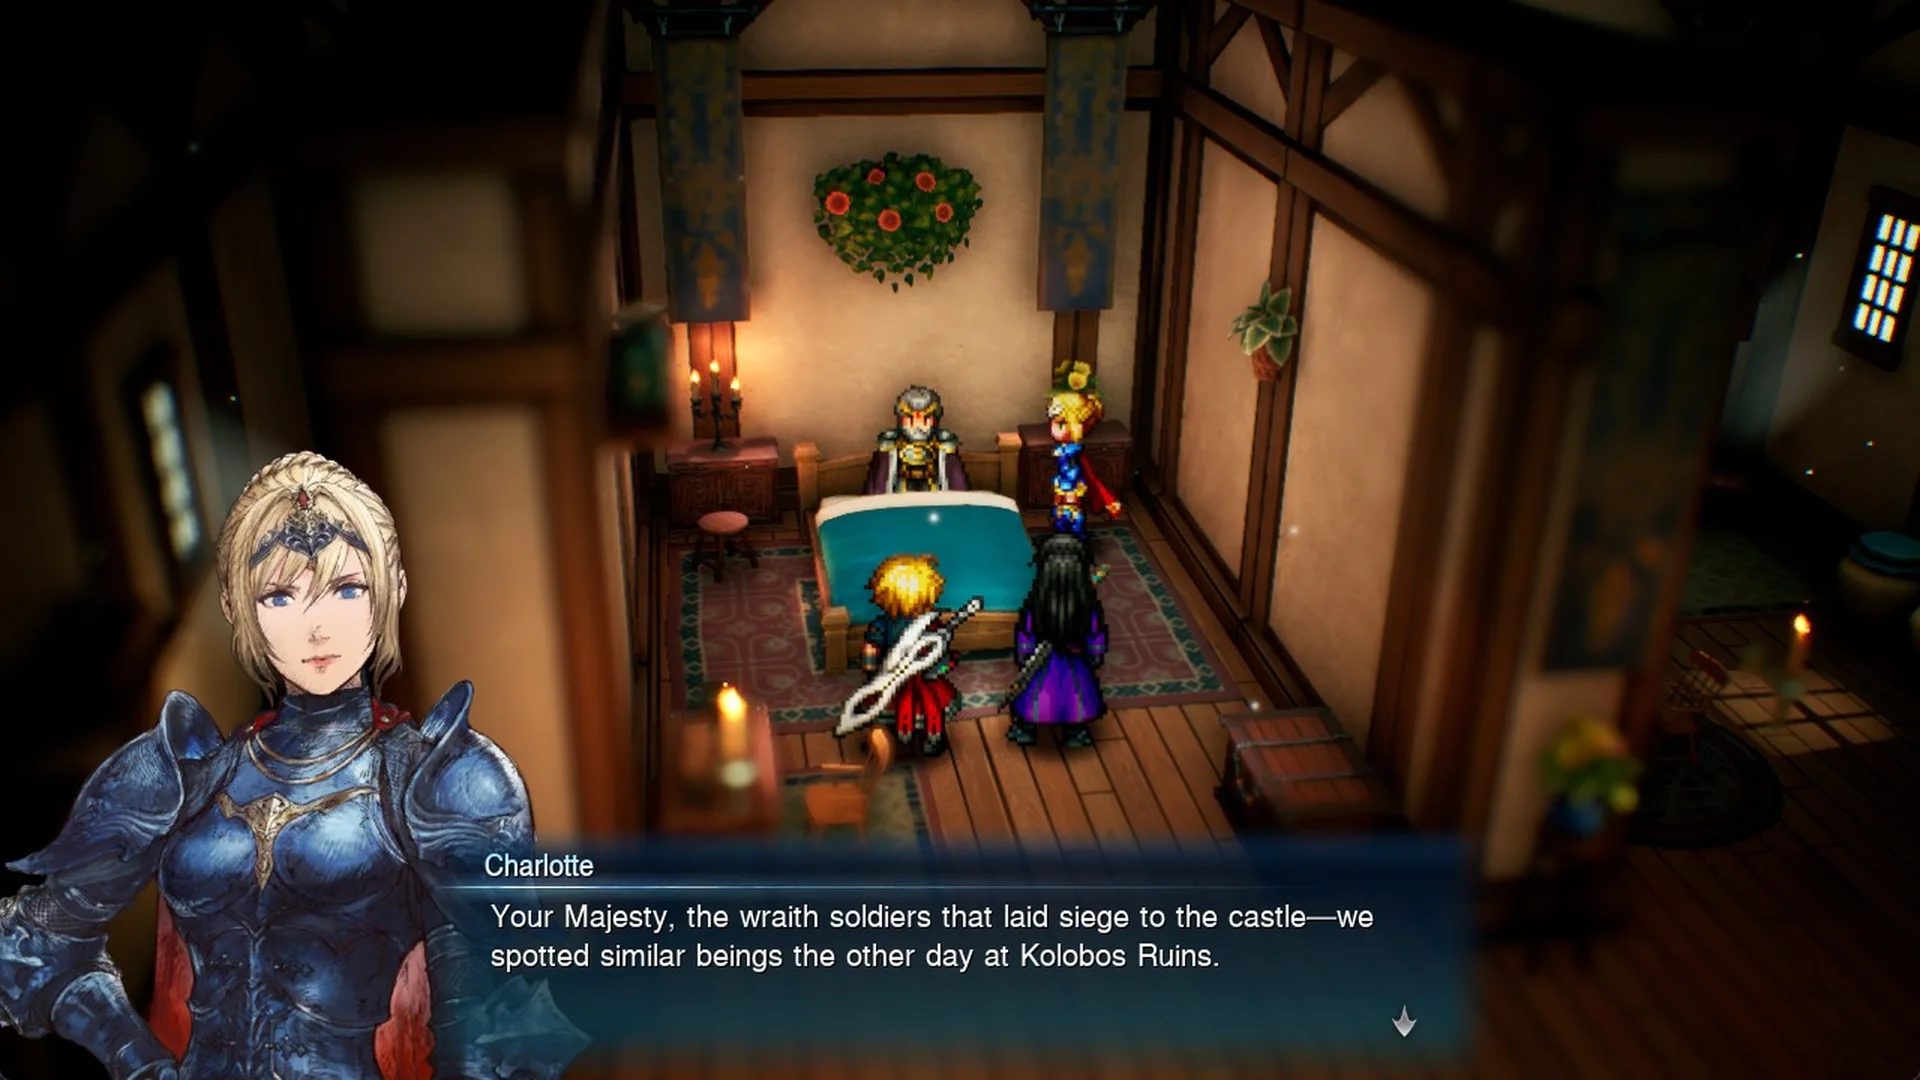
“What’s our next move?”: Felicitas or more visions
Lasswell then asks Rain for his thoughts, and the choice “(What’s our next move?)” appears with two answers: “We should go after the armored warriors immediately. Let’s head to Felicitas.” and “We should look for more visions first and bolster our fighting power.”
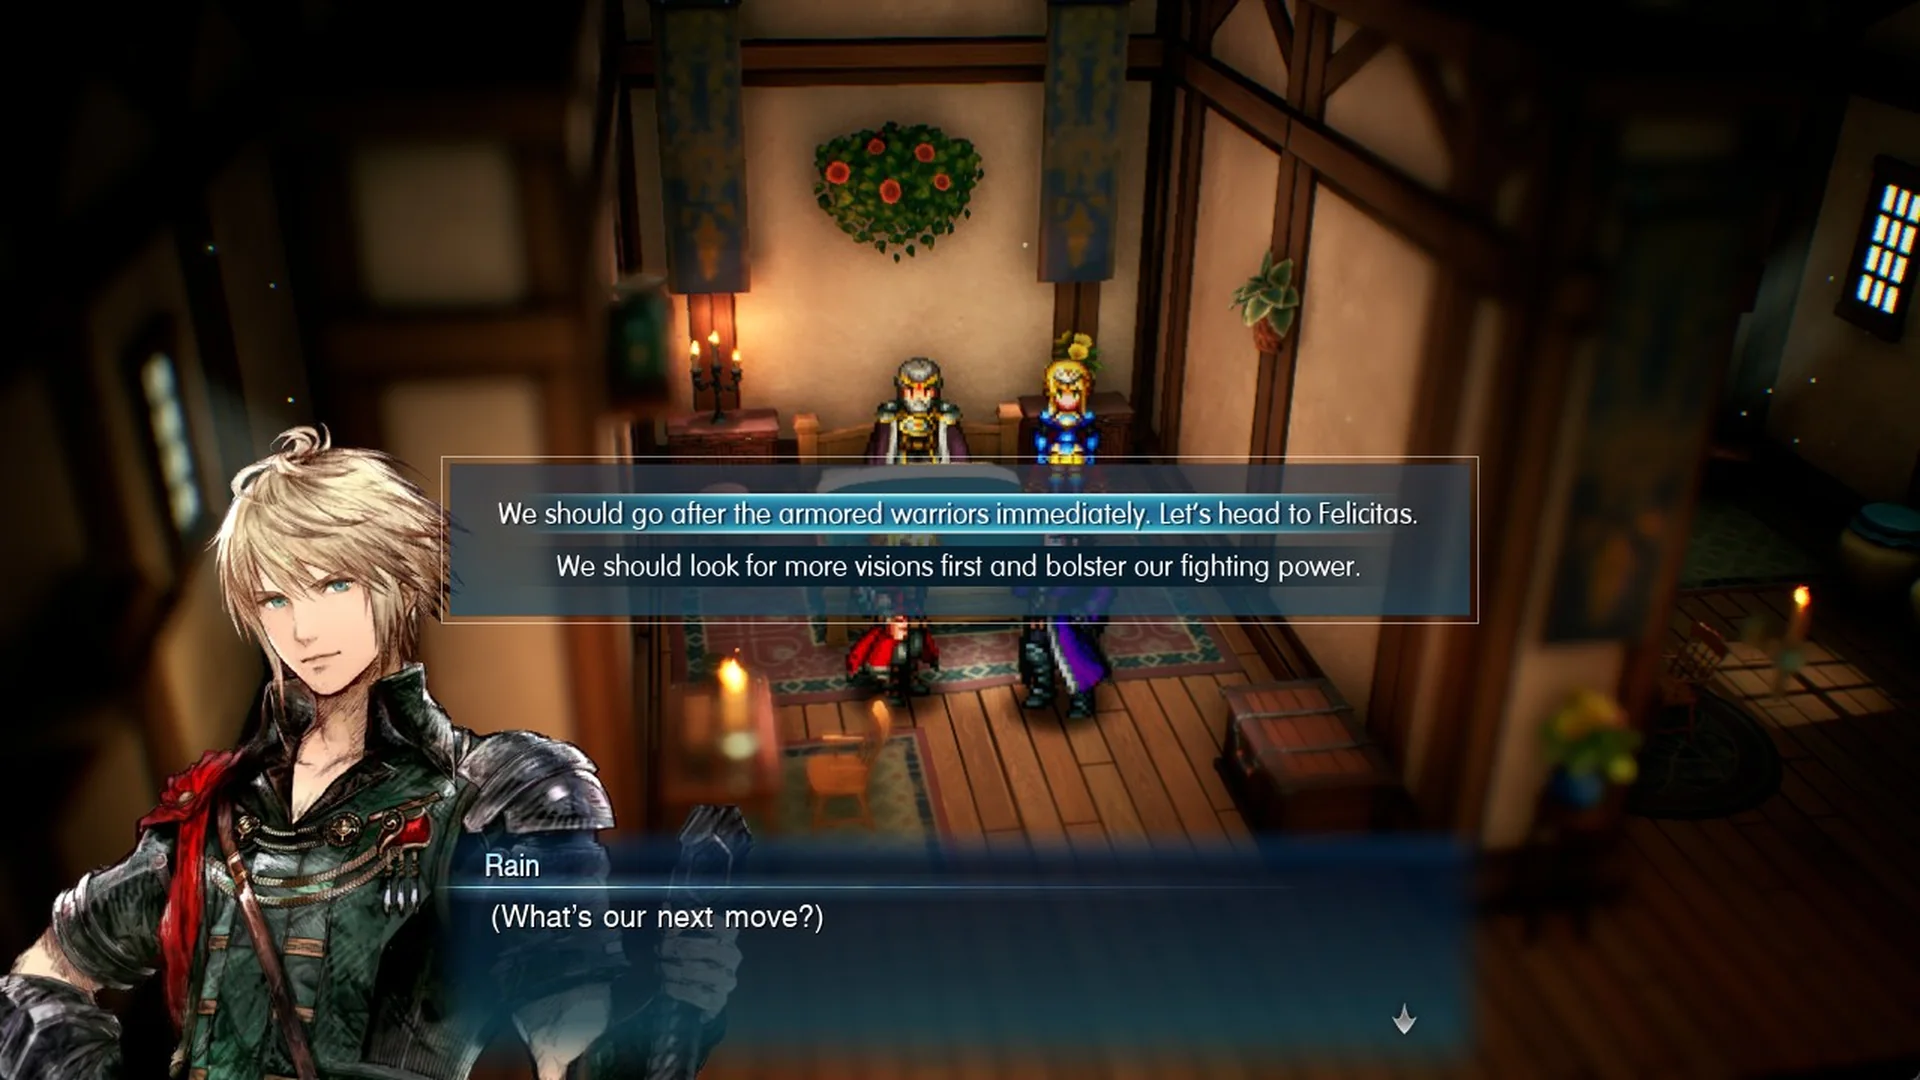
With the first answer, Lasswell replies “Understood. We’ll head to Felicitas then. We can always seek out the visions later.” and adds that visions are “apparently enshrined in sanctums”. No stat or reward popup appears after the first answer.
Charlotte says she came across several such places during geological surveys of the continent and marks them on your map, so the world map now shows new sanctum icons on the large continent to the west.
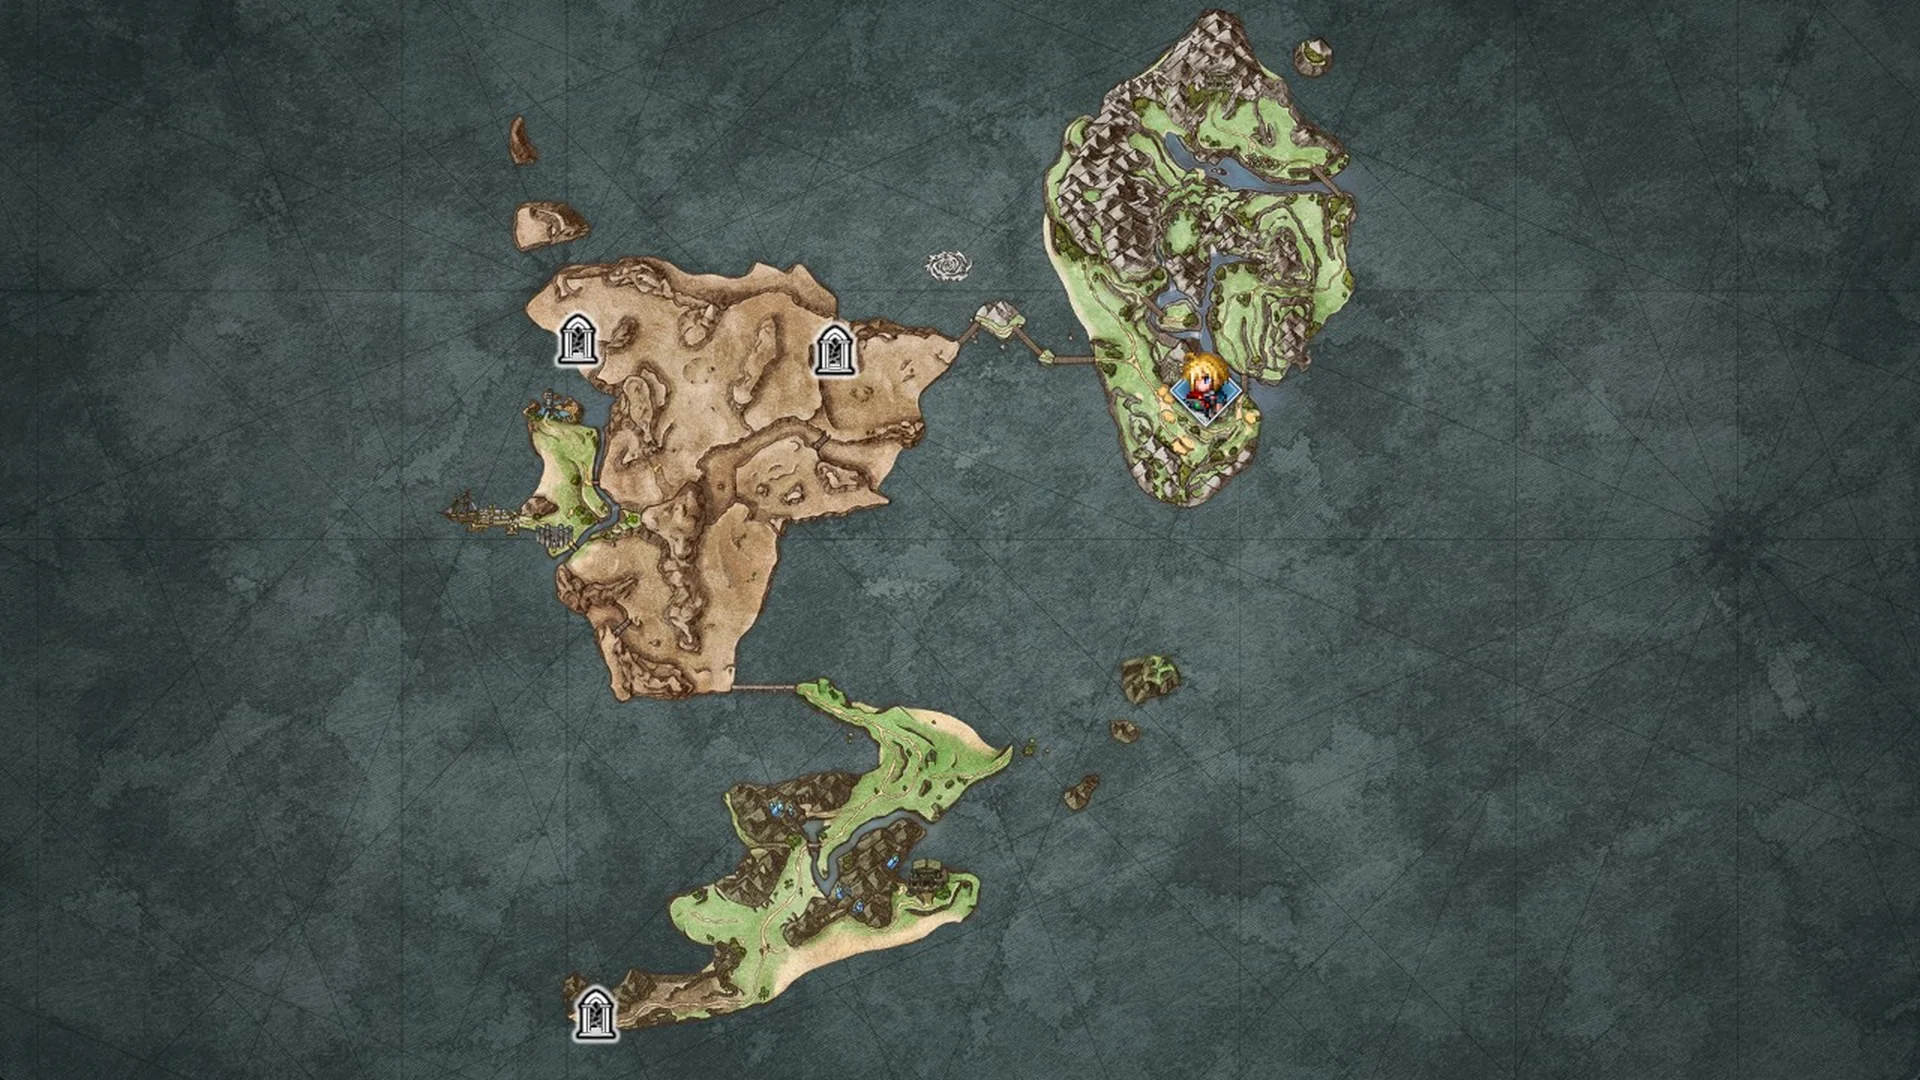
Next objective: Go to the town of Felicitas
Once the bedroom scene ends, the quest updates to “Go to the town of Felicitas” under Chapter 1 – Tailing the Truth, and you regain control in the capital’s “Commercial District”. The System Menu here has no Save row (only Load, Help, Options, Return to Title and Quit Game), so save at a save point or on the world map after you leave the capital.
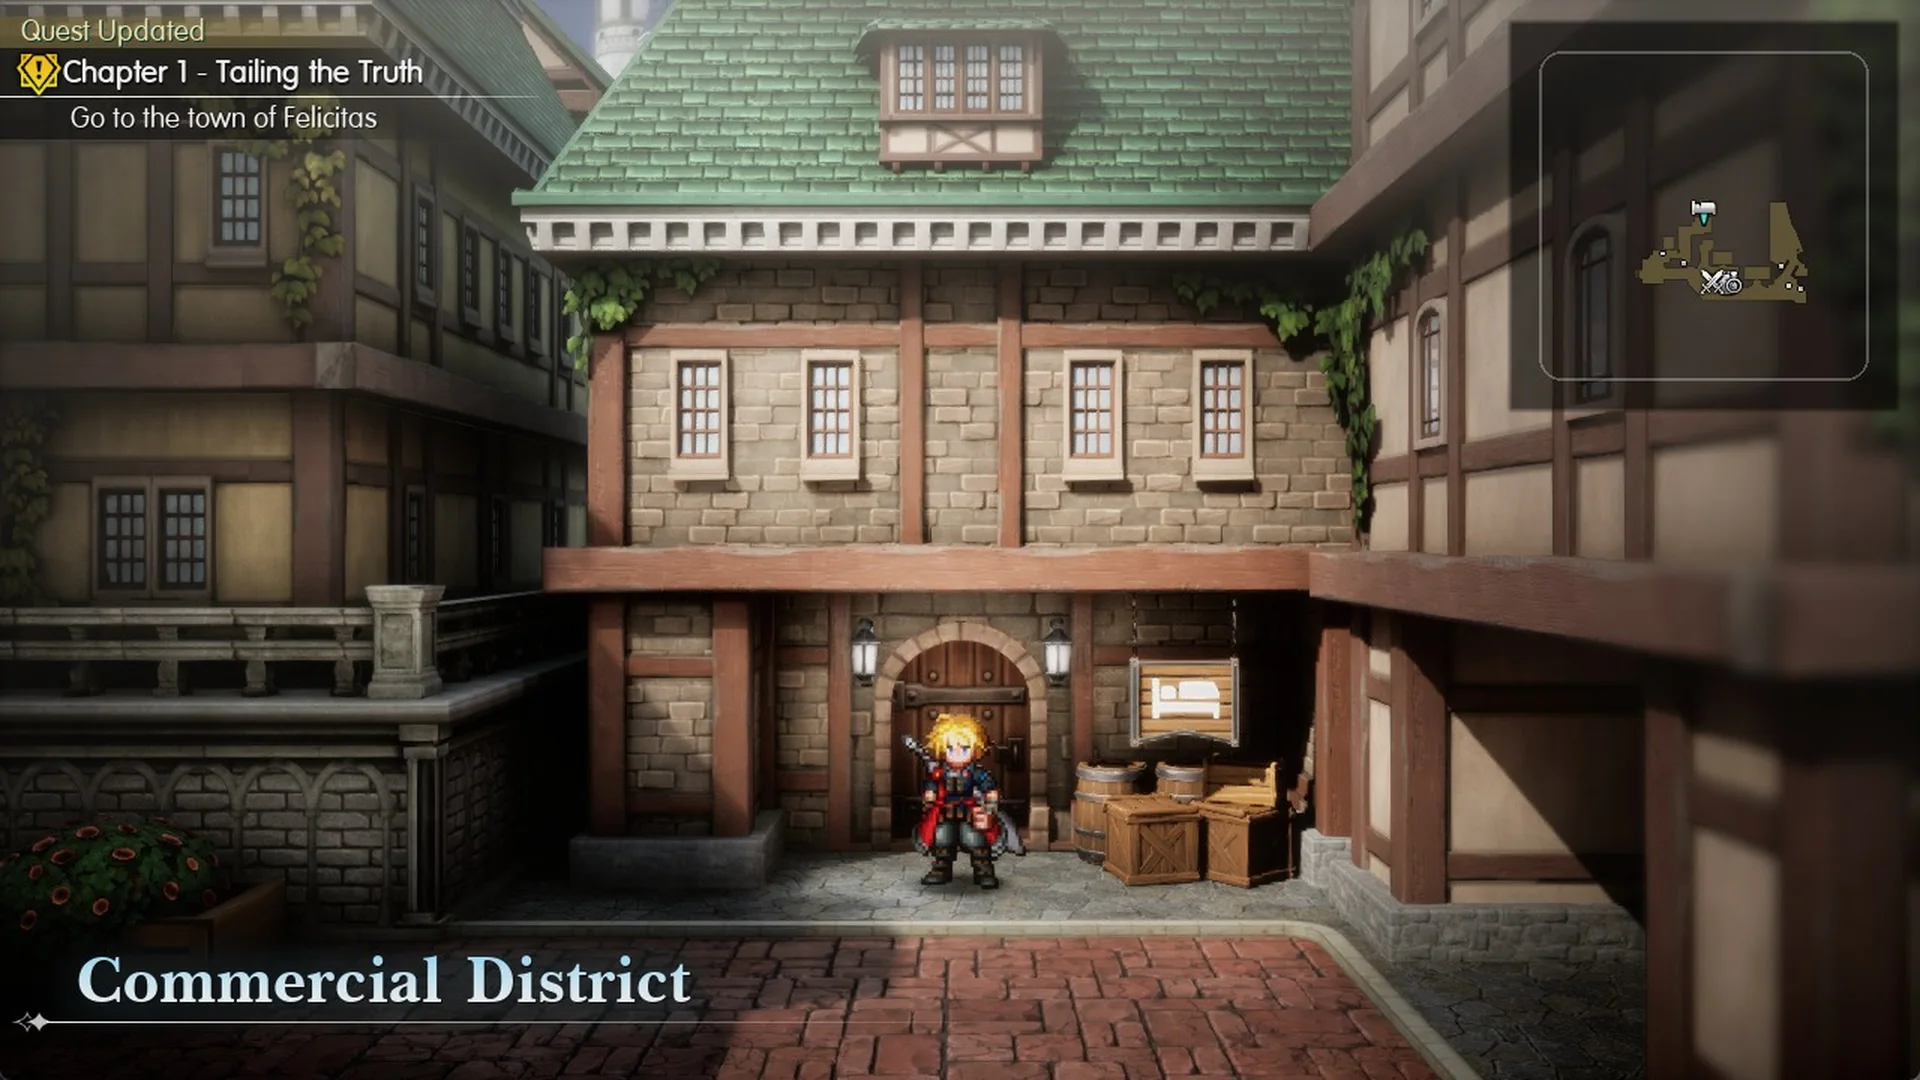
Leaving the capital: from the Commercial District to the field
The starting point is a cramped alley beside a signpost in the capital’s Commercial District. From the sign, the route goes east (right), then south (down) onto the raised promenade, a stone-railed path above blind arches. Follow it west (left), pass two townspeople, and skirt the one in blue. The pillar at the promenade’s western tip blocks a straight move left; a diagonal input (left-up or left-down) leads out to the plaza.
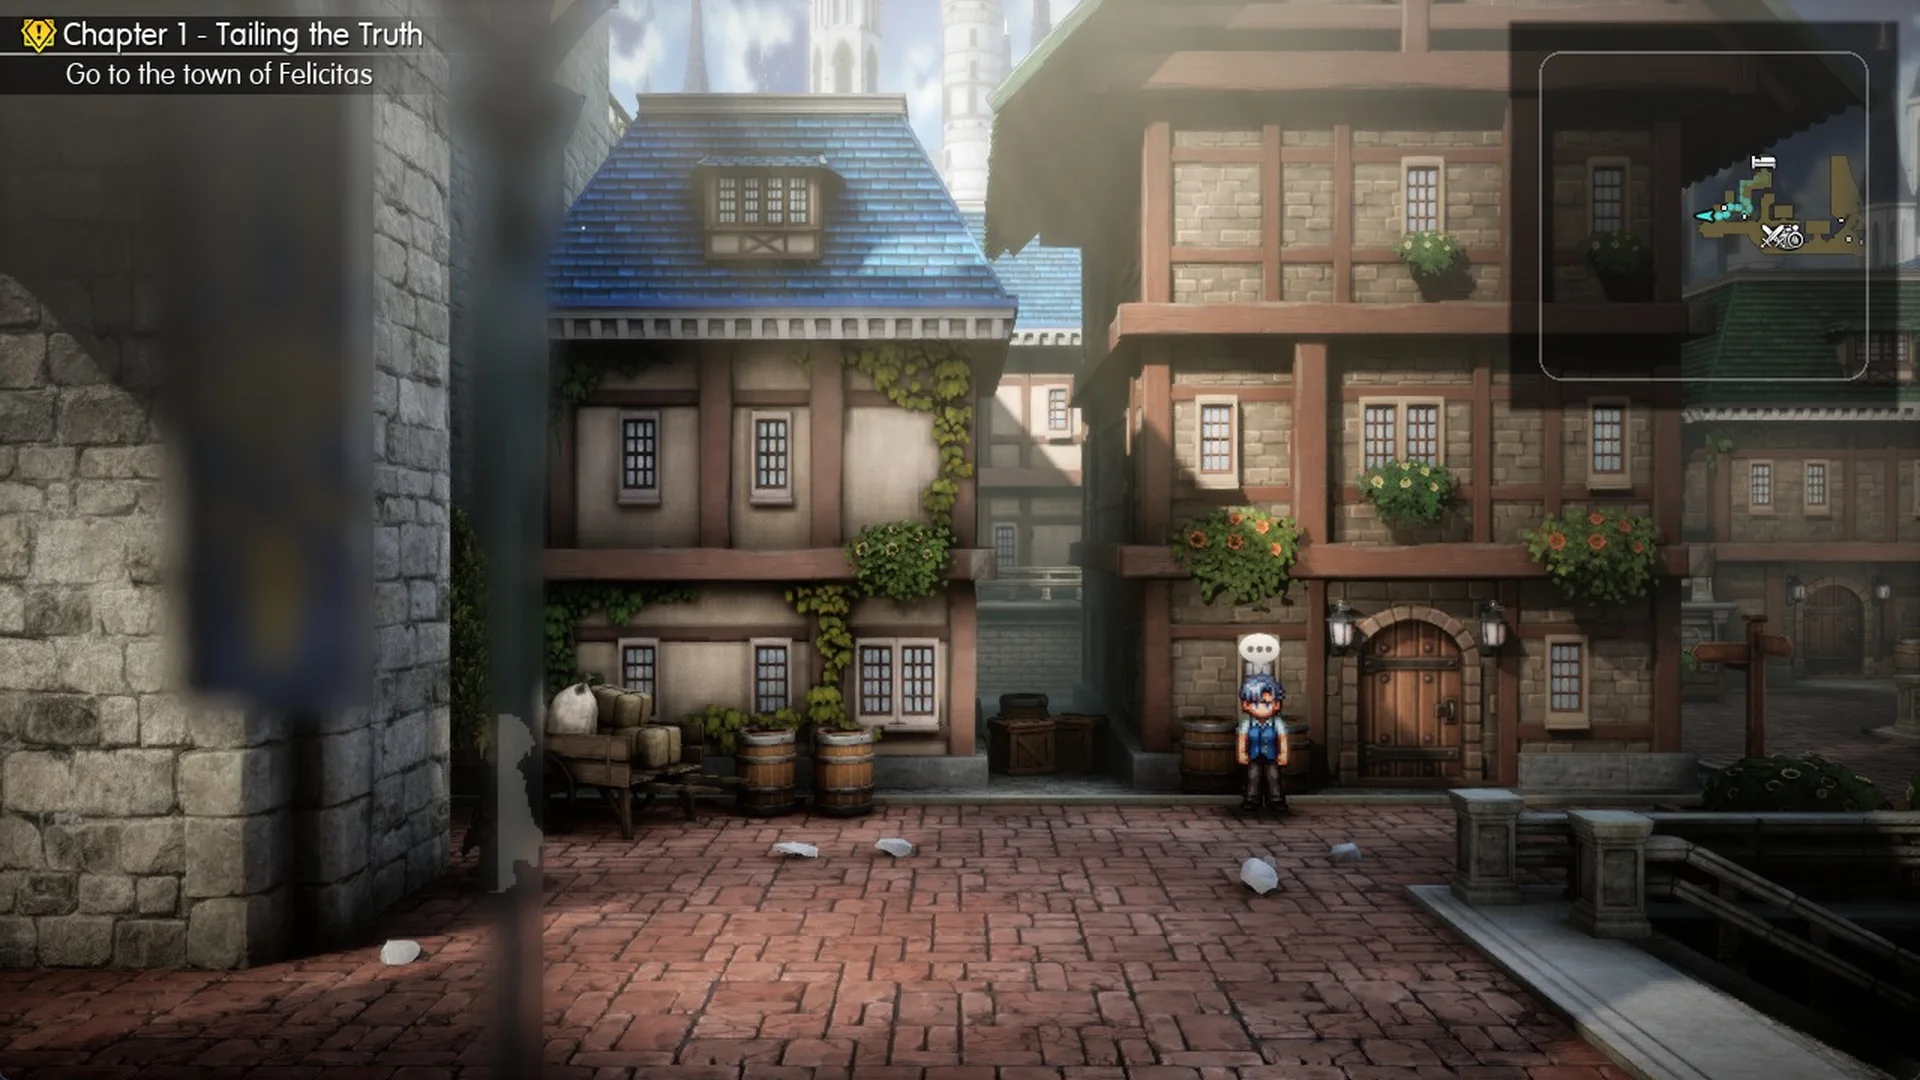
The plaza has lampposts and hedges, with the castle behind it. There, Lasswell says “I don’t know, but we should go check on them.” about a commotion, and the “Accepting Quests” tutorial explains that quests come from NPCs marked with the quest symbol. A quest NPC stands west of the fountain, and taking that quest is optional.
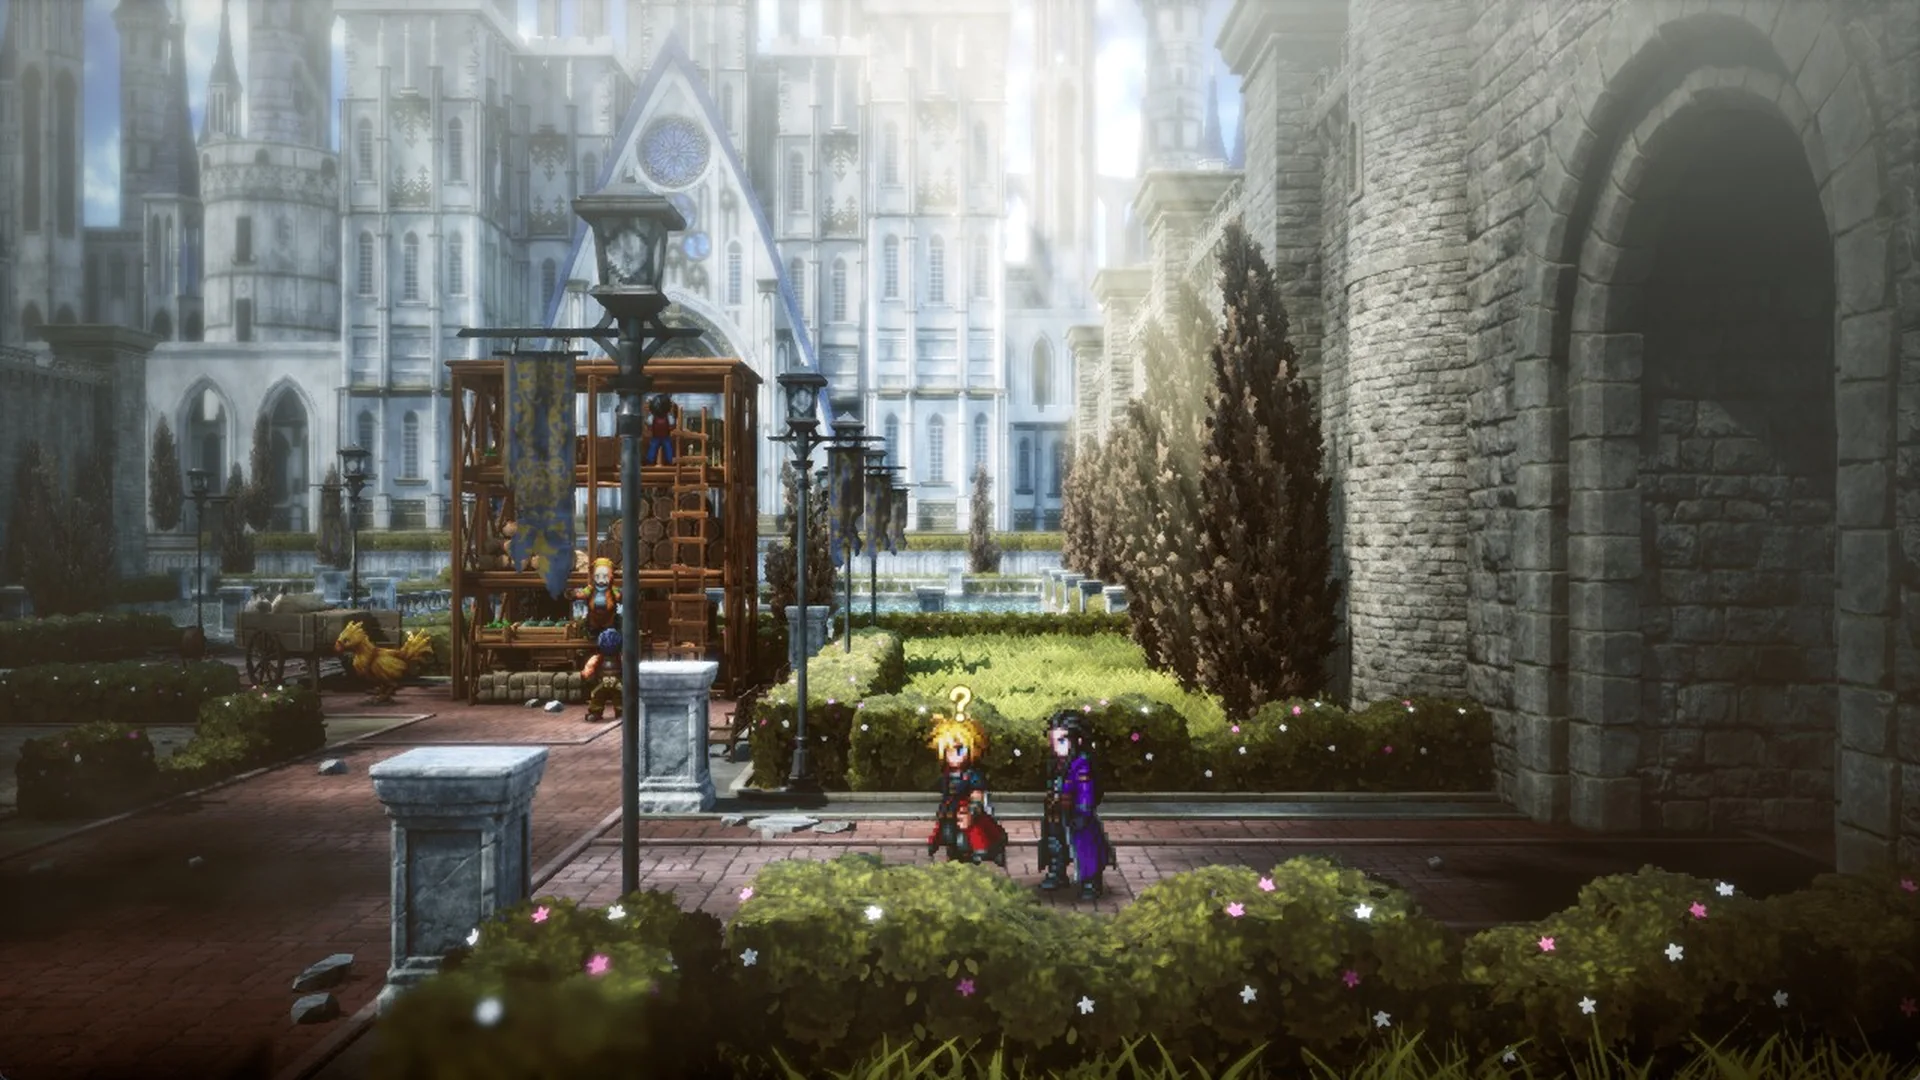
To leave, go south from the fountain along the centre path into the gate tunnel under the portcullis, then keep walking down (south) the whole length of the red, torch-lit corridor. The camera faces back north in that corridor, so pressing up walks you back out. At the far end, press F (Proceed) to reach the field of the Kingdom of Grandshelt, where the System Menu has Save again.
Fina joins the party
A scene starts as soon as you reach the field. Rain says “To get to Felicitas, we’ll need to cross the desert to the west, right?” Lasswell suggests stopping by Kol to borrow some chocobos for the journey and adds “First, let’s cross the bridge to the west.” When Fina asks to come along, Rain answers “What? We can’t just leave her. And remember, she was the one who saved us–not the other way around.”
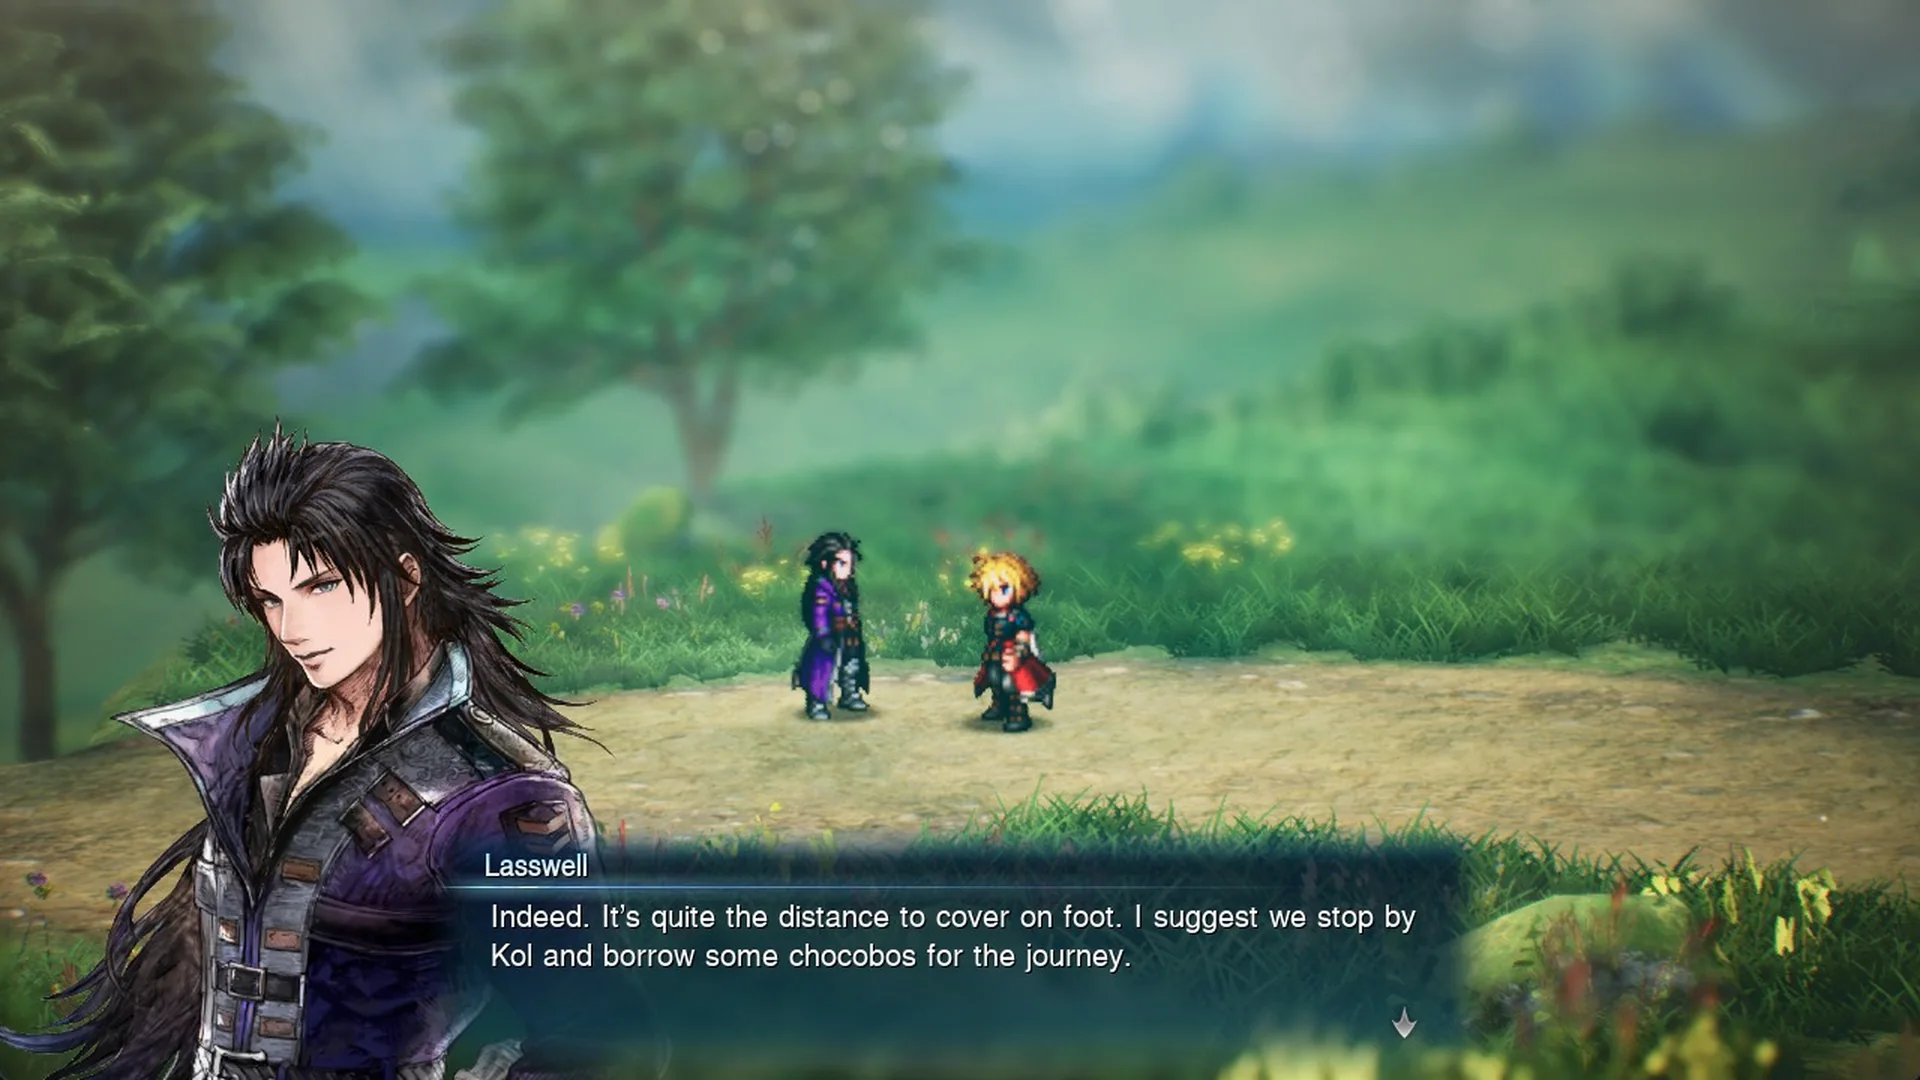
Next, the title card displays “The Girl Without a Past Fina”, followed by the notice “Fina joined the party!” With Fina aboard, your battle party consists of Rain, Lasswell and Fina. The game then shows a “Fast Travel” tutorial: open the Map screen through the Main Menu to instantly travel to any location you’ve visited, but fast travel is unavailable inside dungeons.
Next objective: Go to the village of Kol
The current objective reads “Go to the village of Kol”. Its marker is on the eastern coast of the wide tan landmass west of the capital’s island, connected to it by the bridge. Leave the capital heading west, go past the farm, and follow the dirt road north-west to a signpost; the long rope bridge westward starts at the cliff’s lower-left edge.
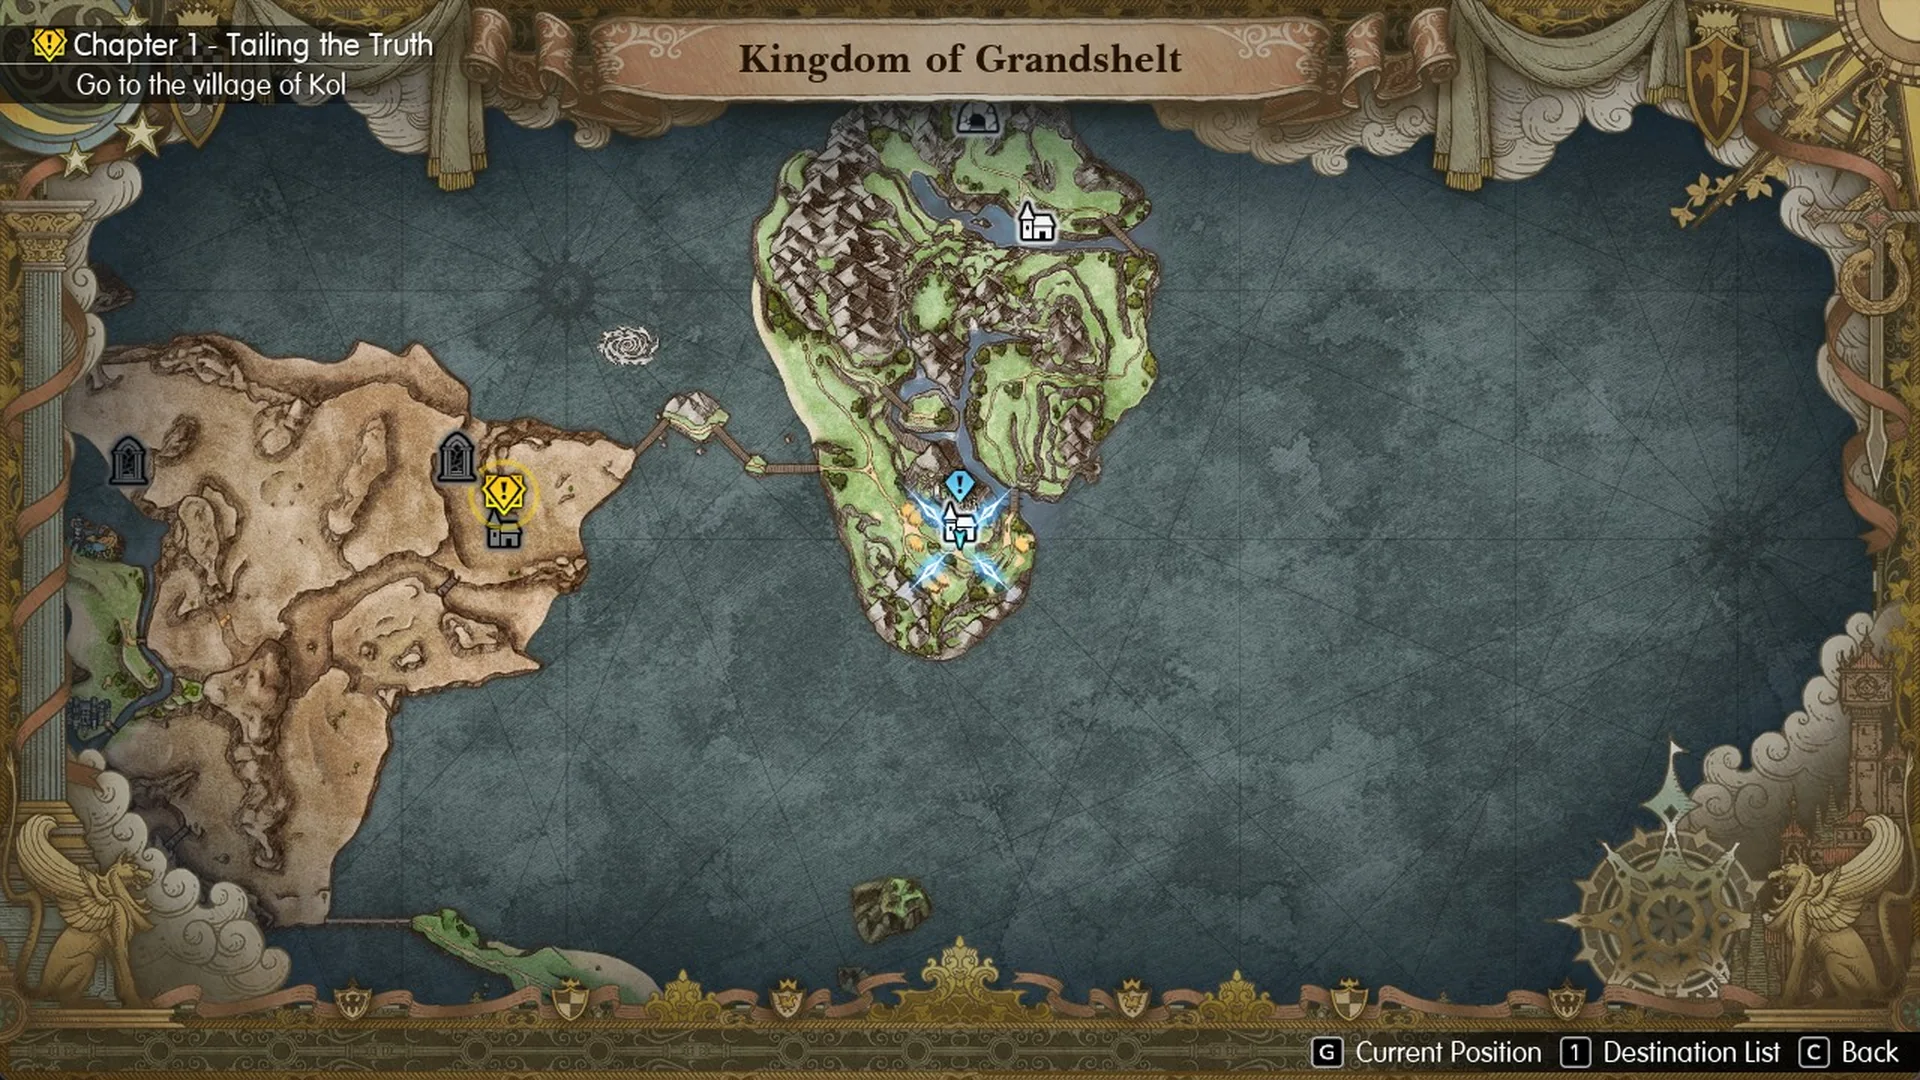
Crossing the long rope bridge west of the capital
The capital’s long rope span lies to the west, and its beach entrance is tucked below the cliff. From the shore, moving left or down only slides you back up the sand. Go right through the trees from the beach’s foot, descend to the dirt track east of the bridge, and keep left until you reach the span.
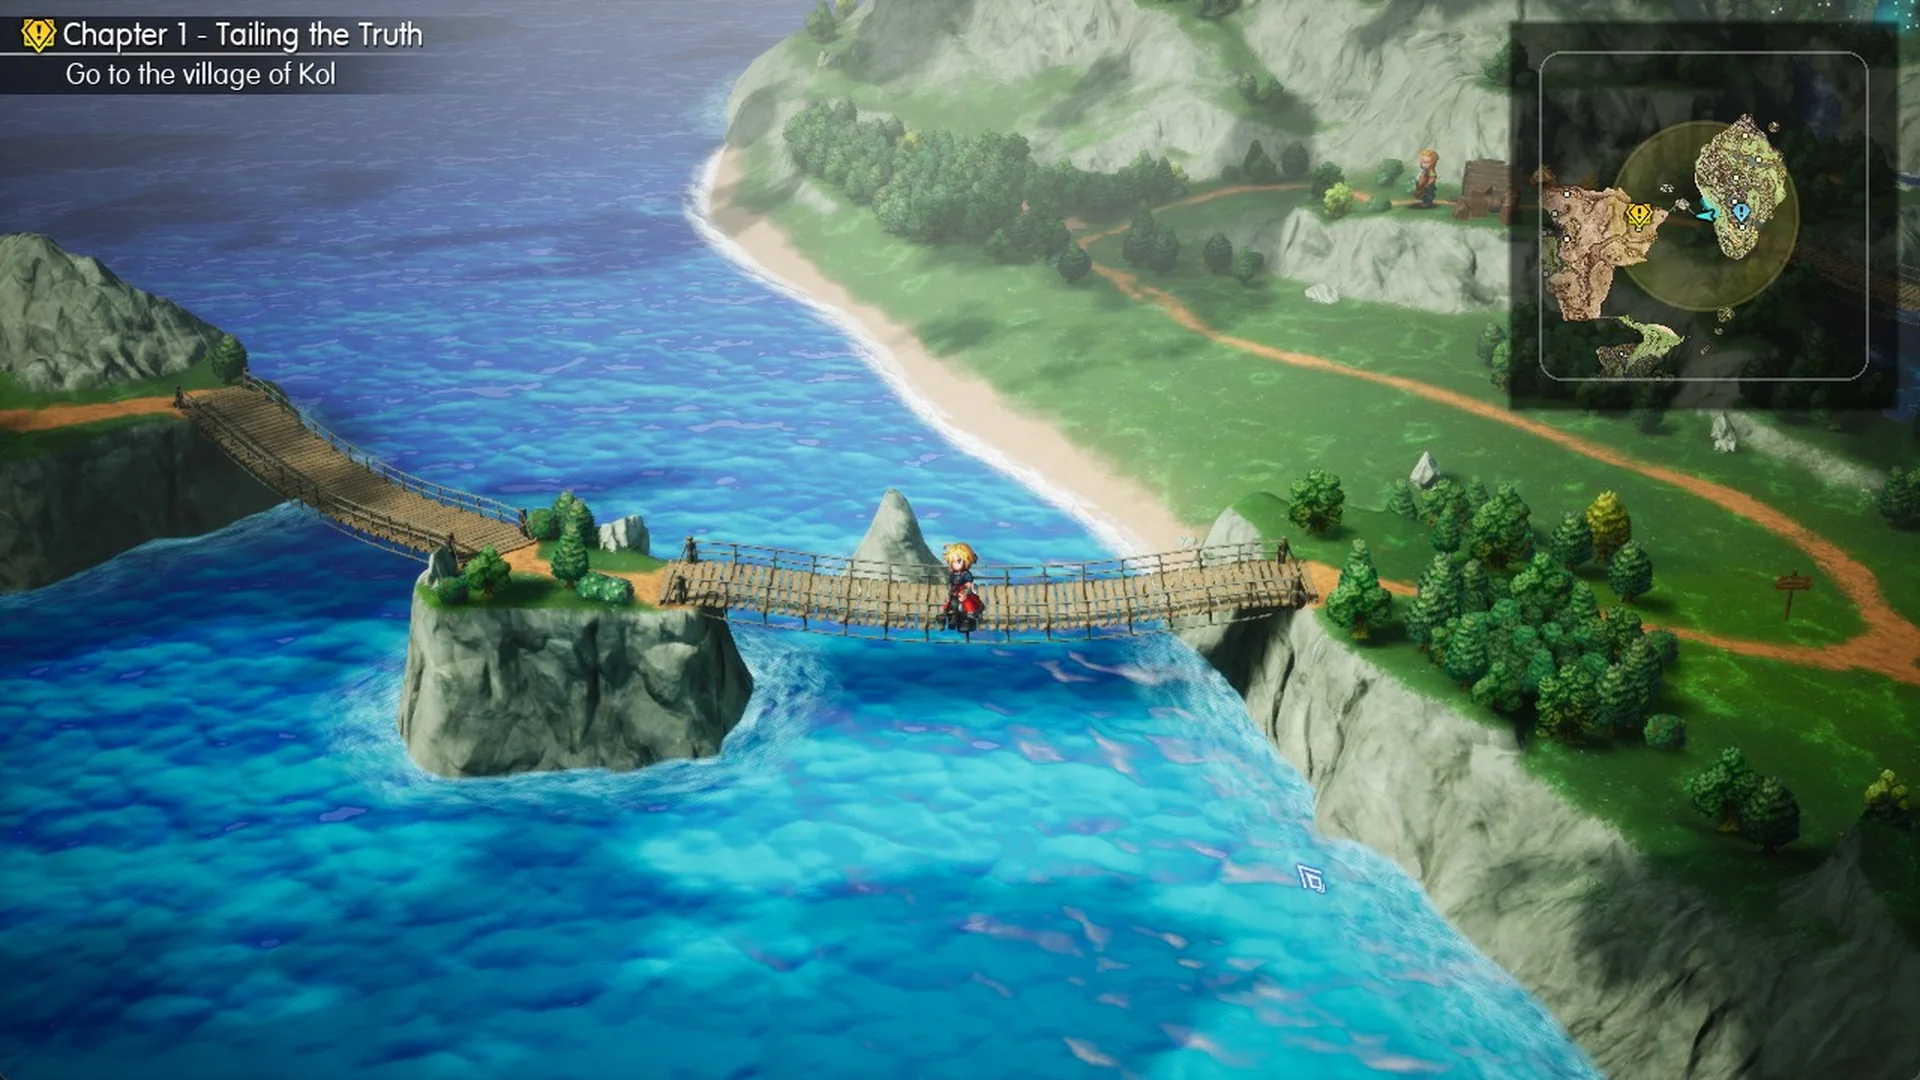
The route crosses two islets: go left and north over the first, then left and south over the second to arrive on the western desert sand. A whirlpool churns offshore, north of the islets.
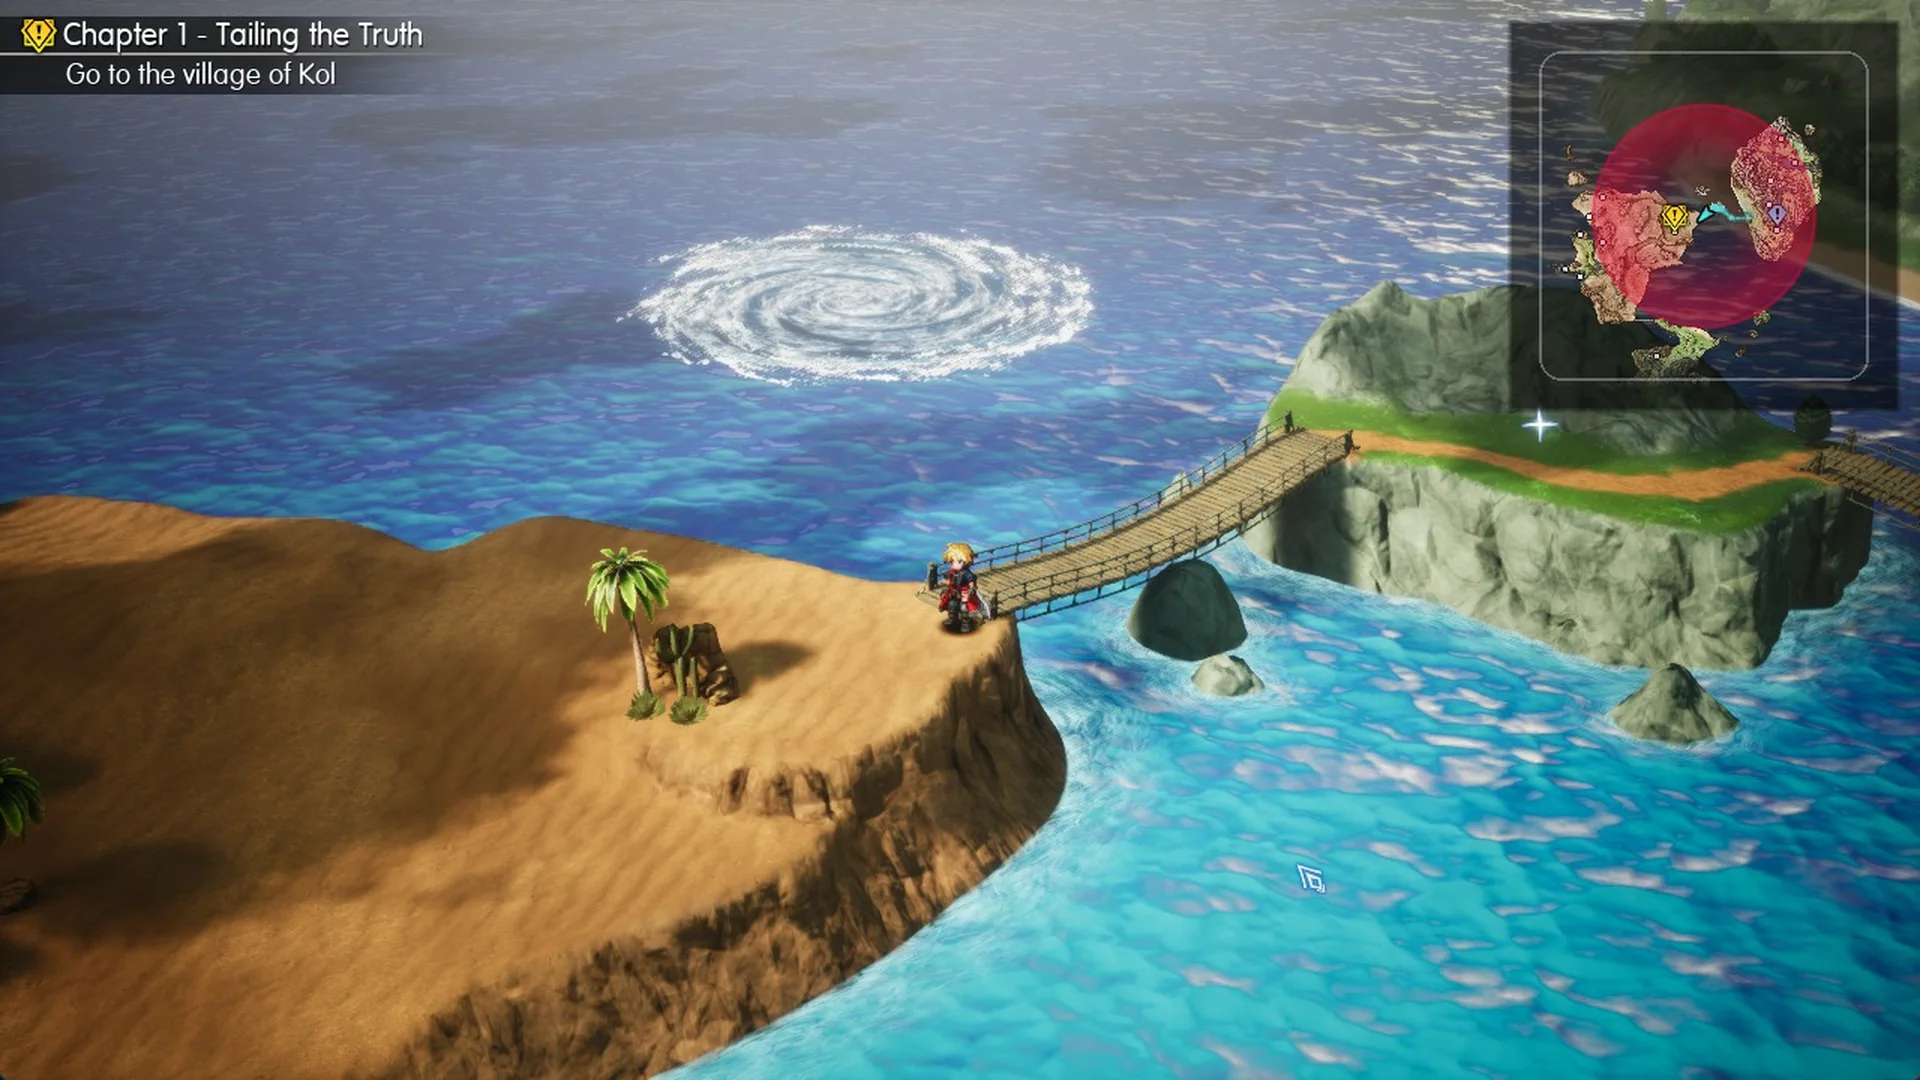
Through the western desert to the chasm bridge
From the bridge, follow the desert shoreline south, take the lower terrace west beneath the high ridge, then continue north to a rope span above a deep chasm and cross east. Goblins and Mammons appear in road encounters near the long bridge, while Crawlers and Scorpions are found in the desert beyond the chasm; all of them are in the Chapter 1 enemy list. Mammons and Scorpions can inflict Poison, which may knock Lasswell out even at Lv.9, so bring Antidote Herbs and a Phoenix Down.
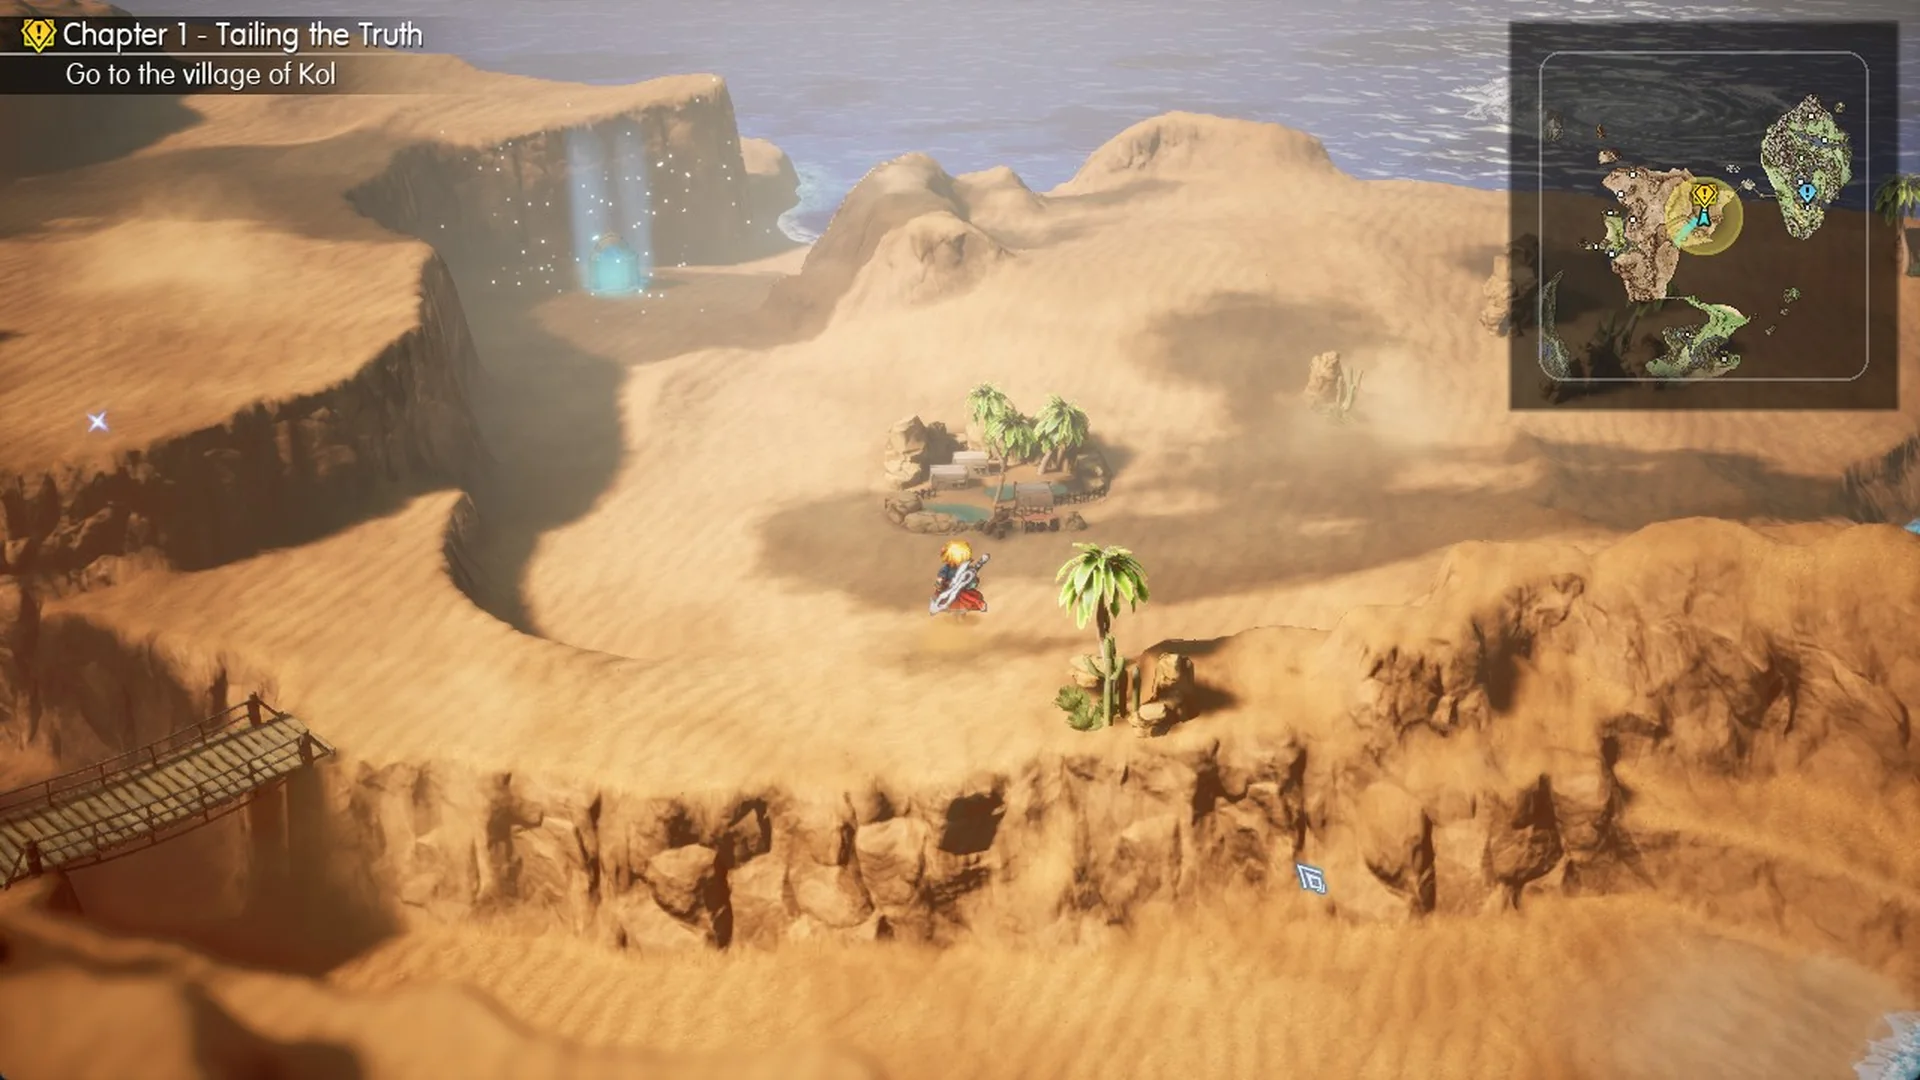
How to enter the Village of Kol
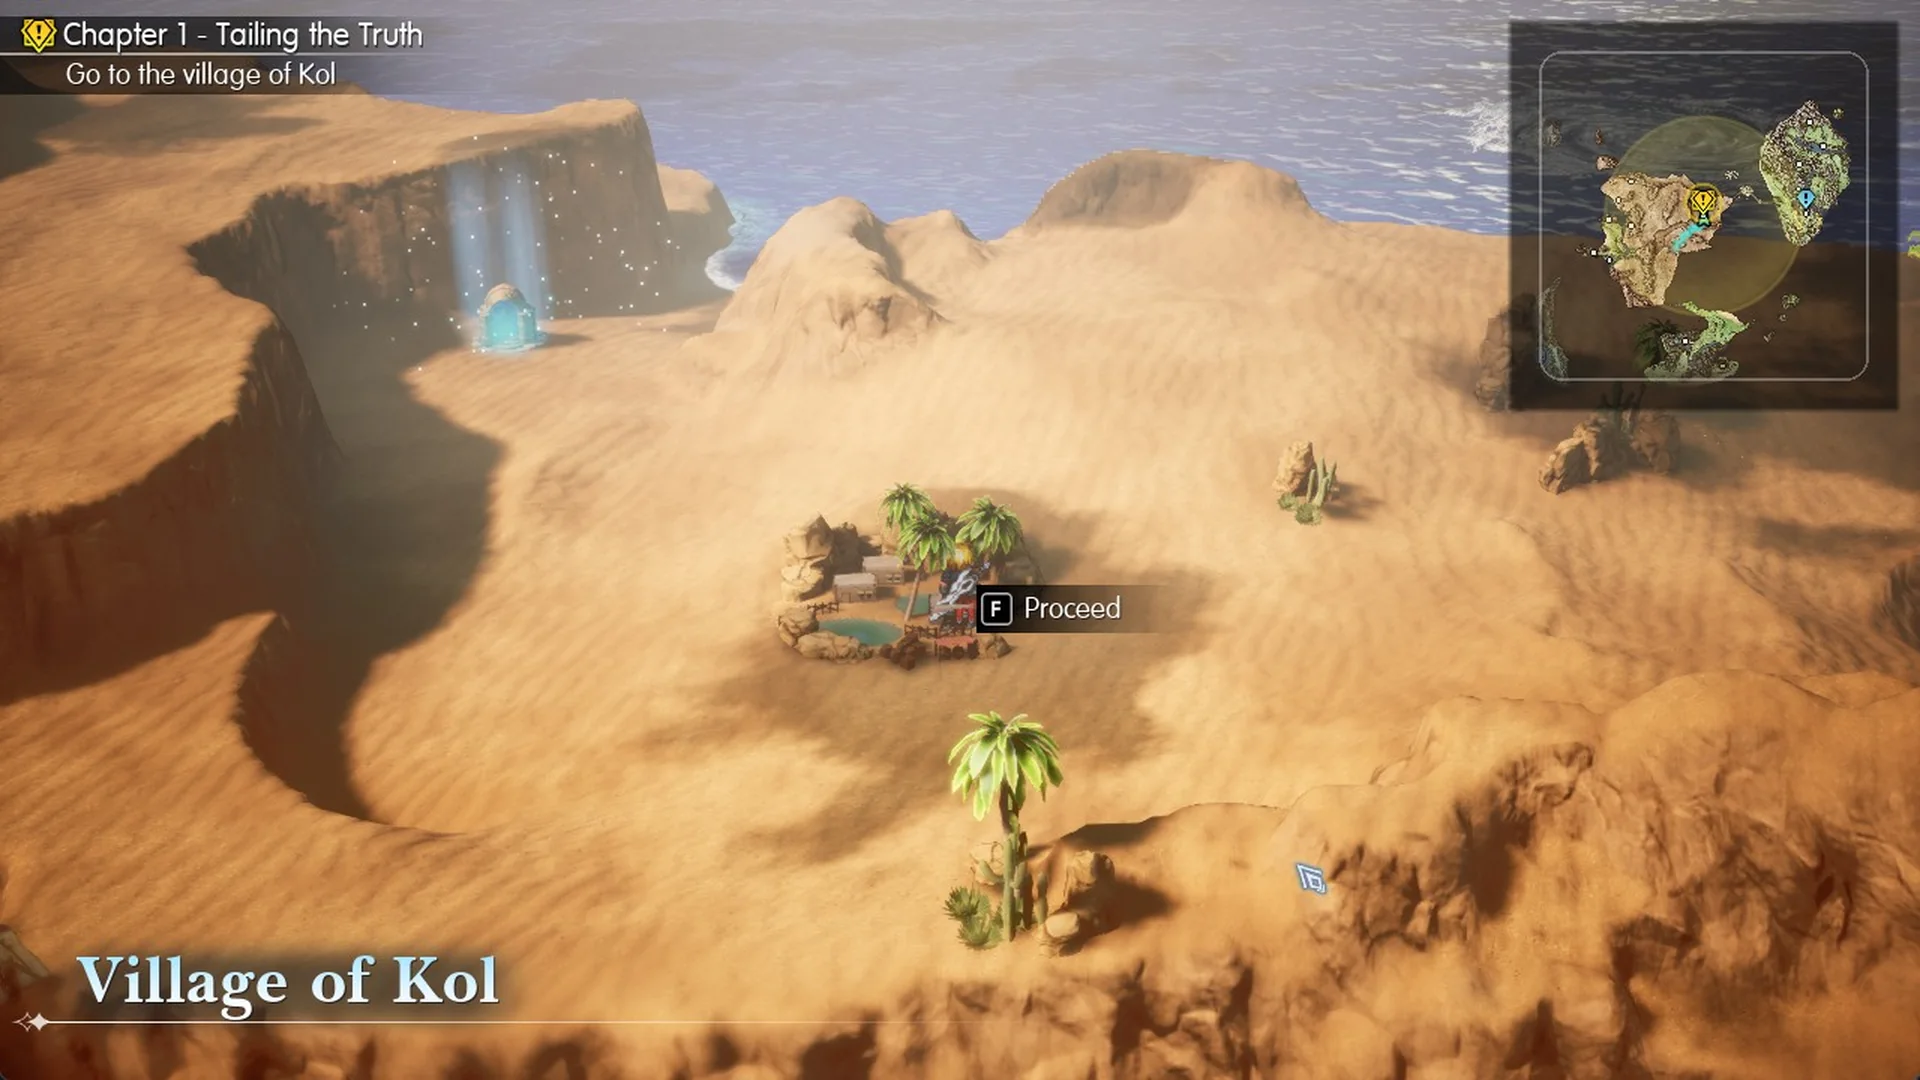
Kol does not look like a town on the field: it is the small palm-tree oasis model on the sand just north of the chasm bridge, below a cliff with a blue light pillar to the north-west. Walking into the middle of the model, or past it, shows nothing, so it is easy to walk by. Stand on the model’s right or front edge instead: “F Proceed” appears next to it with the “Village of Kol” banner in the bottom-left corner. Press F to enter. On the World Map (M), Kol’s town icon sits on the east coast of the western landmass, and after your first visit the cursor shows a “Village of Kol” name box there.
Village of Kol: the free inn and the save point
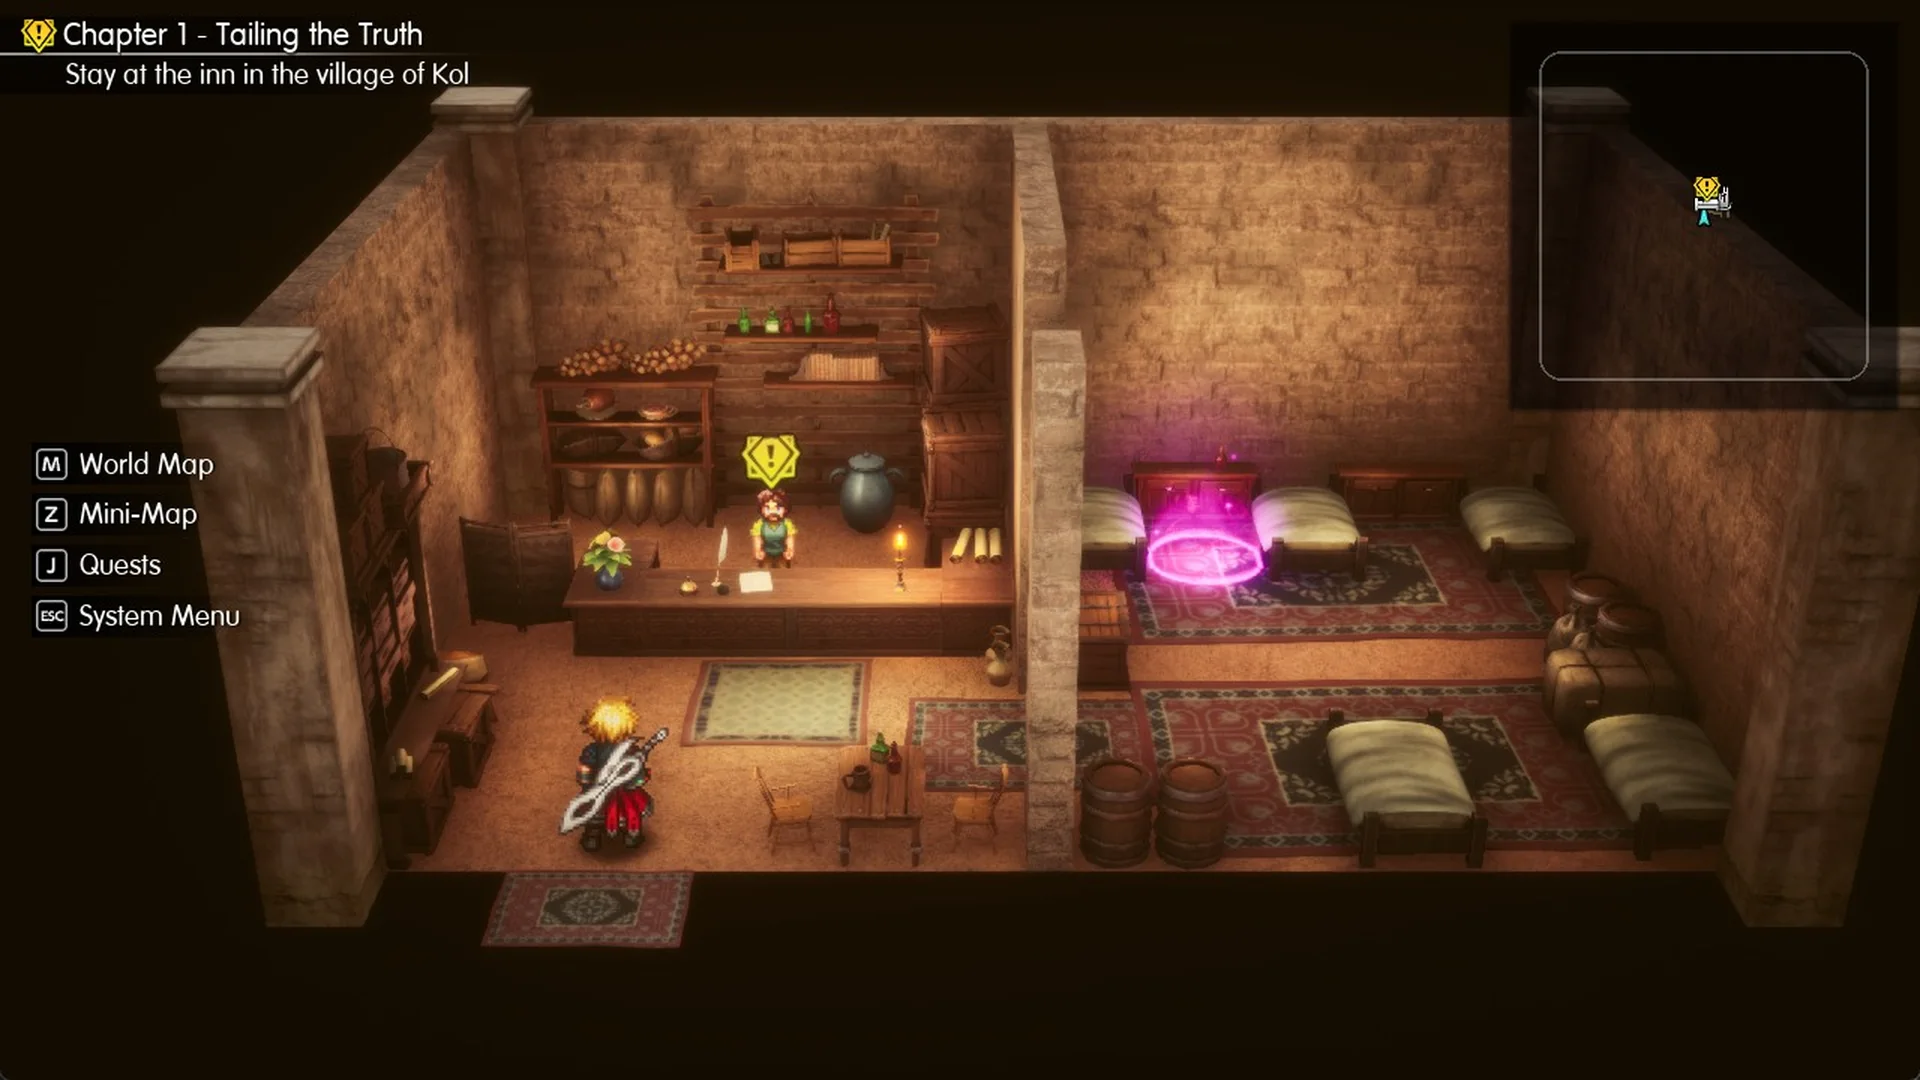
You arrive in the evening, the quest becomes “Stay at the inn in the village of Kol”, and Lasswell stops you at the east exit until you have rested. The inn is on the north side of the village by the water, and its door only shows “F Open” when you stand centred in front of it. Inside, the innkeeper at the counter on the left recognises the Grandshelt insignia and lets you stay free of charge, while a pink save point sits by the beds on the right. The System Menu has no Save option in towns, so use that save point.
Morning in Kol: the chocobo and a Tent
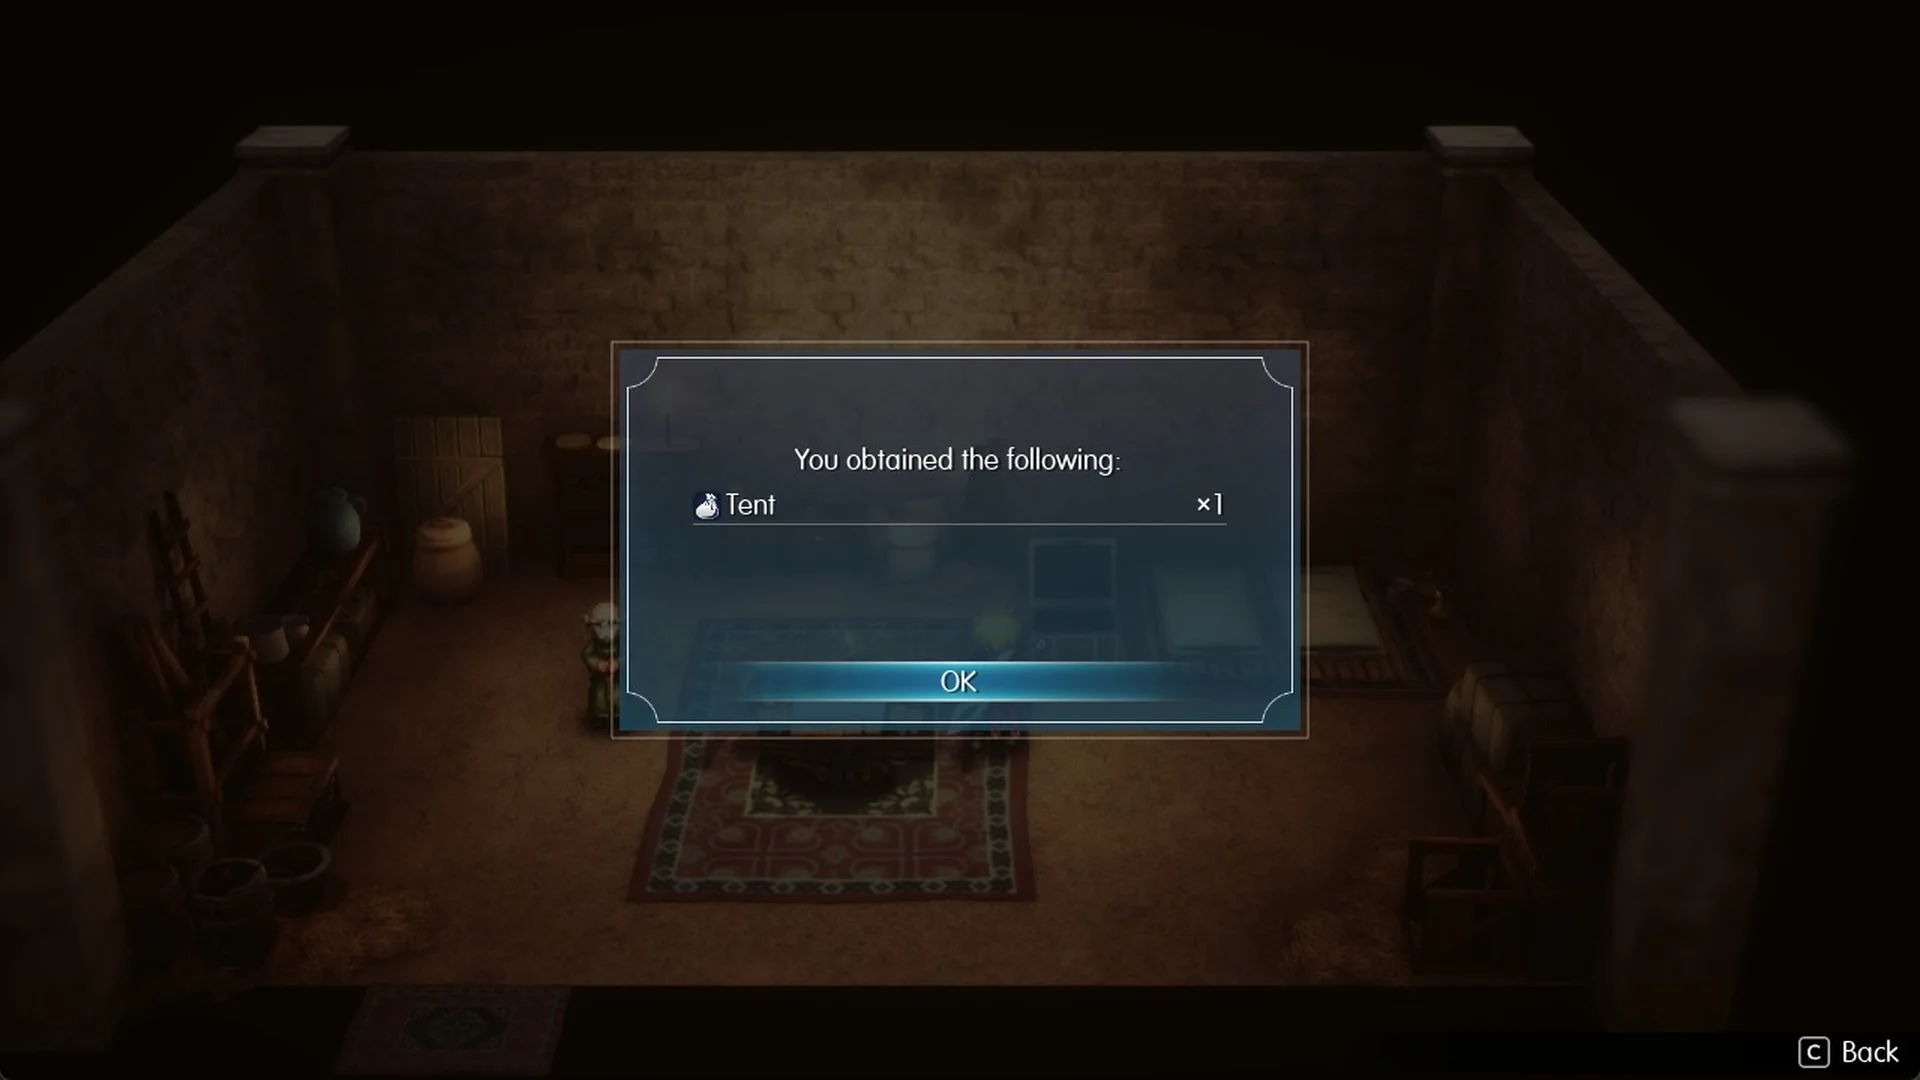
In the morning the quest becomes “Rent a chocobo”, and the Chocobo Stablehand by the chocobos in front of the building with the striped awning in the middle of the village gives you one for free. That same building has a chest inside, reached by standing centred on its door for “F Open”, and it holds a Tent x1. Once you have it (step by step in how to get a chocobo), the objective changes to “Go to the town of Felicitas”.
From Kol to the Felicitas island by chocobo
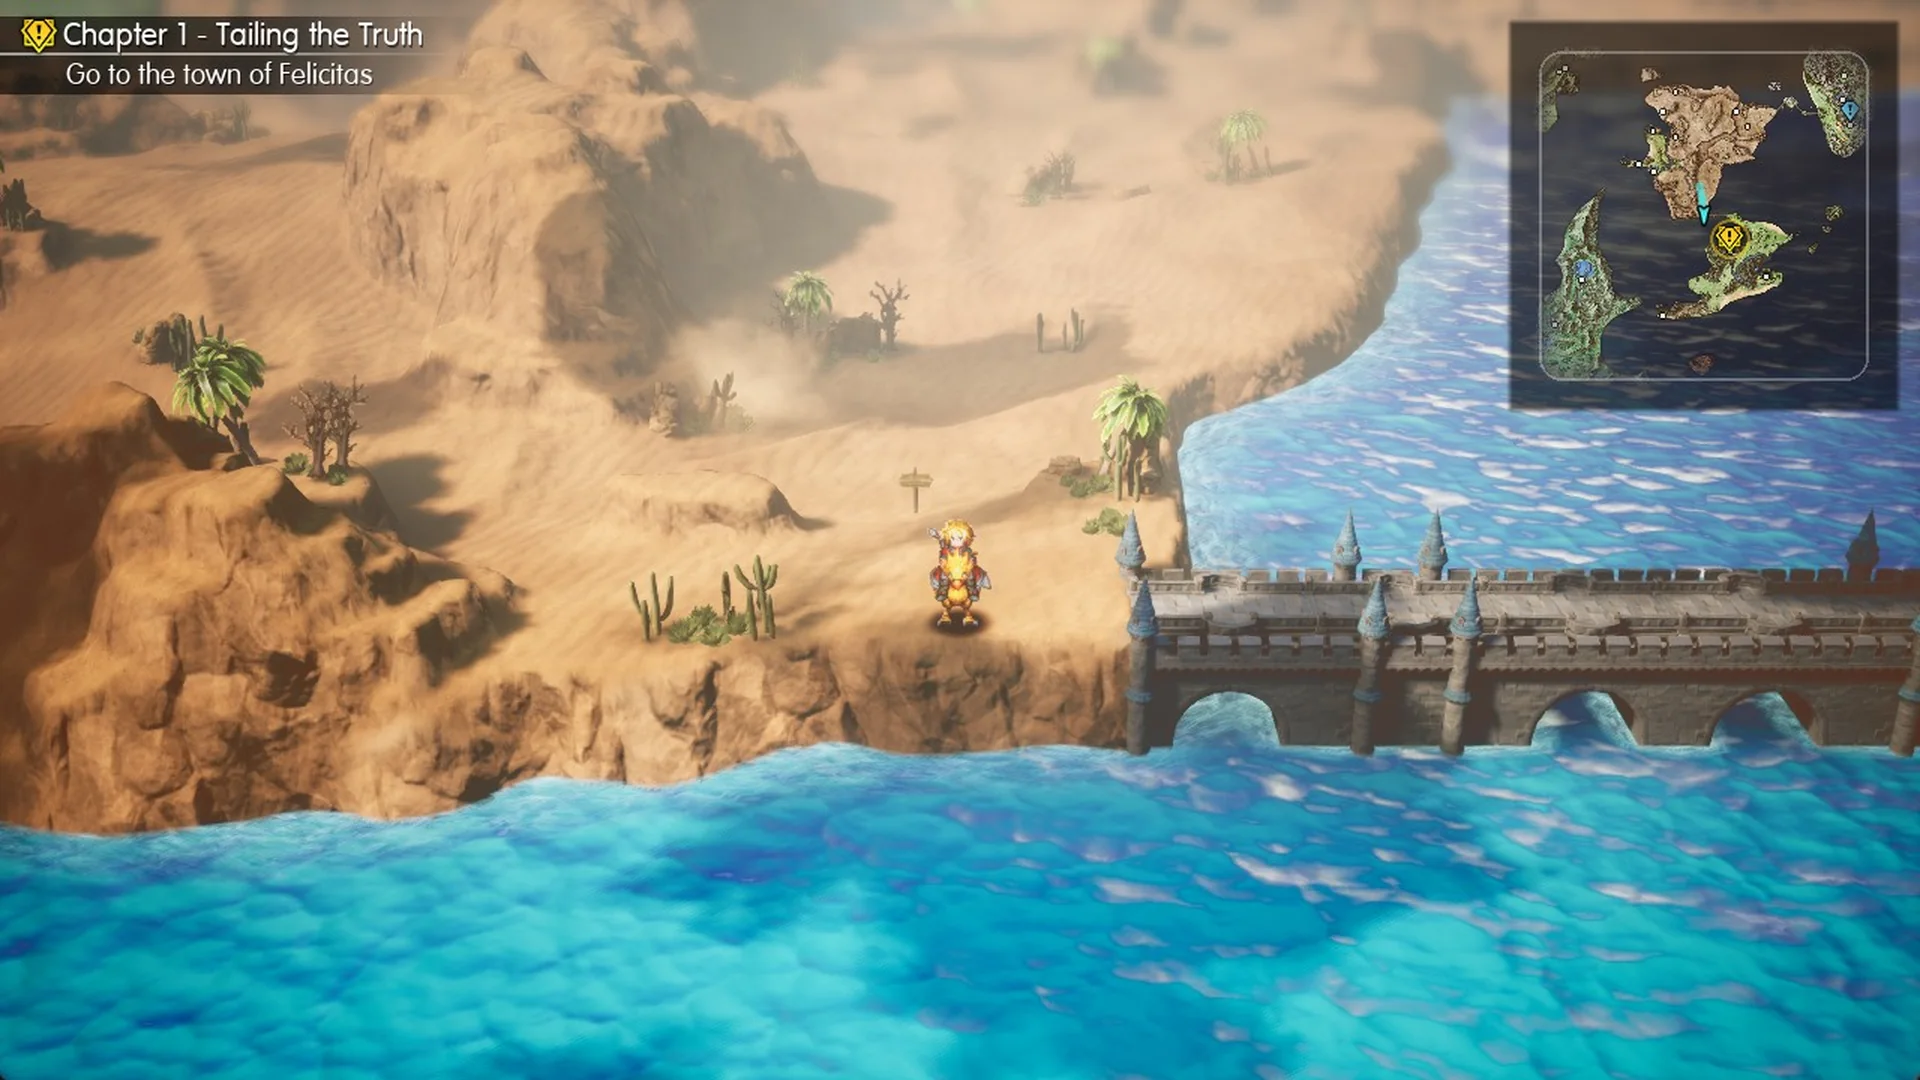
Leave Kol through the eastern exit beside the chocobo pen (“F Proceed”), then press R in the field to summon your chocobo. The World Map (M) shows the town icon for Felicitas below the objective symbol, on the green island to the southeast; a long bridge runs from the desert landmass’s southern end to the island’s north end. Ride west beyond the Kol oasis model, cross the small rope bridge toward the southwest, then travel south along the desert’s lower edge to the coast and southwest to its southernmost point. An arched stone bridge topped with turrets crosses east over the sea to the green island; follow the path there southeast, then south.
Emma and the Goblin ambush on the Felicitas island
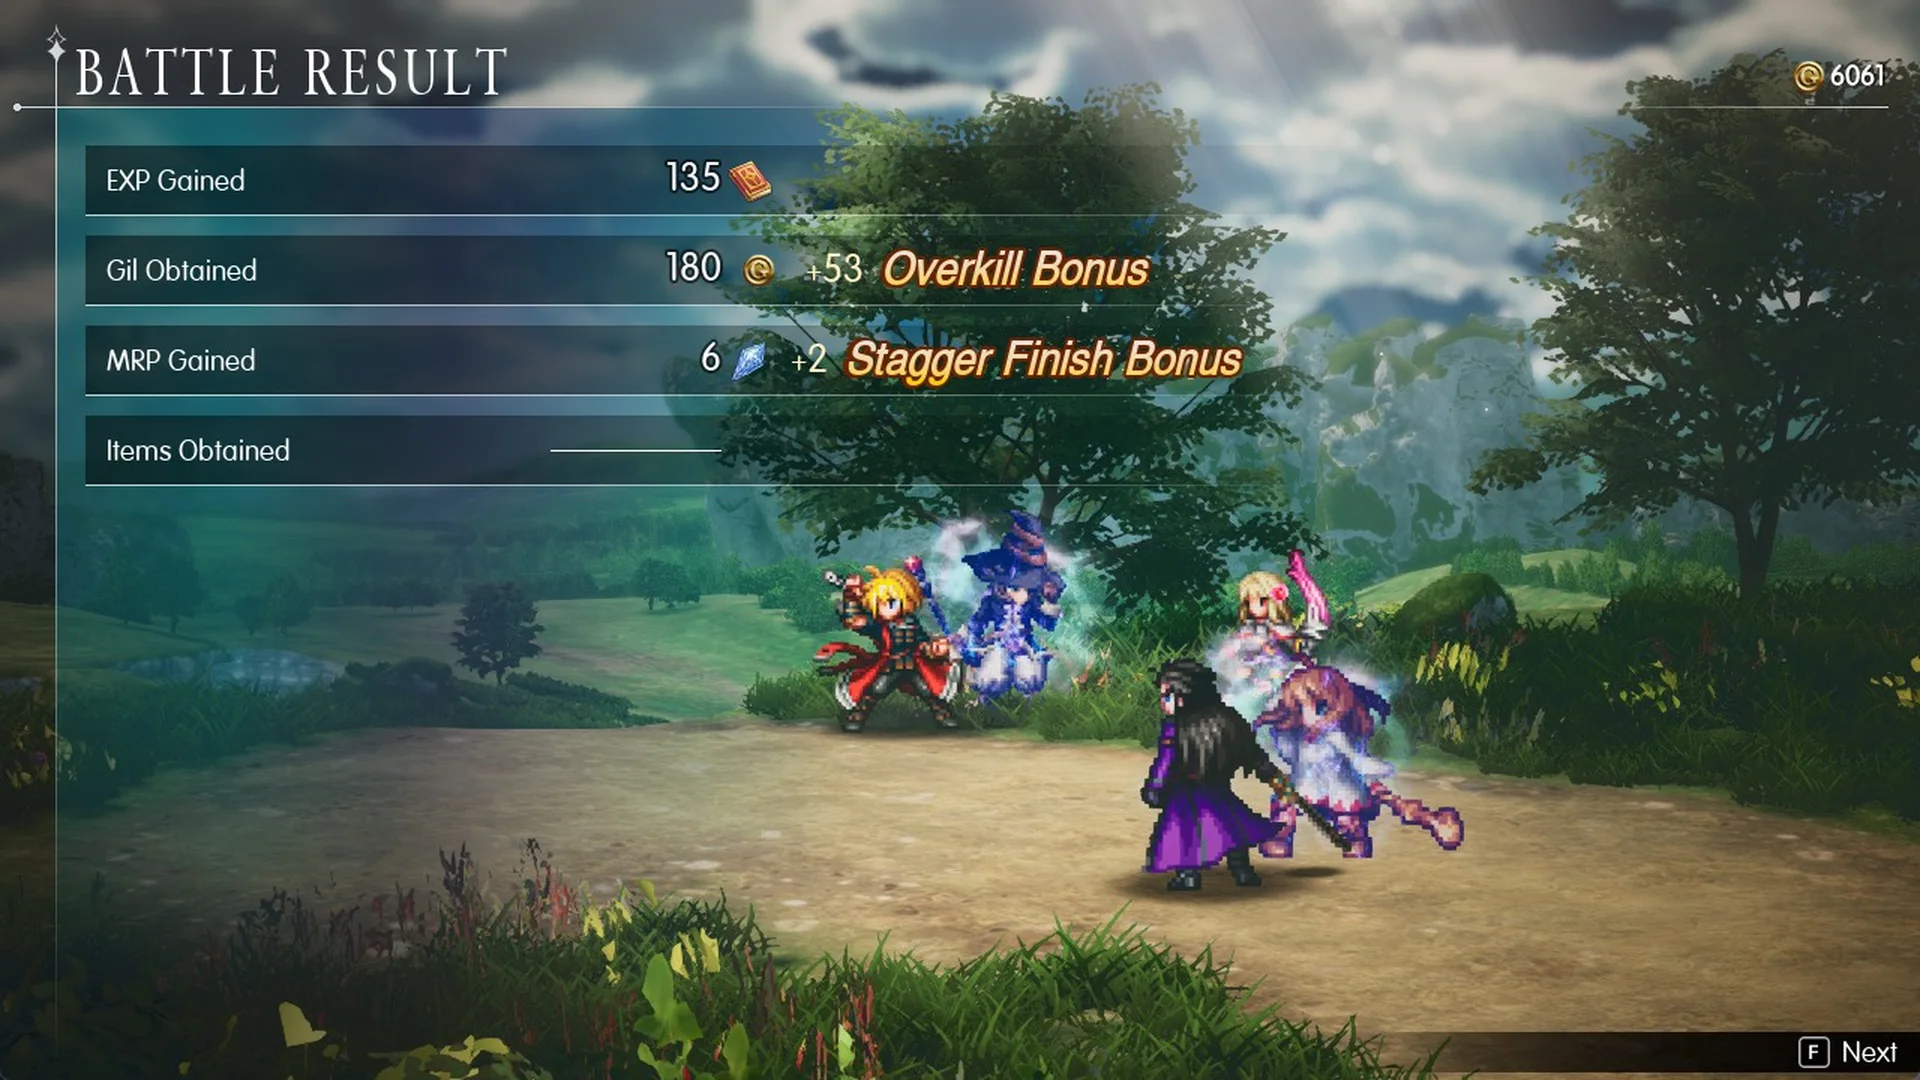
Partway along the island path, Fina shouts “Look! There’s a girl being attacked by monsters!” and Rain replies “Quick! We better help her!” A battle against three Lv.6 Goblins follows, and Escape is greyed out, so you have to fight it. Winning pays 135 EXP and 180 Gil plus a 53 Gil Overkill Bonus, along with 6 MRP plus 2 for the Stagger Finish Bonus.
The girl introduces herself with “I’m Emma. I was picking flowers.” and explains that it is her mother’s birthday, but her mother has not come home yet. Her mother leads the survey team digging at the ruins, her father has passed away, and she lives with her aunt. Lasswell offers to take her to the ruins if her aunt agrees, and since Emma lives in Felicitas, Rain says “We were just heading there ourselves! C’mon, let’s go together.” The game autosaves once the scene ends, and beyond that spot the path crosses a small stone bridge over a river to the west, with the objective marker at the foot of a forested mountain topped by big blue crystals.
How to enter the town of Felicitas
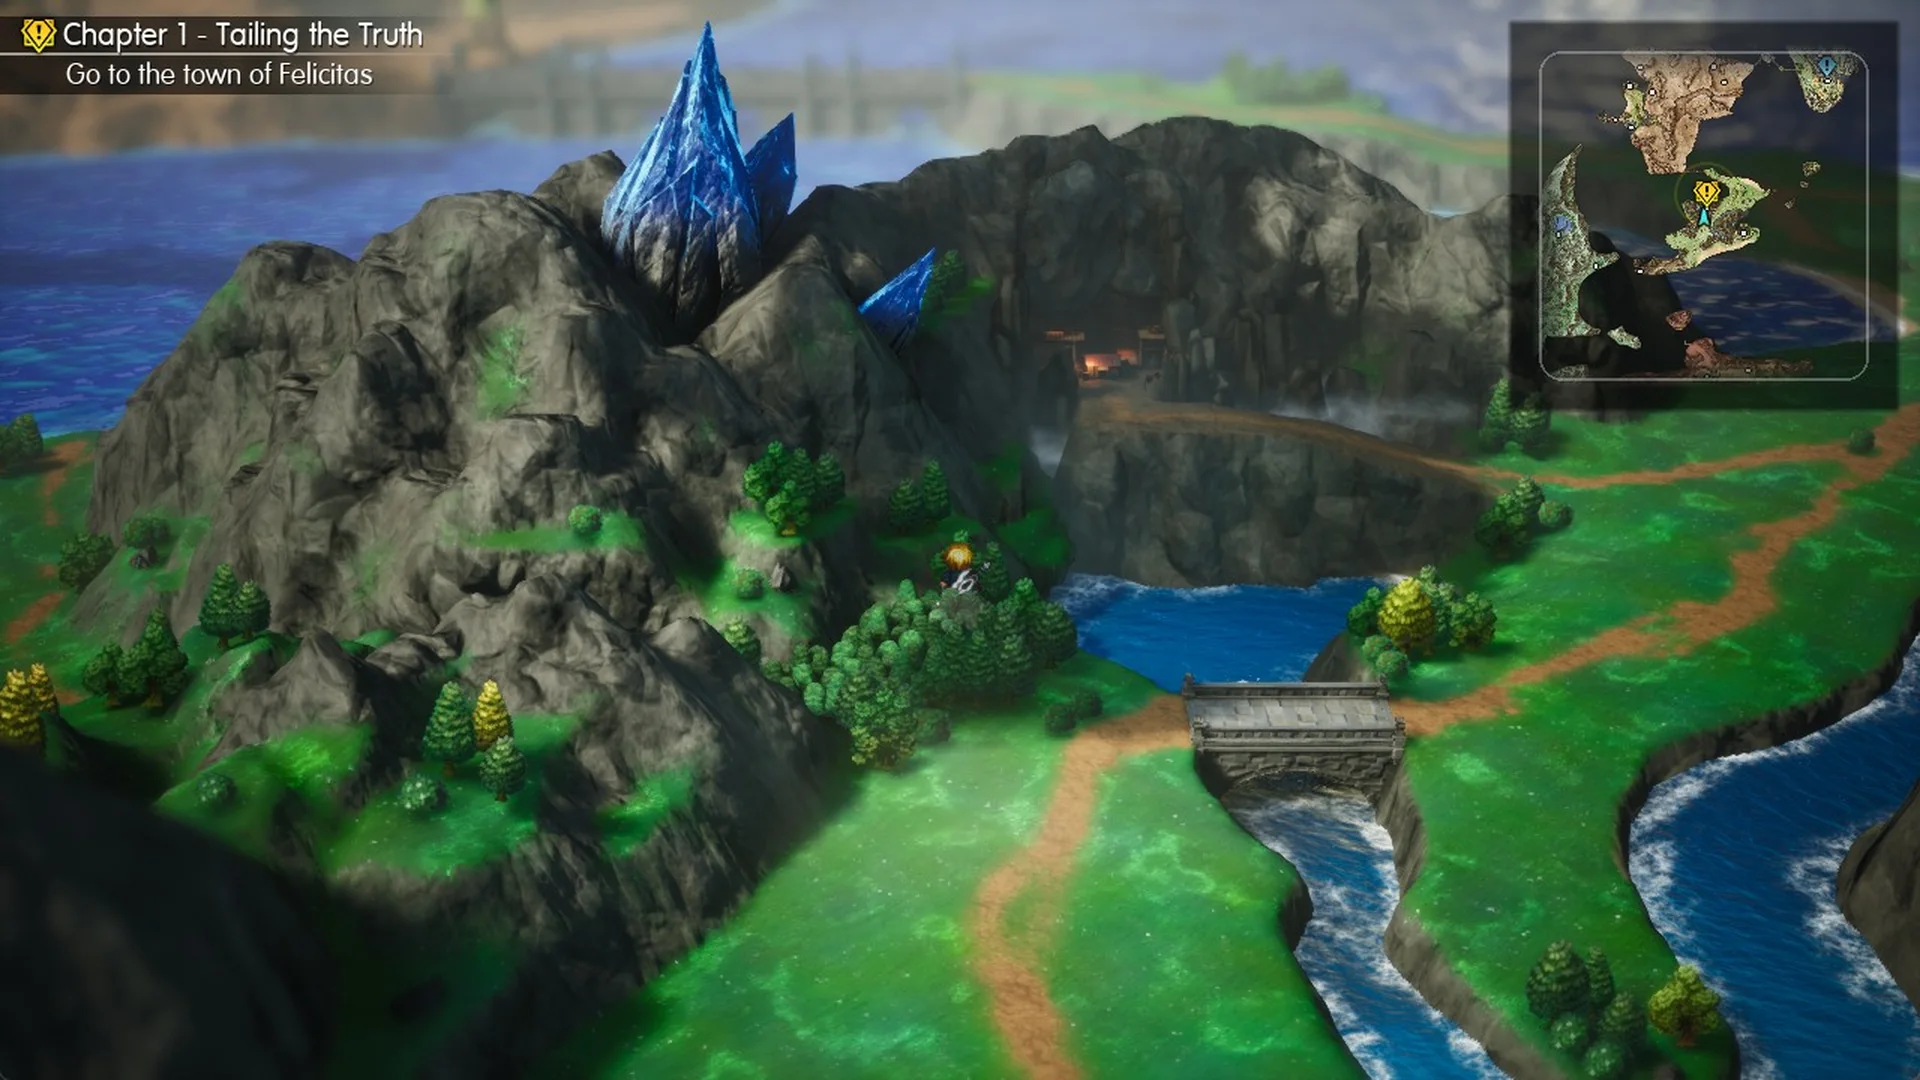
The objective marker on the Felicitas island is beside a wooded mountain crowned by large blue crystals. The town itself is tucked within the mountain rather than exposed outside it. From the marker, travel east beyond the waterfall pool, climb the path to the north, and then take the ledge west until you reach the cave opening in the cliff.
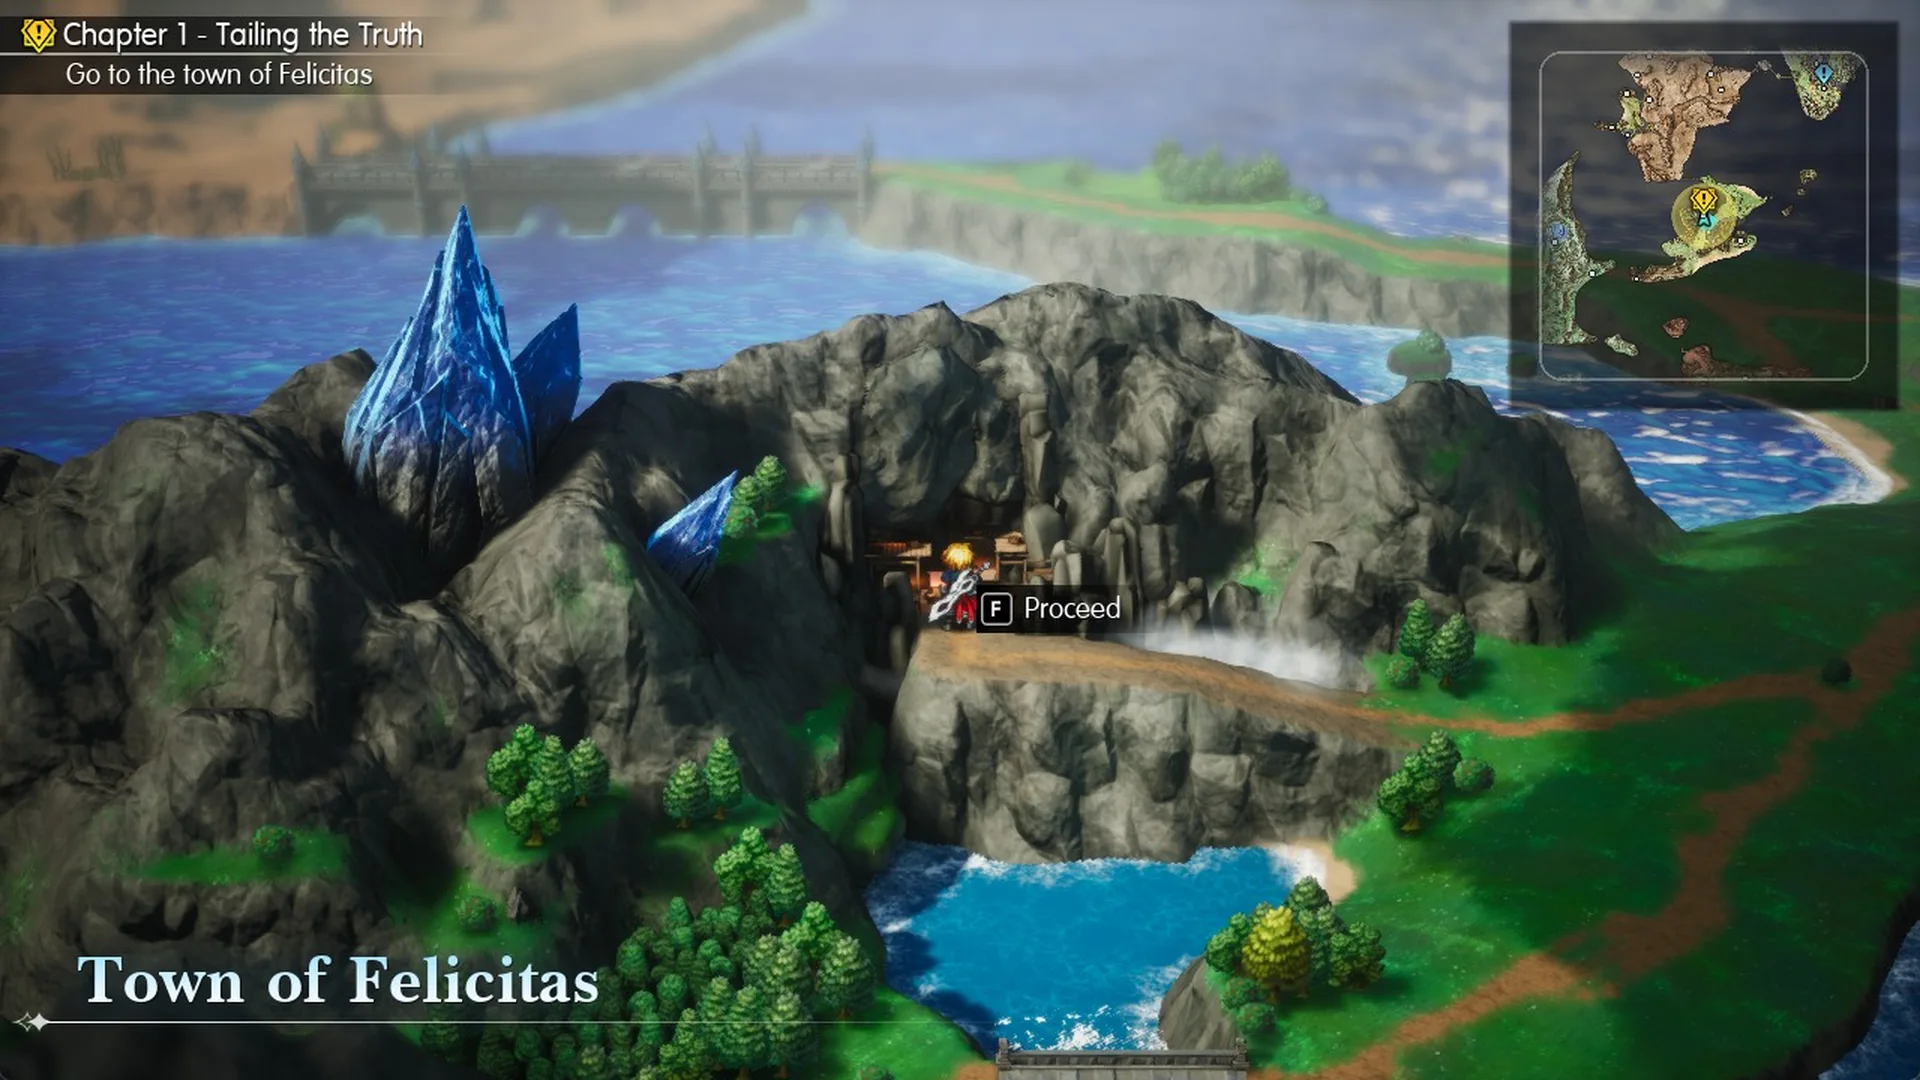
Take one step north into the cave mouth and the prompt “F Proceed” appears with the banner “Town of Felicitas”, so press F to go in. The game autosaves on the way in, and Lasswell announces that the party has arrived in the town of Felicitas. The inn is the house with the bed sign on the west side of the arrival square, the save point is the pink circle inside it that you use with “F Examine” before saving, and a night at the inn costs 100 Gil (see the Felicitas shops for every price).
Emma’s aunt and the Kolobos Ruins objective
On arrival, Emma’s aunt rushes up, relieved to see her but reprimanding her for leaving alone. Fina explains that Emma was trying to reach her mother at the ruins. Her aunt says the mother’s expedition never returned, and neither did the search party sent after it; she believes monsters may have taken them. Emma asks her aunt whether the party can take her to the Kolobos Ruins, insists her mother is alive, and then runs off alone.
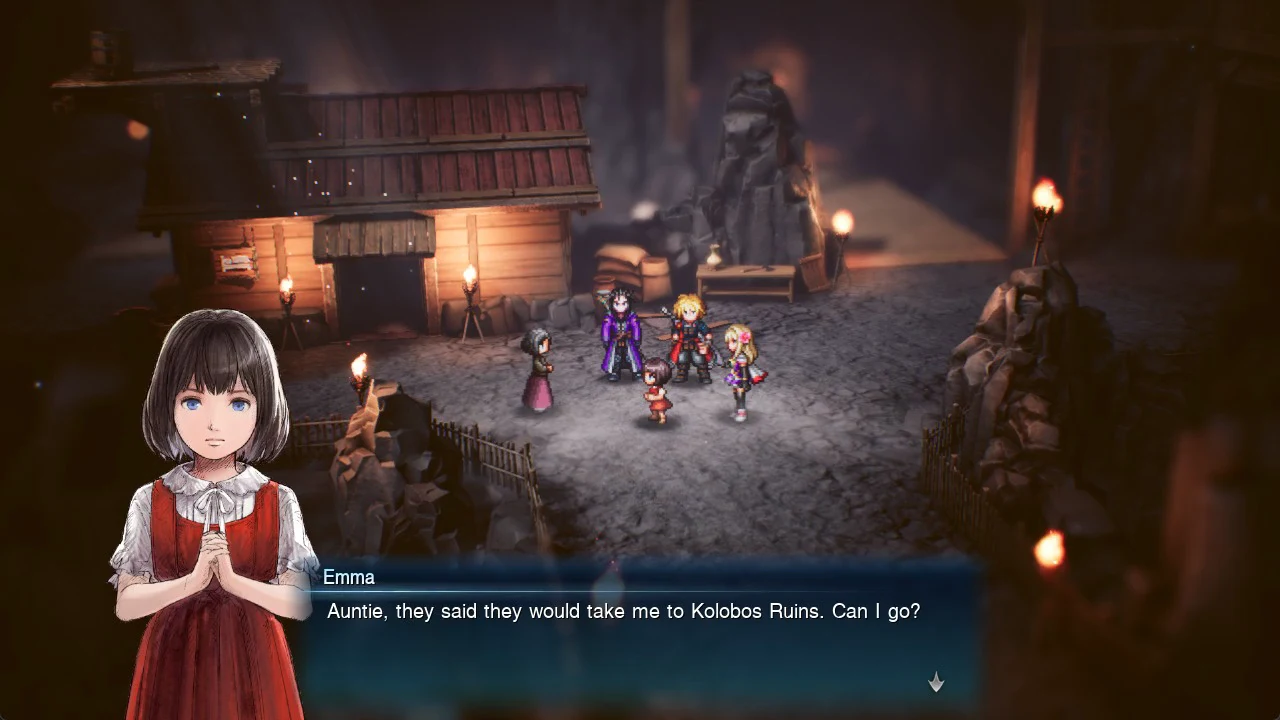
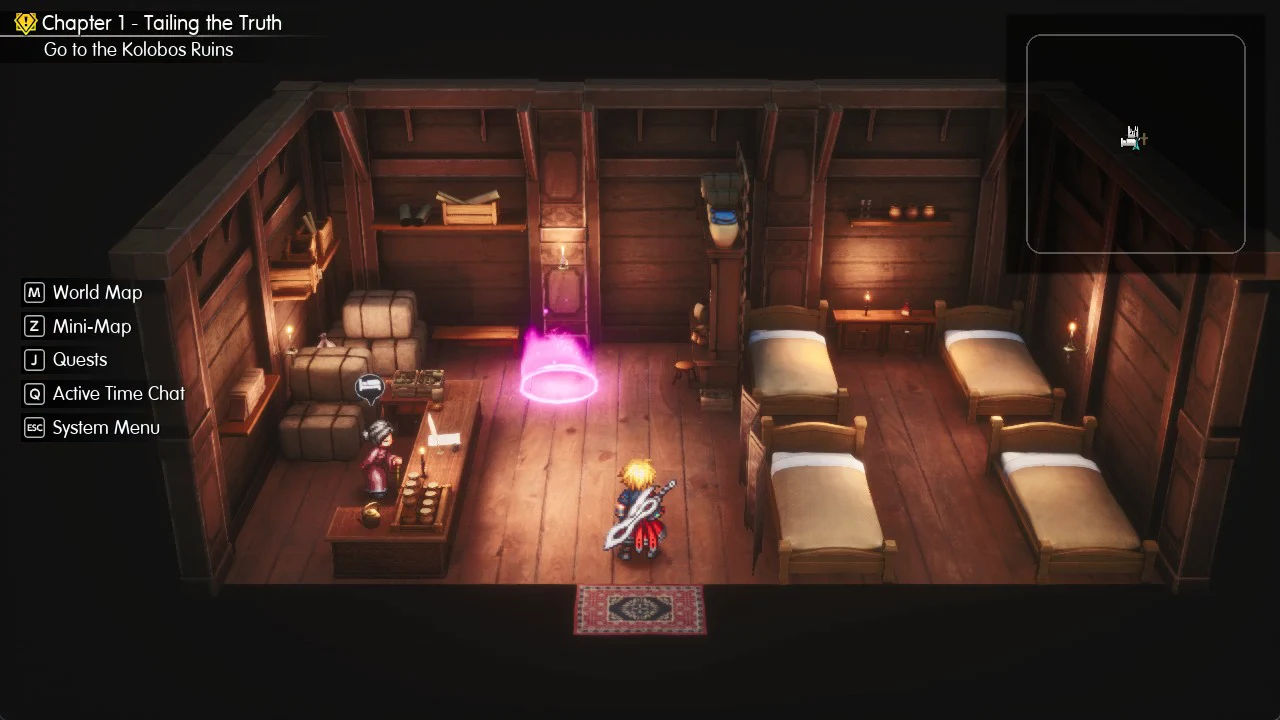
Lasswell is sure she is heading for the ruins, and Rain says “The ruins should be southeast of here. Let’s get after her!” Control then returns in the town square with the objective “Go to the Kolobos Ruins” under Chapter 1 – Tailing the Truth. The aunt stays in the square, south of the inn, and if you talk to her again she begs you to bring Emma home safe.
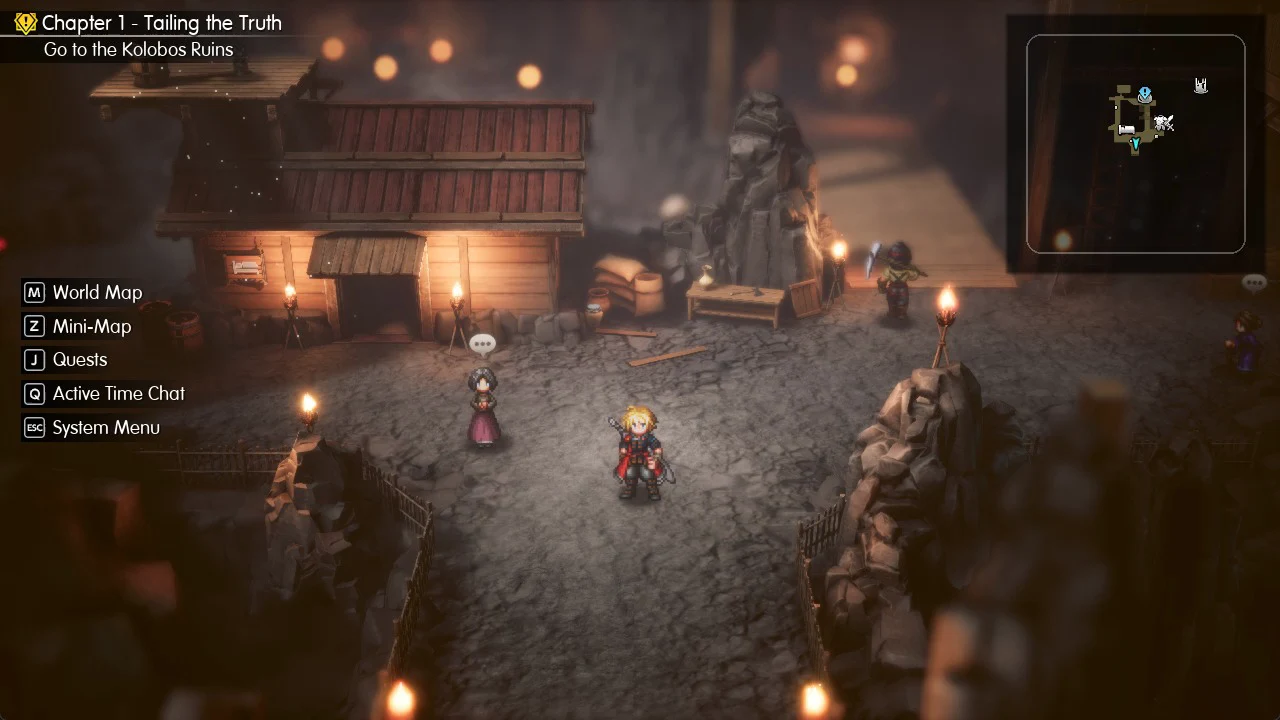
How to get to the Kolobos Ruins
On the World Map (M), find the cave symbol for Kolobos Ruins on the south-east peninsula of Felicitas island. The ruins are south of the gorge that extends east from town, and the yellow objective circle is on the gorge’s north side. Heading directly toward the circle leaves the river on the wrong side.
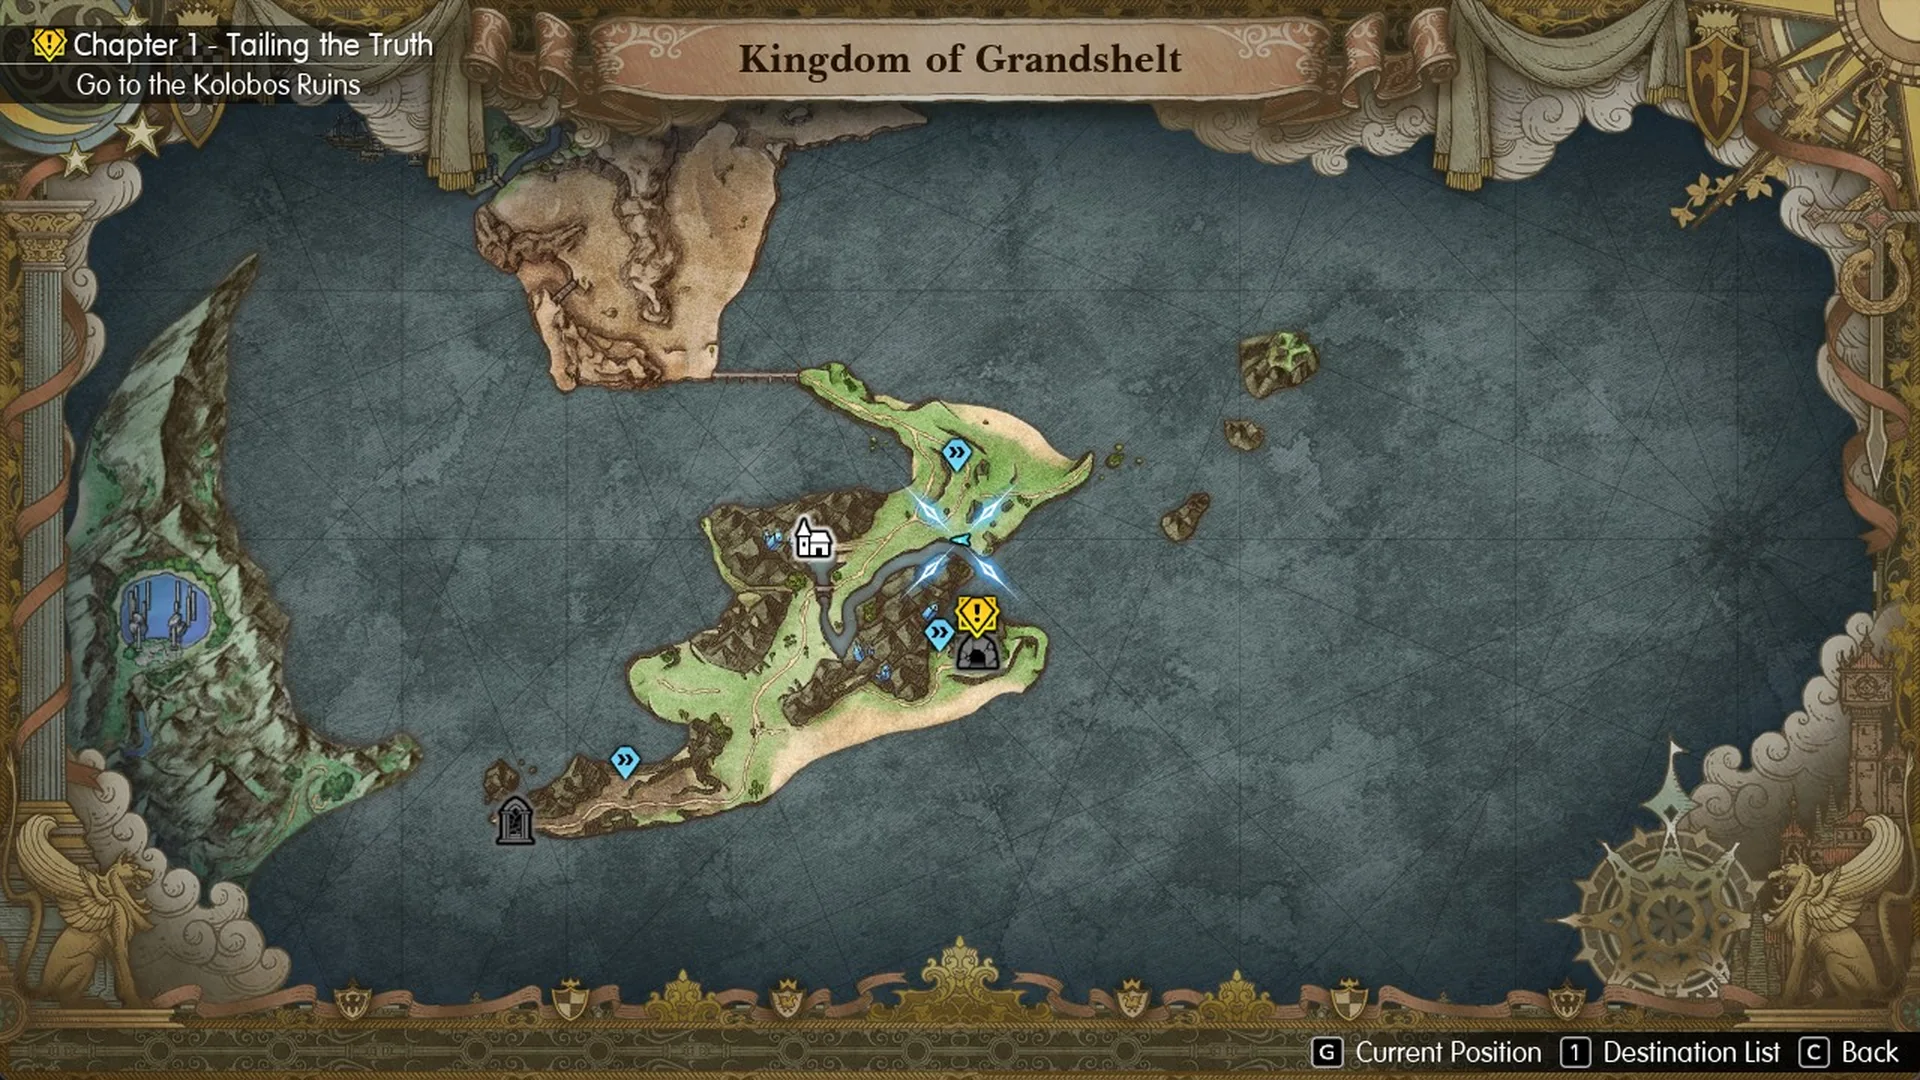
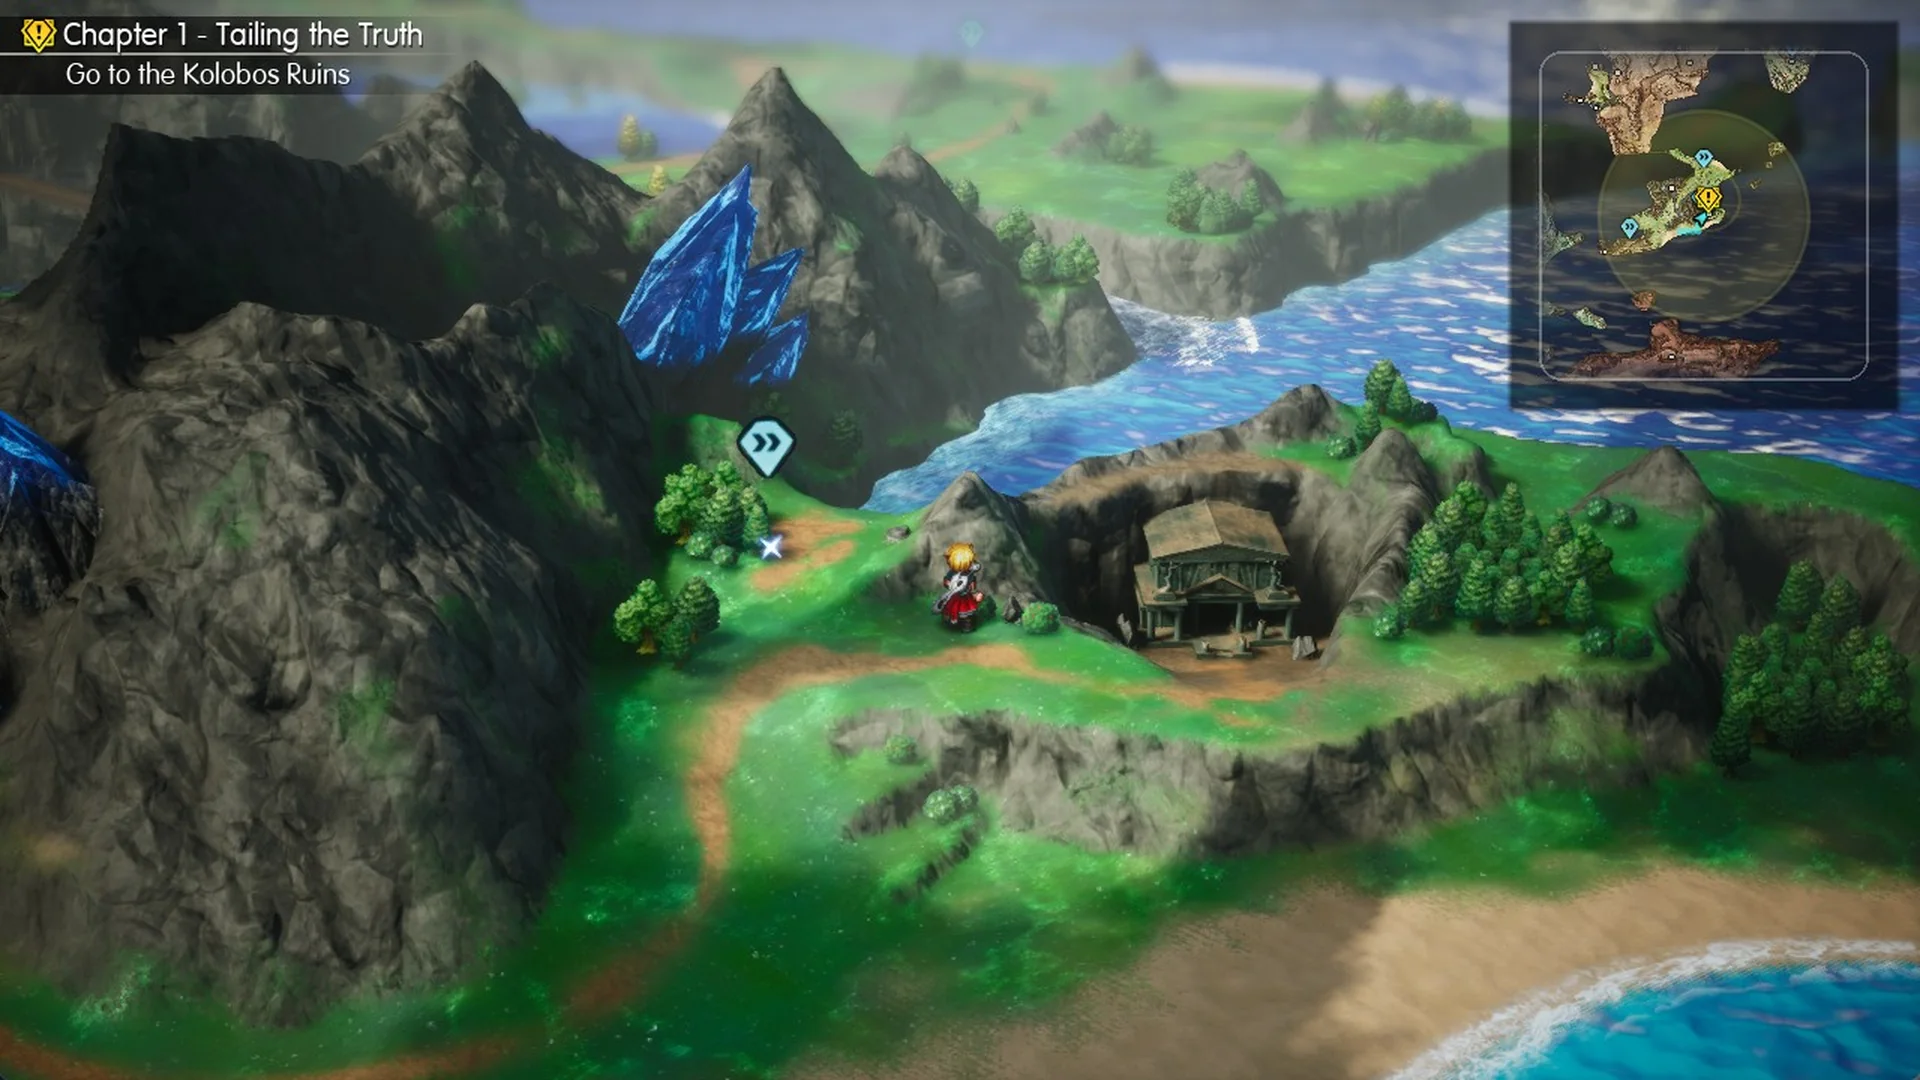
Exit town via “Proceed” at the square’s south end and descend to the pool below the waterfall. Face the small stone bridge’s deck straight on, cross toward the west, then take the dirt road south to the wooden signpost above the beach. Follow the coastal road east from there; when it ends, climb north on the trail between rocky mountains studded with large blue crystals, then turn right into the hollow in the rock, where the ruins building stands. Poison Toads, Alraunes, and hooded dagger-wielders who can steal Gil will attack during the trip.
After the Kolobos Ruins, the objective becomes “Find a ship in Grandport”. The way there loops south through the desert; the full route is in how to get to Grandport in Final Fantasy Resonance.