

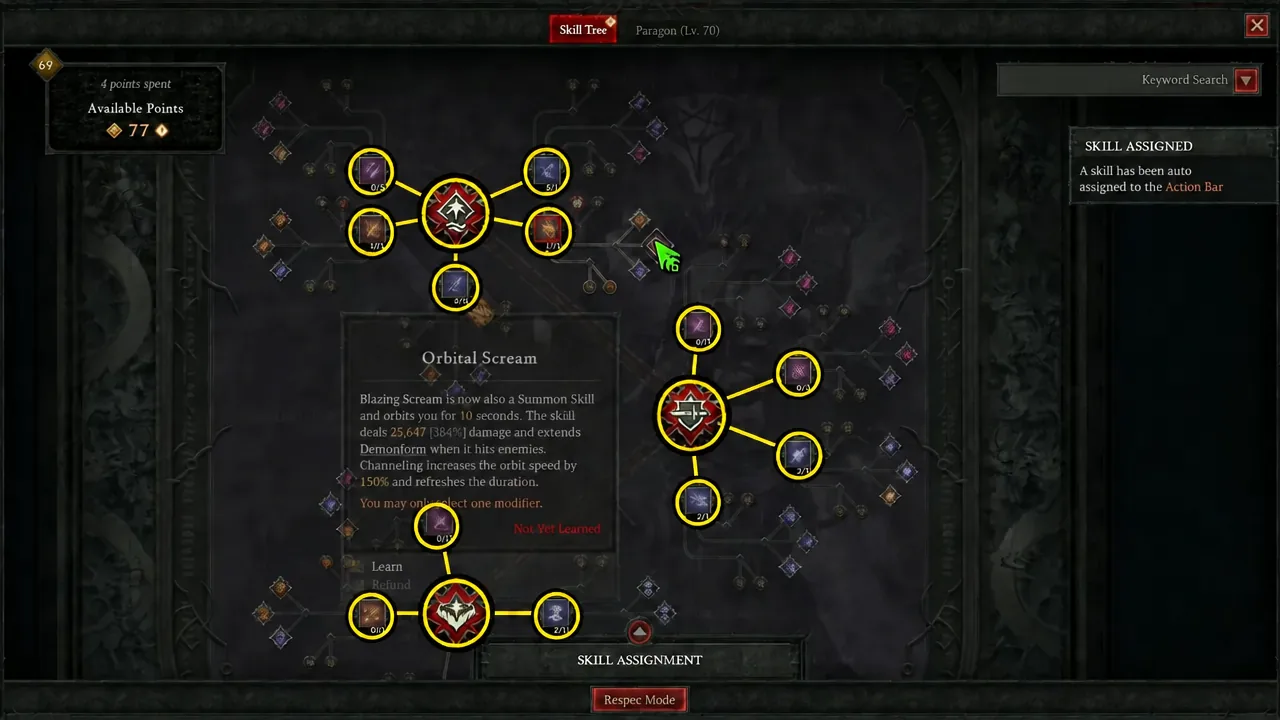
Blazing Scream is the Warlock skill that fires a screaming demon skull, and in Season 15 it carries an unusual stack of skill tags that make it scale in almost every direction at once. It counts as a Greater and Lesser Demon skill, a Hellfire skill, a Demonology skill, and a Fire Damage Core skill, which means one button can restore its own resource, apply Vulnerable, and feed multiple Paragon multipliers. The build is comfortable to level with from level 1 and stays viable all the way through Torment 12.
Quick answer: Rush Orbital Scream at level 15, respec Infernal Breath into Bombardment at 32 and Molten Bomb into Dark Prison at 34, then pivot to Torment once you have Elegy and Moloch’s Beating Flame.
Why Orbital Scream is the whole leveling plan
Orbital Scream is the Blazing Scream variant that changes the skill from a projectile into a summon. The skull orbits you for 10 seconds, deals 978% damage, and extends Demonform every time it connects. Channeling the skill speeds the orbit up by 150% and refreshes the duration, so a single hold turns the space around your character into a moving kill zone.
That power spike is large enough that you can leave Normal difficulty behind the moment you unlock it and drop straight into Penitent at level 15. Demonform on its own adds 20% Maximum Life and 30% Demonology Skill damage, which is why keeping the orbit active matters more than any single big cast.
Level 1 to 15 skill setup
Before level 15 you do not have the orbiting skull, so the opening setup is a plain generator-and-spender loop. Molten Bomb handles Wrath generation, Blazing Scream is the damage, and Nether Step covers mobility. Infernal Breath rounds out the bar for clearing packs and chewing through early elites.
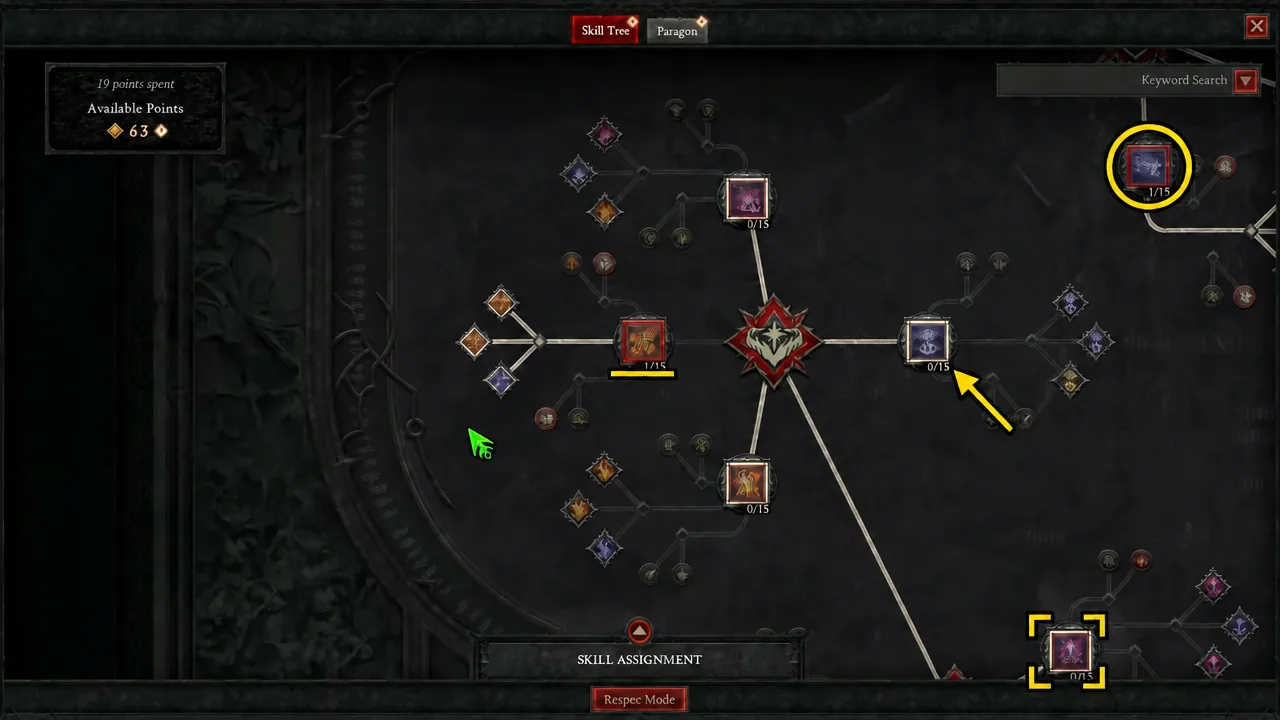
- Molten Bomb — resource generation to keep Blazing Scream casting
- Blazing Scream — your primary damage from the first point onward
- Nether Step — movement, with Shadowform granting Unhindered and Stealth on the move
- Infernal Breath — temporary AoE clear until the level 32 respec
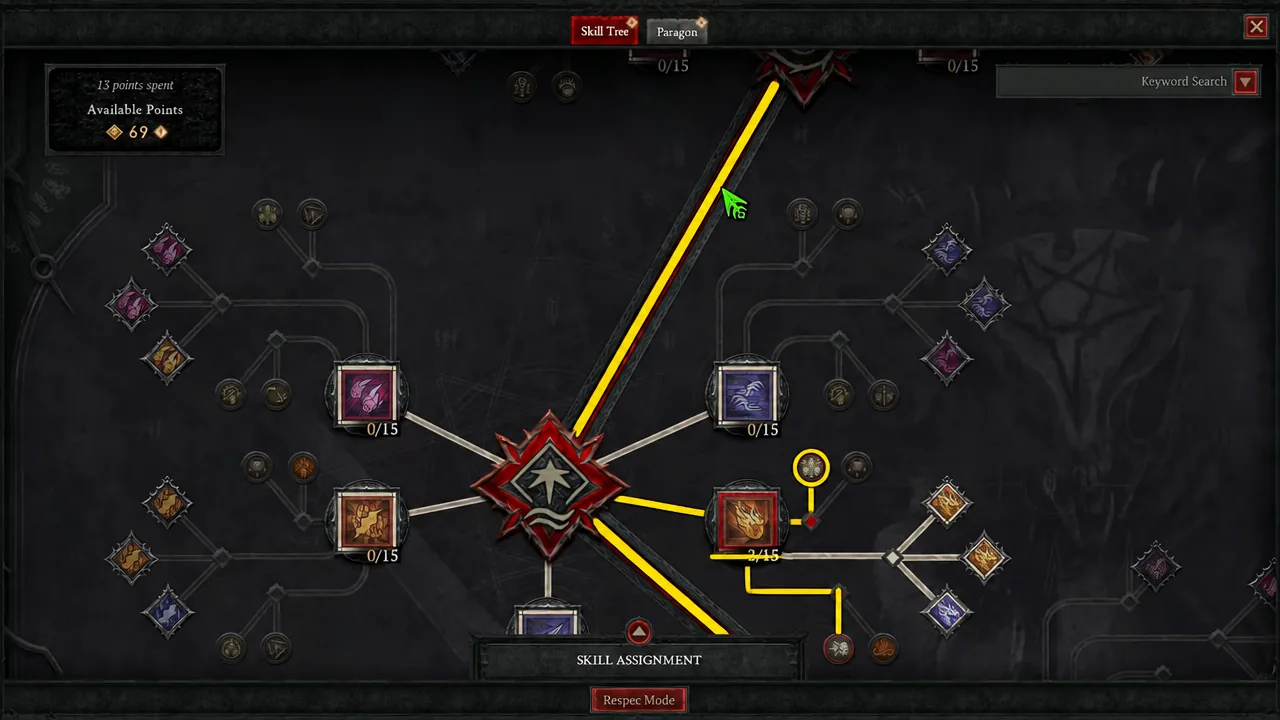
After those four are placed, push points into Ranged Damage, Extra Charge, and the Infernal Breath modifiers on the way toward the level 15 node.
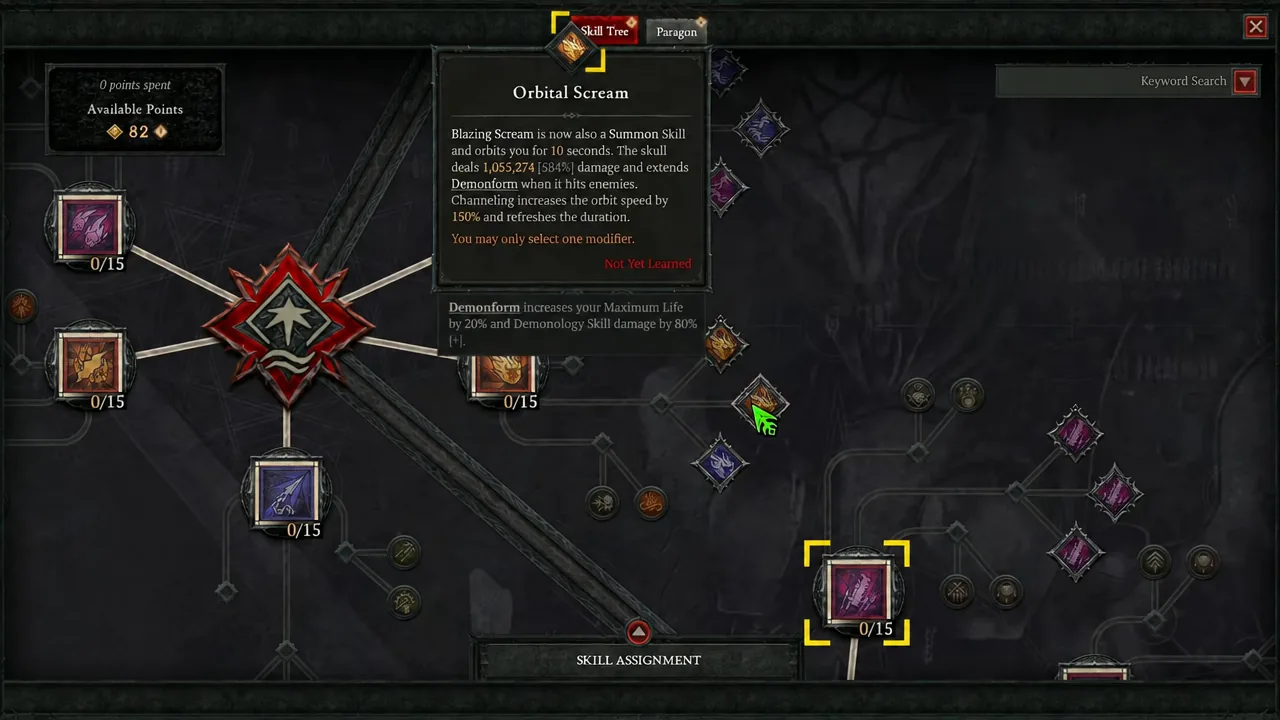
The level 15 spike: Orbital Scream, Demon Turret, and Abodian
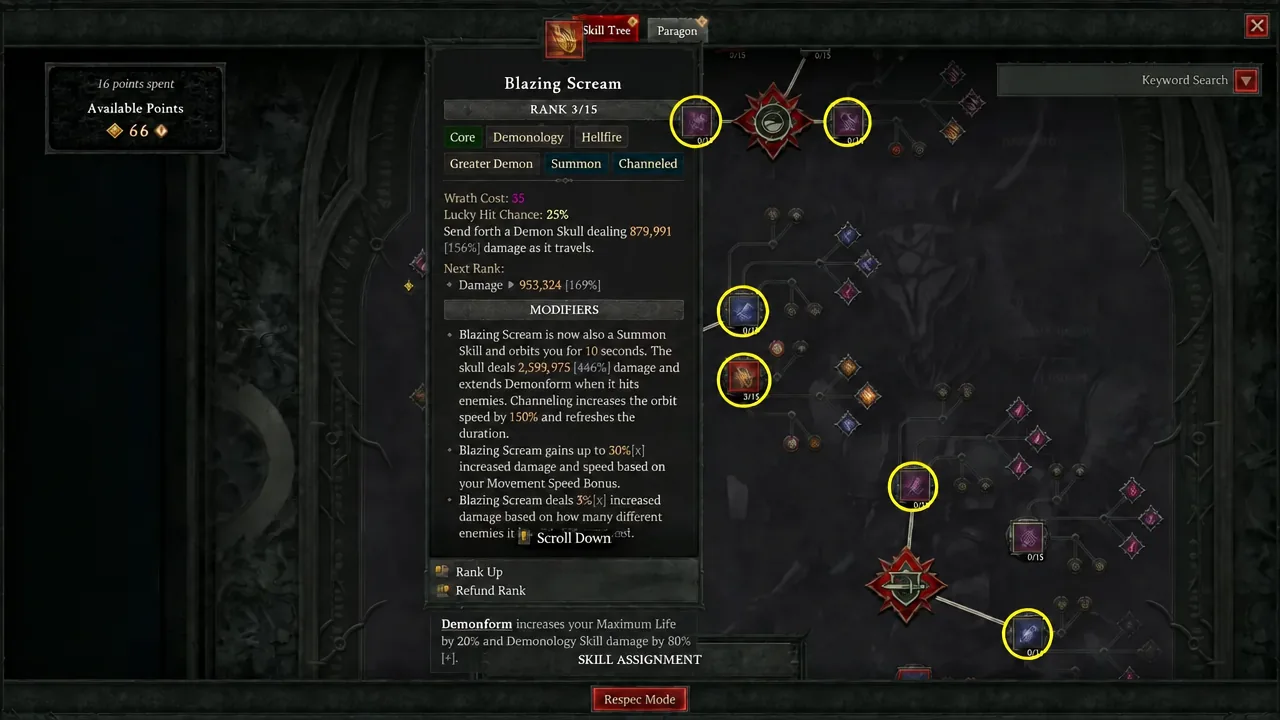
If elemental elites start bursting you down on Penitent, drop to Expert. The leveling speed loss is small compared to the time lost to repeated deaths.
Respec milestones from 32 to 70
Two clean respecs reshape the bar as new skills come online. Both are full swaps, not partial moves.
| Level | Remove | Add | Reason |
|---|---|---|---|
| 32 | Infernal Breath | Bombardment (Endless Barrage) | Casts while moving or riding |
| 34 | Molten Bomb | Dark Prison | Passive Fortify and slows |
| 36 | — | Searing Infestation | Turns Terror Swarm into a Hellfire aura |
Endless Barrage is the reason the level 32 swap feels so good. Being able to fire Bombardment while moving, or while mounted on Abodian, removes the last real stop-and-cast moment from the rotation. Dark Prison two levels later gives back the survivability you lose by dropping a generator.
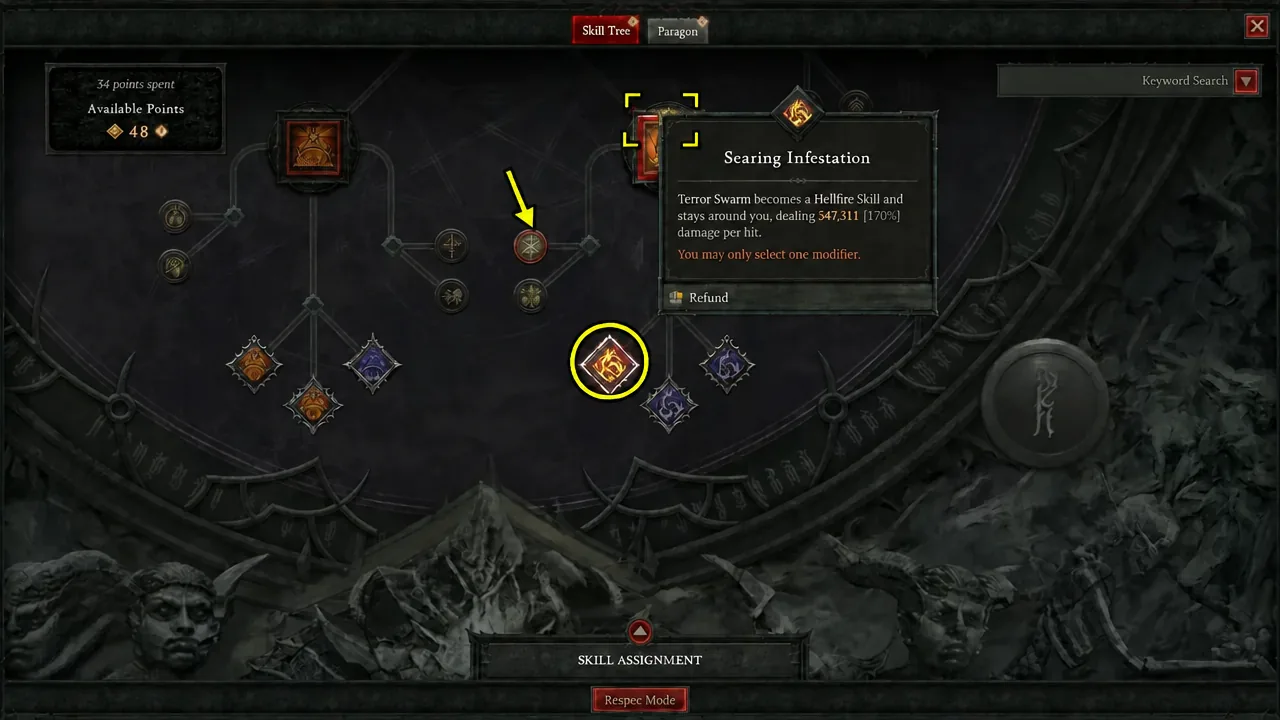
From 36 to 70, the remaining points go into maxing Blazing Scream, Bombardment, Dark Prison, and Nether Step. Nothing new enters the bar.
Gear and aspects while leveling
Two gear slots carry the entire leveling phase: boots and amulet, both with Movement Speed. If either drops as a lower rarity, upgrade it to Rare in the Horadric Cube and temper Movement Speed at the Blacksmith. Once both are set, you can largely ignore them until Torment.
Edgemaster’s Aspect is the standout, found in the Old Stones dungeon in Scosglen. On an amulet it grants 90% damage, and because this build sits at full resources nearly all the time, that reads as close to double damage in practice. Aspect of Channeling and Hellbent Commander Aspect are the other two worth slotting during the climb.
Transitioning into Torment 1
Two uniques gate the jump from leveling gear into a real Torment setup, and they should be hunted in this order.
Elegy
Elegy is the single most important item in the build. The unique sword grants the Skull Splitter modifier to Blazing Scream for free and adds 20-30% increased damage on top. In Season 15 it also turns Blazing Scream into an Archfiend skill and makes the smaller lesser demon skulls hit for the same damage as the main one. You can get it from Lord Zir or through Horadric Cube upgrades.
Moloch’s Beating Flame
This amulet, dropped by The Butcher, gives Hellfire skills 25-35% increased damage for every skill empowered by Volatility. It does nothing without Volatility, so it only comes online after the next change.
Swapping Terror Swarm for Metamorphosis
Metamorphosis replaces Terror Swarm and is what generates Volatility. The Destruction Demon variant grants perpetual Demonform and enormous scaling, but it burns you constantly. Cast it once, then leave it alone unless the buff drops off.
Do not make this swap before your defensive layers are in place. The self-burn is continuous and will kill an undergeared character.
Surviving your own burn damage
Volatility trades health for damage, so the Torment setup is built around out-healing the burn rather than avoiding it. Temerity pants convert over-healing into Barrier, and Sadistic Aspect transfigured on your amulet is what supplies that healing, since it triggers Life on Kill from the constant stream of lesser Blazing Scream projectiles. That loop generates Barrier fast enough to offset the burning.
- Temerity — Barrier from over-healing
- Sadistic Aspect — the healing engine, transfigured on the amulet
- Undying Aspect on boots — extra sustain once Sadistic is transfigured
- Druid’s Earthen Bulwark — additional barrier generation
Rampage replaces Nether Step at this stage for its Hellfire damage scaling, with the Demonic Smash version being the pick. The Eightfold Idol ring adds another layer by leaving Sigil of Subversion trails under your Blazing Scream projectiles, which deal heavily increased damage on their own.
Torment gear, gems, and charms
Infernal Homunculus should only be equipped once you already have Elegy. Together they make Blazing Scream an Archfiend skill and hand you every Lesser Demon upgrade from the Archfiend skills, including Wrath generation and Vulnerable application. Before Infernal Homunculus drops, Aspect of Accursed Touch on boots covers Vulnerable instead.
| Slot | Item |
|---|---|
| Weapon | Elegy |
| Offhand | Infernal Homunculus |
| Amulet | Moloch’s Beating Flame |
| Pants | Temerity |
| Ring | The Eightfold Idol |
| Helm | Harlequin Crest |
Aspect of Ignition, Aspect of Scorching Heat, and Embattled Aspect fill the remaining legendary slots. For socketables, the Season 15 Splinters of the Black Soulstone, Lies, Anguish, Sin, and Pain all have a home here, with Splinter of Anguish supplying the Attack Speed and Critical Strike Chance you need to reach the 100% caps. Swap a Diamond or two in jewelry for Grand Ruby if your Fire Resistance is lagging before those Splinters arrive.
On charms, the Flesh of Abaddon set is the scaling backbone, with Phoba of Abaddon’s Flesh the strongest individual piece. Anathema of the Primes contributes only a small damage bump, but it changes Rampage’s cost from Dominance to Wrath, which makes it an excellent speedfarming mobility tool.
Paragon board order
The efficient approach is to rush Legendary Nodes with as few points as possible, then backtrack for Glyphs and filler stats afterward. The targets are Dynamism, Demonic Spicules, Fatherless, Greater Hex, and Valiance.
Prioritize survivability over damage early. Hit the minimum Glyph requirements rather than maxing them, finish the board, then come back for the small damage and armor nodes. Superiority and Attrition both need to reach rank 50 to meet Intelligence requirements on later boards, so level them first, followed by Unbound, Demonologist, and Archfiend.
Endgame rotation and stat targets
The combat loop settles into something simple. Ride in on Abodian to break crowd control and gain Unstoppable, cast Metamorphosis once, drop Dark Prison while actively fighting so kills inside it reset the cooldown, throw Molten Bomb when Wrath runs low, then spam Blazing Scream.
Aiming matters more than it looks. Blazing Scream projectiles bounce off walls and can hit the same target repeatedly, so firing into corridors or boxed-in rooms produces noticeably higher damage. Against bosses and tanky elites, aim at terrain behind them so the skulls ricochet back through.
- 100% Attack Speed
- 100% Critical Strike Chance
- Over 10 Wrath Regeneration
- Over 10,000 Fire Resistance
- Maximum Life on nearly every piece
- Two tempers of “Lucky Hit Restore Resource”
For mercenaries, Raheir is the default hire for survivability and a little damage through Taunt, with Varyana and Taste of Flesh as an early alternative for healing against Bleeding enemies. Aldkin works as the reinforcement to cut incoming damage further.
You will know the build has come together when Demonform stops dropping off between packs and your Barrier holds steady despite the constant self-burn. At that point Blazing Scream sits in A tier among Season 15 Warlock builds, comfortable in Torment 12 and deep Pit runs without needing perfect gear to function.





