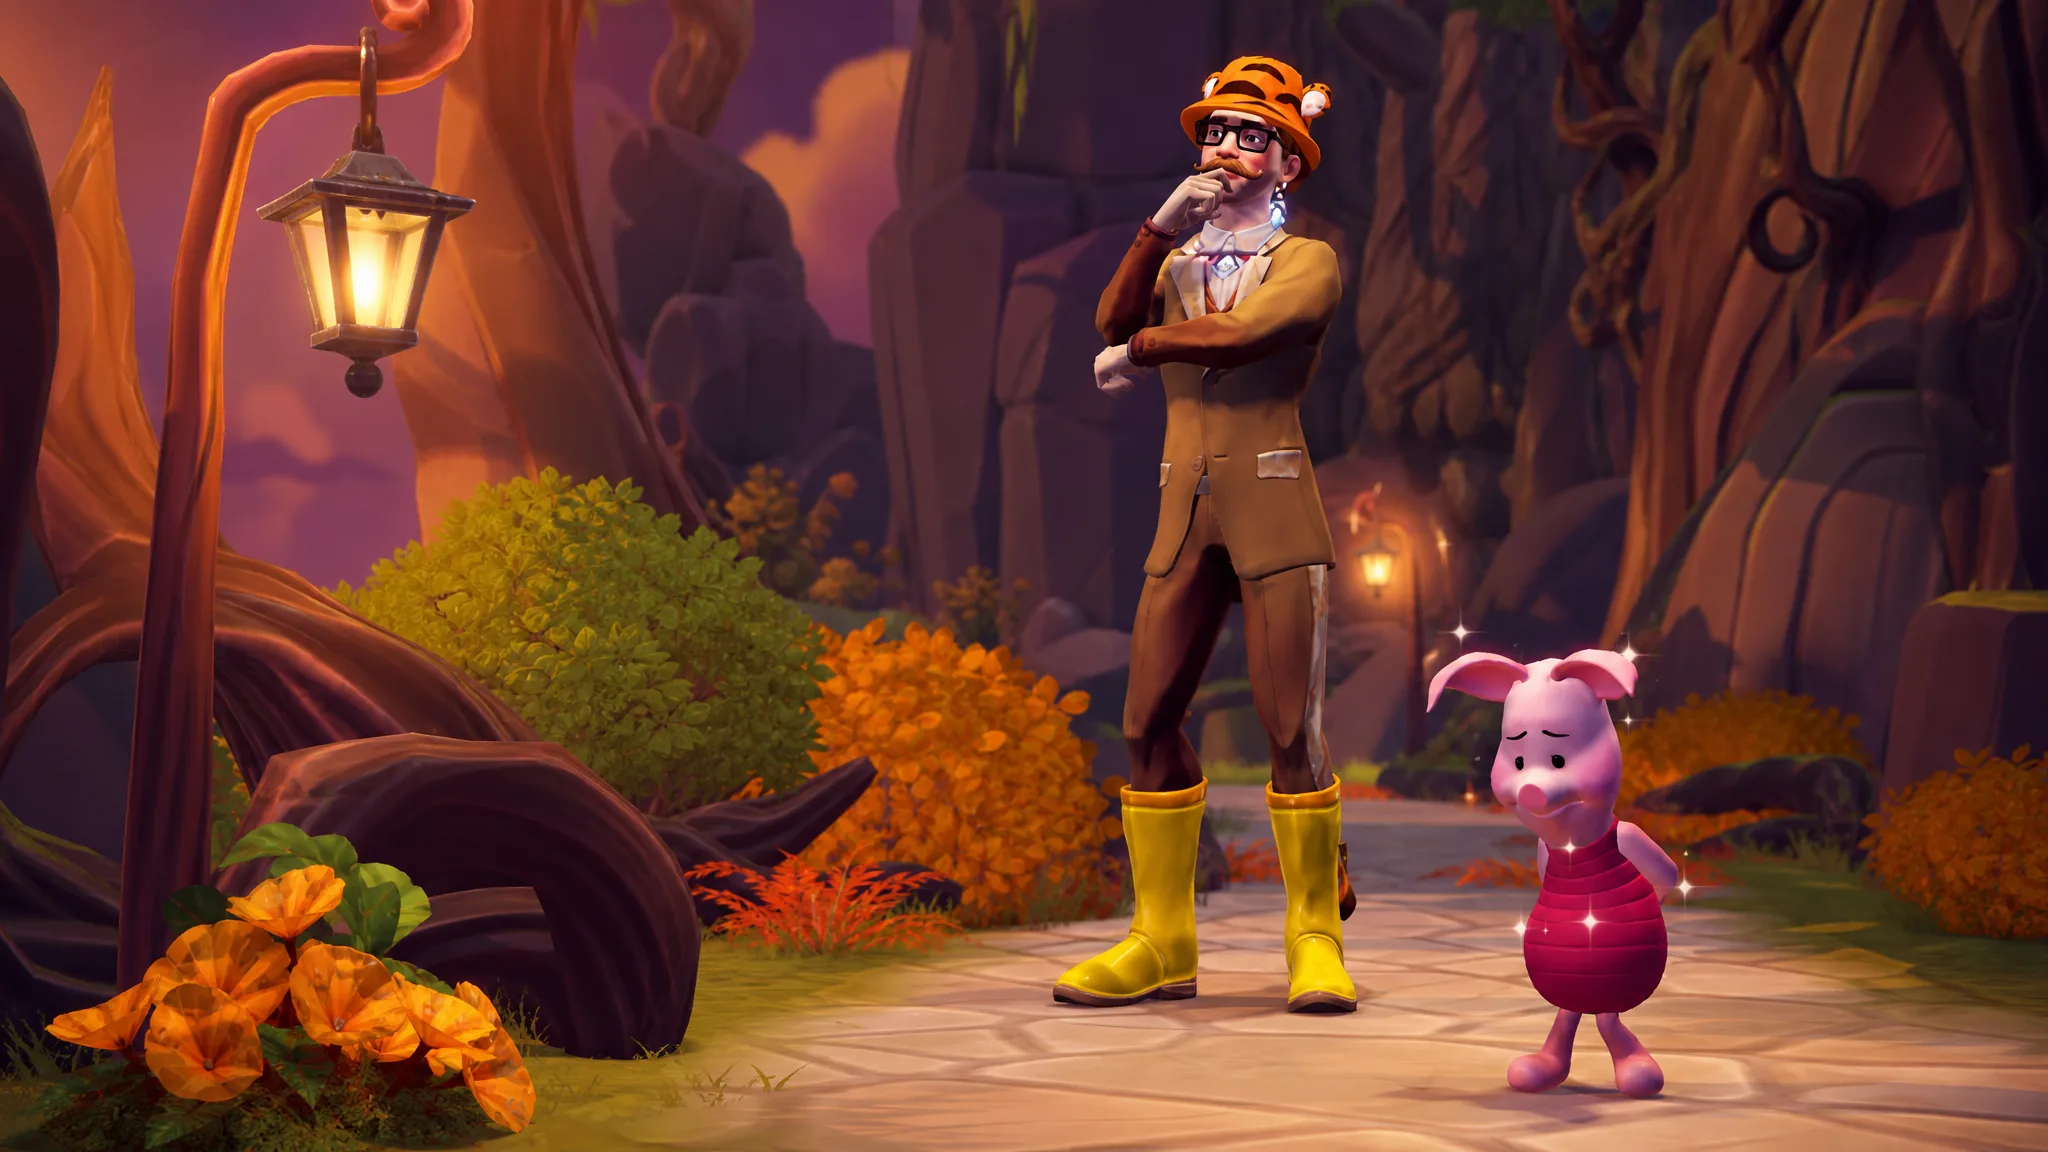
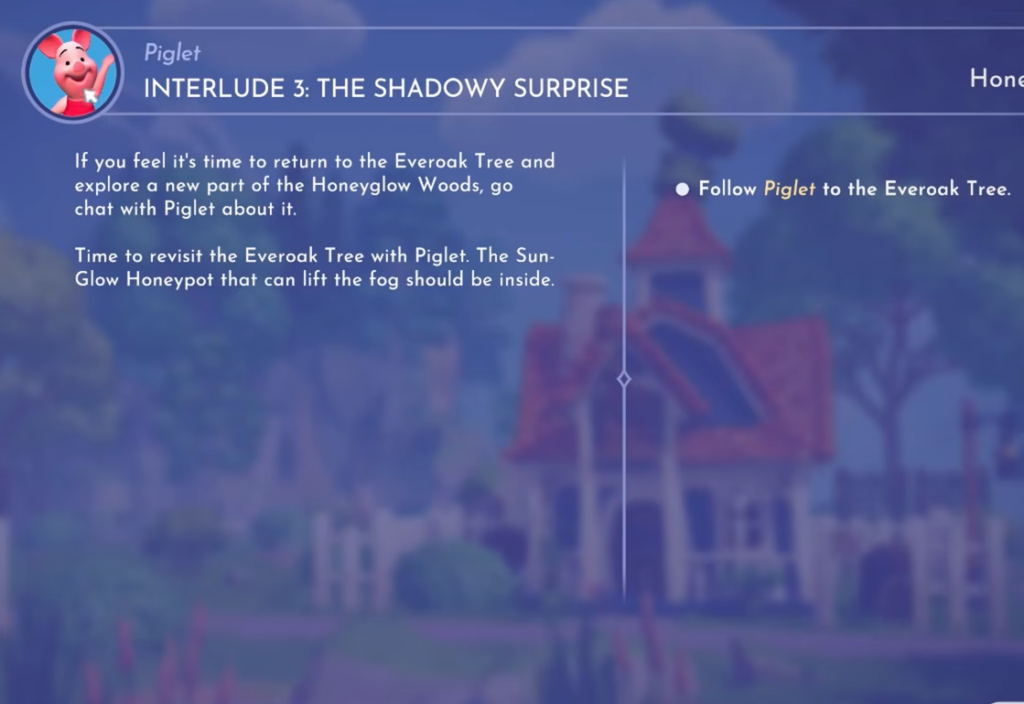
Interlude 3: The Shadowy Surprise picks up right after Chapter 9 in the Honeyglow Woods storyline, sending you into Braveheart Grove’s Everoak Tree with the yellow paint you earned earlier. Inside, a locked door puzzle and a frightened Piglet stand between you and clearing the fog around Nectar Apiary. Two steps trip most players up, so here is exactly what to enter and where to look.
Quick answer: Solve the Everoak door tiles as Flower, Honey pot, Honey pot. Then gather four honeypots, set one on each ring, and pull the left handle three times and the right handle twice.
Before you start
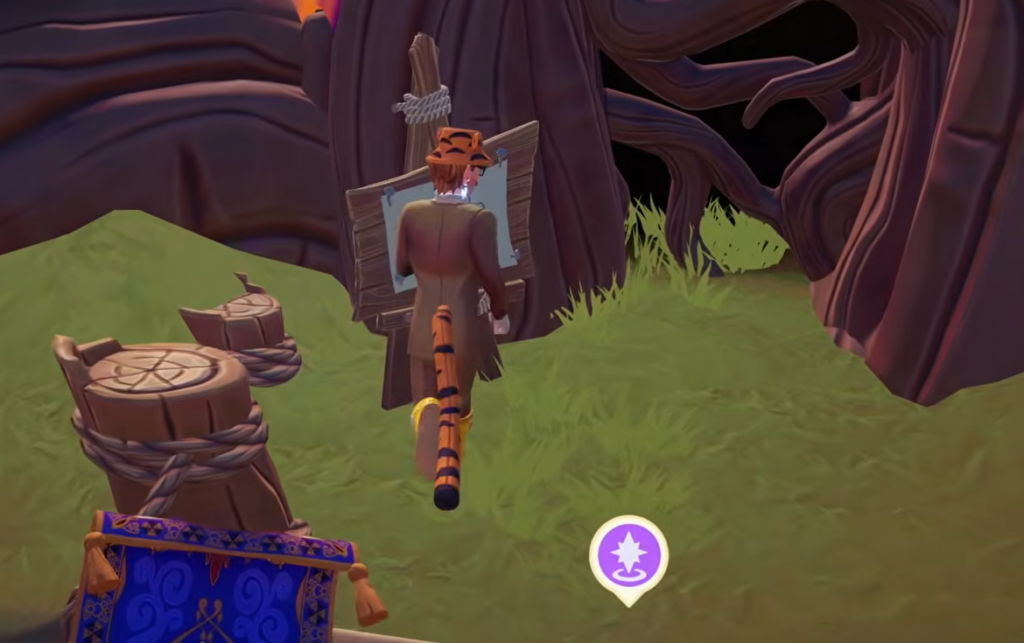
You need to have finished Chapter 9: How to Meet a Best Friend (Again), which unlocks Piglet as a villager and hands you the yellow paint. Use that paint to enter the Everoak Tree in Braveheart Grove.
Just inside, you will find an alcove holding a note about Sun-Glow Honey. Unlike earlier visits, there is no honeycomb waiting here. That prompts you and Piglet to head downstairs, where the door puzzle begins.
Everoak door puzzle solution
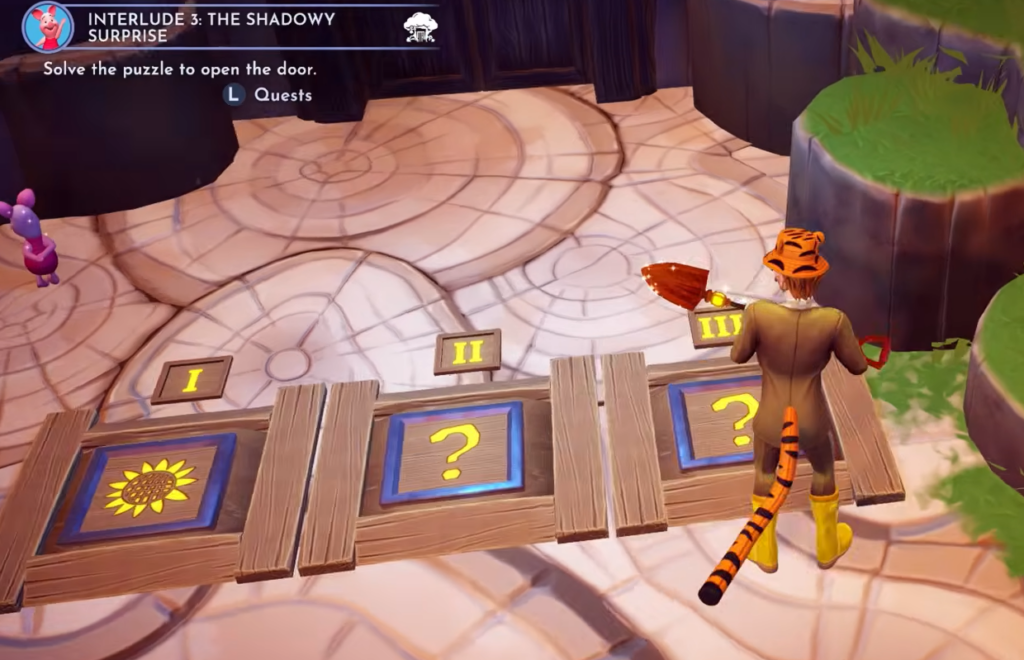
At the bottom of the staircase there are three question mark tiles on the floor. Use your Royal Shovel on each tile to cycle it until the number lines up with its correct icon. Clues scattered around the room point to the matches, but you can skip the hunting and enter the answer directly.
| Tile number | Correct icon |
|---|---|
| 1 | Flower |
| 2 | Honey pot |
| 3 | Honey pot |
Once all three tiles show the right icons, the door opens and lets you into the next room.
Photograph the three shadows for Piglet
All four honeypot locations
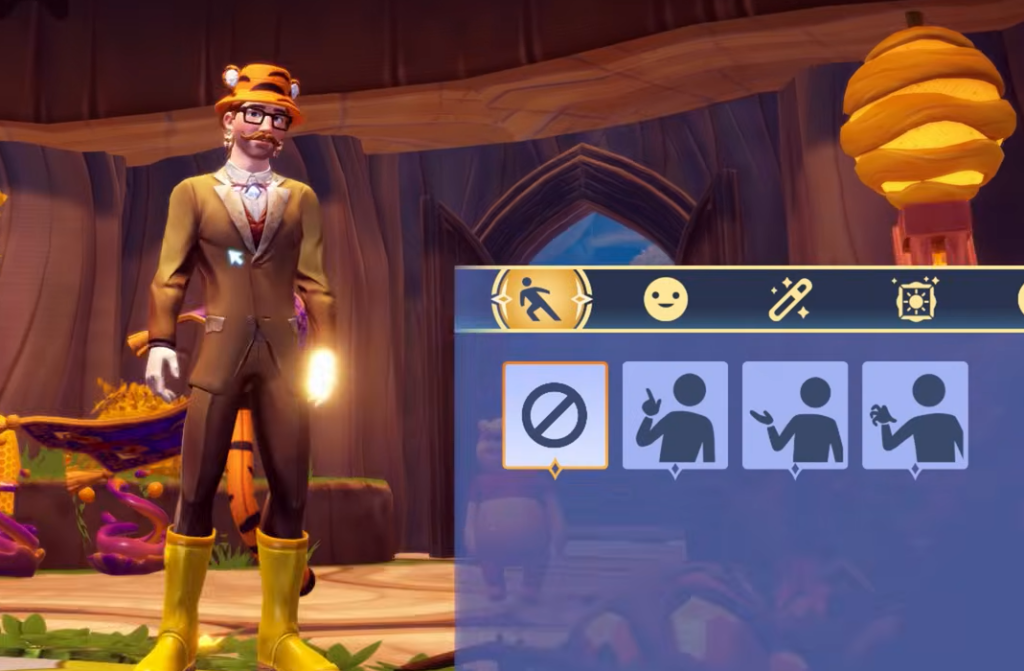
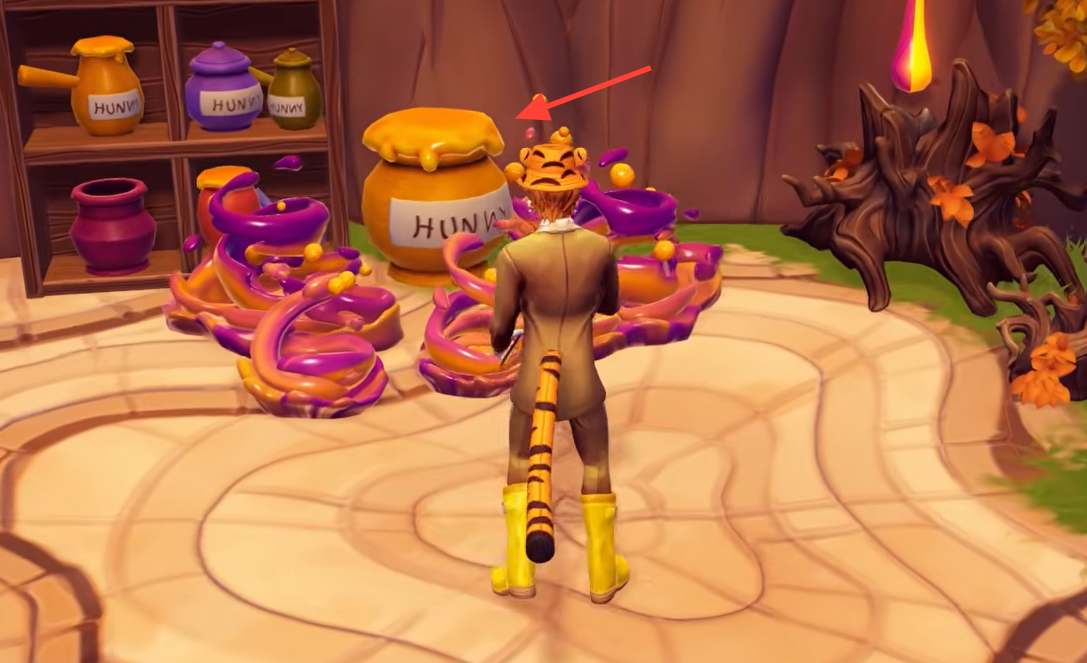
To block the shadows, you need four honeypots hidden around the room. Each one requires a different tool or interaction to reveal.
| Pot | Where and how to find it |
|---|---|
| Small red pot | From the entrance, turn left and clear the Twistroots to uncover it in the ground. |
| Fished pot | Fish the orange ripples in the honey falls. |
| Honey pot near the falls | Clear the empty circle of Honey Swirls beside the honey falls. |
| Large yellow honeypot | Clear the circle of Honey Swirls on the wall opposite the entrance. |
Place the pots and set the handles
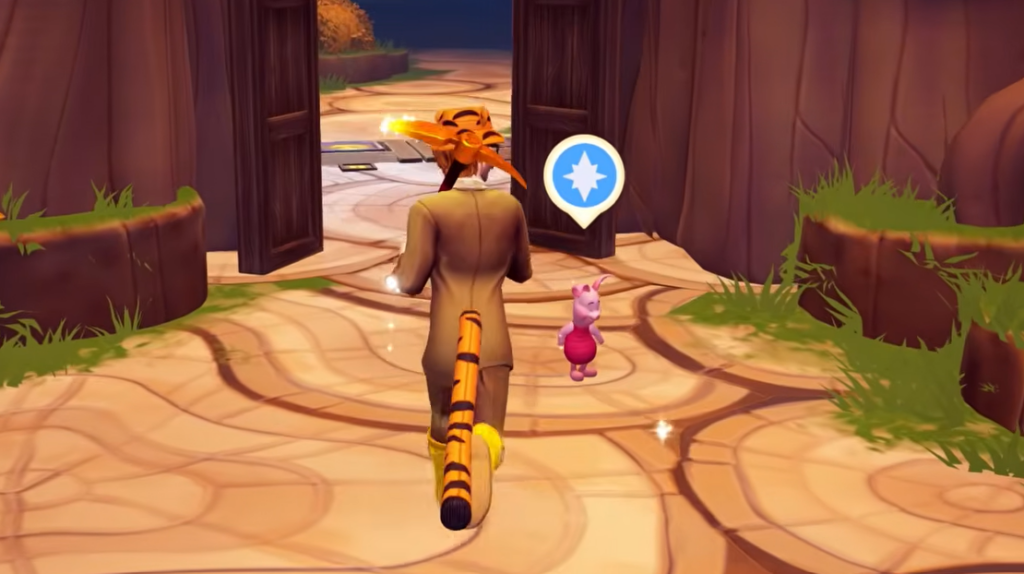
You will know it worked when Piglet stops being scared and the conversation continues, clearing the way toward the fog and Nectar Apiary. If nothing happens at the handles, check that all four rings actually hold a pot, since a missing pot stops the sequence from registering.