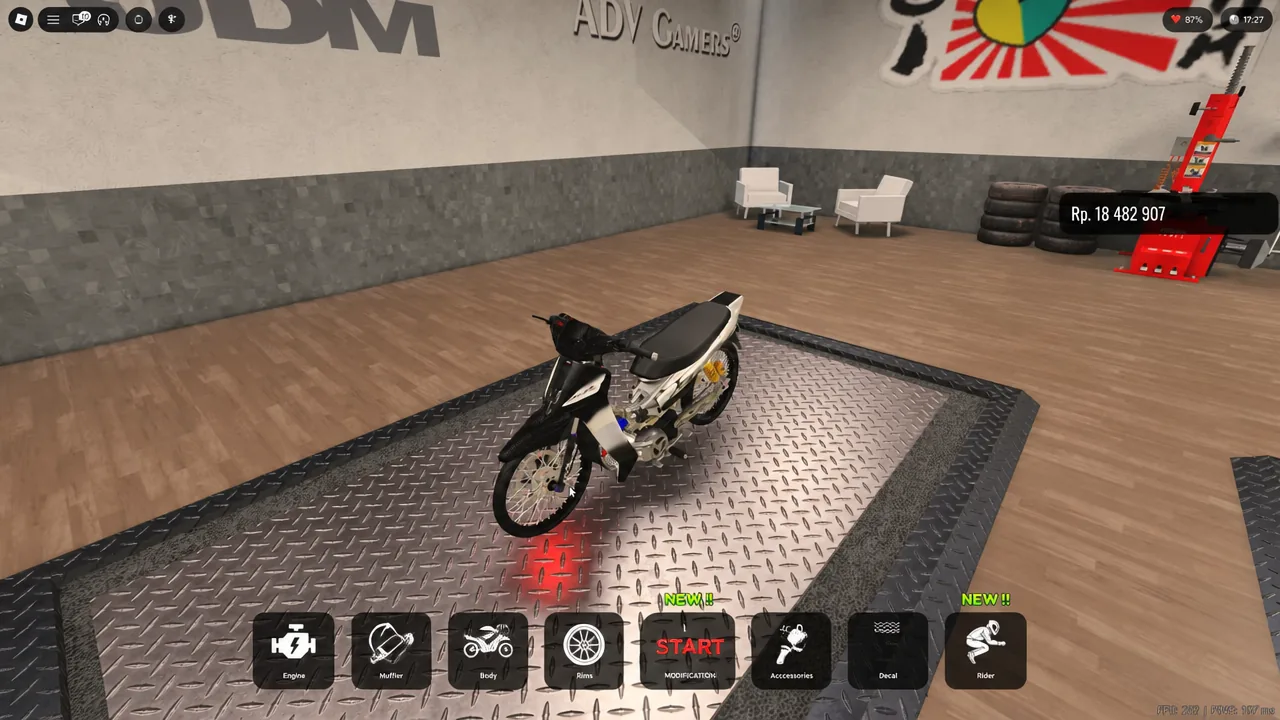
Hunting for an “exhaust” button in Drag Drive Simulator is the fastest way to waste ten minutes. On most bikes there is no standalone pipe slot at all. The muffler is tied to the engine upgrade you own, so the way to fit a new pipe is to buy a higher engine stage inside the Modification garage.
Quick answer: Ride to the Modification shop on the right side of the main spawn, stand on the pink START MODIFICATION pad, select your bike, then open Engine → Engine Internals and confirm Stage 1, Stage 2, or Stage 3. Each stage swaps the exhaust model and the engine note together.
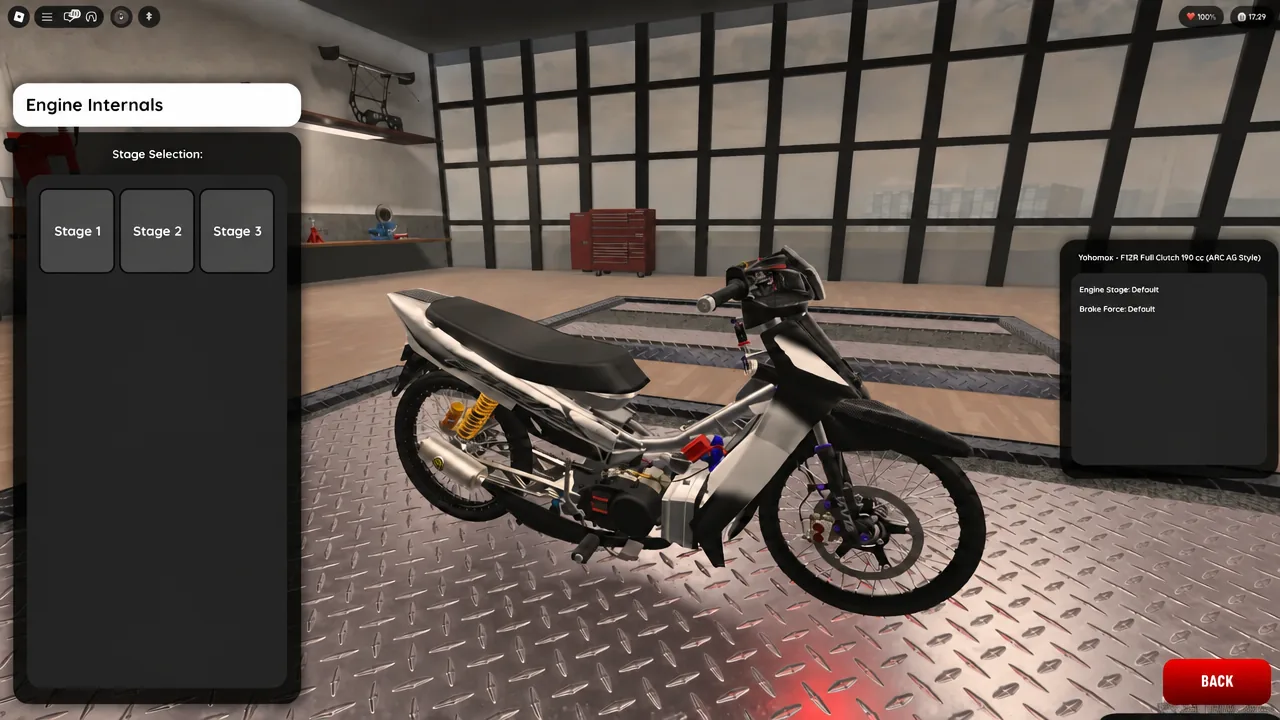
Engine Internals is the setting that changes the pipe
Inside the garage, the exhaust is bundled into the engine build rather than sold as a cosmetic part. Moving between Stage 1, Stage 2, and Stage 3 under Engine Internals changes the physical pipe fitted to the bike and the sound it makes at the same time. There is no way to keep a Stage 1 engine and wear a Stage 3 pipe.
Every stage is a purchase, and the price comes out of your in-game balance shown in the top corner as Rp. Sort your money out before you drive over, because the confirm button will not do anything if you cannot cover the upgrade.
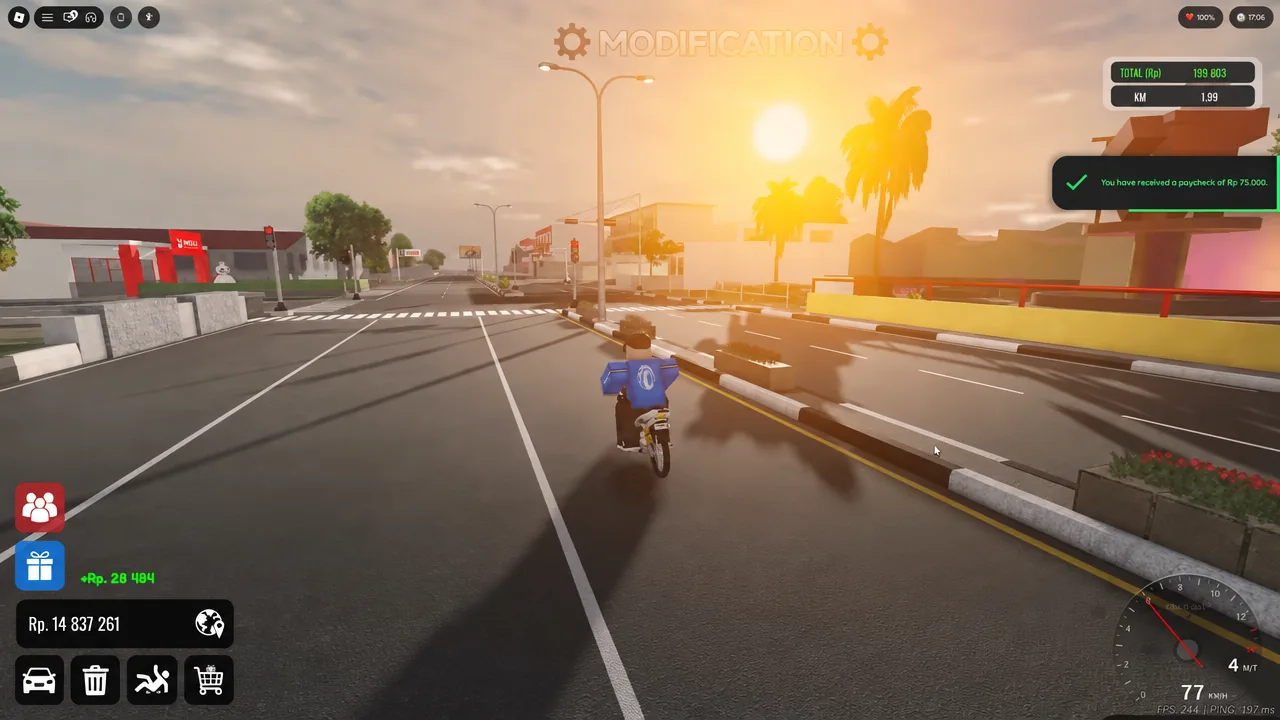
Modification garage screens and buttons
The route from the street to the pipe swap passes through four screens. Knowing which label does what saves a lot of backing out of menus.
| Screen or label | What it does |
|---|---|
| START MODIFICATION pad | Pink glowing zone on the garage floor that opens the vehicle picker |
| SELECT / CANCEL | Confirms or backs out of the bike you highlighted in the vehicle list |
| Engine → Engine Internals | The menu holding the exhaust and engine stages |
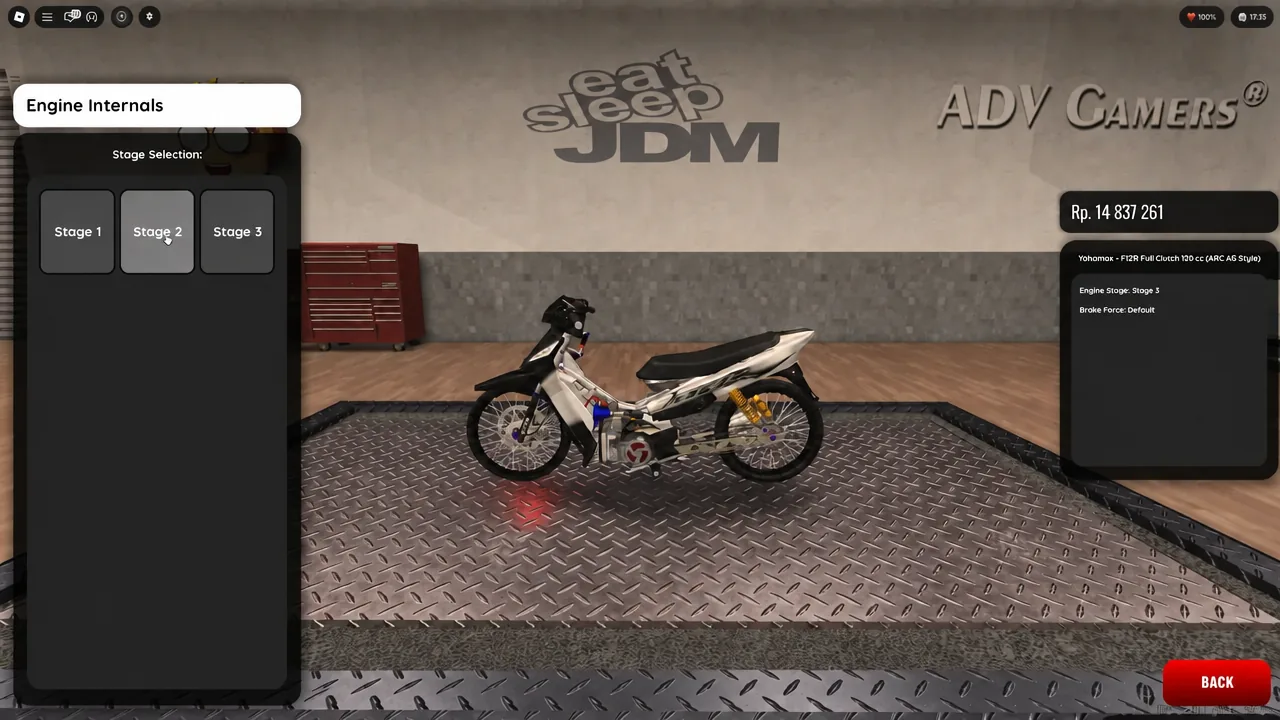
| Stage Selection | Stage 1, Stage 2, and Stage 3 buttons that set the pipe model and sound |
| CONFIRM / BACK | Buys and applies the highlighted stage, or leaves it unchanged |
| Engine Stage readout | Shows the stage currently fitted, next to Brake Force |
How to change the exhaust pipe on your bike
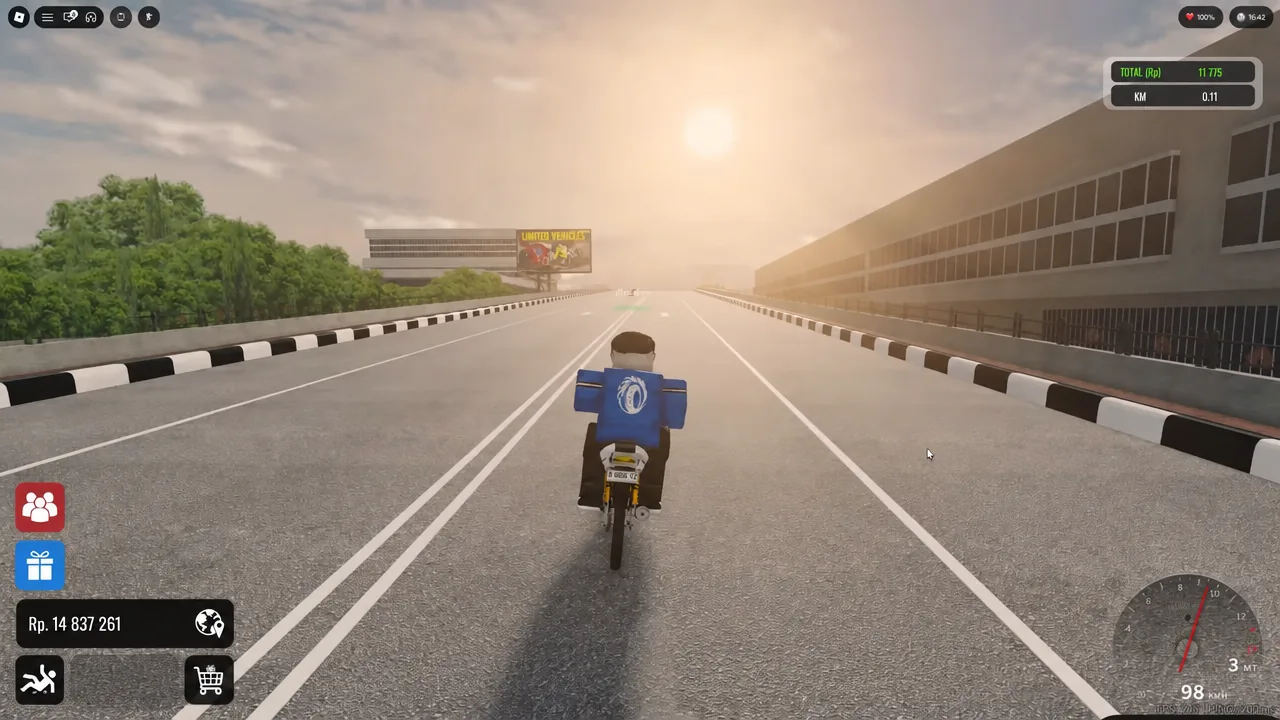
Please Wait ... load while the garage view builds.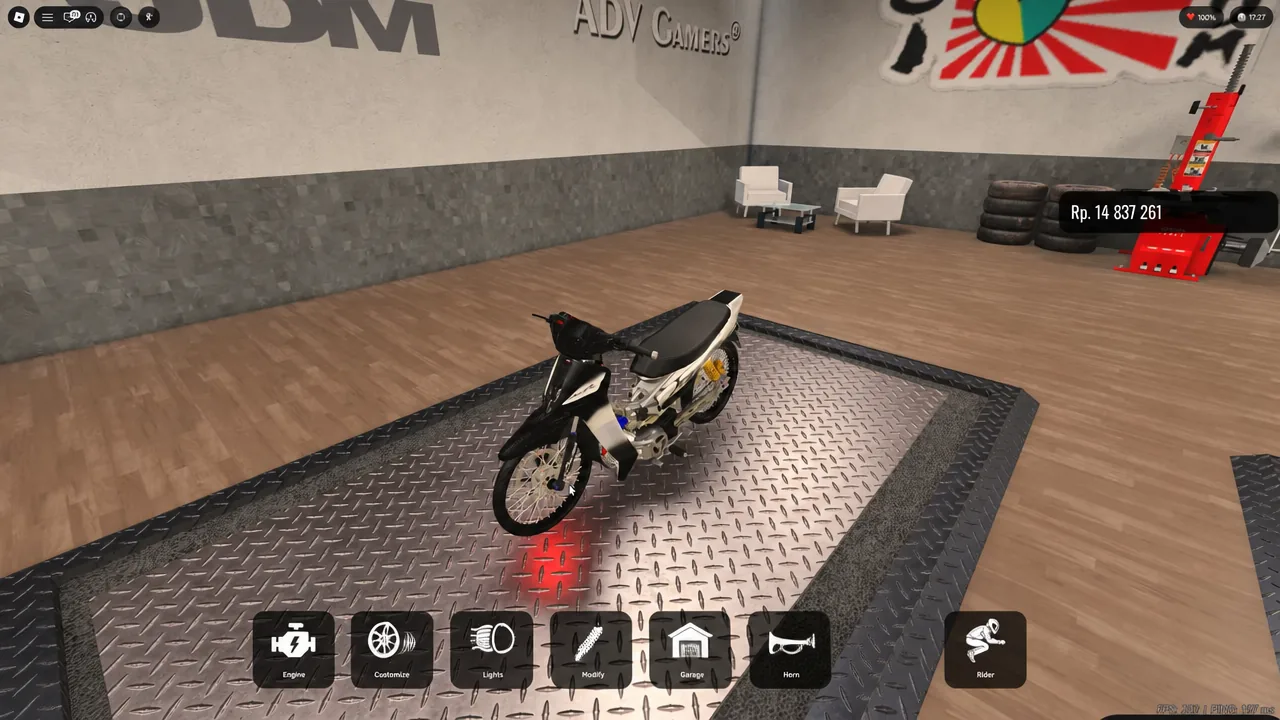
How to check the new pipe is fitted
Two things tell you the swap went through. The stats panel in the garage updates to read the stage you bought, for example Engine Stage: Stage 3 next to Brake Force: Default. Your currency total also drops by the purchase price.
Back out to the street and the bike should sound different the moment you pull away, with the new pipe visible on the model. If the readout still shows the old stage, the purchase never registered.
Exhaust not changing? Common reasons the stage won’t apply
- Your balance is below the stage price, so CONFIRM does nothing.
- A server hiccup swallowed the purchase — rejoining the game usually clears it and the part appears fitted.
- You modified a different bike from the one you are riding, since the list shows every vehicle you own.
- You pressed BACK instead of CONFIRM, which discards the preview.
Note: if a part still refuses to equip after a rejoin, re-enter the garage and reapply the stage rather than repeatedly clicking it on the street.
The pipe tapping route through the mini modification workshop
There is a second route that players use to unlock a custom pipe before heading into the main garage. Ride to the mini modification workshop tucked in an alleyway, walk inside, and click the loose exhaust pipe lying on the floor three times.
Then drive to the main modification facility and go into the front office room first. Tap the metal pipe sitting on the shelf three times as well, then walk into the workshop bay, step on the START MODIFICATION marker, pick your scooter and head into the garage. The bike loads with the unlocked pipe already fitted.
Exhaust options vary by bike model
Not every machine offers the same menu. Some bikes show a dedicated Exhaust category alongside Engine, Miscellaneous, Lights, Windshield and Accessories, while others route everything through Engine Internals. The number of engine stages available also differs between models, so a scooter like the Yahamax – Mio Sporty (2006) will not necessarily present the same list as the Yahomax – F1ZR Full Clutch 120 cc (ARC AG Style).
Pipes are not universal either. A part that fits one motorcycle may not appear as an option on another, which is worth remembering before you spend on a bike you plan to sell.
Once the stage is bought it sticks with that bike, so the only reason to make the trip again is to move up or down the stage list. Keep enough currency spare for the jump and the whole swap takes less time than the ride out to the shop.