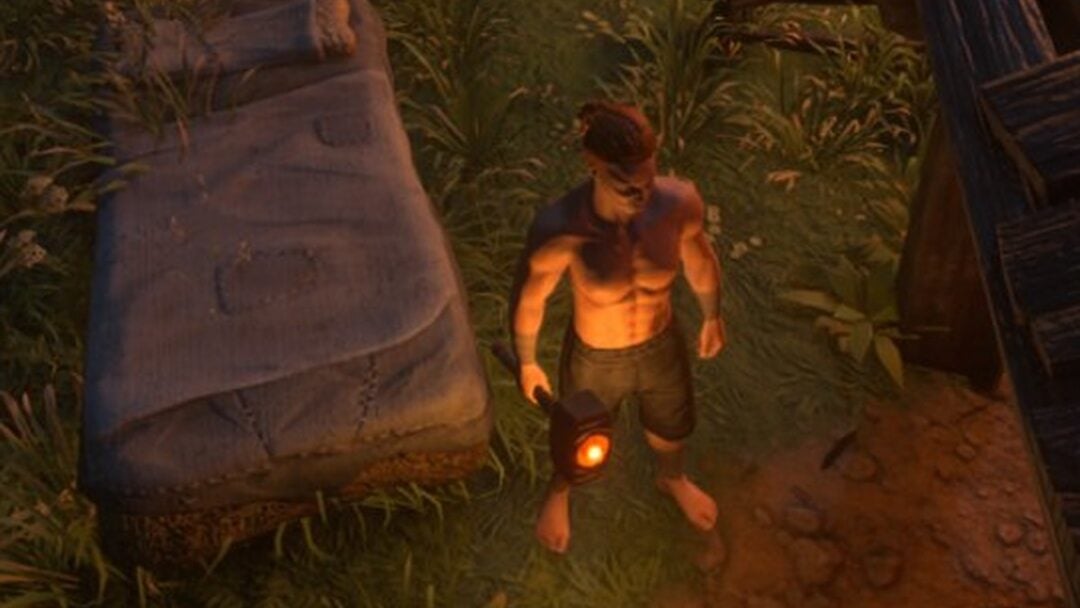
The Revelwood Dungeon Entrance leads into an Ancient Construct beacon dungeon filled with mechanical enemies, locked chests, and switch puzzles. Clearing it rewards the Candlelight Wand and ticks the “Complete All Beacon Dungeons” objective up by one. Here is the full route from the overworld to the beacon altar, plus the reference figures you will want on hand while you run it.
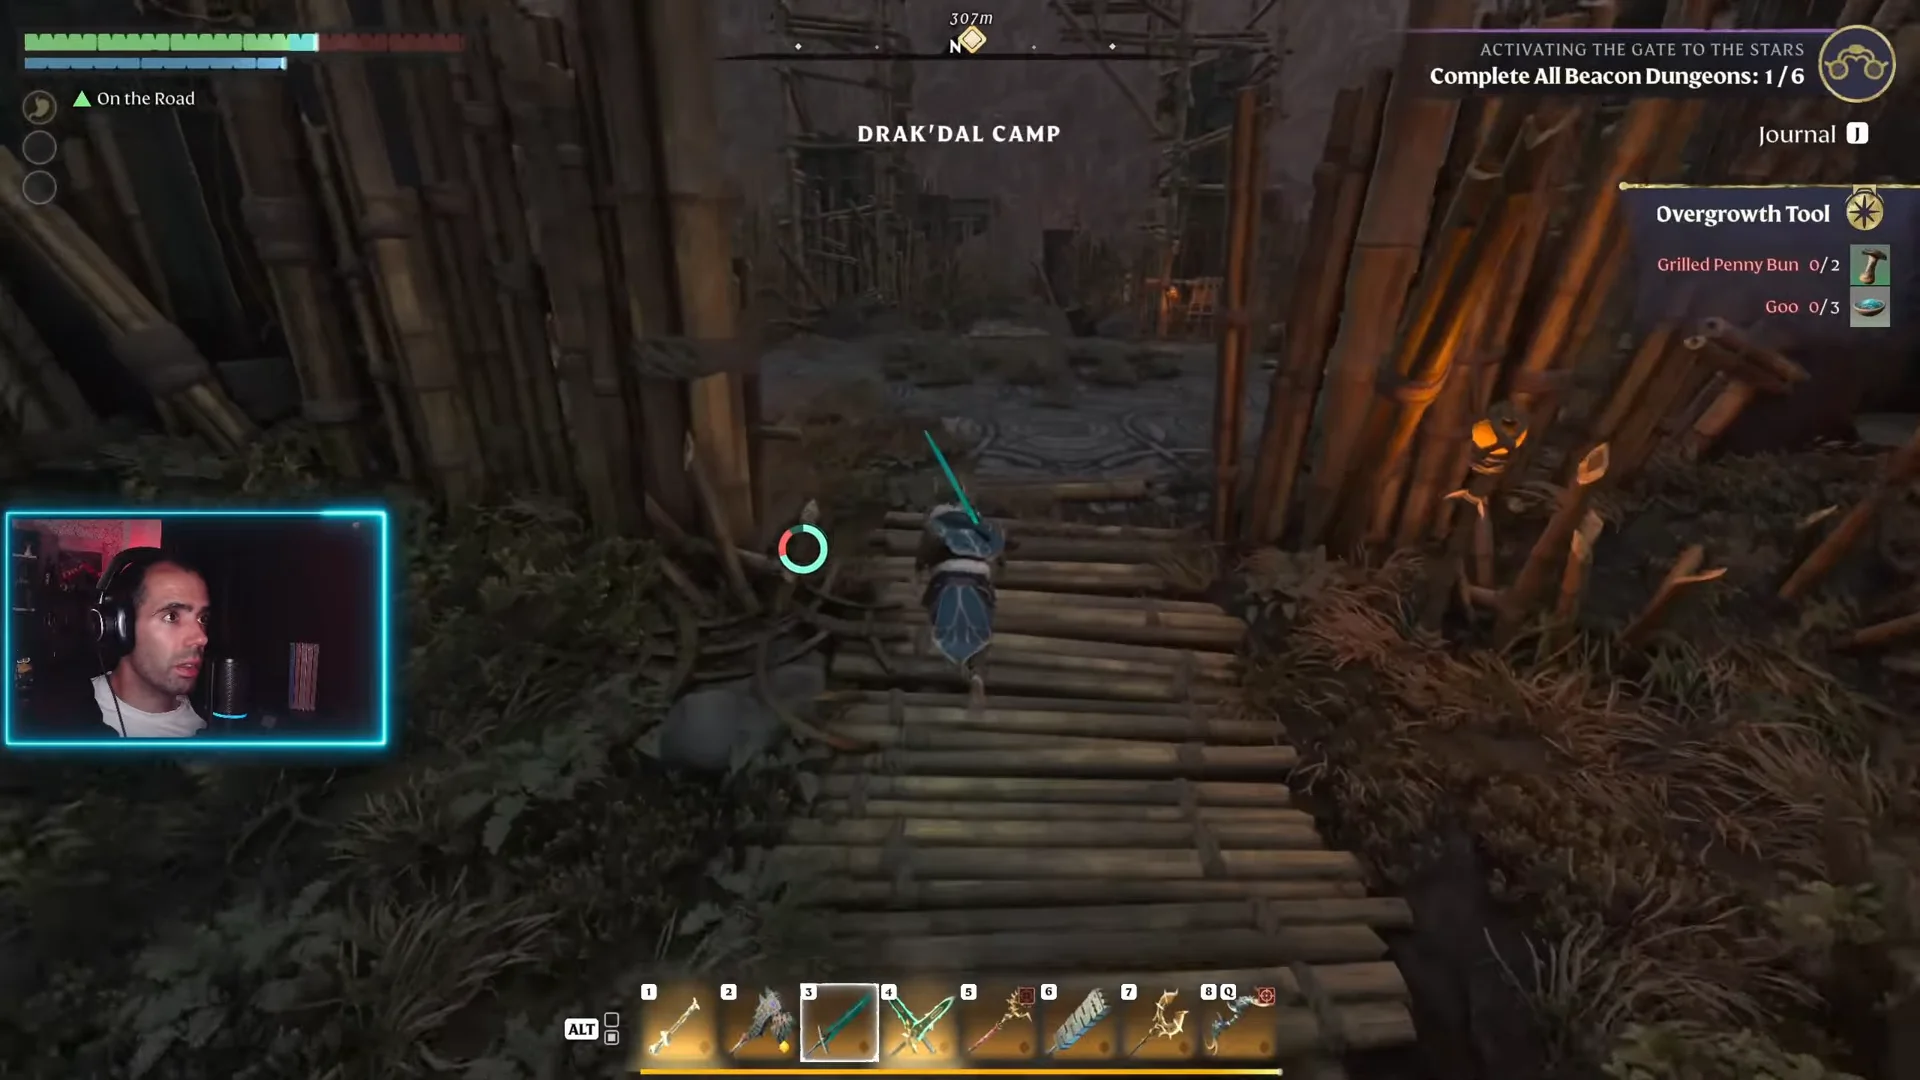
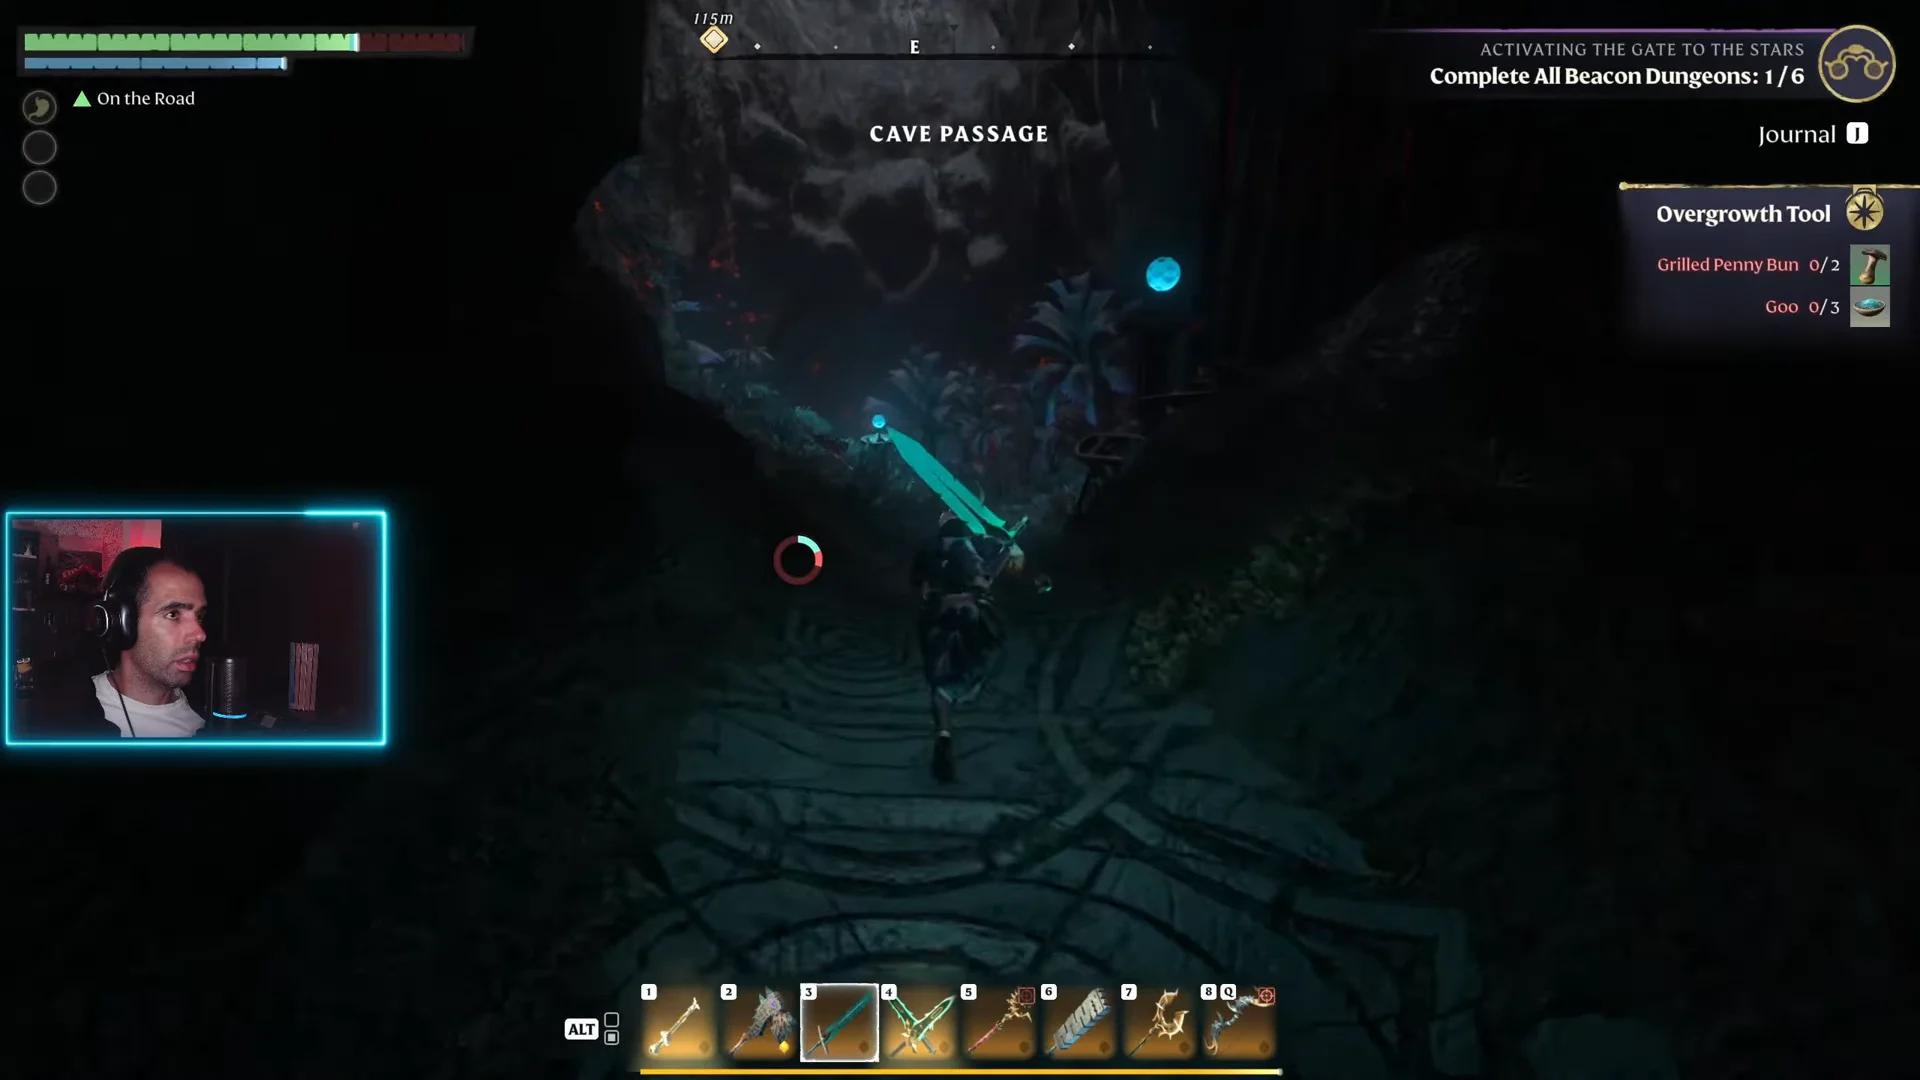
Quick answer: Travel north past Drak’dal Camp, cross the Cave Passage, and grapple up the cliffs to the entrance. Inside, hit the wall switches, craft Archaic Lockpicks from Archaic Shards, loot the Candlelight Wand in the Grand Planetarium, then stand on both telescope floor switches to unlock the beacon.
Reach the Revelwood Dungeon Entrance
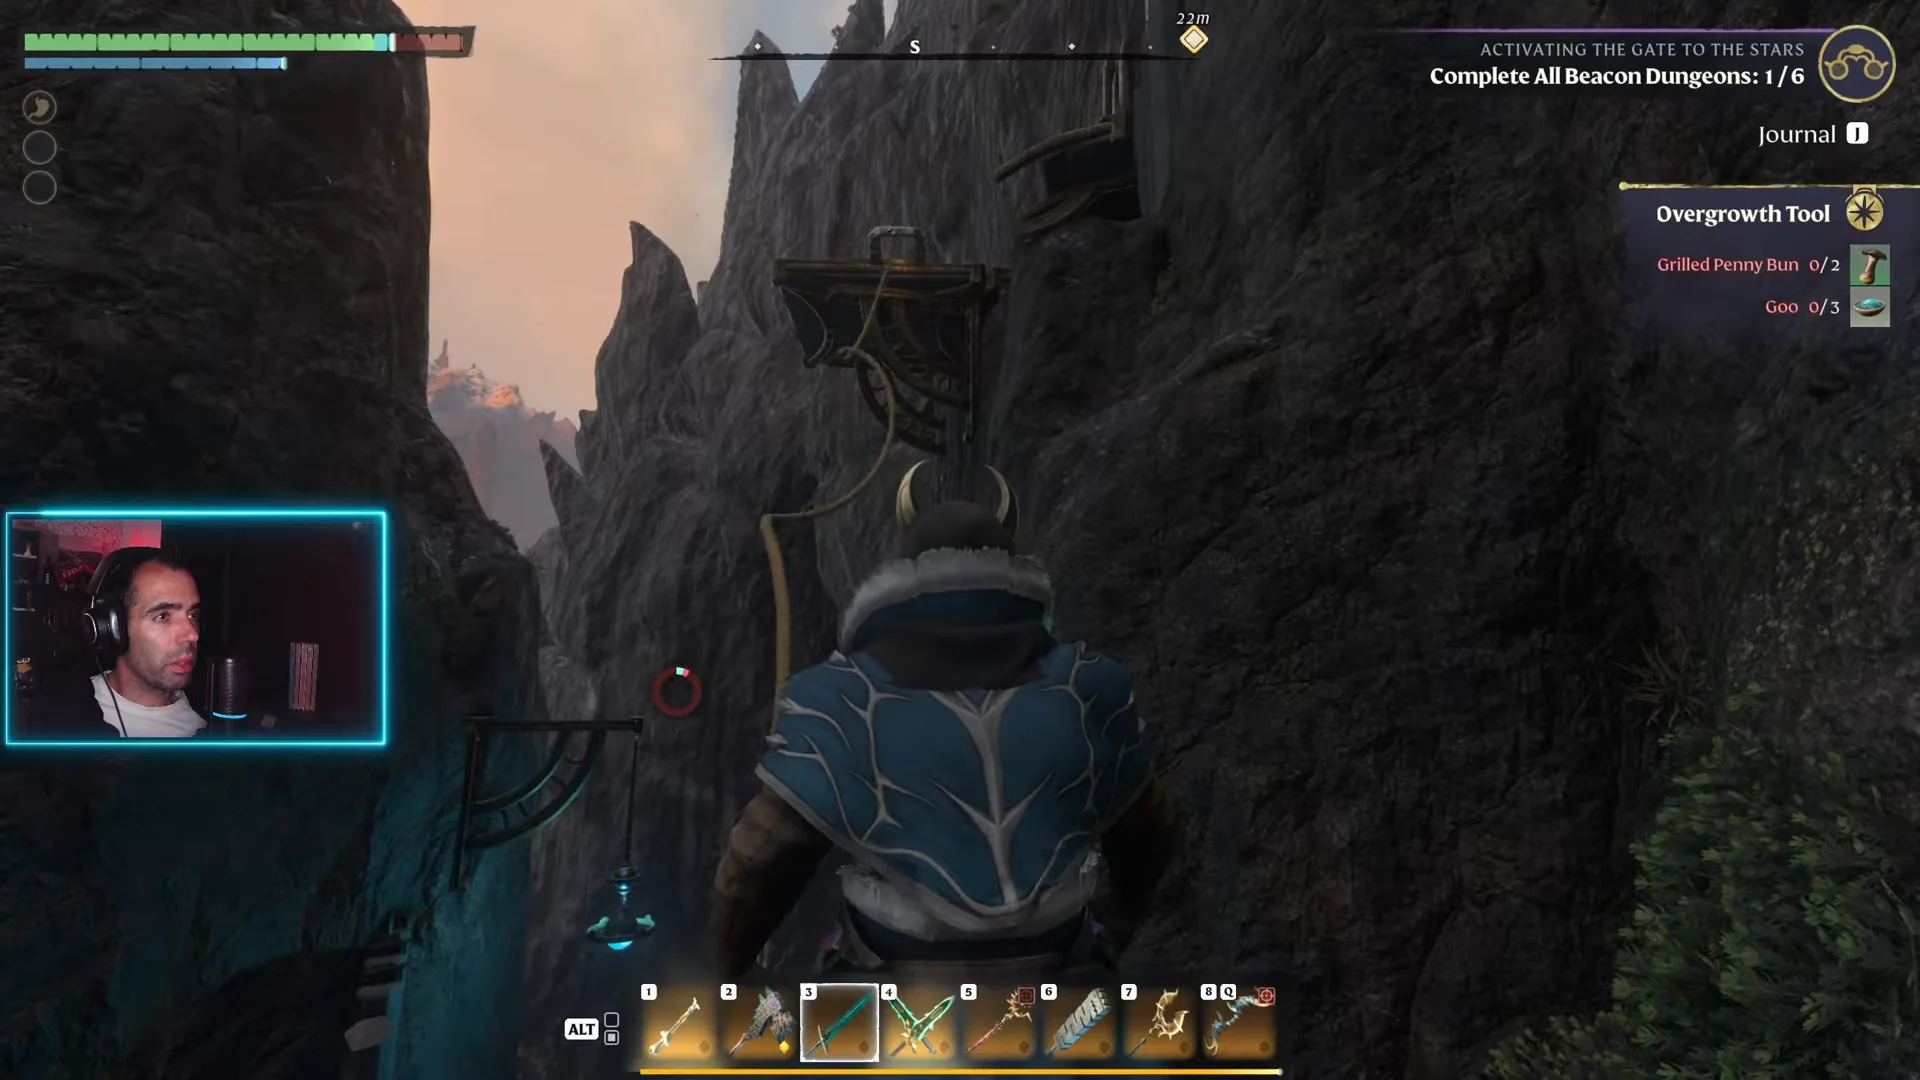
The entrance sits north of your base camp, built into cliffside scaffolding. You will need a Grappling Hook to make the final climb.
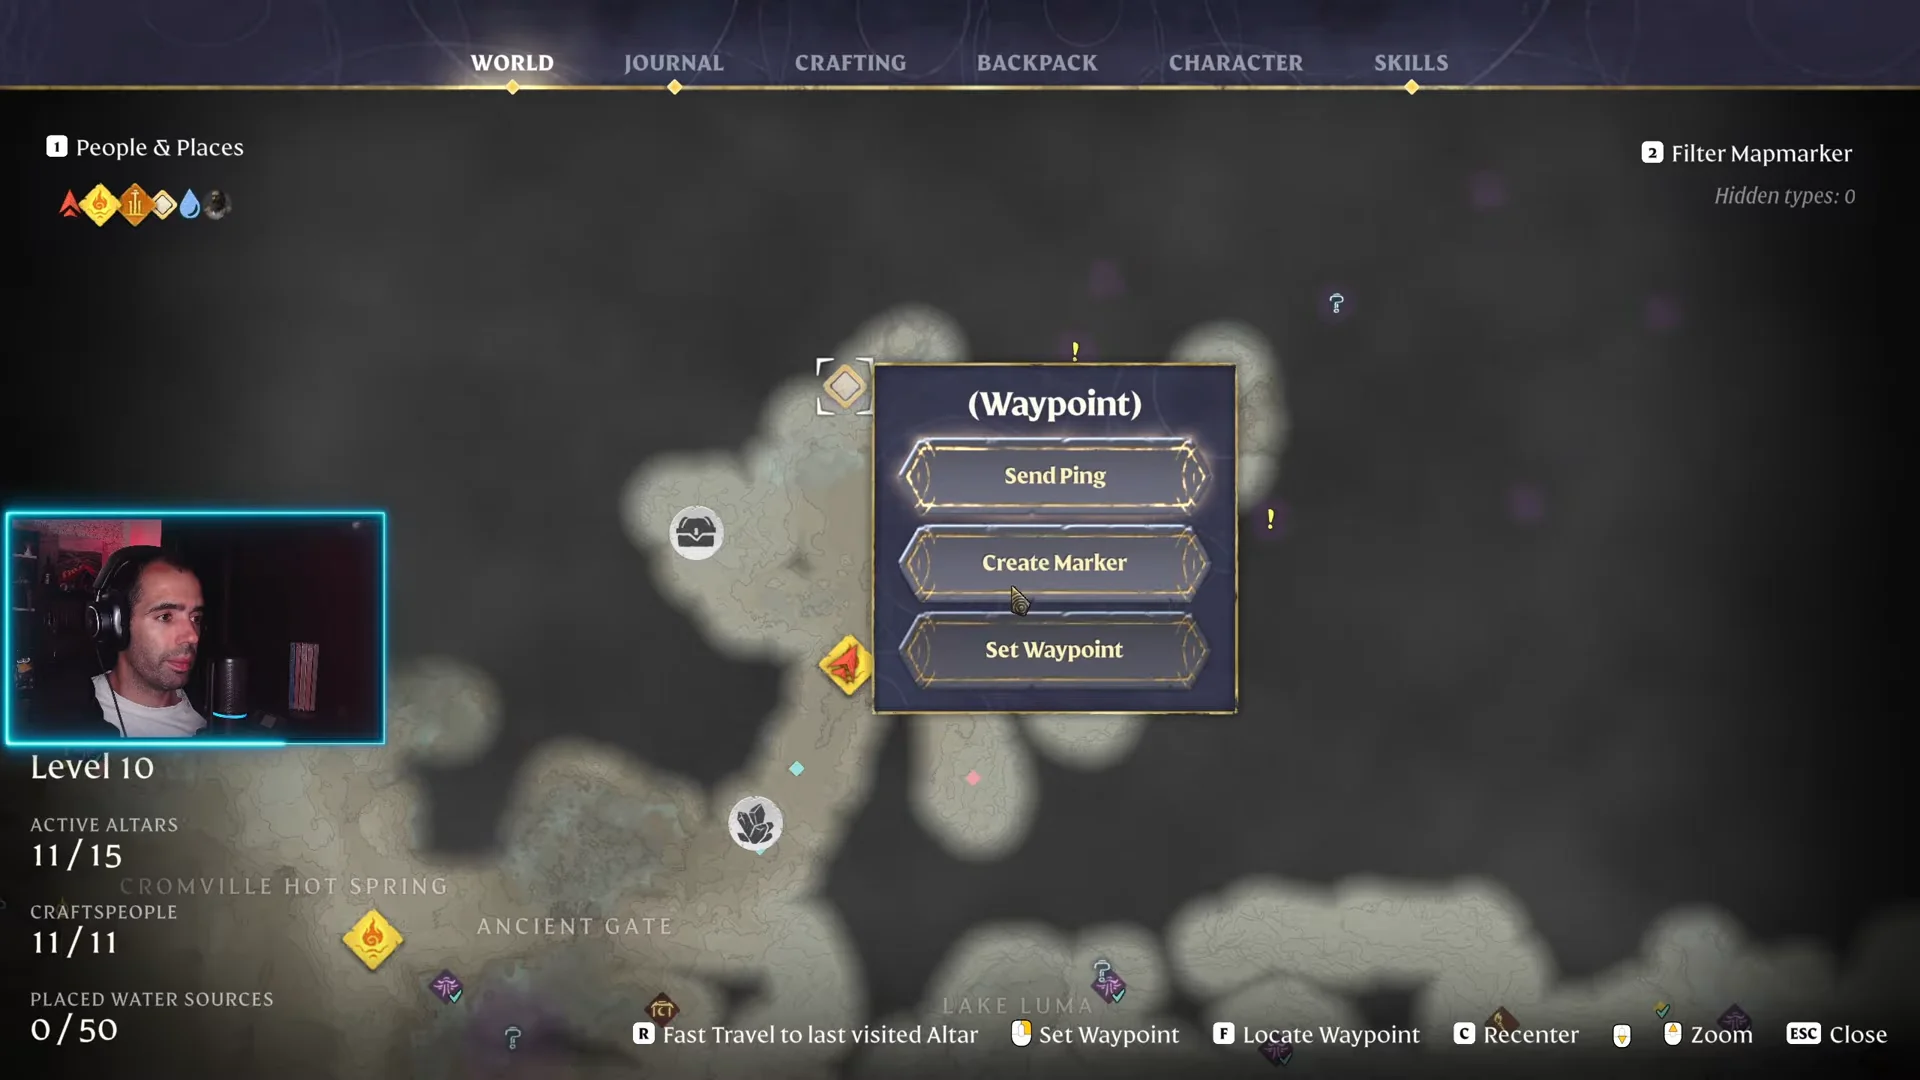
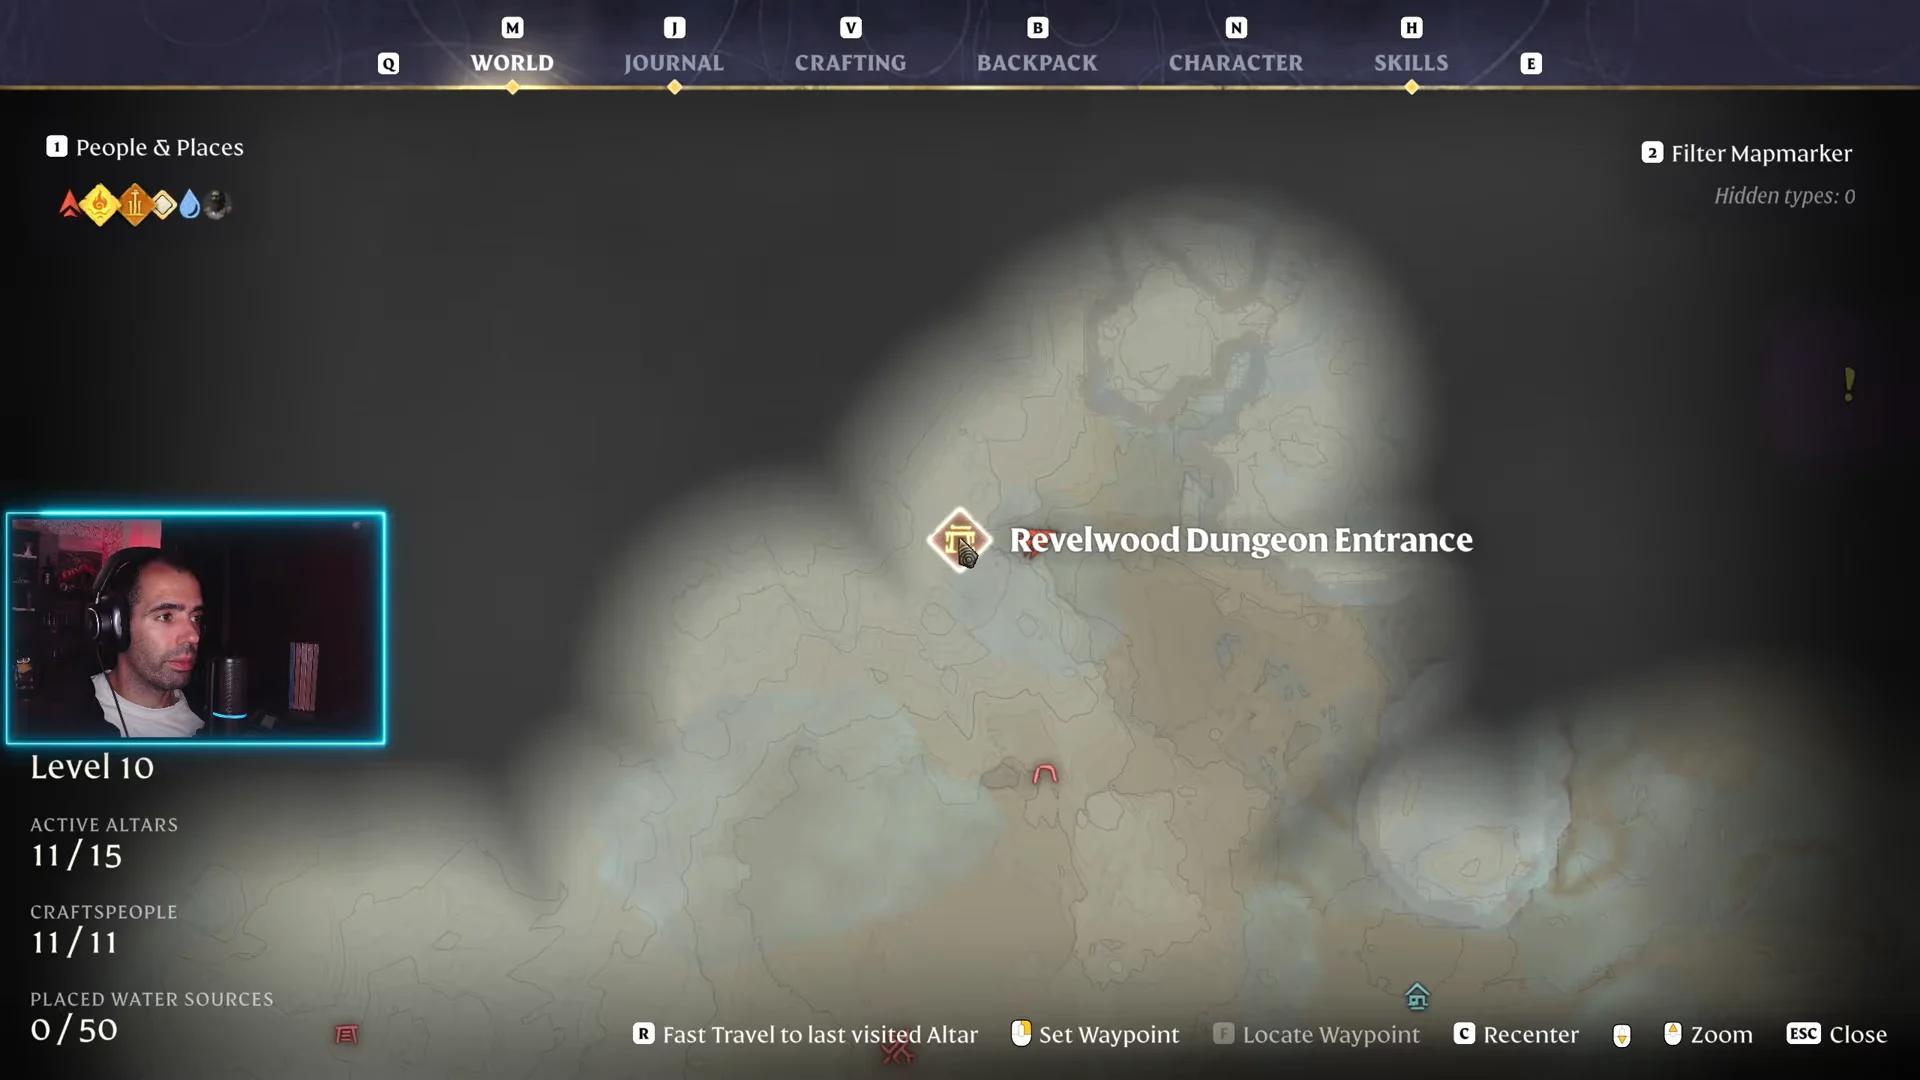
The map charts “Revelwood Dungeon Entrance” once you arrive, confirming you are in the right place.
Library Foyer: clear the room and craft an Archaic Lockpick
The teleporter drops you into the Library Foyer, where flying and rolling Ancient Construct enemies attack. Clear them out before you explore. Killing these automatons drops the Archaic Shards you need for the dungeon’s locked chests.
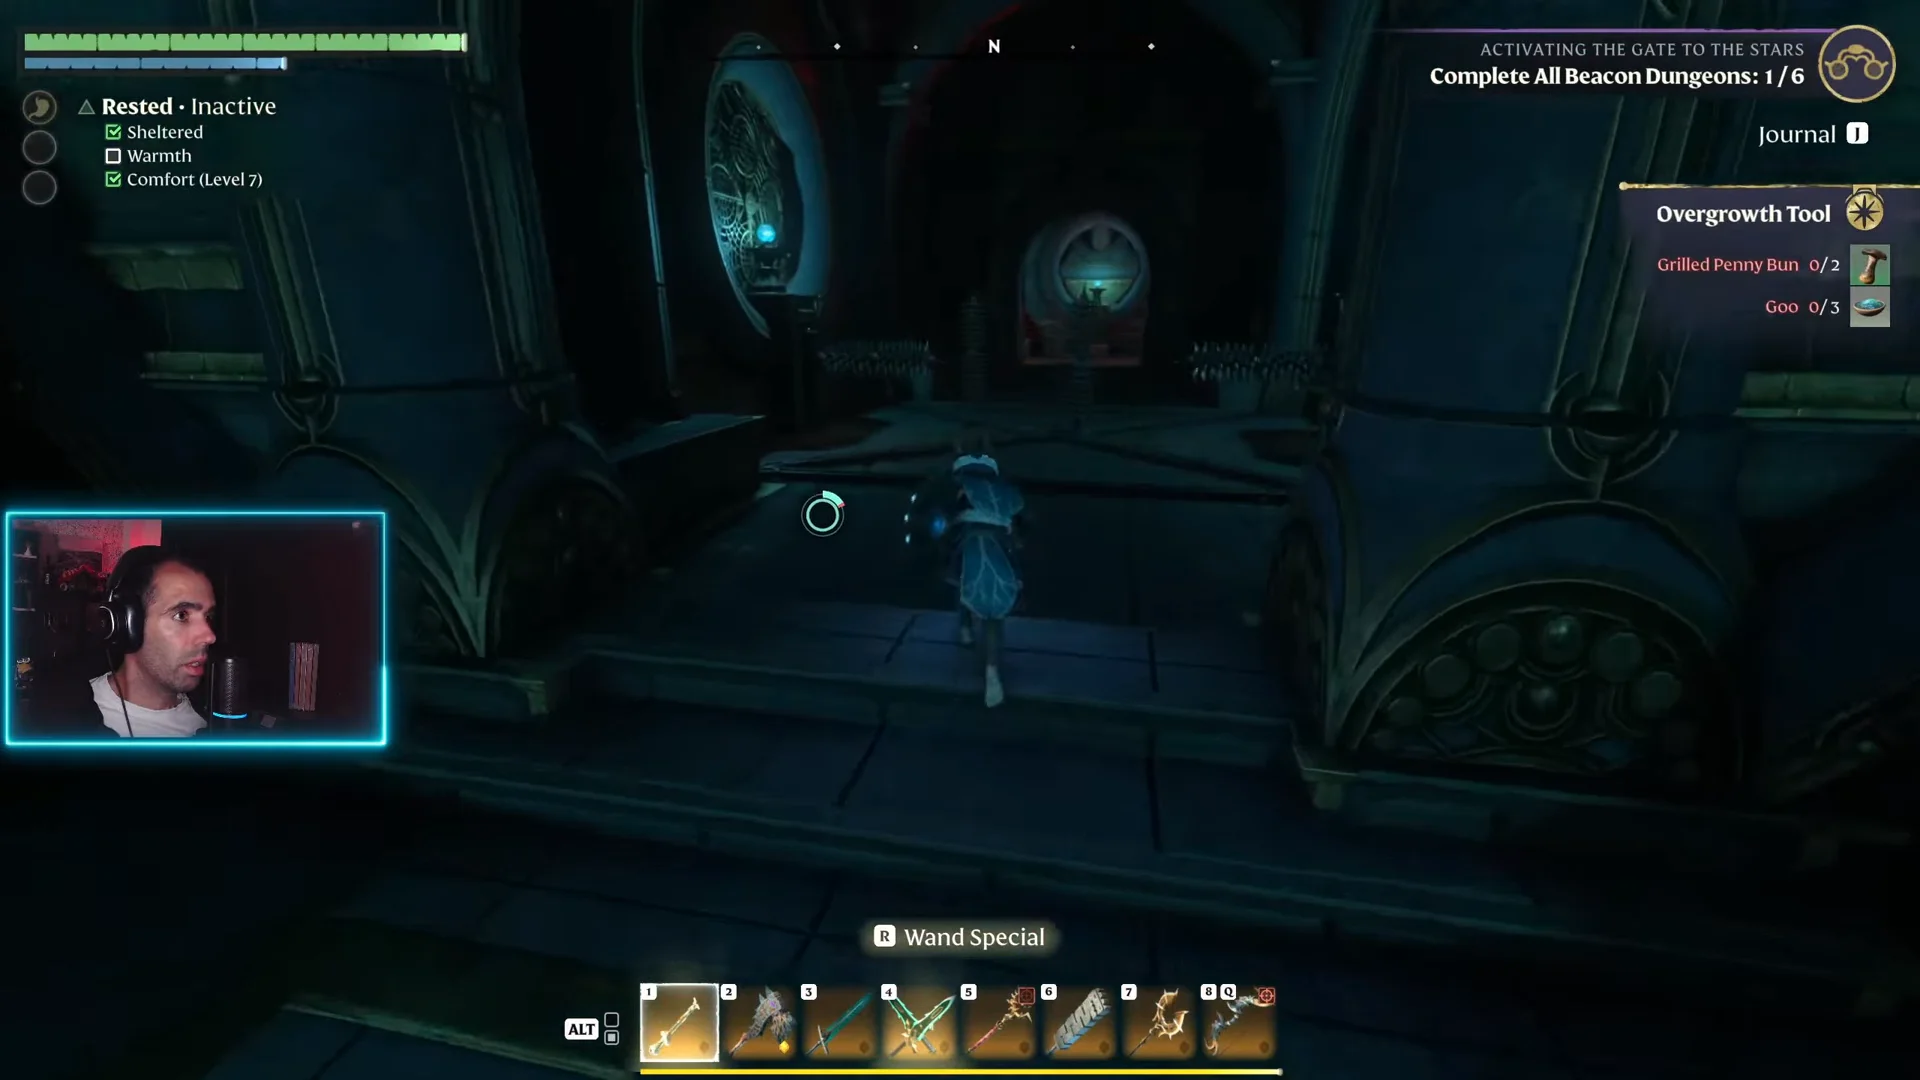
Enter the side room through the circular doorway and press the glowing wall button to drop the first barrier.
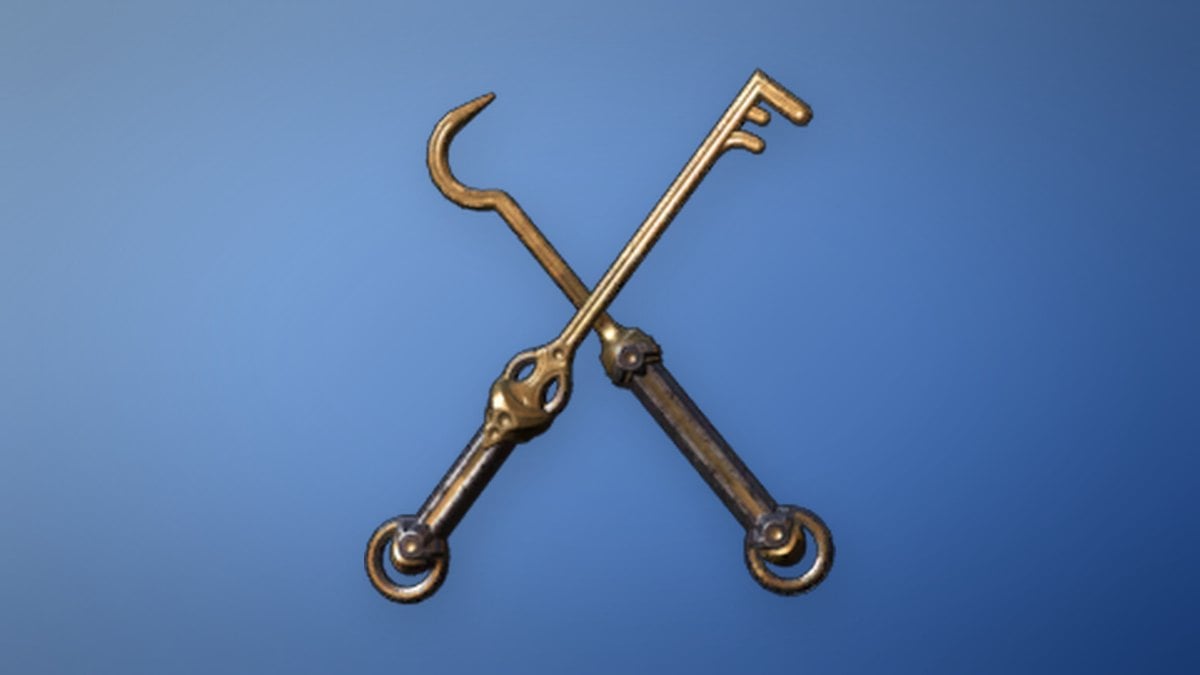
Ornate chests in the dungeon are sealed with an Archaic Lockpick. You can craft one on the spot from the crafting menu using 2 Archaic Shards. The first ornate chest here holds the Astral Daggers, a Legendary melee weapon for the Ranger class.
Craft a couple of spare lockpicks before you move on, since the Candlelight Wand chest later also needs one. Each lockpick costs 2 Archaic Shards, and they stack up to 50.
Where to farm Archaic Shards in Revelwood
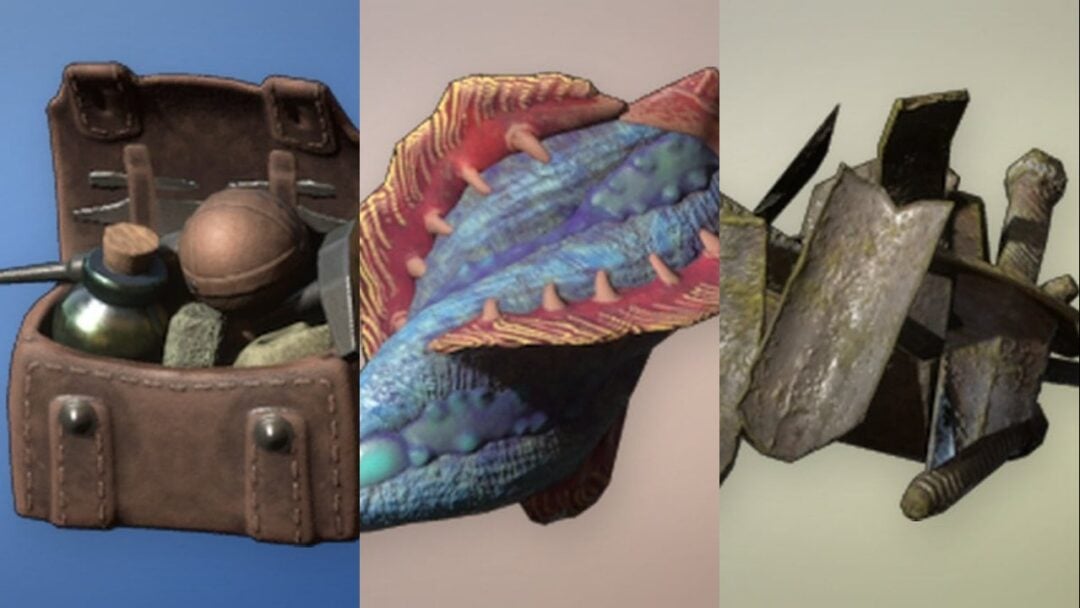
Archaic Shards drop from the Ancient Constructs that patrol the region. If you run short mid-dungeon, these are the construct types that appear in Revelwood and what they drop.
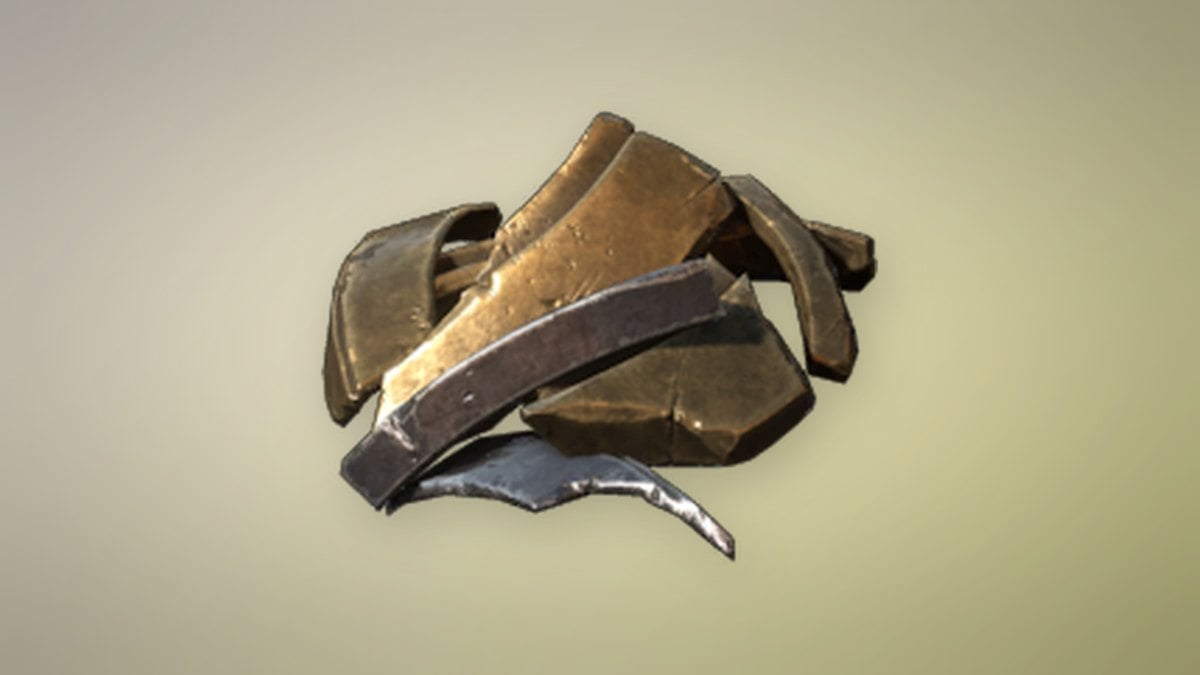
| Construct | Revelwood spawns | Always drops | Sometimes drops |
|---|---|---|---|
| Ancient C.R.T.R. Construct | 7 | Archaic Shards, Gold Ore | — |
| Ancient G.A.R.D. Construct (Burner) | 4 | Archaic Shards, Moonstone | Archaic Core, Gold Ore |
| Ancient G.T.H.R. Construct I | 9 | Archaic Shards, Moonstone | Archaic Core, Gold Ore |
| Ancient S.I.R.N. Construct (Mobile) | 1 | Archaic Shards, Moonstone | Archaic Core, Gold Ore |
Archaic Shards are a common material that stacks up to 250, so a short detour through any of these spawns refills your lockpick supply quickly.
Library: open the four-switch door
Take the glowing purple teleport pad up to the Library section. The main door here is locked behind four separate wall buttons spread across the upper chambers.
Work your way around the Library halls and activate all four illuminated wall switches. Constructs guard several of the side rooms, and one of those rooms holds the “Dreaming: A Human Tradition” lore page if you want to collect it. The locked door opens once the fourth switch is pressed, shown by the “DOOR OPENED” prompt.
Pass through the open doorway, descend the spiral staircase on the outside, then glide over the misty gorge to the Grand Planetarium.
Grand Planetarium: get the Candlelight Wand
Inside the Grand Planetarium, a hallway lined with laser tripwires leads to an ornate chest. Pick your way past the lasers, then open the chest with an Archaic Lockpick to claim the Candlelight Wand. The “SPECIAL ITEM ACQUIRED!” banner confirms the pickup.
Candlelight Wand stats
The Candlelight Wand is a Mage weapon that deals pure Fire damage and can be thrown or wielded as a wand. Its damage scales from item level 1 to 55.
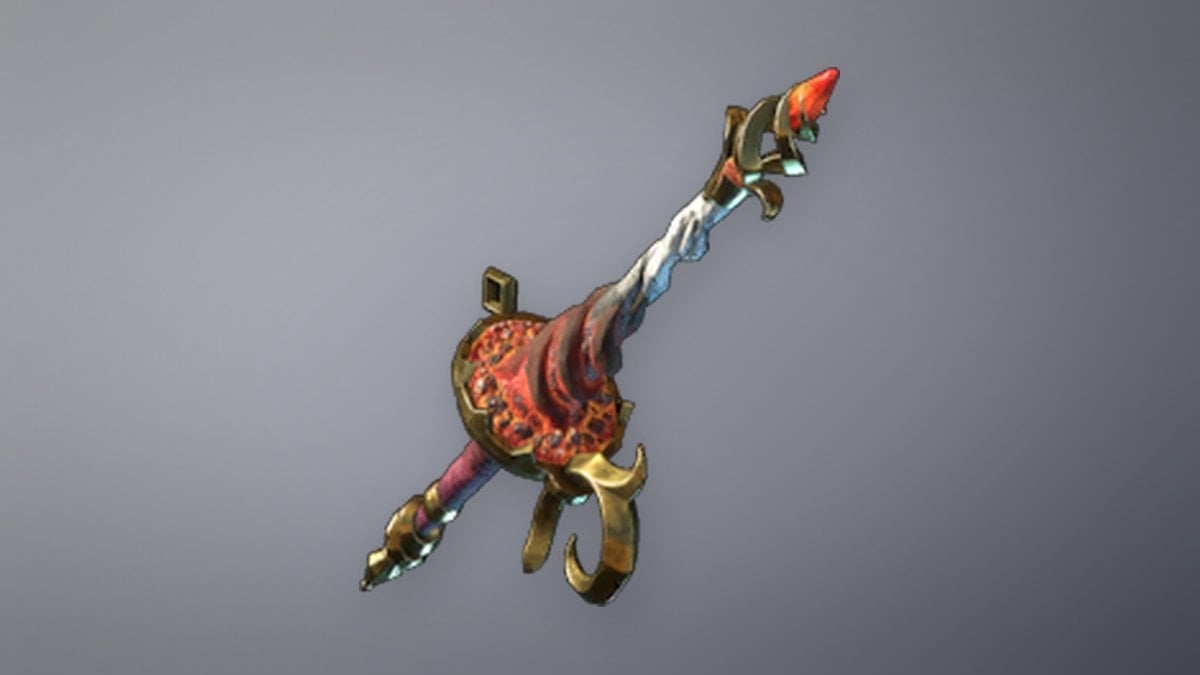
- Damage type: Fire
- Perks: Health Leech 3%, Critical Strike Chance 7%
- Stats: Multishot 1, Overcharge 30%, Attack Speed 0.6 s, Mana Regeneration 16
- Class: Mage · Slot: throwable or wand
Fire damage grows with the wand’s level as follows.
| Level | Damage | Level | Damage |
|---|---|---|---|
| 1 | 7 | 30 | 36 |
| 5 | 11 | 35 | 41 |
| 10 | 16 | 40 | 46 |
| 15 | 21 | 45 | 51 |
| 20 | 26 | 50 | 56 |
| 25 | 31 | 55 | 61 |
Unlock and activate the beacon
The central gate in the Planetarium’s main hall is sealed until you trigger two outdoor floor switches. Clear the constructs in the central rotunda first, then handle both balconies.
Once the beacon is lit and the counter moves to 2 / 6, you have fully cleared this dungeon and can leave with the Candlelight Wand, the Astral Daggers, and any lore pages you picked up along the way.