Halo: Campaign Evolved — Assault on the Control Room Walkthrough
Clear every section of the fifth mission, from the opening turret fight to the Banshee run on the Control Room.
Clear every section of the fifth mission, from the opening turret fight to the Banshee run on the Control Room.
by AllThingsHow Staff · Edited by Pallav Pathak
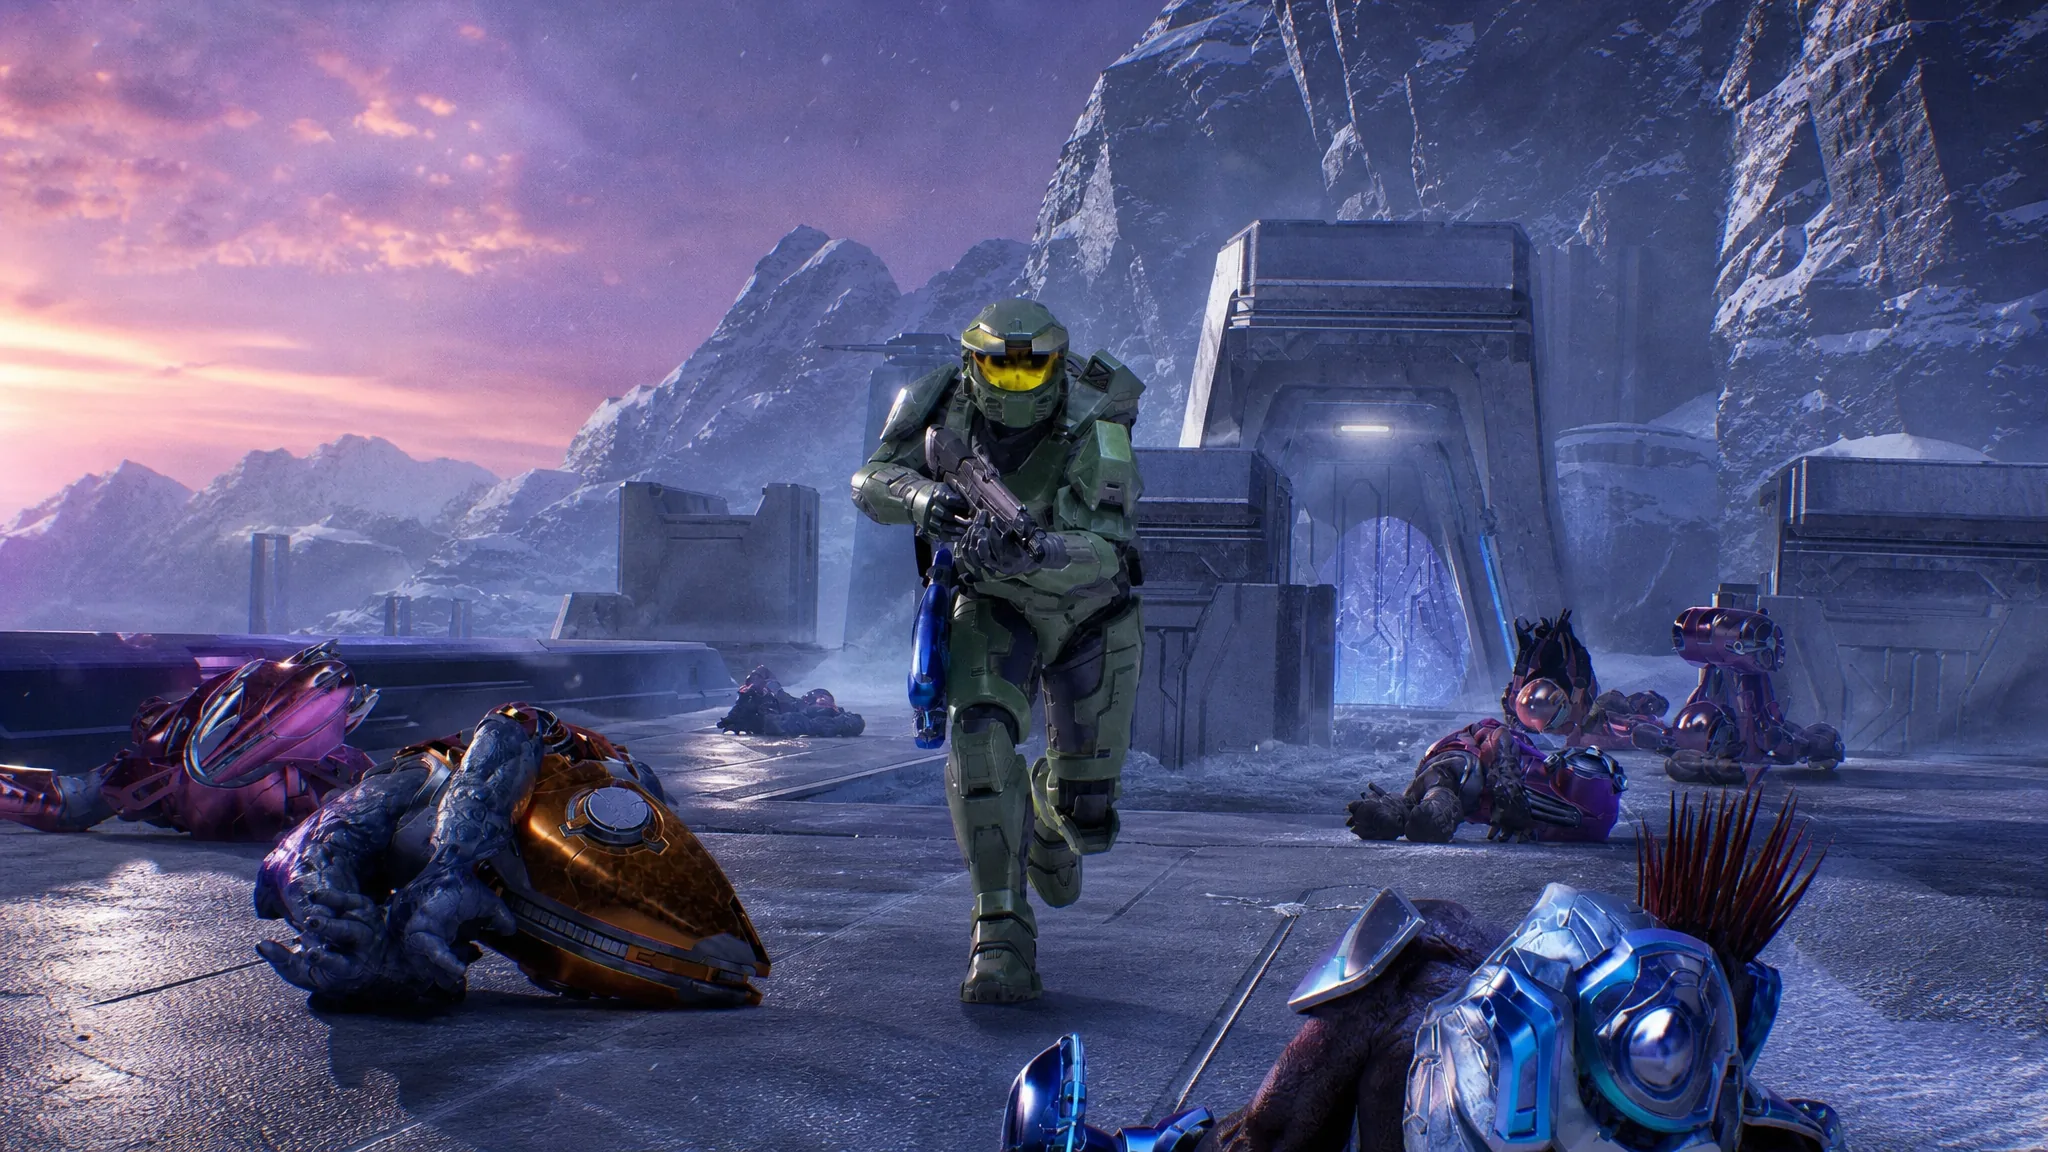
Assault on the Control Room is the fifth mission in Halo: Campaign Evolved, and it is the longest chapter in the campaign. You start on foot inside a Forerunner structure, pick up a Ghost and then a Scorpion tank, fight across a snowy canyon, and finish by flying a Banshee to Halo’s Control Room. The whole level is a race to reach the Control Room before the Covenant lock it down.
Quick answer: Fight through the interior rooms and bridges to reach Fireteam Zulu, take the Scorpion tank across the canyon, ditch it at the narrow cave, grab the Rocket Launcher, push through the indoor rooms and bridges on foot, then steal a Banshee at the end and fly to the Control Room to finish the mission.
Image credit: Xbox Game Studios
Clear the interior and reach the first bridge
The mission opens with Foehammer dropping you off on a platform outside the Control Room’s approach. Grunts run for the large pressure door to call for backup, so speed matters here.
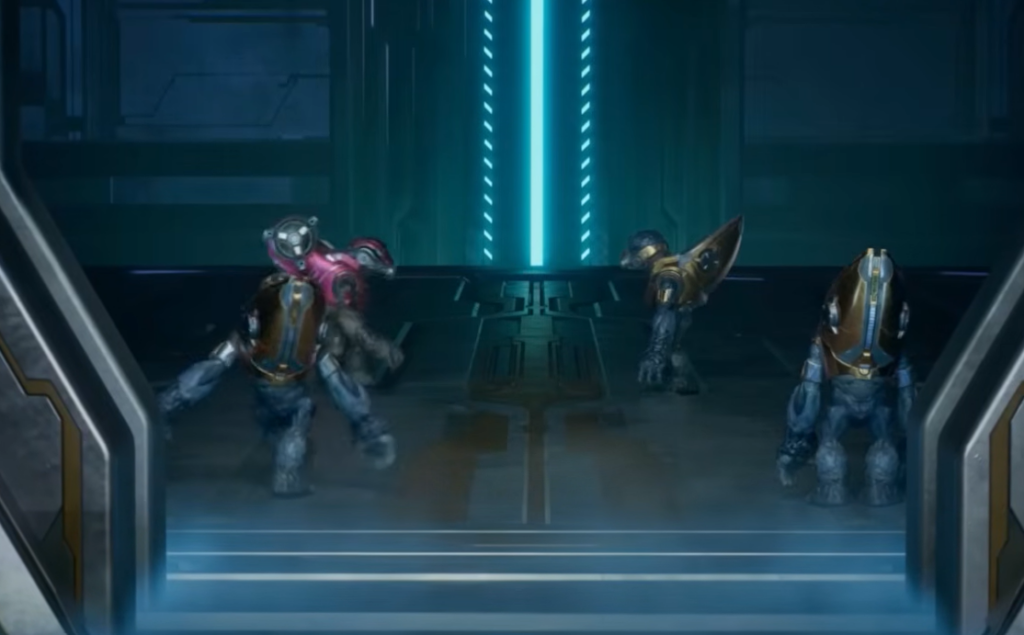
When the big door opens, throw a grenade into the crowd. It kills the Grunts and stuns the Elites. While they are staggered, jump on the nearby Shade turret and focus fire on the door, since more Elites will keep pushing through.
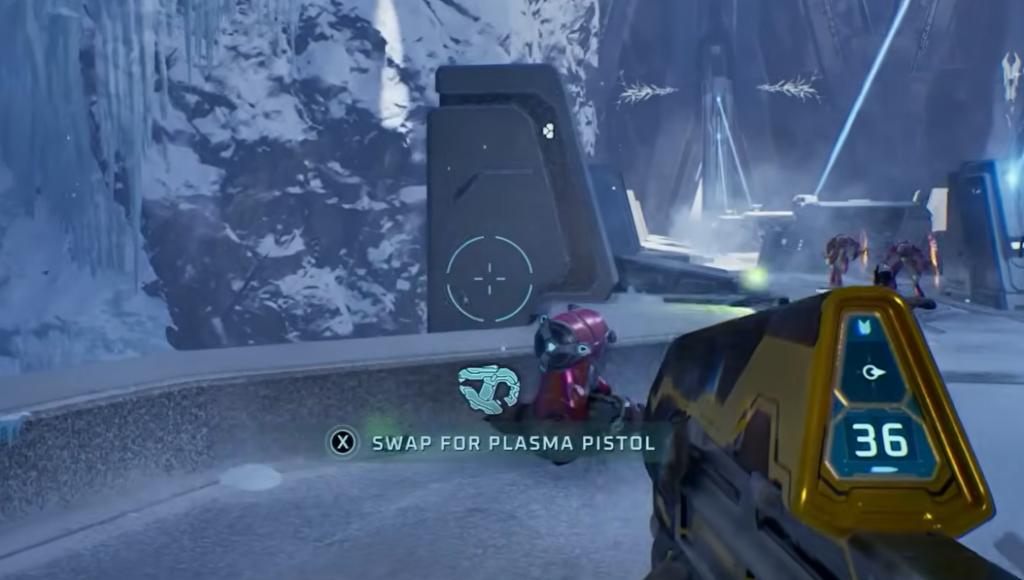
Head through the door into the short passage and out into the first large circular room. An Elite spawns to your right as you enter, so try to stick him with a plasma grenade or drop his shield with a charged Plasma Pistol shot and finish with a pistol headshot. Clear the remaining Grunts.
Follow the glowing white arrows on the floor. They always point toward the exit, which stops you getting turned around in these round rooms. The arrows lead you out onto a long bridge.
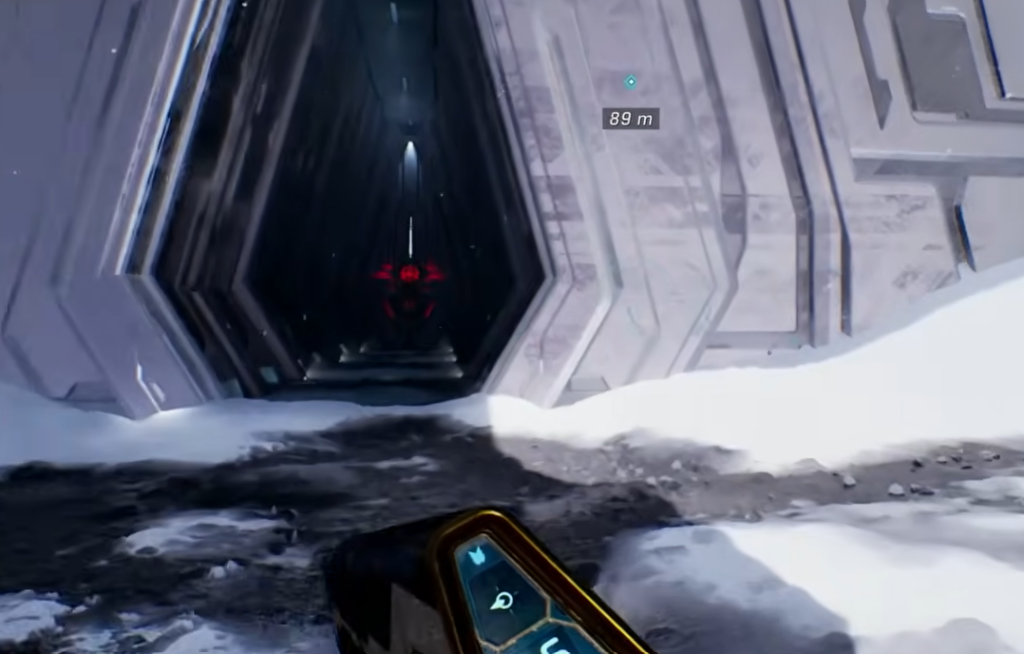
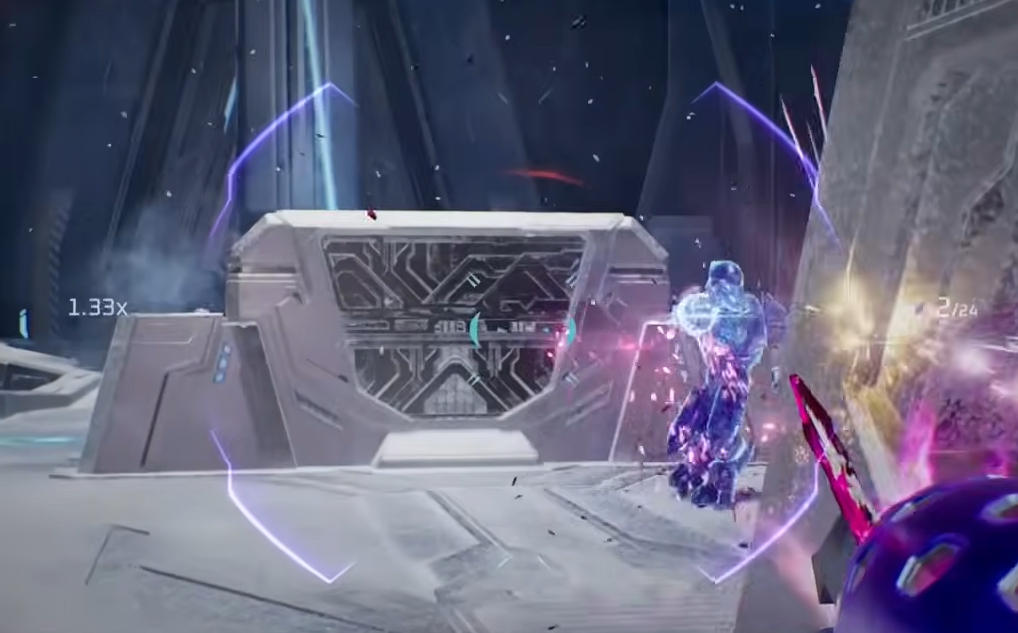
The linear halls open up into a snowy field | Image credit: Xbox Game Studios
The bridge starts with sleeping Grunts you can melee quietly, but a Banshee may fly over on higher difficulties. Take it down with a full pistol clip or from a Shade turret. Fight across the bridge, then a Zealot with an Energy Sword charges from the far door. Soften the crowd with a grenade, then stick the Zealot or drop his shield with a Plasma Pistol and finish with the pistol.
Push through the next structure and take the elevator down. Cross the corridor at the bottom and step out into the open snowfield.
Link up with Fireteam Zulu and take the Scorpion tank
The first open canyon is where heavy Covenant resistance begins. A Wraith fires plasma mortars while Shade turrets and Ghosts pin down a group of stranded Marines. Follow the objective marker to reach them.
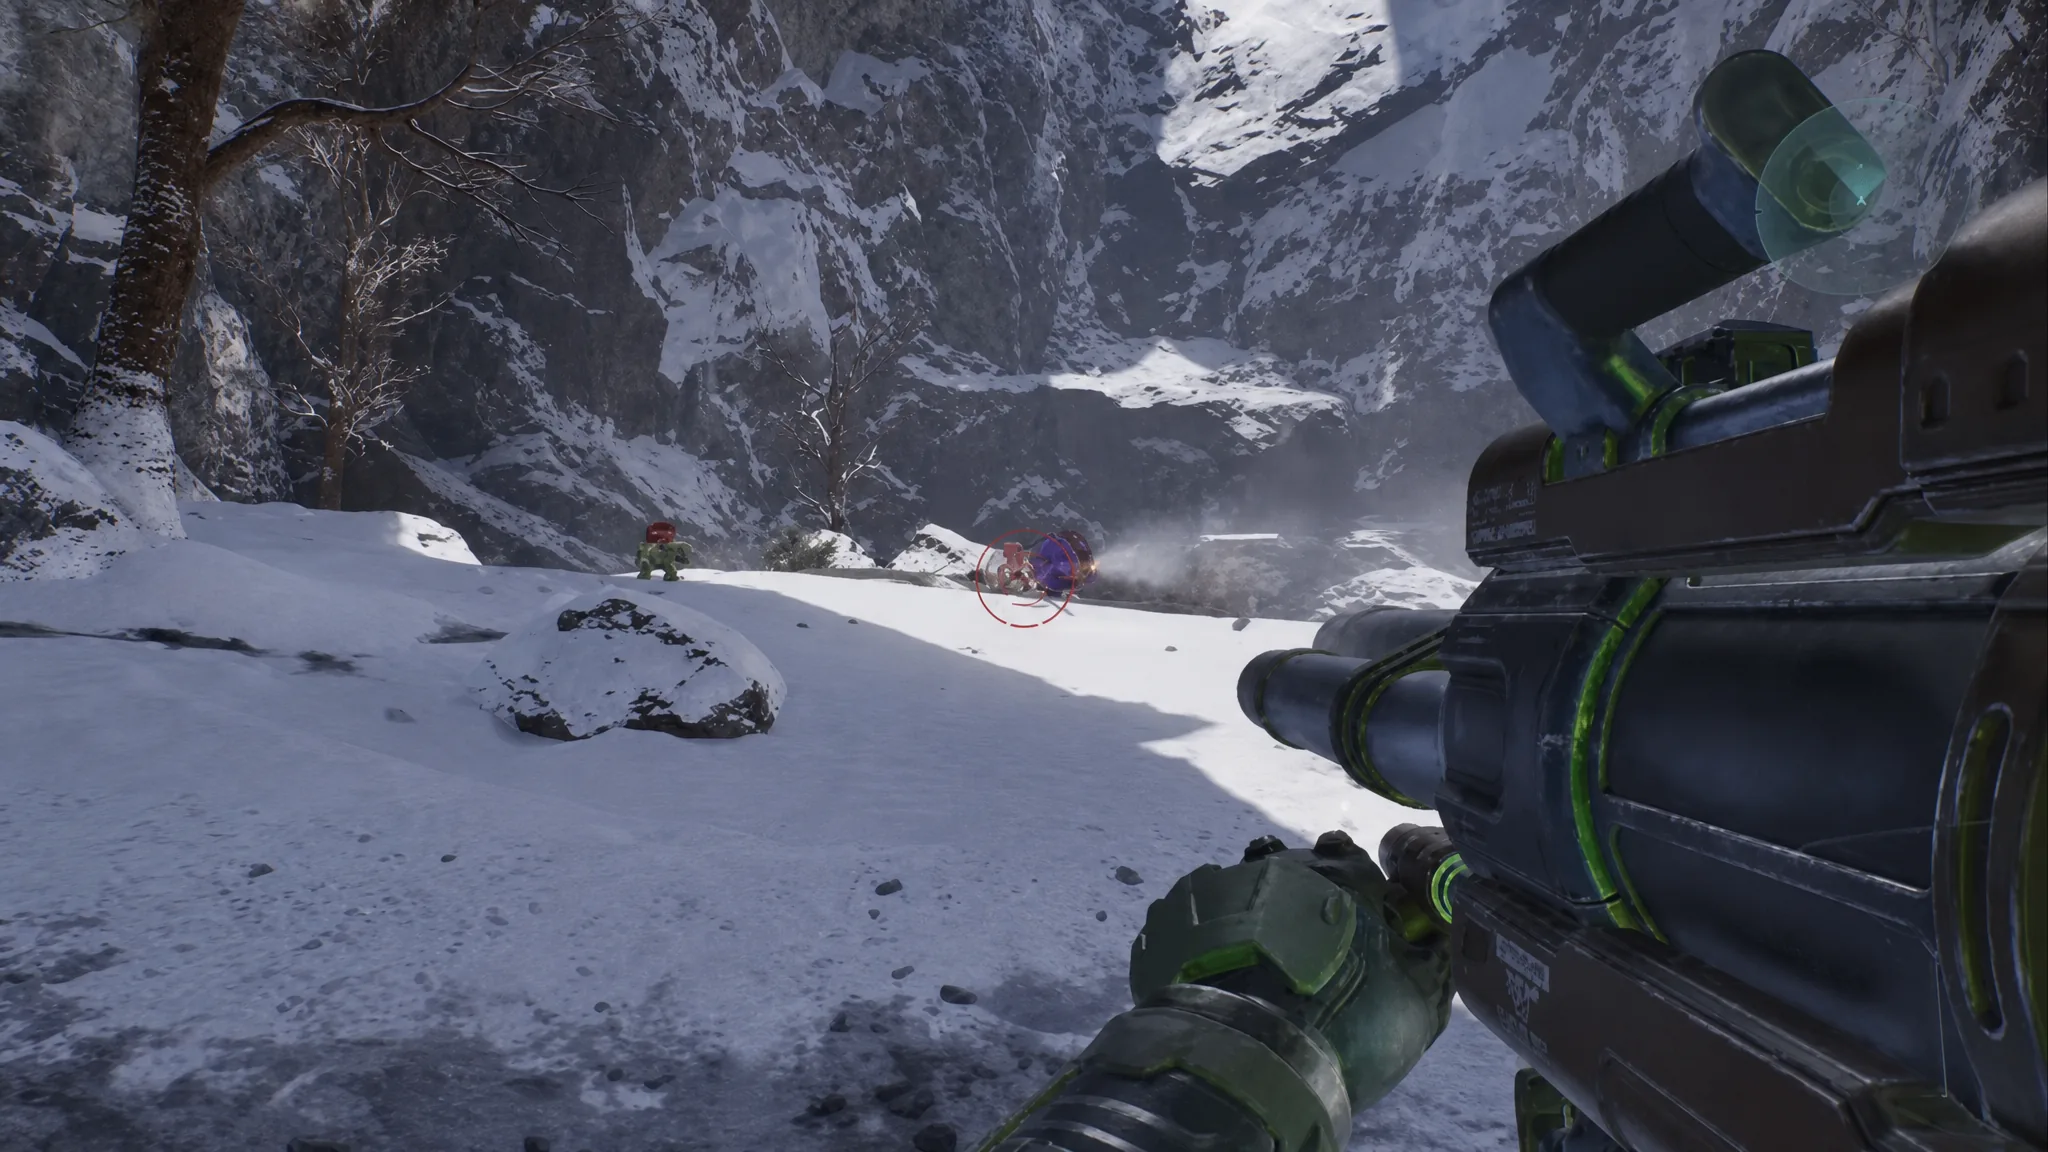
Head left and kill the Grunt in the Shade turret. Near the upended Warthog, you will find a Rocket Launcher and a Sniper Rifle. Grab both, since the rockets deal with the Wraith fast. There is more rocket ammo on the rocks to the left.
Destroy the Wraith with rockets, then handle the Ghost that attacks afterward. If you would rather traverse quickly early on, one of the Covenant here has a Ghost you can hijack.
At the rear of the clearing sits the Scorpion tank. Hop in and bring the sniper Marine along, since he has good range and rate of fire. Restock on rockets and sniper ammo before you leave. A Pelican also drops reinforcements who will ride on the tank.
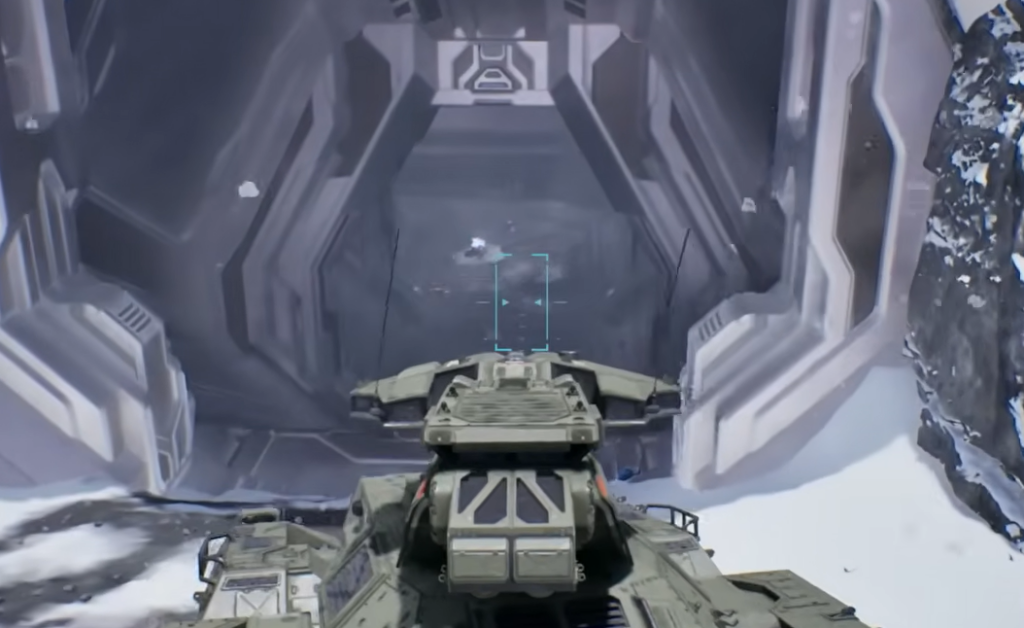
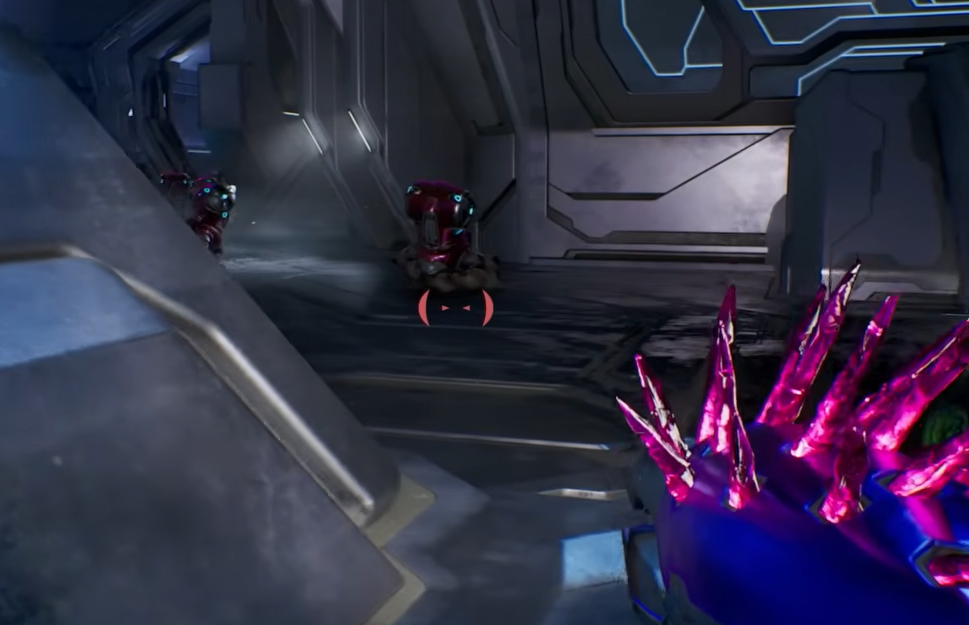
Tank combat is a highlight of this mission | Image: Xbox Game Studios
Drive into the cave at the back of the clearing. On the far side, more armor waits, including several Ghosts and another Wraith. A Banshee also swoops in near the large cave mouth. The Scorpion cannon is an instant kill on the Banshee, so blast it out of the air.
At the bottom of the ramp, hit the button to open the big door and enter the atrium with two bridges. Shoot the Shade turrets first, or knock them into the crevice, then clear the troops and the pair of Hunters on the far side. Open the far gate with the control panel next to it and drive through.
Image credit: Xbox Game Studios
Push through Rolling Thunder to the narrow cave
The Rolling Thunder section is a series of open canyons packed with vehicles and dropship reinforcements. The Scorpion carries you through most of it, so keep it as long as you can.
Round the corner and clear two Ghosts, Elites, and Grunts, with Jackals further up the rocky hill. As you reach the top, a Covenant Dropship comes in to land. Stay below its line of sight where you can, because it will fire on you if it spots you.
Let some of the dropped troops come to you rather than charging into the open. Take out elevated Shade turrets, then deal with the Wraith and two Elites at the back. Expect two Hunters, two more Elites, and a Banshee to appear after that.
At the spiral rock formation leading down into the valley, a second Dropship arrives. A useful trick is to reverse down the spiral until the dropship spawns, then drive back up. By the time you return, its passengers are out and easier to clear.
You lose the Scorpion at the cave that is too small for the tank. A Warthog or Ghost still fits through if you want a ride. Inside, watch for Elites with Active Camouflage and Energy Swords.
Image credit: Xbox Game Studios / LunarGaming
The clearing after this cave is crowded with Shades, Ghosts, Wraiths, Banshees, Elites, Jackals, and Grunts. Grabbing a Ghost here helps you deal damage while staying mobile.
Fight through the interior on foot to the Banshees
Once you are back inside, the level returns to close-quarters combat across circular rooms and two more bridges. Save your Rocket Launcher for the Hunters.
Grab the Rocket Launcher from the rocks on the right after leaving the Scorpion behind, along with the ammo and health nearby. The launcher clears turrets, vehicles, and Hunters that block the path.
Enter the structure guarded by two turrets. Clear the hallway, take the left path, and follow the marker. Watch for Unggoy carrying two glowing plasma grenades, since a direct hit from those can kill you instantly.
Take the elevator up, deal with the shield-carrying Jackals, then push through the large room beyond. Cross the first interior bridge, clearing Grunts, Jackals, and Needler Elites as you go.
Continue to the second bridge, where two Hunters wait. Use the Rocket Launcher here. There is another Rocket Launcher in the room with a couple of Sangheili, so restock before the final push.
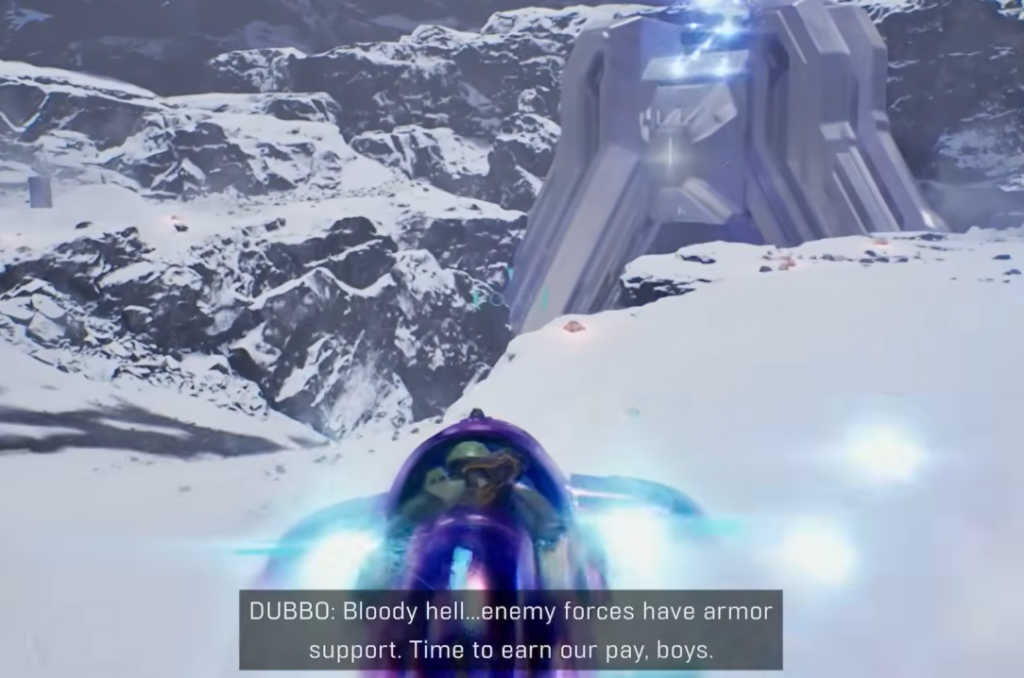
Follow the corridor outside to the bridge with the parked Banshees. Rush to a Banshee before its pilot reaches it, jump in, and flip or destroy the second one. Fly toward the objective marker.
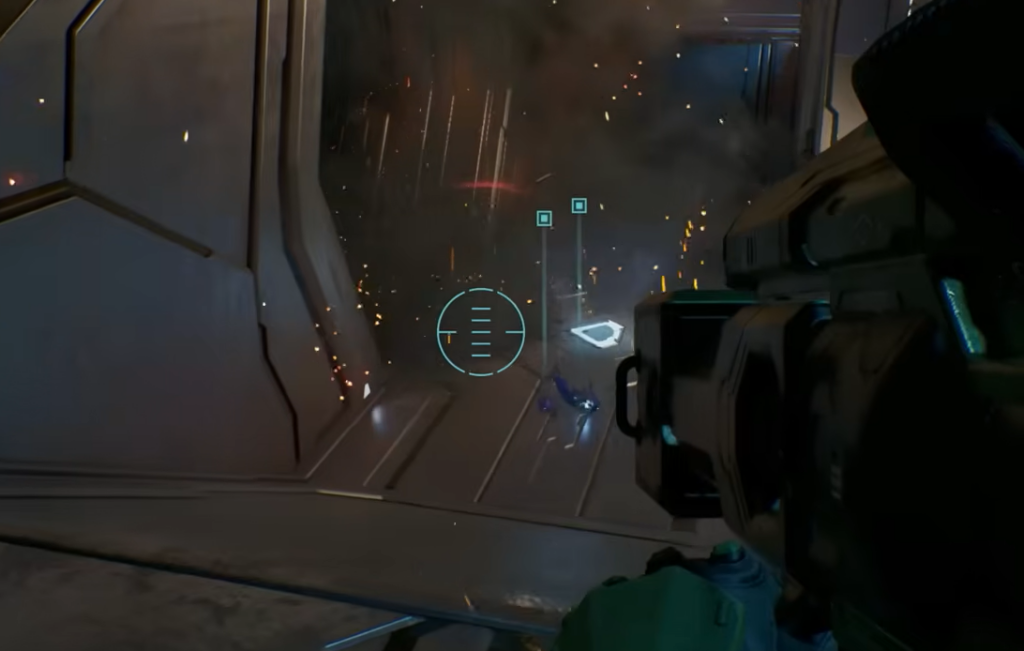
Image credit: Xbox Game Studios
If both Banshees escape you, run back into the room you came from, recharge shields, and lure the Banshees close for rocket hits. If you have no rockets, drop their shields with weapon fire, then duck back to recharge and repeat.
Reach Halo’s Control Room and finish the mission
The Control Room’s perimeter is packed with Covenant. The Banshee gives you the advantage, so use it before you land.
Head through the door on the far side of the corridor to enter the Control Room. Cortana interfaces with the computers, and the mission ends here. The next chapter is 343 Guilty Spark.
There are three Skulls and one Terminal to find in this mission. Here is where each one sits along your route.
Collectible
Checkpoint
Location
Skull #1: IWHBYD
Rally Point Bravo
After crossing the bridge to the far side of the icy chasm in the Scorpion, go left and park the tank at the end of the path next to the hole in the rock. Get out, jump on top of the tank, and look into the hole.
Terminal #1: Tangent I
Rally Point Charlie
After driving the tank up a very steep path where a Dropship meets you, enter the structure directly ahead using one of the green side doors. Go up the ramp back outside, then turn right to the end of the path.
Skull #2: Angry
Rally Point Charlie
At the cave that blocks the Scorpion, go through on foot and head inside to the right. Ahead is a downward ramp with a bridge across it. Jump onto the structure at the back to find it in the middle.
Skull #3: Cowbell
If I Had a Super Weapon / Rally Point Echo
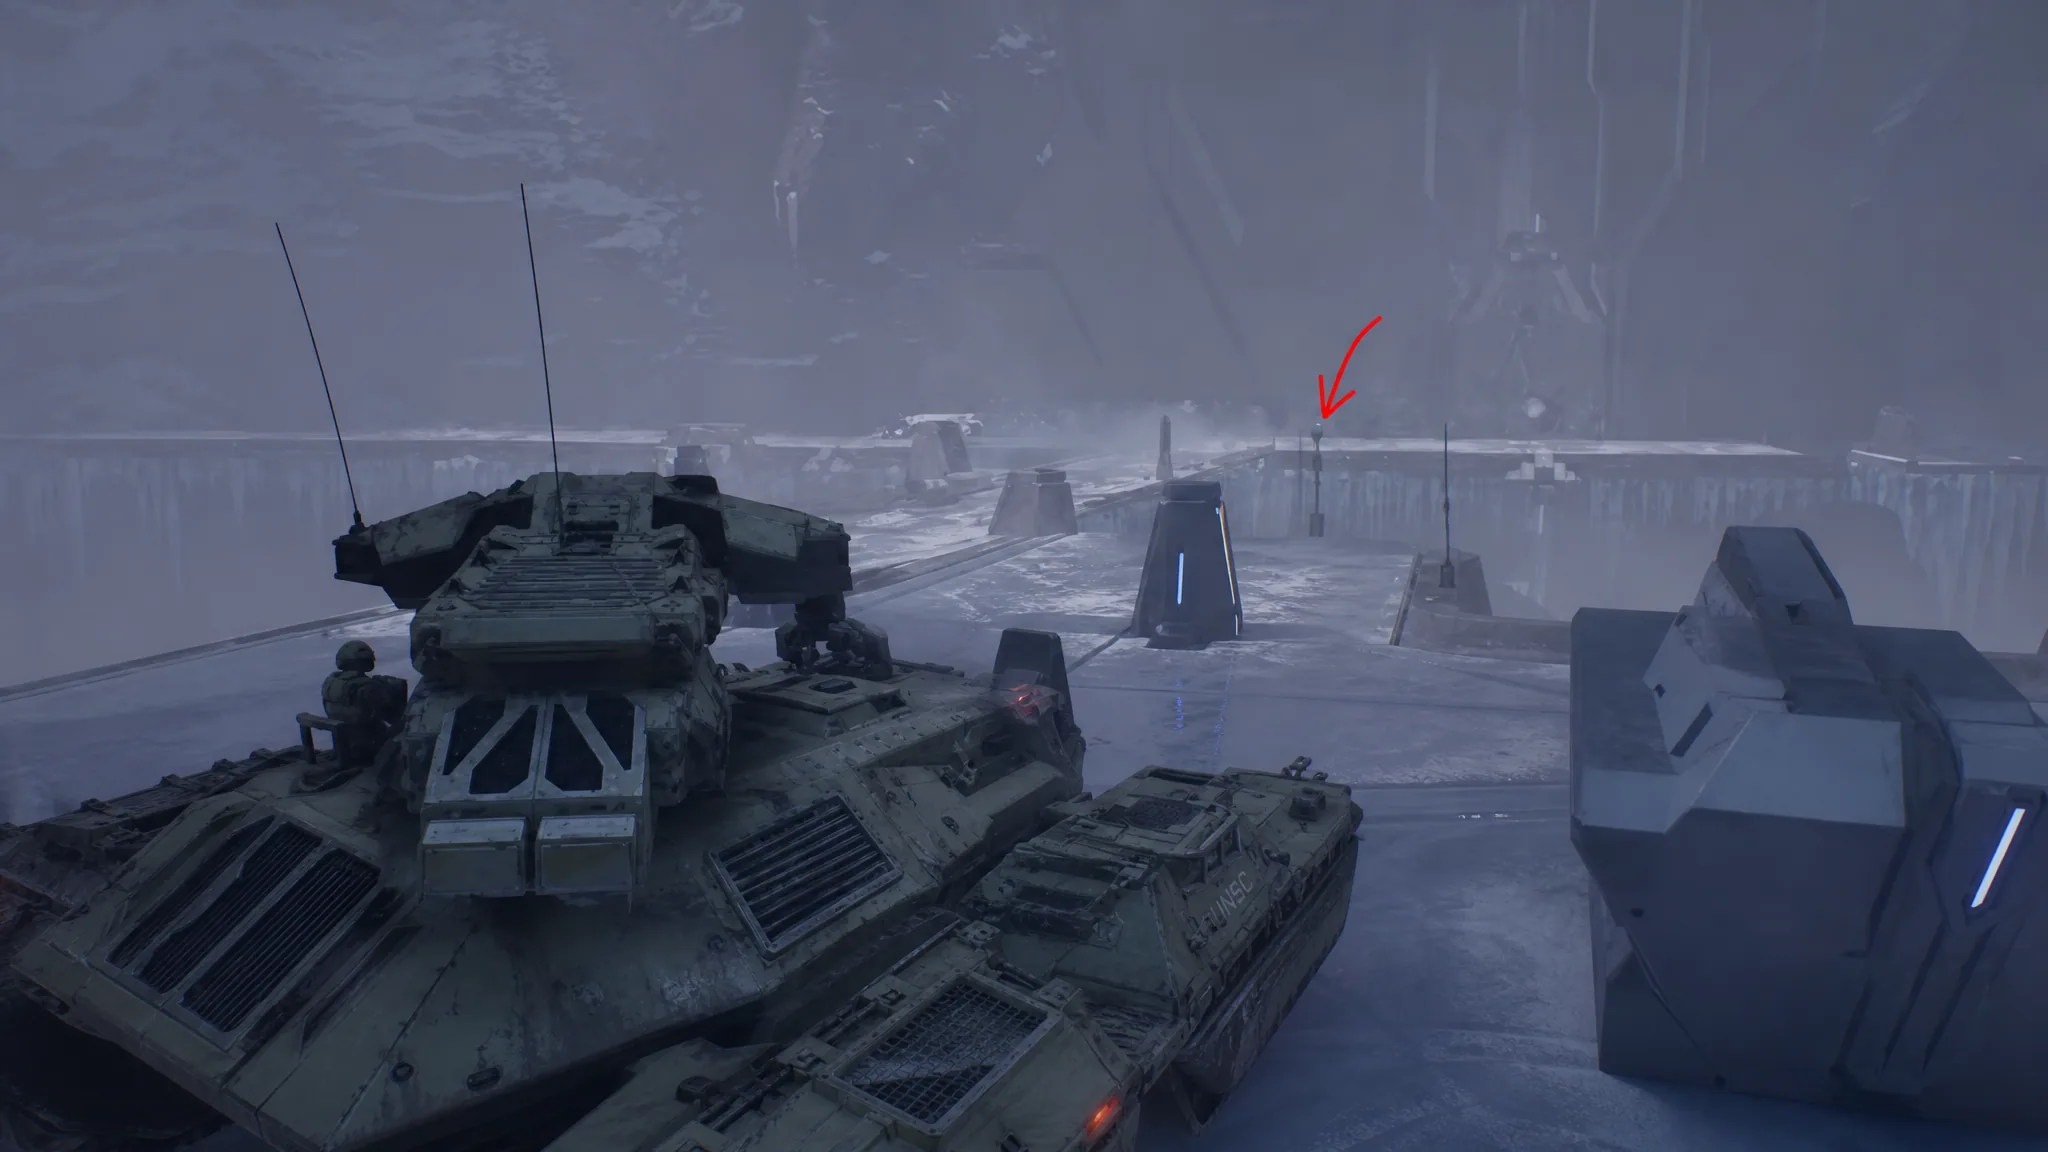
Near the end, when you exit outside onto a bridge with a large structure on your left, stay on the bridge to its middle where the structure passes underneath. Drop onto the structure, turn around, and find it on a snowy rock.
With the Control Room secured, you are set up for the tense shift in tone that follows in 343 Guilty Spark, where the campaign moves away from open vehicle battles and into much tighter quarters.