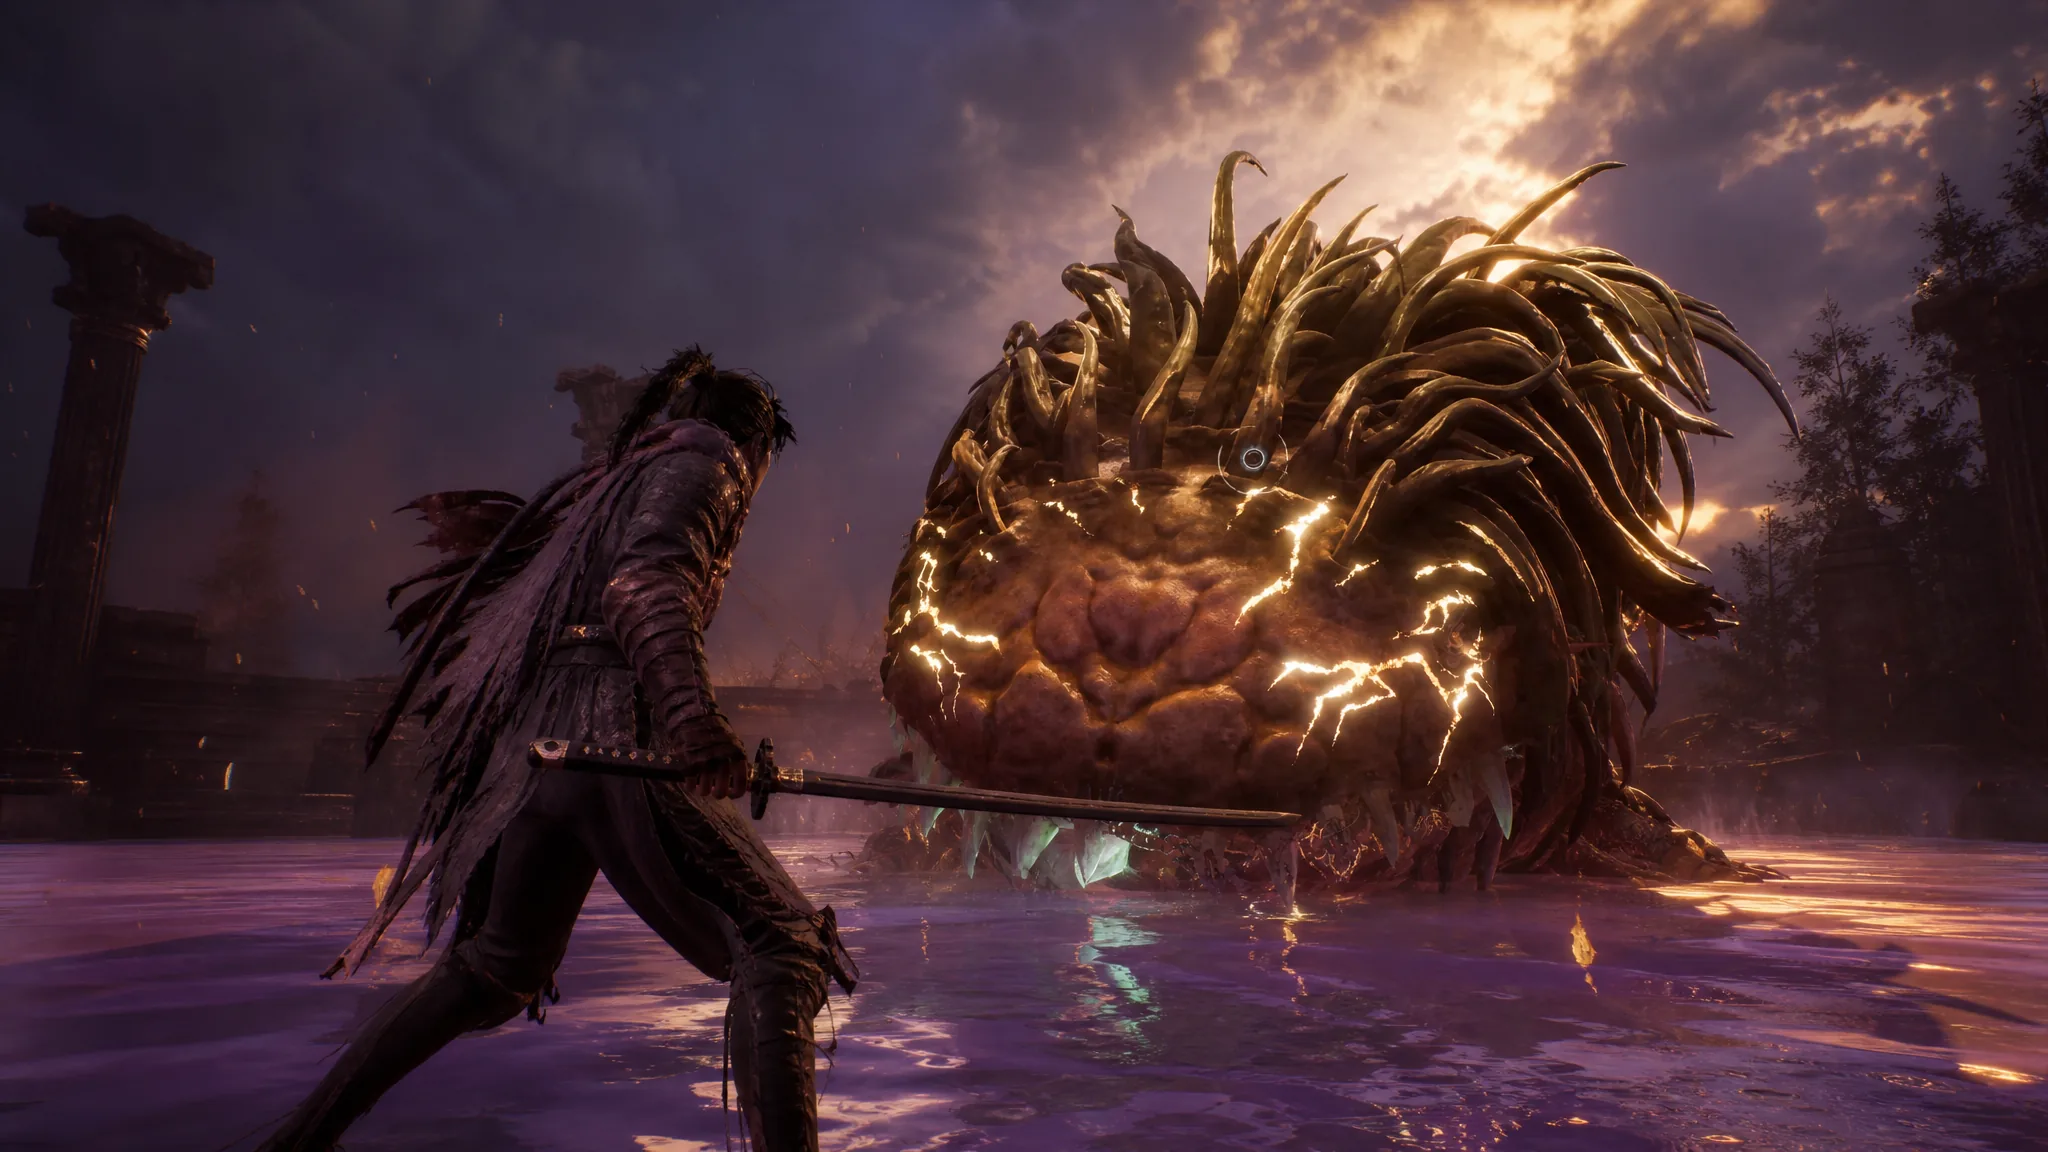
Lacerta is the second Nushi you face in Beast of Reincarnation, a giant, newt-like Malefact that rules the flooded ruins of Chapter 2, Creeping Tendrils. It fights across two separate encounters, hits hard with its jaws and tail, and coats you in Poison and Slow if you let it. The good news is that its moveset barely changes from start to finish, so once you can read it, the fight becomes routine.
Quick answer: Bring the Thunderwave Sword and Bolt Shards to hit Lacerta’s Shock weakness, give Koo an Antidote for Poison, stay at range with a bow while it swims, then parry its jaw and tail combos and punish the long pause afterward. In the second encounter it gains a second full health bar, so keep fighting after the first bar empties.
Where you fight Lacerta and what to expect
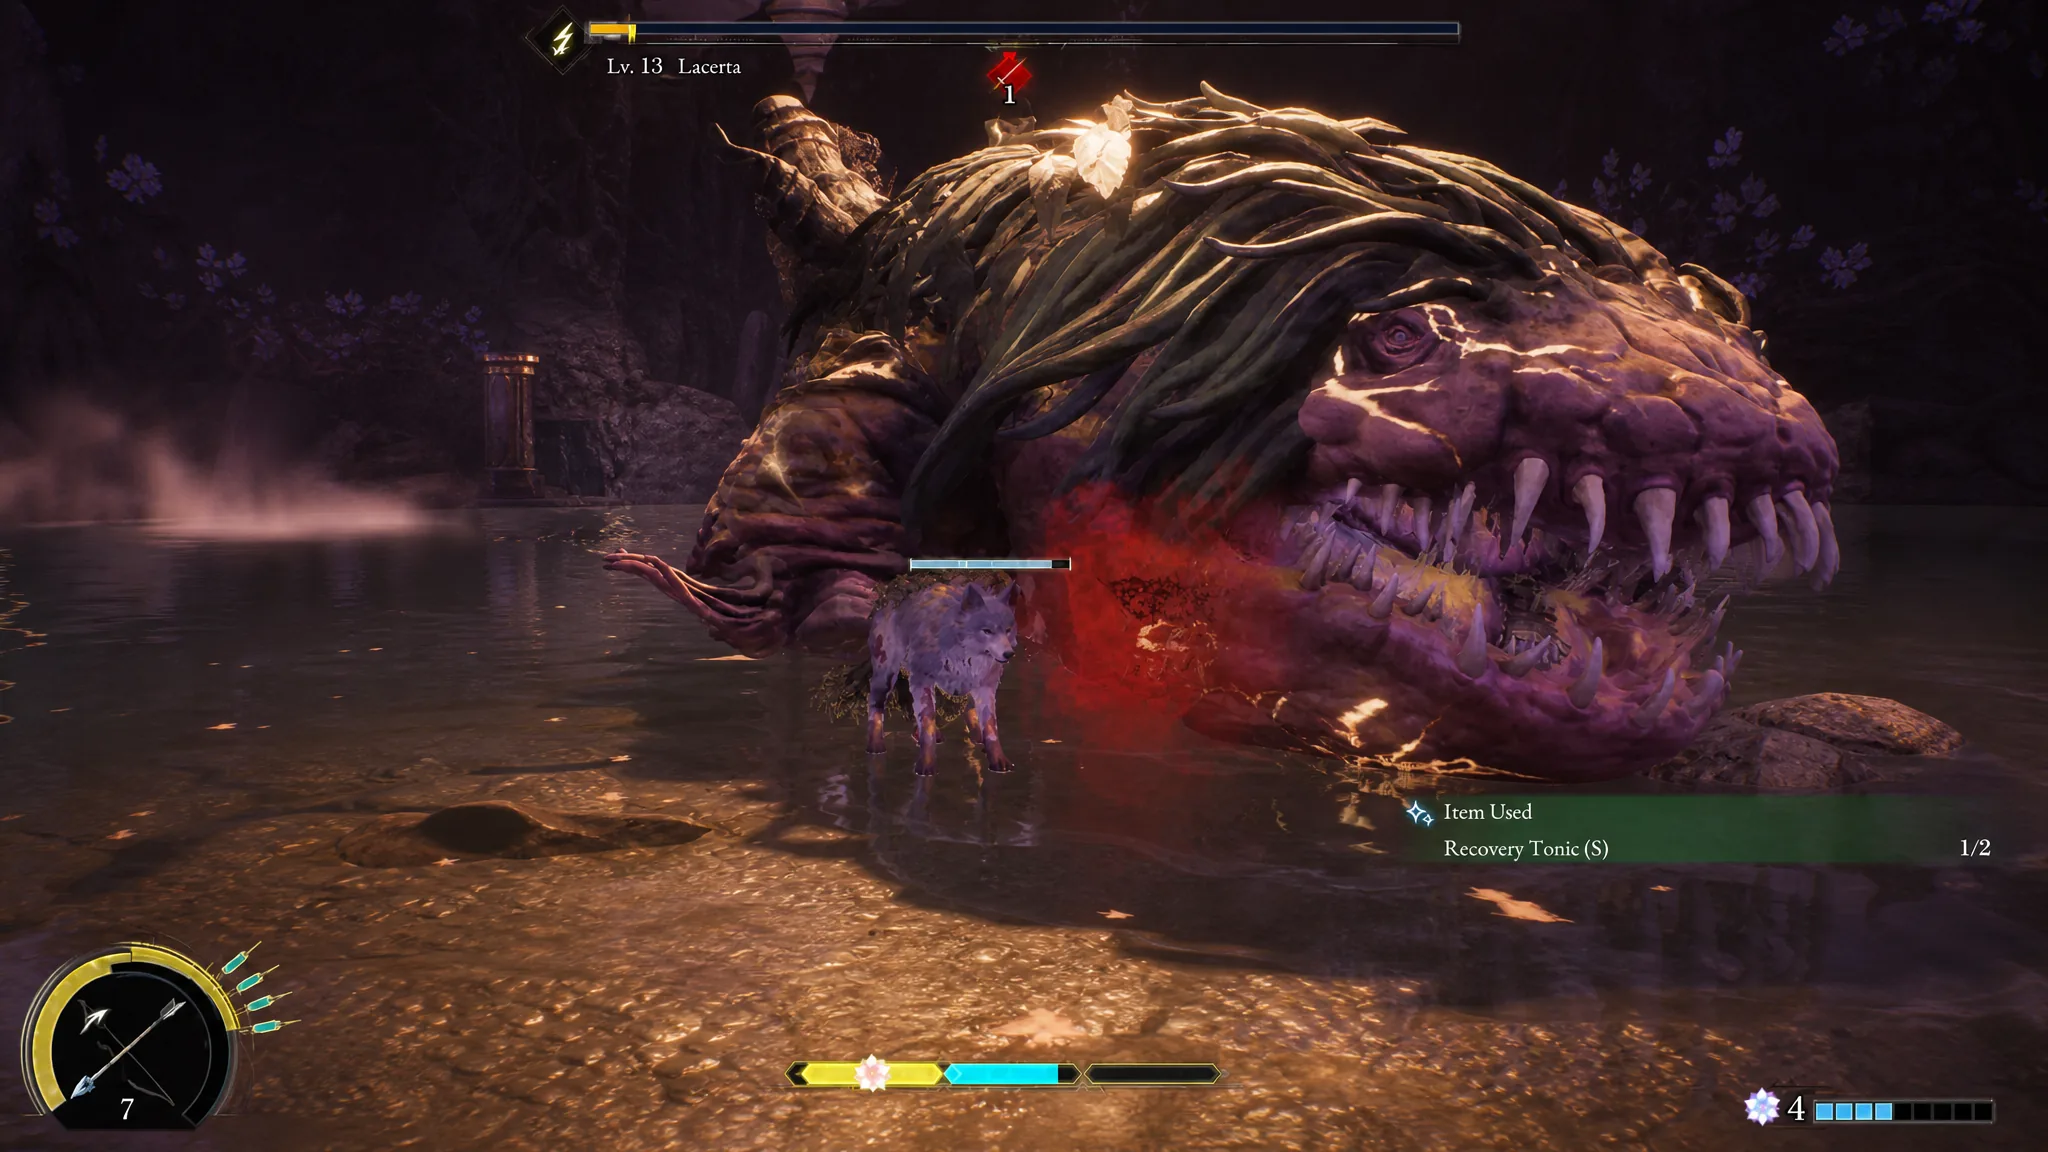
You meet Lacerta in the Ancient Civilization Zone while searching for the reservoir. After you restore power to the sealed gate, the path forward drops you into a swamp-like arena for the first battle. Like Rangifer in Chapter 1, Lacerta flees instead of dying here, and you track it down later in its own lair for the real showdown.
| Encounter | Level | Structure |
|---|---|---|
| First fight (reservoir) | 13 | Single phase, then it retreats |
| Second fight (Nushi’s Lair) | 16 | Two phases, two full health bars |
The important detail for the rematch is the health reset. When you empty the first bar, Lacerta fully restores its HP and moves into a more aggressive second phase. Do not relax after the first knockdown.
Loadout that shortens the fight
Lacerta is weak to Shock, and it deals Poison. Building your gear around both of those facts is the single biggest thing you can do before walking in.
- Thunderwave Sword: upgrade it and use it as your main weapon to lean on the Shock weakness.
- Bolt Shards on Koo: equip them and Koo will throw Shock damage automatically during the fight. Koo’s Sakura: Javelin Bloom Art also helps here.
- Antidote for Koo: this cures the Poison Lacerta stacks, which matters most in the second phase.
- Recovery Tonic on Koo: he will heal you periodically so you can stay aggressive.
- Frailty Fang skill: Koo weakens Lacerta, so you deal more and take less.
- A Bind Bloom Art or Mod: a bind locks Lacerta in place for free damage.
- Ranged weapon: keep the Crossbow or Zangetsu Bow ready for the moments it swims away.
Note: you cannot damage Lacerta while it is submerged, so hold your arrows until it fully surfaces. Firing at the water is wasted ammo.
Lacerta attacks and how to counter them
Lacerta cycles through roughly six attacks. Most can be parried, and its red-glow moves must be dodged instead. The pattern is the same in both encounters, only faster once it imbues itself with blight.
| Attack | What it does | Counter |
|---|---|---|
| Mouth Snap | A three-part bite combo, often finished with a tail swipe | Parry each bite; this refills FP for Koo’s Bloom Arts |
| Tail Swipe | Turns and spins its tail, sometimes twice | Parry the swing |
| AoE Explosion (Mud Pool) | Surrounds itself with a pool that Slows you, glows red, then sprouts damaging spikes/plants | Red attack — run out of the pool, then punish with your bow |
| Underground Lunge | Dives, swims beneath the arena, then leaps out mouth-first | Dodge, or parry when it surfaces |
| Swamp Summons | Trails you underwater, emerges for damage, and can spawn smaller copies of itself | Run from the water trail; let Koo clear the minions while you focus the boss |
| Purple Glob | Backs off, glows red, and fires poison projectiles | Red attack — dodge or sprint clear; fire your bow between shots |
The Mouth Snap and Tail Swipe are your bread and butter. Both leave a long recovery window the moment they finish, which is when you land your heaviest hits.
The core strategy for both fights
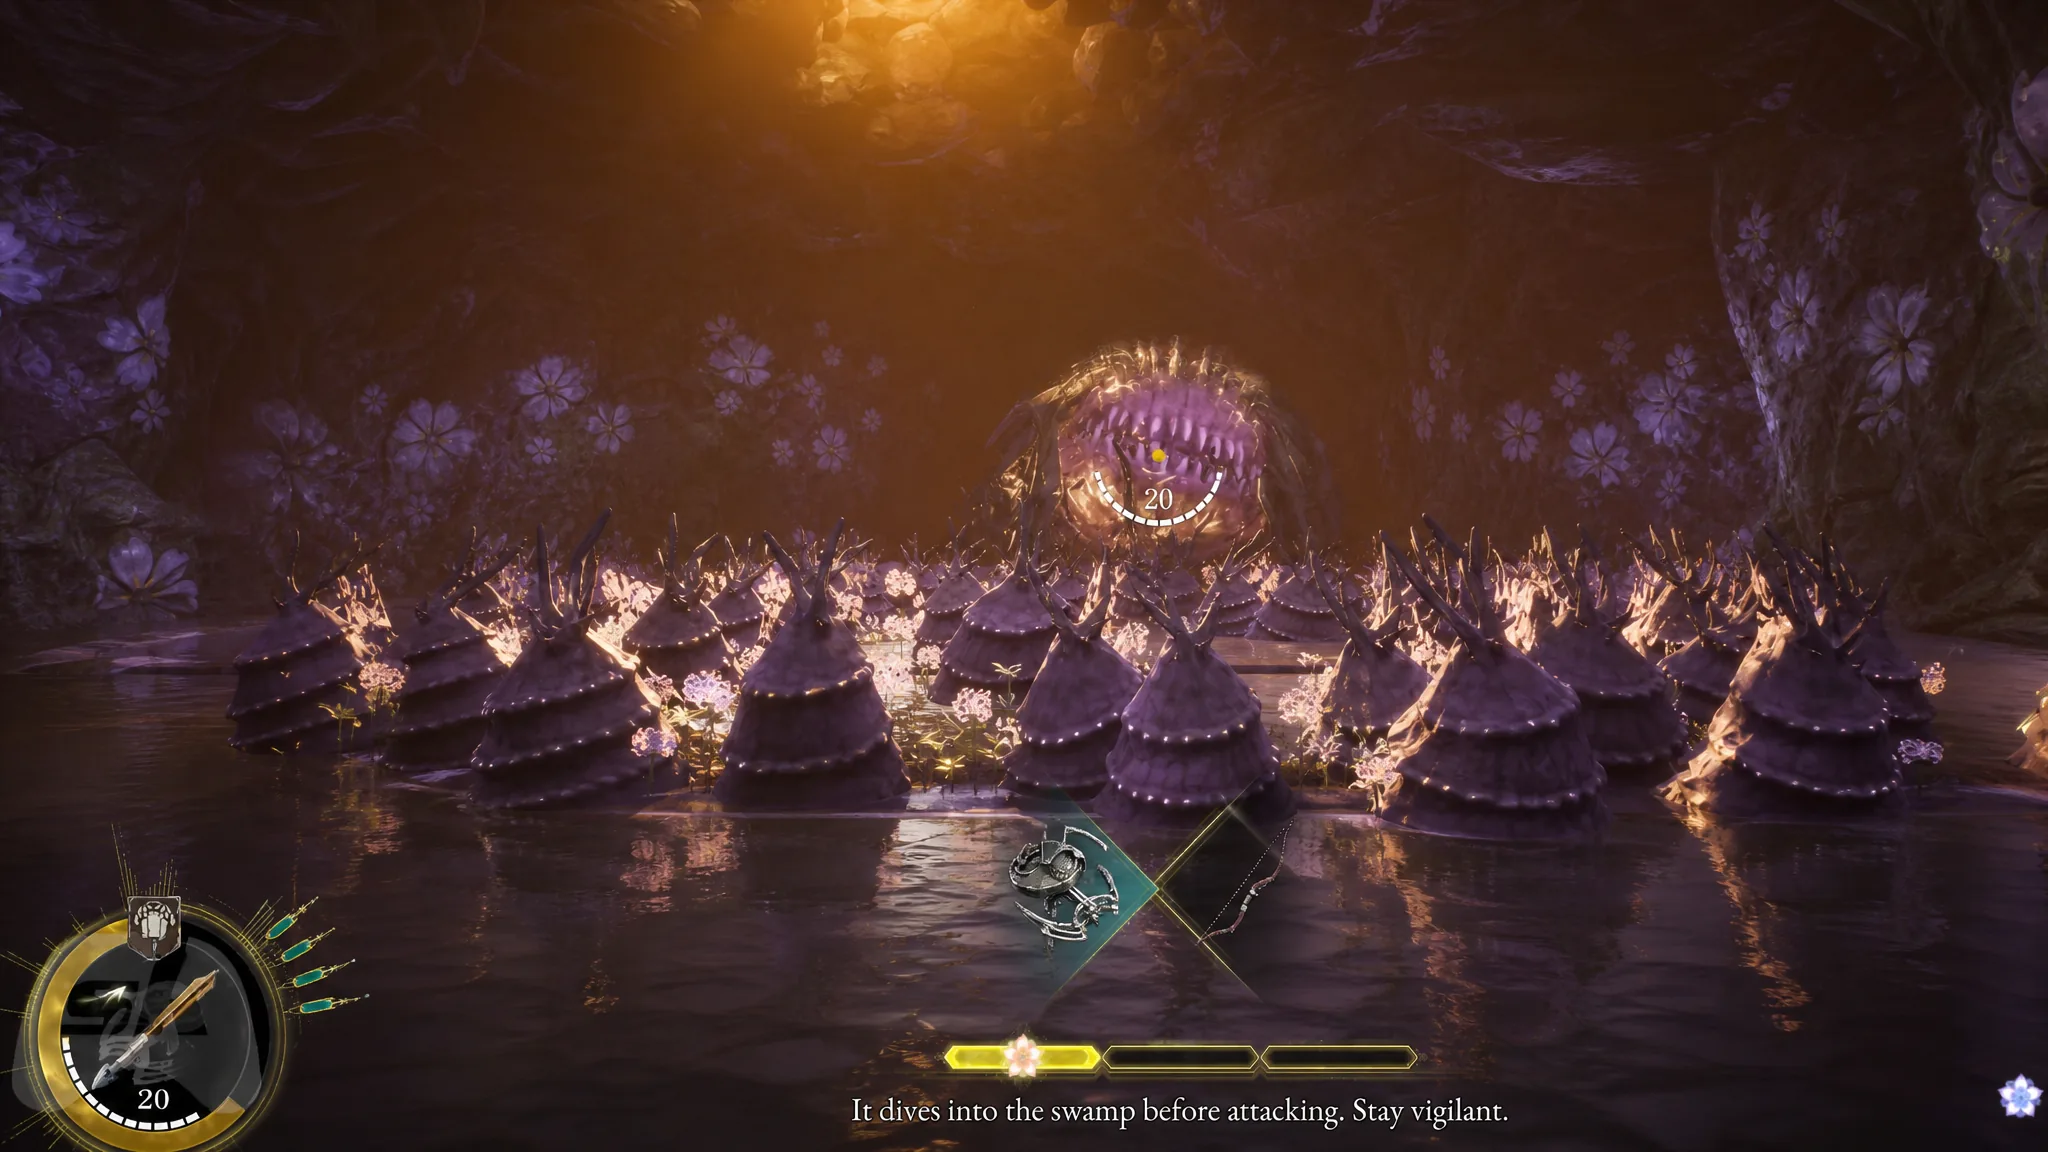
Repeat that loop and the first fight ends quickly. Lacerta simply retreats afterward, moving you to the “Clues About the Nushi” objective.
Second encounter and the blight phase
In the lair, phase one plays like the reservoir fight but noticeably more aggressive. When its first health bar empties, Lacerta restores to full and enters phase two. At this point it glows red and imbues itself with blight, speeding up every combo and adding Poison to its attacks. It also throws out plant summons and toxic balls, both of which you can simply avoid.
Watch for one new tell: if Lacerta blows purple smoke from its body, it is winding up a charging lunge. Like the Mouth Snap, that charge can be parried. Keep your Antidote handy for the Poison, stay patient, and match the faster tempo. The moveset itself does not change, so it is mostly a matter of adjusting your timing.
Rewards and confirming the kill
You know the second phase is over when Lacerta finally drops and a cutscene plays, revealing more of Violet’s backstory before Emma wakes up in Brad’s Walker. That marks the end of Chapter 2, Creeping Tendrils.
| Kill | Rewards |
|---|---|
| Lv. 13 Lacerta | Lacertine Memories (unlocks Nushi Skill: Dokuzeri Shower) |
| Lv. 16 Lacerta | Dokuzeri: Fang (Bloom Art) and Blade Art: Dokuzeri |
Those drops are strong additions for the stretch ahead, and you also bank a large chunk of experience for leveling. With Lacerta down, your next major hurdle is the Nue Malefact, so hang on to your Shock and Poison gear because your loadout habits carry straight into the fights that follow.